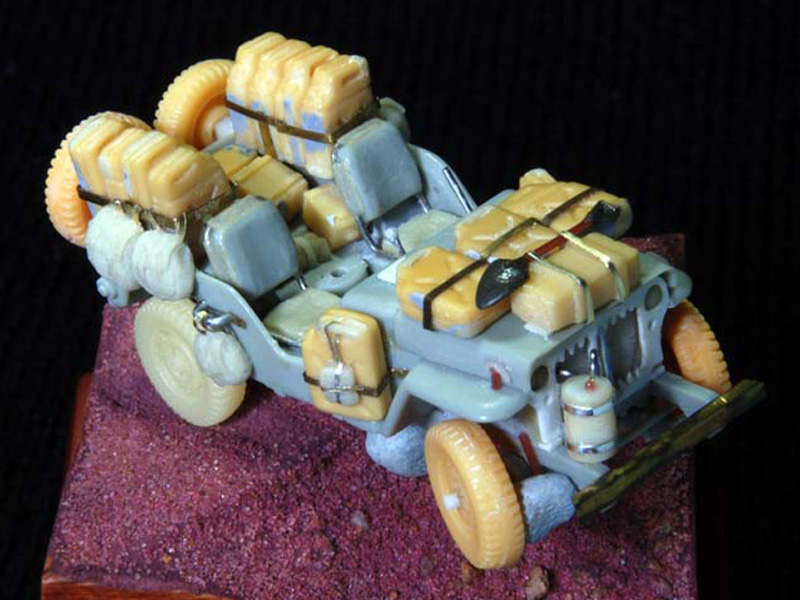
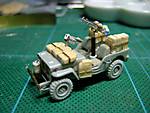
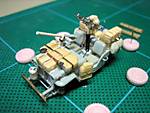
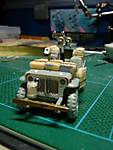
1⁄72SAS Jeep
6
Comments
The Bodywork
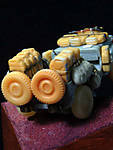
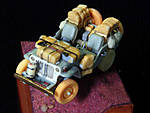
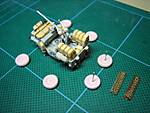
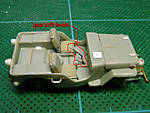
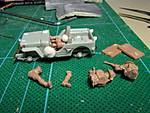
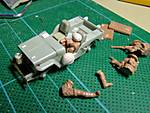
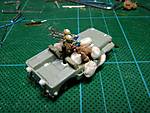
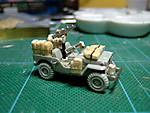
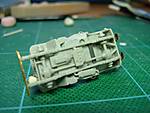
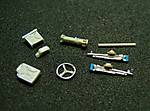
Our little project begins with the Academy 1/72 model of the 4x4 Willy's jeep. At first glance, I thought it wouldn't be too hard to make a nice model from this kit. Sure, I'd add bent wire for the handles on the side. Chop up the front radiator grilles like the real thing, and since I've already got my wire out, I might as well replace the seats to make it look more to scale. Then the only remaining challenge would be to find suitable wheels (more on this later), add stowage and figures then voila I'd be finished. How wrong I was, the front grille presented the first major problem. The S.A.S. had cut off all but the 2 middle grilles in front of the radiator to improve the engine's cooling. I started chopping the Academy front grilles from the side and ended up with only 1 grille in the middle!? That's when I realize the academy jeep had the incorrect number of grilles. Looking at photos of other jeeps on the internet, it seems Fujimi's kit is the closest to the real thing. (This is the Achilles heel of the otherwise superb Airfix jeep.) My first attempt at fixing this was to remove all the slats from the academy grille and then build 2 new slats with sheet plastic. This didn't work out well enough as you can see from the photos. I ended up recreating the front panel from sheet plastic, and only got it passable on the second try. Next time I'll use a modified version of AirFix's grille. Another thing that bothered me about Academy's front panel was that it looked a little bit too square when it fact it should be more of a wider rectangular shape. It turns out that Academy took some short cuts with chassis frame by making the portions over the axles a stepped straight shape, where the real jeeps had curved arches. Academy's shortcut necessitates a taller front radiator panel, and to a smaller extent, makes the model sit a bit higher. I decided fixing the chassis was going to be too difficult, so I had to live with a square front panel. I made the jeep sit lower by chopping off bits of the spring suspension mounting points. I finished up detailing the front end by adding the condenser can made from plastic rod with aluminum foil straps and a hose made from wire. The plastic front bumper was cut off and replaced with some bent brass sheet. Next, I shortened the hood slightly and filed down the edge to give the appearance of sheet metal. In fact, I also filed the top edges of the jeep’s main body to reduce the thickness. Next, I filled in the holes where the windshield connects to the body. I made new gear shift levers from wire and blobs of super glue and tamiya putty at the end. Also a new steering column was made from metal wire. The seats were replaced with Magic Sculpt cushions and metal wire frames. The rear bumpers were fashioned from brass sheets. I filed a couple square plastic rods to make the spare tire mounts. Replaced the side handles with metal wire and brass sheet mounting points. I Shaved off the rear side indicators, thinned them and re-attached them at a slightly lower position. Finally I added some stretched sprue to represent hood clips and the small hydraulic shocks. And I also filed in a couple of furrows on the driver side body panel where the tools of the original jeeps were mounted. I left off the rear seat backrest, and used the dashboard as is, as this piece is nicely detailed.Wheels
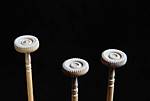
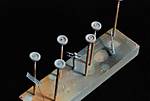
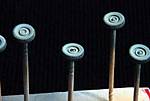
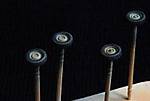
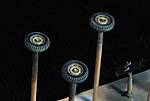
For me, the wheels often play a big part in defining the visual appeal of any soft skinned vehicle. However, in the world of small scale models, I've seen many a wonderfully detailed kit only to be let down by poorly molded toy-like wheels. Academy's 1/72 version of the jeep is unfortunately a good example of this. For although the tire's size (diameter) looks about right, the thread pattern is too big (resulting in less grooves) and is not offset. I would have been able to live with this in accuracy, but even the wheels didn't look anything like the real thing. The rims were too thick, the bulge is too small, with the wrong number of bolts and no hub detail at all. Other braille scale models of the jeep that came before this one also suffered the same wheel problems. My initial solution to this problem was found in the 1/72 die cast jeep model from Hongwell's Cararama series. The tires had a good pattern and the wheels had excellent hub detail, though the bulge was on the small side. This was a definite improvement over Academy's wheels. Since I didnt want to ruin my nice little die cast jeep, I decided to make copies of the wheels for my SAS model. Using a squash casting method with some polymer clay, I managed to produce 6 new wheels, but I wasn't entirely happy with it. Before finishing the wheel copies, I was able to get the Airfix 1/72 scale jeep (ex-Heller) from a local hobby shop. This model had near perfect wheels! With some modifications, I was convinced I could come up with something better than what I already had. My 3 main gripes with the Airfix wheels were:- 1.) The thread pattern on the tires was not offset.
- 2.) All the wheels had same length hubs, in the real jeep, the hubs in the front were slightly longer.
- 3.) The tires looked to be a bit narrow and a little under scale diameter wise. To fix these, I first made resin casts of the wheel halves (inside and outside). I then sandwiched some sheet styrene as I glued the 2 halves back together with an offset on the thread pattern. This was then re-cast as 1 whole piece and used on the final model. I wasn't able to do anything about the diameter of the tires, in fact the multiple casting processes probably shrank the wheels even further, but in the end I decided I could live with it.
Comments
YEEEE HA Great action that jeep is really moving. The driver looks like he is holding on, waiting for the crash, bang wollap! Great sense of speed. love it!
NOV 27, 2008 - 02:47 PM
Sonny, holy cow!!!! The patience that you have in building something in 1/72 is incredible. How do you do that!? That is a great build, make some black and white photos and it would fool everyone!!
DEC 01, 2008 - 07:39 AM
Thanks guys, the reception to the model has been very encouraging. I hope the build feature is informative for you guys.
Also comments and crits are welcome.
Cheers,
Sonny
DEC 09, 2008 - 03:26 AM
Looks great, Sonny. A very action packed little scene.
Thanks for sharing
DEC 10, 2008 - 03:57 AM
Looks real cool, hope mine turns out as good, I am working on 1 now. jeepkid019
MAR 01, 2009 - 03:43 PM
Copyright ©2021 by Sonny Sy. Images and/or videos also by copyright holder unless otherwise noted. The views and opinions expressed herein are solely the views and opinions of the authors and/or contributors to this Web site and do not necessarily represent the views and/or opinions of Armorama, KitMaker Network, or Silver Star Enterrpises. All rights reserved. Originally published on: 2008-11-27 00:00:00. Unique Reads: 40461


