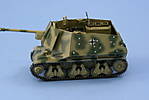
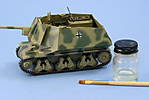
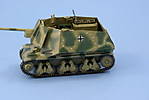
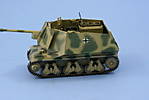
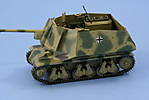
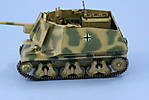
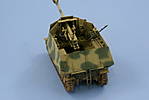
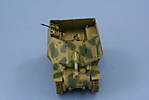
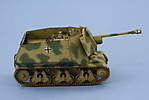
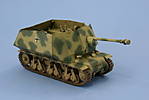
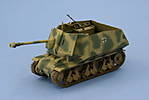
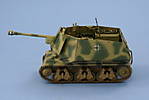
1⁄35Bronco's Marder
10
Comments
Painting
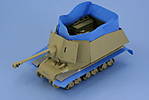
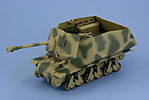
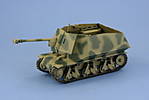
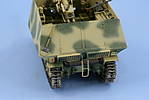
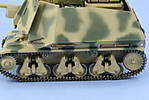
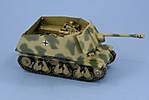
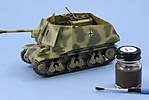
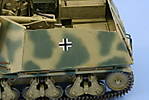
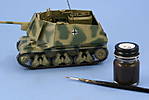
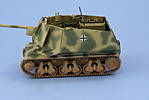
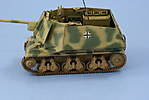
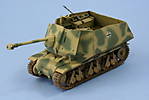
Before painting could begin, I needed to address two remaining areas…installing the lower hull driver’s plate and dealing with a small gap in the interior where the engine bulk head was supposed to meet with the compartment cover. Dealing with the gap was a tricky exercise due to the width of the slots on the upper hull that matched up with the lower hull bulkhead. To get around this, I cut two pieces of 0.5mm thick sheet styrene and glued one piece each to the bulk head and the compartment cover. This still left a small gap, so a third piece of 0.3mm thick styrene was added to the compartment cover. The driver’s hull plate was then installed along with the access hatch to the transmission, the armored vent cover, and the Notek and French-style blackout lights to the glacis. I now had my three modular elements that were ready for painting. I applied a primer coat of Model Master enamel Italian Dark Brown by airbrush to check the various areas that I’d sanded or used putty and to insure that there weren’t any areas of bare plastic. This was followed by a base coat of a mix of 80/20 Dunkelgelb/Light Gray applied in multiple thin mist coats to all three modular elements to lay the foundation for the overall finish. The lower hull interior was detailed and weathered. Since only the radiator and drive-shaft would be visible after installation of the upper hull, I didn’t give much attention to the driver’s area. The floor of the compartment was treated with successive washes of Gunmetal and Burnt Umber and then dry-brushed with the hull color Dunkelgelb/Light Gray mix. I carefully removed paint from the join surfaces for the upper hull with the back edge of a #11 knife and then detailed the suspension elements before they would be harder to get at with the upper hull in place. The steel road wheels and return rollers as well as the spring cylinders were painted with Non-buffing Metalizer Gunmetal and then dry-brushed with Steel to give them a bare metal look. The upper hull was installed with the lower hull using regular glue and a good deal of finger pressure in strategic places to insure a solid join all around. The only place where a good join wasn’t possible was at the driver’s plate. The gap was filled with putty and sanded down on both sides and would be repainted in a later step. I had been holding off the installation of the fenders due to potential issues with fitting the tracks, but I was able to overcome this by heavily sanding down the undersides of the fenders at the front and rear as well as sanding and modifying the idler mounts to allow the idlers to have sufficient clearance at the rear, so the fenders were attached at this stage as well. Their joints also required some putty work to close up some minor gaps. To protect the work done already on the interior and the suspension, these areas were masked off with blue painter’s tape and the unpainted areas painted first to match the hull. I opted for the two-tone scheme often seen on 21st PzDiv vehicles, so the green portion was added using Model Master enamel Khaki sprayed free-hand. I touched up some over-spray and then applied a thin mist coat of the lightened Dunkelgelb mix over the entire vehicle to tie everything back together.Tracks, Tools, and Weathering
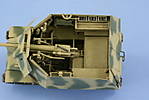
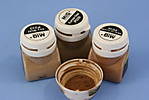
I used the kit-supplied individual links to construct the runs for both sides, assembling them first in groups of 5 each and then slowly adding them together to create a single run. Working quickly, the runs were base painted with Non-buffing Metalizer Gunmetal, dry-brushed with Steel, then installed onto the vehicle along with the sprockets and idlers while the glue was still pliable. Once in place, a light wash of Raw Umber was applied to tone down the Steel and give them a more worn look. Each side utilized 103 links even though Bronco provides two sprues of 122 each, so there’s plenty of spares left over. The interior of the fighting compartment was also weathered at this point. Prior to joining it to the lower hull, I’d dry-brushed some Burnt Umber in various places to show wear and scuffing from the tight quarters and now built on that by adding an overall wash of Raw Umber. Once the wash was dry, I dry-brushed the lightened Dunkelgelb mix in various places and also stippled some additional Dunkelgelb to the engine compartment cover and the fuel tank to help break up things and make the wear appear more random. I also detailed the rear hull by painting the exhaust with Non-Buffing Metalizer Gunmetal and applying a wash of Rust followed by dry-brushed Burnt Umber. The brake light and Notek light had their lenses added using Tamiya Acrylic Clear Red and Green respectively and the crew step ladder was painted and installed into position. The pioneer tools were detailed and installed as well with the metal portions painted with Non-Buffing Metalizer Gunmetal and dry-brushed with Steel and the wood handles painted with my own special “wood” mixture followed by a light wash of Leather and a dusting of artist pastels Burnt Umber to complete their look. The Bakelite handles on the wire cutters were painted with Italian Dark Brown. In preparation for the final weathering process, I sealed the entire model with a coat of Future acrylic floor polish and let this dry for about an hour or so before adding the decal markings. The decals were applied using Walther’s Solvaset and after they had thoroughly dried, a second coat of Future applied to seal them in and allowed to thoroughly cure before weathering began. I started by applying an overall Raw Umber filter/wash to the exterior surfaces of the vehicle. This was followed by an application of dot filters of Flat White and Beret Green for the green areas and Flat White and Flat Yellow for the Dunkelgelb areas. I did each area separately to allow for individual attention, and the dots were blended together using a square-tip brush lightly dampened with thinner and repeated downward strokes until the dots had virtually disappeared. This was followed by a targeted additional dot filter using Military Brown to create some dirt/dust streaking. A pin wash of Burnt Umber was then added to the raised detail and adjusted with a small brush and clean thinner where needed. The final step was an application of Mig Productions Dry Mud, African Earth, and Europe Dust pigments to the suspension and tracks for a light dusty look. The pigments were applied wet with water and allowed to air dry, then the excess was removed with a series of stiff bristled brushes and dampened q-tips until the desired look was achieved. All that was left was a trip to the photo booth and the finished shots! 7.5cm Pak 40 (Sf) Auf Geschutzwagen 39(f) Marder IComments
Another great build Bill, thanks for putting this together. Thanks Henk for loading it up! Nice to see unique items.
Cheers -
Tim
MAR 08, 2009 - 04:25 PM
Lyndon, Tim, James, appreciate the comments. My thanks to Henk as well for pulling this one together and publishing it.
MAR 09, 2009 - 02:28 AM
Hi Bill,
Excellent article and a great build on a not often seen kit.
Nice one.
Al
MAR 11, 2009 - 06:01 PM
Great build and article Bill. I hope to build this some day ... God only knows when ... but the big fighting area on the small chasis looks so cool.
MAR 27, 2009 - 10:17 PM
Bobby,
The full build took about 4 weeks to complete from start to finish. Thanks for your comments!
Frank,
Thanks, it's one I could definitely see you tackling. Since you've already done one of the H39s, you already know much of the pitfalls. It's definitely got an oddball look to it...reminds me of a heavily armed clown car.
MAR 28, 2009 - 06:30 AM
Copyright ©2021 by Bill Plunk. Images and/or videos also by copyright holder unless otherwise noted. The views and opinions expressed herein are solely the views and opinions of the authors and/or contributors to this Web site and do not necessarily represent the views and/or opinions of Armorama, KitMaker Network, or Silver Star Enterrpises. All rights reserved. Originally published on: 2009-03-08 00:00:00. Unique Reads: 23959


