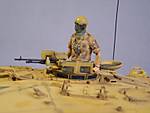
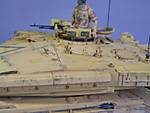
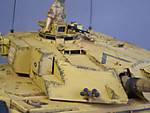
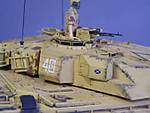
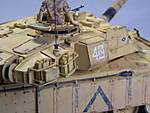
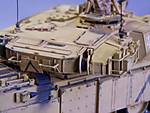
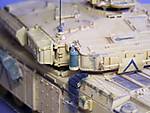
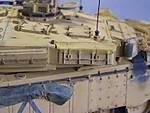
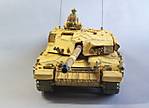
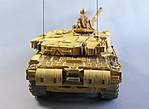
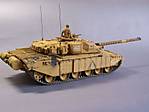
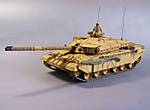
1⁄35Challenger 1
8
Comments
introduction
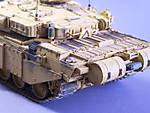
The Tamiya kit was issued in 1992 under the reference #35154. This was not a true novelty as Tamiya only added a new sprue to their original kit released in 1985. This new sprue gives the Chobham add-on armor plates for the hull sides and glacis, a supplemental stowage bin on the turret right side, new exhausts and the parts necessary to the installation of two fuel drums in the Soviet/Russian fashion.features
In the usual cardboard box, we get 5 light beige plastic sprues, 1 clear plastic sheet with pre-cut sights glasses, a bit of nylon mesh, a bag with polycaps for the road wheels and another bag with screws for the idlers and the gun, old type (i.e. that can’t be glued) vinyl band tracks, a sheet of decals and a 12-page instructions booklet. The kit is of the usual Tamiya quality standard with very good cast and detail level. But Tamiya omitted some details while others can be improved. The fit is excellent except for the turret rear bin. As usual the instructions are very clear. The choice between the two possible versions is clearly shown in the 14 steps whenever needed.construction
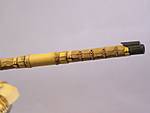
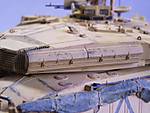
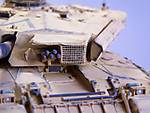
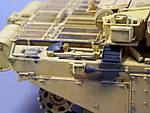
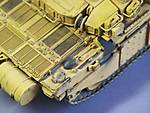
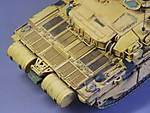
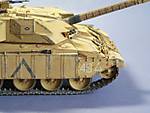
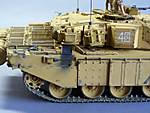
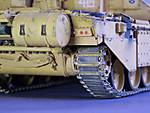
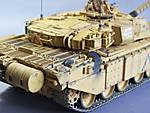
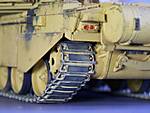
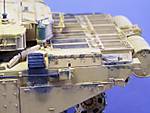
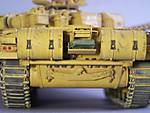
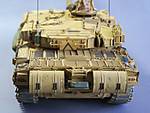
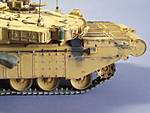
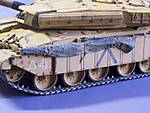
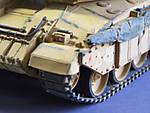
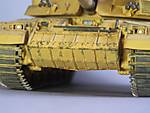
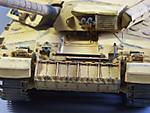
Basically, the build is done out of the box and starts with the lower hull. To build the rear panel, you should be careful when fixing the part B90 which can prevent the fitting of the spare track link. The part D5 which represents a first aid box has a hole underneath that needs to be filled. On the front upper hull, among other bits Tamiya omitted the small lights on the outer side of the headlights whereas their covers are present. They are done with bits of clear sprue. The rear mirrors support poles are added. On the rear deck, the shovel brackets are added too. At this stage, the side armor panels are fitted but without the towing cables on their top. Those will only be attached after the painting. The front ends of the cables are drilled out. The turret comes in 5 main parts which is a stunning choice. The base receives the gun mount which is secured by a screw and a nut. The turret roof is set and unlike what state the instructions, the rear panel is fitted before the rear stowage bin. This one comes in 3 parts and does not fit as well as the rest of the parts. Then the various accessories are set in place. Both hatches can be represented open or closed. The camouflage net stowage basket at the turret front receives the mesh panels cut in the mesh provided in the kit and according to the pattern given in the instructions. The 3 stowage baskets are improved with a tarpaulin. After the hull halves get the base coat, the running gear is complete and the tracks fitted. The hull is definitively glued and then only, the front armor block is fitted. A bit of plastic card is added between the block sides’ brackets and the towing eyes to fill the existing gap.painting & weathering
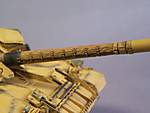
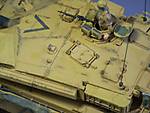
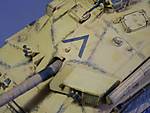
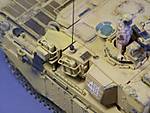
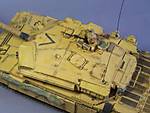
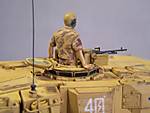
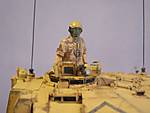
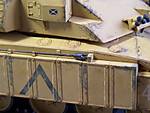
The British stone paint is a mixture of Tamiya Desert Yellow, Yellow and Buff. The weathering consists of several washes with raw and burnt umber oil paints. The grilles get a black wash. The paint chipping is done with a bit of scouring pad dipped in a dark green paint. Some tools and accessories are painted dark green to break the monotony of the desert stone camouflage. A large tarpaulin is added to the left side for the same reason. To finish, the dusty look is done with pigments. The figure is the “desert” one issued in the kit. It is painted with Tamiya shades, the flesh parts being painted with oils.Comments
Congrats Olivier
Nicely done, one comment maybe your Chally deserve a better fig that the one from Tam.
Cheers
Seb
APR 20, 2009 - 06:04 AM
Thanks yo uall for your kind comments.
Seb, I'm a poor figure painter that's why I don't spend too much on figures I would certainly spoil ! I hope one day I'll learn and master the right technique for painting faces.
Olivier
APR 20, 2009 - 06:29 PM
Just got back from my boring trip, and it is really SO great to have such an update! Great build Oliver! I love this topic so much! it will be great if more pictures are to be shared!
APR 20, 2009 - 07:23 PM
Thanks again guys !
Rick, I just had a look at the picture gallery and surprisingly enough there is a SU-100 rolling like a target amongst the Chally pictures !
APR 21, 2009 - 12:48 AM
Copyright ©2021 by Olivier Carneau. Images and/or videos also by copyright holder unless otherwise noted. The views and opinions expressed herein are solely the views and opinions of the authors and/or contributors to this Web site and do not necessarily represent the views and/or opinions of Armorama, KitMaker Network, or Silver Star Enterrpises. All rights reserved. Originally published on: 2009-04-20 00:00:00. Unique Reads: 18450


