1⁄35Making Scale Canvas and Tarps
4
Comments
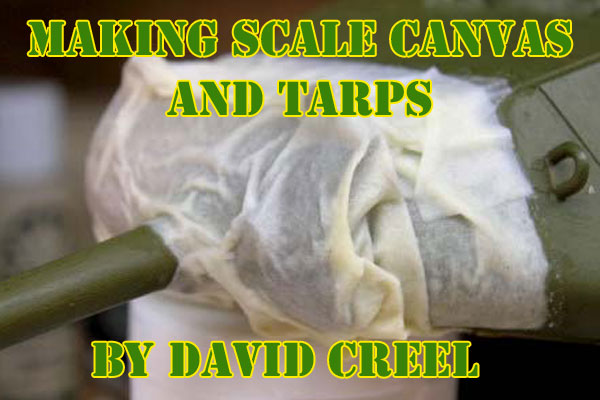
For years I have made my own scale model canvas and tarps from facial tissues. Toilet paper usually proves too porous in appearance for most scales and does not hold up as well as facial tissue when wet. You will need scissors, facial tissue, white glue (I use Elmers), a soft paint brush and a small container of water.
Begin by cutting the facial tissue into the desired shape and size fitting it as required. Once you are satisfied with the shape and size, place it in the desired location. Mixing a small amount of white glue and water together (50/50 mix), apply the mixture gently to the tissue taking care to retain the proper positioning. Only mix as much as you will need for one coat at a time and as I said, apply gently.
I use an inexpensive, soft, 'crafts-type' paintbrush to apply the glue/water mix but as I said before - BE CAREFUL! The facial tissue will tear once wet.
During the initial "Coating" be sure to keep the tissue in the desired location, gently fitting it, folding it and otherwise setting it in it's permanent place.
Once completely dry (normally takes about 10 minutes), apply another light coat of fresh mix, then when that coat is dry, apply a third and final coat.
I usually mix the second and third coats a little "Stiffer", instead of a 50/50 glue-water mix I generally go 60-65% glue / 40-35% water. Once the last coat was dry on this M-41, I did a "Pre-fit" the PE items before permanently attaching them.
Allow the "Canvas" to completely cure overnight before painting and be extra cautious if using "Washes" to weather or shade the piece. If not completely cured, your "Canvas" will re-hydrate and rip if you are not careful! The canvas mantlet cover on this M-41 is now ready for some Khaki paint followed by weathering and shading.
Below is a finished, painted,weathered and shaded tarp on a 1/35 scale SdKfz.250/1.
Comments
Thanks for posting this, i have just had a go at using putty, it has turned out ok but tissue paper would have worked better by the looks of it.
Cheers
AUG 01, 2009 - 08:37 AM
This sort of article is exactly what I like to see on your site. Useful information. Keep it up, please, and thanks.
AUG 02, 2009 - 05:06 AM
What a great tip! Thank you.
And here I'd been looking all around online for tarp and roll accessory kits.
Making my own will be much more satisfying.
AUG 03, 2009 - 11:47 AM
Copyright ©2021 by David Creel . Images and/or videos also by copyright holder unless otherwise noted. The views and opinions expressed herein are solely the views and opinions of the authors and/or contributors to this Web site and do not necessarily represent the views and/or opinions of Armorama, KitMaker Network, or Silver Star Enterrpises. All rights reserved. Originally published on: 2009-08-01 00:00:00. Unique Reads: 333472


