1⁄35T34/85 Berlin
3
Comments
History
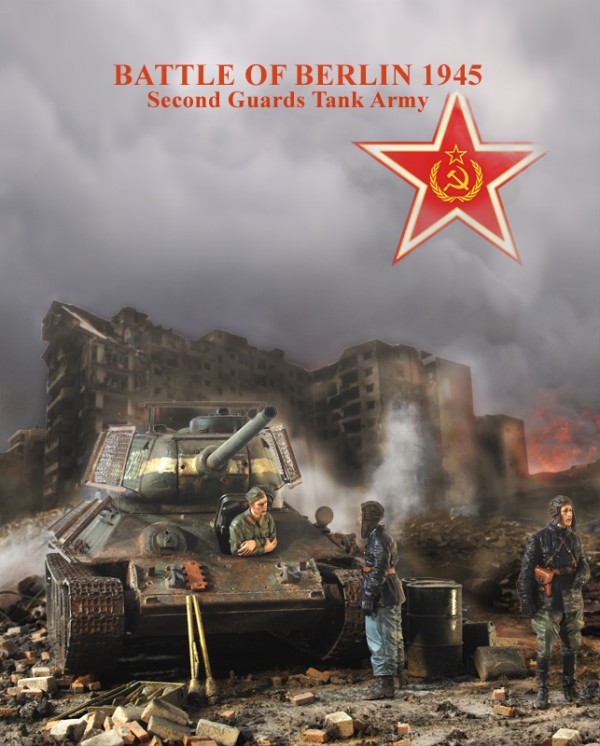
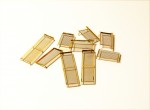
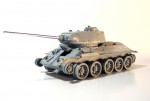
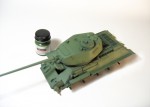
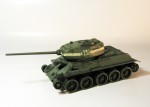
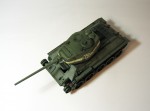
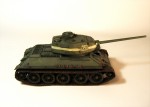
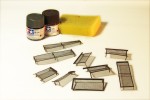
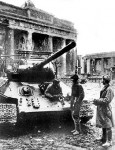
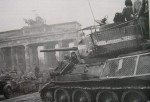
My T-34/85 fought at The Battle of Berlin from April 6th to May 2nd 1945. It belongs to the Second Guard Tanks army. The addition of the so-call bedspring armour was in reality not actual bedsprings as many believe. These panels were made as protection against the German Panzerfausts and Panzerschecks, which where responsible for almost 23% of the T-34 lost during this battle. The white band paint on the turret was adopted in April 1945 as a recognition marking to minimize the risk of friendly fire incidents between Allied tanks and Soviet AFVs.The build
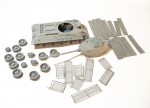
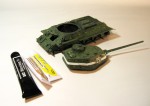
One again I just used what was provided by Dragon in the box (kit #6266). I have to mention there were generous quantities of photo-etched parts included in the kit. I find it very useful to use special pliers to detach all the pieces instead of a knife. For the glue I use Tamiya extra thin cement most of the time instead of the larger tube of plastic glue which I find difficult to control and messy. For the photo-etched part I use Tamiya bending pliers which is necessary in order to do a good job. The Krazy glue is my favourite glue for photo-etched parts so far. I suggest buying the smallest tube possible because it clogs rapidly after you start using it and you lose the rest of the tube. For the figurines I use the Russian Thanks Crew set (35041) from the excellent brand Alpine Miniature.Painting
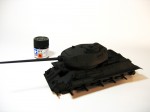
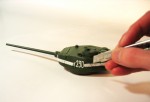
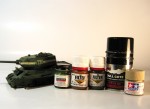
I began with a coat of Tamiya primer to get a better surface prior to applying the acrylic paint and to identify any imperfections in the modelling so I could correct it. I advise to be careful when using a spray can, you could end up losing some details. I spread it on, one rapid stroke at a time and avoid staying in the same spot. I use this method until itís fully covered. Then I apply a coat of Tamiya flat black diluted in thinner (50/50) using an airbrush. For the Russian Green I use the Model Master acrylic Russian Green mix diluted in thinner (50/50) and applied with a paint brush. I sandwiched the decal between two coats of varnish and Humbrol decal fix. The layer of varnish under and on top of the decal was Future, mixed with 50% water. I finally scratched the dry decal with a knife to replicate the effect of paint chipping.Weathering
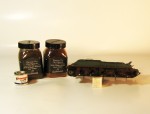
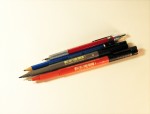
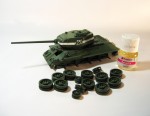
The weathering really began with the application of oil paint and dotted the surface yellow, orange brown and black. I donít believe the quality of the paint is important here since the gold is to add variation and modulation in the Russian Green paint. After the tank was covered with dots I applied turpentine with a brush over the surface. Be careful not to over mix it. You will lose all the nice variation and modulation we are looking for to get a uniform look of burn. I let the oil dry completely and then I used a filter technique to add even more variation and modulation. I used the ready made filter by Sin. This is a long process because you need to wait for it to dry before adding another layer. I also made two extra deluded mixes (10/90): one of the original Russian Green and another of Tamiya Buff. I sprayed Russian Green gently over the tank to get a deeper green in certain areas and I sprayed the Buff to achieve the look of dust. To lessen the shininess of the varnish (Future) and oil, I added a coat of flat lacquer. I apply a wash over the surface of the tank using dark oil paint mixed with turpentine (90:10). This wash fills the crevices emphasizing the details of the tank. The Bedspring armor was painted in Black and then heavily dry brushed with silver acrylic paint. I then made a mixture with brown Humbrol enamel and a bit of black to create a rust effect. I dipped a sponge and pressed it onto the Bedspring. The same technique was used on the tank as well. More chipping effect was obtained with a dark grey Faber-Castell marker. The marker is easier to control than a brush but I suggest using both to get different kinds of paint chip effects. The marker is good for deeper looking paint chips. To create stains of rust and rain, I used Humbrol yellow mix with brown paint diluted in pure turpentine. The track was painted in Black and then heavily dry brushed with brown acrylic paint. I used an HB6 wood pencil for the areas where I wanted the metal to be apparent. The mud effects in between the tracks and tank was achieved by mixing Plaster of Paris, pigment, sand and white glue. Some oil and grease stains were made with Humbrol paint, black pigment and gloss varnish. The wheels and track were glued on after the mud was added. The HB6 wood pencil was used on the track as well where I wanted the metal to be apparent. The dust effect was achieved by using pigments from MIG Production. I used city dust, concrete, black smoke, rubble dust and old rust. The dusty color was applied first on the tank and then with a brush soaked in pure turpentine that I pressed over the area of the tank where the pigment was. Adding more turpentine can be used to get rid of pigment where you find there is too much. I finally use a dry brush to add pigment in the areas that need it.Comments
Very good looking model. Nicely beat up. Well written article too. Thanks
MAR 21, 2010 - 09:58 AM
Copyright ©2021 by Olivier Marchand. Images and/or videos also by copyright holder unless otherwise noted. The views and opinions expressed herein are solely the views and opinions of the authors and/or contributors to this Web site and do not necessarily represent the views and/or opinions of Armorama, KitMaker Network, or Silver Star Enterrpises. All rights reserved. Originally published on: 2010-03-21 00:00:00. Unique Reads: 11417


