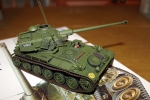
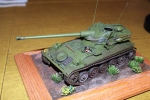
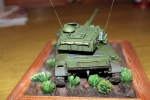
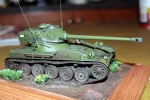
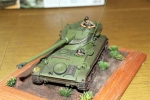
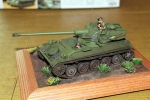
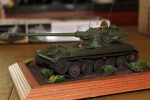
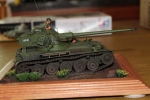
1⁄35AMX-13/75
5
Comments
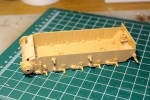
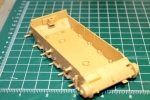
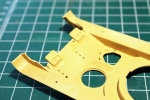
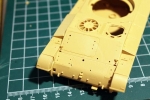
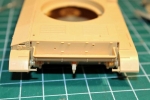
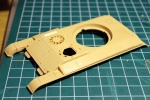
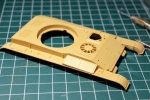
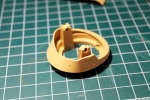
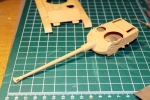
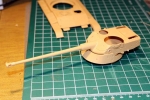
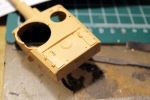
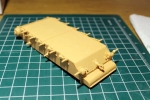
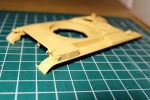
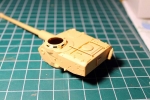
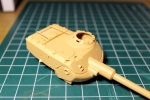
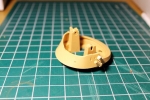
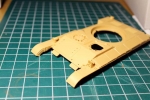
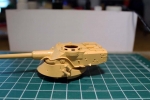
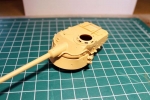
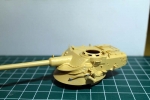
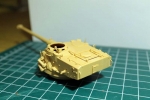
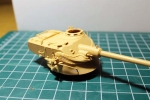
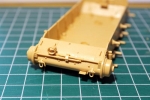
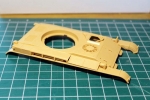
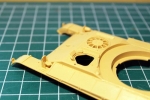
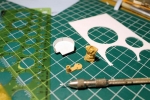
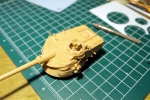
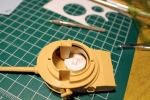
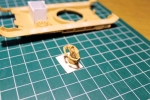
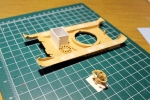
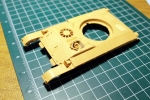
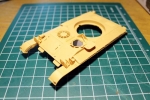
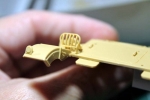
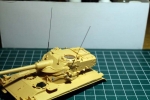
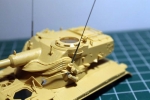
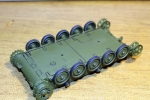
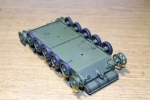
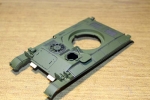
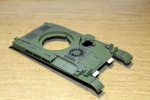
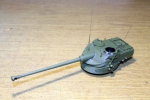
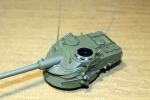
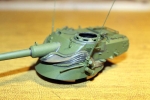
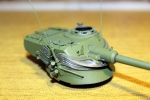
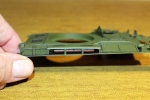
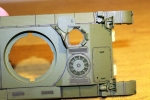
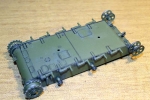
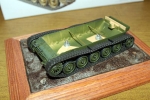
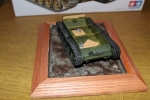
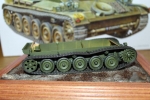
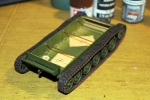
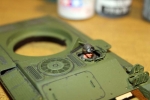
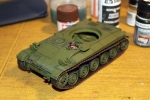
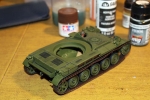
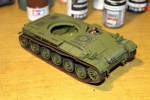
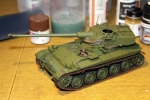
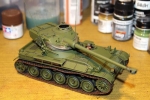
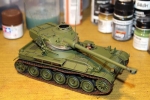
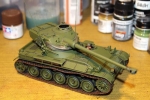
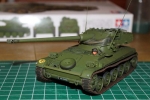
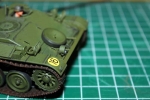
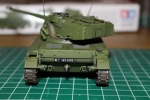
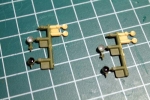
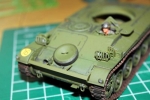
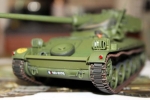
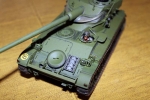
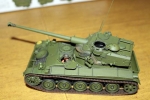
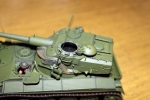
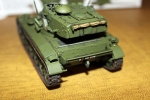
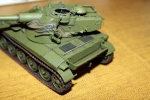
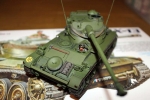
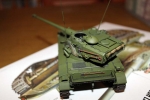
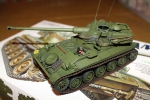
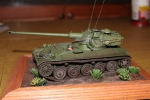
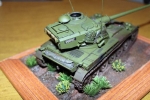
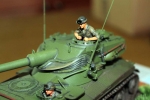
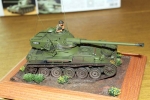
I recently had the pleasure of building Tamiya's new AMX-13/75. I found that the kit has no vices and was a quick and easy build. I was particularly impressed with the fit of the multi-piece shroud around the turret. There is a visible seam where two pieces of the shroud meet on either side of the turret. Don't remove it, it is supposed to be there. I did make a few modifications and additions. I replaced the stubby kit antennas with some new ones made from steel wire and hypodermic tubing. The hatches are all position-able, either open or closed, but the kit only comes with one half-figure, the commander. They give you a small platform on the inside of the turret to support him. I find that light shining into the hatch opening usually makes it very obvious that it is a half-figure. A trick I learned from a friend is to box in the opening around the hatch inside the turret (or hull) and then paint it black. Make this box deep enough to allow the figure to sit properly in the hatch. This hides the fact that it isn't a full figure quite nicely. I wanted to show the driver's hatch open, with the triangular head protector raised. So I sourced a figure from a second kit. Tamiya USA provided the complete sprue containing the parts for the figure (as well as a lot of other parts) for a small fee. I made his box deeper so that only his head was sticking out of the hatch. Both figures had straps for their goggles added from strips of thin plastic. I found out too far into the build that a French company has a nice set of three resin crewmen available for this tank if you desire. The kit supplies only solid plastic lenses for the headlights, not clear ones. Instead I opted to paint the insides of the lights silver and black, respectively, and then use a drop of 5-Minute epoxy to make the lenses. I added a tarp made from rolled tissue paper to the stowage basket in the rear. I used the old wire rod through the hull trick to add some sag to the tracks, and then hid the wire with the application of some 'mud'. Well, to sum up, though I do wish Tamiya had included more than one crewman and some clear parts for the headlights, I would recommend this kit to anyone wanting to add this unusual French armored vehicle to their collection.
Comments
I still don't understand why they decided to go back to not including clear parts for this release.
NOV 01, 2016 - 04:29 AM
Most likely the same old reason, cost. Molds are expensive. It would be more cost effective to include four small parts on the same sprue as all the others, rather than having a separate mold just for them. Al
NOV 01, 2016 - 07:33 AM
Most likely the same old reason, cost. Molds are expensive. It would be more cost effective to include four small parts on the same sprue as all the others, rather than having a separate mold just for them. Al[/quote]
The commander's periscope and possibly the fender lights would need to be done in clear as well, actually. A clear sprue for this kit would be have than the ones which T included in their SU-76M and S35 kits.
NOV 05, 2016 - 10:34 PM
Copyright ©2021 by Al Bubnis. Images and/or videos also by copyright holder unless otherwise noted. The views and opinions expressed herein are solely the views and opinions of the authors and/or contributors to this Web site and do not necessarily represent the views and/or opinions of Armorama, KitMaker Network, or Silver Star Enterrpises. All rights reserved. Originally published on: 2016-10-31 05:50:14. Unique Reads: 8861


