_GOTOBOTTOM
Constructive Feedback
For in-progress or completed build photos. Give and get contructive feedback!
Australian M3 Stuart at Buna.
Heatseeker64
Visit this Community
New South Wales, Australia
Joined: October 05, 2008
KitMaker: 307 posts
Armorama: 305 posts
Posted: Sunday, April 18, 2010 - 01:59 PM UTC
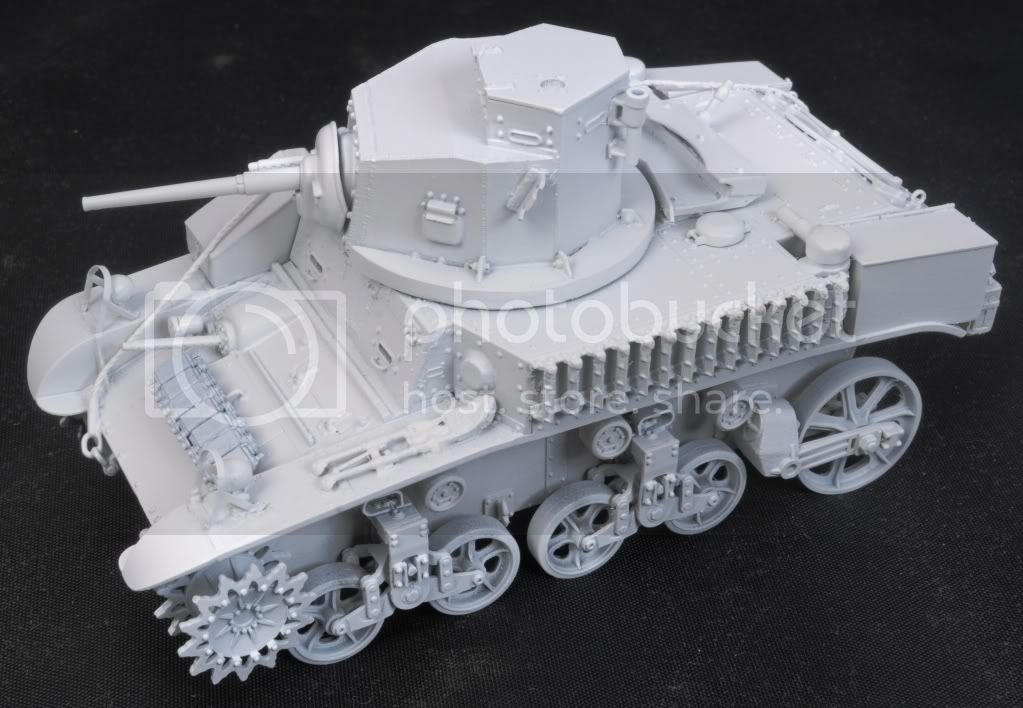
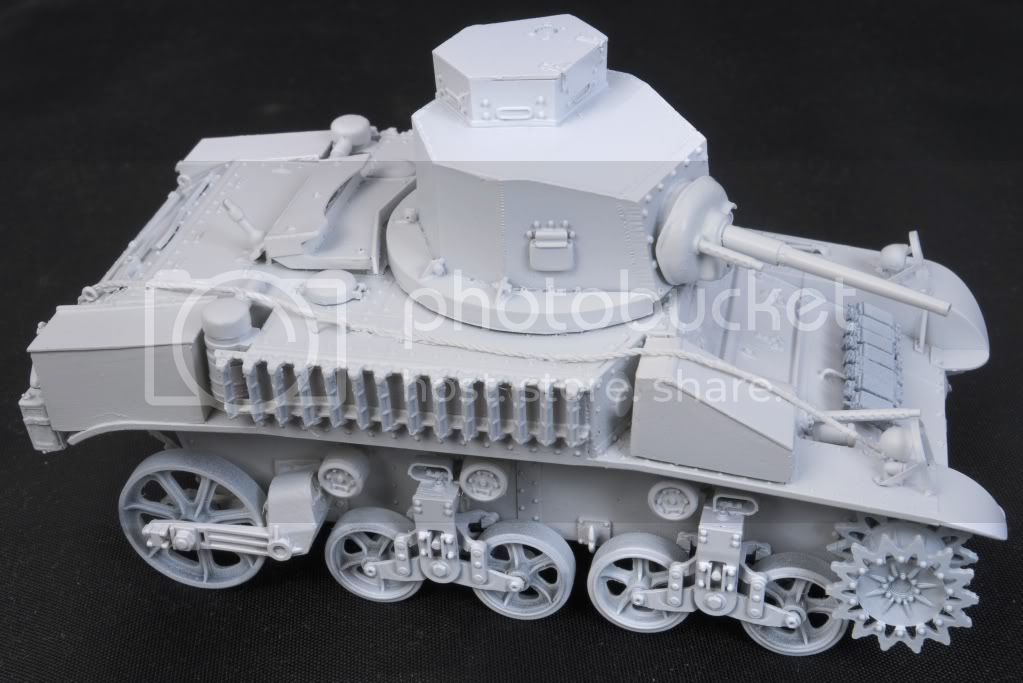
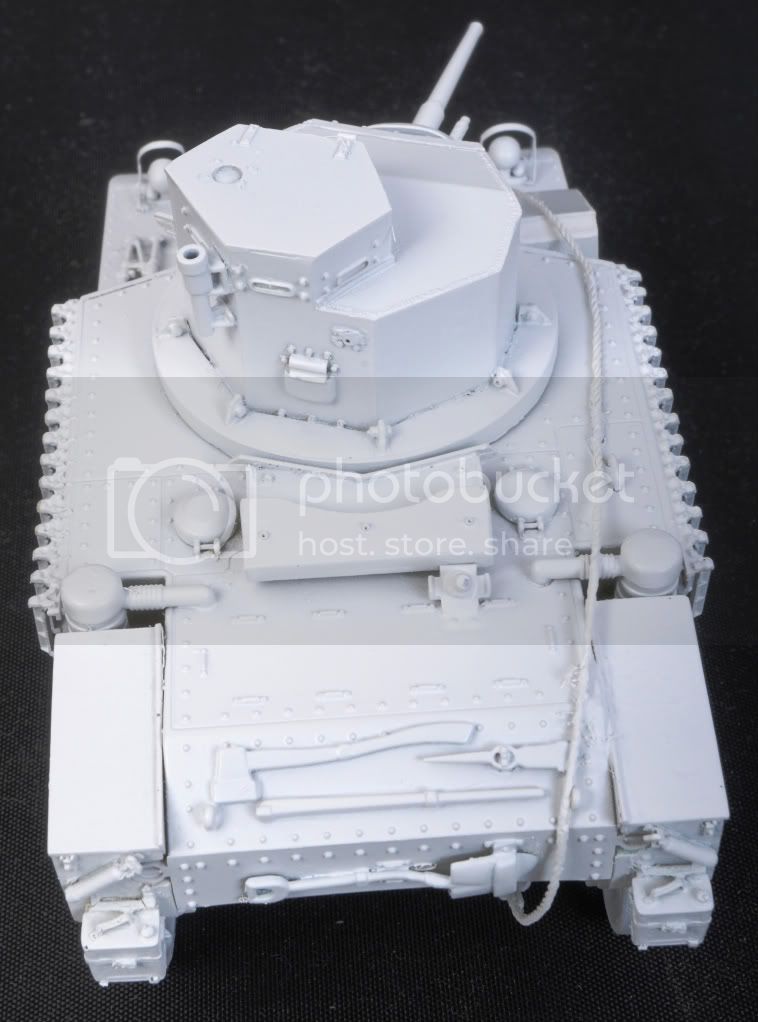
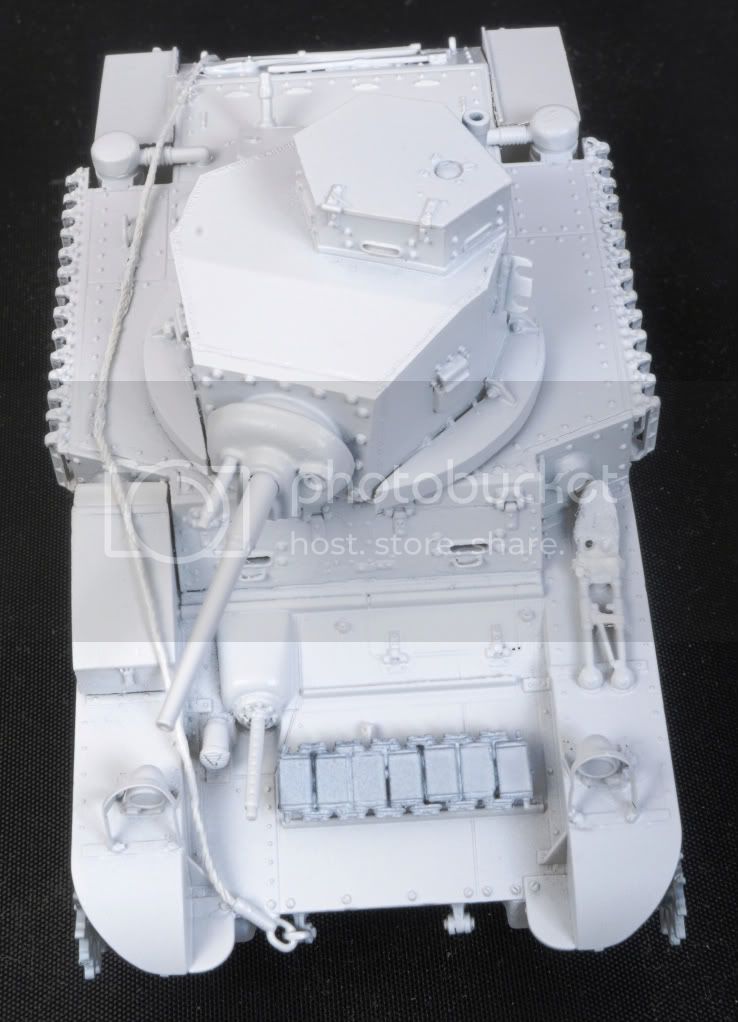
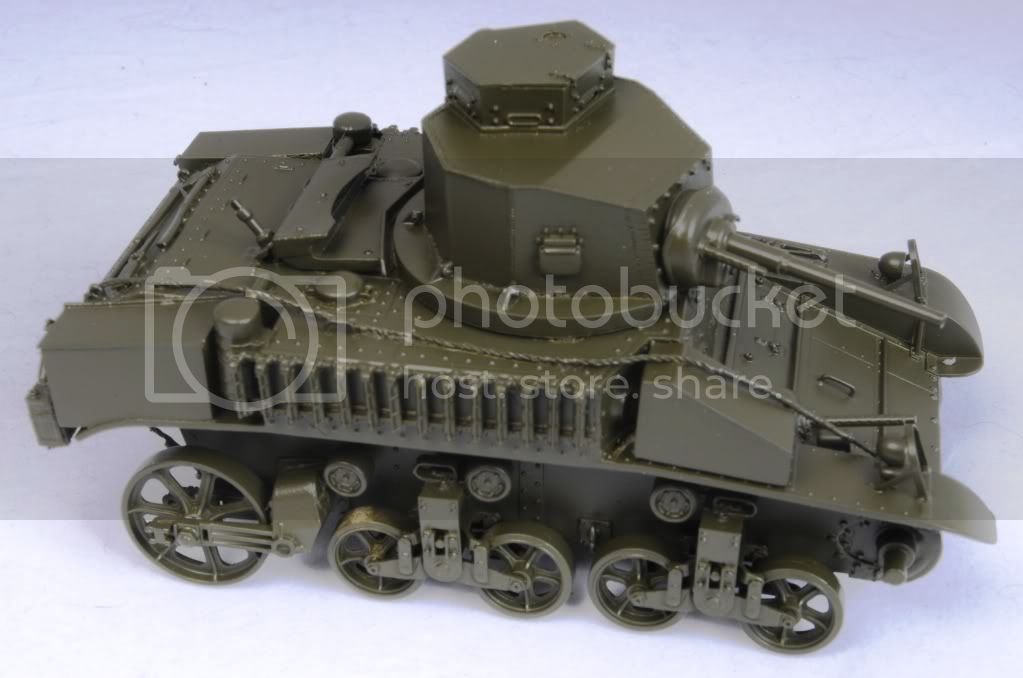
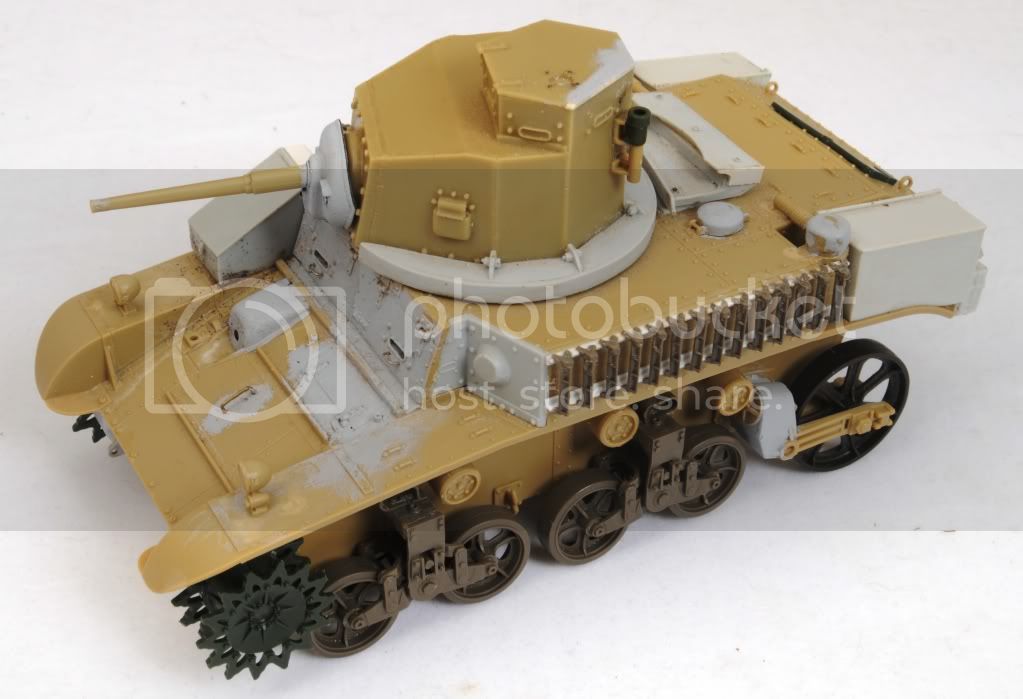
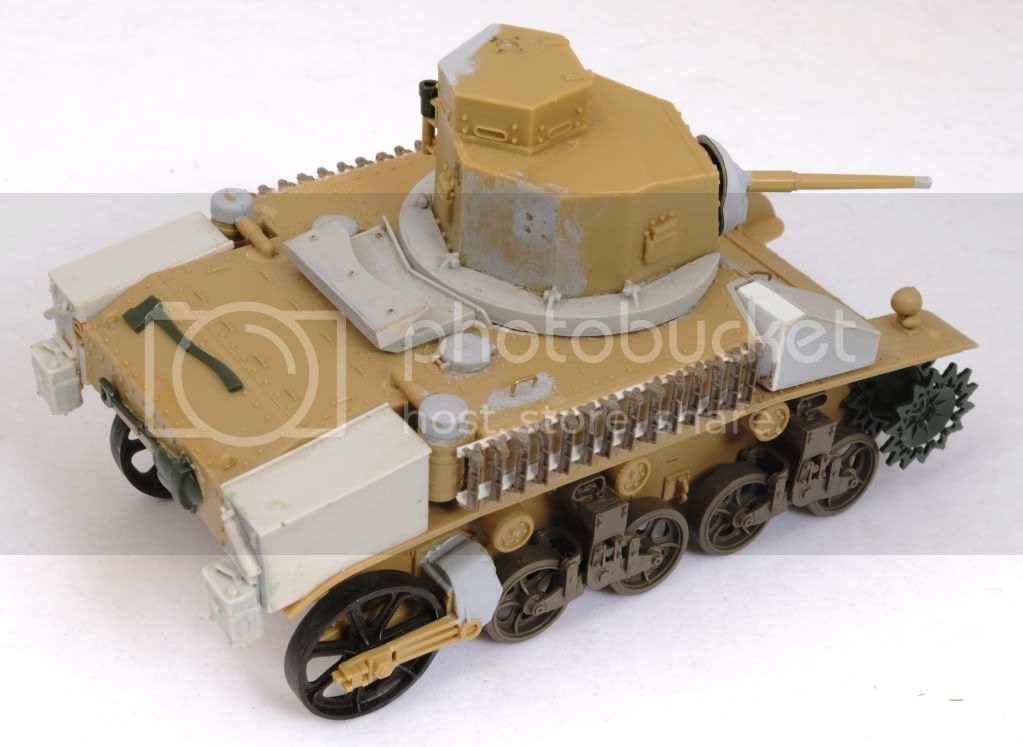
Hey all .... this is a hulk I built up a few months back to test fit the resin bits from the Mousehouse Australian M3 Stuart at Buna upgrade/conversion for the Academy Honey kits for a review on this site.


It was all looking to scream ahead when it ground to a halt when I encountered the suspension, which had appallingly inaccurate wheels and sat too high ... giving the tank a "startled cat" look. The Tamiya wheels were better detailed in profile but waaay too narrow.

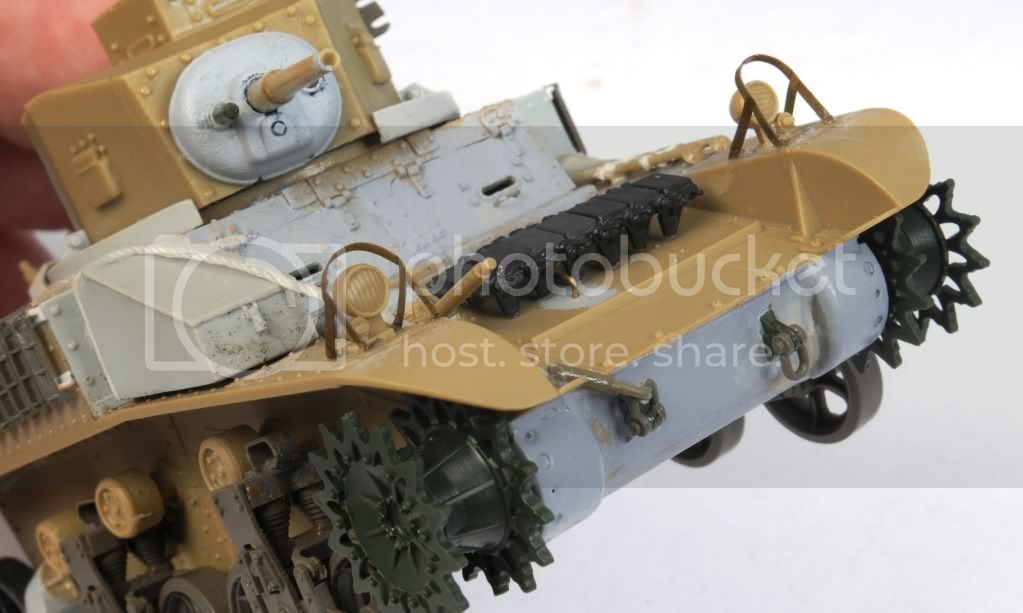
AFV Club camed to the rescue with a great little Stuart suspension set, which also offers a few more very handy goodies including a transmission cover which can be adapted to the M3 and grousers, which I fitted to my Stuart as a exercise.
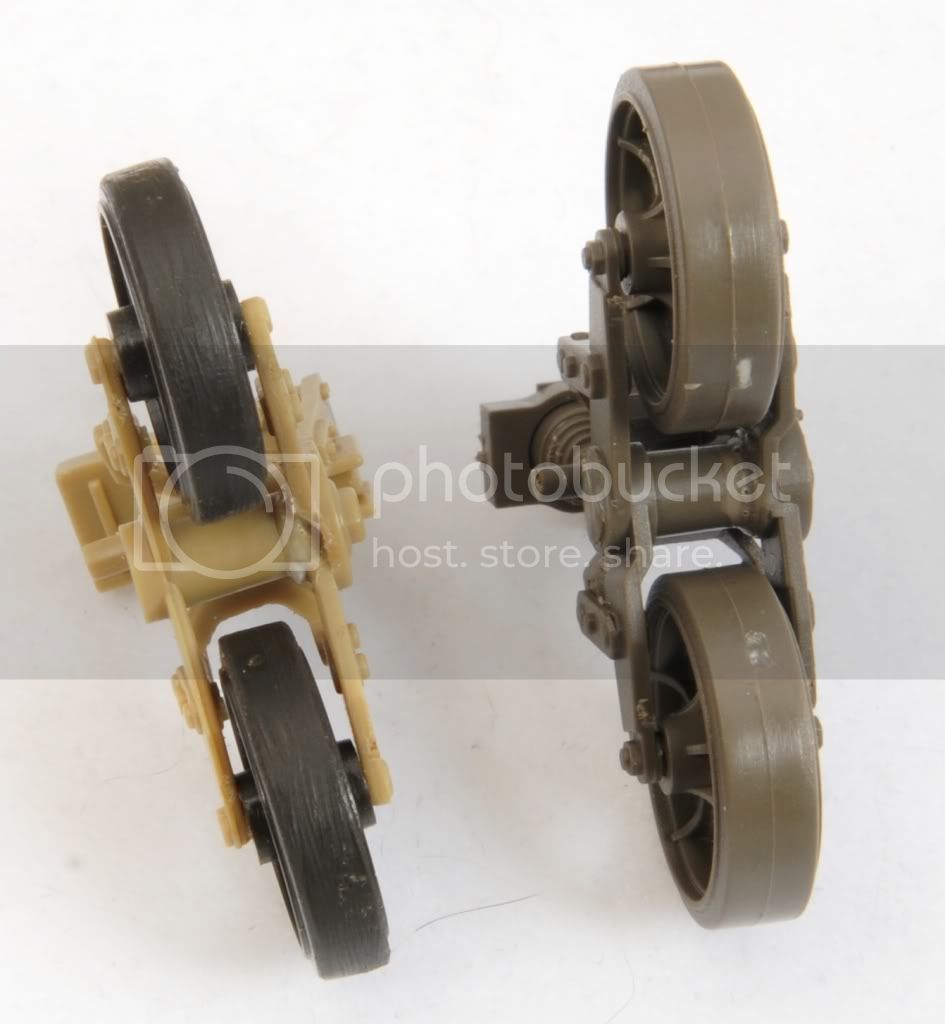


The difference in the suspension units is astounding - Academy's are too high and too narrow ... as much as the AFV Club improve's the Adademy M3's appearance, a better kit is needed (even though Academy's offering is a vast improvement on the 1970's Tamiya M3, it also replicates some of its worst vices)..
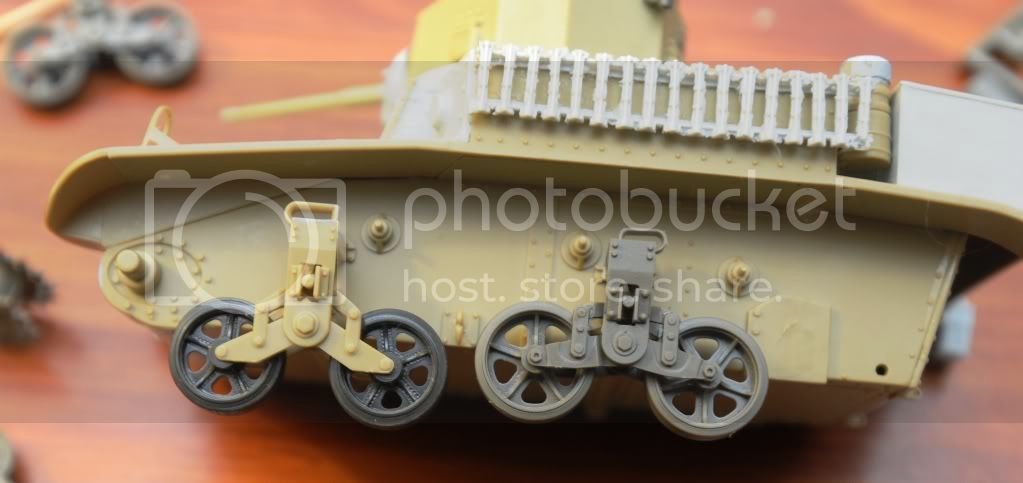


I also re-shaped the starboard front hull bin from the Mousehouse conversion.

Anyway, I just need to nut out a headlight guard solution and some smaller details and then I'll be ready to give the Buna Stuart a squirt of khaki drab, which will allow me in turn to review Mousehouse's Aussie tac sign decal sheet.
grimmo
Visit this Community
Queensland, Australia
Joined: January 17, 2006
KitMaker: 752 posts
Armorama: 569 posts
Posted: Tuesday, April 20, 2010 - 03:40 PM UTC
looking good mate! did the stuarts see and tank to tank battles against the japanese? that would make a good dio!
Dangeroo
#023
Visit this Community
Zurich, Switzerland
Joined: March 13, 2009
KitMaker: 2,058 posts
Armorama: 1,656 posts
Posted: Tuesday, April 20, 2010 - 07:15 PM UTC
Mick, your Stuart looks great so far. Good points on the Academy suspension. I built both the Academy and the AFV kits but didn't notice (of yourse I wasn't in to detailing and accuracy at the time...). Looking forward to seeing some paint on it!

Cheers!
Stefan
Heatseeker64
Visit this Community
New South Wales, Australia
Joined: October 05, 2008
KitMaker: 307 posts
Armorama: 305 posts
Posted: Sunday, April 25, 2010 - 10:17 PM UTC

Quoted Text

looking good mate! did the stuarts see and tank to tank battles against the japanese? that would make a good dio!


Australian tanks never clashed with Jap armour ... as a matter of fact, to this day, Australia has never had a tank-on-tank battle, although we have made extensive use of armoured vehicles - particularly in Vietnam and on peacekeeping ops.
Heatseeker64
Visit this Community
New South Wales, Australia
Joined: October 05, 2008
KitMaker: 307 posts
Armorama: 305 posts
Posted: Sunday, April 25, 2010 - 10:40 PM UTC
Ya know ... it can be demoralising when you fit a great and innovative upgrade for an Aussie armour subject but the project then bogs down because there are aspects of the base kit which are unbearably wrong.

I love the Academy Stuarts, which are a great basis for a heap of builds, and they look more like an M3 light tank than the ancient Tamiya offering, but while they have a lot of welcome and fun features, they also have their fair share of major disappointments.

Apparently the hull dimensions are off and the turrets are still undersized, but I can live with all that because the kits look like a Stuart.

One aspect I can not bear is the suspension, which is too high and too narrow ... it was annoying enough for me to replace it with the AFV Club bits.

Once the AFV suspension was fitted, the Aussie Stuart build started to lurch forward again.

Since it is the ANZAC weekend down here in Aussie, I resolved to get a coat of paint on the "Buna Stuart".

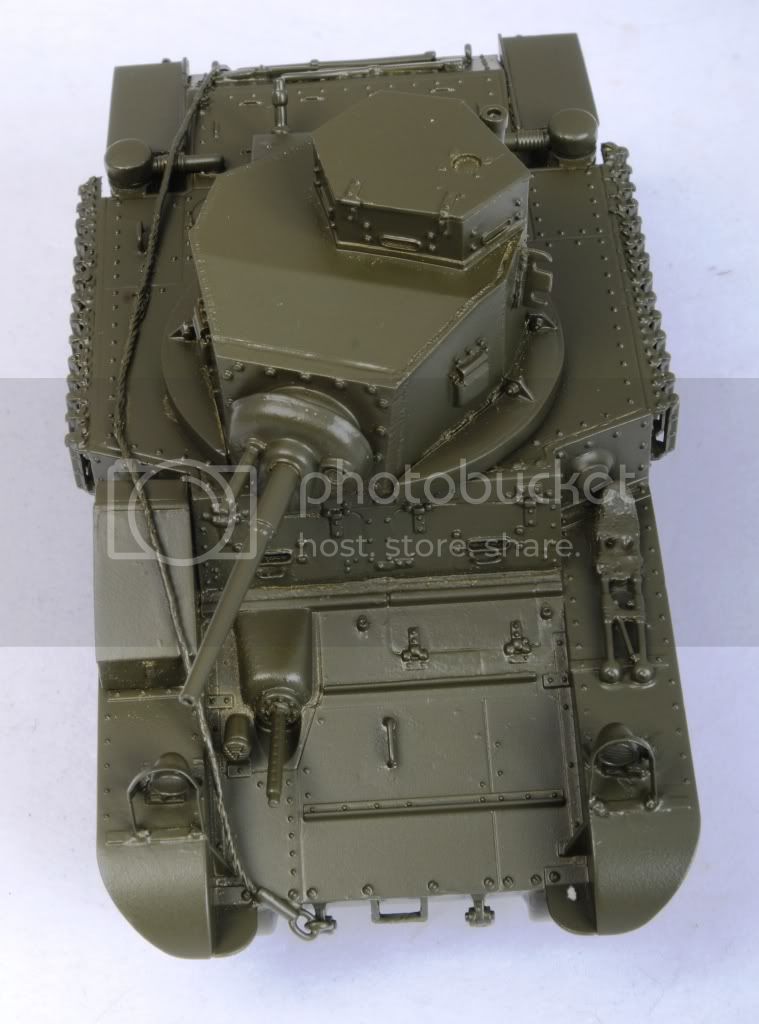
Although I had all ready assembled the hull, I managed to cut off the annoying Academy final drive covers and replace them with AFV bits:


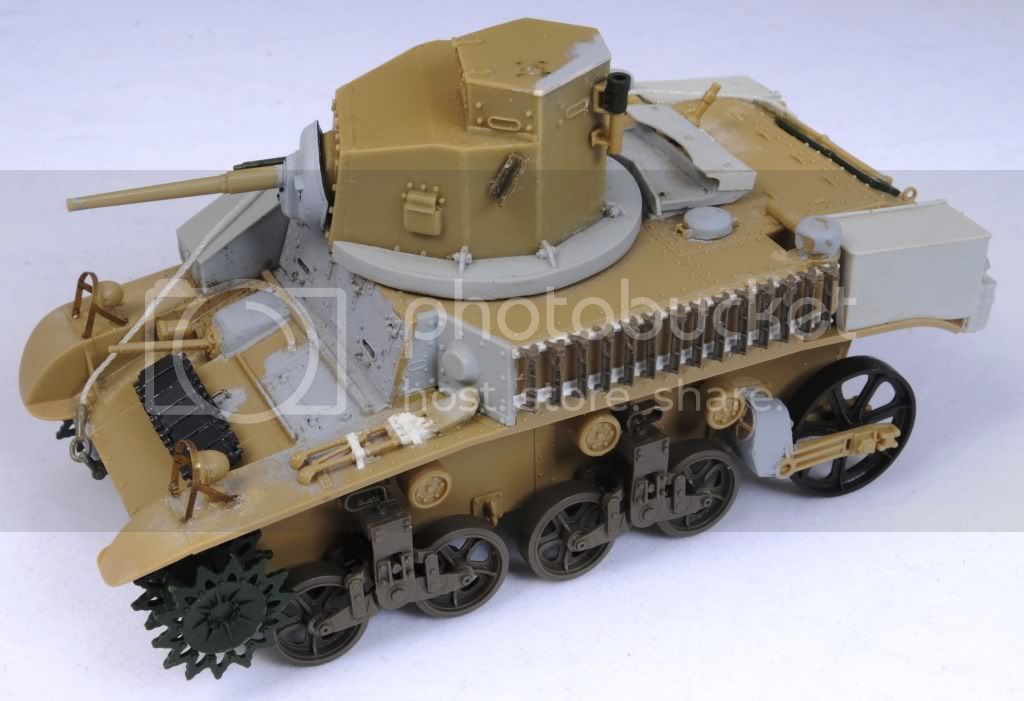
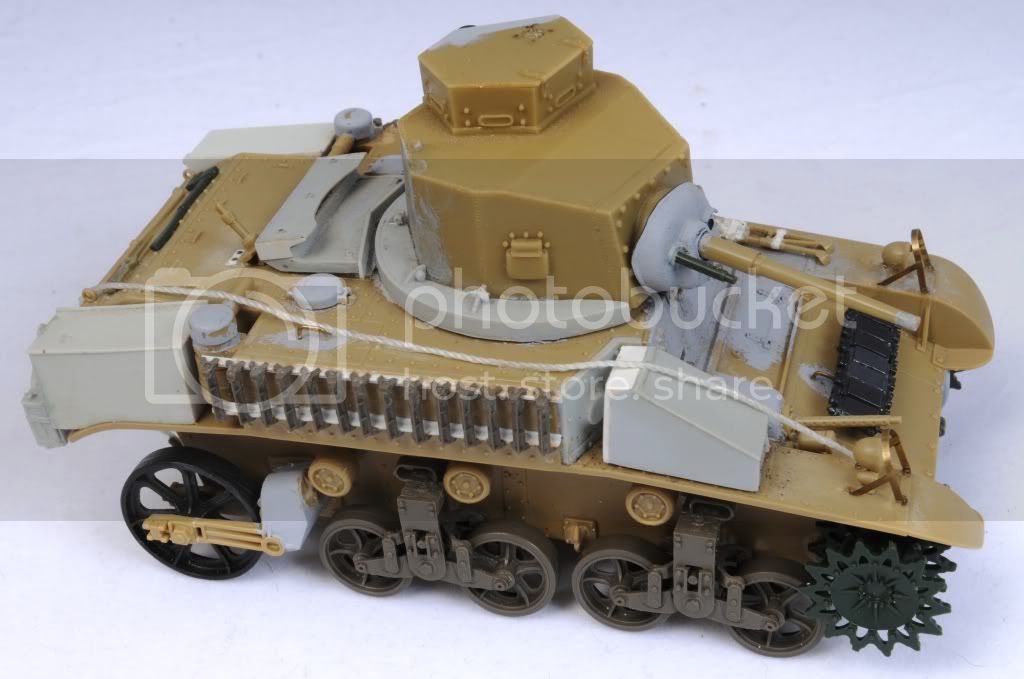
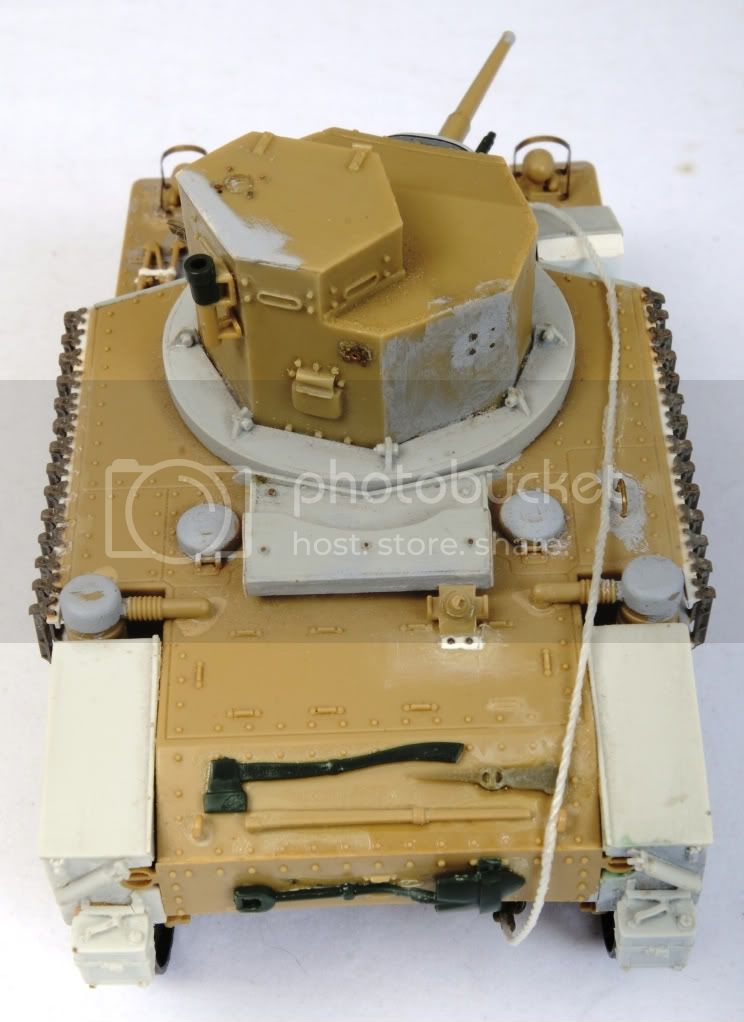
The Aussie Stuart was basically together by this morning ... there are still a few niggles I could fix, but I think the look is evocative enough:


Another demoralising aspect of a semi major conversionis how the final result looks like something from a junk pile, with a mass of different coloured parts, cuts and filled bits ... it does your morale some good to give the lot a coat of primer to check for blemishes and finally get it all the same colour:


That's better! As I said, not the definitive build, but I reckon it evokes an Aussie Stuart in Buna.

Now to see if I can get some green paint on ... then I'll rummage through the decal stash to see if I can cobble together some representative markings!
Heatseeker64
Visit this Community
New South Wales, Australia
Joined: October 05, 2008
KitMaker: 307 posts
Armorama: 305 posts
Posted: Sunday, April 25, 2010 - 11:42 PM UTC
Just gave the Stuart a squirt of Tamiya olive drab from the spray can and the end result is the world's most boring M3, although it is not often you see a "slab sided" turret tank in green. This is just a "pre shade" before I give it a coat of khaki drab through the air brush ...


Heatseeker64
Visit this Community
New South Wales, Australia
Joined: October 05, 2008
KitMaker: 307 posts
Armorama: 305 posts
Posted: Monday, April 26, 2010 - 12:23 AM UTC
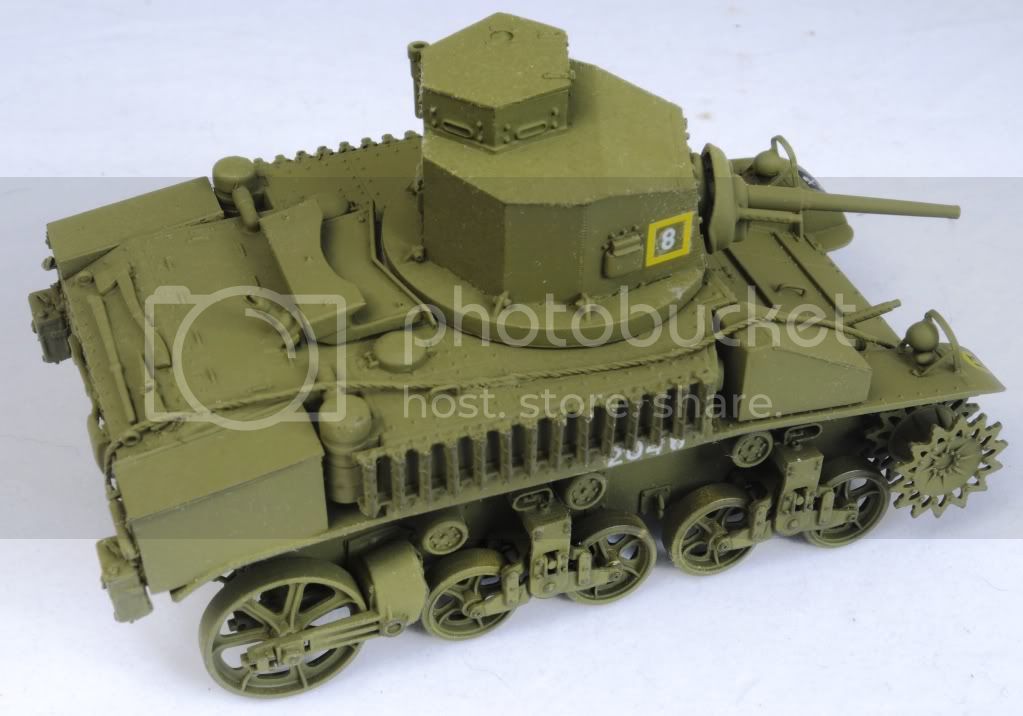
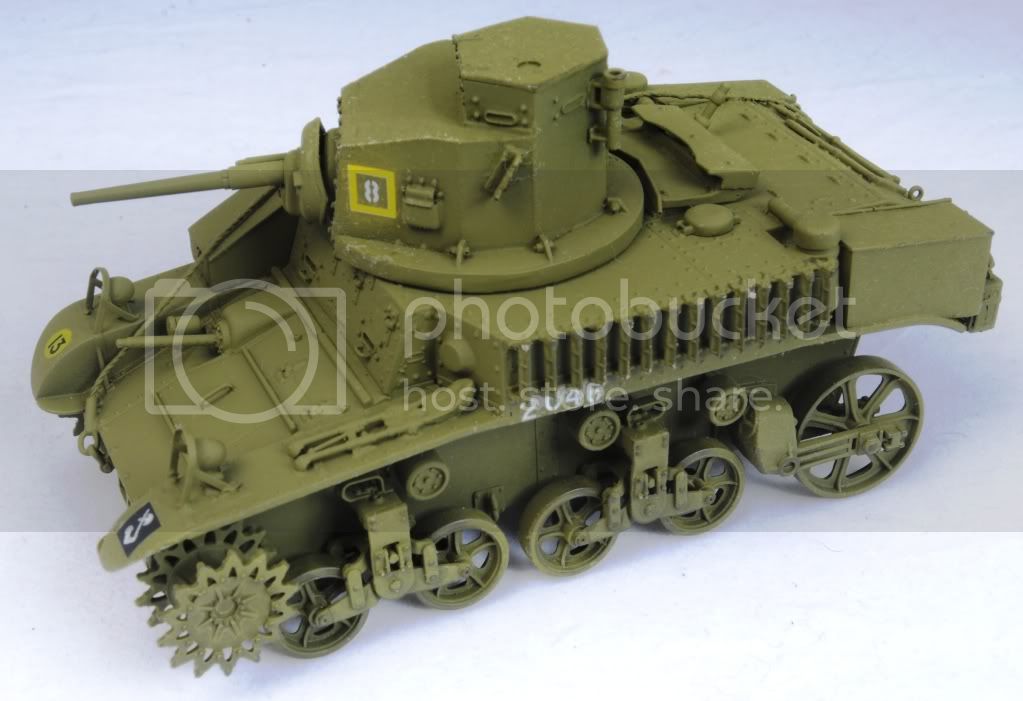
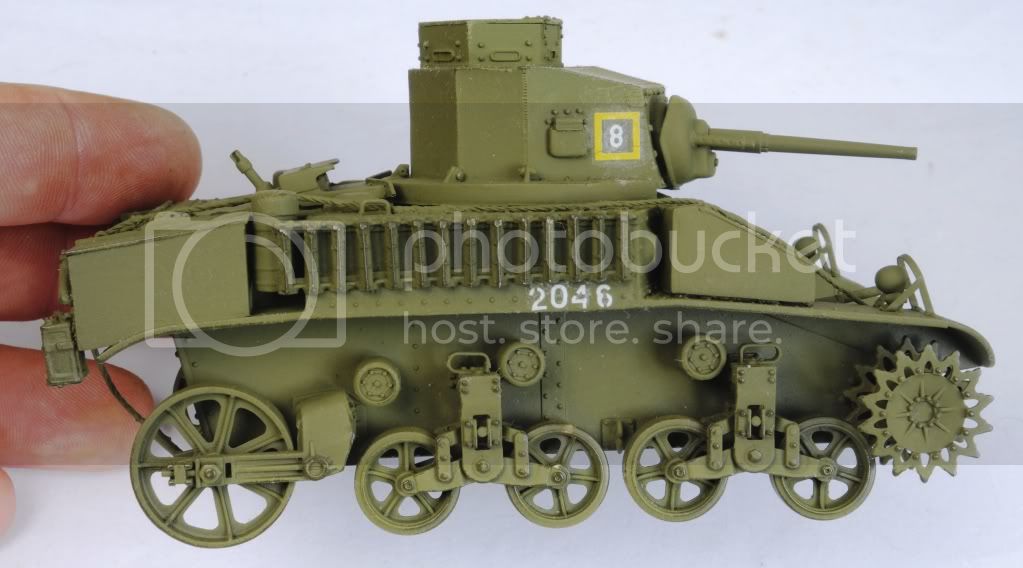
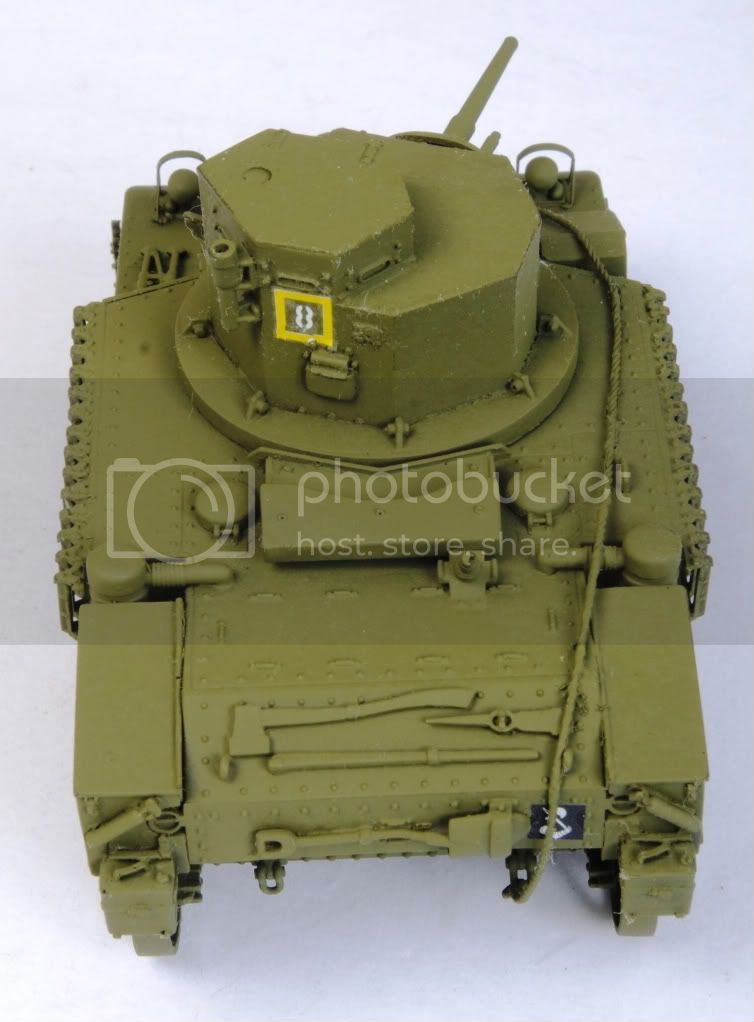
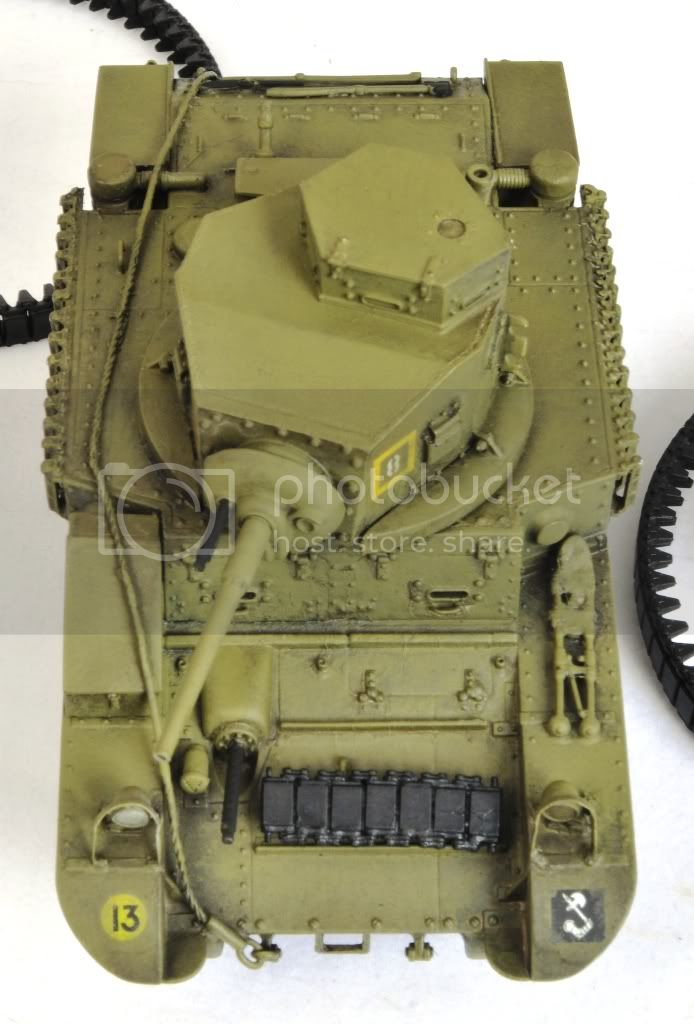
Gave the Buna Stuart a coat on Khaki Drab (Humbrol 159) and it immediately started to look more "Commonwealth", although there is an extensive regimen of wash, brush and weathering to follow:


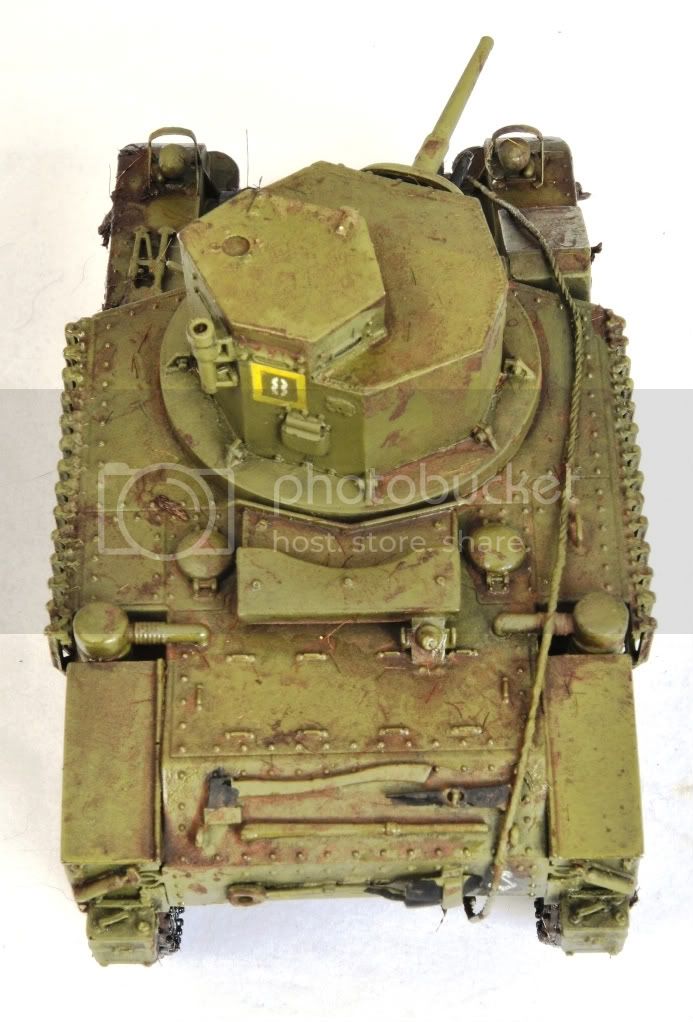
I marked the vehicle as a "representative" Buna Stuart after finding a picture of a Horsehoe turret M3 with a yellow square enclosing a "7".

I have long lost the Academy "Honey" instructions, but the tac signs supplied on the decal sheet are way too big for any of the turret surfaces ... I could have cut them down, but in the end I used yellow squares from Italeri's Cruiser MkIII, which did the job nicely. The weight classification came from the Tamiya M3, the numbers from a generic US marking set and the 2/6th Armoured Regiment tac sign came from Mousehouse.


Now I'll give the lot a coat of matt lacquer, which I will let harden for a few days before I start the weathering process.
Heatseeker64
Visit this Community
New South Wales, Australia
Joined: October 05, 2008
KitMaker: 307 posts
Armorama: 305 posts
Posted: Sunday, May 09, 2010 - 12:34 AM UTC
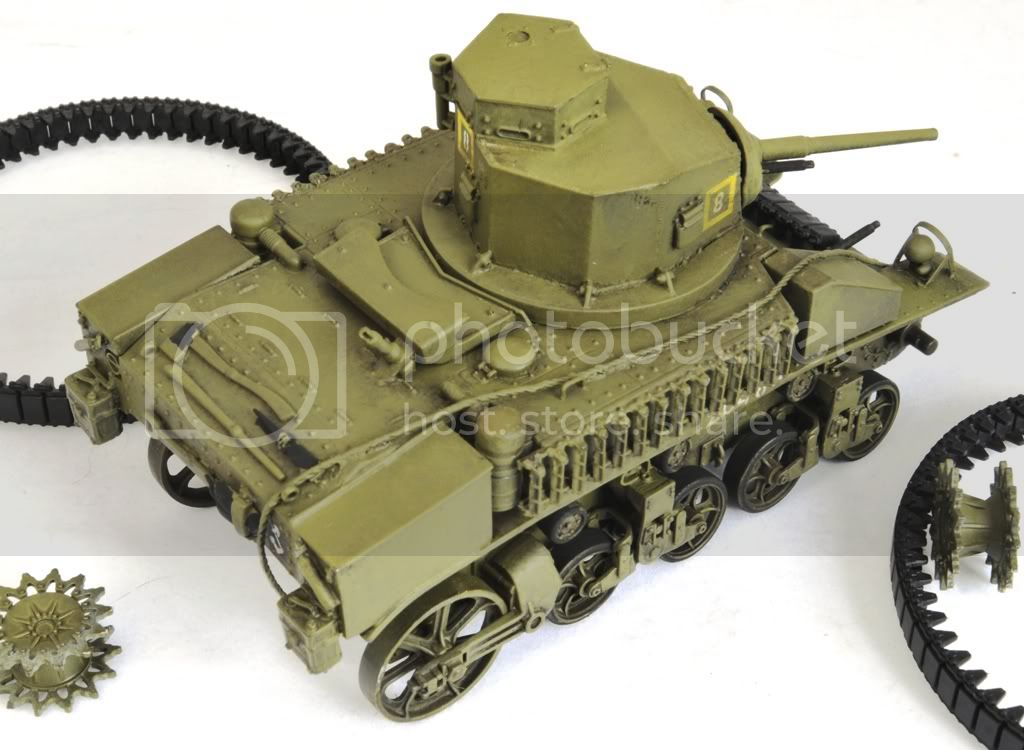
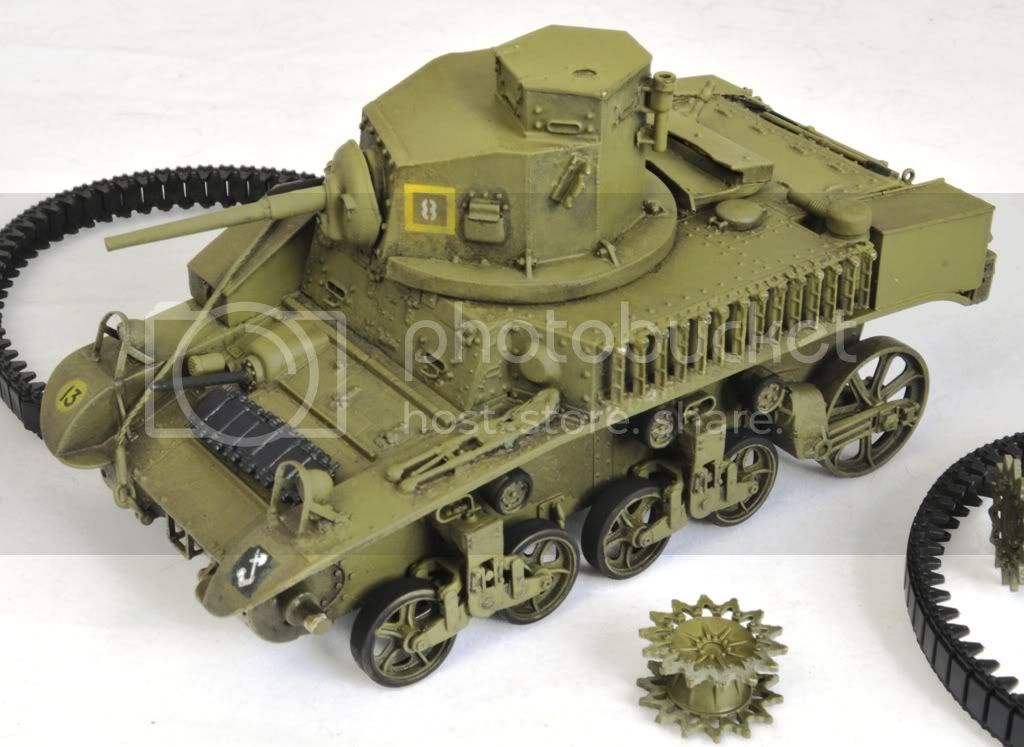
The last pics ended up looking a bit "diescast toy" like, but a wash and dry brush settled things down ...


I just gave the tracks a spray of flat black - you'll see why in the next post:


I drybrush over the decals and then "de-fog" them with a brush dipped in clean turps:


Heatseeker64
Visit this Community
New South Wales, Australia
Joined: October 05, 2008
KitMaker: 307 posts
Armorama: 305 posts
Posted: Sunday, May 09, 2010 - 12:45 AM UTC
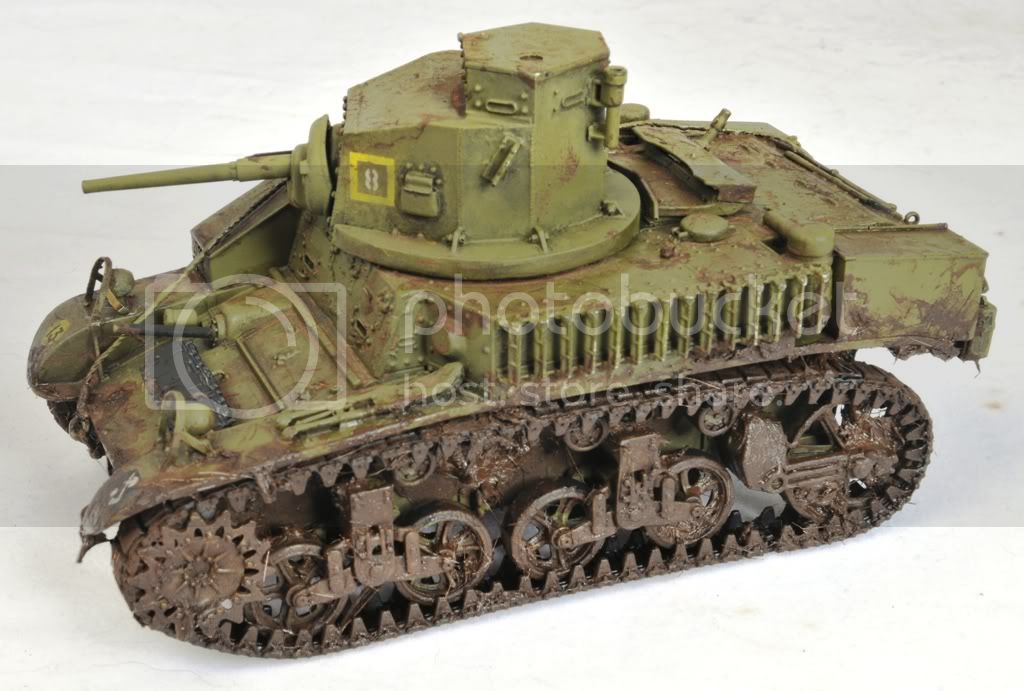
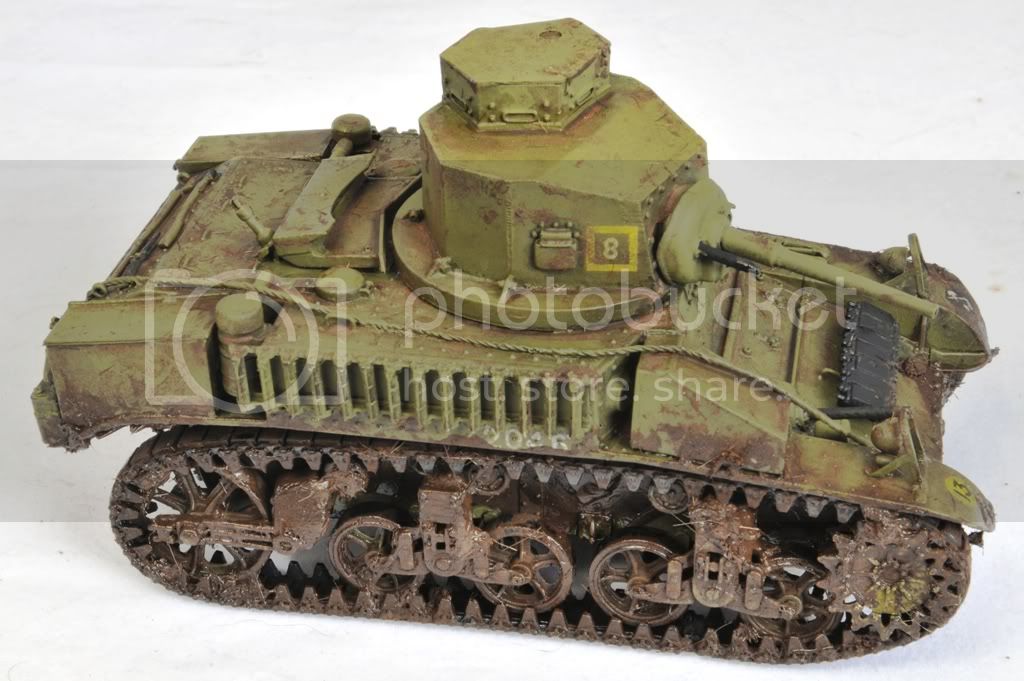
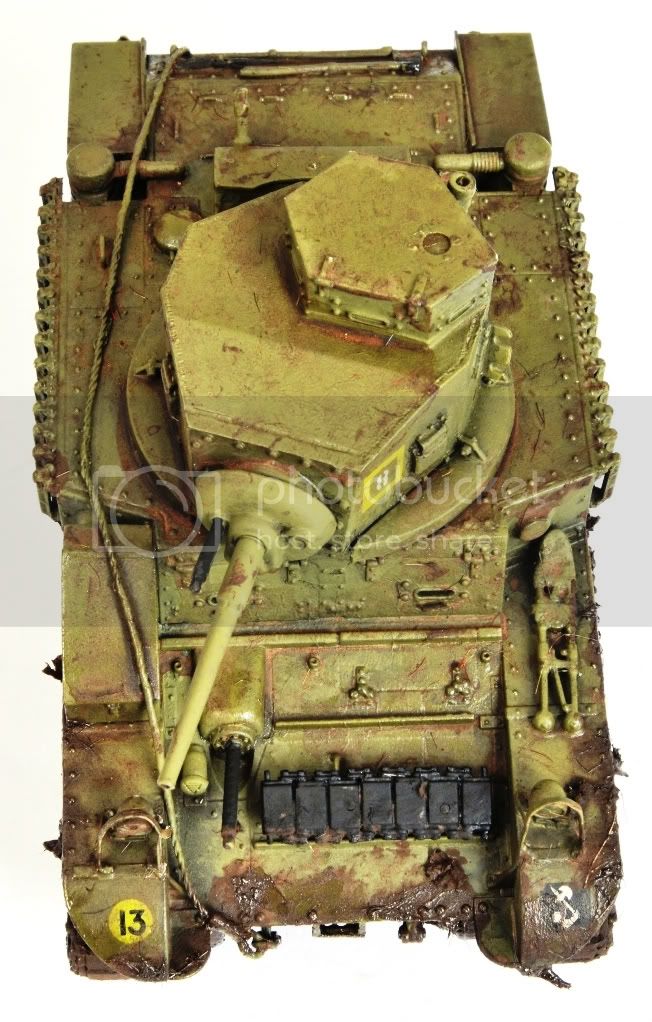
Looking at the photos of the Buna Stuarts, they really chewed up some mud and vegetation, so I decided to give the little green M3 a good slathering under the guards, then install the tracks, and give another slathering, before putting the tank on a base, and hitting it again ...

My mud is a mix of generic scale mud, white glue, railway grass and vegetation ... it dries matt, but I then stipple it with gloss lacquer to give it a sheen and set it in place:


There, that's better!


I give the tank a light touch up with the mud mixture, which I then brush off with water. After it has dried, I stipple on some glass varnish, which I then tone down with a wash of clean turps ...


Some the detail such as the tools and other fitting stilled need to be detailed, but I'll now wait until the tank is set on to its base ...

WayneB
Visit this Community
Victoria, Australia
Joined: July 22, 2008
KitMaker: 141 posts
Armorama: 130 posts
Posted: Sunday, May 09, 2010 - 01:41 AM UTC
Looks good mick. You have a historic vehicle there. I look forward to seeing it on a base. Judging by your Cent the base will be as impressive as the vehicle.

Keep up the good work

W
JoeKer
Visit this Community
United States
Joined: April 24, 2010
KitMaker: 21 posts
Armorama: 18 posts
Posted: Sunday, May 09, 2010 - 04:44 AM UTC
Looks great ! The only thing I would say is that the spare treads look a little too clean compared to the rest of the build. But I am sure you noticed that. Excellent job.


Heatseeker64
Visit this Community
New South Wales, Australia
Joined: October 05, 2008
KitMaker: 307 posts
Armorama: 305 posts
Posted: Sunday, May 09, 2010 - 11:30 AM UTC

Quoted Text

Looks great ! The only thing I would say is that the spare treads look a little too clean compared to the rest of the build. But I am sure you noticed that. Excellent job.


Still picking out the smaller details - will probably get to them once the tanks is set down on the base ...
Heatseeker64
Visit this Community
New South Wales, Australia
Joined: October 05, 2008
KitMaker: 307 posts
Armorama: 305 posts
Posted: Sunday, September 12, 2010 - 09:22 PM UTC
Been while since I updtaed this thread ...

The lacquer has well and truly dried on the little Aussie Stuart, so I reckon it's about time to set it down on a base.

Making model bases can become a money spending competition, but you can get together a decent presentation using materials from the garden, hardware store and a "$2" shop.

I got some lengths of pine, a sheet of ply and some plaster together along with some cheap picture frames.

I removed the glass, replaced it with a sheet of ply and then made a raised section using the lengths of pine. The bare bunker was made from play and twigs from the garden.

I filled in the recess with some packing foam and then poured the paster:


I painted the inside of the bunker dark grey and installed the roof. Most of the logs will not ending up being visible as the Japs did an excellent job of camouflaging the bunkers and even planted palm seedlings in them

The dead Son of Nippon is bits of a Dragon figure ... once again, people spend a fortune on resin dead guys, but with a bit of creativity you can make your own pretty easily (dead guys fall in all manner of ways, so there's no "wrong" way to place one).

Anyway, here's the basic concept ... I'm also about to go through the spares and get together a few Aussie grunts:


Here's the close up of the dead guy ... you'll have to look close to find him, because there's a heap of scraggy vegetation on the way:


Forecast if for rain tomorrow,and I have the day off, so I'll see what else I can get done ...
SGTJKJ
#041
Visit this Community
Kobenhavn, Denmark
Joined: July 20, 2006
KitMaker: 10,069 posts
Armorama: 4,677 posts
Posted: Sunday, September 12, 2010 - 11:43 PM UTC
Looks great, Mick. Really nice Stuart.

Looking forward to see more on the diorama.
Heatseeker64
Visit this Community
New South Wales, Australia
Joined: October 05, 2008
KitMaker: 307 posts
Armorama: 305 posts
Posted: Monday, September 13, 2010 - 03:21 PM UTC
I'd just like to clarify that this vignette/diorama WILL be an Aussie Stuart on the steamy tropical flats of Buna, although right now it looks like a Russky M3 on the forzen steppes!

Just contoured the bunker and "stippled" the base with some plaster mixed with vegetation and other debris:


Here's the general layout - plenty of room for some Aussie grunts:


vonHengest
Visit this Community
Texas, United States
Joined: June 29, 2010
KitMaker: 5,854 posts
Armorama: 4,817 posts
Posted: Monday, September 13, 2010 - 07:05 PM UTC
This is good stuff Mick, really liking the build. Looks like your closing in on finalization, looking forward to seeing how the rest of the build progresses.

One of these days I'm going to tackle a Mouse House conversion for some kind of Australian vehicle
Heatseeker64
Visit this Community
New South Wales, Australia
Joined: October 05, 2008
KitMaker: 307 posts
Armorama: 305 posts
Posted: Tuesday, September 14, 2010 - 01:45 AM UTC
Rainy day here in Sydney, so I busted out a few Dragon 1/35 figure sets and cobbled together some Buna Diggers.

The main bits came from the 8th Army Alamein set, and I also lopped a pair of boots and gaiters from a Tamiya jeep driver, and purloined the bottom half of an ETO Yank.

For something different, I decided to arm the Aussies with American weapons - a 1928 Thompson with drum mag and an M1 Garand (There's photo evidence of Diggers at Buna using both). I've posed one soldier looking skyward (the Japs were in the trees) and another looking over his right shoulder towards the recently subdued bunker:


Here's some closeups of the figures before and after priming - they're not masterpieces, but they should help the diorama come together:


The bunker should be fun ... I'll need to get some milluput to make some coconuts:


210cav
Visit this Community
Virginia, United States
Joined: February 05, 2002
KitMaker: 6,149 posts
Armorama: 4,573 posts
Posted: Wednesday, September 15, 2010 - 07:18 AM UTC
Mick-- impressive layout. I like the figures. The M-3 is superb!
Good work
DJ
Gunner-steve
Visit this Community
Australian Capital Territory, Australia
Joined: October 20, 2009
KitMaker: 60 posts
Armorama: 56 posts
Posted: Wednesday, September 15, 2010 - 02:31 PM UTC

Quoted Text


The bunker should be fun ... I'll need to get some milluput to make some coconuts:


Try using coriander seeds, they are almost perfect for 1/35 coconuts and for a couple of bucks at the supermarket, a cheap and easy alternative to hours of sculpting with putty.
pseudorealityx
Visit this Community
Georgia, United States
Joined: January 31, 2010
KitMaker: 2,191 posts
Armorama: 1,814 posts
Posted: Wednesday, September 15, 2010 - 03:40 PM UTC
With the rough vegetation/muck that your tank has gone through, the crew could?/would? have used the grousers. However, yours are almost spotless. At least something to think about.
Heatseeker64
Visit this Community
New South Wales, Australia
Joined: October 05, 2008
KitMaker: 307 posts
Armorama: 305 posts
Posted: Wednesday, September 15, 2010 - 09:15 PM UTC

Quoted Text

With the rough vegetation/muck that your tank has gone through, the crew could?/would? have used the grousers. However, yours are almost spotless. At least something to think about.


It's a work in progress - the grousers should be fitted to the tracks. At the end of the day it will be a respresentative vehicle is a representative setting.
SGTJKJ
#041
Visit this Community
Kobenhavn, Denmark
Joined: July 20, 2006
KitMaker: 10,069 posts
Armorama: 4,677 posts
Posted: Wednesday, September 15, 2010 - 10:32 PM UTC
Looks good, Mick.

Looking forward to see the bunker
Heatseeker64
Visit this Community
New South Wales, Australia
Joined: October 05, 2008
KitMaker: 307 posts
Armorama: 305 posts
Posted: Saturday, September 18, 2010 - 03:47 AM UTC
Got the tank fixed to the base - I planted some grass to which I applied food colour. The tanks was stuck down with liquid nails:


Now on to the figures and some more ground work!

Heatseeker64
Visit this Community
New South Wales, Australia
Joined: October 05, 2008
KitMaker: 307 posts
Armorama: 305 posts
Posted: Saturday, October 09, 2010 - 02:44 PM UTC
Hey all ... nothing earth shattering on the Buna dio front, but I have made up some Milliput coconuts, which I will set in to the base:

Blueheeler
Visit this Community
New South Wales, Australia
Joined: March 18, 2008
KitMaker: 347 posts
Armorama: 79 posts
Posted: Saturday, October 09, 2010 - 04:05 PM UTC
Great work on it all so far Mick and love the coconuts. Also good to see liquid nails being used for more than just the usual applications! Looking forward to more updates
 _GOTOTOP