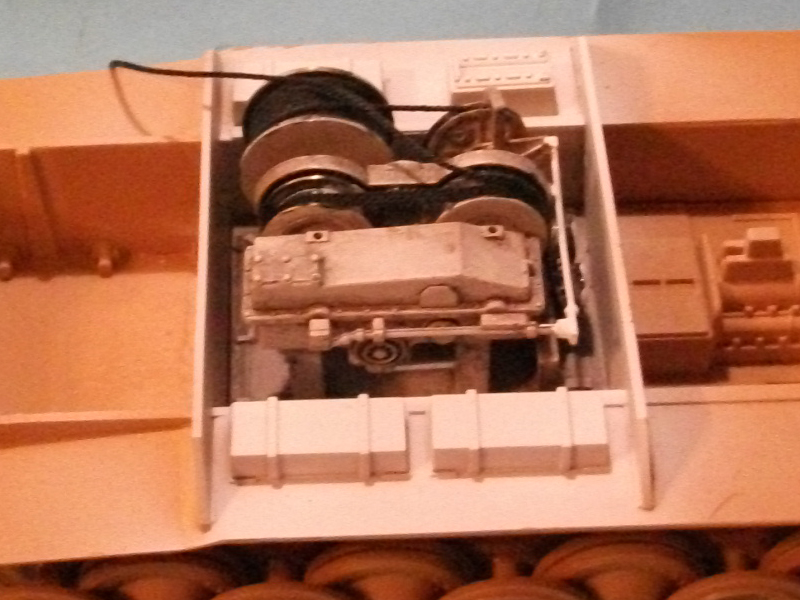
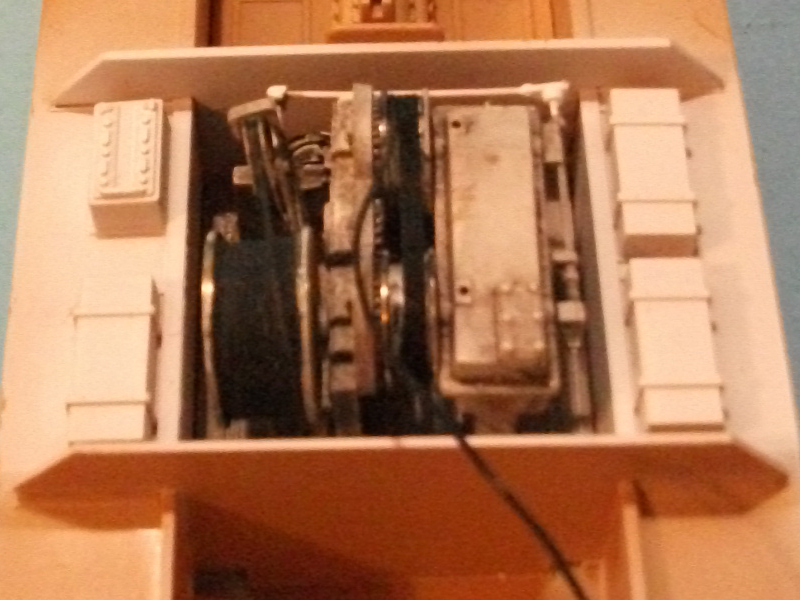
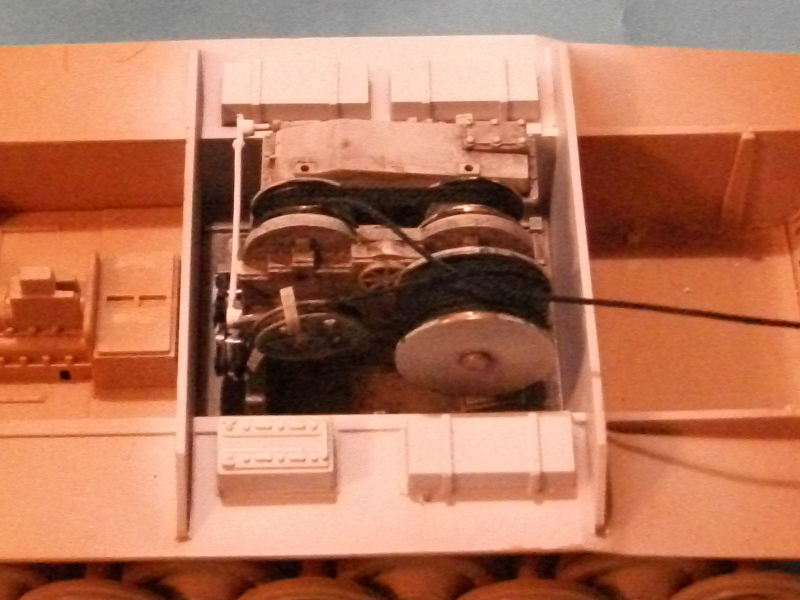
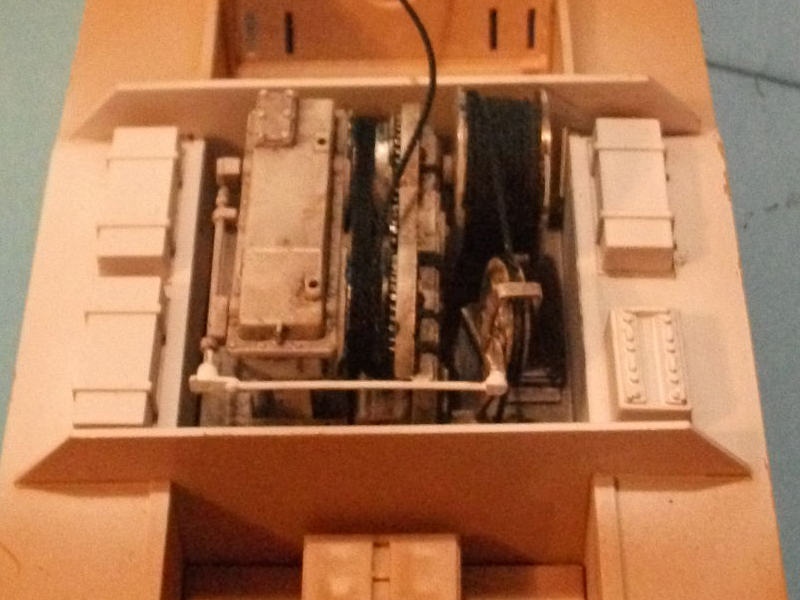
BergePanther for Engineering Campaign
CMOT
 Editor-in-Chief
England - South West, United Kingdom
Joined: May 14, 2006
KitMaker: 10,954 posts
Armorama: 8,571 posts
Posted: Saturday, August 14, 2010 - 04:54 AM UTC
Connecticut, United States
Joined: December 15, 2006
KitMaker: 1,165 posts
Armorama: 1,105 posts
Posted: Saturday, August 14, 2010 - 05:22 AM UTC
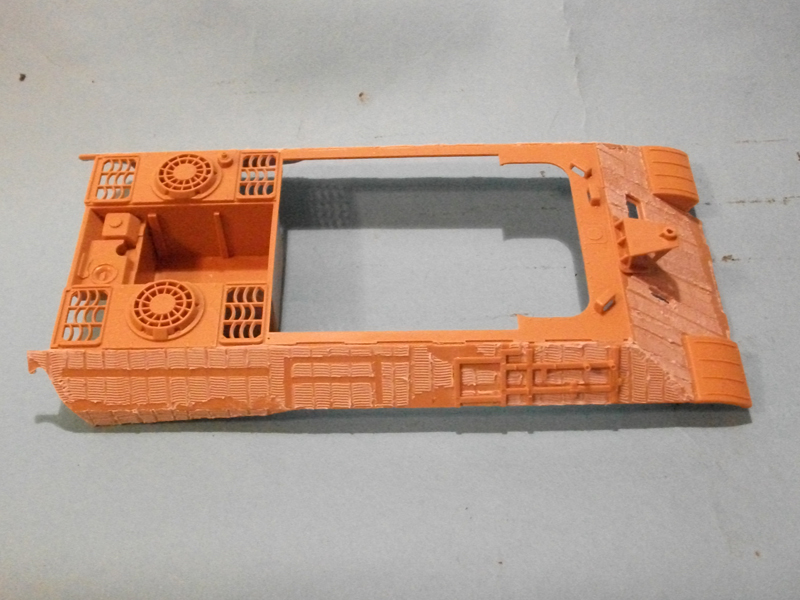
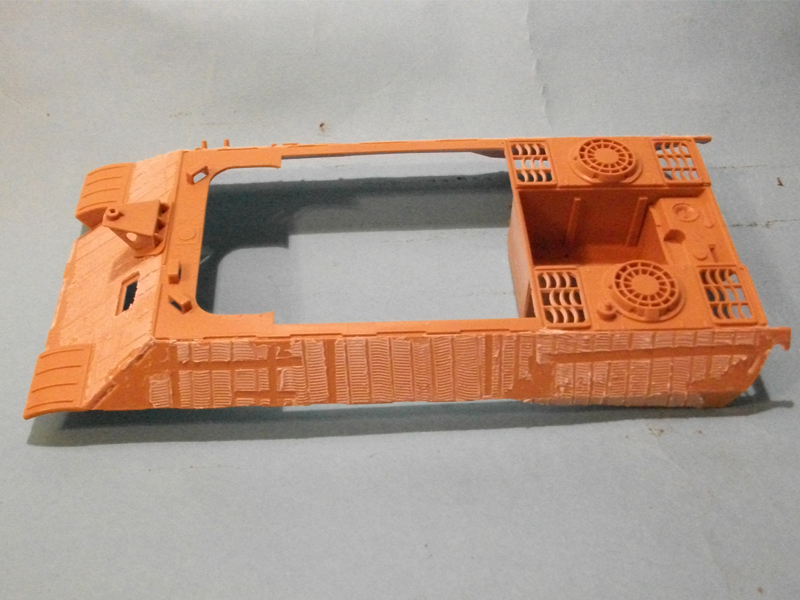
Good start Darren. Very good start.
On da bench
Dragon Tiger I Early
Takom T-55A
Three Takom Mark IV's
Texas, United States
Joined: June 29, 2010
KitMaker: 5,854 posts
Armorama: 4,817 posts
Posted: Saturday, August 14, 2010 - 06:21 AM UTC
That beat up Zimm is going to look real nice when you weather this project. I'm looking forward to seeing how this progresses along.
CMOT
 Editor-in-Chief
England - South West, United Kingdom
Joined: May 14, 2006
KitMaker: 10,954 posts
Armorama: 8,571 posts
Posted: Saturday, August 14, 2010 - 12:01 PM UTC
Connecticut, United States
Joined: December 15, 2006
KitMaker: 1,165 posts
Armorama: 1,105 posts
Posted: Saturday, August 14, 2010 - 12:24 PM UTC
Nice progress, keep going Darren.
On da bench
Dragon Tiger I Early
Takom T-55A
Three Takom Mark IV's
Texas, United States
Joined: June 29, 2010
KitMaker: 5,854 posts
Armorama: 4,817 posts
Posted: Saturday, August 14, 2010 - 12:32 PM UTC
This looks like it's coming along nicely Darren. Regarding the early Panthers, from what I have read and been told the electrical system that was tied into the engine system was prone to suddenly catch on fire, which of course probably means that the engine bay likely caught on fire as well in this situation.
Queensland, Australia
Joined: October 02, 2008
KitMaker: 658 posts
Armorama: 629 posts
Posted: Saturday, August 14, 2010 - 03:25 PM UTC
Darren
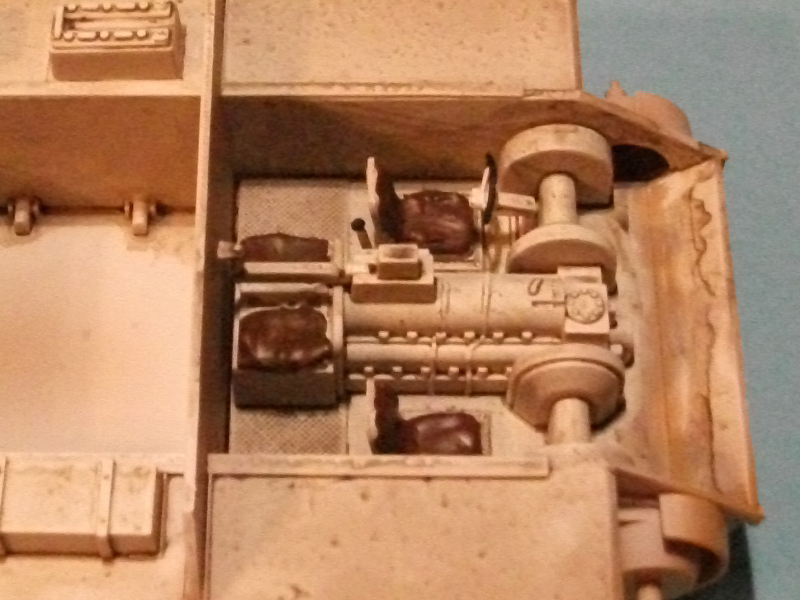
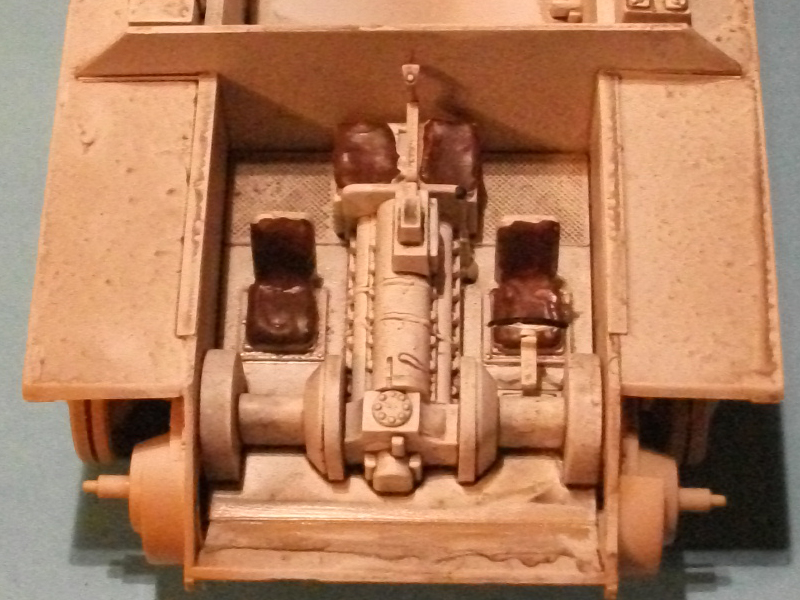
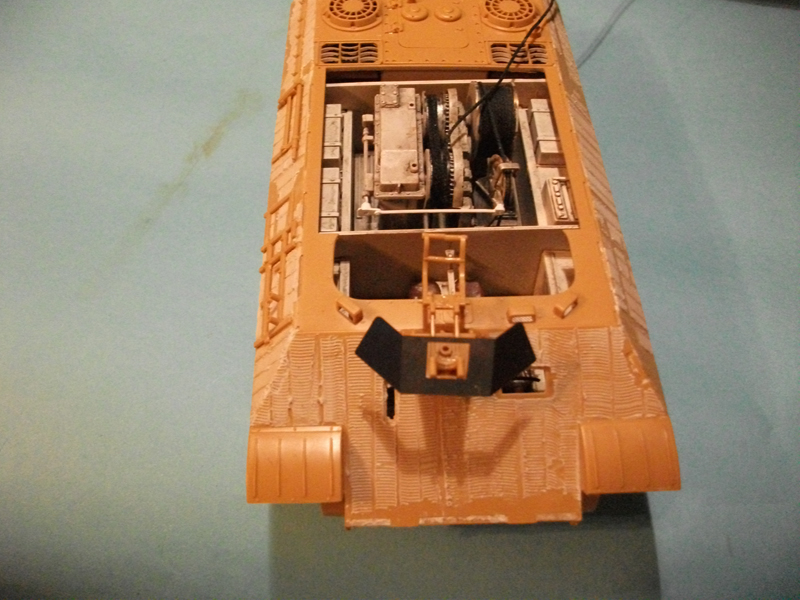
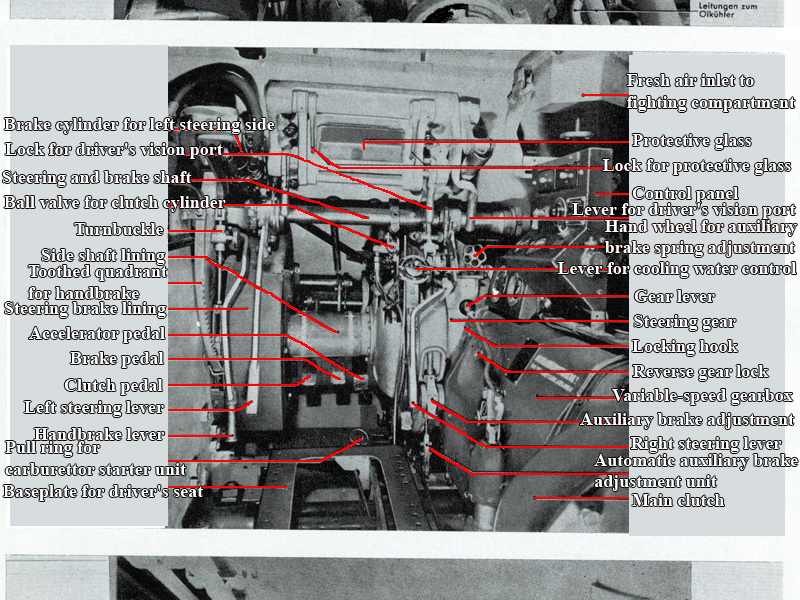
Looking good so far. As regards the crew compartment, I would strongly recommend removing the "steering wheel" - Panthers didn't have one, and replace it with scratch built steering levers, one each side.
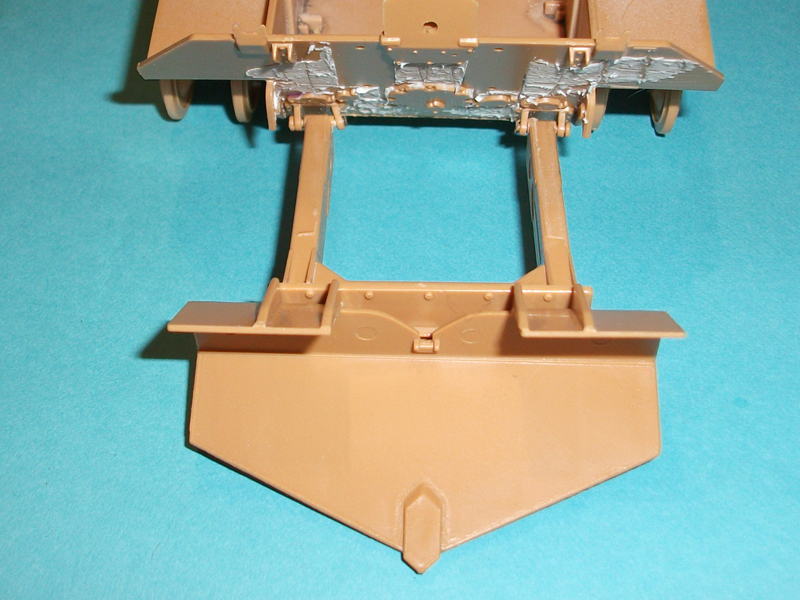
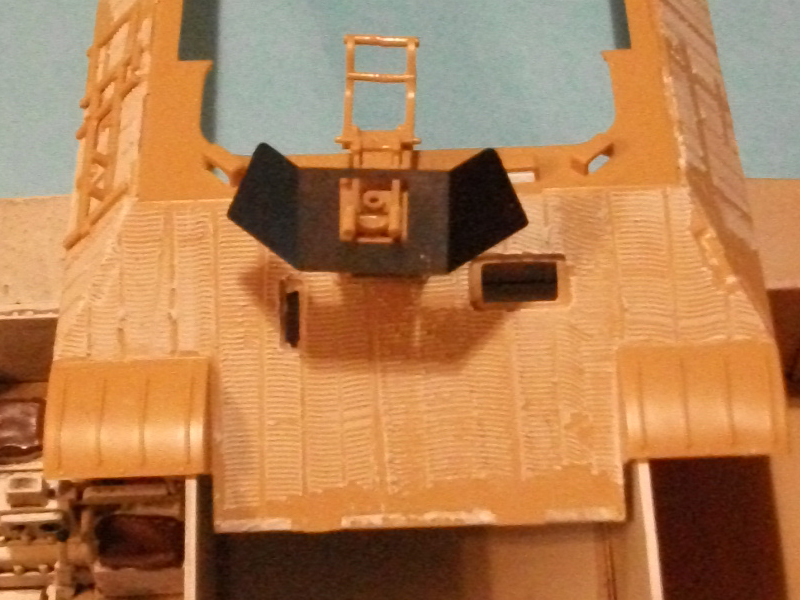
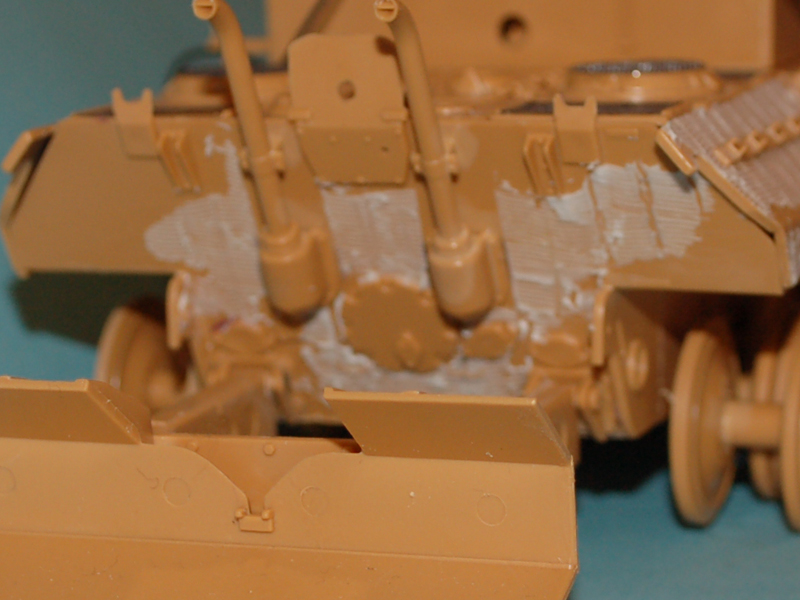
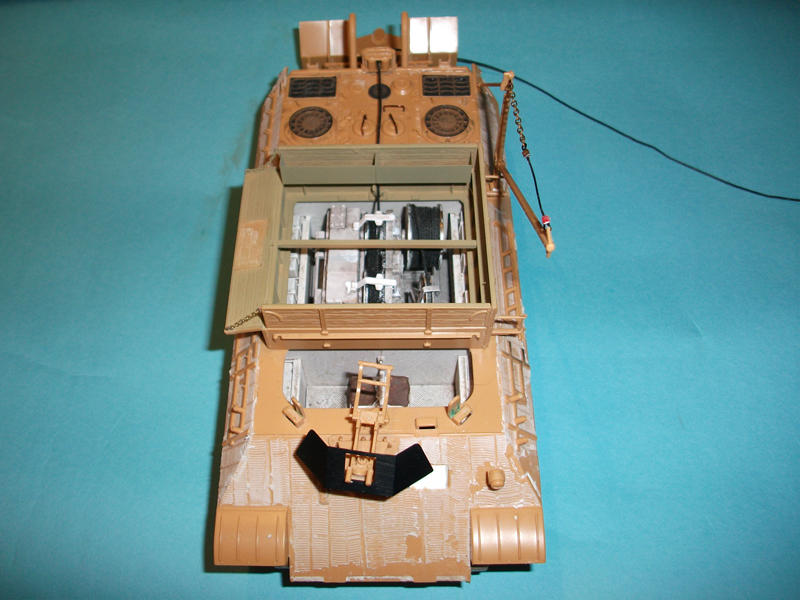
The other thing that you will have to scatchbuild is the major towing attachment which sat in the middle of the rear plate. I don't know if Italeri included it or not, as it's a while since I built my Berge. If you need, I can send you details - it's a pretty simple attachment.
Have fun
Rob
CMOT
 Editor-in-Chief
England - South West, United Kingdom
Joined: May 14, 2006
KitMaker: 10,954 posts
Armorama: 8,571 posts
Posted: Saturday, August 14, 2010 - 03:38 PM UTC
Rob if you can I would like to see the plans you have. Regarding the steering wheel; it was my belief that steering wheels in AFV's was a fairly recent addition however as I have ref pictures from inside a Panther G which has this design of steering wheel I included it, however that is a Panther G and this being an earlier version I think perhaps you are correct. I am assuming that neutral position for the tillers would be at forearm length from the body, but what height would they be.
Thank you for your help
Queensland, Australia
Joined: October 02, 2008
KitMaker: 658 posts
Armorama: 629 posts
Posted: Saturday, August 14, 2010 - 08:25 PM UTC
Darren
I'm no expert at attaching photos to the forum, so if you send me a PM with your email address, I can reply with the drawings attached. I also have two pages of photos of a Bergepanther winch which may be of assistance. I'm trying to find a photo of a Panther driver's compartment to show the brake levers, but believe me, no Panthers had steering wheels.
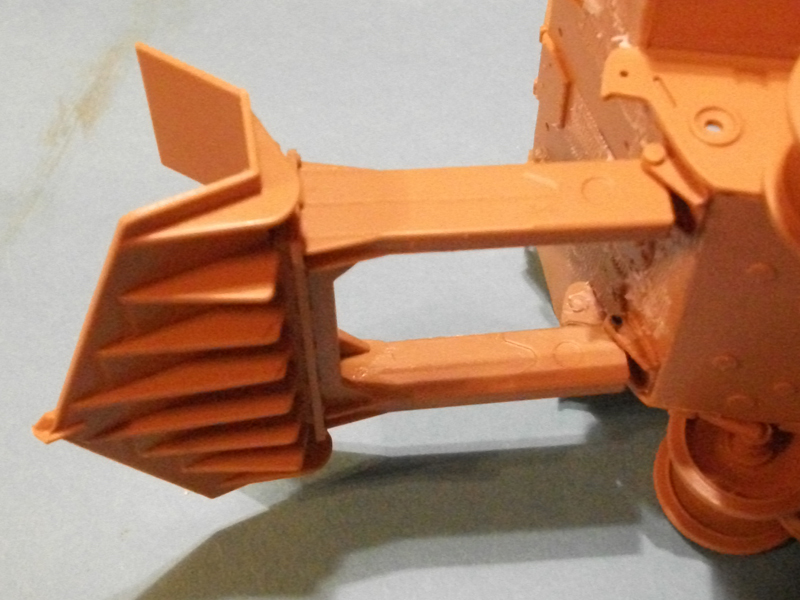
Another point you need to watch with Berges is that the Ausfuhrung, ie A or G, does not necessiraly match the hull type. For example, a Berge G can be on a Panther A or G hull, and a Berge A can be on a Panther D or A hull. Initially, Berges were built on damaged hulls, but the later Berge Gs were built on new Panther G hulls. You are quite correct when you state that the Italeri kit is a Berge A.
Have fun - look forward to hearing from you
Rob
CMOT
 Editor-in-Chief
England - South West, United Kingdom
Joined: May 14, 2006
KitMaker: 10,954 posts
Armorama: 8,571 posts
Posted: Sunday, August 15, 2010 - 02:14 AM UTC
I have the 8 books on the Panther from AJ Press and so have a lot of ref material for the exterior, and I have quite a few other books on Panthers and the DVD on the Panther that caused all the fuss over its accuracy however you can never have enough ref material So thank you for the offer and PM sent.
Ontario, Canada
Joined: September 28, 2006
KitMaker: 2,672 posts
Armorama: 2,475 posts
Posted: Sunday, August 15, 2010 - 02:43 AM UTC
Hey Darren,
The Panthers lookin good!
And, uh, can you , uh maybe PM me your address, uh again....

cheers
One of the serious problems in planning against Canadian doctrine is that the Canadians do not read their manuals, nor do they feel any obligations to follow their doctrine.
---From a Russian document
------------------------------------------------
CMOT
 Editor-in-Chief
England - South West, United Kingdom
Joined: May 14, 2006
KitMaker: 10,954 posts
Armorama: 8,571 posts
Posted: Sunday, August 15, 2010 - 05:51 AM UTC
Thanks Rick I hope to have an update tonight.
Dublin, Ireland
Joined: November 27, 2004
KitMaker: 6,048 posts
Armorama: 4,619 posts
Posted: Sunday, August 15, 2010 - 12:19 PM UTC
Good work Darren, I've been toying with the idea of getting the ICM version which is quite cheap but I have to clear some of the stash first

Pat
work to become not to acquire
CMOT
 Editor-in-Chief
England - South West, United Kingdom
Joined: May 14, 2006
KitMaker: 10,954 posts
Armorama: 8,571 posts
Posted: Sunday, August 15, 2010 - 01:00 PM UTC
Thanks Pat I have also been looking out for the ICM Berge, I thought it was OOP though.
United Kingdom
Joined: February 25, 2007
KitMaker: 3,033 posts
Armorama: 2,953 posts
Posted: Sunday, August 15, 2010 - 09:31 PM UTC
Quoted Text
Thanks Pat I have also been looking out for the ICM Berge, I thought it was OOP though.
Just not looking hard enough Darren.

A quick Google shows me this.
http://www.netmerchants.co.uk/product.php/5155/134/bergepanther_with_german_tank_crew I don't think its worth that much but I'm a skinflint and will gladly wait out for an ebay jobbie.
Alan
CMOT
 Editor-in-Chief
England - South West, United Kingdom
Joined: May 14, 2006
KitMaker: 10,954 posts
Armorama: 8,571 posts
Posted: Monday, August 16, 2010 - 05:17 AM UTC
Yep Alan you are right as I did a search after typing that reply and found it everywhere I looked, but I believe I am correct that it has just been re-released as a search 5 or 6 weeks ago produced lots of out of stock results. I think I might go for Halifax Models as they have it for £19.99 and they only charge £2 postage in the UK regardless of what or how much you order, I do agree however that is more expensive than I expected for this kit.
CMOT
 Editor-in-Chief
England - South West, United Kingdom
Joined: May 14, 2006
KitMaker: 10,954 posts
Armorama: 8,571 posts
Posted: Monday, August 16, 2010 - 02:17 PM UTC
Florida, United States
Joined: March 30, 2006
KitMaker: 3,736 posts
Armorama: 3,697 posts
Posted: Tuesday, August 17, 2010 - 12:26 PM UTC
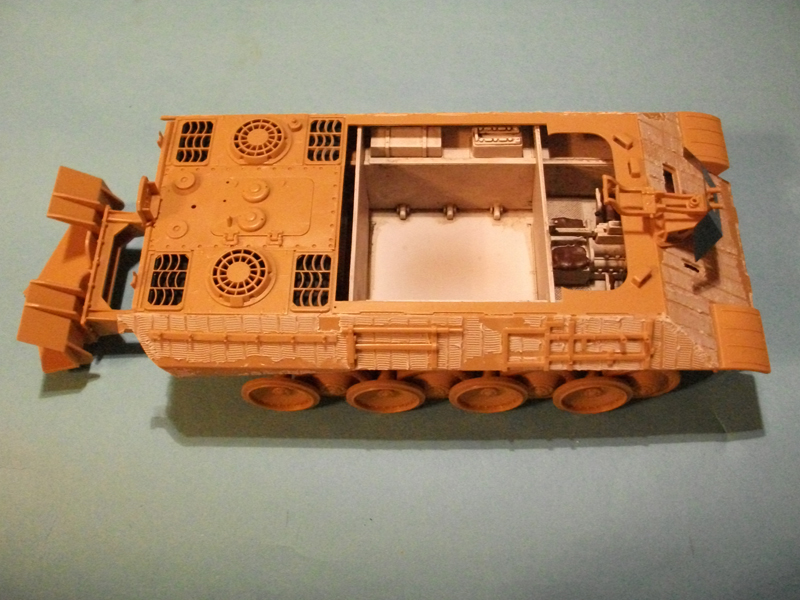
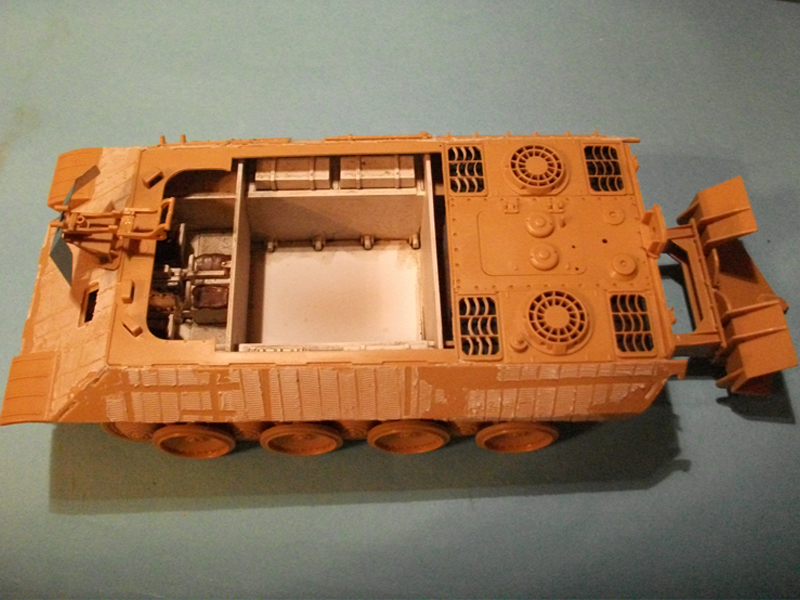
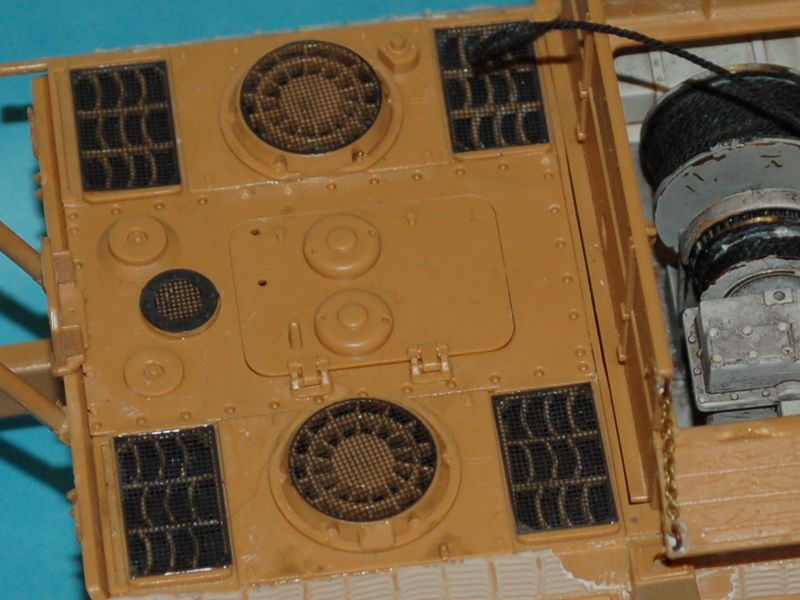
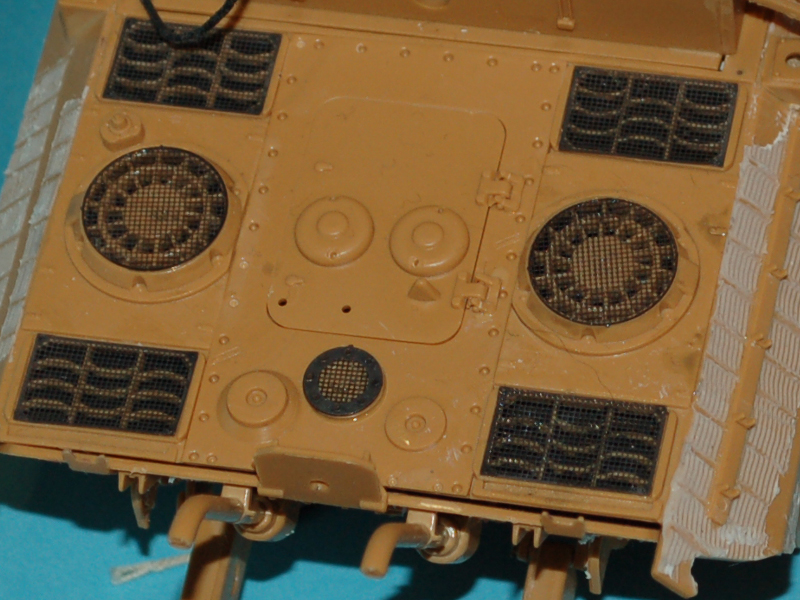
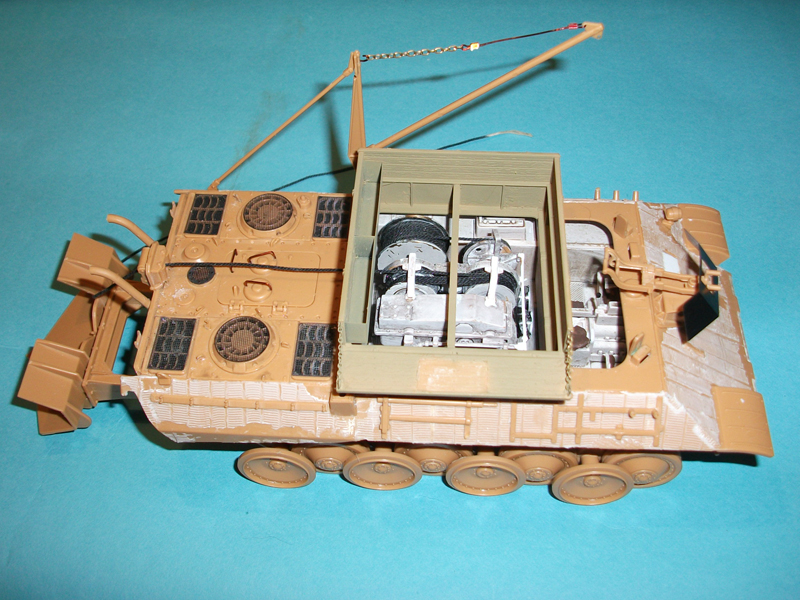
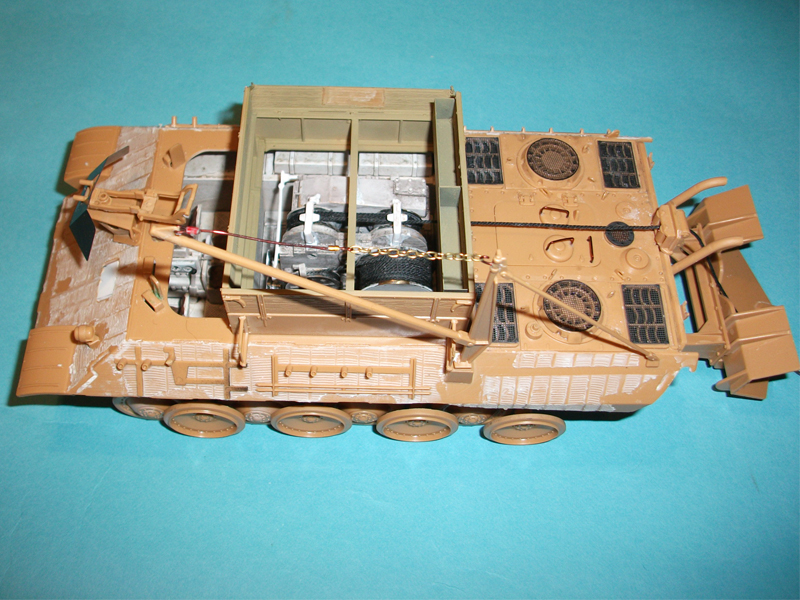
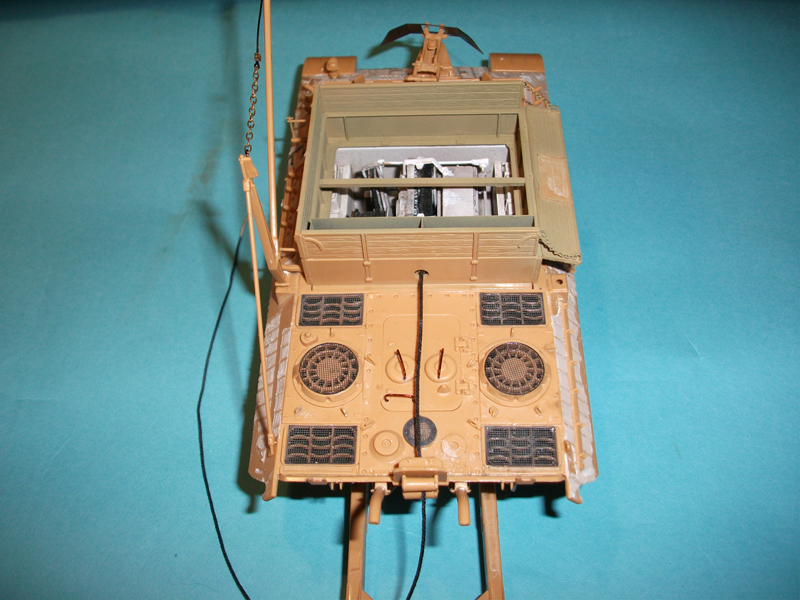
You've made a good start, and the Zimmerit has turned out well. Dimensionally, the Italeri upper hull is a mess, but that's less obvious on the Bergepanther than on the gun tank (it's about eight scale inches short, front to back). The only true work-around would be to substitute a Dragon early Panther A kit, and adapt the Italeri recovery parts (the advantage there would be that you also get a full set of link to link track and photoetch in the box, and Dragon's road wheels also look a lot better). However, since you've opted to stick with the kit parts, I would at least suggest that you grab a set of brass engine deck screens (Aber and Eduard offer inexpensive mini-sets of PE screens for those who don't want a huge photoetch set). These add a lot of visual interest to the model, and they disguise the Italeri grills, which don't even match each other. Tamiya and Cyber Hobby also offer better tools in their German on vehicle tool sets--again, not terribly expensive.
CMOT
 Editor-in-Chief
England - South West, United Kingdom
Joined: May 14, 2006
KitMaker: 10,954 posts
Armorama: 8,571 posts
Posted: Tuesday, August 17, 2010 - 02:20 PM UTC
Gerald thank you for taking the time to post
I have been made aware of just some of the short comings of this model, and the reason I stuck with it was to see what I could do to improve its looks without spending a fortune or cutting the body work up, in a nut shell have some fun with it. The Italeri model that was re-released now comes with a small PE fret (I believe its from Eduard going by the feel of it) and I added it to a review of the model done by Jerry Jackson (MILITES-CHRISTI) which can be seen
here the PE is very nice to work with and fits perfectly while being very easy to remove from the fret and shape.
I am considering getting another Italeri Bergepanther and using the parts with a DML early Panther, so I guess you could look at this as being a trial before really going to work on a more expensive proposition. Thank you again for your input and I hope this build continues to keep your interest.
CMOT
 Editor-in-Chief
England - South West, United Kingdom
Joined: May 14, 2006
KitMaker: 10,954 posts
Armorama: 8,571 posts
Posted: Friday, August 20, 2010 - 05:18 AM UTC
Connecticut, United States
Joined: December 15, 2006
KitMaker: 1,165 posts
Armorama: 1,105 posts
Posted: Friday, August 20, 2010 - 05:42 AM UTC
Darren nice progress. Keep it going. Well done.
On da bench
Dragon Tiger I Early
Takom T-55A
Three Takom Mark IV's
CMOT
 Editor-in-Chief
England - South West, United Kingdom
Joined: May 14, 2006
KitMaker: 10,954 posts
Armorama: 8,571 posts
Posted: Saturday, August 21, 2010 - 03:18 PM UTC
Texas, United States
Joined: June 29, 2010
KitMaker: 5,854 posts
Armorama: 4,817 posts
Posted: Saturday, August 21, 2010 - 04:50 PM UTC
This is coming along very nicely Darren, and I like the approach that you are taking with it.
I have the Italeri M32 in my collection which I had thought about trying to build using your overall approach here, but the more I look into the more I realize that I am going to have use the parts on a Dragon Sherman kit to get the results I'm looking for.
CMOT
 Editor-in-Chief
England - South West, United Kingdom
Joined: May 14, 2006
KitMaker: 10,954 posts
Armorama: 8,571 posts
Posted: Sunday, August 22, 2010 - 01:39 AM UTC
Jeremy what parts are you talking about?
Texas, United States
Joined: June 29, 2010
KitMaker: 5,854 posts
Armorama: 4,817 posts
Posted: Sunday, August 22, 2010 - 07:56 AM UTC
Let me restate it this way, what I am going to end up doing is using the M32 specific parts from the Italeri kit to modify a Dragon Sherman. I've talked with several people about this before I joined Armorama, and each conversation ended up coming to the same conclusion.
I'm always open to more insight regarding such things, so feel free to share any thoughts.
I think that your Italeri Berge Panther is probably a better kit than the M32, and what you are doing is looking really good here.
I also saw a finished Tiger II that had used the window caulking method for adding Zimm, and it looked great with the paint on it.


