_GOTOBOTTOM
Яusso-Soviэt Forum
Russian or Soviet vehicles/armor modeling forum.
RF8 Gaz 98 Aerosled in progress
FAUST
#130
Visit this Community
Noord-Holland, Netherlands
Joined: June 07, 2002
KitMaker: 8,797 posts
Armorama: 4,190 posts
Posted: Friday, August 12, 2011 - 10:51 AM UTC
Ola Guys

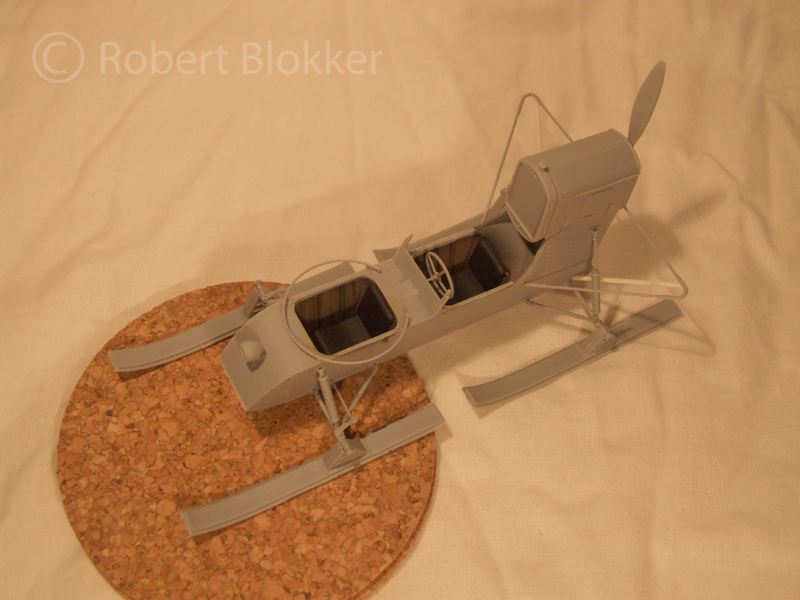
I'm going to show you guys the progress of this little gem from Vision models.
The aerosled is a really neat vehicle and the kit is a beauty. With lots of tiny and really thin parts..
Basically this will be featured in a diorama article but since the main focus on the article is groundworksand the creation of ice and snow effects, the vehicle and the figures will only have small cameo's. Therefore I show the progress of those here.

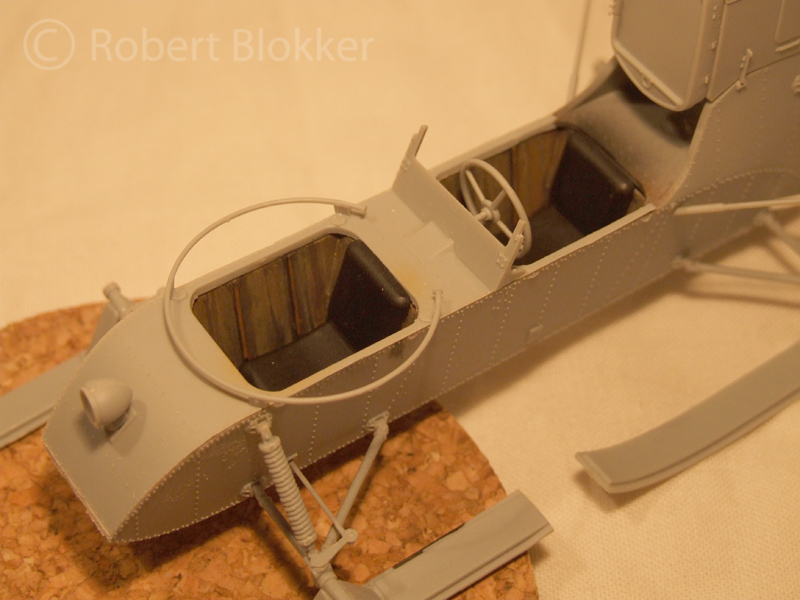
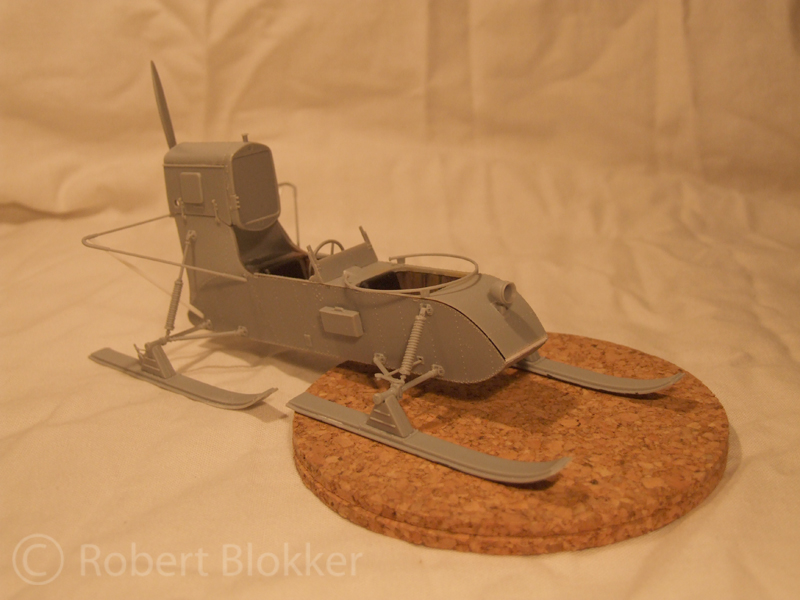
I assembled the kit for 90%. All went together well except for the top hull which left quite a gap at the nose which i filled with an evergreen wedge. Also i replaced the safety rods holding the triangular rods up at the back as the original parts snapped when I looked angry at them (they are really that thin). They are not the right thickness but I only had this available. And as long as the symetry is right it doesnt look too odd.
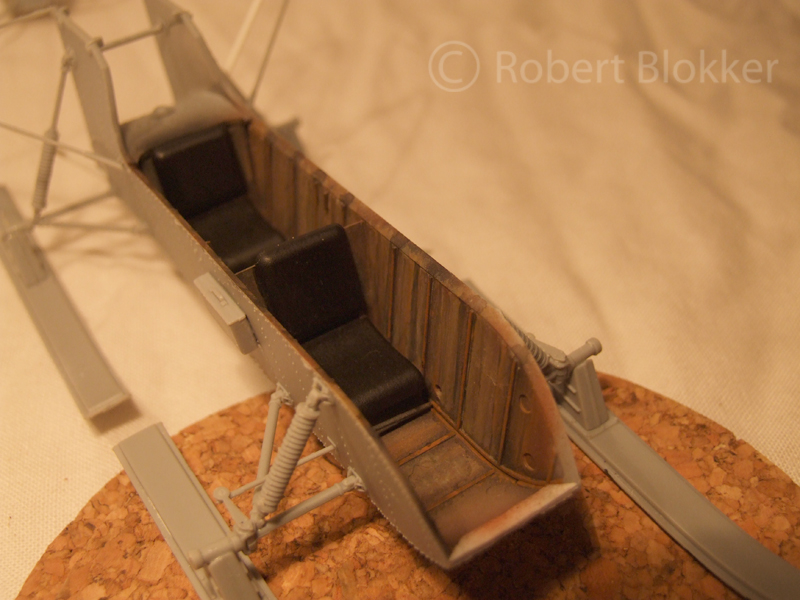
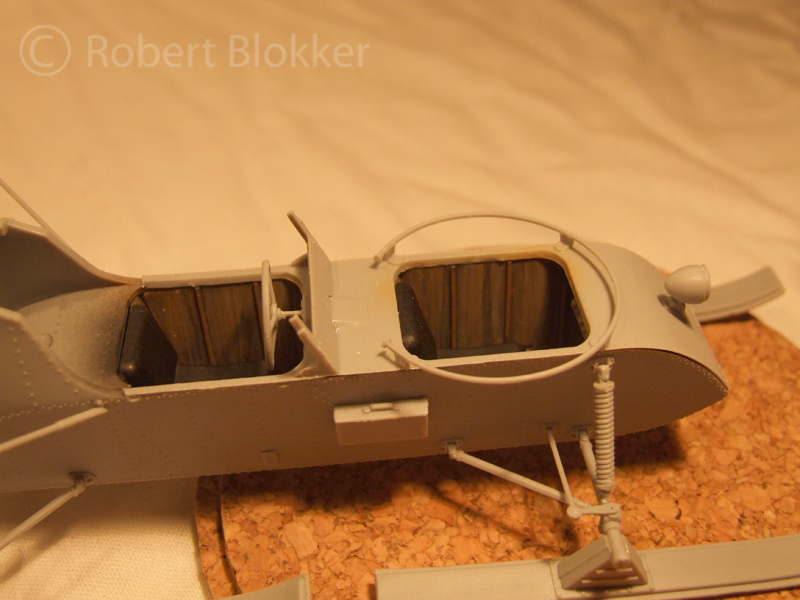
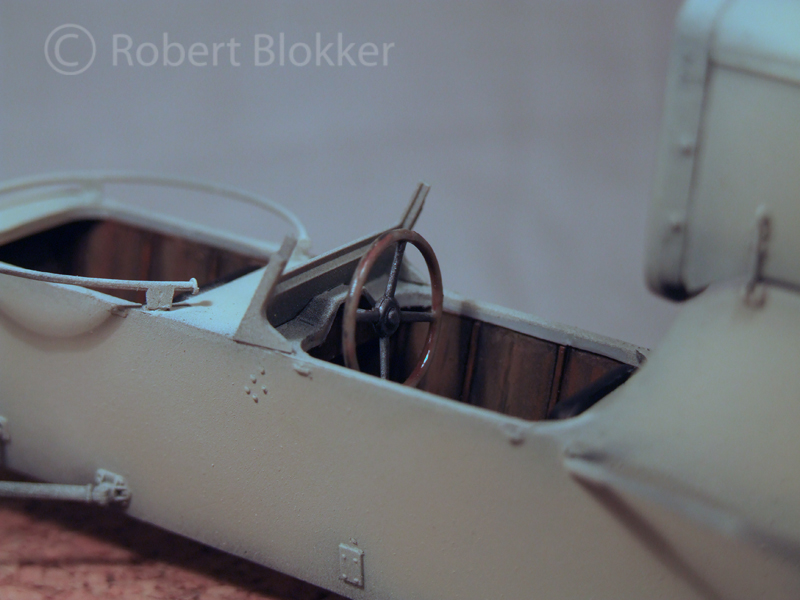
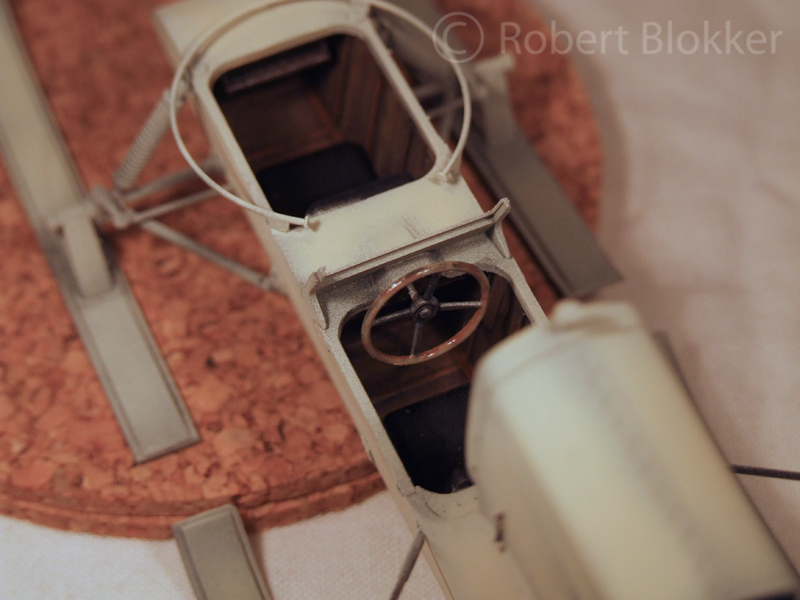
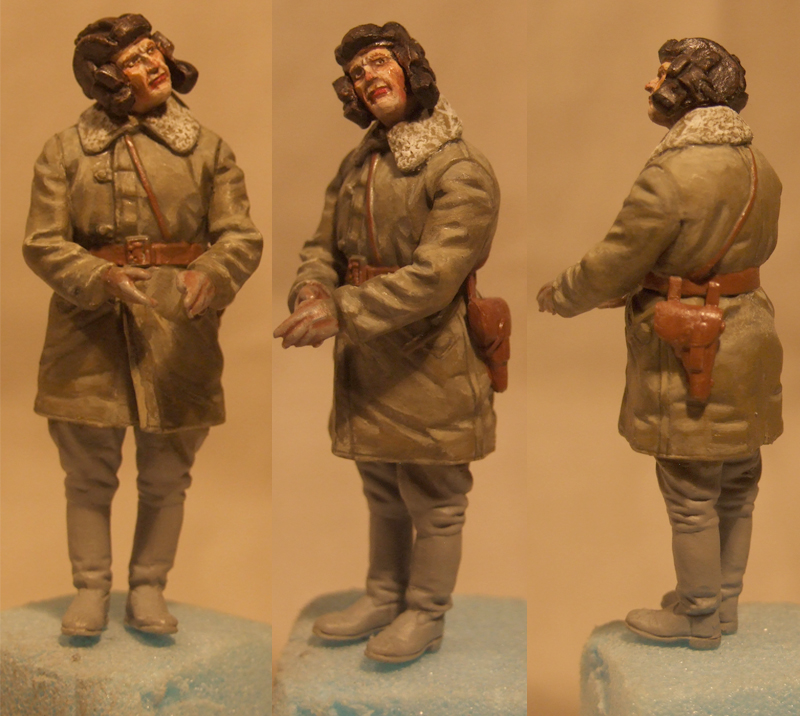
I started painting the interior. Now the vehicles exterior is white... which tends to make it a bit boring. But I read that the Interior was made of aircraftgrade plywood. Therefor I decided to paint the interior in woodcolors. And I am pretty satisfied with the result. I did not fill or sand the push out marks... as they will not be visible when the top of the hull is attached to it. Basecoat and first shading was done with AB. the wood grain and other details painted with brush and enamels. Also started painting the figures that came with the kit. They are pretty good actually and with some carefull painting I think you can get some truely decent results with it.

Ok enough talk. here are some pictures.


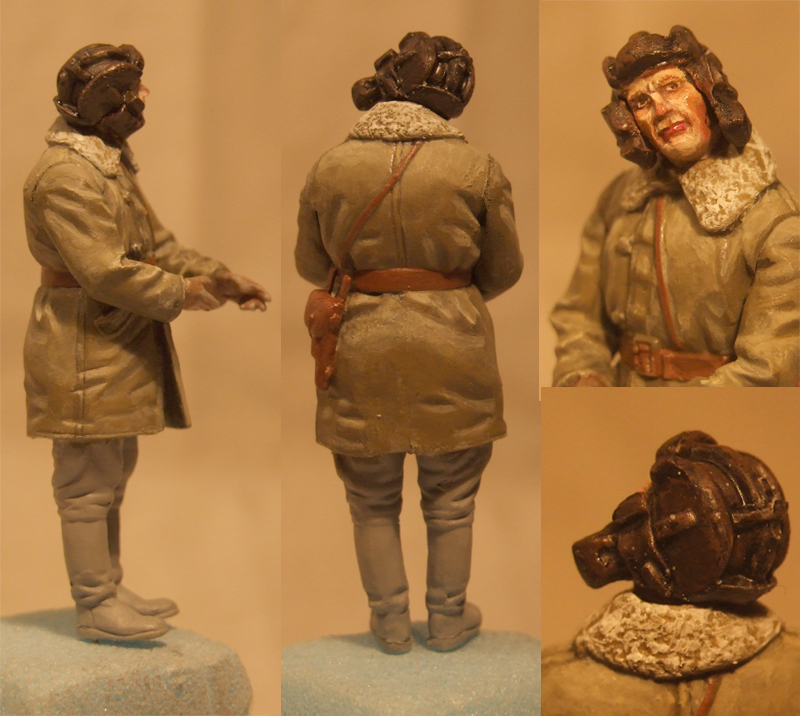
And the figure


Next up.. Painting the engine of the Aerosled, Painting the exterior, Finishing figure 1 and start painting figure 2. As you will notice the ski's of the sled are not on the same level. This is all adjusted to the base it will eventually sit on.

More to come... and always curious abut your feedback.

Greetz

Robert Blokker
Gorizont
Visit this Community
Sachsen, Germany
Joined: November 28, 2007
KitMaker: 1,462 posts
Armorama: 1,289 posts
Posted: Friday, August 12, 2011 - 06:54 PM UTC
Ohh nice.... I´ve waited for a build-log of one of these snow-vehicles.
(Trumpeter has 2 kits, including this one)
But also this (older) Vision-models kit seems to be a good one!

Your build looks good so far!
I will follow this thread.

greetings and thanks...
Soeren
FAUST
#130
Visit this Community
Noord-Holland, Netherlands
Joined: June 07, 2002
KitMaker: 8,797 posts
Armorama: 4,190 posts
Posted: Friday, August 12, 2011 - 09:59 PM UTC
Ola Soeren

Thanks for the reply. I also always wanted to built one of these vehicles. Tried to track down the Kirin one for years but was never successfull. Lucky that Vision models brought one to the market. And I have to say that with having seen the Trumpeter version up close I'm glad I went with this one. The details are absolutely stunning.

Thanks for the compliments. more will follow soon.
pseudorealityx
Visit this Community
Georgia, United States
Joined: January 31, 2010
KitMaker: 2,191 posts
Armorama: 1,814 posts
Posted: Saturday, August 13, 2011 - 01:23 AM UTC
Very nice. I'm going to pick this kit up at some point. It's just too cool to pass up.
jimbrae
Visit this Community
Provincia de Lugo, Spain / España
Joined: April 23, 2003
KitMaker: 12,927 posts
Armorama: 9,486 posts
Posted: Saturday, August 13, 2011 - 01:32 AM UTC
Really nice work Robert!

Couple of points which need clearing up I think:


Quoted Text

But also this (older) Vision-models kit seems to be a good one!


Well, 'older' is perhaps a bit confusing. The Vision Model release has only been available for a few months. The Trumpeter models need a little bit of additional clarification too...

This version WILL be available shortly from Trumpeter. Full Photos here;

https://armorama.kitmaker.net/news/9178

Quite honestly, the only real advantage I see from the Trumpeter release is the inclusion of a PE Gun-Sight and a couple of seated figures. The Vision release, which I Reviewed is a stunning little model and Robert has certainly done it justice:

https://armorama.kitmaker.net/review/6459

What is interesting, is that one of the LATER (Armored) versions (the NKL-26 Aerosan) is also getting tooled by Trumpeter:

https://armorama.kitmaker.net/news/9073
FAUST
#130
Visit this Community
Noord-Holland, Netherlands
Joined: June 07, 2002
KitMaker: 8,797 posts
Armorama: 4,190 posts
Posted: Saturday, August 13, 2011 - 02:25 AM UTC
Ola Guys

Thanks for the replies.

@ Jesse..
I can heartily recommend the Vision models kit. Detail is crisp and good over the whole of the vehicle. And yes it looks really cool. I like the fact that it seemed to be designed by a steampunk inventor with the big propellor and the ski's and such.

@ Jim
Thanks for the compliments mate really appreciated.
As for the Trumpeter kit of the RF8. I think it is already released as Jointhepit from Belgium is already building one. Few topics down the latest posts
jointhepit
Visit this Community
Oost-Vlaanderen, Belgium
Joined: May 14, 2006
KitMaker: 3,829 posts
Armorama: 881 posts
Posted: Saturday, August 13, 2011 - 05:20 AM UTC
hope this is in time, just noticed the rivets, there are no rivets, only 5 underneeth the visor, both sides, the rest are sunken screws.
had mine removed (see post trupeter Aerosan)


greetz
Grumpyoldman
Staff MemberConsigliere
KITMAKER NETWORK
Visit this Community
Florida, United States
Joined: October 17, 2003
KitMaker: 15,338 posts
Armorama: 7,297 posts
Posted: Saturday, August 13, 2011 - 07:20 AM UTC
Looks great so far Robert.
FAUST
#130
Visit this Community
Noord-Holland, Netherlands
Joined: June 07, 2002
KitMaker: 8,797 posts
Armorama: 4,190 posts
Posted: Saturday, August 13, 2011 - 08:47 AM UTC
@ Pit
Actually that is in time. I checked it up and Indeed read it on PMMS. It actually makes my life a lot easier. Pitty though. I actually liked the rivets tough... But it is in time and I will sand them off

@ Dave
Thanks for the compliments mate. Really appreciated.
Karl187
#284
Visit this Community
Northern Ireland, United Kingdom
Joined: October 04, 2006
KitMaker: 3,094 posts
Armorama: 2,942 posts
Posted: Saturday, August 13, 2011 - 08:58 AM UTC
Fantastic work on that wooden interior and a nice figure too- which manufacturer is the figure by the way?

Are you going for a dio with this?
FAUST
#130
Visit this Community
Noord-Holland, Netherlands
Joined: June 07, 2002
KitMaker: 8,797 posts
Armorama: 4,190 posts
Posted: Saturday, August 13, 2011 - 09:20 AM UTC
@ Karl
Thanks a lot for the compliments on the woodwork. It was a lot of fun to paint as well. I touched it up this afternoon with a bit of satin varnish which lifened the woodwork up even more.
The figure is one of the two that are provided with the kit.. And they origin from Miniart if I am correct. Normally I would try to buy after market figures but in this case I decided to paint them uop as the detail was quite good. And I followed the old addage from Shep Paine "Bad painting can ruin the best figure while good painting can safe a mediocre one"
Not saying that the figures are mediocre but with a bit of careful painting you can get them to a reasonable standard.

And yes there will be a dio. But I keep that one a bit under the radar as I am creating it for an article on ice and snow effects here on the site
FAUST
#130
Visit this Community
Noord-Holland, Netherlands
Joined: June 07, 2002
KitMaker: 8,797 posts
Armorama: 4,190 posts
Posted: Sunday, August 14, 2011 - 04:25 AM UTC
Ola Guys

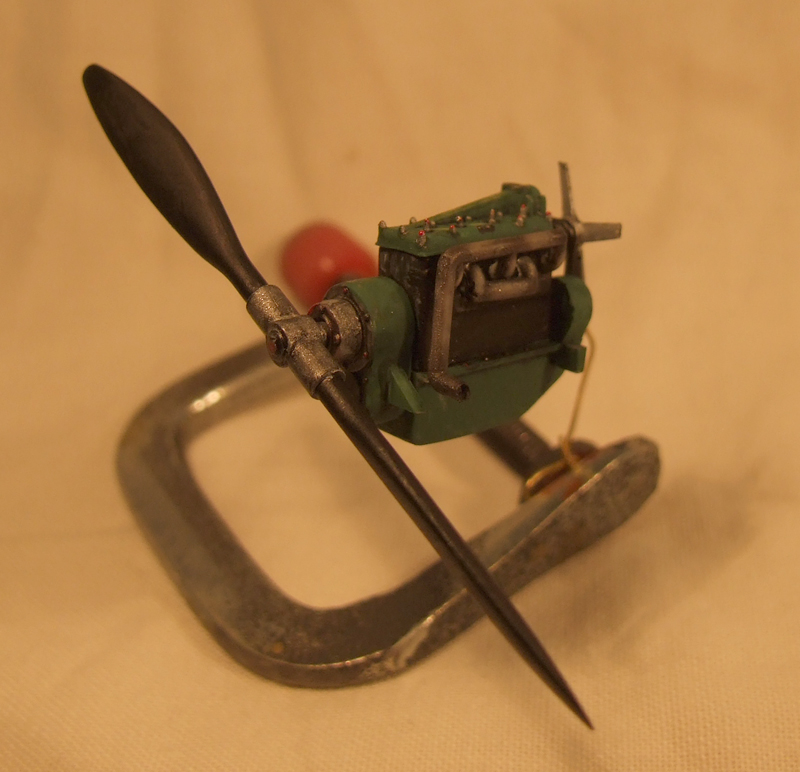
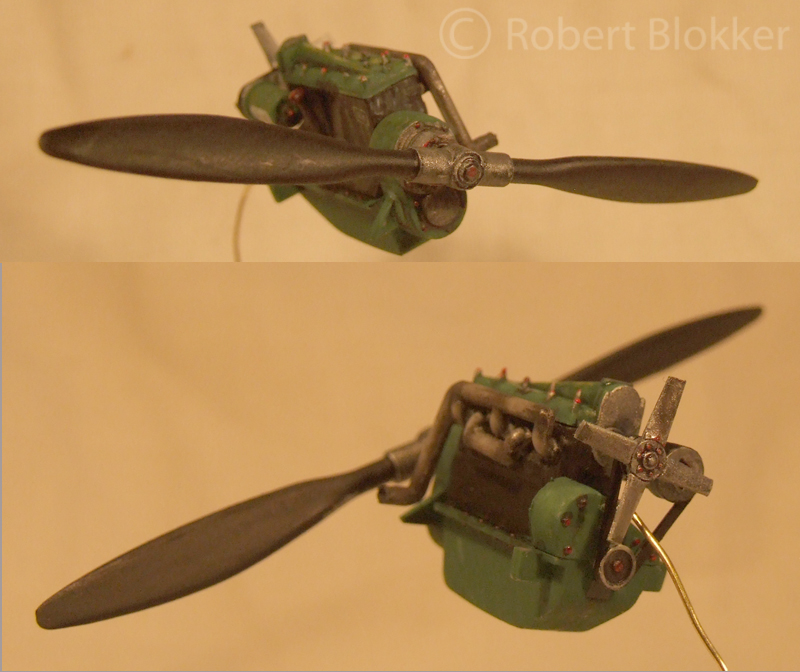
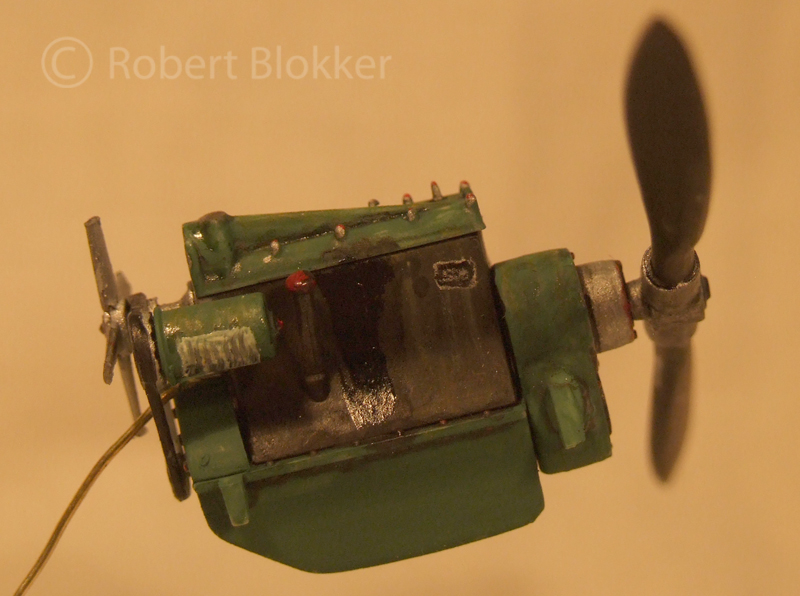
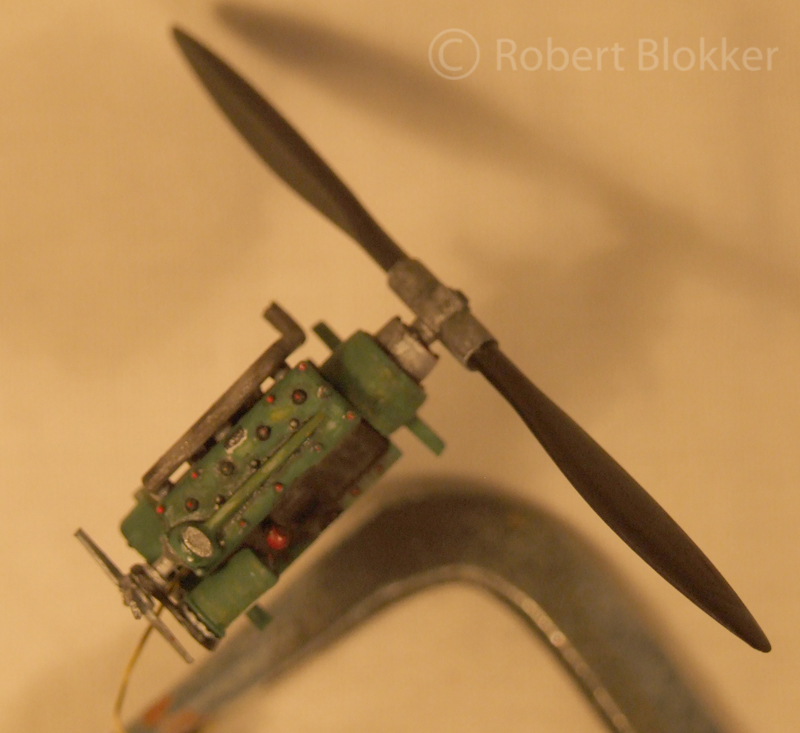
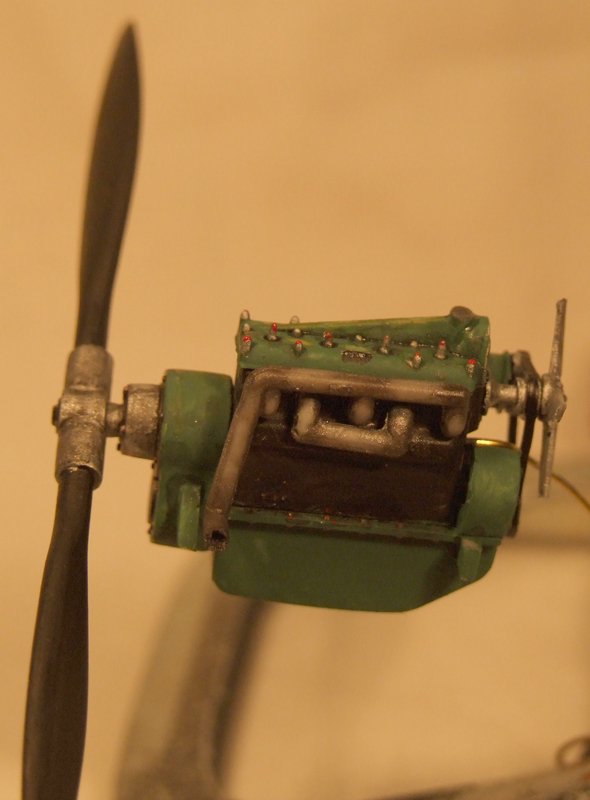
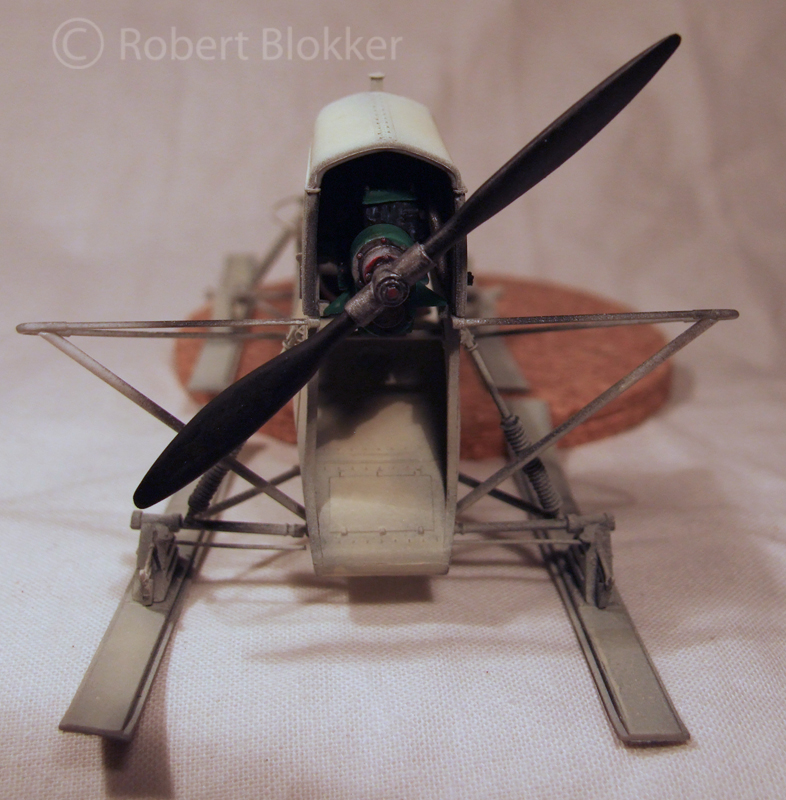
Got a little update regarding this vehicle. Painted up the engine over the last two days. Colors were derived from pictures from another topic in which i asked for pictures of Gaz M1 engines.
Painted with humbrols and oils and it is a bit odd to spent so much time of which most of it can not even be seen but I don't mind... It always is good exercise


As always looking to your feedback

With friendly greetz

Robert Blokker
FAUST
#130
Visit this Community
Noord-Holland, Netherlands
Joined: June 07, 2002
KitMaker: 8,797 posts
Armorama: 4,190 posts
Posted: Monday, August 15, 2011 - 11:03 AM UTC
Ola Guys

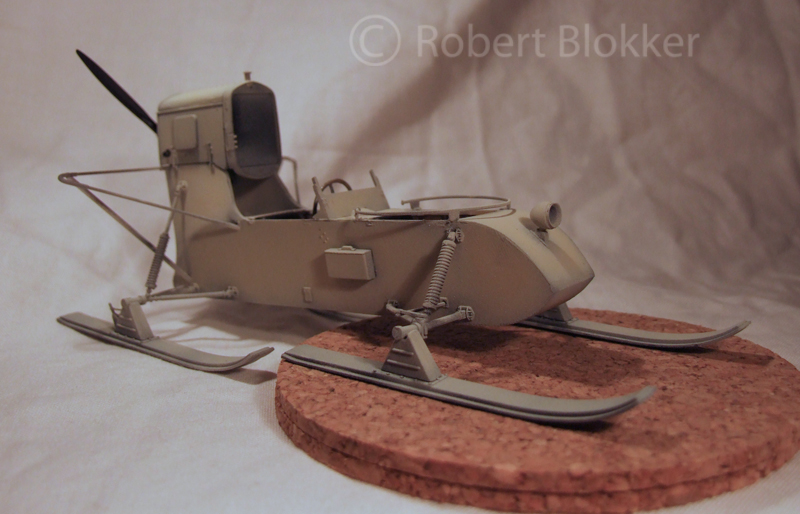
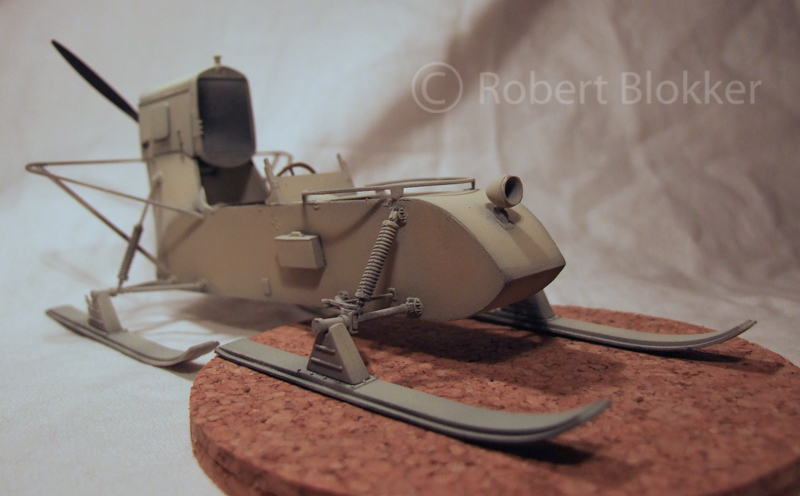
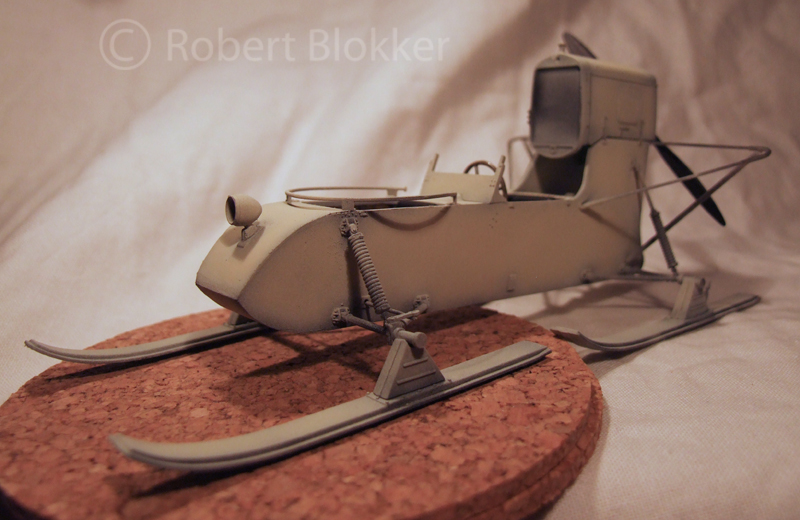
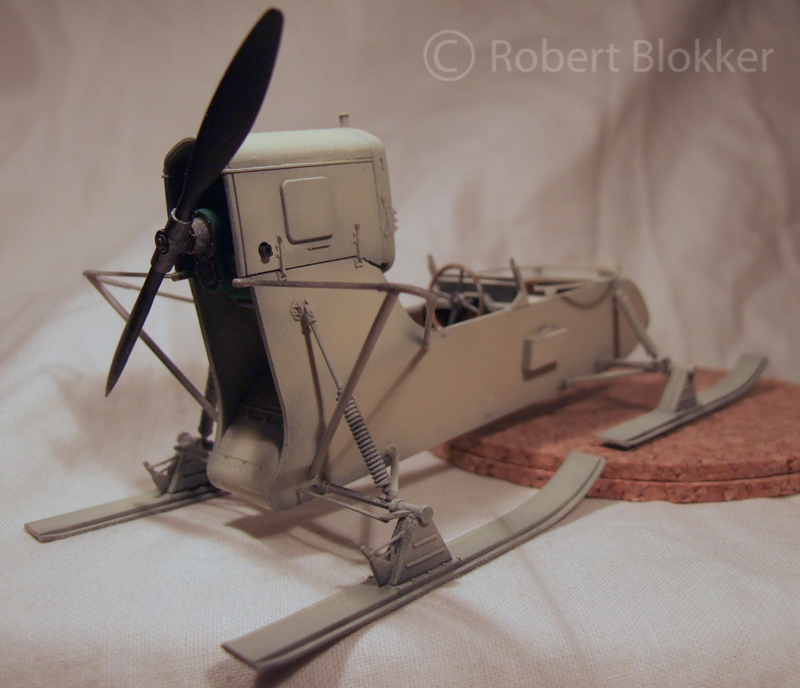
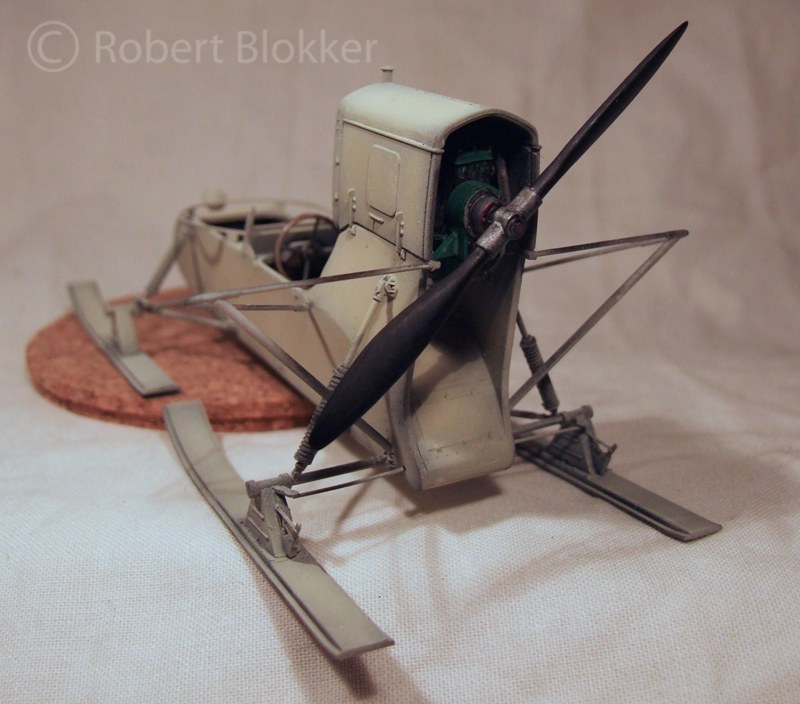
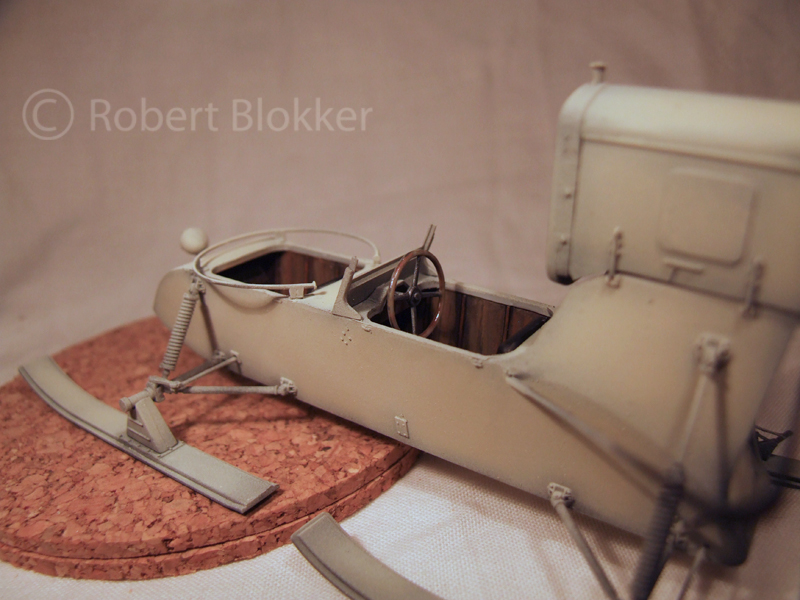
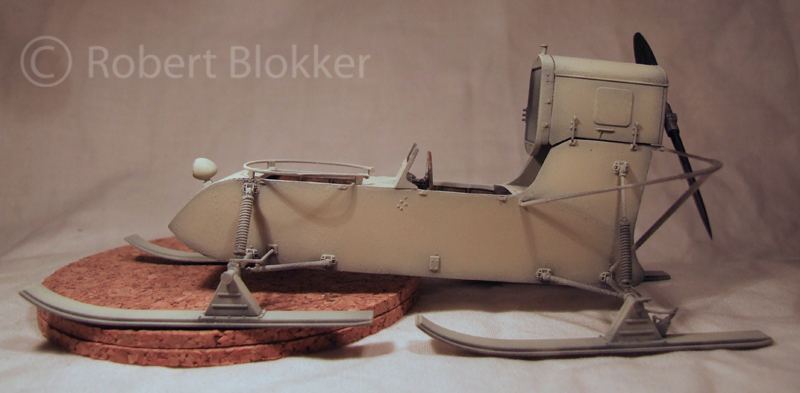
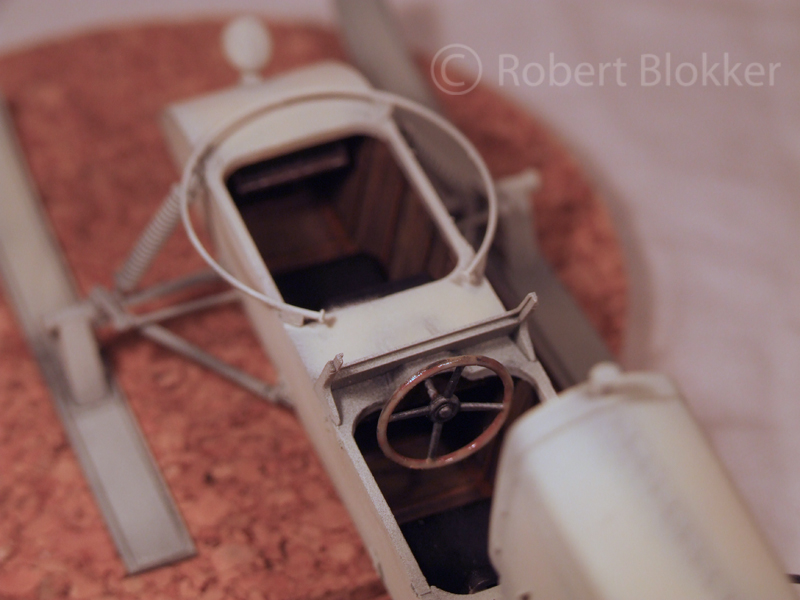
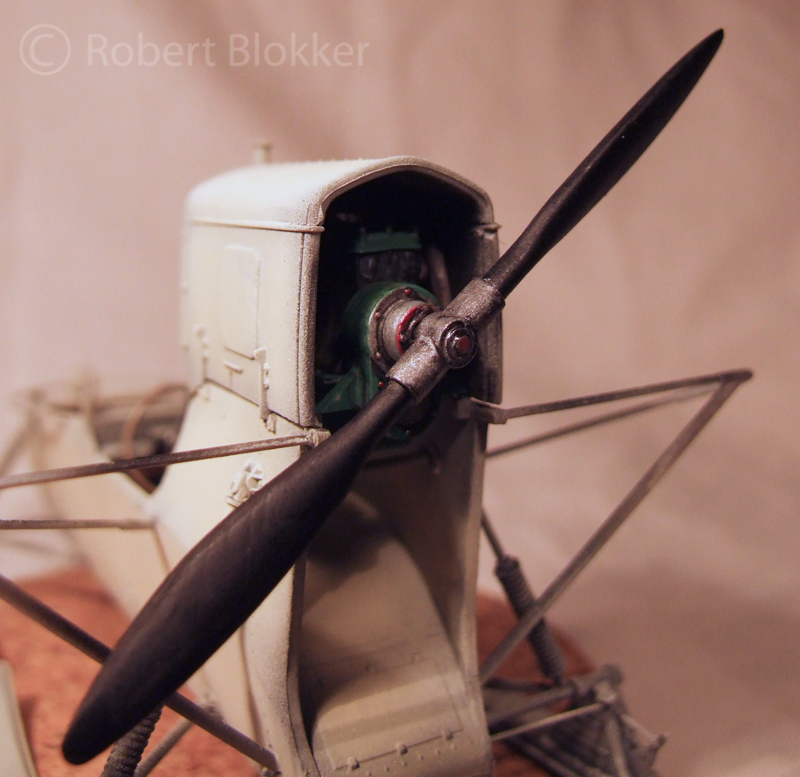
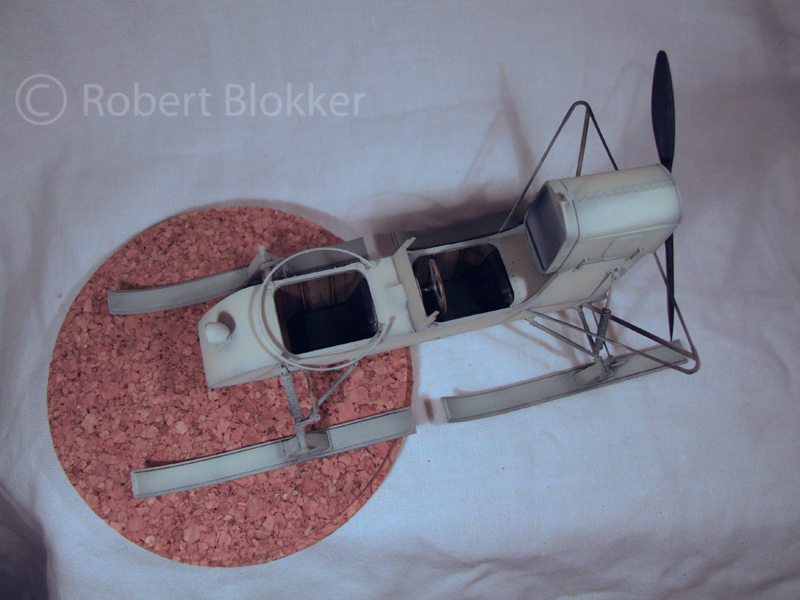
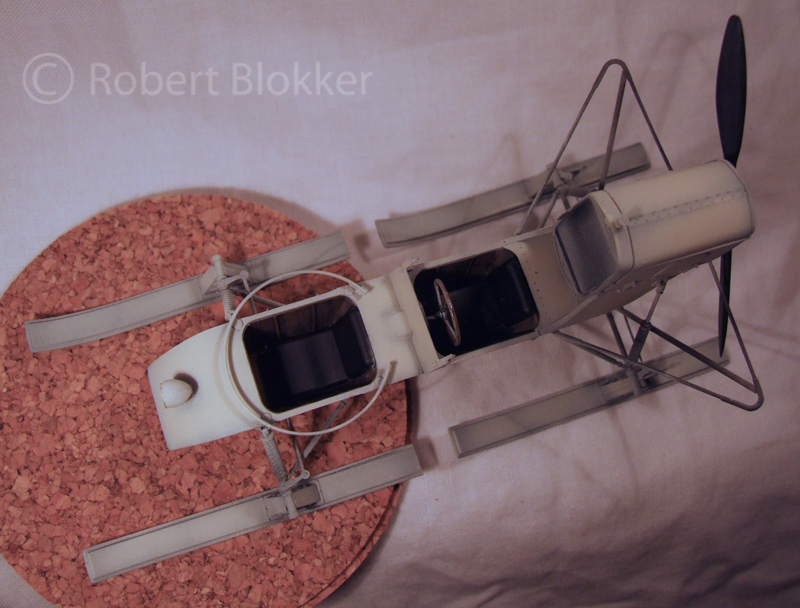
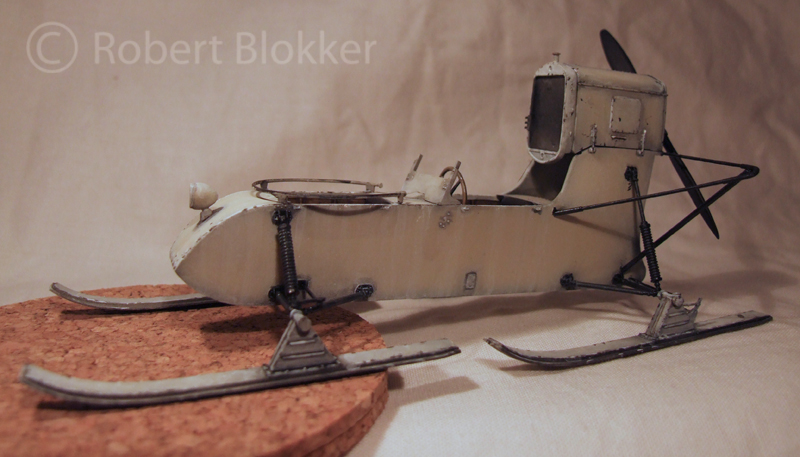
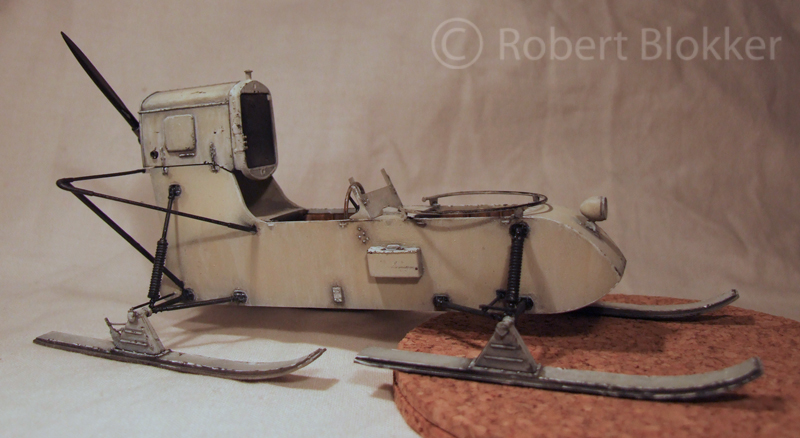
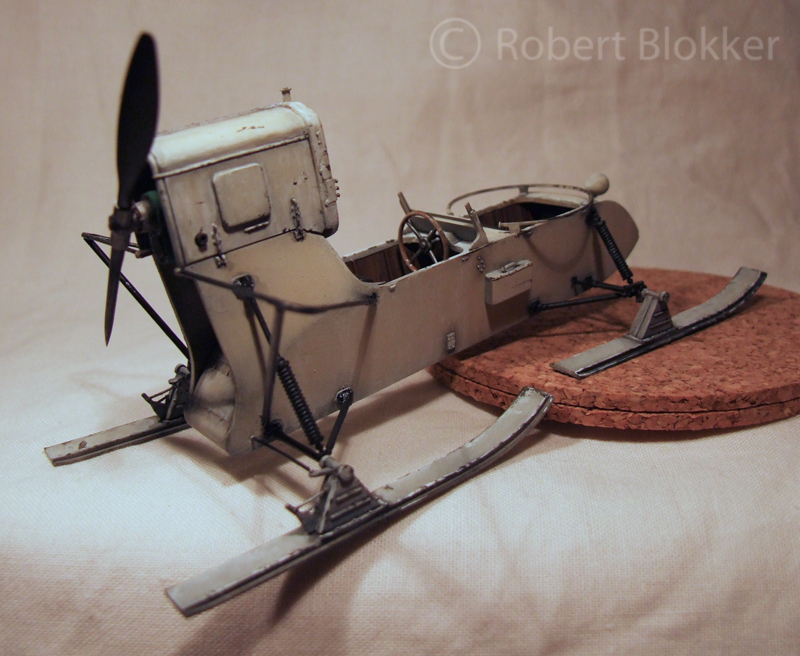
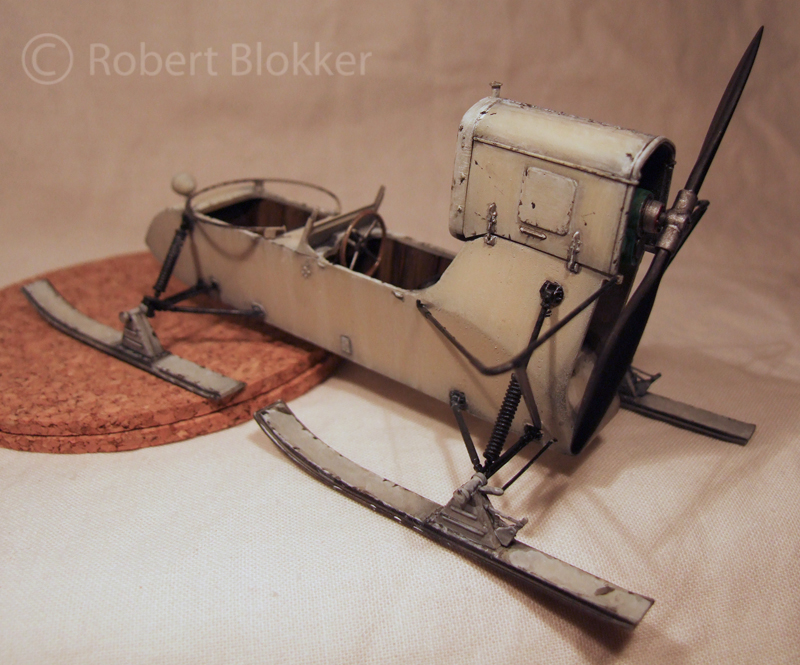
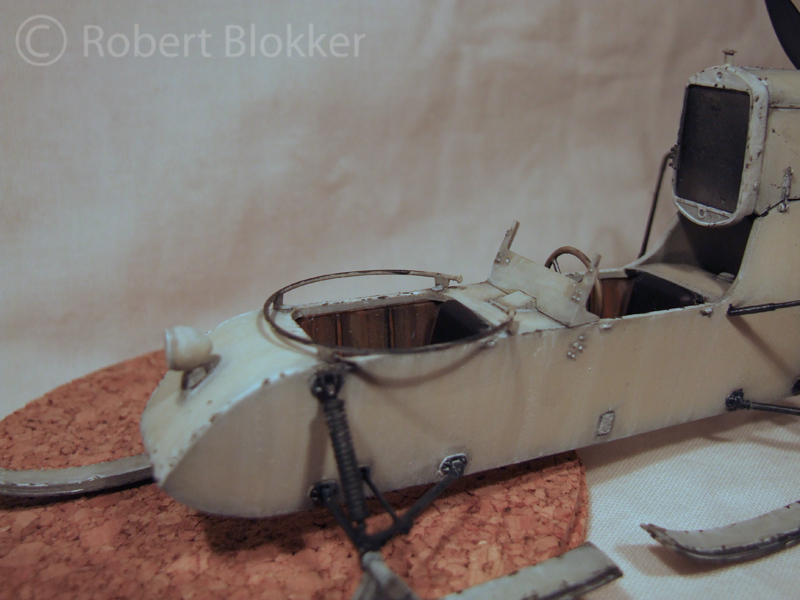
Time for another update... It is nice if you have the momentum and are able to go ahead and actually do things.I started with sanding all the rivets off the hullside. I did not do the part directly under the engine because I couldn't reach it and was afraid of damaging the other details there. Then I painted a wooden steeringwheel and some other small internal details. Then I painted the exterior of the vehicle. First preshaded everything with black. Then sprayed everything with white with a bit of buff added to the mix. Making it a more classic off white. It might seem a bit brownish now against the white backdrop but when placed in the diorama it looks pretty white. Plus it makes it a lot easier with filtering it with pure white to make some color changes.
I also tinkered a bit with the settings of my cam and the light set up and got it pretty much spot on. ( I wish every evening would go like that)

ok here are the pics


Next up some weathering. Painting the inside of the engine housing primerred and finishing the figures. Then back to the dio again.

As always looking forward to any feedback.

With friendly greetz

Robert Blokker
FAUST
#130
Visit this Community
Noord-Holland, Netherlands
Joined: June 07, 2002
KitMaker: 8,797 posts
Armorama: 4,190 posts
Posted: Wednesday, August 17, 2011 - 08:57 AM UTC
Ola Guys

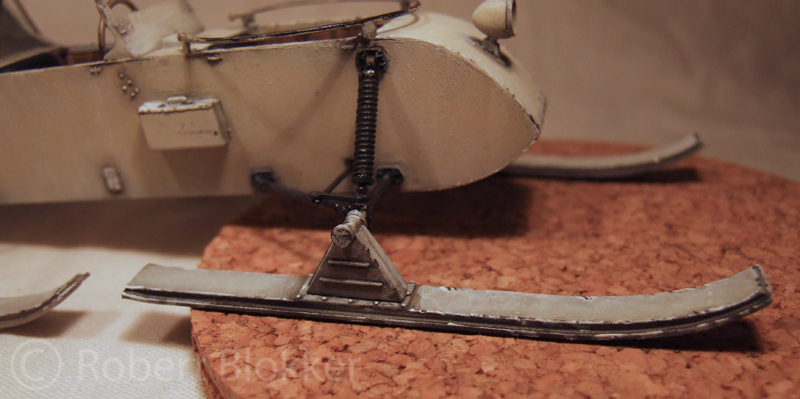
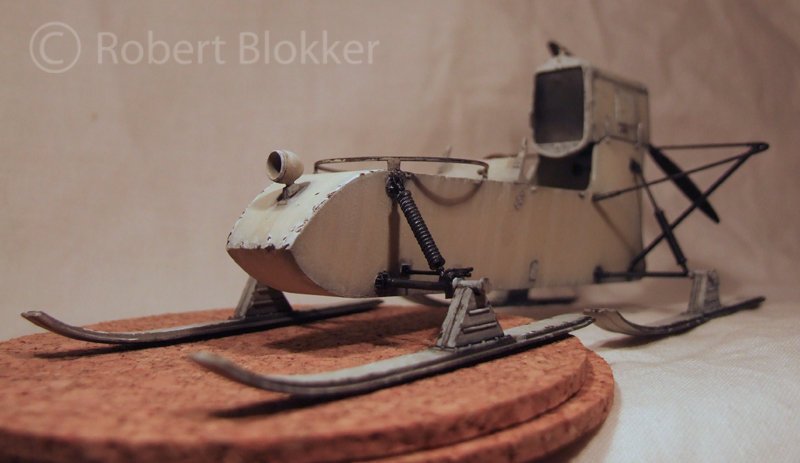
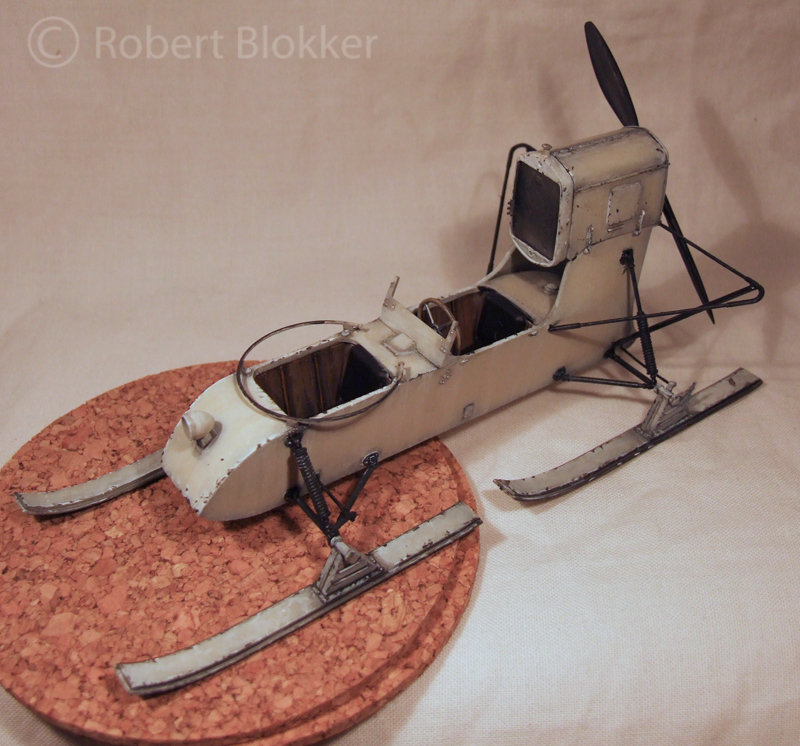
Another update. Spent a considerable bit of time doing paintwork on the vehicle. Started off with painwashing all the details with black. From ski's to engine housing. Then started filtering with white various parts were done with varous thicknesses giving the vehicle variations in white. Started some streaking with more white. Added scuffed paint with pure white. Did the Suspension parts with darkgray. washed them with black and highlighted them with a lighter grey. Gave the MG ring a scuffed finish. Painted a lot of the raised details with pure white. And finally adding some chipping here and there with darkgrey.
Here are the pics.


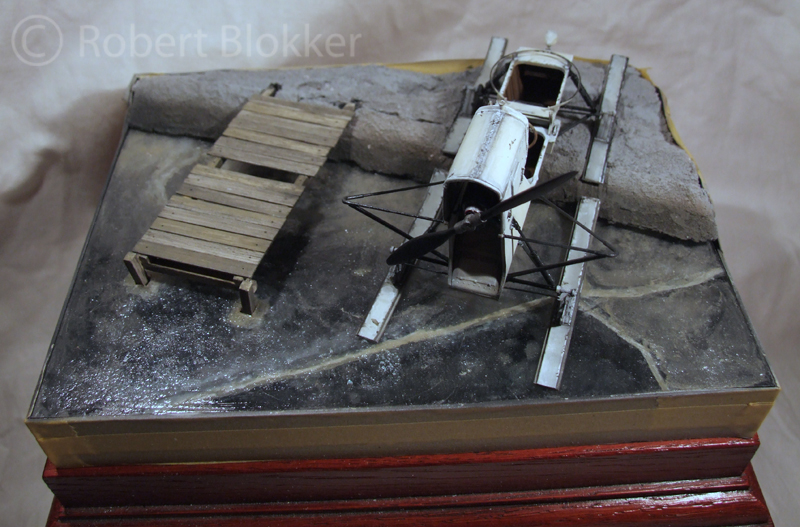
And a bit of an extra. here is what the dio is going to look like.


And as always looking forward to any feedback

With friendly greetz

Robert Blokker
Karl187
#284
Visit this Community
Northern Ireland, United Kingdom
Joined: October 04, 2006
KitMaker: 3,094 posts
Armorama: 2,942 posts
Posted: Thursday, August 18, 2011 - 12:44 AM UTC
Oh man that diorama is already looking awesome- that ice is superbly done. How did you do it?

As for the sled I think your wearing is spot-on. The only thing I would say is that the bottom edges on each side don't have any chips or scratches and I would assume they would take as much abuse as the front where there is chipping and wear. Just my 2 cents.
FAUST
#130
Visit this Community
Noord-Holland, Netherlands
Joined: June 07, 2002
KitMaker: 8,797 posts
Armorama: 4,190 posts
Posted: Thursday, August 18, 2011 - 06:09 AM UTC
Ola Karl

Thanks a lot for your reply. I'm glad you like the diorama. So far it all went well and pretty pleased with the result so far. The ice is basically a transparent plastic sheet textured with CA glue and painted with enamels. If you have a little patience as it will not take that long to get finished I have made pictures all the way and there will be an article on how to do it yourself.

As for the bottomside of the sled. I see what you mean and you are right. The reason why the underside was not done was that I did the chipping while most of the paint on the vehicle was still curing. I did not want my fingerprints on the fresh paint. But also because I'm still figuring out what color I'm going to use for the chips since the tub itself was made of wood. have to do some small experiments to see what works nicest,.
Karl187
#284
Visit this Community
Northern Ireland, United Kingdom
Joined: October 04, 2006
KitMaker: 3,094 posts
Armorama: 2,942 posts
Posted: Thursday, August 18, 2011 - 06:17 AM UTC
I'll definetly be checking out the article about doing ice yourself- I think a lot of other people will be interested in that too.

As for the bottom of the tub- I forgot it was wood you have to chip! Take your time with the experiments, no rush !
Spiderfrommars
Visit this Community
Milano, Italy
Joined: July 13, 2010
KitMaker: 3,845 posts
Armorama: 3,543 posts
Posted: Thursday, August 18, 2011 - 06:40 AM UTC
Wow Robert! You're the "Ice master"

Outstanding job and incredibly convincing dio

Thanks a lot for sharing
FAUST
#130
Visit this Community
Noord-Holland, Netherlands
Joined: June 07, 2002
KitMaker: 8,797 posts
Armorama: 4,190 posts
Posted: Thursday, August 18, 2011 - 07:37 AM UTC
@ Karl
The technique is really simple and once you know it it is as easy as pie. It is a technique I once got from a railroad scenery book and did some of my own additions to it to make it useable for larger scales.

As for the tub. It is merely a matter of choosing the right colors. But i think I will find that out this evening. Only important thing is to hold back and not overdo it. It should not look like it crashed through a barbed wire factory.

@ Mauro
King winter is the master of ice. But I am really satisfied with how it turned out. All the earlier attempts at creating ice were on much smaller surfaces. This was on a much bigger scale but it turned out as I wanted. So I'm happy.
And thanks for the compliments on the project so far. Next up will be the rest of the groundworks, Airbubbles, snow. and the figures.
jointhepit
Visit this Community
Oost-Vlaanderen, Belgium
Joined: May 14, 2006
KitMaker: 3,829 posts
Armorama: 881 posts
Posted: Thursday, August 18, 2011 - 08:54 AM UTC
daar gaat m'n dio idee

there goes my idea for a winter aerosan dio....


great ice effects Robert, looking really cool


hope to see this one live someday

Greetz
FAUST
#130
Visit this Community
Noord-Holland, Netherlands
Joined: June 07, 2002
KitMaker: 8,797 posts
Armorama: 4,190 posts
Posted: Thursday, August 18, 2011 - 09:56 AM UTC
Jo Pit..

Gewoon bouwen man... Als je het ding ten tijde van ww2 wil maken heb je qua grondwerk maar 3 opties... Op het ijs in de sneeuw. In het bos in de sneeuw en op een open veld in de sneeuw. En ik heb van die laatste twee al verschillende gezien. Weet zeker dat je met dat ijs scenario een superorigineel diorama kan neerzetten. Als ik je vorige werk een beetje goed herrinner is dat aan jou wel vertrouwd. In die Vision Models kit zit nog een Aerosan en daar heb ik ook nog wel een geinig idee mee. maar eerst deze afmaken.

Above Dutch text says.... Just go for it. Very inefficient language that we need so much words for that.

And thanks for the compliments.. As for seeing it live... I have no clue when it will be finished... There is a small chance I will be visiting KMK but since I built with the speed of continental drift I have no clue if it will be finished at that time
Spiderfrommars
Visit this Community
Milano, Italy
Joined: July 13, 2010
KitMaker: 3,845 posts
Armorama: 3,543 posts
Posted: Thursday, August 18, 2011 - 10:06 AM UTC

Quoted Text

Thanks a lot for your reply. I'm glad you like the diorama. So far it all went well and pretty pleased with the result so far. The ice is basically a transparent plastic sheet textured with CA glue and painted with enamels. If you have a little patience as it will not take that long to get finished I have made pictures all the way and there will be an article on how to do it yourself.


I hope to read your "how to" soon. It sounds quite easy, so considering the results, is a genial method

Thanks again
FAUST
#130
Visit this Community
Noord-Holland, Netherlands
Joined: June 07, 2002
KitMaker: 8,797 posts
Armorama: 4,190 posts
Posted: Thursday, August 18, 2011 - 11:44 AM UTC
@ Mauro
It shouldn't take too long. After I added the Airbubbels to the ice I can close that part down and start on the bank which is not that much work. Then it is a matter of pulling the pictures through Photoshop and do the writeup. In the article I also do a bit about snow and cracked ice in puddles. Found a pretty convincing technique for that as well
FAUST
#130
Visit this Community
Noord-Holland, Netherlands
Joined: June 07, 2002
KitMaker: 8,797 posts
Armorama: 4,190 posts
Posted: Saturday, August 20, 2011 - 08:45 AM UTC
Ola Guys

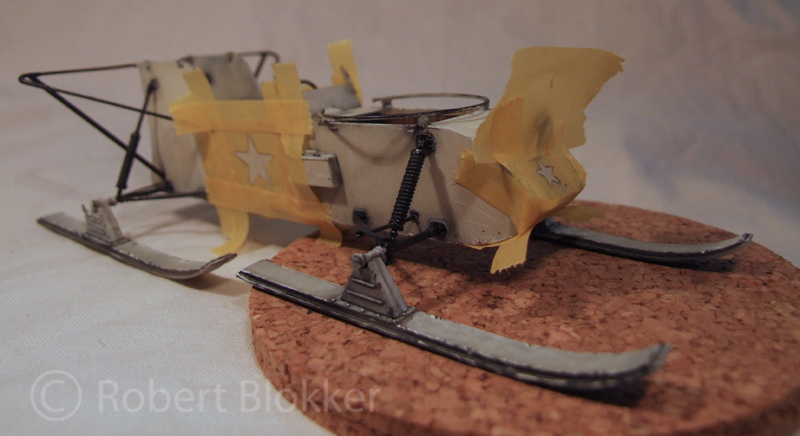
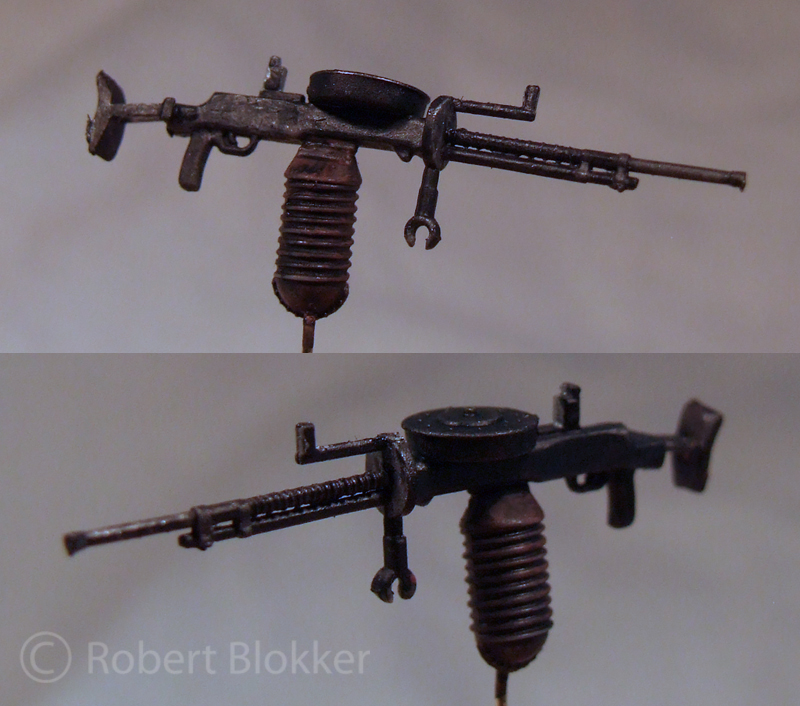
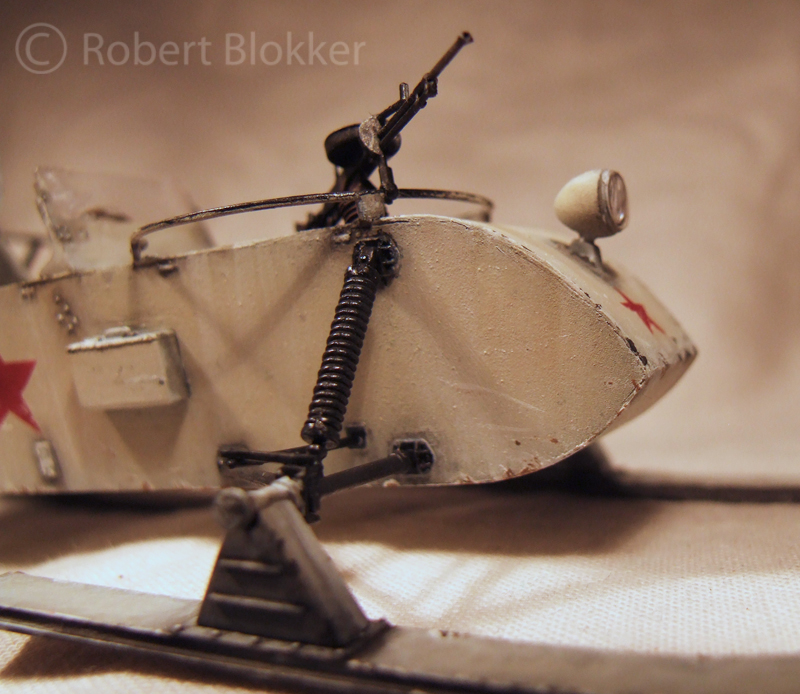
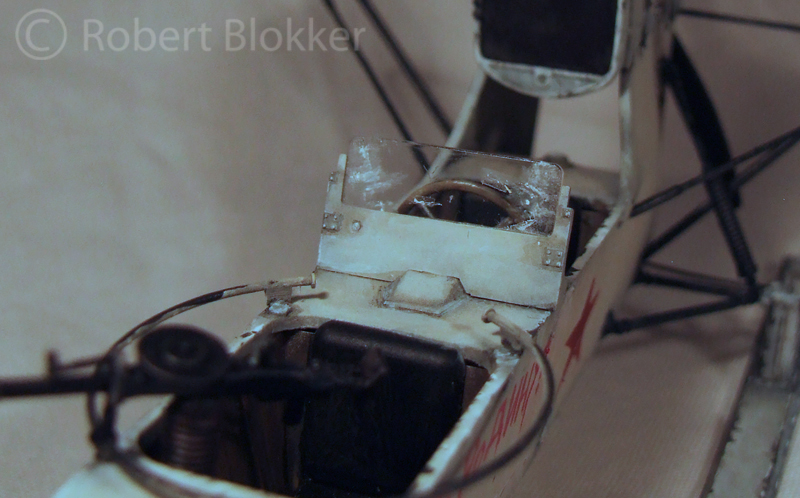
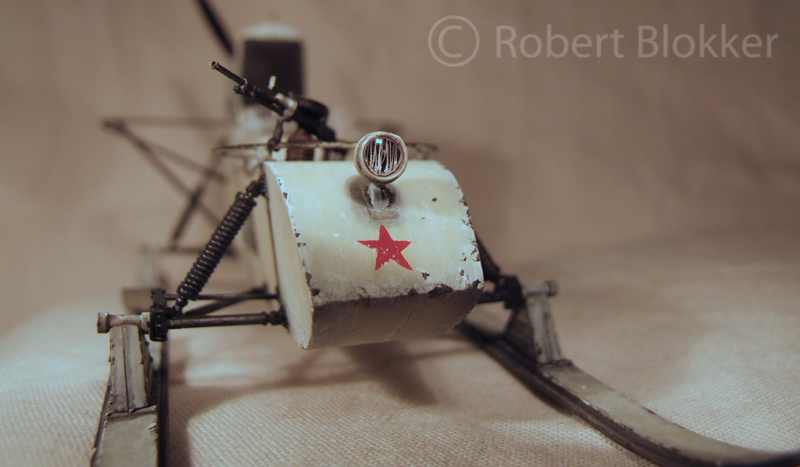
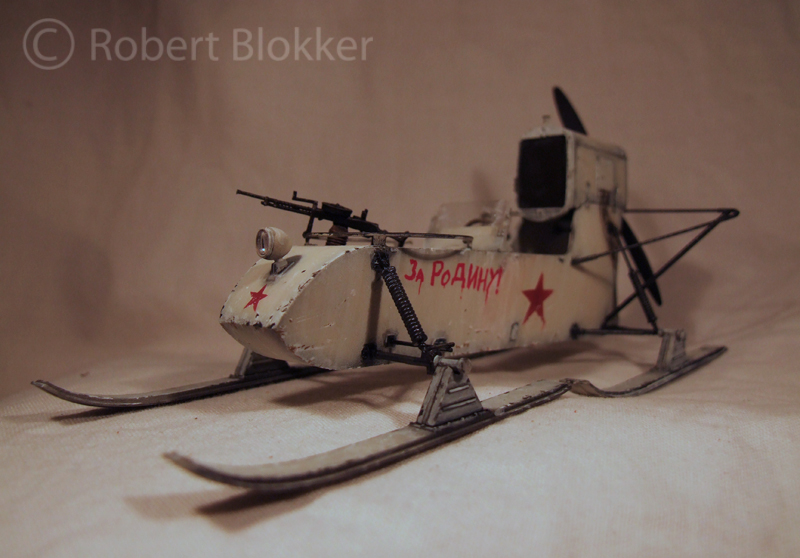
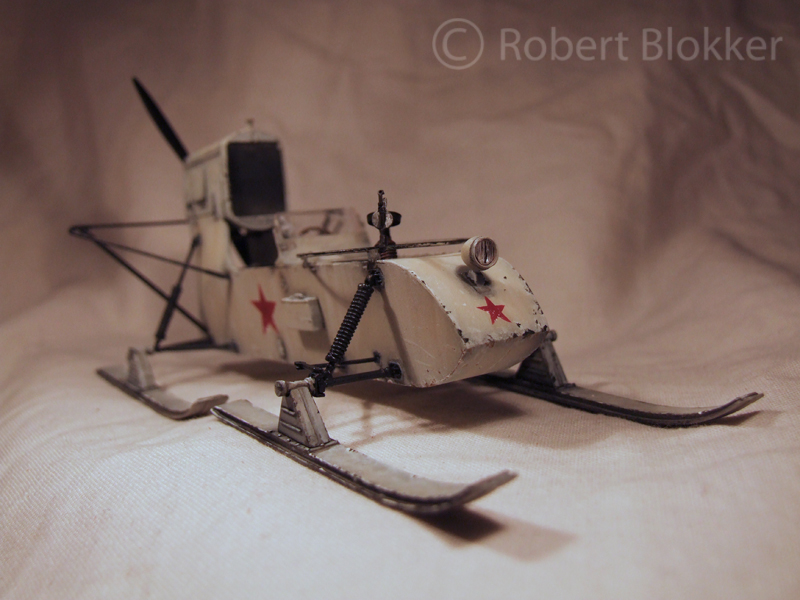
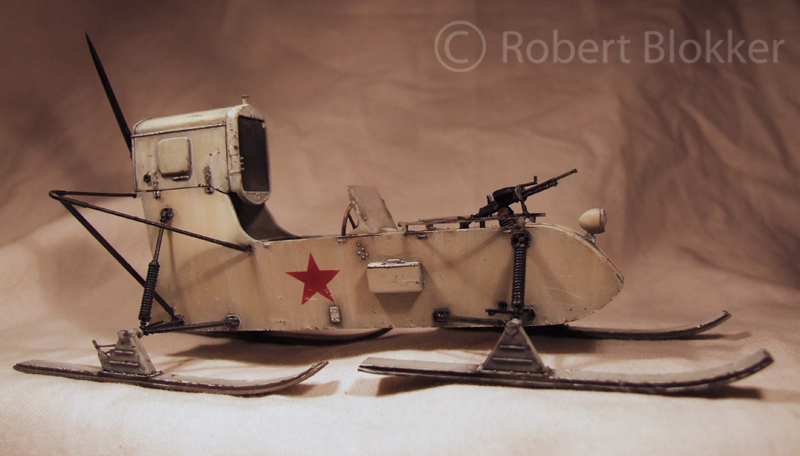
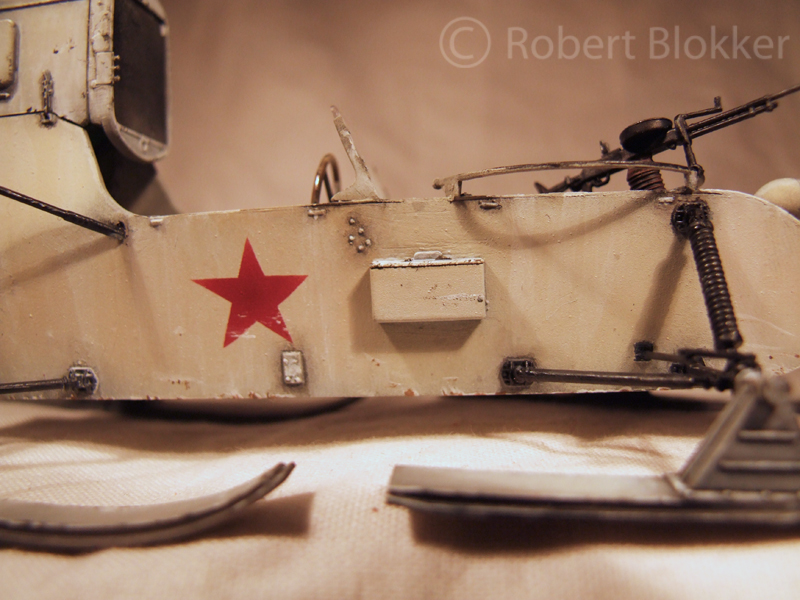
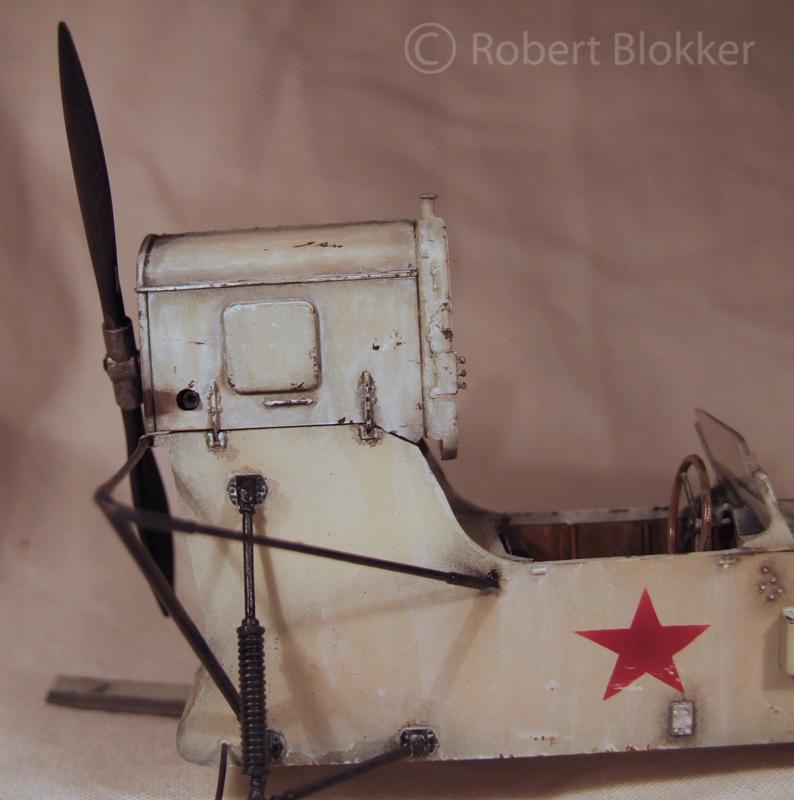
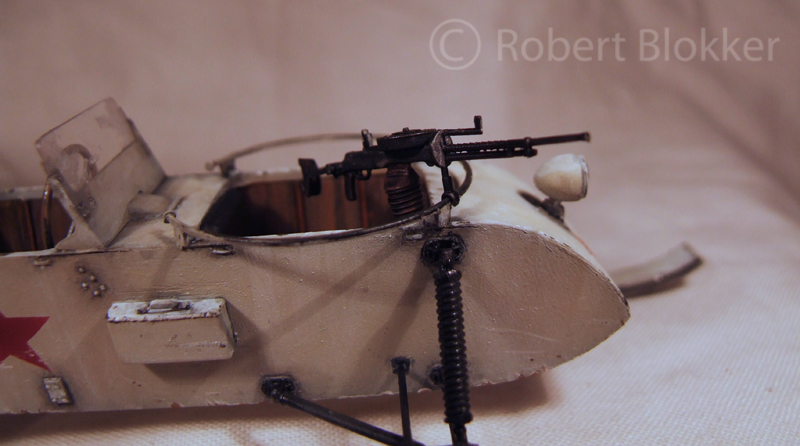
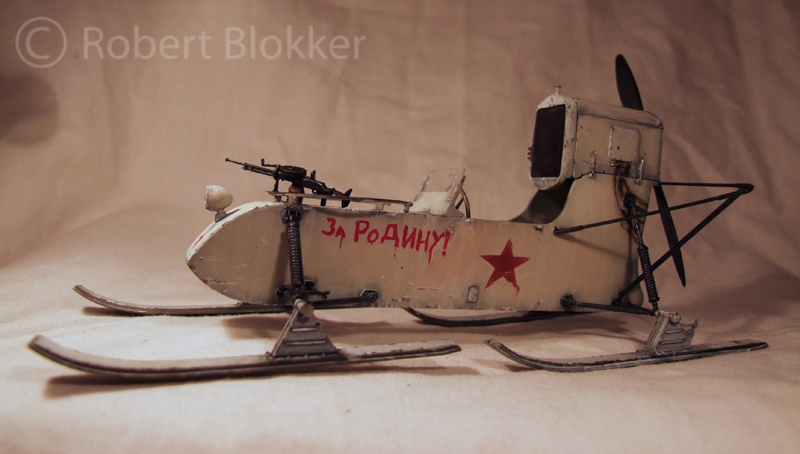
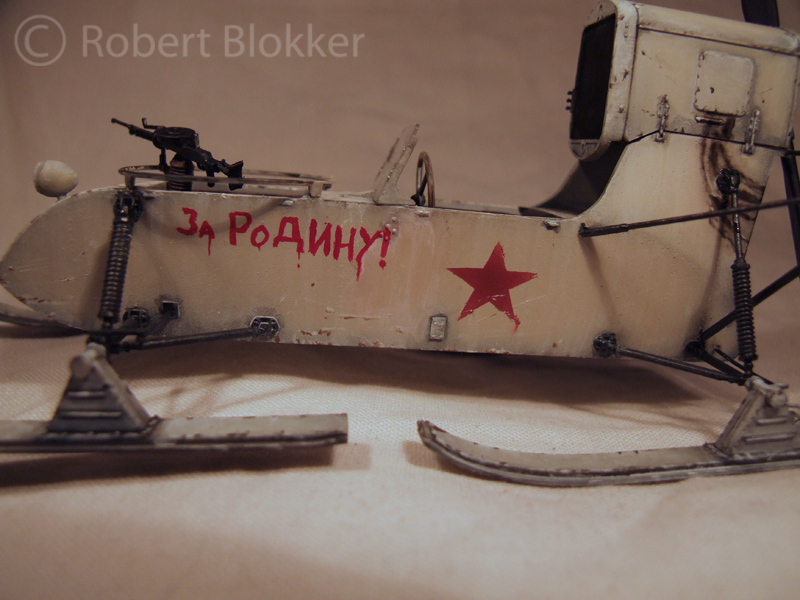
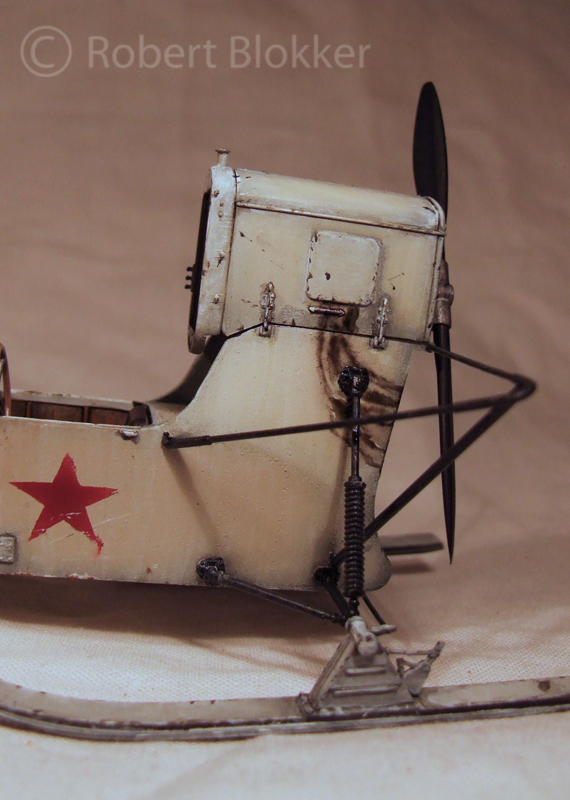
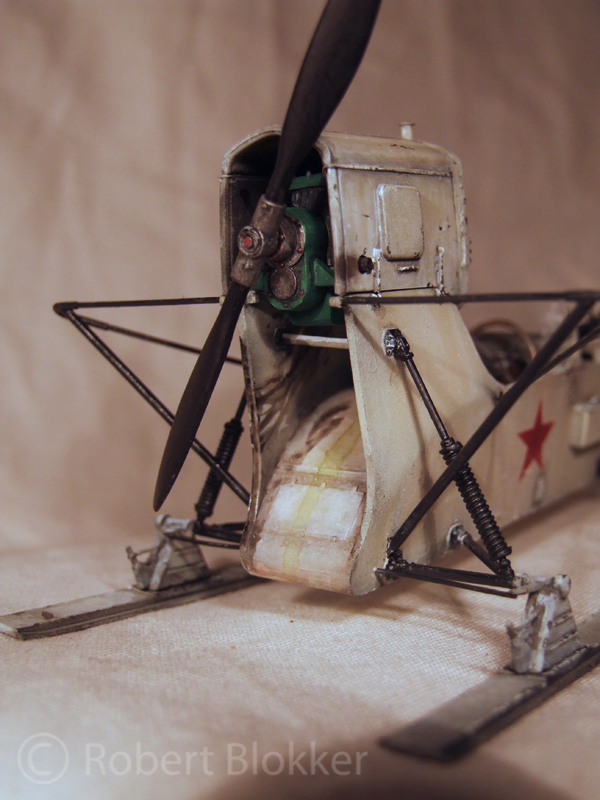
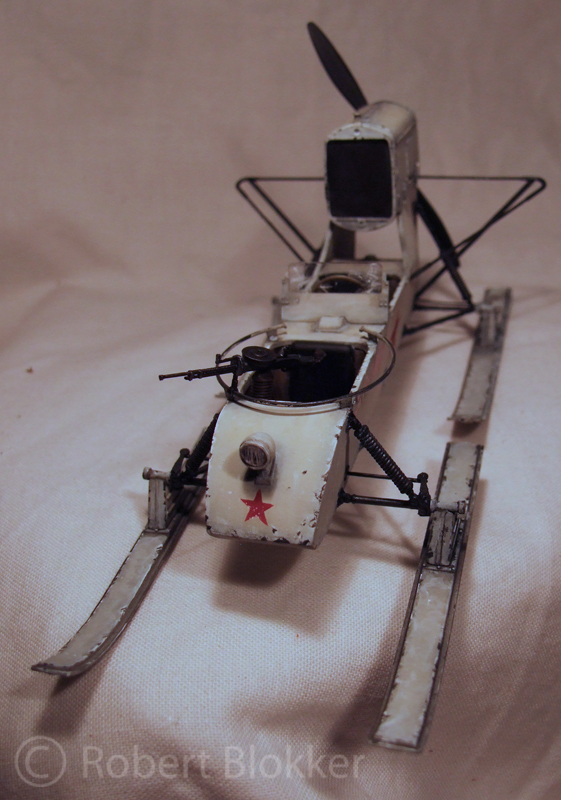
Final update as the lady is finished. Loads of pictures but let me start of with what has been done since last update.

I did some masking


I painted an MG


Did some detailpainting like chips on the hull bottom, Smoke from exhaust. Markings, ice remains on windscreen etc.


I enhanced the lense by scoring the back of it with my hobbyknife


Ok... Enough talk... here are the pics of the finished Ice Mistress


More pictures of the finished vehicle can be found here

As always looking forward to your feedback.

With friendly greetz

Robert Blokker
Karl187
#284
Visit this Community
Northern Ireland, United Kingdom
Joined: October 04, 2006
KitMaker: 3,094 posts
Armorama: 2,942 posts
Posted: Saturday, August 20, 2011 - 08:54 AM UTC
Robert- this is awesome, the finishing touches have really brought this weird looking sled to life. Chips on the bottom are very convincing as is the stencilling. I particularly like the chipping on the stars and the running paint on the slogan. Fuel and exhaust stains also add to things nicely and scoring on the headlight works very well- thats something I'll have to try myself. Congrats on this build mate. I'm really looking forward to seeing it on the base with the figures.
 _GOTOTOP