West-Vlaaderen, Belgium
Joined: December 01, 2002
KitMaker: 568 posts
Armorama: 528 posts
Posted: Saturday, March 17, 2012 - 11:20 AM UTC
Hey guys,
After some time of, I recently came back to the hobby. One of the only things I always come back to.

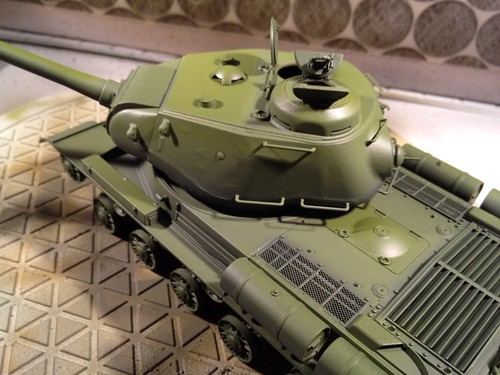
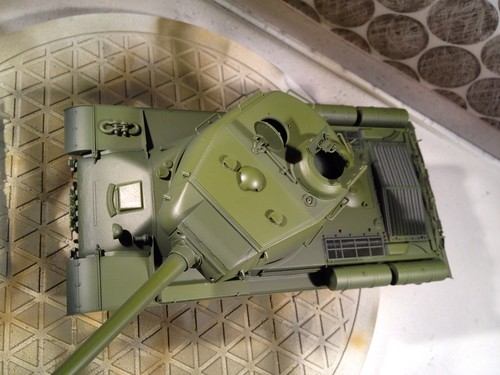
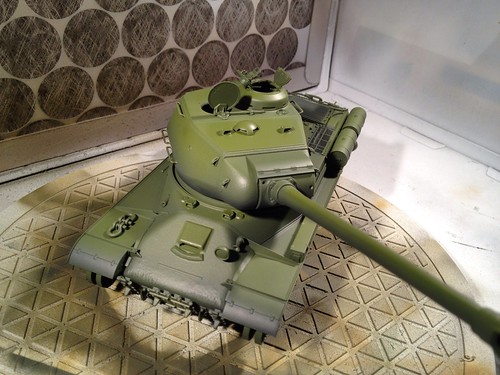
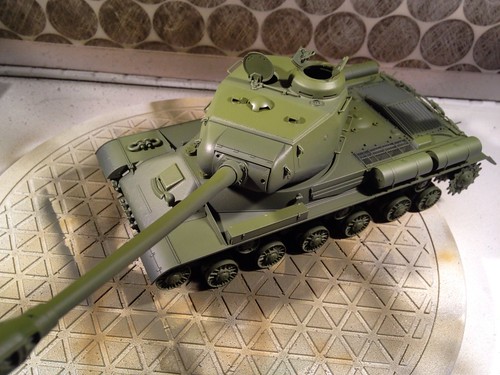
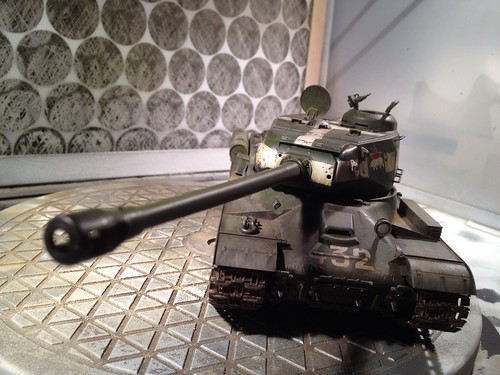
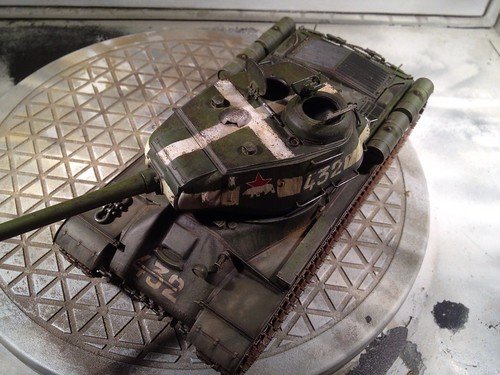
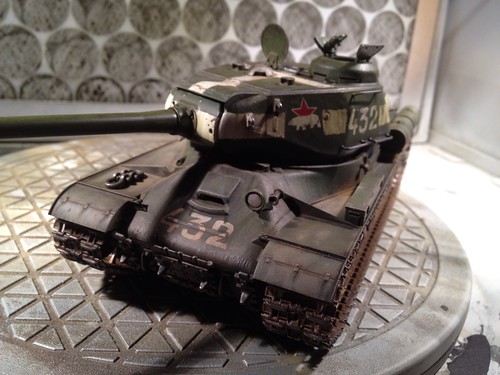
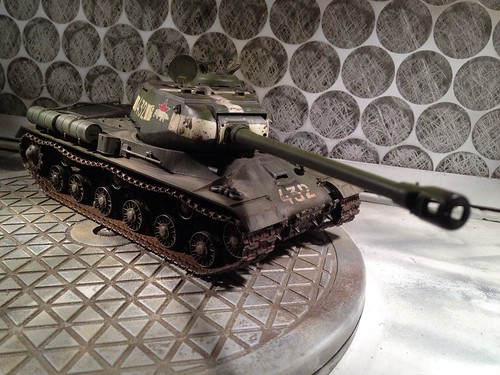
Anyway, I just tried my first modulation on this JS II. What do you think? How and what can I improve?
Thanks for looking!
 photo
photo by
ddepickere, on Flickr
 photo
photo by
ddepickere, on Flickr
 photo
photo by
ddepickere, on Flickr
 photo
photo by
ddepickere, on Flickr
World War II, analyzed!
http://www.ww2analyzed.com/
Poland
Joined: February 15, 2011
KitMaker: 7 posts
Armorama: 7 posts
Posted: Saturday, March 17, 2012 - 11:37 AM UTC
Looks realy nice! Are you going to keep it russian green or are you planning to do it in winter camouflage?
West-Vlaaderen, Belgium
Joined: December 01, 2002
KitMaker: 568 posts
Armorama: 528 posts
Posted: Saturday, March 17, 2012 - 11:42 AM UTC
Thanks!
I'm gonna keep this one in Russian green. I have a t34 somewhere on which I'll probably do a winter camo.
But I'm currently working on Dragons tiger with zimmerit where I'm stuck on the last PE, so better first finish that one before I open another box. I bought the AVRE Mark IV this weekend, which will probably be my next build.
So much to do, so little time. :-)
World War II, analyzed!
http://www.ww2analyzed.com/
Texas, United States
Joined: March 08, 2010
KitMaker: 2,465 posts
Armorama: 2,383 posts
Posted: Sunday, March 18, 2012 - 02:50 AM UTC
Hi Dave,
I think your paint job looks really good. its just my personal opinion, but i think the modulation technique can be way over done and unrealistic at times, even with artistic liberties. having said that, i love how you have done your paint job! it almost looks as if the sun is shining on it makeing proper light and shadow areas. Well done Man!

Gary

West-Vlaaderen, Belgium
Joined: December 01, 2002
KitMaker: 568 posts
Armorama: 528 posts
Posted: Sunday, March 18, 2012 - 03:31 AM UTC
Thanks Gary,
I was a bit unsure of the outcome. I do think I made a mistake on the aft part of the turret. Anyhow things will change a lot after all the wheat erring is done.
I have an LVT ready for the paint job, which will be my second modulation. :-) hope it will be even better.
Thanks for the feedback really appreciated!
World War II, analyzed!
http://www.ww2analyzed.com/
West-Vlaaderen, Belgium
Joined: December 01, 2002
KitMaker: 568 posts
Armorama: 528 posts
Posted: Wednesday, April 18, 2012 - 09:58 AM UTC
The details are painted and the decals added. I still have to paint the white band in the turret, and then it's ready for weathering.
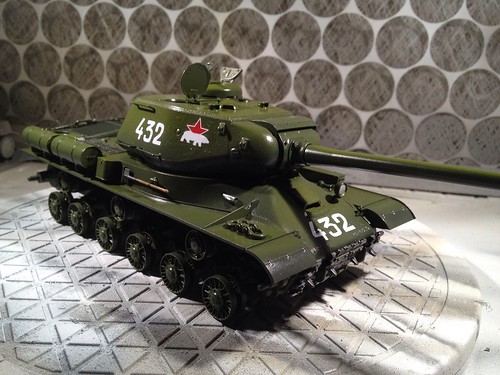 7091681063_a492608eca_b
 by
ddepickere, on Flickr
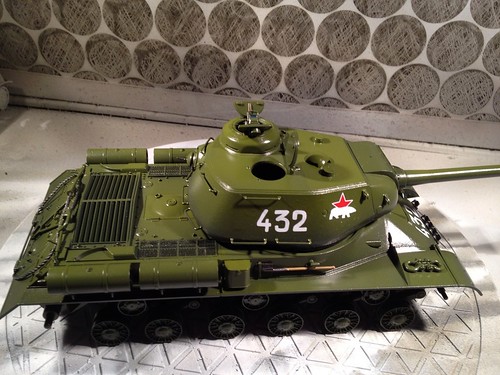 7091682511_ccb94565d7_b
 by
ddepickere, on Flickr
World War II, analyzed!
http://www.ww2analyzed.com/
North Carolina, United States
Joined: June 06, 2006
KitMaker: 4,691 posts
Armorama: 3,509 posts
Posted: Thursday, April 19, 2012 - 01:02 AM UTC
It looks pretty good,especially with the details added and painted.
Did you make your own mix,or use the AK stuff,it looks just like their example.
West-Vlaaderen, Belgium
Joined: December 01, 2002
KitMaker: 568 posts
Armorama: 528 posts
Posted: Thursday, April 19, 2012 - 01:17 AM UTC
Hello Anthony,
I didn't use AK, but made my own mixes with Vallejo paints.
Added dark grey for the darker parts and yellow for the highlights.
I did my LVT - other post here - in the same way.
Thanks for looking!
Dave
World War II, analyzed!
http://www.ww2analyzed.com/
Texas, United States
Joined: March 08, 2010
KitMaker: 2,465 posts
Armorama: 2,383 posts
Posted: Thursday, April 19, 2012 - 01:29 AM UTC
Hi Dave,
Coming along very nice. Whats next? Pin wash or wash? Or other? Looking forward to next update.

Gary
West-Vlaaderen, Belgium
Joined: December 01, 2002
KitMaker: 568 posts
Armorama: 528 posts
Posted: Thursday, April 19, 2012 - 06:00 AM UTC
Hello Gary,
I'll start with a pin wash and then some filters. Probably some oil fading, dust overspray and finishing of with pigments.
I'll try to use the life color tensocrom set. I have it in my stash but never used it.
Any tips?
Thanks for looking!
Dave
World War II, analyzed!
http://www.ww2analyzed.com/
Texas, United States
Joined: March 08, 2010
KitMaker: 2,465 posts
Armorama: 2,383 posts
Posted: Thursday, April 19, 2012 - 06:16 AM UTC
Quoted Text
Hello Gary,
I'll start with a pin wash and then some filters. Probably some oil fading, dust overspray and finishing of with pigments.
I'll try to use the life color tensocrom set. I have it in my stash but never used it.
Any tips?
Thanks for looking!
Dave
Look like you got everything under control man! Let us know how the lifecolor set goes please. It really looks great Dave!

Gary
West-Vlaaderen, Belgium
Joined: December 01, 2002
KitMaker: 568 posts
Armorama: 528 posts
Posted: Sunday, May 13, 2012 - 09:43 AM UTC
White lines on the turret were added, the tracks are fixed in place and a partial wash was done with AKs wash for green vehicles.
I do like how the white lines turned out. It was going totally the wrong way, but in the end I'm really happy with the result. Same for the tracks.
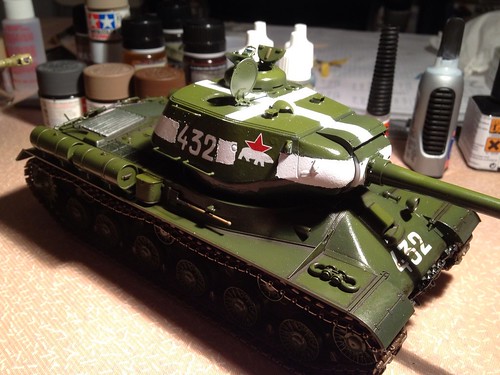 7191472058_3682120576_b
 by
ddepickere, on Flickr
 7191473466_294de32f84_b
 by
ddepickere, on Flickr
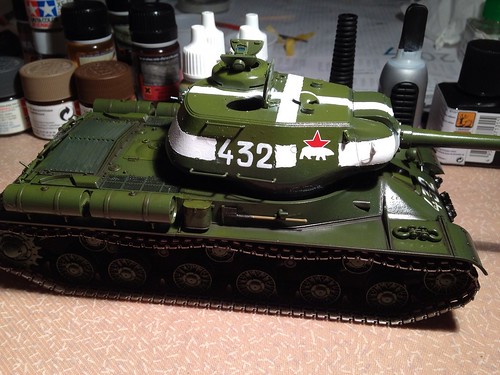 7191458536_a73c786851_b
 by
ddepickere, on Flickr
World War II, analyzed!
http://www.ww2analyzed.com/
North Carolina, United States
Joined: February 06, 2006
KitMaker: 1,544 posts
Armorama: 1,464 posts
Posted: Sunday, May 13, 2012 - 11:24 AM UTC
very nice.... itll be a beast once you weather it.
Chris

West-Vlaaderen, Belgium
Joined: December 01, 2002
KitMaker: 568 posts
Armorama: 528 posts
Posted: Wednesday, May 16, 2012 - 11:14 AM UTC
Hello guys!
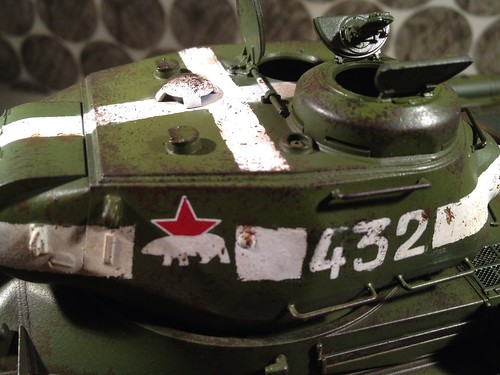
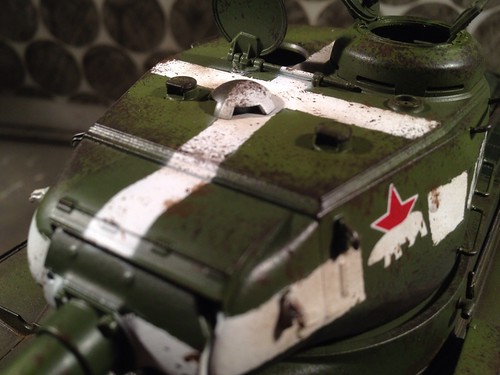
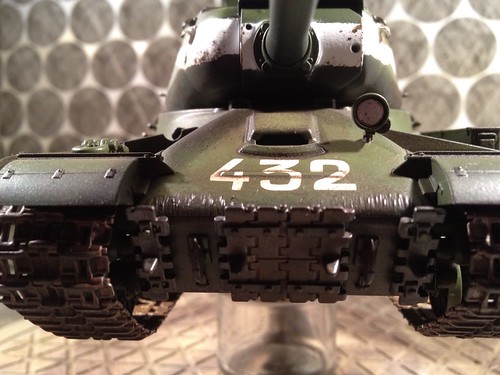
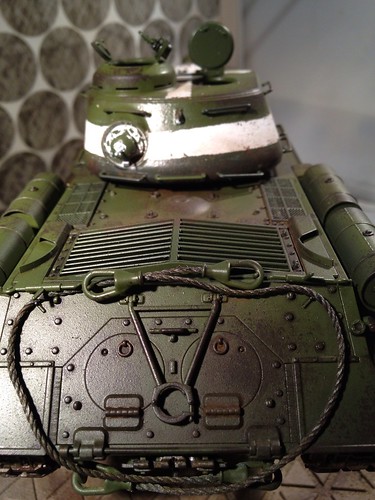
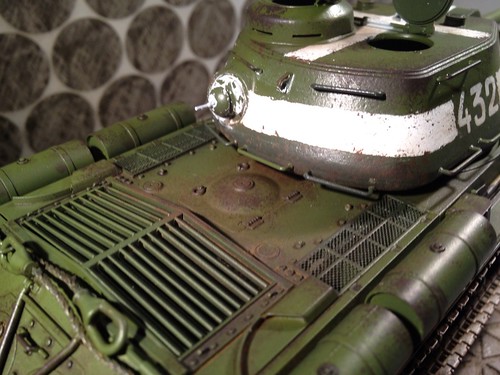
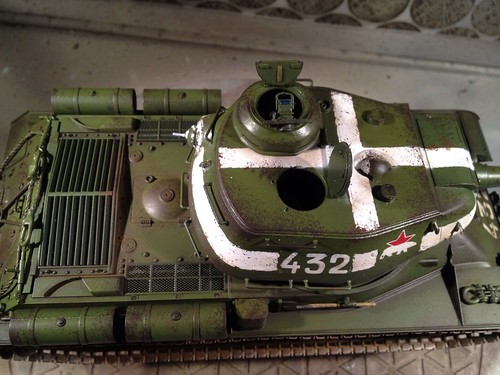
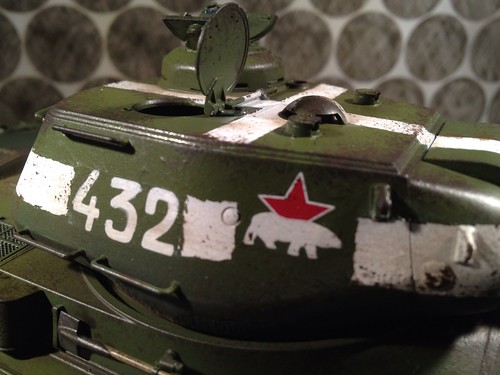
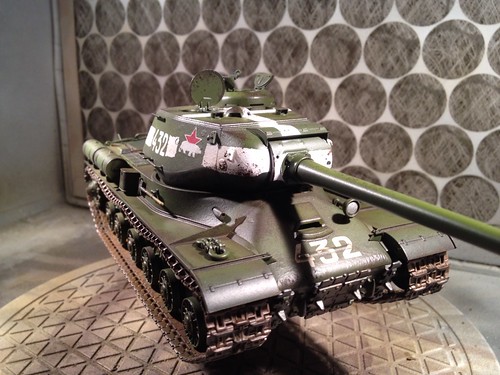
I did some more work on the JS II.
What did I do:
- added a light rust and a dark earth wash to the tracks
- added some chips to the turret and hull with the song technique (actually first time I did this)
- used some pigments also dark earth, also a first
- added a flat coat (Vallejo)
Washes and pigments are from AK.
tell me what you think, what's good what's perfect, what needs improvement, what sucks. I'm here to learn and improve my skills, and hopefully my models, so I'm open to all comments, either good or bad.
Thanks!
Dave
 photo
photo by
ddepickere, on Flickr
 photo
photo by
ddepickere, on Flickr
 photo
photo by
ddepickere, on Flickr
 photo
photo by
ddepickere, on Flickr
 photo
photo by
ddepickere, on Flickr
 photo
photo by
ddepickere, on Flickr
 photo
photo by
ddepickere, on Flickr
 photo
photo by
ddepickere, on Flickr
 photo
photo by
ddepickere, on Flickr
World War II, analyzed!
http://www.ww2analyzed.com/
Texas, United States
Joined: March 08, 2010
KitMaker: 2,465 posts
Armorama: 2,383 posts
Posted: Wednesday, May 16, 2012 - 11:40 AM UTC
Hi Dave,
Dave it is looking great so far!

Only thing i can mention is a little more wear and tear on the tow cable eye's and the shackels on the front fender, but that might be nit picky.

Or you may not be done with that part yet. Well done Dave!
Gary
West-Vlaaderen, Belgium
Joined: December 01, 2002
KitMaker: 568 posts
Armorama: 528 posts
Posted: Wednesday, May 16, 2012 - 12:15 PM UTC
Thanks for the comments Gary.
I haven't called it done yet. I'll add a filter and some oil fading and also want to add some chips with graphite to show clear metal. And last of all some dry pigments to show more dust.
I noticed that the flat coat completely did away the effect if the pigments....
Nonetheless I'm also looking for some ideas from to experts to improve the JS even more. I know more or less what and how to do it, but sometimes it feel like being lost in the woods. :-)
Dave
World War II, analyzed!
http://www.ww2analyzed.com/
Texas, United States
Joined: March 08, 2010
KitMaker: 2,465 posts
Armorama: 2,383 posts
Posted: Wednesday, May 16, 2012 - 12:36 PM UTC
Quoted Text
I noticed that the flat coat completely did away the effect if the pigments....
Dave
Hi Dave,
Flat coat always before pigments. The pigments need the flat base to adhere to properly. As you said any pigment effects already apllied will be negated useing any paint or clear coats after.
You dont seem to lost to me man, your doing a fantastic job Dave. Carry on dude!

Gary
United States
Joined: September 07, 2006
KitMaker: 164 posts
Armorama: 155 posts
Posted: Saturday, May 19, 2012 - 01:18 PM UTC
Dave,
Looks good.....
Only other thing I noticed was the lower right grab rail on the turret looks disconnected on the right side,I would think it would be bent not disconnected?
Regards, Paul
Arkansas, United States
Joined: June 29, 2009
KitMaker: 11,610 posts
Armorama: 7,843 posts
Posted: Saturday, May 19, 2012 - 08:05 PM UTC
A mean looking beast indeed. You would be hard pressed to find one better! I have never heard of the "song technique". Can you enlighten me?
Ideals are peaceful. History is violent.
West-Vlaaderen, Belgium
Joined: December 01, 2002
KitMaker: 568 posts
Armorama: 528 posts
Posted: Sunday, May 20, 2012 - 01:41 AM UTC
@Paul: you're right it's indeed detached. It actually fell of on Friday. I have to reattach them regularly. :-)
@Matt: thanks for the comments. I was trying to type sponge technique. :-) but somehow, my iPad made it song technique. :-) sorry for the confusion.
Dave
World War II, analyzed!
http://www.ww2analyzed.com/
West-Vlaaderen, Belgium
Joined: December 01, 2002
KitMaker: 568 posts
Armorama: 528 posts
Posted: Saturday, May 26, 2012 - 10:40 AM UTC
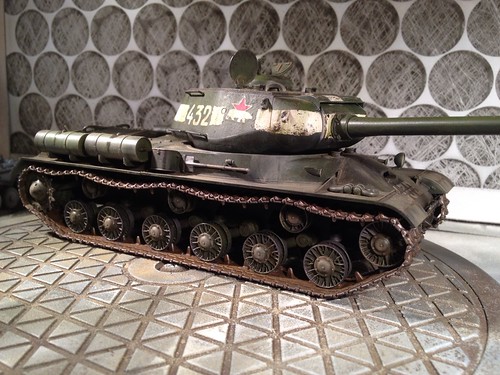
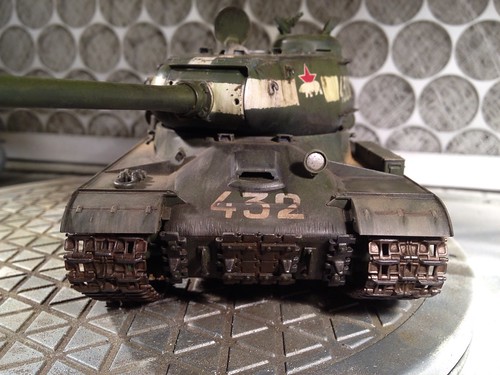
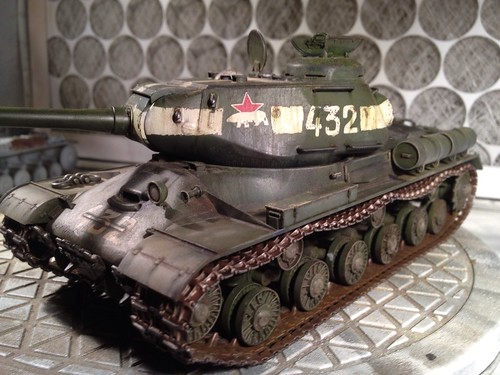
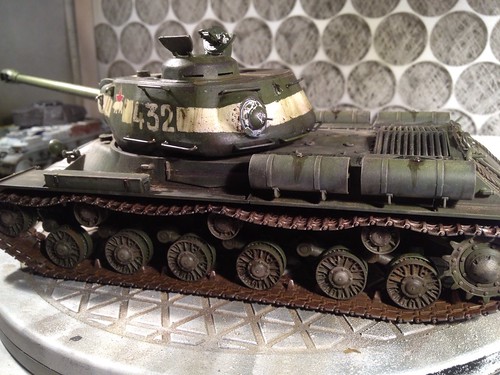
Hey guys,
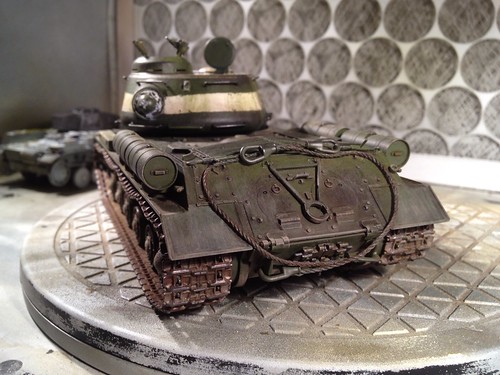
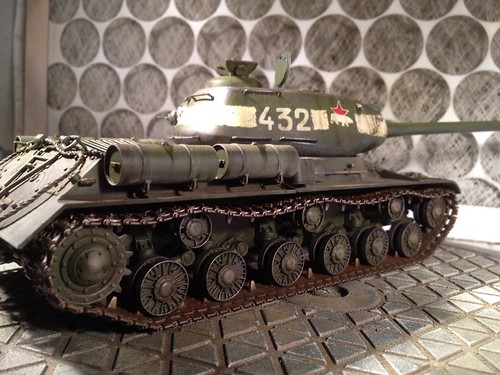
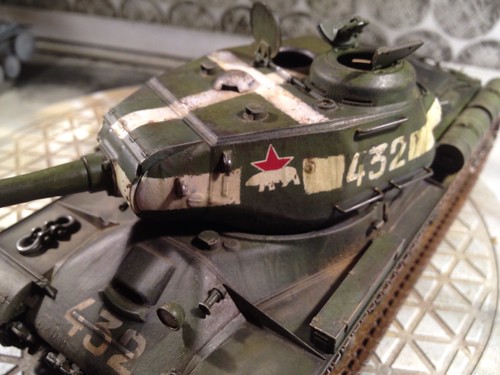
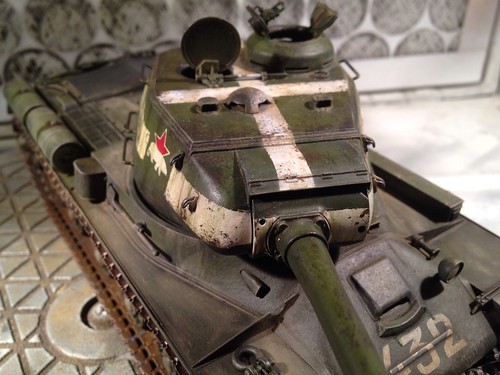
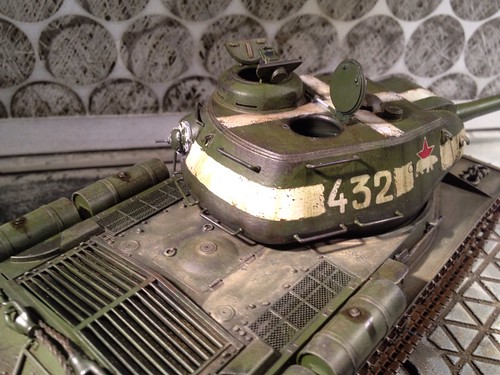
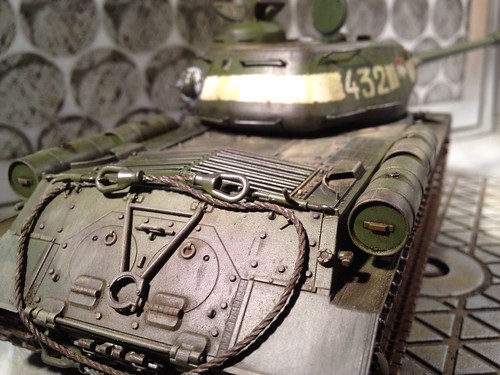
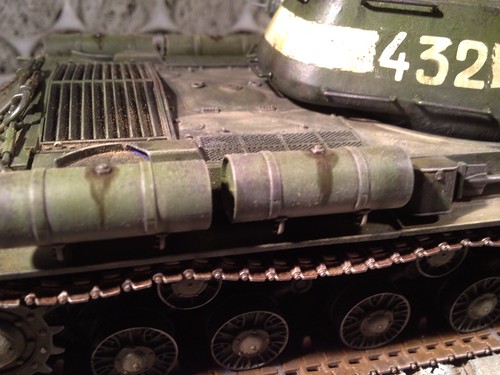
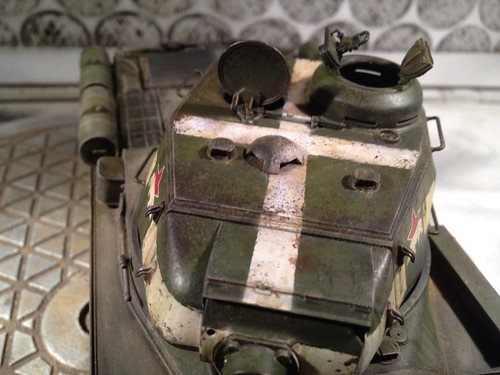
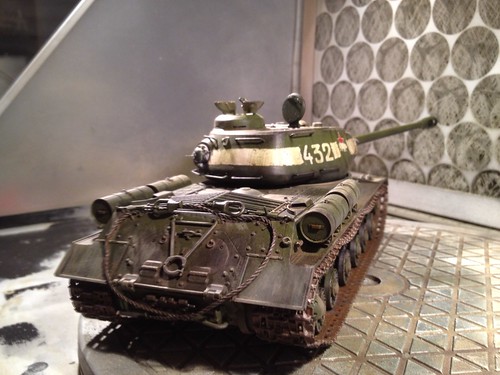
Unless anyone has some additional remarks, see some imperfections, noticed some things that I missed, can be better, or anything that might improve my JS II, I think I'm gonna call this one ready...
So, what do you think?
Thanks for looking. And your remarks!
Dave
 photo
photo by
ddepickere, on Flickr
 photo
photo by
ddepickere, on Flickr
 photo
photo by
ddepickere, on Flickr
 photo
photo by
ddepickere, on Flickr
 photo
photo by
ddepickere, on Flickr
 photo
photo by
ddepickere, on Flickr
 photo
photo by
ddepickere, on Flickr
 photo
photo by
ddepickere, on Flickr
 photo
photo by
ddepickere, on Flickr
 photo
photo by
ddepickere, on Flickr
 photo
photo by
ddepickere, on Flickr
 photo
photo by
ddepickere, on Flickr
 photo
photo by
ddepickere, on Flickr
 photo
photo by
ddepickere, on Flickr
 photo
photo by
ddepickere, on Flickr
 photo
photo by
ddepickere, on Flickr
 photo
photo by
ddepickere, on Flickr
World War II, analyzed!
http://www.ww2analyzed.com/
West-Vlaaderen, Belgium
Joined: December 01, 2002
KitMaker: 568 posts
Armorama: 528 posts
Posted: Tuesday, May 29, 2012 - 11:20 AM UTC
Hi guys!
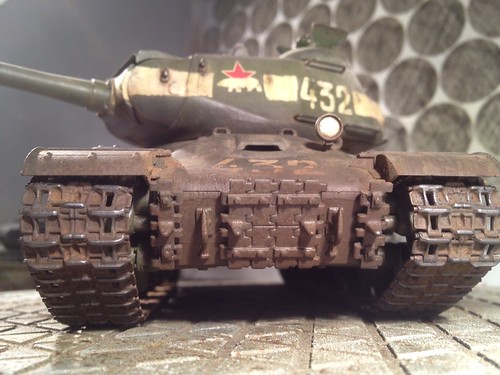
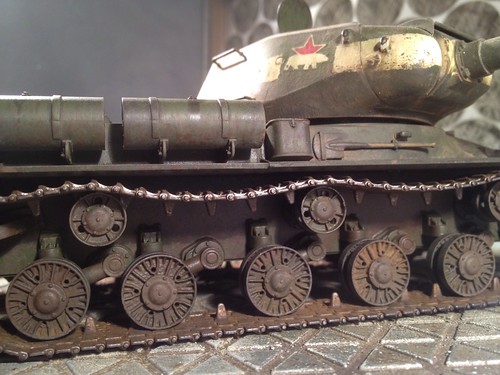
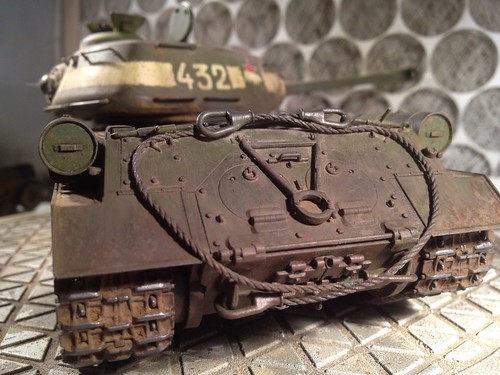
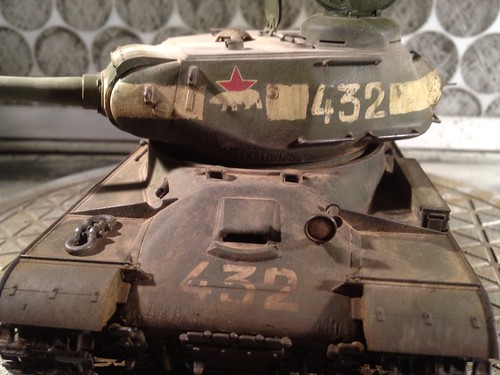
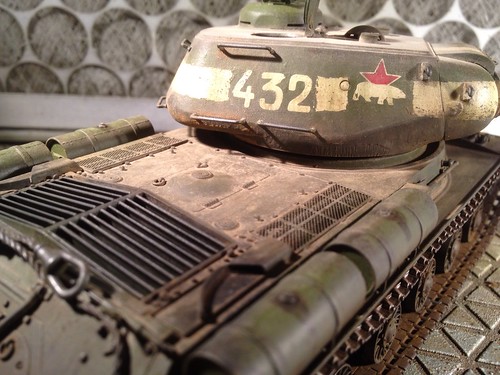
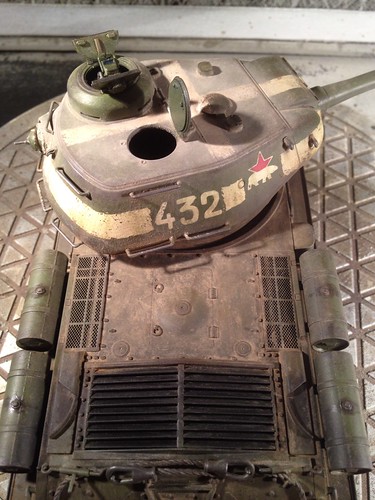
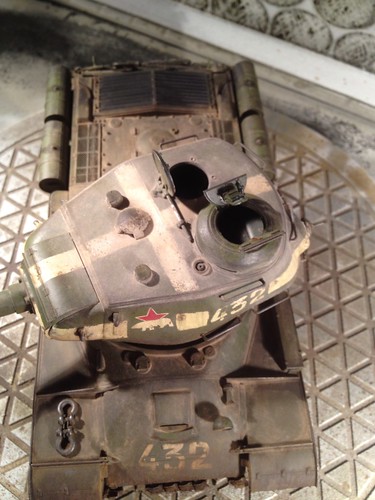
I wasn't completely satisfied with some parts of the JS II, so I did some more work on it, but now I call this one
FINISHED! :-)
What do you think?
Next up will be the Tiger.
Thanks for looking.
Dave
 photo
photo by
ddepickere, on Flickr
 photo
photo by
ddepickere, on Flickr
 photo
photo by
ddepickere, on Flickr
 photo
photo by
ddepickere, on Flickr
 photo
photo by
ddepickere, on Flickr
 photo
photo by
ddepickere, on Flickr
 photo
photo by
ddepickere, on Flickr
 photo
photo by
ddepickere, on Flickr
World War II, analyzed!
http://www.ww2analyzed.com/
Texas, United States
Joined: March 08, 2010
KitMaker: 2,465 posts
Armorama: 2,383 posts
Posted: Tuesday, May 29, 2012 - 12:35 PM UTC
Hi Dave,
Very nice Dave! Looks well worn and battle hardened. Well done.

Gary

West-Vlaaderen, Belgium
Joined: December 01, 2002
KitMaker: 568 posts
Armorama: 528 posts
Posted: Tuesday, May 29, 2012 - 01:27 PM UTC
Hello Gary,
Thanks for your nice comments.
Do you think there's something I could add or change?
This was the first time I used oils, pigments, etc, so I really could do with some critical feedback. :-)
I did suffer a bit of the wheatering order in the later stages. I mean, when to do the streaking, pigments, washes, fuel stains, mud etc.
I also wonder what the use is of the modulation, because by now, you don't see anything of it anymore... Same goes for the washes.
What I did now was:
1 base paint - modulation style
2 detail painting
3 coat of future
4 decals
5 coat of future
6 dark pin wash
7 Matt coat
8 filter
9 blue oil paint
10 dot fading with oils
11 streaking grime
12 fuel stains
13 pigments
14 pin wash
15 more pigments
16 dark mud
17 earth effects
I do feel that some effects negates previous added effects... I'm not quite convinced with this working order and what I can do better.
Thanks!
Dave
World War II, analyzed!
http://www.ww2analyzed.com/
Texas, United States
Joined: March 08, 2010
KitMaker: 2,465 posts
Armorama: 2,383 posts
Posted: Tuesday, May 29, 2012 - 01:45 PM UTC
Dave, Thats pretty much the same order i use. Im not sure what the Blue oil is for and im not a big fan of mud unless part of a dio. But other than that it is the same proccess and order i use every time. I think your spot on. But thats just my opinion.

Gary


