_GOTOBOTTOM
Constructive Feedback
For in-progress or completed build photos. Give and get contructive feedback!
Academy "Super Sherman" WIP
acroyear
Visit this Community
New York, United States
Joined: December 10, 2012
KitMaker: 19 posts
Armorama: 17 posts
Posted: Wednesday, December 12, 2012 - 02:26 PM UTC
Hello everyone.
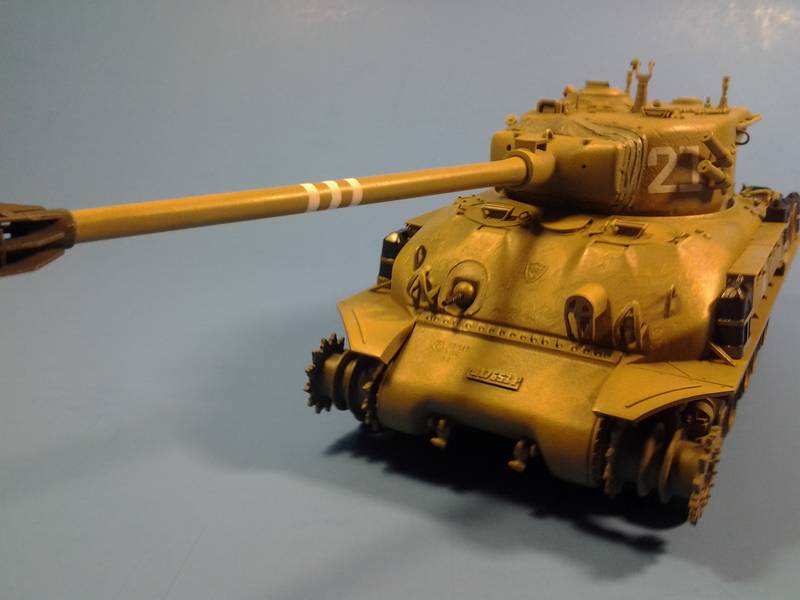
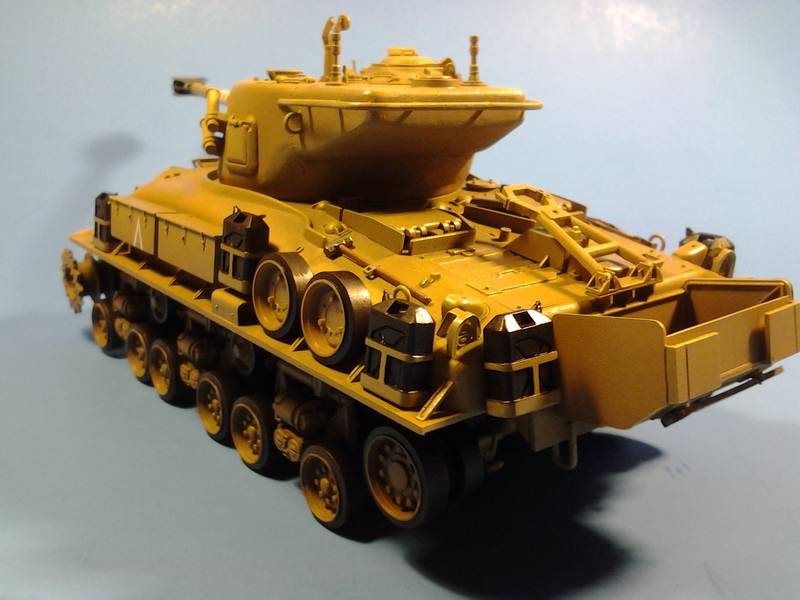
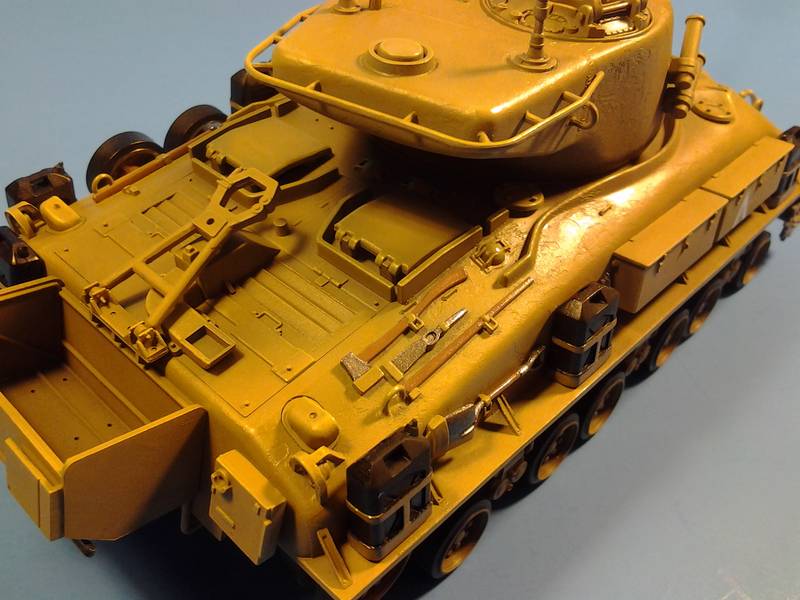
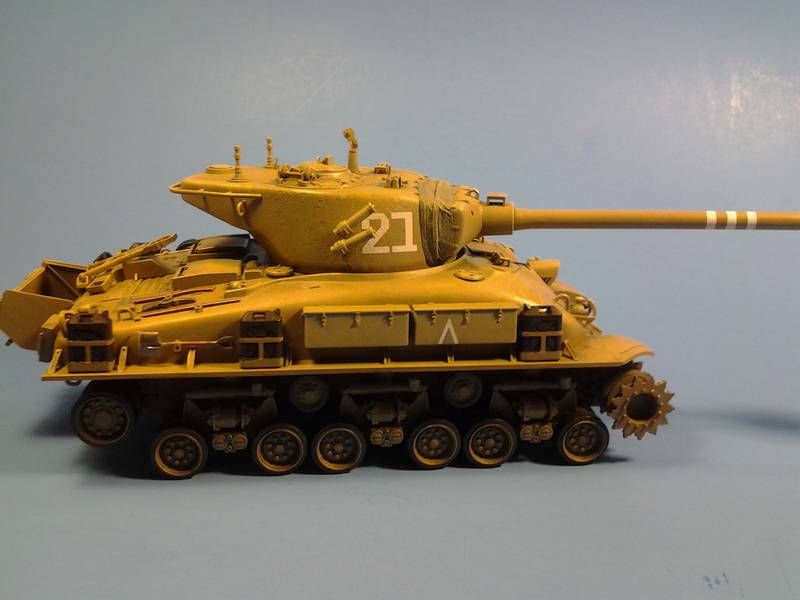
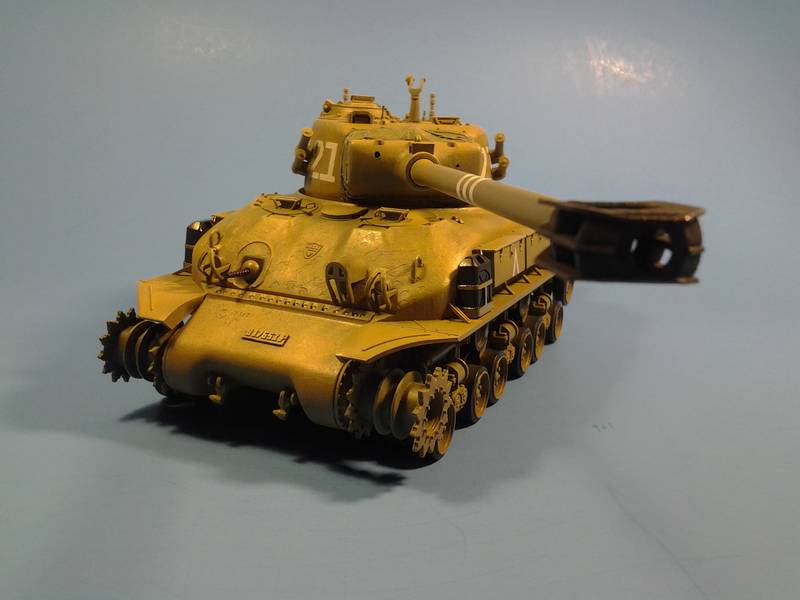
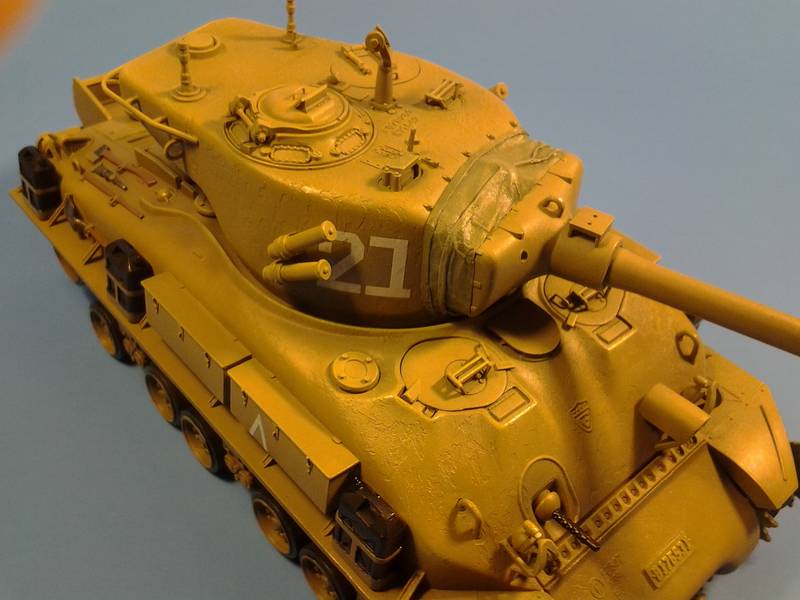
I thought I'd throw some photos out there. It's in a glossy state right now in preparation for a pln wash.
A fun build so far. I just finished the decals.
I decided to paint the stripes on the barrel instead of using the provided decals simply because it was easier.
Any feedback appreciated.

Thanks guys.
Trey


Tiger_213
Visit this Community
California, United States
Joined: August 10, 2012
KitMaker: 1,510 posts
Armorama: 1,443 posts
Posted: Wednesday, December 12, 2012 - 02:56 PM UTC
Nice work, didn't know there was an Academy kit as well; thought it was just DML/Tamiya. Color looks a bit odd though, could be the gloss coat? The whole kit looks a bit weird but there's some nice details like the casting numbers.

Did you do your own cast texture and blast bag or are those out-of-the-box?
acroyear
Visit this Community
New York, United States
Joined: December 10, 2012
KitMaker: 19 posts
Armorama: 17 posts
Posted: Wednesday, December 12, 2012 - 03:13 PM UTC
Hey Chris.
I think its the lighting AND the gloss thats throwing the color off. It looks a little rough right now but should look better as things progress.
The cast texture is molded on.
I dont know much about these tanks so I dont know what looks "weird" about it. Do you mean the color or is it something else?
Whats a blast bag?
Tiger_213
Visit this Community
California, United States
Joined: August 10, 2012
KitMaker: 1,510 posts
Armorama: 1,443 posts
Posted: Wednesday, December 12, 2012 - 03:23 PM UTC
'Blast bag', that canvas bit around the gun mantle. That's what I've always called it anyways.

The smoke launchers look a bit long, travel lock, the fact one of the light guards has a roof, and the hand rail around the turret. They all look 'off' to me. Then again I'm usually wrong. Looking forward to seeing how you finish it.
ProfessorP
Visit this Community
Minnesota, United States
Joined: February 20, 2007
KitMaker: 339 posts
Armorama: 325 posts
Posted: Wednesday, December 12, 2012 - 03:29 PM UTC
WHOA! That first image is awesome! Nice depth of field...looks like that thing's about to unload a round into my computer room!

Yeah, I think you just have to figure out the camera settings to match whatever kind of light source you are using. I just went through something similar and it takes a bit to get it right. Once it's locked in you should be good though. Looks like you have a good camera since the images are really sharp and have good detail and focus.

As for the "blast bag" I think Christopher was referring to the canvas mantlet cover...wondering if that's molded on or if you sculpted it out of putty or some such.

This is looking like a really sharp build here. If you can get your color images figured out, this will showcase beautifully!

Keep at it.
Tiger_213
Visit this Community
California, United States
Joined: August 10, 2012
KitMaker: 1,510 posts
Armorama: 1,443 posts
Posted: Wednesday, December 12, 2012 - 04:15 PM UTC

Quoted Text

WHOA! That first image is awesome! Nice depth of field...looks like that thing's about to unload a round into my computer room!

Yeah, I think you just have to figure out the camera settings to match whatever kind of light source you are using. I just went through something similar and it takes a bit to get it right. Once it's locked in you should be good though. Looks like you have a good camera since the images are really sharp and have good detail and focus.

As for the "blast bag" I think Christopher was referring to the canvas mantlet cover...wondering if that's molded on or if you sculpted it out of putty or some such.

This is looking like a really sharp build here. If you can get your color images figured out, this will showcase beautifully!

Keep at it.


Have to agree about the first picture. Nothing worse than a 105mm gun pointing at your face!
Youngun
Visit this Community
Ontario, Canada
Joined: November 10, 2010
KitMaker: 587 posts
Armorama: 550 posts
Posted: Wednesday, December 12, 2012 - 04:39 PM UTC

Quoted Text

'Blast bag', that canvas bit around the gun mantle. That's what I've always called it anyways.

The smoke launchers look a bit long, travel lock, the fact one of the light guards has a roof, and the hand rail around the turret. They all look 'off' to me. Then again I'm usually wrong. Looking forward to seeing how you finish it.


The Israeli's used the longer smoke grenade launchers, not the same one's that the the American's used during WWII, that is not a light guard its the covering the horn it helps with the amplification, the hand rail around the turret is if i recall correctly either a stowage rail, to hang packs and other personnel items, or like it could be part of the radio array, but i think its the former. Hope that clears things up
acroyear
Visit this Community
New York, United States
Joined: December 10, 2012
KitMaker: 19 posts
Armorama: 17 posts
Posted: Wednesday, December 12, 2012 - 05:08 PM UTC
Thanks for the input guys.
The kits mantlet cover was truly awful so I covered it with masking tape..It now looks much better. The mantlet was the only major issue so far.
Otherwise it was a fairly fun and easy build AND the price was right. $26 delivered from E-Bay. Whoot! Cant beat that with a stick! Kits under $30 is my M.O. and under $20 is even better.
I'll try my best to pull it together.

Trey.
18Bravo
Visit this Community
Colorado, United States
Joined: January 20, 2005
KitMaker: 7,219 posts
Armorama: 6,097 posts
Posted: Wednesday, December 12, 2012 - 05:46 PM UTC
Very nice job, and yes, great depth of field. I used to have to use a very low F stop to get that. You did an especially nice job painting the barrel stripes. If they look a little hand made closer up, all the better. They usually weren't perfectly done. Ever see REAL invasion stripes?
The only thing that really strikes me that could be improved is where the front transmission piece meets the upper hull. There is a gap there that should not be there. I had the same issue when I built mine, and filled it with a strip of Evergreen during assembly. You can probably fix it withouttoo much trouble, although you'll obviously have to touch up the paint

Tiger_213
Visit this Community
California, United States
Joined: August 10, 2012
KitMaker: 1,510 posts
Armorama: 1,443 posts
Posted: Wednesday, December 12, 2012 - 07:06 PM UTC
Thanks Alex, haven't seen any close-up shots of the DML/Tamiya M51's and I don't believe either company depicts the handrail/storage-rail though it's all very believable.

See? As I said, I'm usually wrong!
acroyear
Visit this Community
New York, United States
Joined: December 10, 2012
KitMaker: 19 posts
Armorama: 17 posts
Posted: Wednesday, December 12, 2012 - 11:41 PM UTC
Thanks Rob.
I took these pics with my phone so I certainly cant complain. Wish I had known about that gap sooner. I've seen photos of this tank before so I have no excuse.

Chris.
Dont sweat it man. I know the feeling all too well.
 _GOTOTOP