Constructive Feedback
For in-progress or completed build photos. Give and get contructive feedback!
For in-progress or completed build photos. Give and get contructive feedback!
Hosted by Darren Baker, Dave O'Meara
Abrams M1A1 with mine roller
Removed by original poster on 12/30/12 - 22:42:25 (GMT).

didgeboy

Joined: September 21, 2010
KitMaker: 1,846 posts
Armorama: 1,509 posts

Posted: Sunday, December 30, 2012 - 10:37 AM UTC
Maybe its just me but not seeing any pictures. Might have missed a piece of code there.
Airtake

Joined: August 29, 2012
KitMaker: 20 posts
Armorama: 19 posts

Posted: Sunday, December 30, 2012 - 10:44 AM UTC
First time and trying to solve the problem.
Images are at Imageshack and I cant get the code right any ideas ?
Images are at Imageshack and I cant get the code right any ideas ?

didgeboy

Joined: September 21, 2010
KitMaker: 1,846 posts
Armorama: 1,509 posts

Posted: Sunday, December 30, 2012 - 10:54 AM UTC
inbound PM. Hit me back.

This is the text you copy and paste between the bookends that are created by the [img] button above the emoticons.
"https://gallery.kitmaker.net/data/28048/Ambrahams_MA1A_011.jpg"
see if this works.

This is the text you copy and paste between the bookends that are created by the [img] button above the emoticons.
"https://gallery.kitmaker.net/data/28048/Ambrahams_MA1A_011.jpg"
see if this works.
Removed by original poster on 12/30/12 - 23:34:20 (GMT).

didgeboy

Joined: September 21, 2010
KitMaker: 1,846 posts
Armorama: 1,509 posts

Posted: Sunday, December 30, 2012 - 11:35 AM UTC
Looks good, now you just need to make them BIGGER. If you have a gmail account google offers the picasa thing and you can size up your photos there.
Build looks solid. Was it a fun kit to build?
Build looks solid. Was it a fun kit to build?
Airtake

Joined: August 29, 2012
KitMaker: 20 posts
Armorama: 19 posts

Posted: Sunday, December 30, 2012 - 11:36 AM UTC
OK Here we go again and thanks Damon for helping a Newbee 
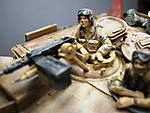
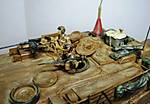
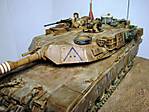
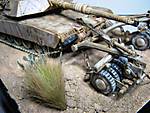
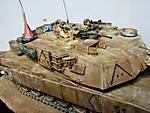
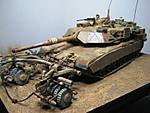
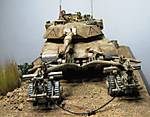
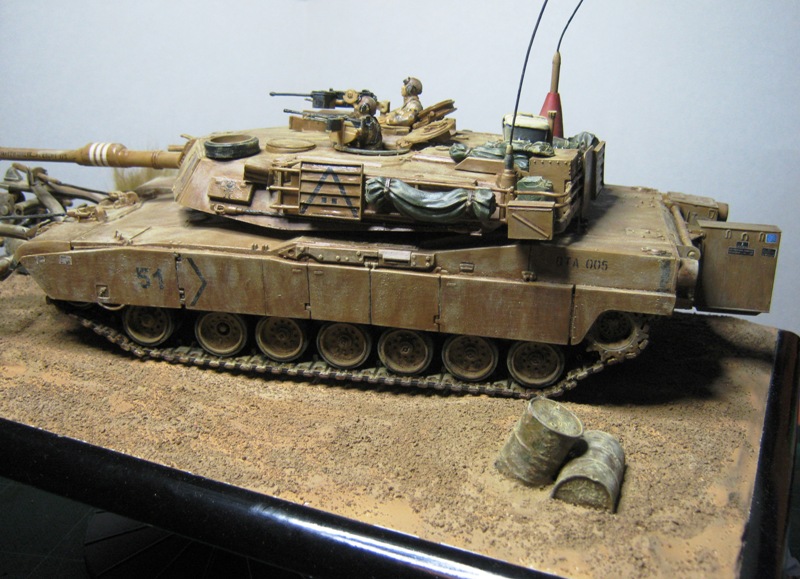
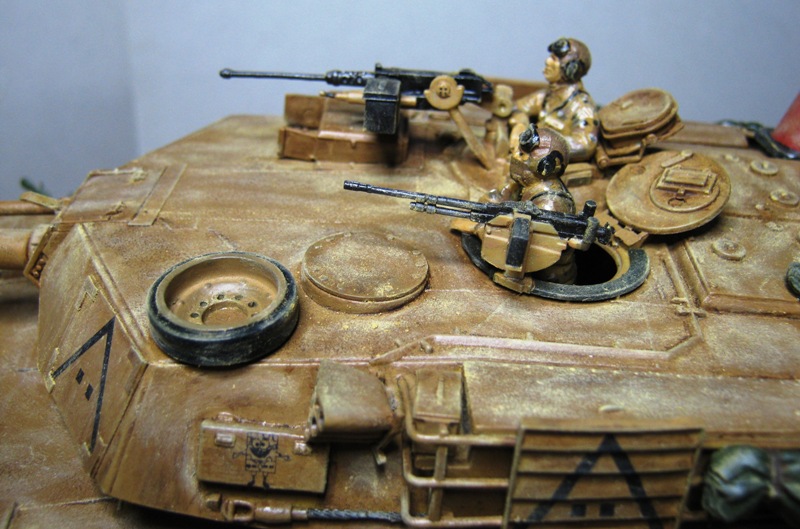
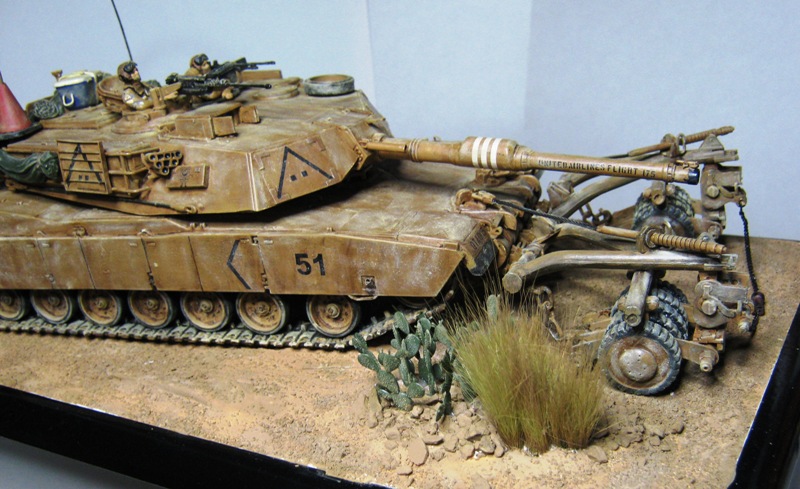
This is my build of the Trumpeter M1A1HA with mine roller set. It’s mostly "out of the box” but I couldn't resist on adding some items on it. First I bought some decals from Echelon that seemed appropriate
Then I built three CIP:s for the torrent out of Evergrey plasticards and a Cooler out of Mini putty. Added some bags and sleeping gear from Tamiya. The model was painted with Tamiyas XF-59 and then painted with MIG:s Brown wash, some brown and black oil paint for oil spills and for some definition, after that it was dusted with Tamiyas weathering pigments.
The base was made of a photo frame, some plaster, small rocks, some sand and model grass from my spare box, two oil barrels from Tamiya and some cactuses from Diopark. The whole thing was painted and weathered with Tamiya paints and pigments.
All comments welcomed.


Airtake

Joined: August 29, 2012
KitMaker: 20 posts
Armorama: 19 posts

Posted: Sunday, December 30, 2012 - 11:51 AM UTC
Thanks I'll look in to that. I tried Imageshack first but that didn't work.
Yes It was a great build, but there was some fixes needed specially with the mine rollers and the missing CIP:s but there should be at least one challenge in every build
Yes It was a great build, but there was some fixes needed specially with the mine rollers and the missing CIP:s but there should be at least one challenge in every build

Removed by original poster on 12/31/12 - 00:48:40 (GMT).
Removed by original poster on 12/31/12 - 00:50:41 (GMT).
paul51

Joined: January 03, 2010
KitMaker: 159 posts
Armorama: 158 posts

Posted: Sunday, December 30, 2012 - 04:25 PM UTC
I like the figures and the base Lennart, how did you find using the tamiya weather pigments.
AFVFan

Joined: May 17, 2012
KitMaker: 1,980 posts
Armorama: 1,571 posts

Posted: Sunday, December 30, 2012 - 11:49 PM UTC
The model looks really nice, Lennart.
If you want to try a different photo hosting site, try Photobucket. It's pretty easy to use and adding pics to the forum is only two clicks of the mouse.
If you want to try a different photo hosting site, try Photobucket. It's pretty easy to use and adding pics to the forum is only two clicks of the mouse.
Mossy72

Joined: November 30, 2012
KitMaker: 49 posts
Armorama: 43 posts

Posted: Monday, December 31, 2012 - 12:47 AM UTC
From what I can see in those small photos that looks great. Nice work 

Removed by original poster on 12/31/12 - 14:48:53 (GMT).
Airtake

Joined: August 29, 2012
KitMaker: 20 posts
Armorama: 19 posts

Posted: Monday, December 31, 2012 - 03:08 AM UTC
Quoted Text
I like the figures and the base Lennart, how did you find using the tamiya weather pigments.
Thanks Paul I used Tamiya weatherine master kit with Sand, Light sand and Mud in the pallet.
It's quite easy to use, just choose the color you want and use the sponge tool to apply it. If you apply much pigment on the sponge you get a more dustier effect and if you put on less you get an highlight effect. If you get too much pigment it can easily be brushed with a rougher brush.
I favored the Sand and Light sand pigments the Mud one didn’t really show on the model
All in all a good and easy to use product.
Airtake

Joined: August 29, 2012
KitMaker: 20 posts
Armorama: 19 posts

Posted: Monday, December 31, 2012 - 03:15 AM UTC
Thanks for the kind words Bob and Greg.
I think I got the picture problem sorted out so here comes the same pics in a larger format





I think I got the picture problem sorted out so here comes the same pics in a larger format


 |


