_GOTOBOTTOM
Constructive Feedback
For in-progress or completed build photos. Give and get contructive feedback!
M109A2 self propelled howitzer
MeowMix
Visit this Community
Metro Manila, Philippines
Joined: December 25, 2012
KitMaker: 34 posts
Armorama: 29 posts
Posted: Monday, January 28, 2013 - 07:06 PM UTC
Hey guys,

This is my first time posting a WIP here. I initially didnt want to because most of the modellers here likes to post scratch built parts and their skill levels are far superior than mine, but I think It'll be better if I start a build log since I can always get feedback and suggestions so it feels like Im always gonna get assistance while I build this project.

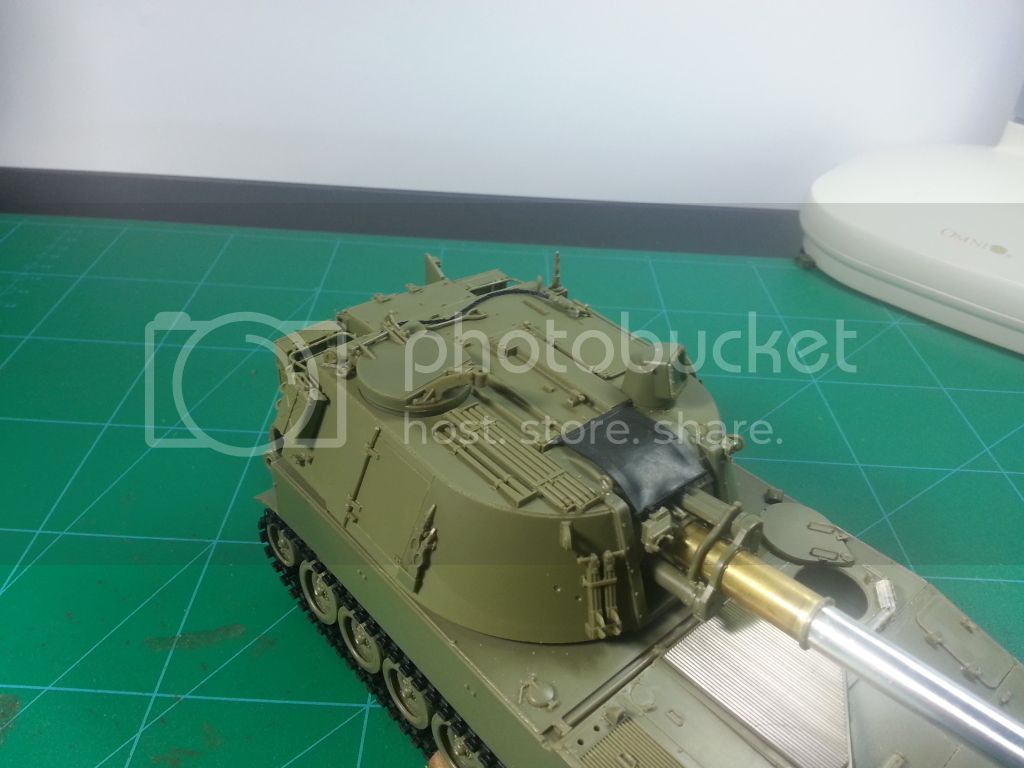
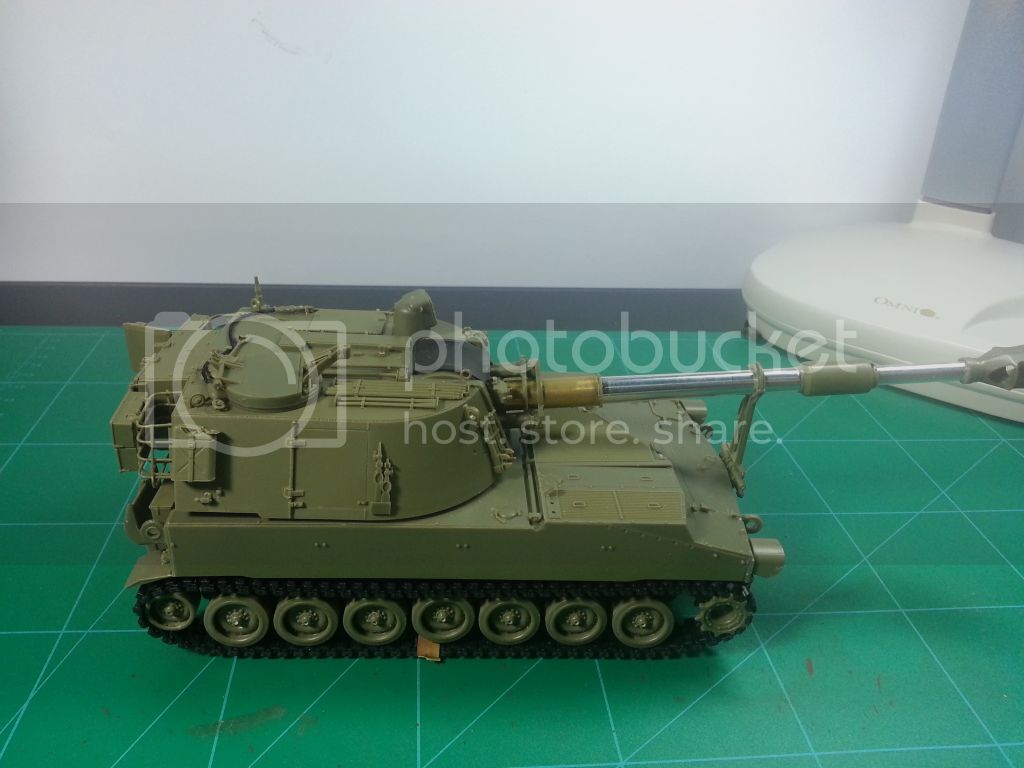
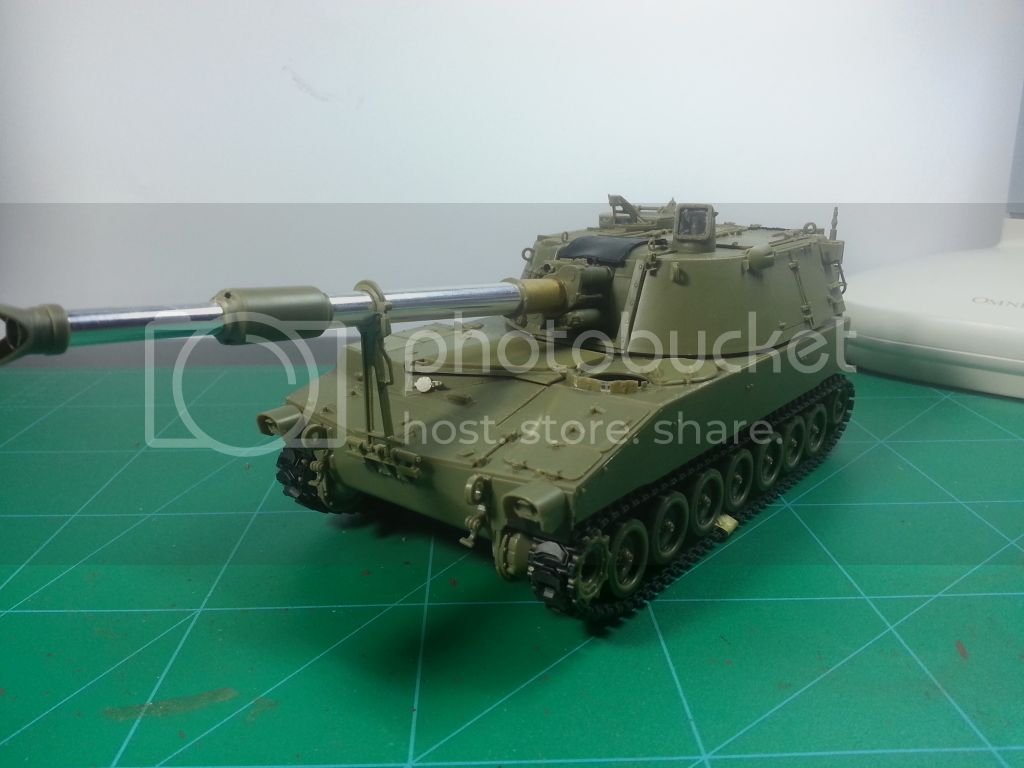
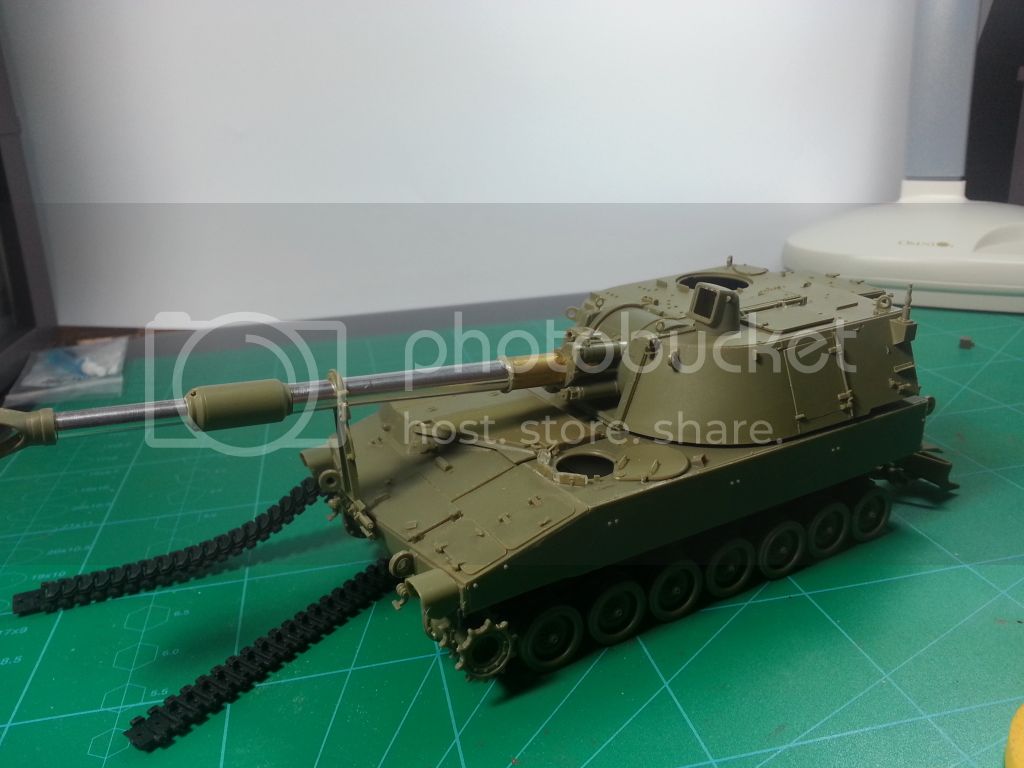
Anyway onto the build. It's an M109A2 howitzer by AFV club. Model is nearly built with just a few details needed to be added on the turret roof, rear and sides.

This will be an OOB build. With just 3 months of scale modeling experience I feel I shouldn't buy aftermarket stuff till I get good enough and make it worth.
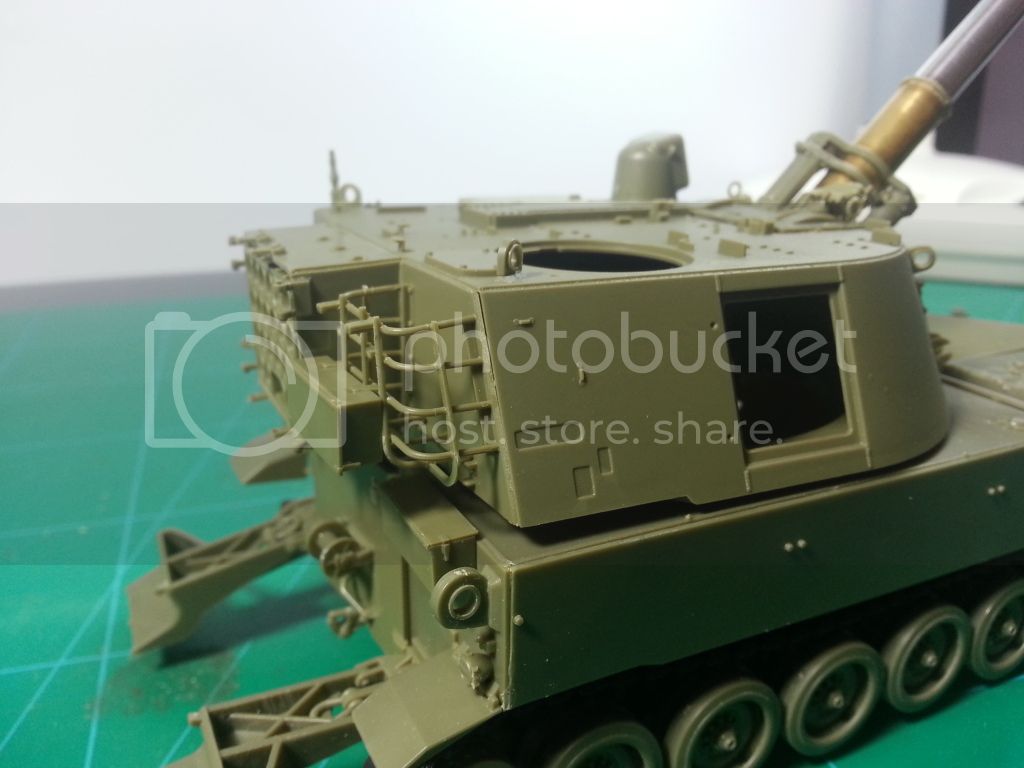
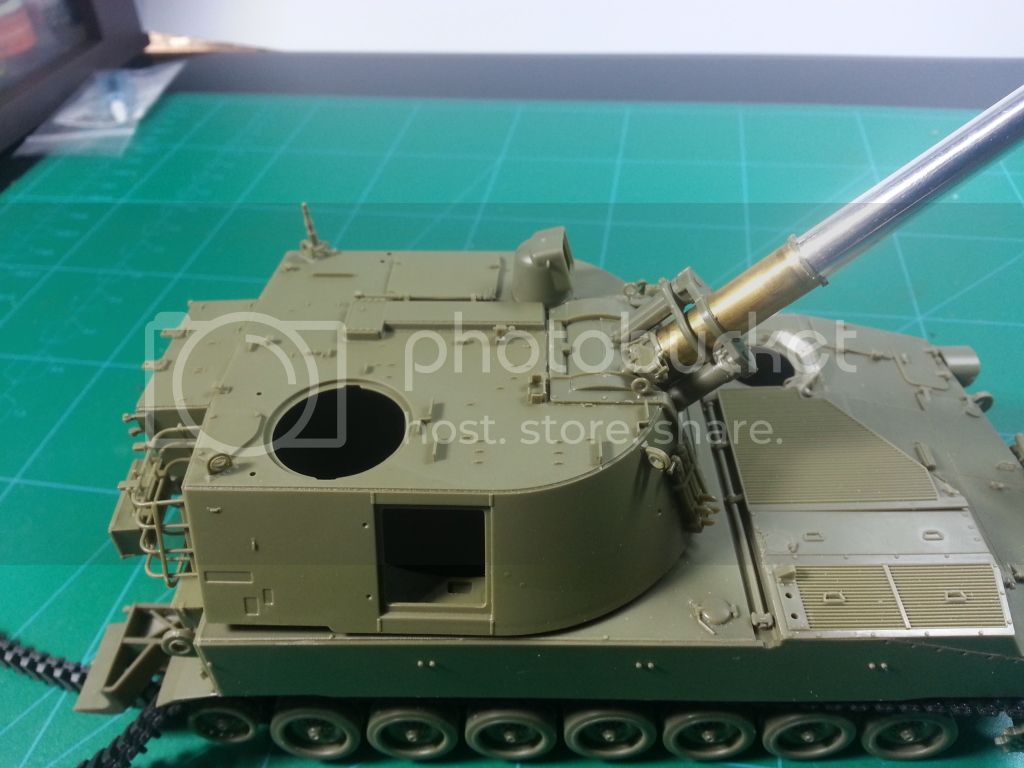


I want to get better on the hobby. I started with this cheap tamiya compressor


And now I got this from UPS yesterday.


I think my investment on this compressor is worth it coz it'll last for years.
18Bravo
Visit this Community
Colorado, United States
Joined: January 20, 2005
KitMaker: 7,219 posts
Armorama: 6,097 posts
Posted: Tuesday, January 29, 2013 - 04:44 AM UTC
I'm glad to see a built up version of this kit. It looks like a solid build so far. Before you add the last of the small details ( because they are so easy to break off) you might see if you can close up the gap in the upper right rear corner of the turret. If the cement has set, normally you can undo a seam like that by reapplying a liberal dose of liquid cement. Give it a moment to dissolve the old joint, and then squeeze it back together. The key is to continue to apply pressure until it sets.
Among other things, I'm also glad to see AFV Club added to prominent wels to the upper edges of the hull. They were always a pain to add.
Any any on the cammo scheme yet? That's probably the most fun aspect of these guns - there are so many choices.
And for being in the hobby only three months, you've got a great head start with the compressor. My first few airbrush jobs were with an old $10 Badger and a spare tire.
MeowMix
Visit this Community
Metro Manila, Philippines
Joined: December 25, 2012
KitMaker: 34 posts
Armorama: 29 posts
Posted: Tuesday, January 29, 2013 - 07:09 AM UTC
My camo painting skills is subpar so im just gonna paint it using desert tan/buff color to represent the egyptian army. The gap on the upper right part of the turret can't be fixed anymore. No matter how hard I press it wont fit in. So I guess Im just gonna use a putty on that part.

Today Ive finished building the model. I Just need to assemble the commander's gun and the collimator aiming device then I could start priming after that.


Froley
Visit this Community
New Mexico, United States
Joined: August 09, 2012
KitMaker: 19 posts
Armorama: 19 posts
Posted: Wednesday, January 30, 2013 - 04:26 PM UTC
Congrats--I think your work is very clean and precise--and will continue to get better and better.
regards
Froley
Joel_W
Staff MemberAssociate Editor
AUTOMODELER
Visit this Community
New York, United States
Joined: December 04, 2010
KitMaker: 11,666 posts
Armorama: 1,143 posts
Posted: Friday, February 01, 2013 - 01:23 PM UTC
Ansell, for a 1st effort it's coming out great. That seam shouldn't be much of an issue with a little putty. Sand lightly then seal with primer.

Taken care of, your new compressor will last nearly forever.

You shouldn't be concerned with how detailed other build threads are, as they run the spectrum from OOB to scratch built. Do the best you can. The goal of every build including OOB is to produce a perfect model. It's the final presentation that ultimately counts.

Looking forward to seeing your next update.
Joel
 _GOTOTOP