scoccia
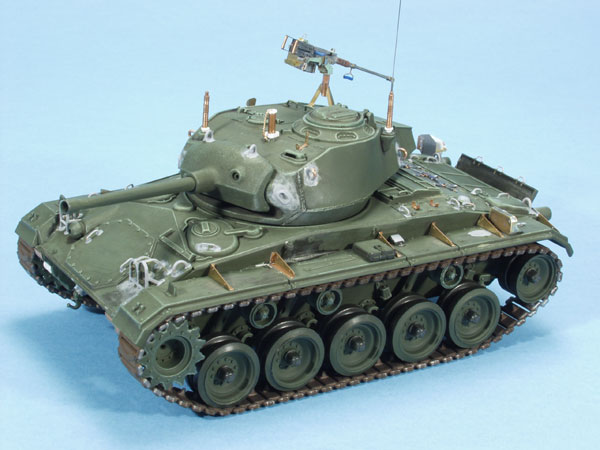
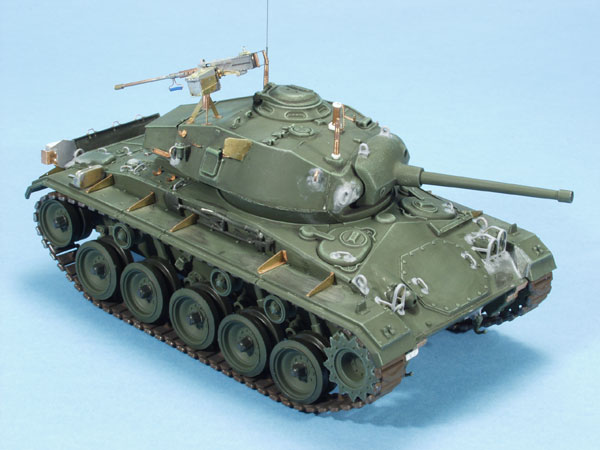
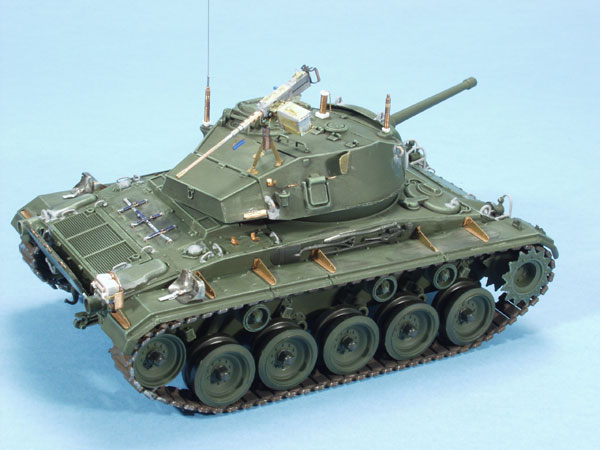
Great looking model - but I was struck by the fact you said you have built this in a few days??
What the whole thing PE and all! Dear me - you must not have had any sleep during this time?
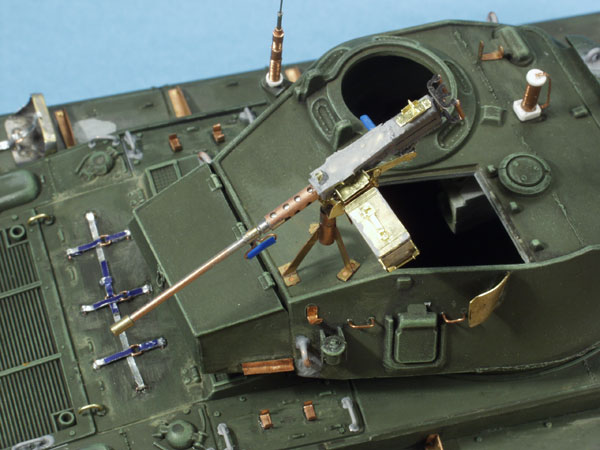
Also I have to say you have done a stunning job on the 50 - it seems a shame you are going to paint over it! I look forward to the next set of pics
Lee
Constructive Feedback
For in-progress or completed build photos. Give and get contructive feedback!
Hosted by Darren Baker, Dave O'Meara
M24 "Chaffee" - Am I seriously ill?
Twig
England - North East, United Kingdom
Joined: March 24, 2003
KitMaker: 167 posts
Armorama: 0 posts
Joined: March 24, 2003
KitMaker: 167 posts
Armorama: 0 posts
Posted: Thursday, November 20, 2003 - 01:00 AM UTC
scoccia
Milano, Italy
Joined: September 02, 2002
KitMaker: 2,606 posts
Armorama: 1,721 posts
Joined: September 02, 2002
KitMaker: 2,606 posts
Armorama: 1,721 posts
Posted: Thursday, November 20, 2003 - 02:28 AM UTC
Thanks everybody for your kind words.
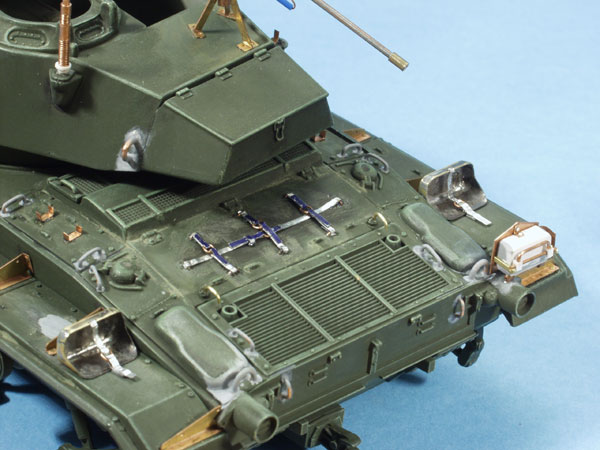
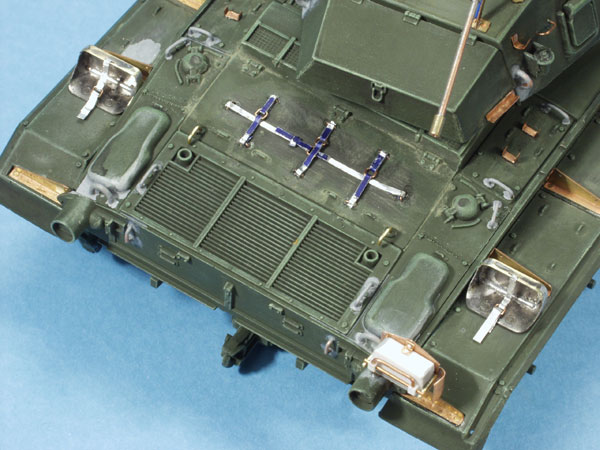
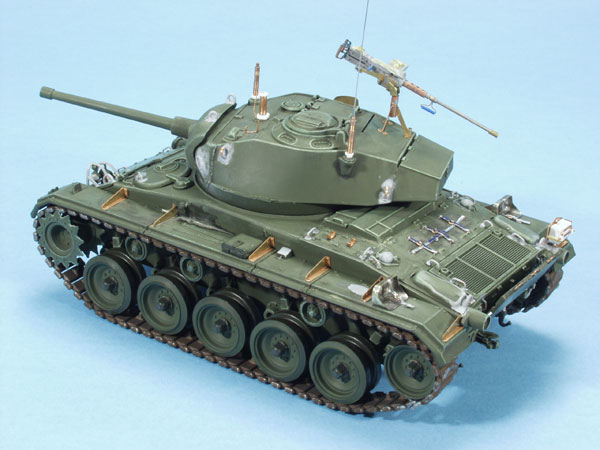
Twig: originally I wanted to do the model just OOB, and it took a bit more than a day to put it together and giving the base coat of paint, a wash an a bit of drybrush. Then I recognized that there was some lack in the detail and I started to add. All the PE and scratchbuiding work took something like 6 hours (full time on for that time). I'm quite fas working on PEs or scratchbuilt metal parts because I have no fear aof having them falling apart once in place just because I solder them...
Hollwpoint: done!!!
By the way I've reworked the strap-ons on the extra fuel cans too...
Ciao
C[ ]
Quoted Text
but I was struck by the fact you said you have built this in a few days??
What the whole thing PE and all! Dear me - you must not have had any sleep during this time?
Twig: originally I wanted to do the model just OOB, and it took a bit more than a day to put it together and giving the base coat of paint, a wash an a bit of drybrush. Then I recognized that there was some lack in the detail and I started to add. All the PE and scratchbuiding work took something like 6 hours (full time on for that time). I'm quite fas working on PEs or scratchbuilt metal parts because I have no fear aof having them falling apart once in place just because I solder them...
Quoted Text
I'm kind of surprised that even though you've done all the other aftermarket, you haven't trimmed off and replaced the tie-downs and straps on the rear deck.
Hollwpoint: done!!!
By the way I've reworked the strap-ons on the extra fuel cans too...
Ciao
C[ ]
Twig
England - North East, United Kingdom
Joined: March 24, 2003
KitMaker: 167 posts
Armorama: 0 posts
Joined: March 24, 2003
KitMaker: 167 posts
Armorama: 0 posts
Posted: Thursday, November 20, 2003 - 03:32 AM UTC
scoccia, just 6 hours to do all that PE!! good grief and it all looks superb. I just cant comprehend how you work that fast and get it all so clean and tidy. It took me about 6 hours just to do one Part stowage box on my btt - and I only glued that!
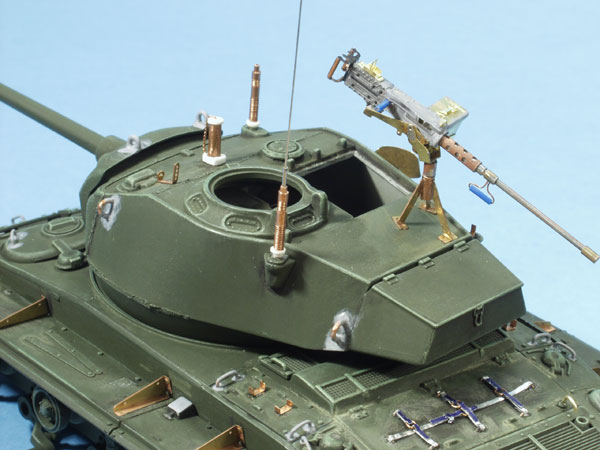
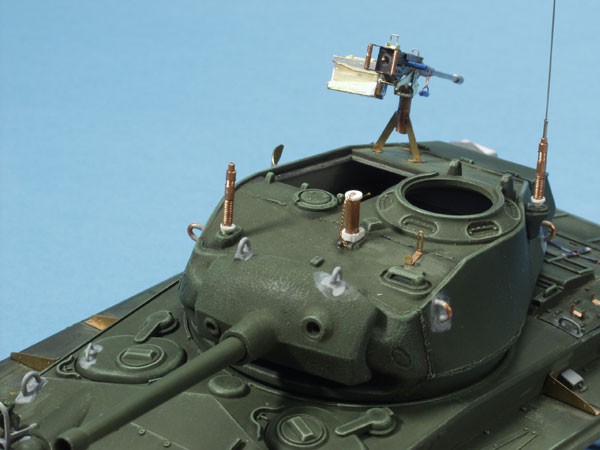
Can I ask about your ariels? Is the ariel mount a pe piece or scratched - it looks like a rod that has brass sleeves and/or wire wound around it (it should replicate a spring right?). It looks superb.
Lee
Can I ask about your ariels? Is the ariel mount a pe piece or scratched - it looks like a rod that has brass sleeves and/or wire wound around it (it should replicate a spring right?). It looks superb.
Lee
scoccia
Milano, Italy
Joined: September 02, 2002
KitMaker: 2,606 posts
Armorama: 1,721 posts
Joined: September 02, 2002
KitMaker: 2,606 posts
Armorama: 1,721 posts
Posted: Thursday, November 20, 2003 - 04:18 AM UTC
Quoted Text
Can I ask about your ariels? Is the ariel mount a pe piece or scratched - it looks like a rod that has brass sleeves and/or wire wound around it (it should replicate a spring right?). It looks superb.
Twig: I personally need far a lot less time soldering them that getting mad glueing them!!! Yes the aerial mount are made out of an inner brass tubing, three sections of copper tubing between which there are two springs of copper wire. One of the two mounts houses a syringe needle which hosts the guitar string I used for the antenna
Ciao
Twig
England - North East, United Kingdom
Joined: March 24, 2003
KitMaker: 167 posts
Armorama: 0 posts
Joined: March 24, 2003
KitMaker: 167 posts
Armorama: 0 posts
Posted: Thursday, November 20, 2003 - 05:13 AM UTC
scoccia - Aha! I though that was how you had done it (I had not twigged the syringe needle though) - excellent work!
Lee
Lee
TUNA
Massachusetts, United States
Joined: March 16, 2003
KitMaker: 449 posts
Armorama: 0 posts
Joined: March 16, 2003
KitMaker: 449 posts
Armorama: 0 posts
Posted: Thursday, November 20, 2003 - 05:32 AM UTC
Machine Gun looks awsome!!!.. Along with the rest of the kit... gotta admire someone who can change course after the painting stage, and still do wonders!
scoccia
Milano, Italy
Joined: September 02, 2002
KitMaker: 2,606 posts
Armorama: 1,721 posts
Joined: September 02, 2002
KitMaker: 2,606 posts
Armorama: 1,721 posts
Posted: Saturday, November 22, 2003 - 05:26 AM UTC
To me it looks like the tiny little beast detailing is now complete. Any suggestions or comments or further input or criticism about the model prior to go to paint it? I know that the co-pilot mg is missing, but I run out of metal tubing of the appropriate size to scratchbuild it so I need a couple of days to go out and buy it...
Ciao
Ciao
Easy_Co
England - South East, United Kingdom
Joined: September 11, 2002
KitMaker: 1,933 posts
Armorama: 985 posts
Joined: September 11, 2002
KitMaker: 1,933 posts
Armorama: 985 posts
Posted: Saturday, November 22, 2003 - 06:56 AM UTC
Fabio, Salute, she's a work of art. :-)
animal
Joined: December 15, 2002
KitMaker: 4,503 posts
Armorama: 3,159 posts
KitMaker: 4,503 posts
Armorama: 3,159 posts
Posted: Saturday, November 22, 2003 - 08:23 AM UTC
Bravo Fabio. To be placed next to your other excellant projects. Cheers
Venom
Alessandria, Italy
Joined: July 28, 2003
KitMaker: 720 posts
Armorama: 0 posts
Joined: July 28, 2003
KitMaker: 720 posts
Armorama: 0 posts
Posted: Saturday, November 22, 2003 - 09:28 PM UTC
Ver nice work...well done
I'm waiting to see the finished model photos...good luck with the painting
cheers!
Nico
I'm waiting to see the finished model photos...good luck with the painting
cheers!
Nico
AntPhillips
Wales, United Kingdom
Joined: January 02, 2003
KitMaker: 118 posts
Armorama: 93 posts
Joined: January 02, 2003
KitMaker: 118 posts
Armorama: 93 posts
Posted: Sunday, November 23, 2003 - 12:29 AM UTC
Hi Fabio,
Seeing your fantastic work makes me both want to quit, but also to try harder, you make it look so simple.
Keep them coming
Happy modelling
Ant
Seeing your fantastic work makes me both want to quit, but also to try harder, you make it look so simple.
Keep them coming
Happy modelling
Ant