_GOTOBOTTOM
Яusso-Soviэt Forum
Russian or Soviet vehicles/armor modeling forum.
1/35 ICM T-28 Build Log
SovietBoy22
Visit this Community
Scotland, United Kingdom
Joined: September 04, 2011
KitMaker: 461 posts
Armorama: 452 posts
Posted: Saturday, February 02, 2013 - 11:26 AM UTC
Hi guys,
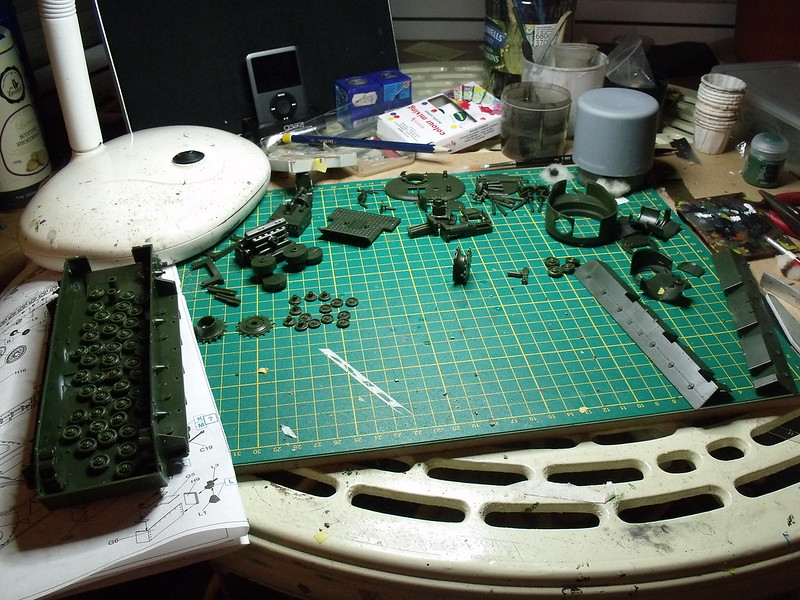
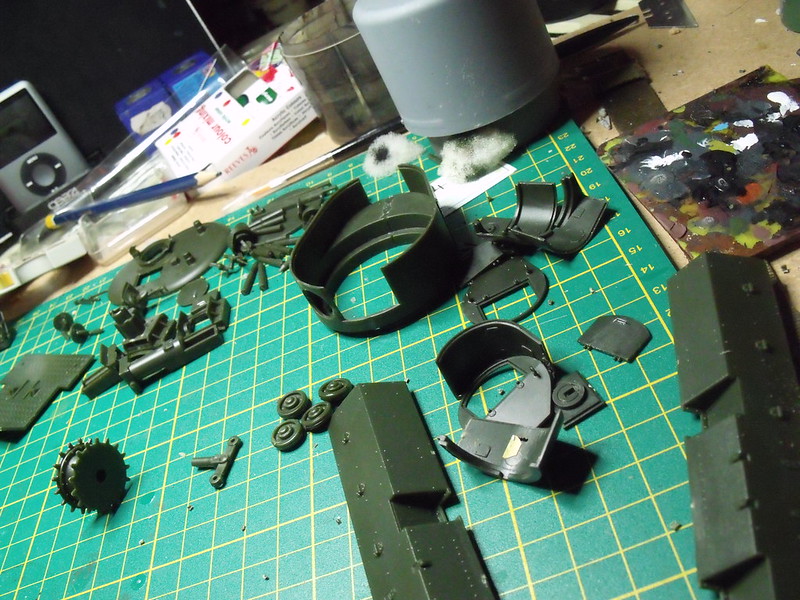
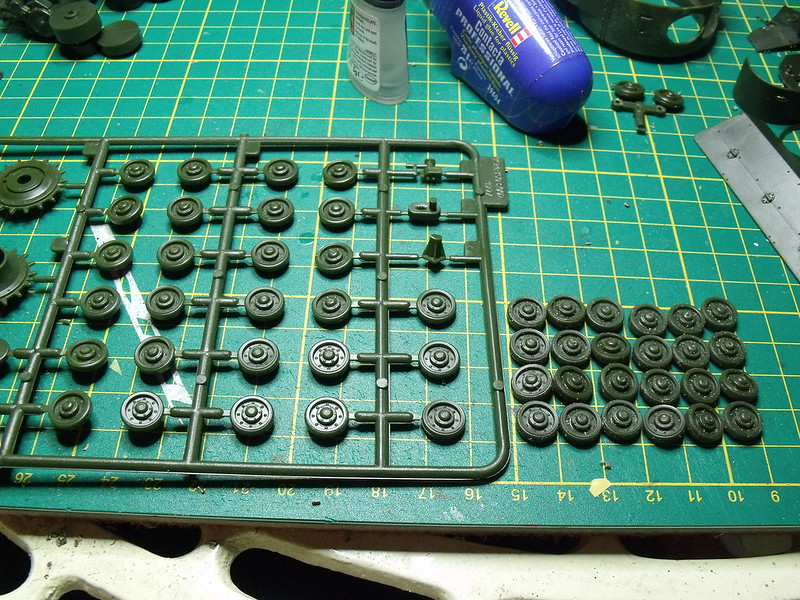
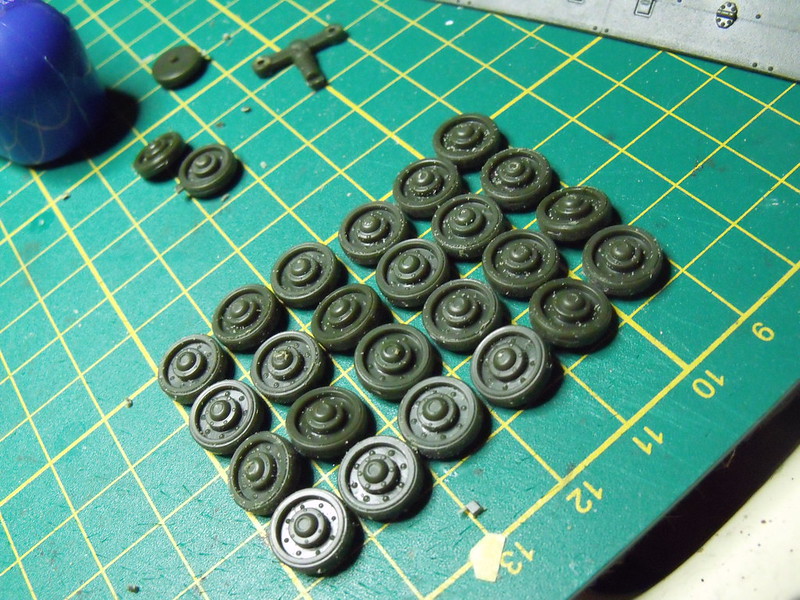
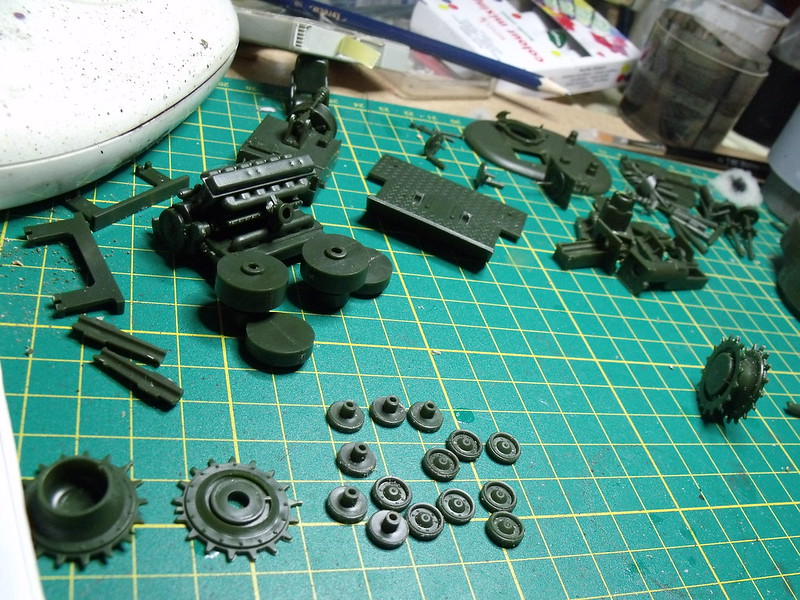
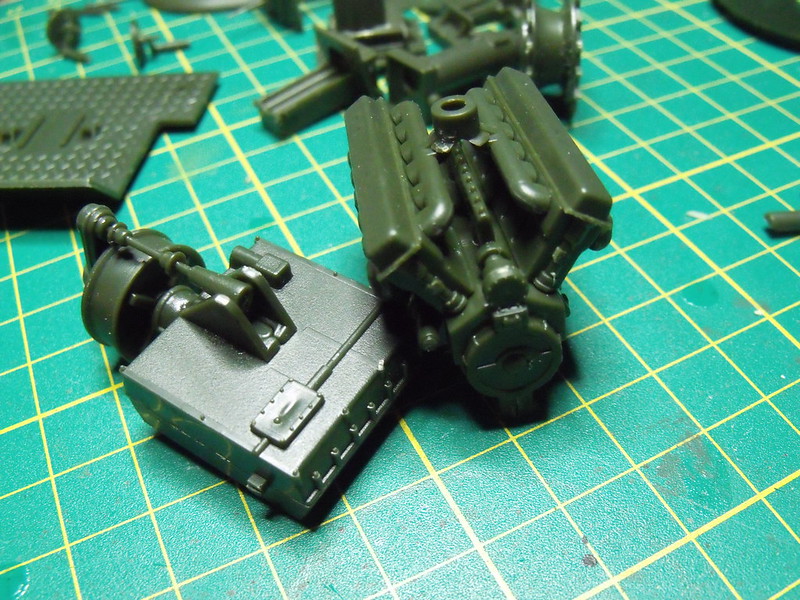
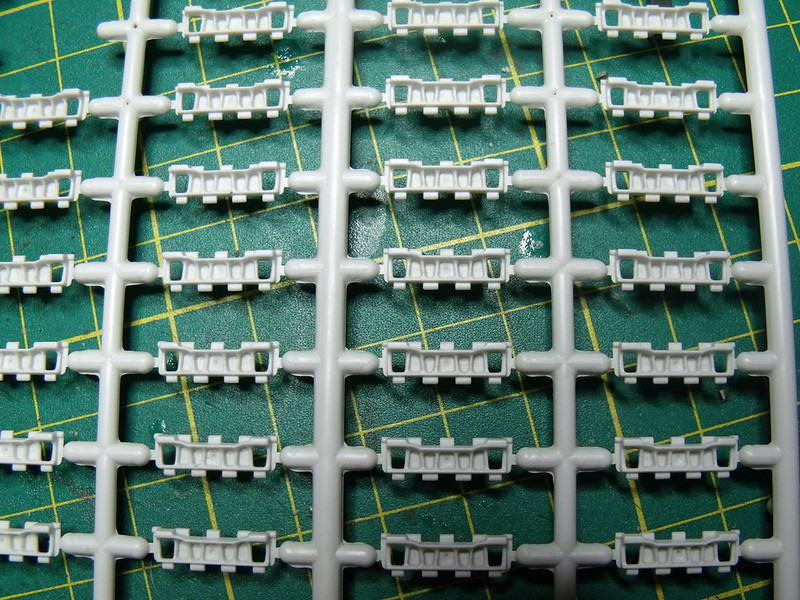
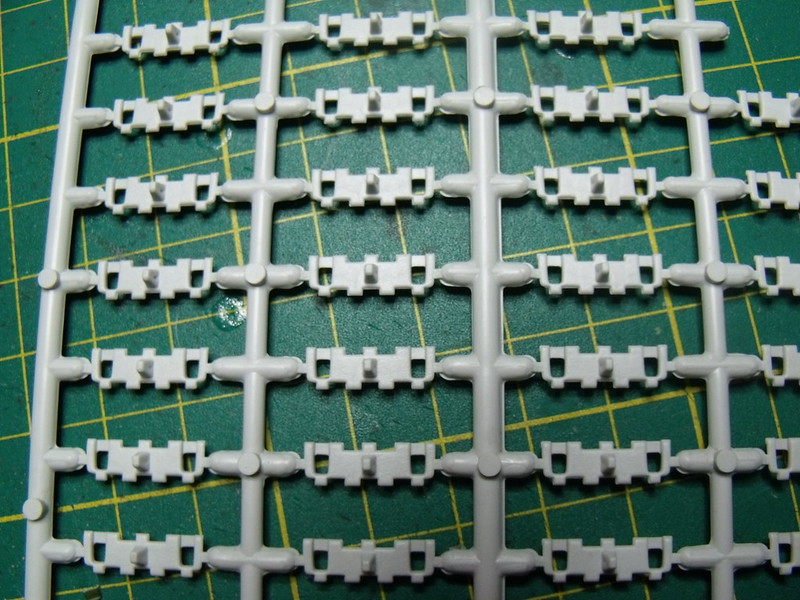
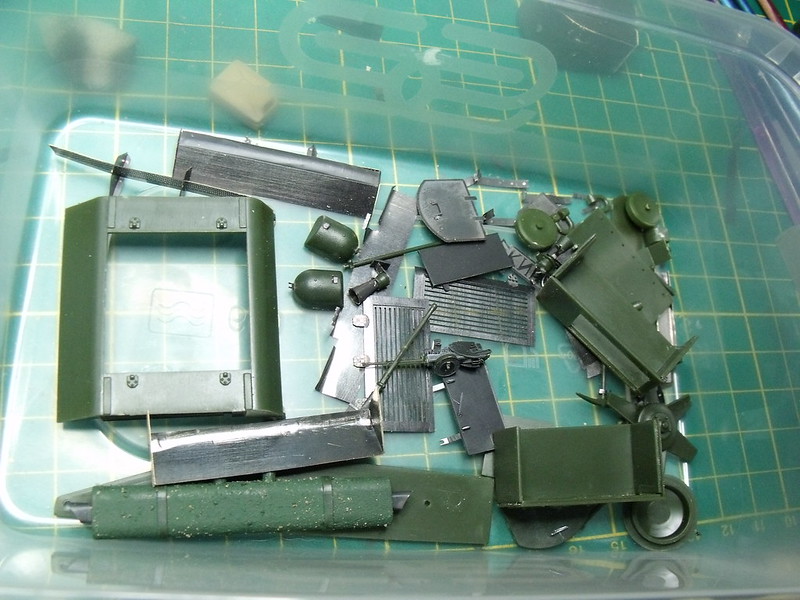
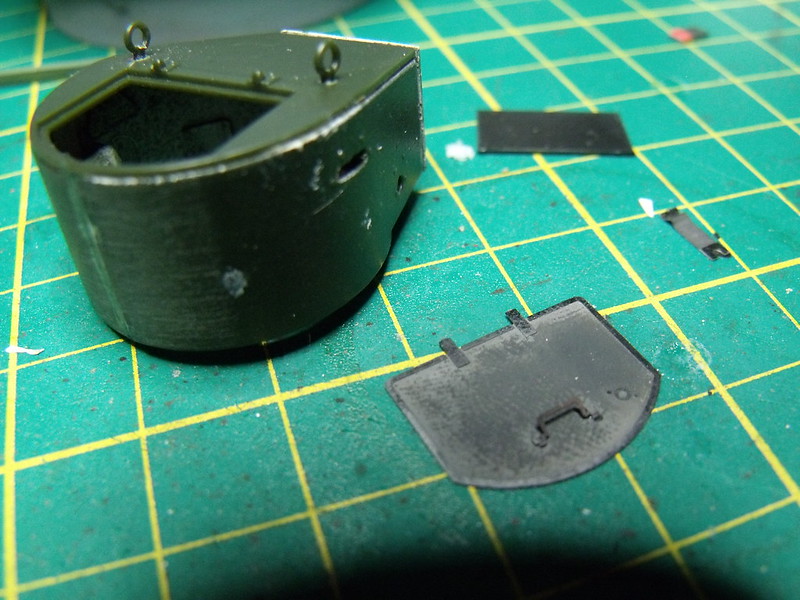
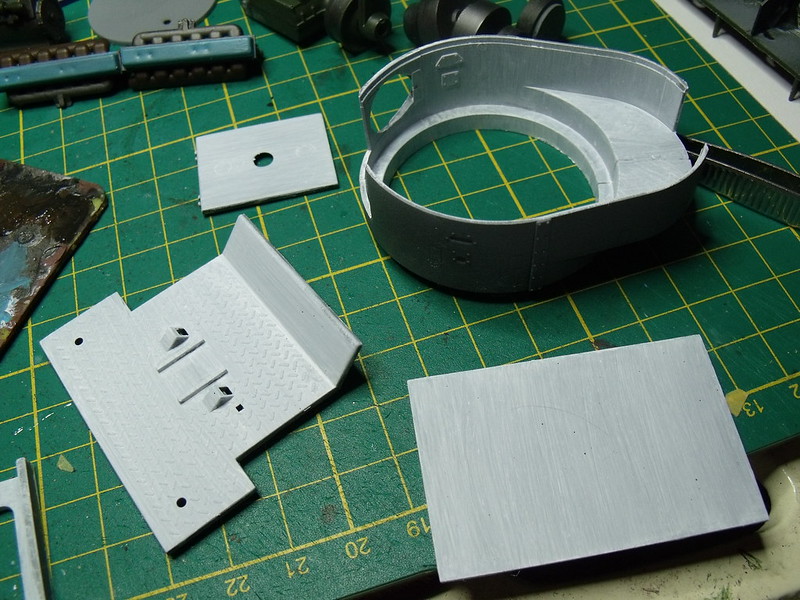
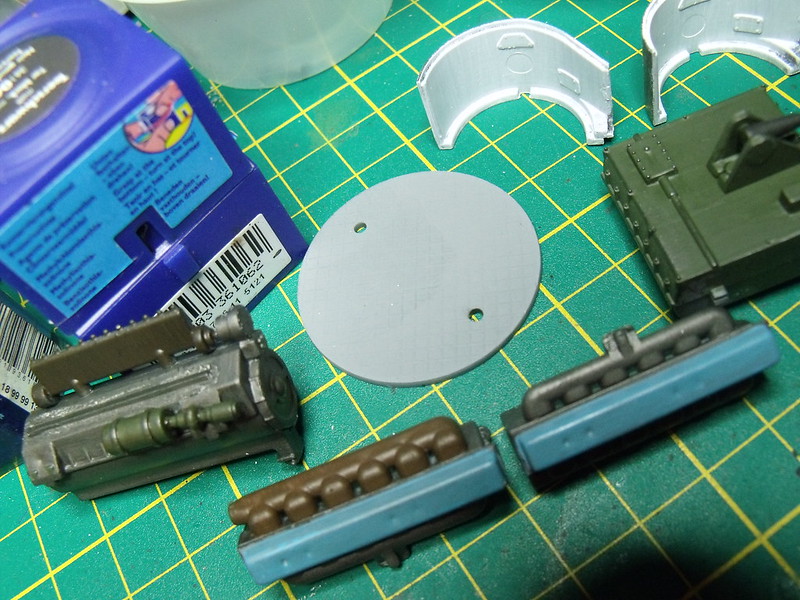
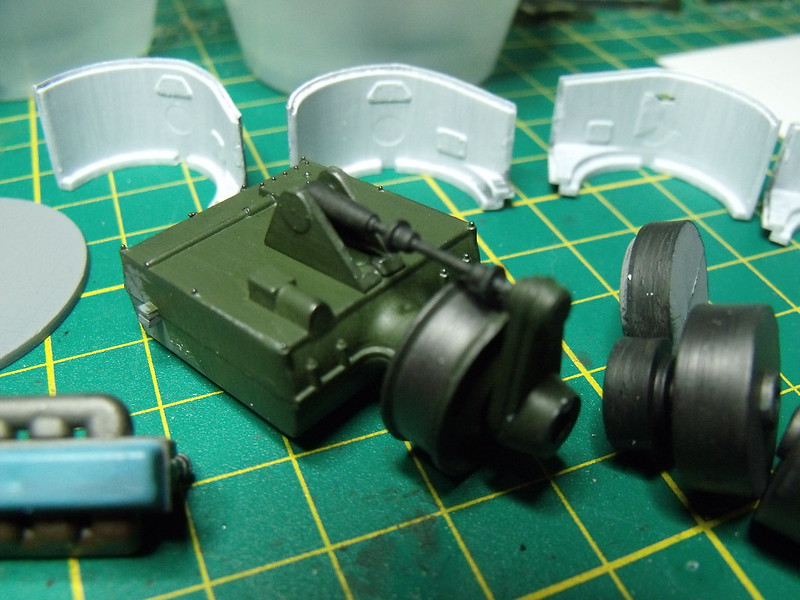
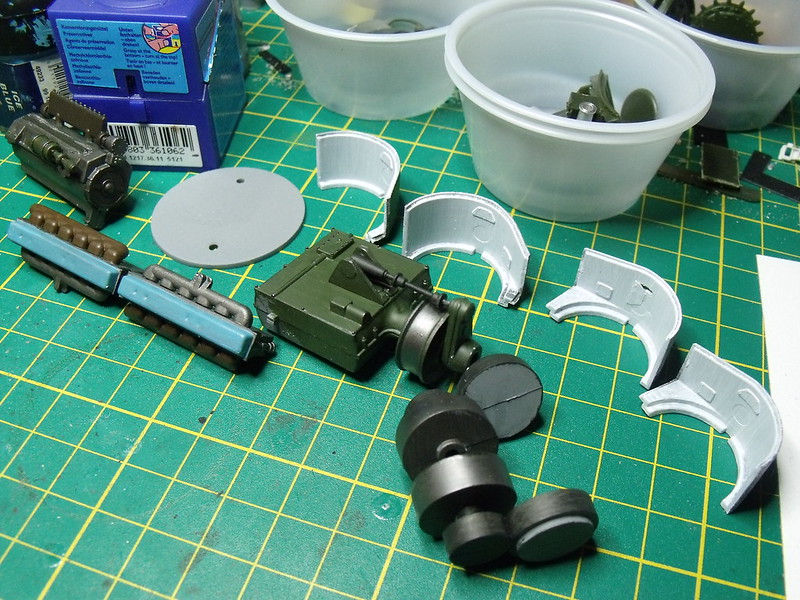
I picked this kit up for £10 at the Kit Swap when I was at Telford. I had been wanting it for ages but never could seem to find one. I started today and was amazed at how good a kit it is! The parts fit perfectly and the detail is actually pretty good. The only problem I had was a tiny amount of warpage on one of the halves of the turret. This was easily fixed and building progressed smoothly until I realized the tracks supplied were for a different vehicle. Also, two halves for two return rollers had not been cast onto the sprues. Within a few hours I had completed everything but the upper hull.
I will hopefully be posting regular updates
Thanks
Euan

DSCF4533

DSCF4534

DSCF4528

DSCF4527

DSCF4535

DSCF4536

DSCF4537

DSCF4538

The two pics above show the tracks that were in the box. Does anyone know what they are for. They look familiar but I cant think what.
Mox1983
Visit this Community
United Kingdom
Joined: August 27, 2010
KitMaker: 114 posts
Armorama: 104 posts
Posted: Saturday, February 02, 2013 - 05:37 PM UTC
Looks like you've made a good start on it! I've got the IT-28 bridge layer version in my "to-do" pile.
The tracks look like the same T-55 ones in the T-35 kit, I'll have to check the ones in my IT-28 to see if they're the same.
Only option for accuracy seems to be the Fruil set.
lukiftian
Visit this Community
British Columbia, Canada
Joined: March 12, 2010
KitMaker: 791 posts
Armorama: 592 posts
Posted: Saturday, February 02, 2013 - 10:02 PM UTC
It is a very good kit. The only problem with this kit the T-35 and the IT-28 is that some of them had excessive amounts of mold release oil on the larger parts, and over the years this has dried and bonded to some extent to the surface of the plastic. It can be difficult to remove. The tracks are for the T-35
SovietBoy22
Visit this Community
Scotland, United Kingdom
Joined: September 04, 2011
KitMaker: 461 posts
Armorama: 452 posts
Posted: Sunday, February 03, 2013 - 12:24 AM UTC
Thanks for the answers guys! Is there anything else I could use the T-35 tracks on as I don't have a T-35? So do you think I should go for the Friulmodel set. I cant seem to find any pics of them but seeing as they are Friul, they will probably be excellent.
Thanks for the replies!
Euan
SovietBoy22
Visit this Community
Scotland, United Kingdom
Joined: September 04, 2011
KitMaker: 461 posts
Armorama: 452 posts
Posted: Sunday, February 03, 2013 - 01:49 AM UTC
Also, does anyone make aftermarket barrels for this kit, preferably short, but if not available I would use a long barrel? I see Aber make a 76.2 F-34 barrel, would this do? What could I use to replace the kit supplied MGs and main gun ammunition?
Thanks
Euan
Mox1983
Visit this Community
United Kingdom
Joined: August 27, 2010
KitMaker: 114 posts
Armorama: 104 posts
Posted: Sunday, February 03, 2013 - 06:54 AM UTC
Pictures half way down this thread show that the tracks are the old-style ones for the T-55 - http://armorama.com/forums/122098

It also shows some of the a/m barrels you could use. Might be worth hanging on to the tracks if you want to do a T-54 or T-55.
Checking the tracks in my ICM IT-28, they are the correct ones, so you could use them as an alternative to Fruils but end up with an IT-28 without tracks
Minsk94
Visit this Community
Wisconsin, United States
Joined: June 16, 2008
KitMaker: 418 posts
Armorama: 408 posts
Posted: Tuesday, February 05, 2013 - 06:25 AM UTC
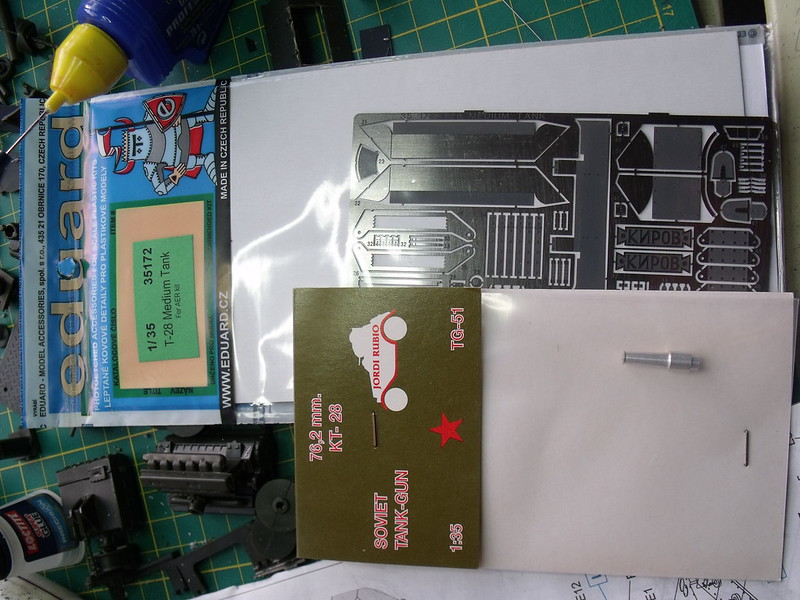
The barrel for the main gun is by Jordi Rubio. The barrels for the DT MGs can be found from Model Point (unless someone else makes them too).
SovietBoy22
Visit this Community
Scotland, United Kingdom
Joined: September 04, 2011
KitMaker: 461 posts
Armorama: 452 posts
Posted: Tuesday, February 05, 2013 - 07:20 AM UTC
Hi guys,
Thanks for your replies. Look what came in the post today from Hannants. Hopefully progress will commence shortly, but I have a German test tomorrow so revision takes priority.
Also, a set of Friulmodel T-28 tracks should arrive within the next few days. Stay Tuned.
Thanks
Euan

DSCF4547

DSCF4548

DSCF4549

DSCF4550

DSCF4551

DSCF4552

DSCF4553

DSCF4554


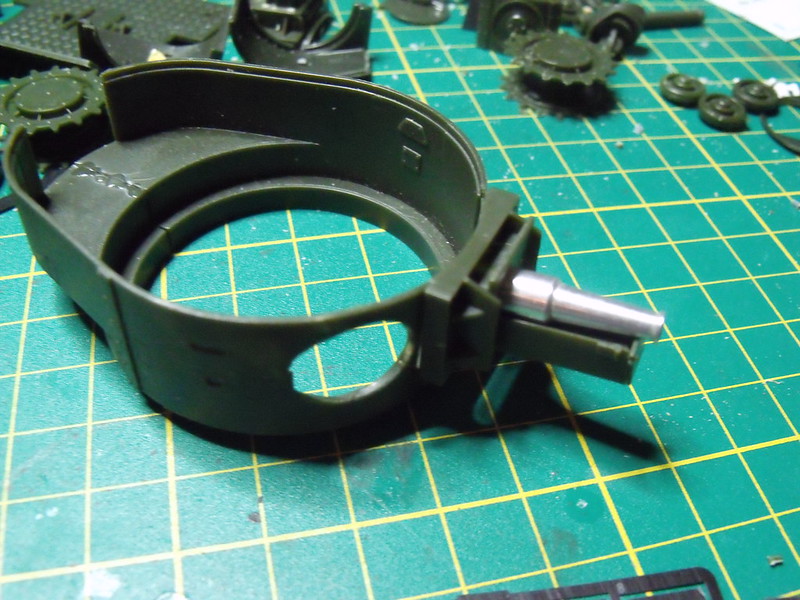
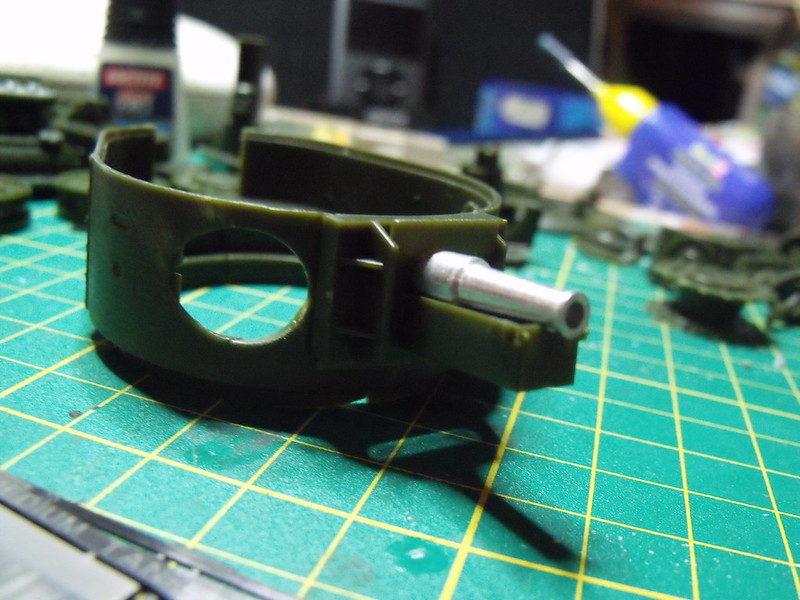
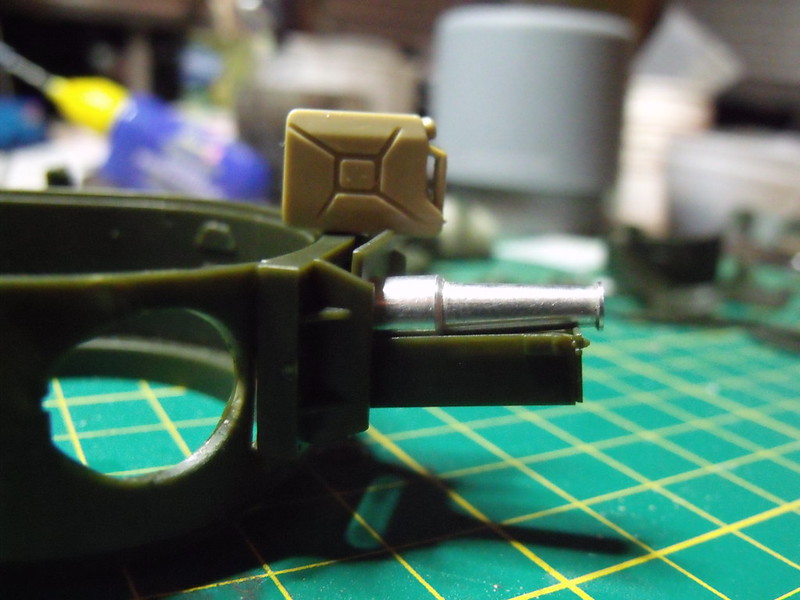
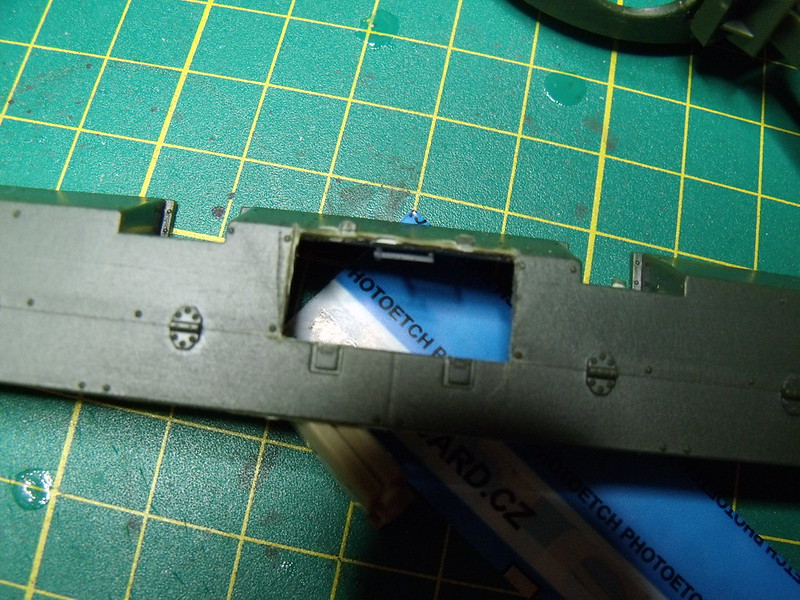
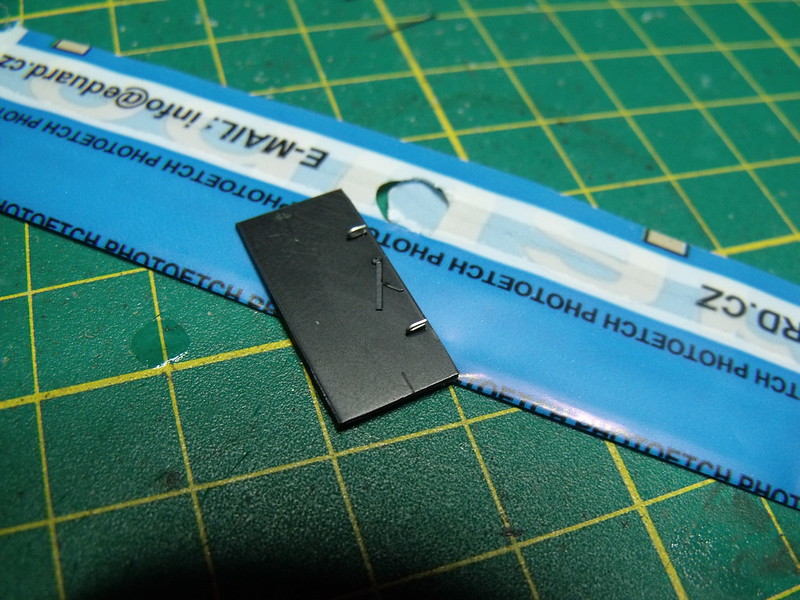
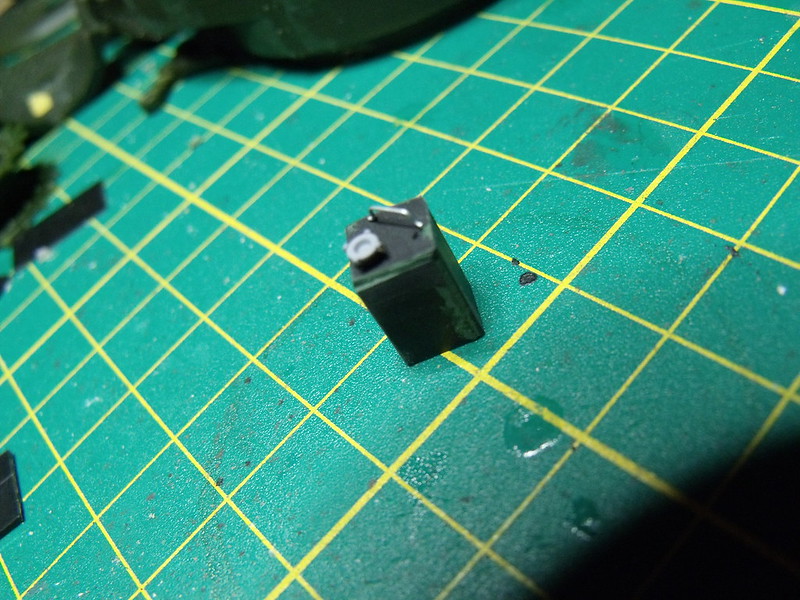
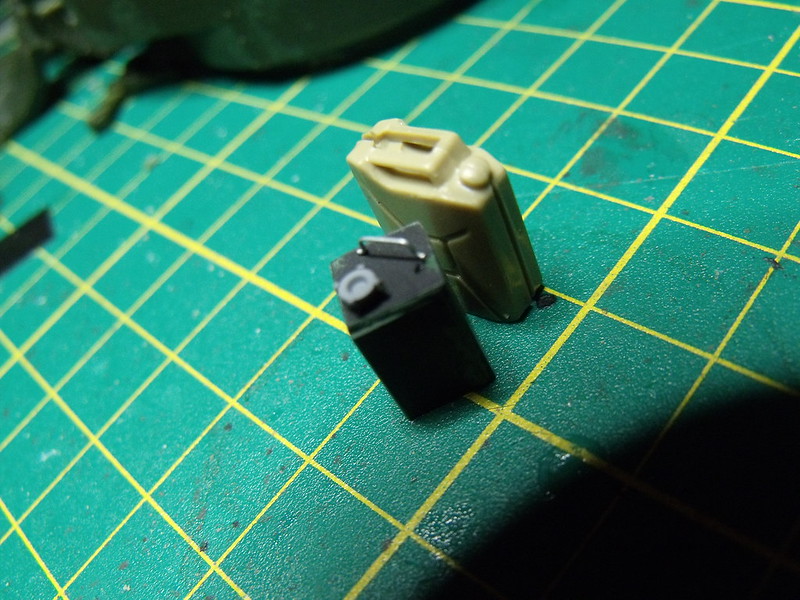
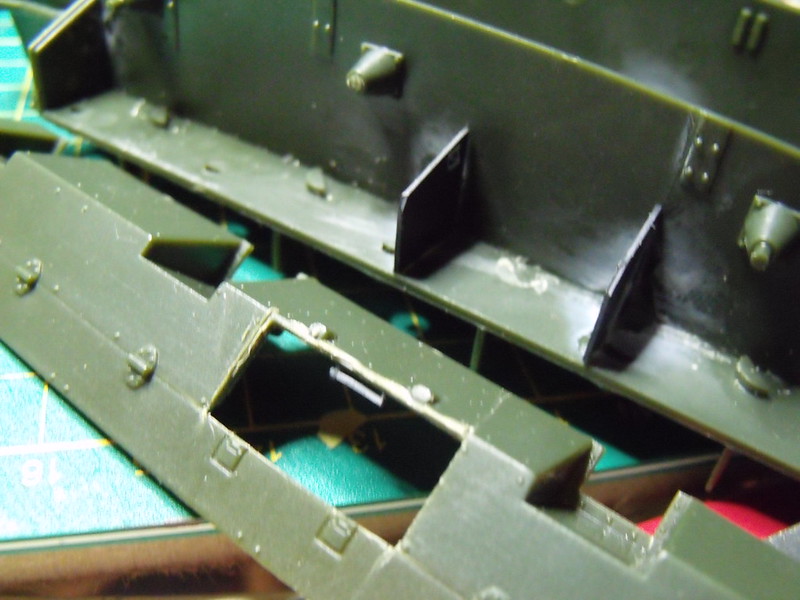
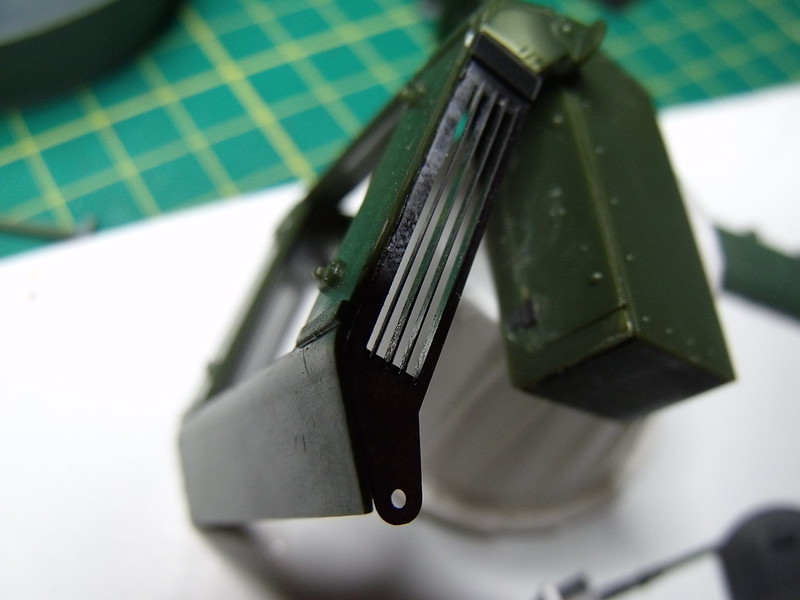
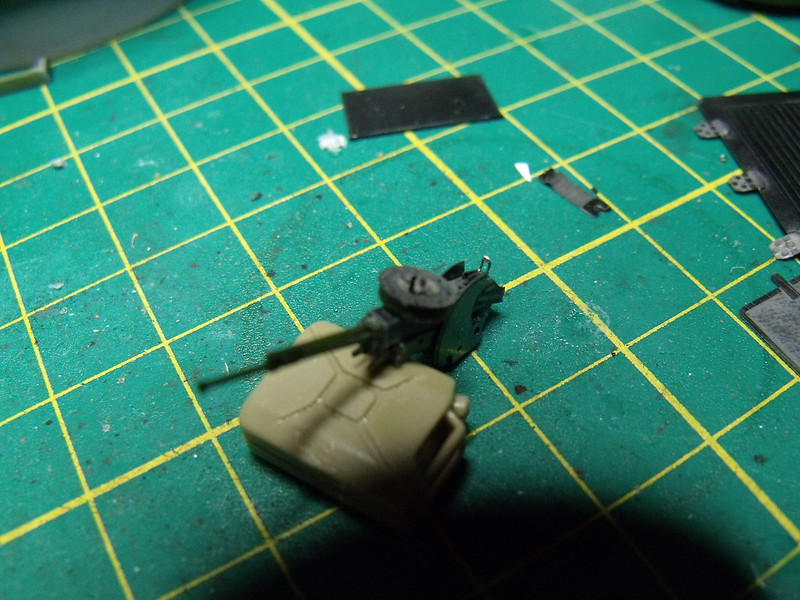
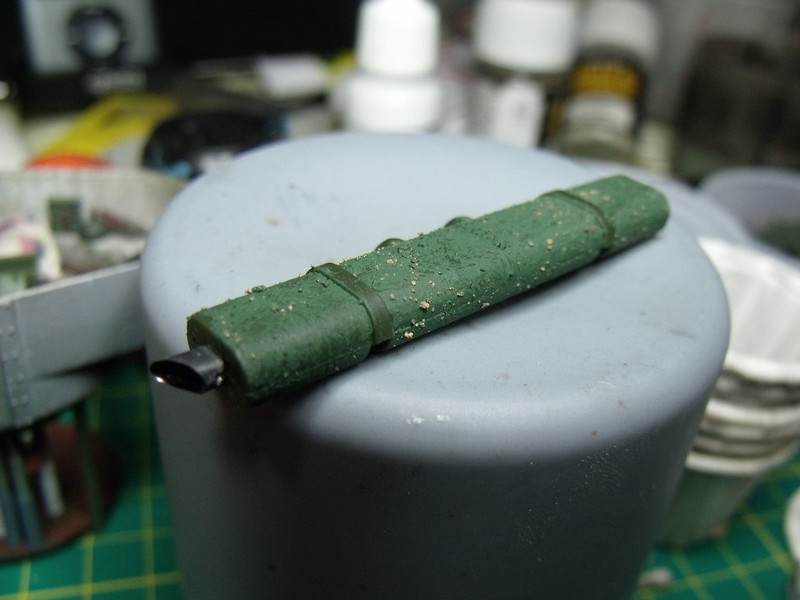
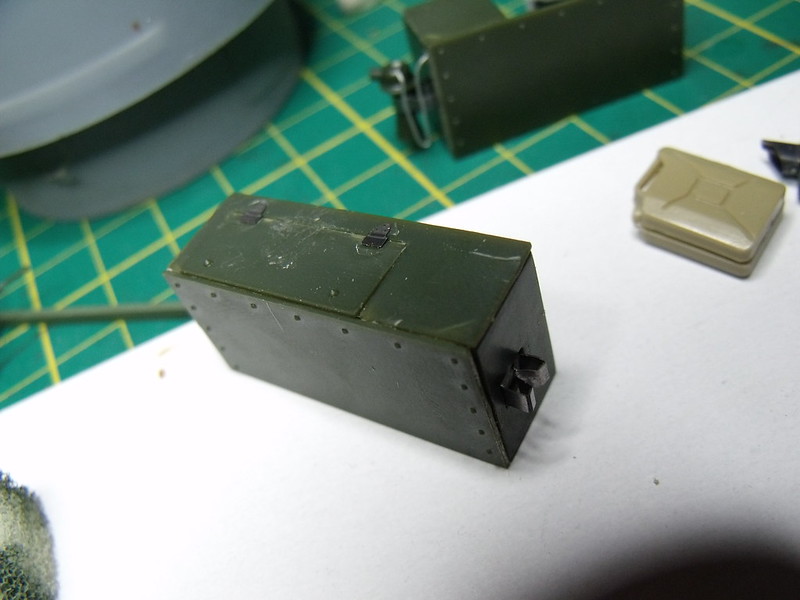
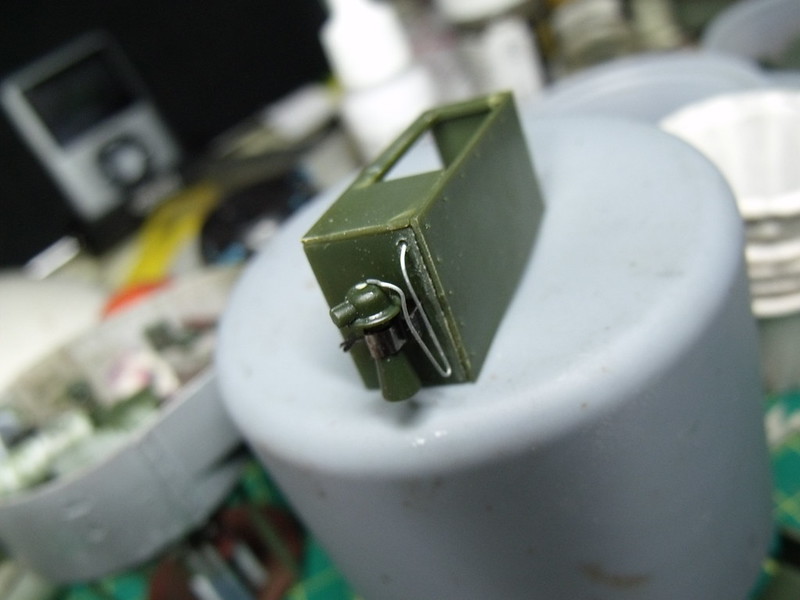
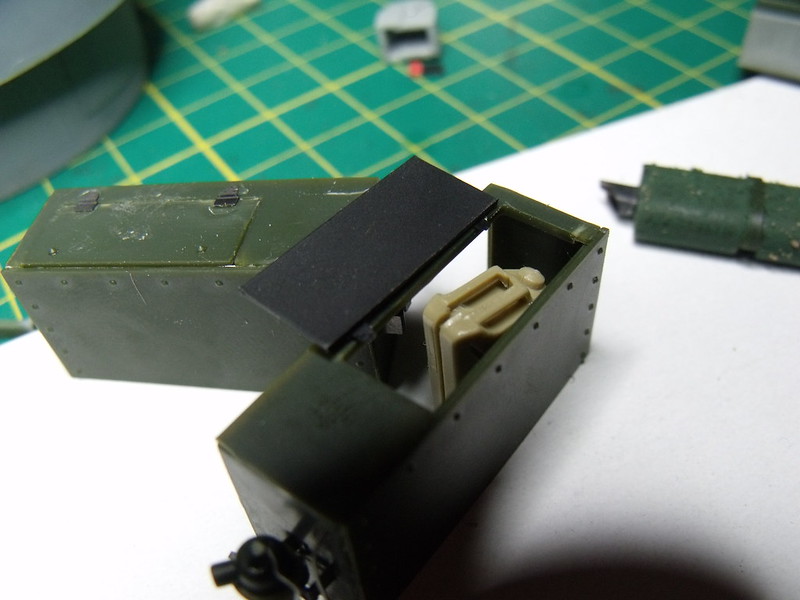
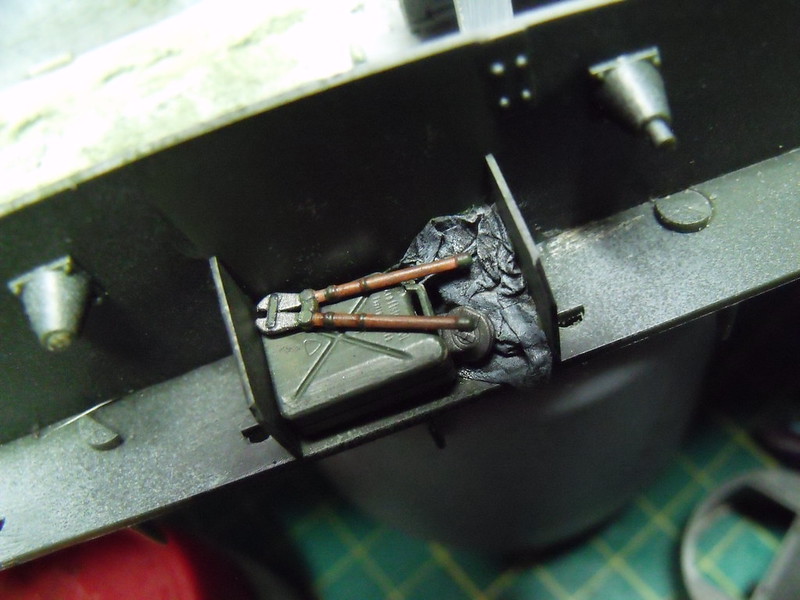
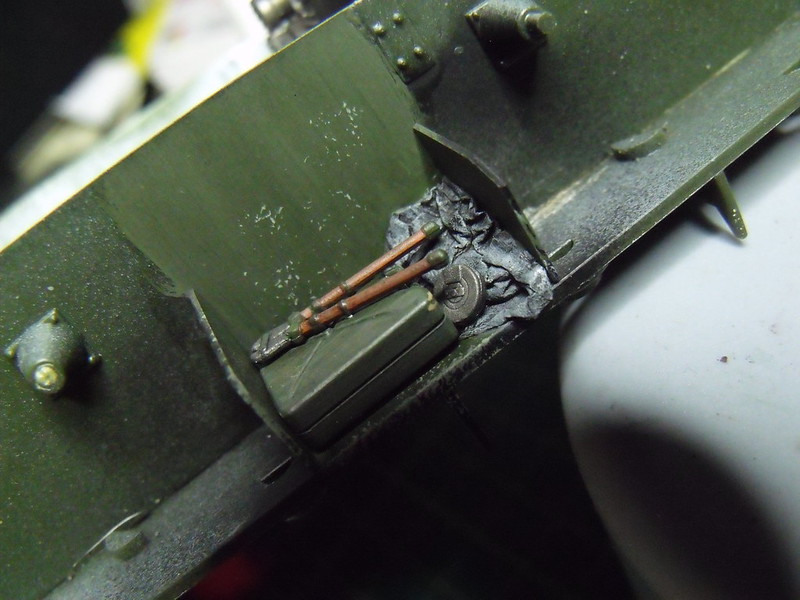
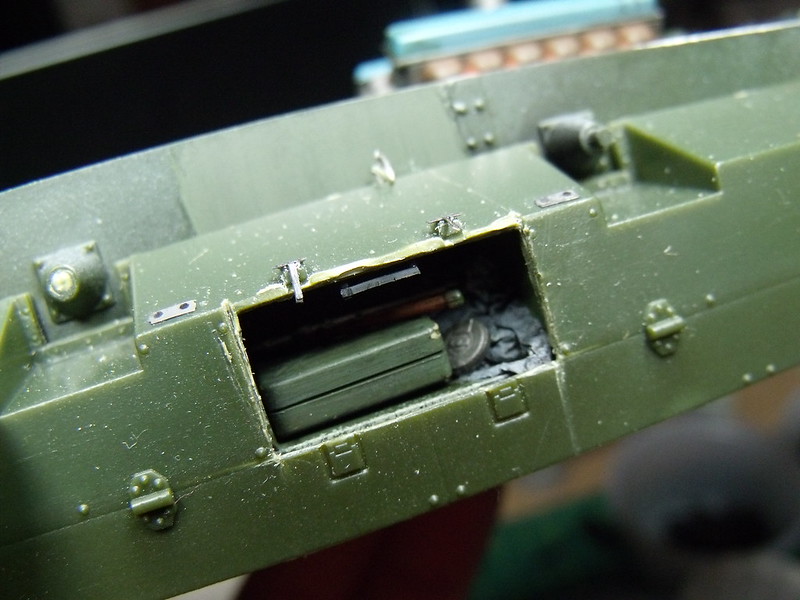
I have began modifying one of the side panels to feature it open. I used metal wire for the latches and plasticard for the mechanism. I have also made an old fuel can from plasticard and plan on doing it shiny silver


DSCF4556

DSCF4558

DSCF4560

DSCF4561

DSCF4564
kampfy
Visit this Community
Texas, United States
Joined: December 19, 2010
KitMaker: 198 posts
Armorama: 161 posts
Posted: Tuesday, February 05, 2013 - 03:02 PM UTC
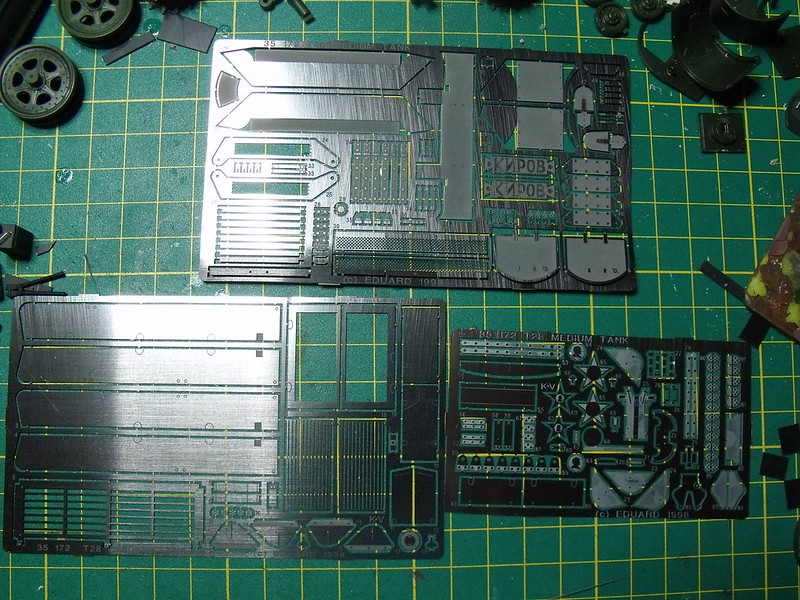
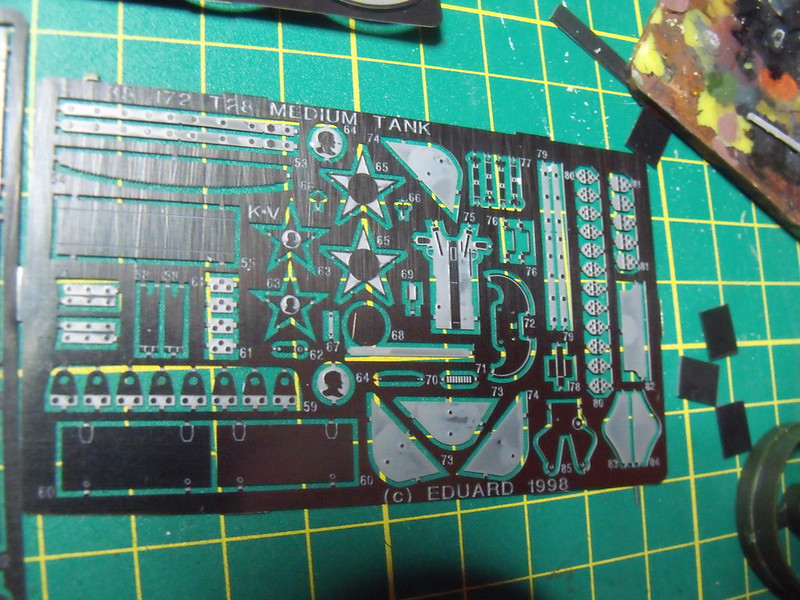
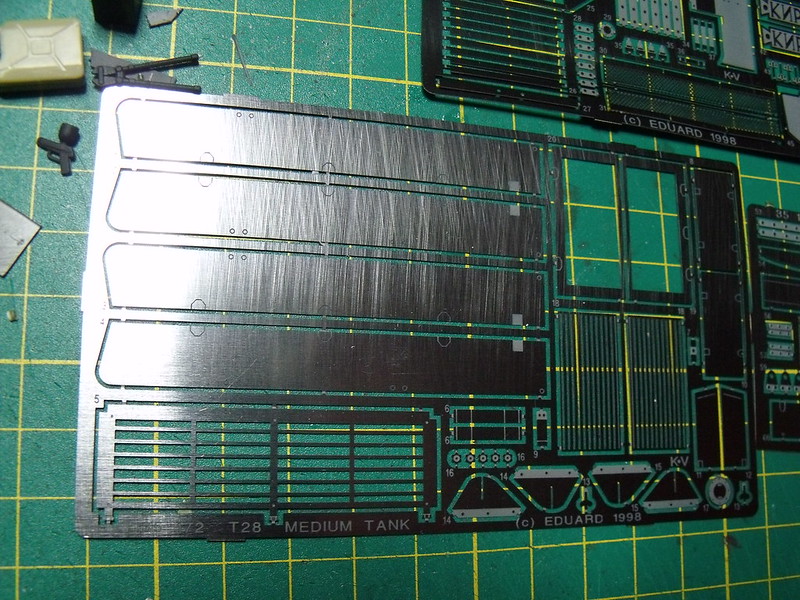
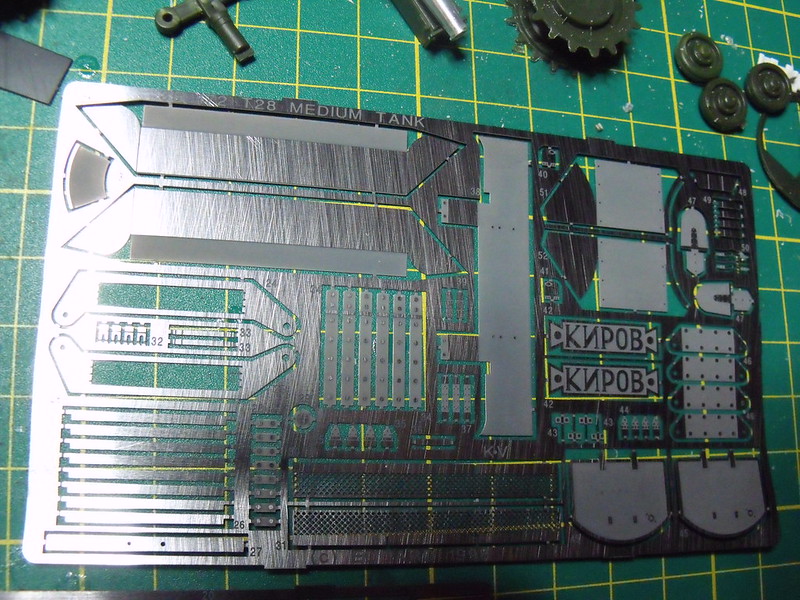
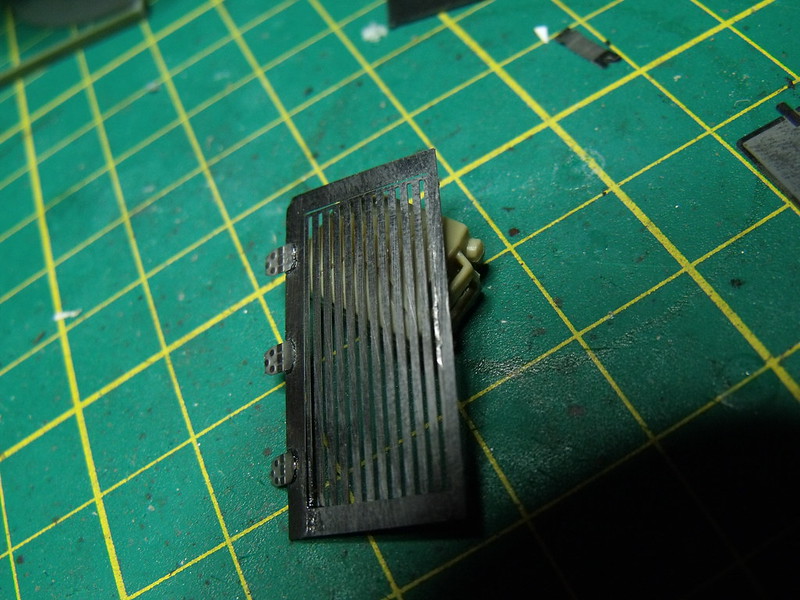
Having built the ICM T28 and used the eduard set with it you will find that the AER kit the set was intended obviously had some serious dimensional issues as the majority of the pe parts will not fit or are incorrect. However, the side storage rack is at least a must. Keep up the good work.
SovietBoy22
Visit this Community
Scotland, United Kingdom
Joined: September 04, 2011
KitMaker: 461 posts
Armorama: 452 posts
Posted: Wednesday, February 06, 2013 - 05:18 AM UTC
Thanks very much. I'll try and make it work.
Euan
lukiftian
Visit this Community
British Columbia, Canada
Joined: March 12, 2010
KitMaker: 791 posts
Armorama: 592 posts
Posted: Wednesday, February 06, 2013 - 08:35 AM UTC

Quoted Text

Having built the ICM T28 and used the eduard set with it you will find that the AER kit the set was intended obviously had some serious dimensional issues as the majority of the pe parts will not fit or are incorrect. However, the side storage rack is at least a must. Keep up the good work.


I've built both the AER and ICM T-28s, dimensional issues are modest and both kits have problems, the big one with AER kit is that it's extremely difficult to build. I agree that most of the PE set won't be usable, however the turret star is a big help.
SovietBoy22
Visit this Community
Scotland, United Kingdom
Joined: September 04, 2011
KitMaker: 461 posts
Armorama: 452 posts
Posted: Sunday, February 10, 2013 - 07:19 AM UTC
Hi guys.
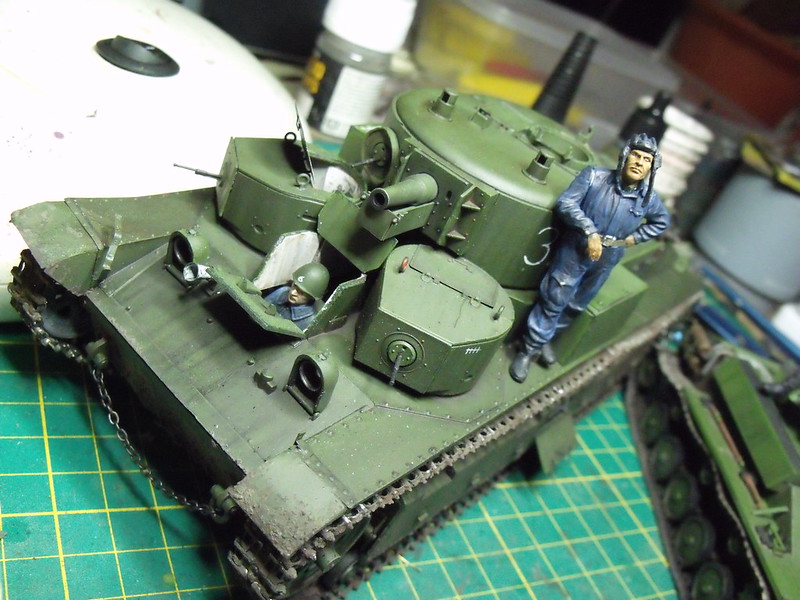
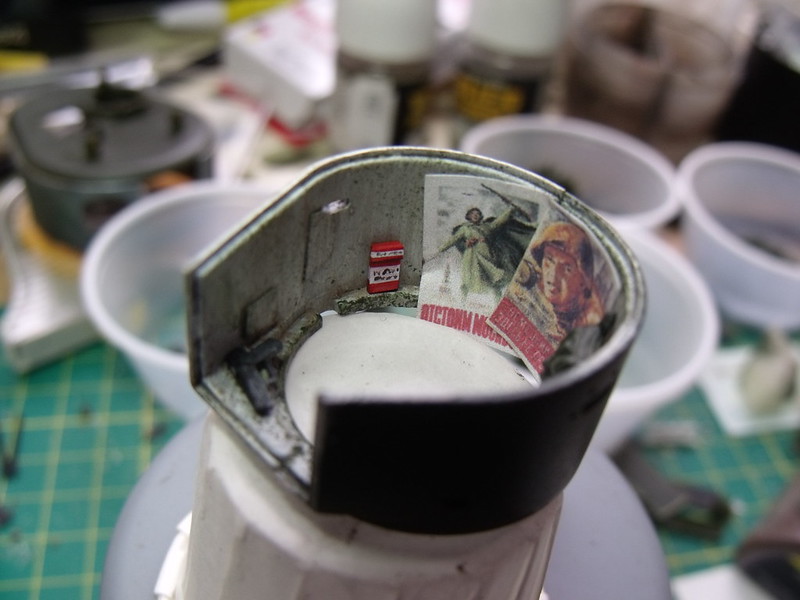
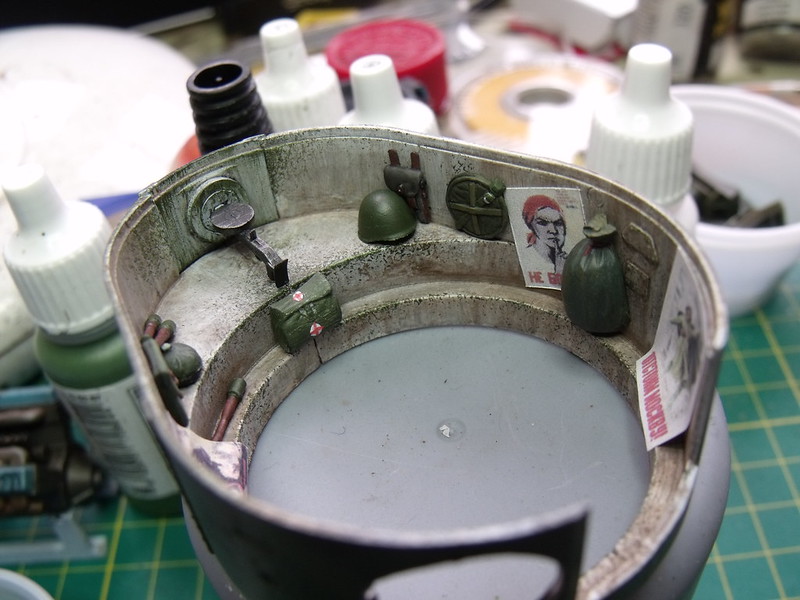
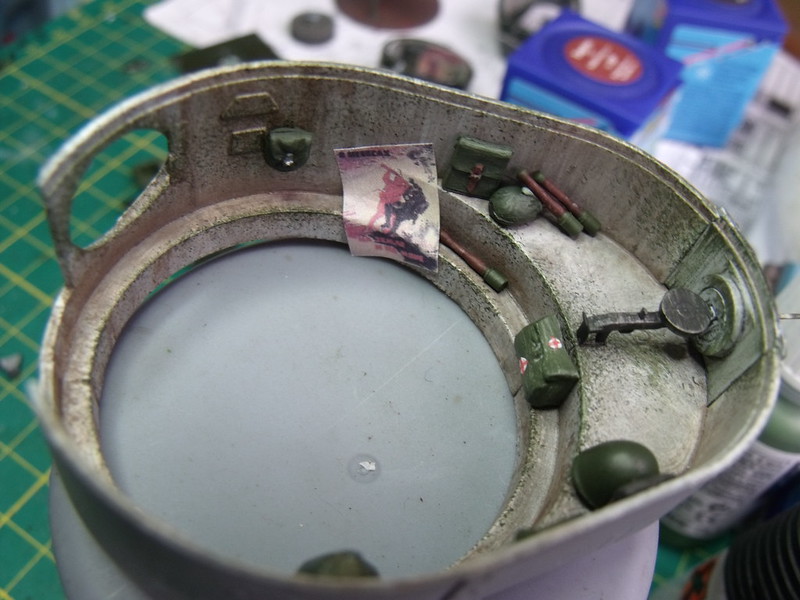
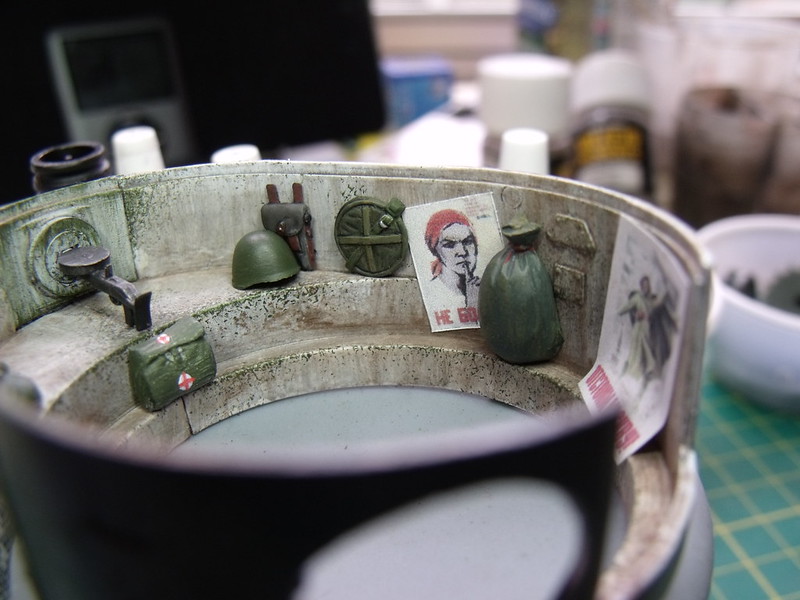
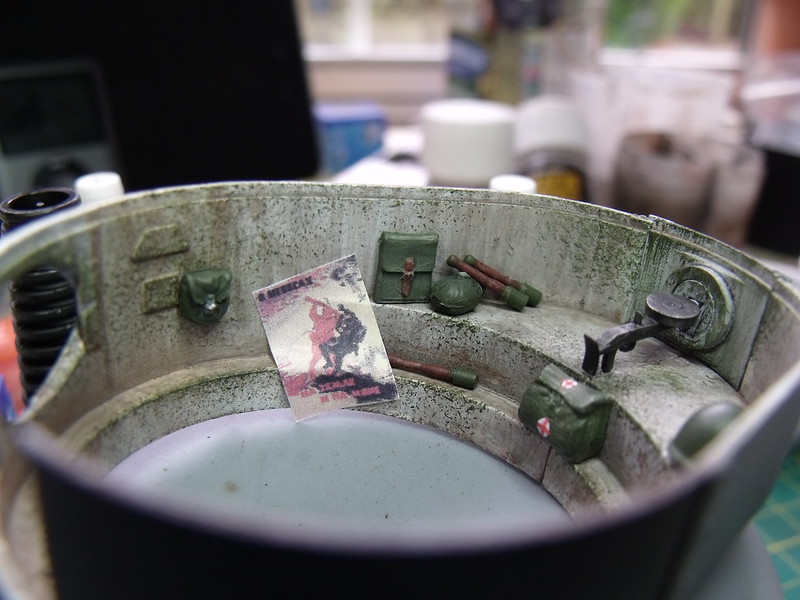
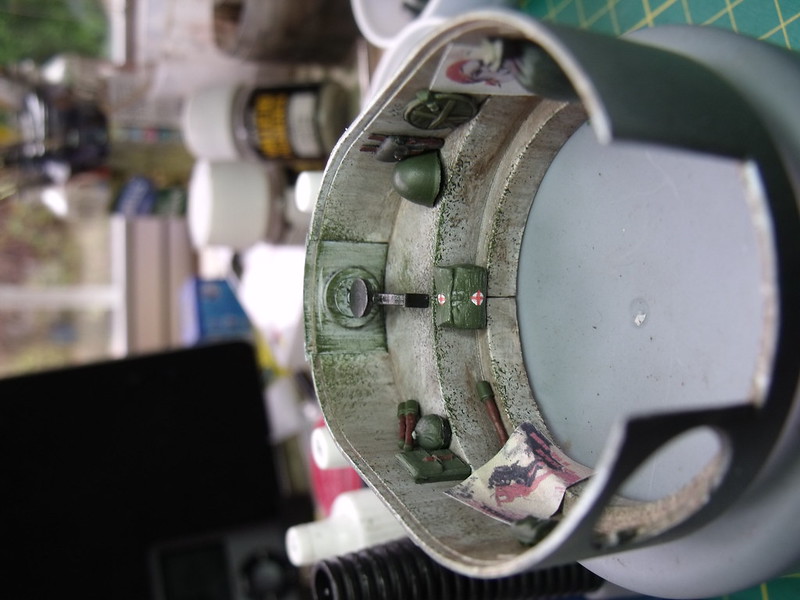
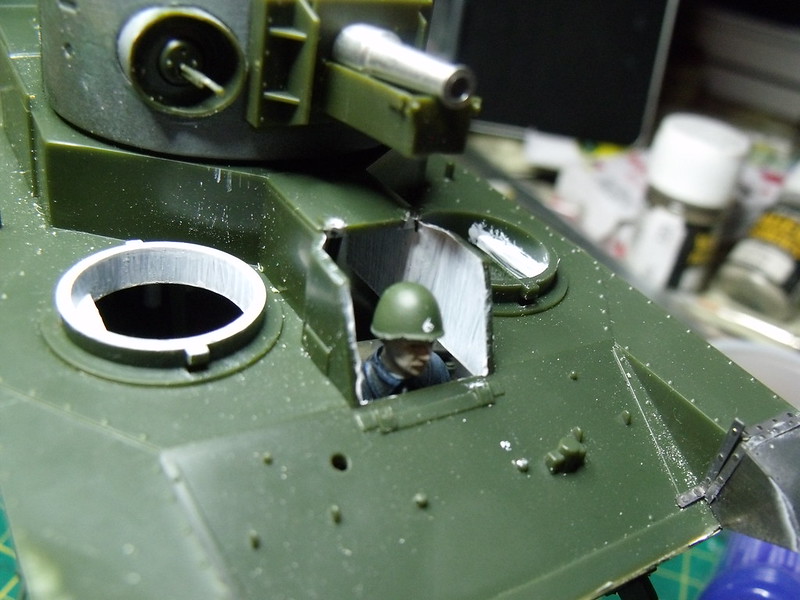
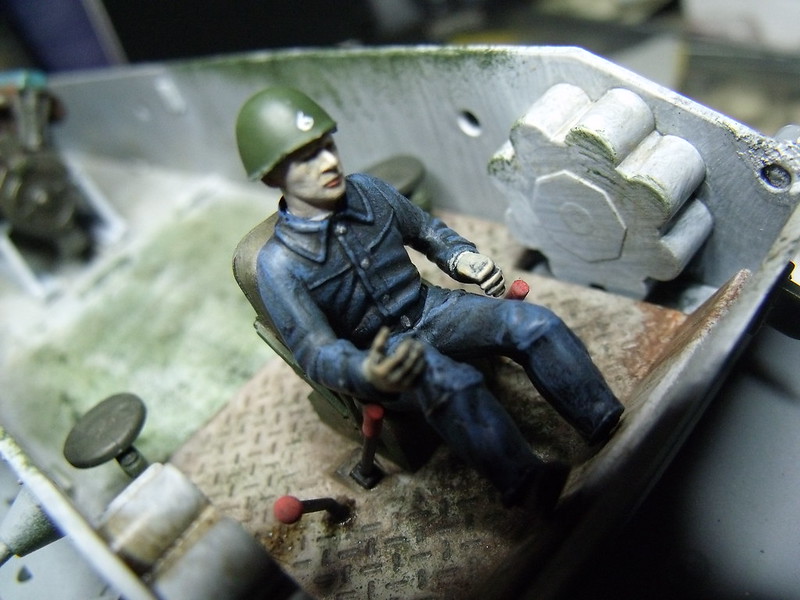
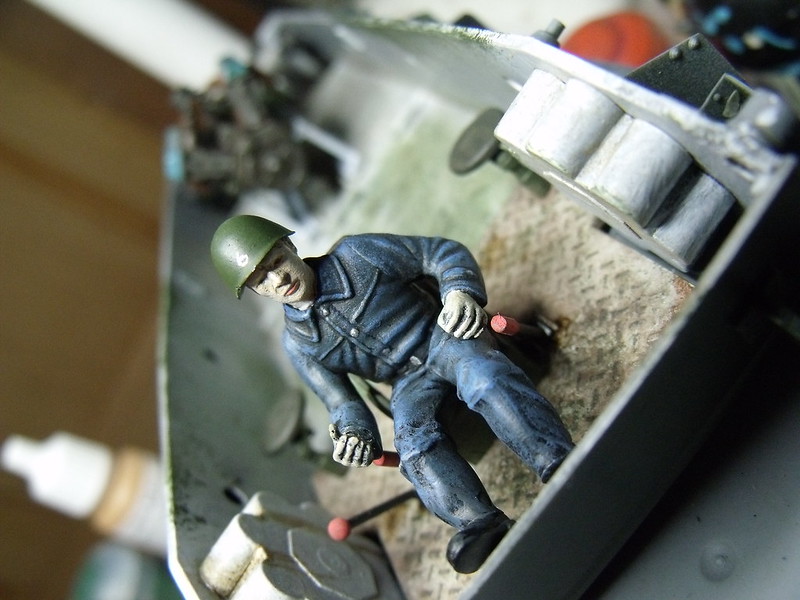
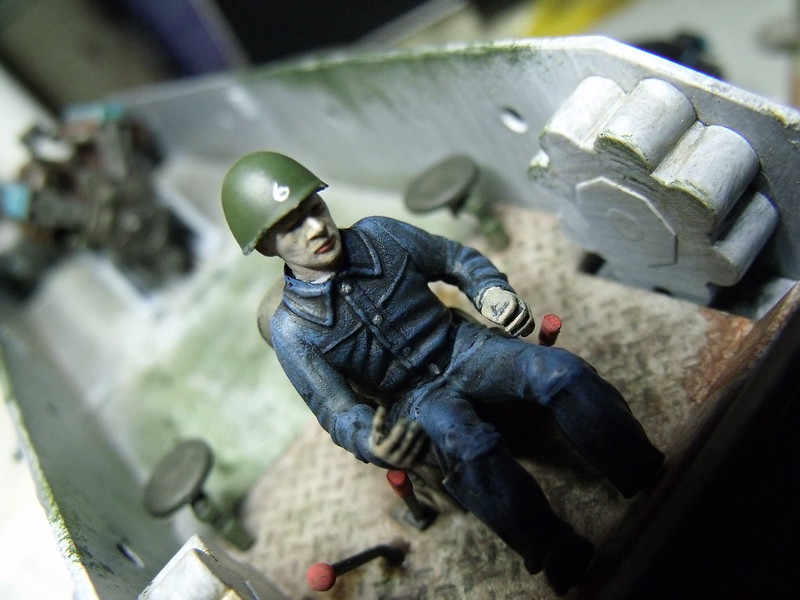
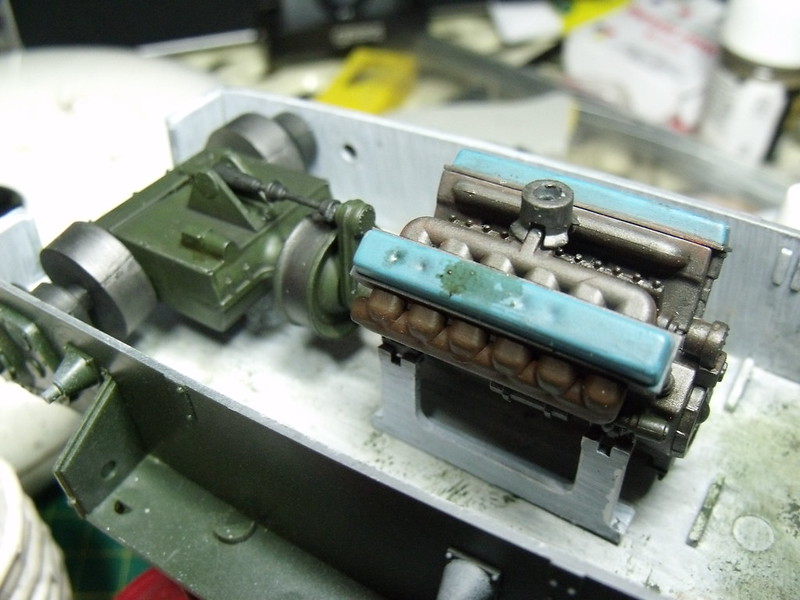
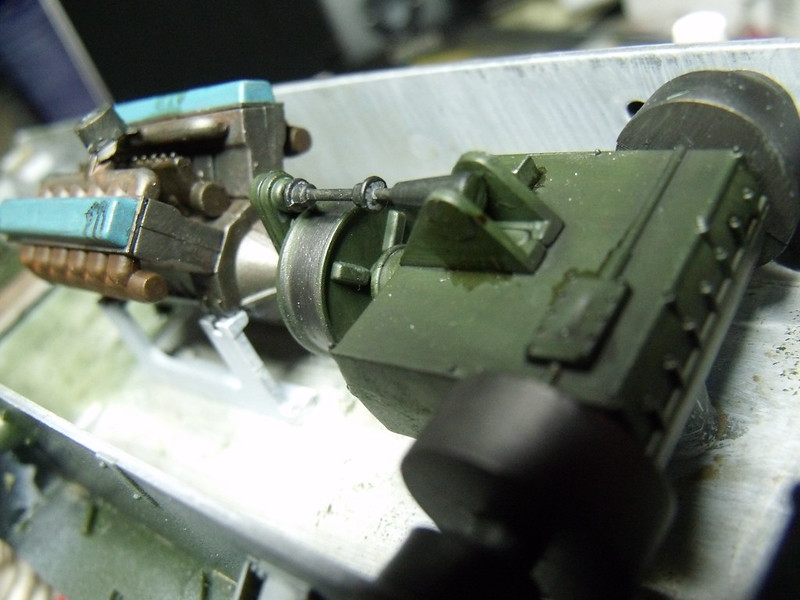
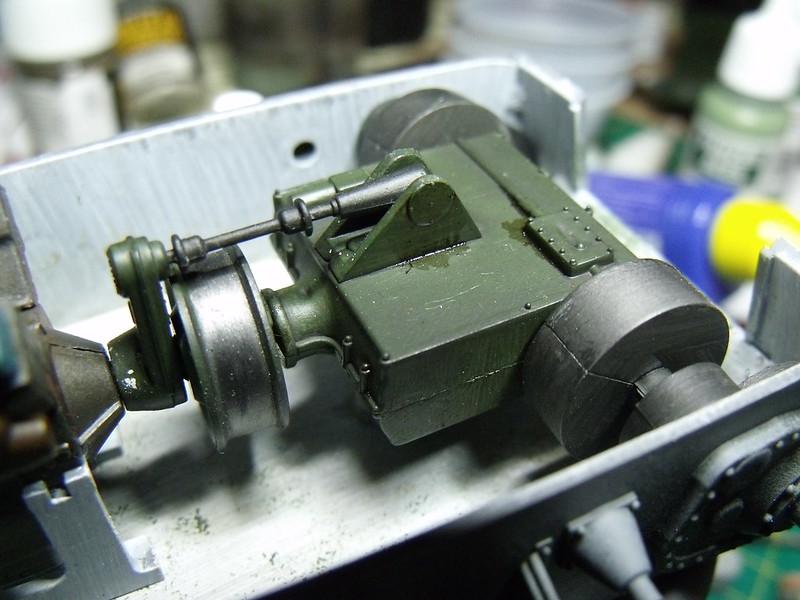
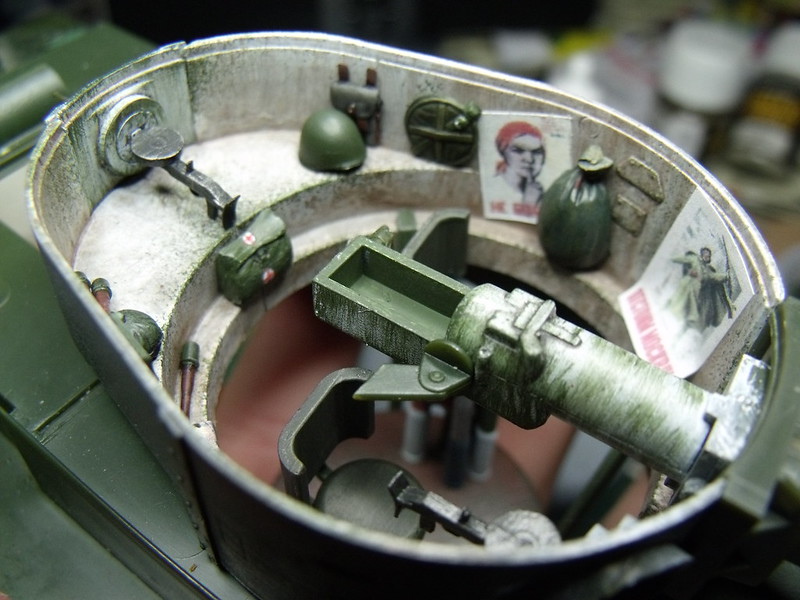
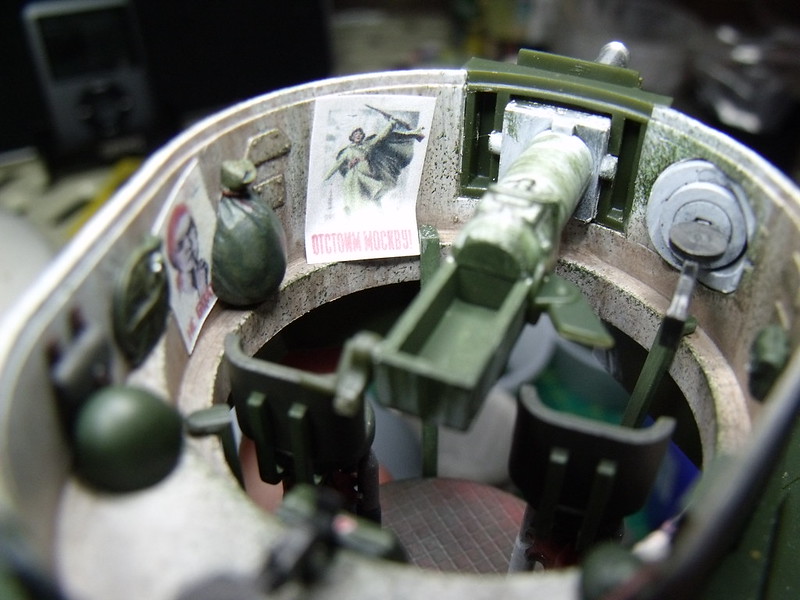
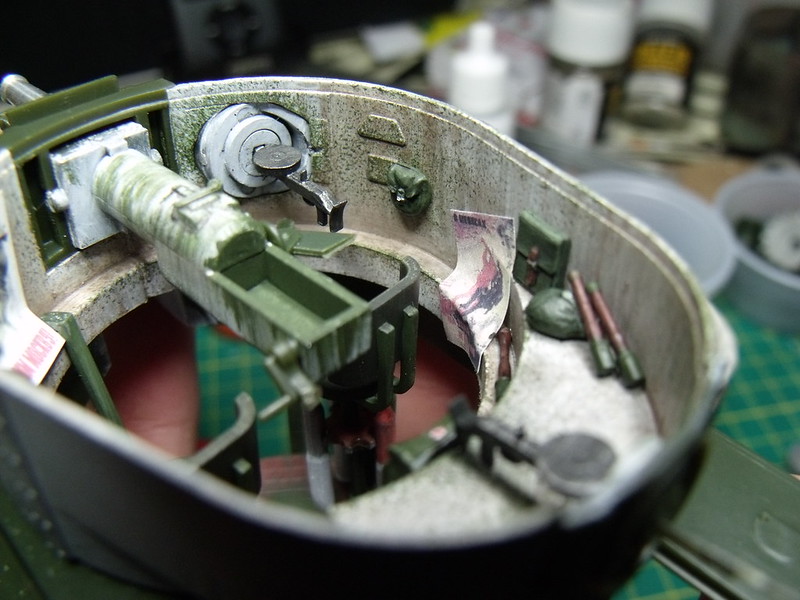
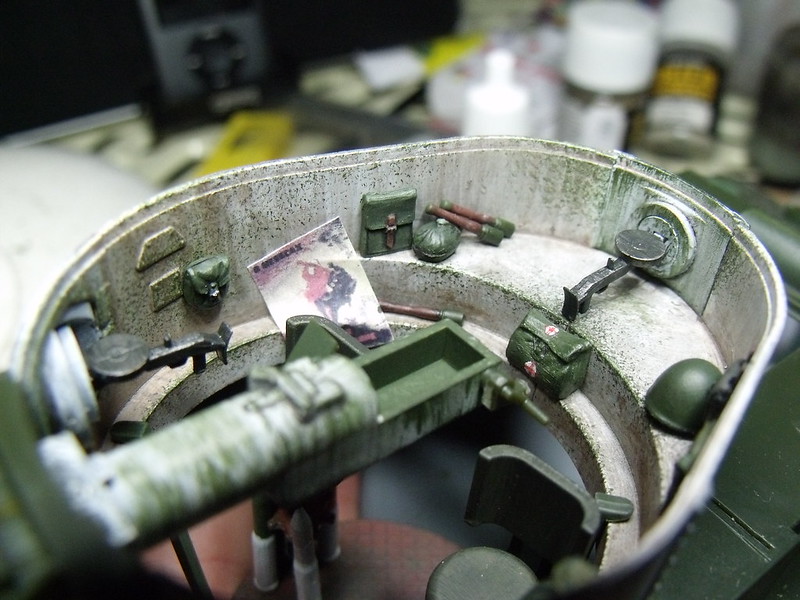
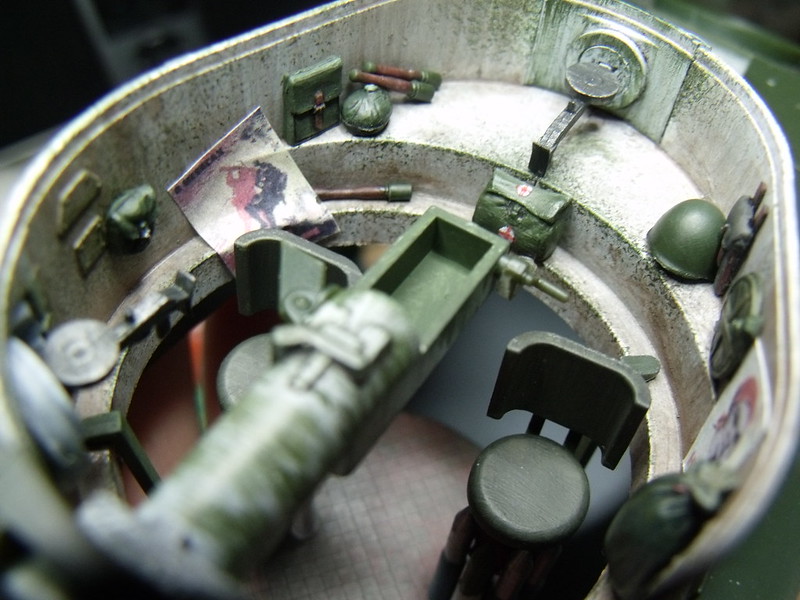
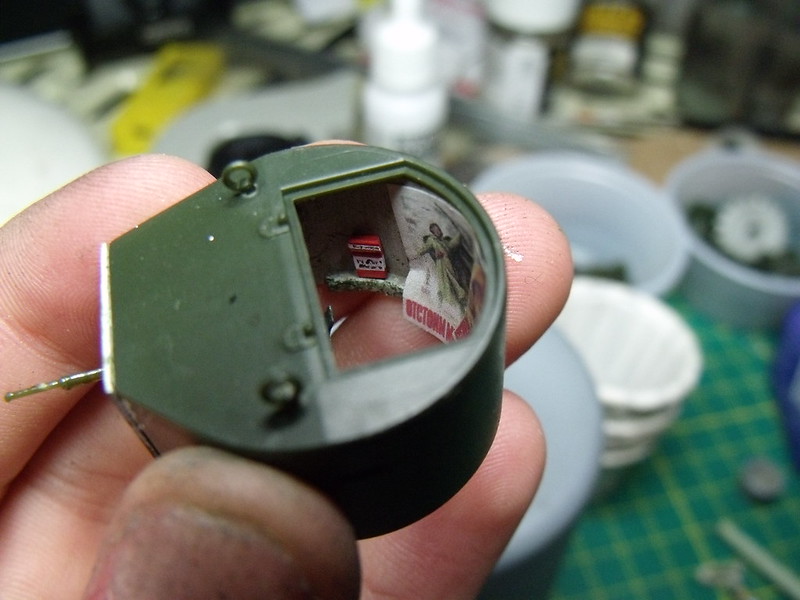
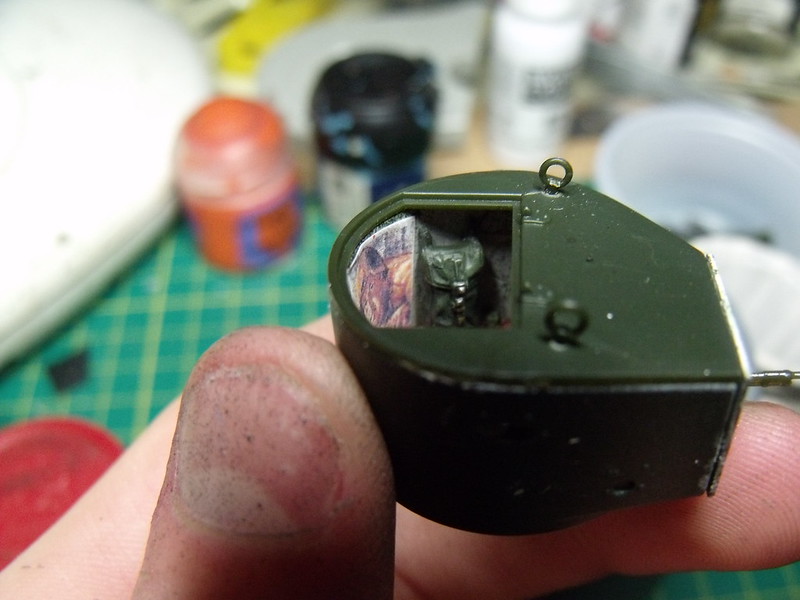
Spent the last few days doing the etch and painting the interior. I have made a few modifications to the kit parts to facilitate the etch and most can be used. Only a few more pieces need done and I can commence spraying.
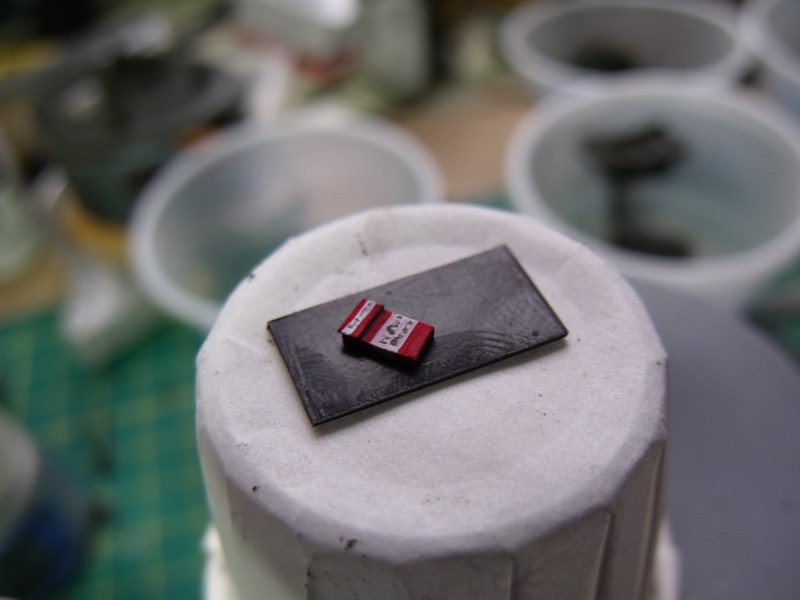
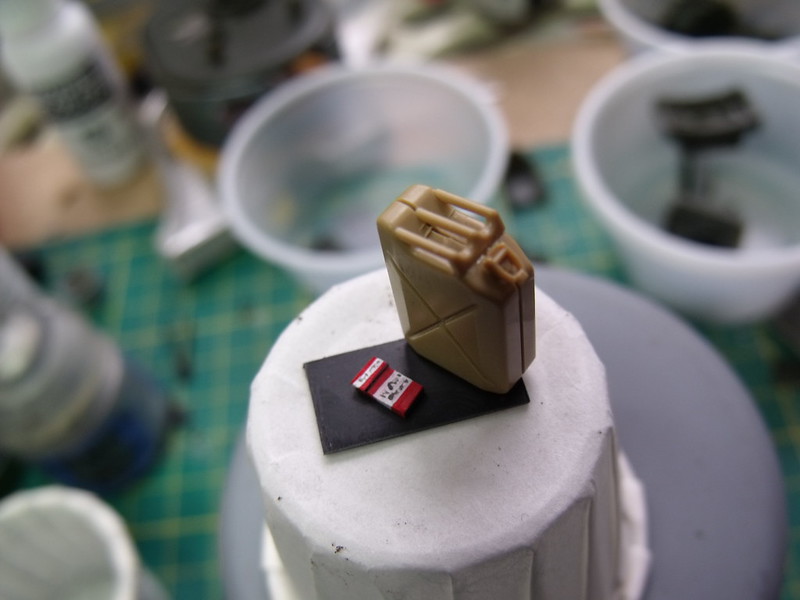
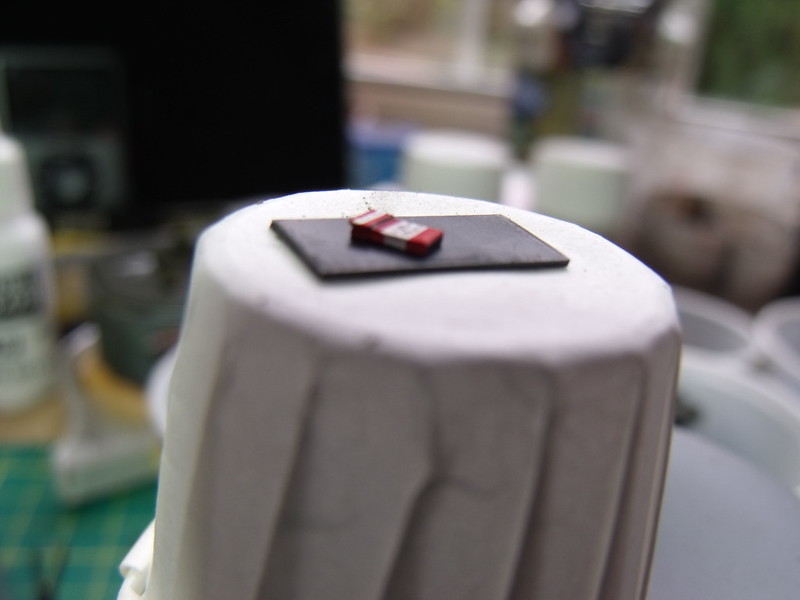
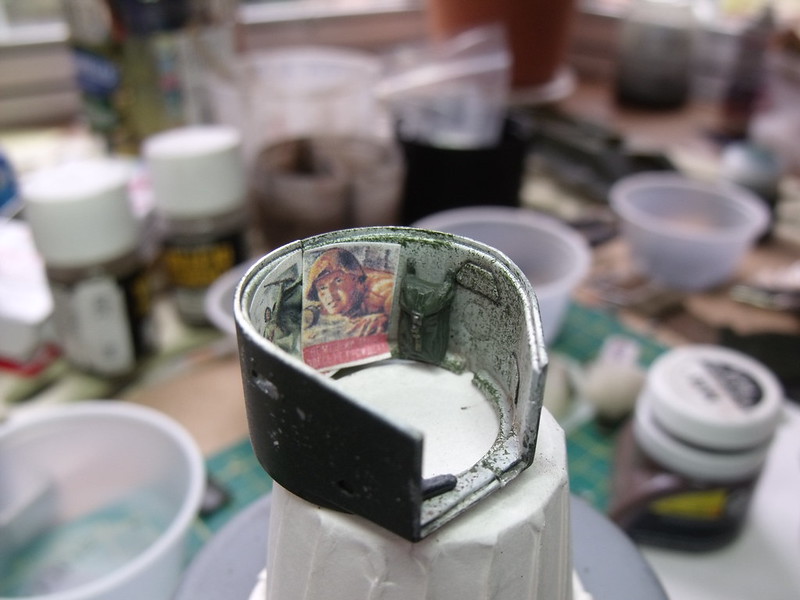
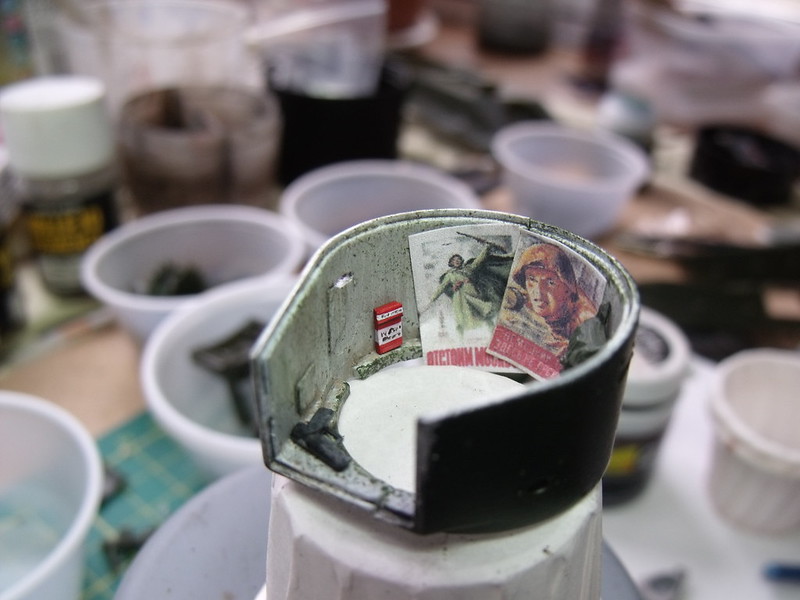
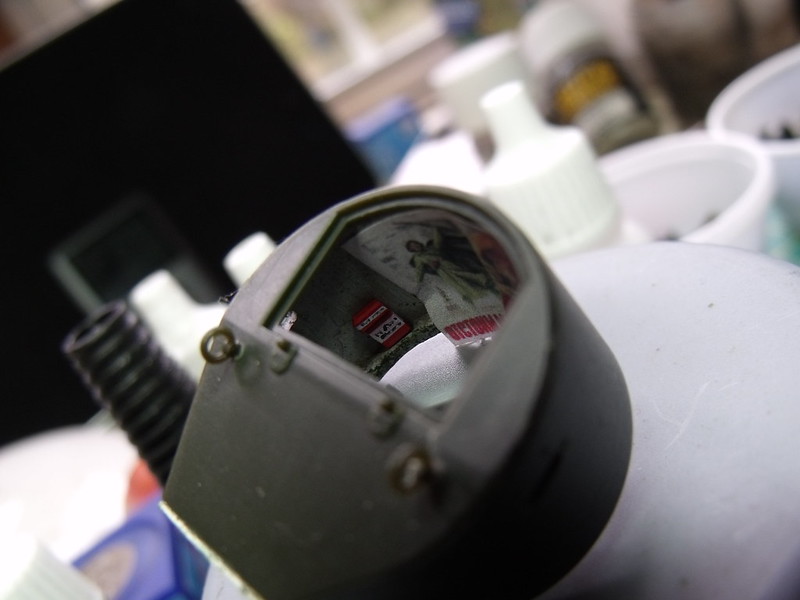
The interior has turned out OK and is mostly hidden so any mistakes won't be visible. I used various bits from the spares box to fill up the turrets and made my own pack of cigarettes. Can you spot them?
Thanks

dddda (1)

dd

dddda (2)

dddda (3)

dddda (5)

dddda (6)

dddda (7)

dddda (8)

dddda (9)

ddwd (1)

ddwd (2)

ddwd (3)

T-28 ICM (36)

T-28 ICM (33)

T-28 ICM (34)

T-28 ICM (32)

T-28 ICM (40)

T-28 ICM (38)

T-28 ICM (41)

T-28 ICM (42)

T-28 ICM (43)

T-28 ICM (44)

T-28 ICM (45)

T-28 ICM (46)

T-28 ICM (47)

T-28 ICM (48)

T-28 ICM (50)

T-28 ICM (52)

T-28 ICM (57)

T-28 ICM (60)

T-28 ICM (61)

T-28 ICM (62)

T-28 ICM (64)

T-28 ICM (66)

T-28 ICM (67)

T-28 ICM (68)

T-28 ICM (69)

T-28 ICM (70)

T-28 ICM (75)

T-28 ICM (76)

T-28 ICM (77)

T-28 ICM (78)

T-28 ICM (79)

T-28 ICM (80)

T-28 ICM (82)
Euan


retiredyank
Visit this Community
Arkansas, United States
Joined: June 29, 2009
KitMaker: 11,610 posts
Armorama: 7,843 posts
Posted: Sunday, February 10, 2013 - 09:42 AM UTC
That pack of cigarettes would have made me go blind! I have always thought the T28 and T35 were very cool. You are doing a superb job! How is the stowage, in the turret attached to the sides?
SovietBoy22
Visit this Community
Scotland, United Kingdom
Joined: September 04, 2011
KitMaker: 461 posts
Armorama: 452 posts
Posted: Sunday, February 10, 2013 - 10:35 AM UTC
Hi
Thanks very much. Do you mean if it were a real tank, how would the stowage be attached or, how it is attached to the model. There are some aspects of modeling where I try and ignore reality as much as possible. I know this is a bad ethos, but hey, the interior is pretty much completely hidden.
Thanks
Euan
KoSprueOne
Visit this Community
Myanmar
Joined: March 05, 2004
KitMaker: 4,011 posts
Armorama: 1,498 posts
Posted: Sunday, February 10, 2013 - 04:11 PM UTC
Excellent build. Thanks for sharing the WIP photos.
I built the ICM IT-28 Bridgelayer and a lot of this is similar


Removed by original poster on 03/24/13 - 00:24:46 (GMT).
SovietBoy22
Visit this Community
Scotland, United Kingdom
Joined: September 04, 2011
KitMaker: 461 posts
Armorama: 452 posts
Posted: Saturday, March 23, 2013 - 12:24 PM UTC
Sorry for the absence guys
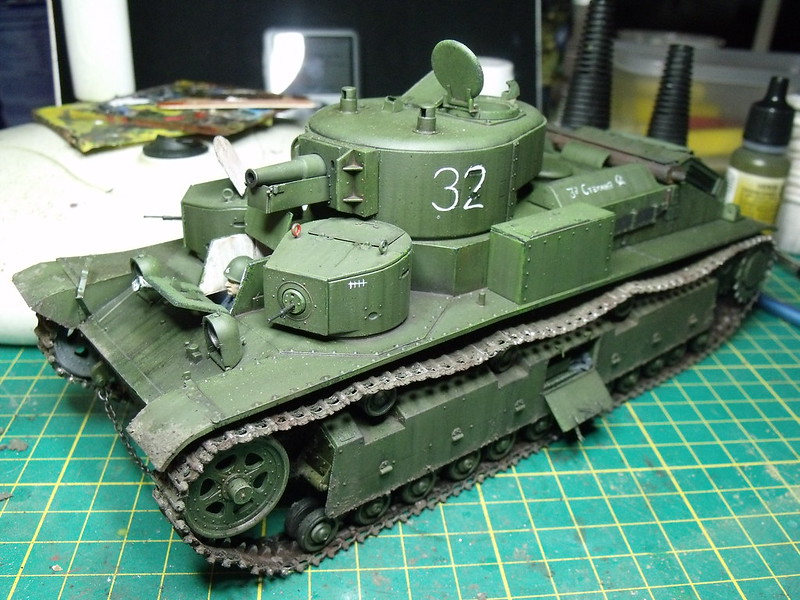
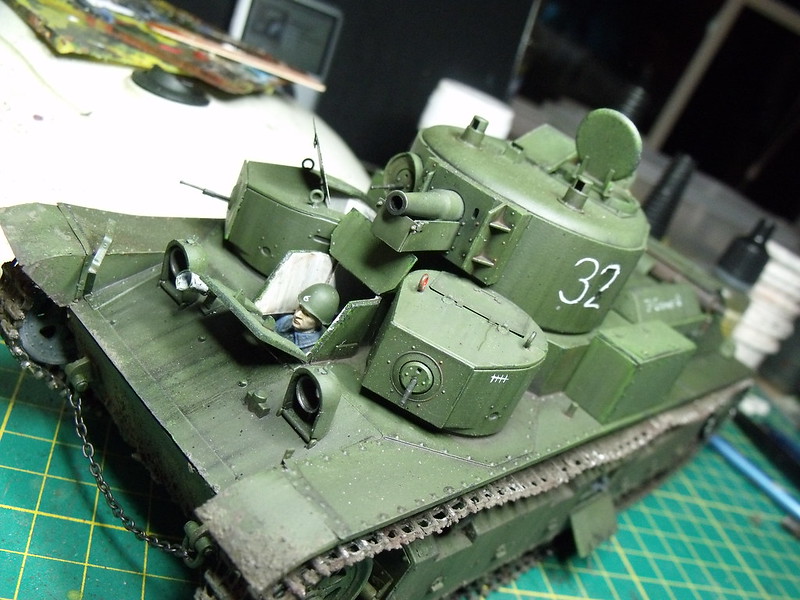
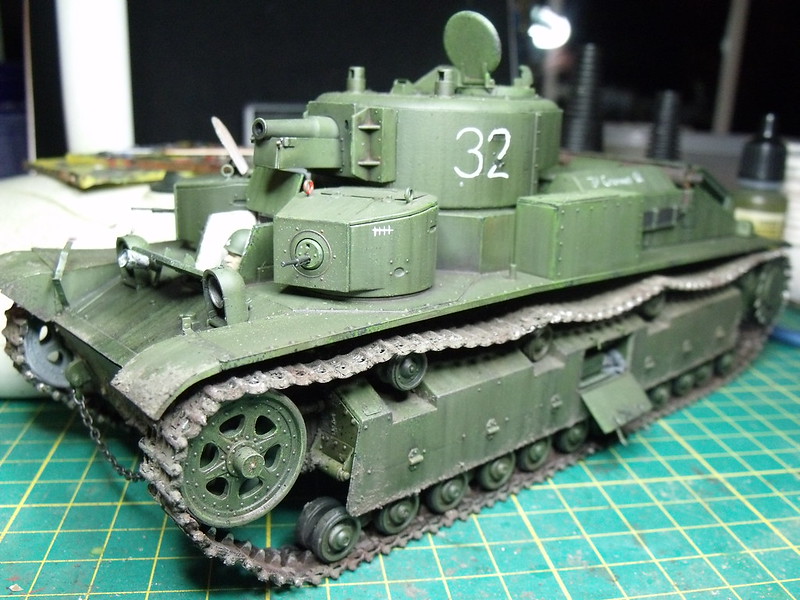
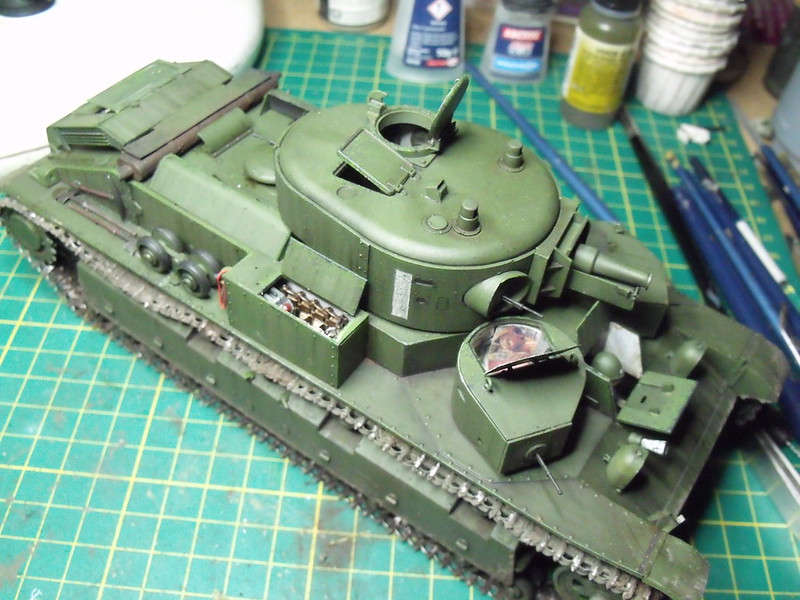
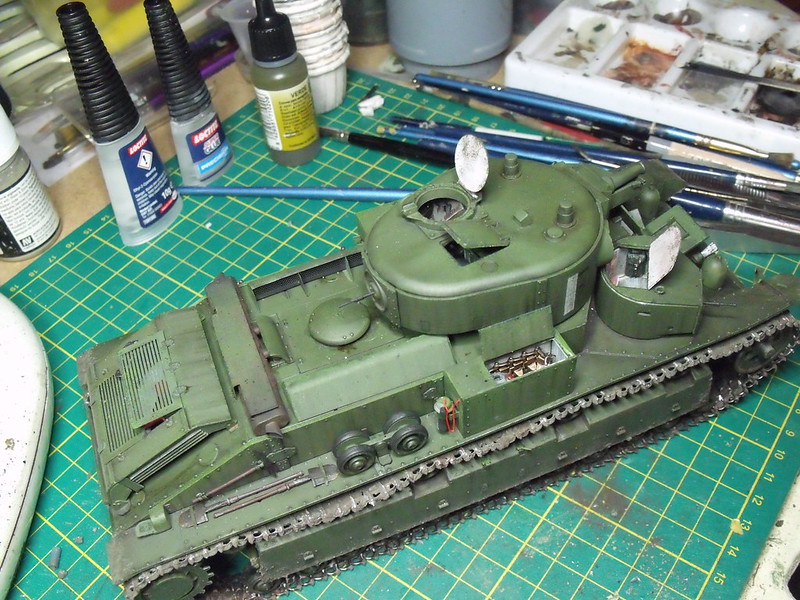
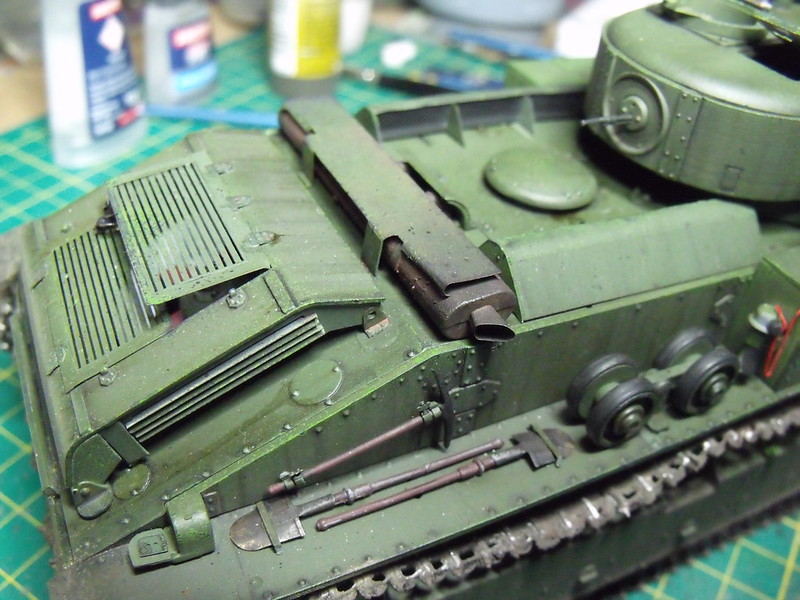
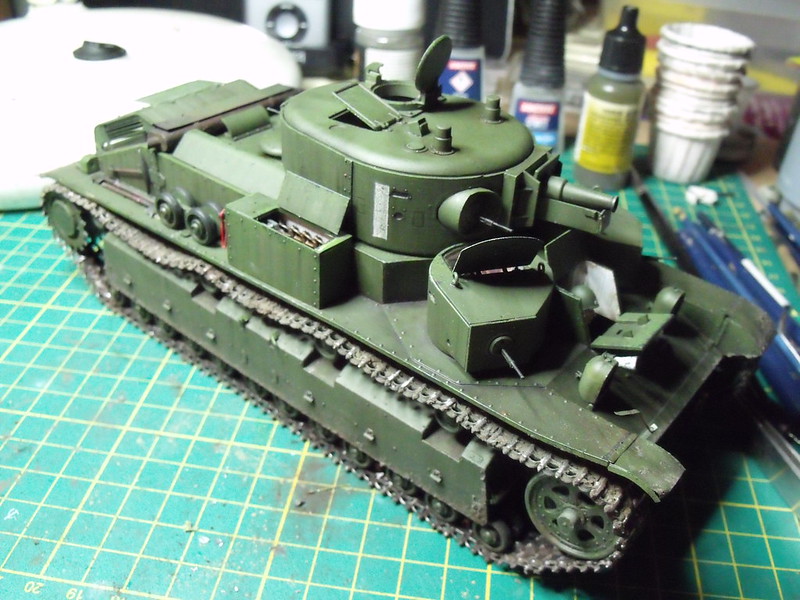
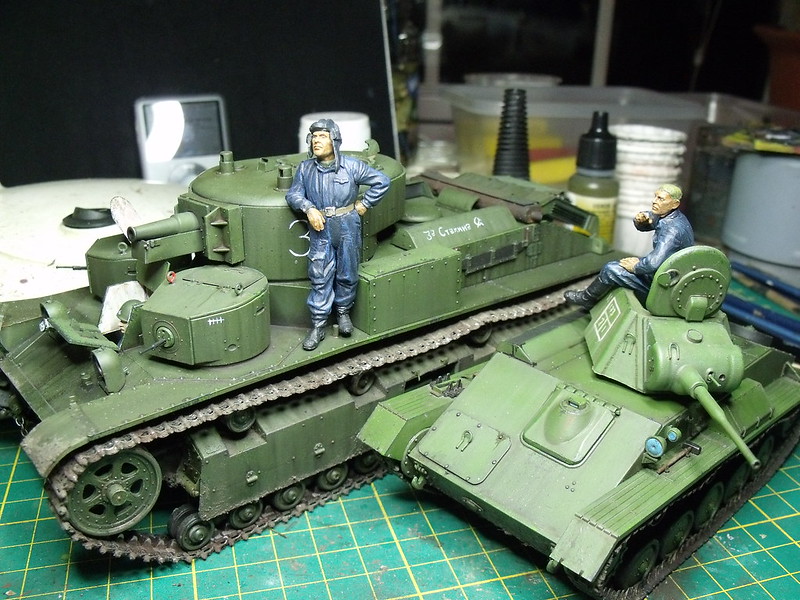
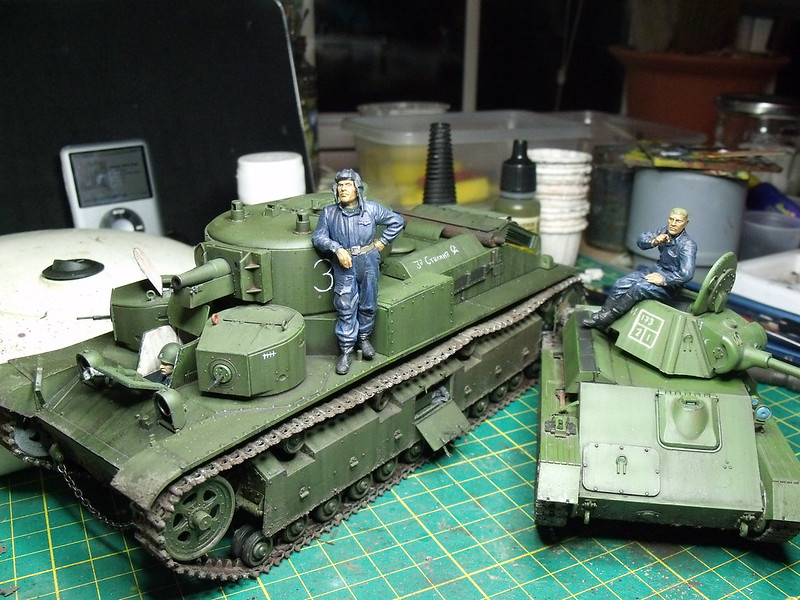
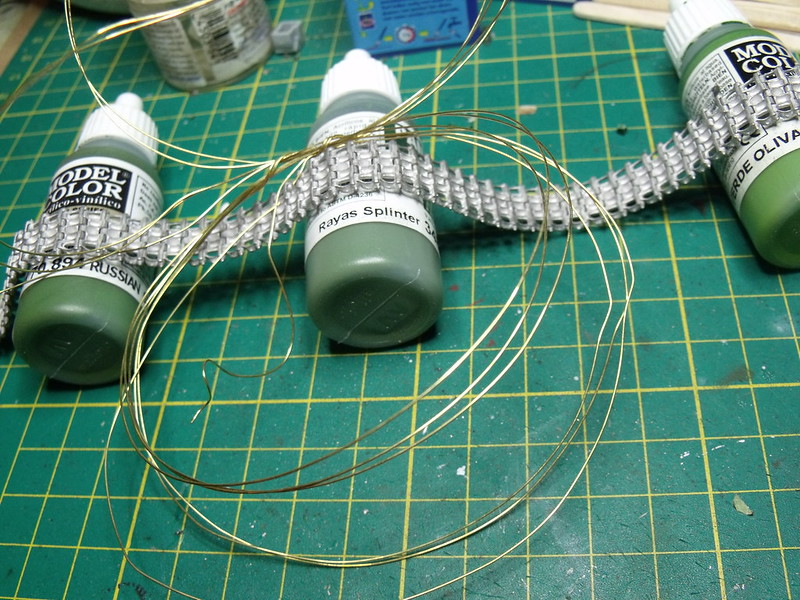
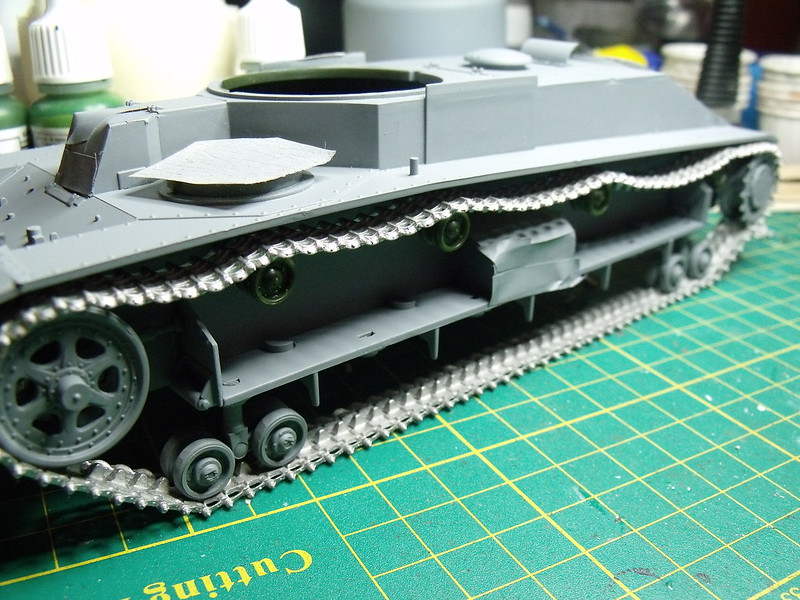
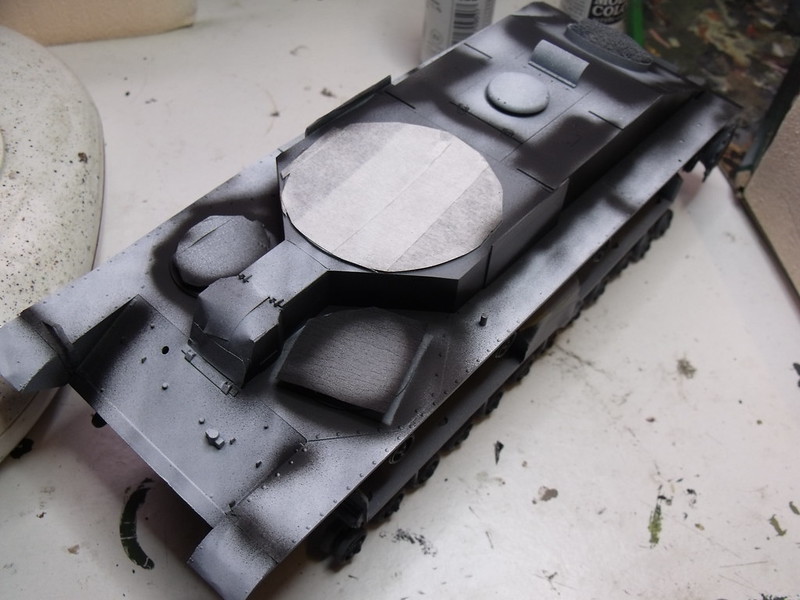
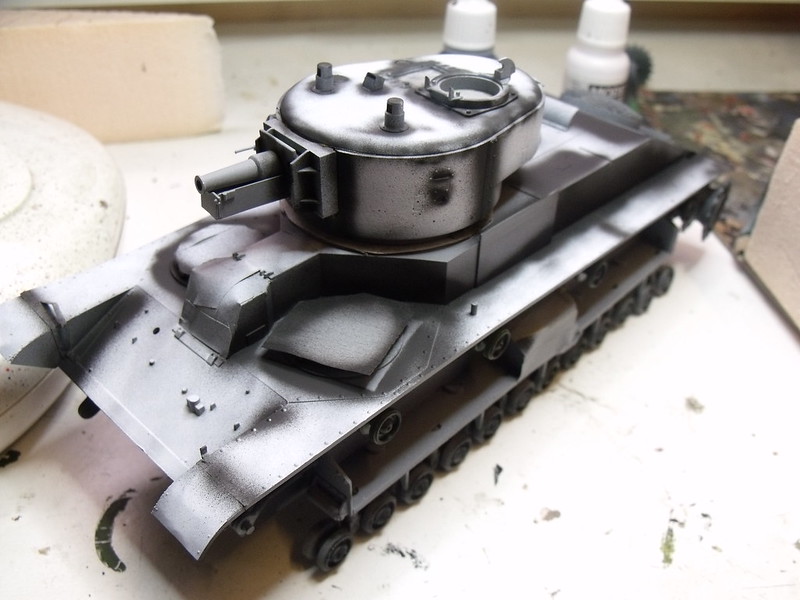
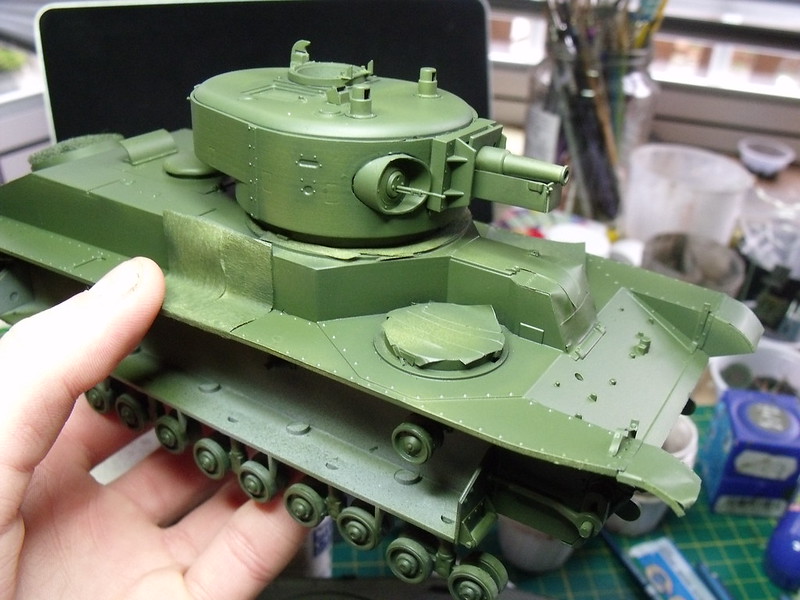
I have managed to get it sprayed finally and it is looking not too bad. Also, for the first time ever, I have treated myself to a set of Friuls!! (not that I had any choice). They were a joy to build and required no clean up at all! I got them in Ebay for £22 (excluding postage) which I think is reasonable and there is a decent amount of malleable wire left over. As usual, the model was primed using Halford's Grey followed by black and white pre-shading. Various greens were then concocted using a dozen different Vallejo paints and dusted onto the tank. Although I dont think I achieved anything, the colour turned out ok and would subsequently be altered by the weathering process.

Thanks

Euan

T-28 ICM (157)

T-28 ICM (152)

T-28 ICM (155)

T-28 ICM (154)

T-28 ICM (153)
SovietBoy22
Visit this Community
Scotland, United Kingdom
Joined: September 04, 2011
KitMaker: 461 posts
Armorama: 452 posts
Posted: Saturday, March 23, 2013 - 01:28 PM UTC
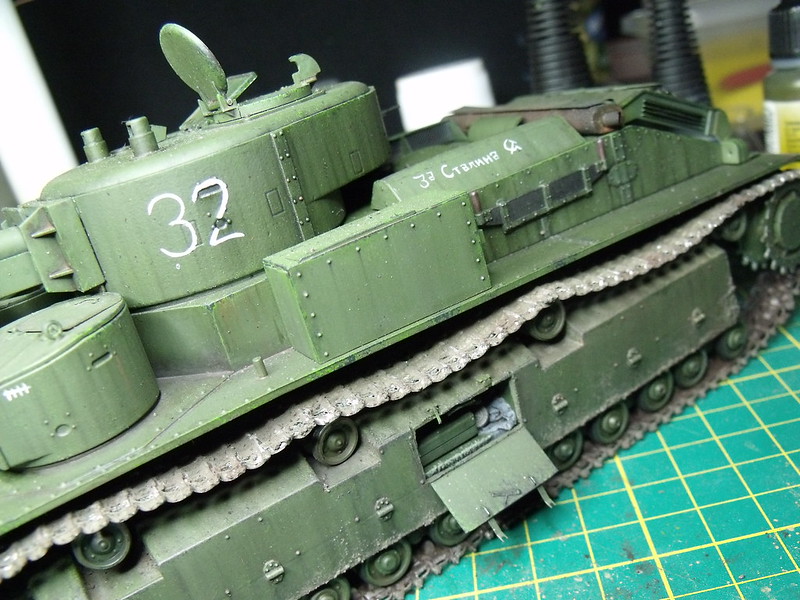
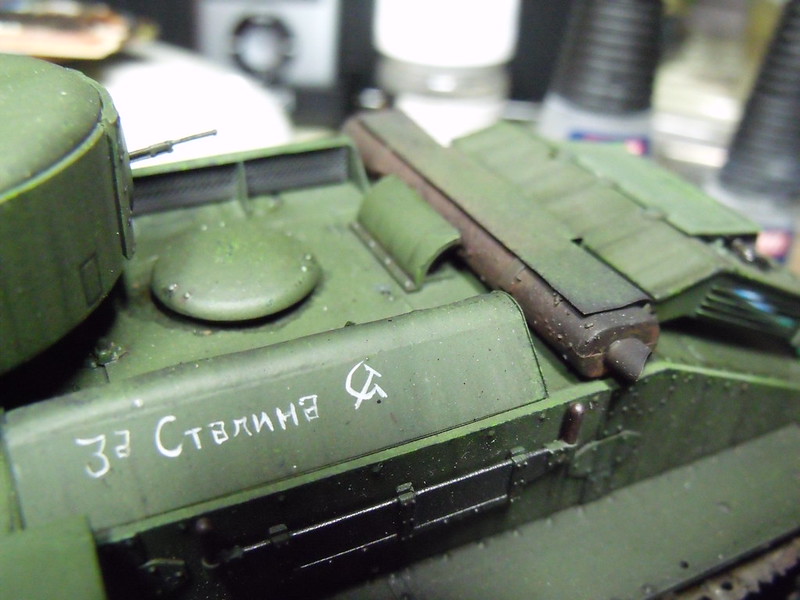
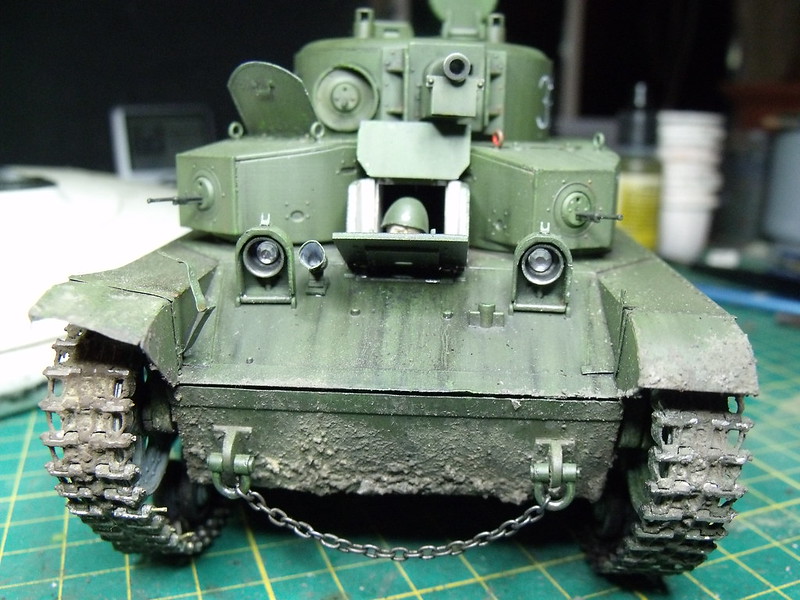
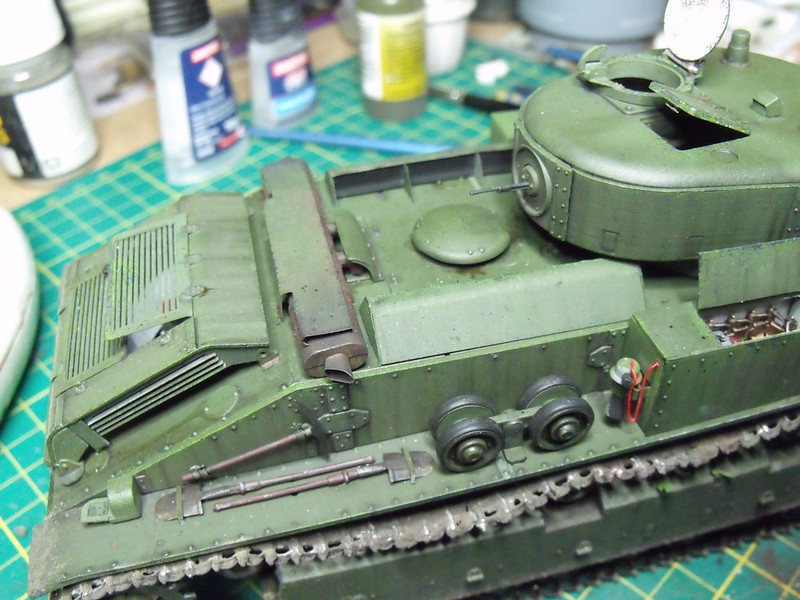
Tools blades were painted black/silver which was then rubbed with graphite. As the shovel tips were etch, I thought I could sand them to reveal the silver metal beneath. It did'nt turn out very well and they went slightly yellowy!!? Anyway, handles were painted dark brown dry-brushed with a lighter wood colour. The exhaust was base coated in a blackish brown which then received multiple orange washes and powders. Black pigment was then dusted near the exhaust tips to simulate soot build-up. The track in the right hand side stowage bin is just bare metal Friul track dipped in AK Track Wash. This was only an experiment as I knew it would be mostly hidden. The head lights were painted silver and then buffed with graphite. Self-adhesive gems were then put in to try and add some realism to the empty shell. The rear lights were painted red and then had a large blob of Tamiya Clear placed on top of them. This created a domed, shiny surface which vaguely resembles a tail light.


Now to the weathering!!

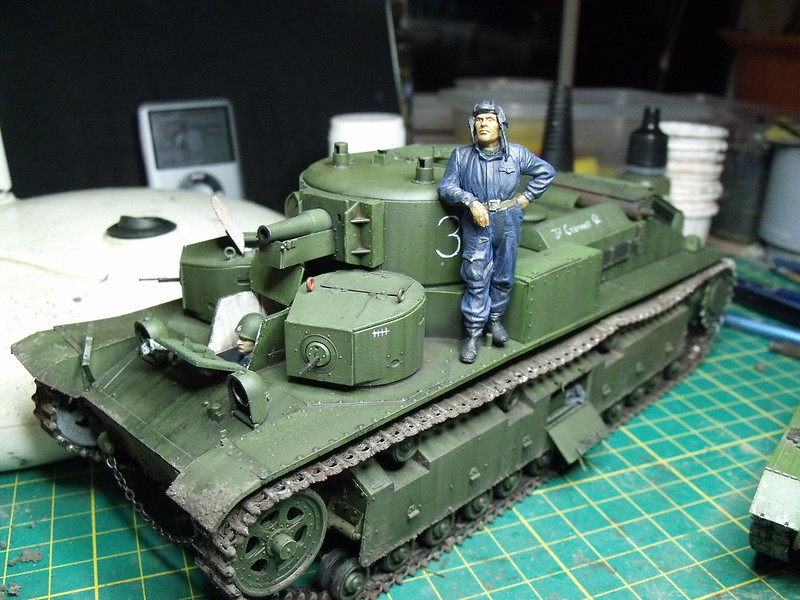
I started off by painting various part a lighter tone of the base colour which helped break up the large green panels. As usual, I painted my own decals. I know Bison or Archer would be better, and I really want to get some dry transfer, but in the interest of speed and 'painted on look', I just did them myself (I also like to live dangerously - haha). A large '32' was done on the left hand side of the turret with a white, vertical bar on the right. The left engine deck vent also got the treatment. 'Za Stalina' (For Stalin) was painted onto it. The left hand side mini-turret received 5 tally marks just to add a little interest.

From here, I moved onto chipping. My regular process of Vallejo Olive Green was applied with a brush for the large chips, followed by the sponge for the smaller ones. Once dry, Vallejo Black Grey was used to fill them in creating a slightly 3D effect. On a few heavy chips, a dark brown colour was made to emulate corroded, bare metal.

Next came the washes. As always, the superb, Mig Abteilung Oils were used. Dozens of different tones of blacks and browns were created and applied to every surface on the model. I tried to use slightly varying hues so as to make each panel similar but not bland. The two periscope towers on the turret roof were surrounded by brown oils and then this was stippled to recreate built-up grime. Black dots of oils were then placed along the tops of all vertical/sloping surface and streaked downward. This was done with a few other colours such as orange and brown, however it was in much smaller quantities to the black. I humbly tried Adam Wilder's technique, Speckling as I have found it to yield a nice effect (nowhere near as good as the mighty Adam though). Acrylic light green was first used followed by dark brown, orange and black.

I did not use much pigment on this model as oils seemed to be doing most of the work this time. However, I did tap some around the mounts small turrets. I got a dry brush and began working it in. To my disgust, it looked awful. In a attempt to remove it I got a wet brush and swirled it about. Thinking I had ruined it, I was amazed when it had dried and looked better than what I set out to achieve in the first place. i dunno if you think it looks good but I like it. The panels that create the enclosure for the 'baby turrets' have a dark dirt fading up them, see if you can spot it.


Mud was made using Treemendus Forest Floor, river bank sand, polyfiller and many other random things. To this I added Vallejo German Camo Green. I then stippled around the entire lowerhull and tracks. Washes and pigments then followed. I am still unhappy about the colour of the mud and is the one thing I would change.


I have not completely finished it (only 1 or 2 tiny adjustment to make) overall I have throughly enjoyed this project and really wish this kit was more widely available (hint hint Trumpeter ) I recommend the ICM kit to anyone as the detail is great and building is really easy. Although the kit only cost me a tenner, I then spent £25 on track, £10 on etch and £5 on the barrel. Despite this, a superb model can be built OOB. It was the fact the model came with the wrong track and that I 'mauled' the kit supplied short barrel which forced me into spending £30. The etch was just for fun.

I'll hopefully get some better pics up soon with a white background.


Thanks for looking

Euan

T-28 ICM (158)

T-28 ICM (99)

T-28 ICM (100)

T-28 ICM (101)

T-28 ICM (107)

T-28 ICM (119)

T-28 ICM (118)

T-28 ICM (122)

T-28 ICM (123)

T-28 ICM (125)

T-28 ICM (124)

T-28 ICM (136)

T-28 ICM (137)

T-28 ICM (138)

T-28 ICM (141)
ComradeMP
#0
Visit this Community
United States
Joined: July 31, 2011
KitMaker: 472 posts
Armorama: 453 posts
Posted: Sunday, March 24, 2013 - 04:08 PM UTC
That looks very nice!

Makes me want to finish the one I started, though mine's being built with an 85mm gun.
SovietBoy22
Visit this Community
Scotland, United Kingdom
Joined: September 04, 2011
KitMaker: 461 posts
Armorama: 452 posts
Posted: Tuesday, March 26, 2013 - 11:37 AM UTC

Quoted Text

That looks very nice!

Makes me want to finish the one I started, though mine's being built with an 85mm gun.


I was debating whether to do the 85mm or 76mm. The 85mm does look quite menacing.

Thanks
Euan
Nahuel19431
Visit this Community
Chubut, Argentina
Joined: August 15, 2010
KitMaker: 593 posts
Armorama: 548 posts
Posted: Tuesday, March 26, 2013 - 12:35 PM UTC
Nice job!!! Congratulations!!!

Omar
martyncrowther
Visit this Community
England - West Midlands, United Kingdom
Joined: September 12, 2007
KitMaker: 1,548 posts
Armorama: 1,407 posts
Posted: Tuesday, May 21, 2013 - 02:11 AM UTC
Nice work Euan, does your slogan say Stalin?
SovietBoy22
Visit this Community
Scotland, United Kingdom
Joined: September 04, 2011
KitMaker: 461 posts
Armorama: 452 posts
Posted: Wednesday, May 22, 2013 - 04:36 AM UTC

Quoted Text

Nice work Euan, does your slogan say Stalin?


Yeah, 'Za Staleena' means 'For Stalin' (I think )
Thanks
Euan
martyncrowther
Visit this Community
England - West Midlands, United Kingdom
Joined: September 12, 2007
KitMaker: 1,548 posts
Armorama: 1,407 posts
Posted: Wednesday, May 22, 2013 - 09:17 AM UTC
I thought it did, I can read Russian, just cant speak it very well

How is the convoy diorama?

Martyn
SovietBoy22
Visit this Community
Scotland, United Kingdom
Joined: September 04, 2011
KitMaker: 461 posts
Armorama: 452 posts
Posted: Thursday, May 23, 2013 - 09:16 AM UTC
Sorry, which one? haha. If you're on about the Naval Convoy then its going well thanks. Ive got the civilian car almost done and hope to post pics pretty soon. If you're talking about the Chechnya convoy, also quite well. The first Gaskin is done and am preparing to move on to the second one.
Thanks
Euan
 _GOTOTOP