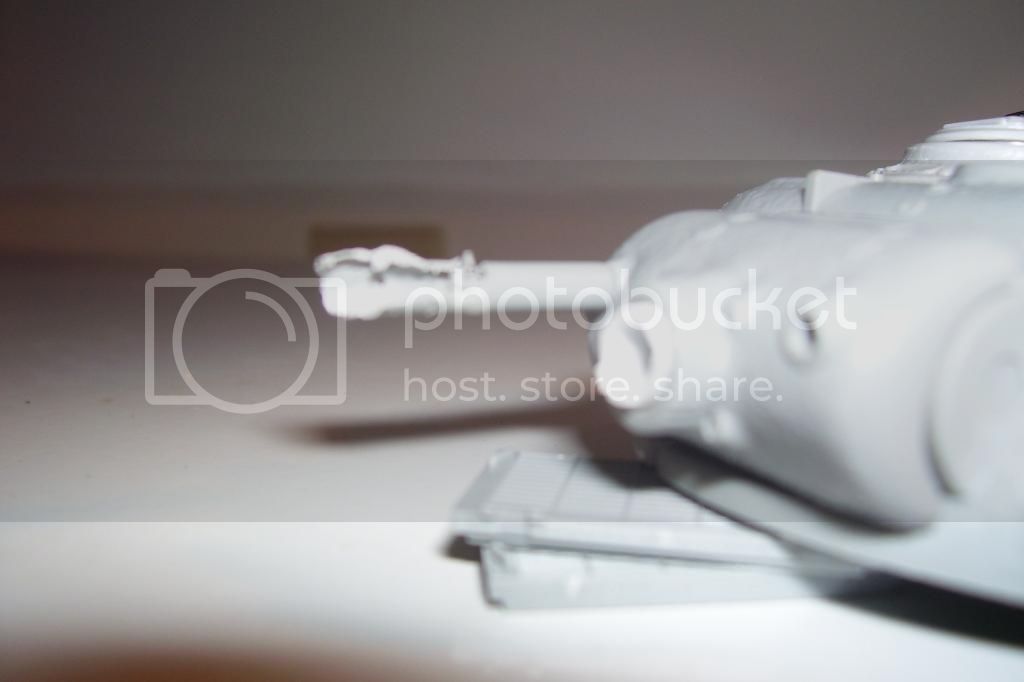
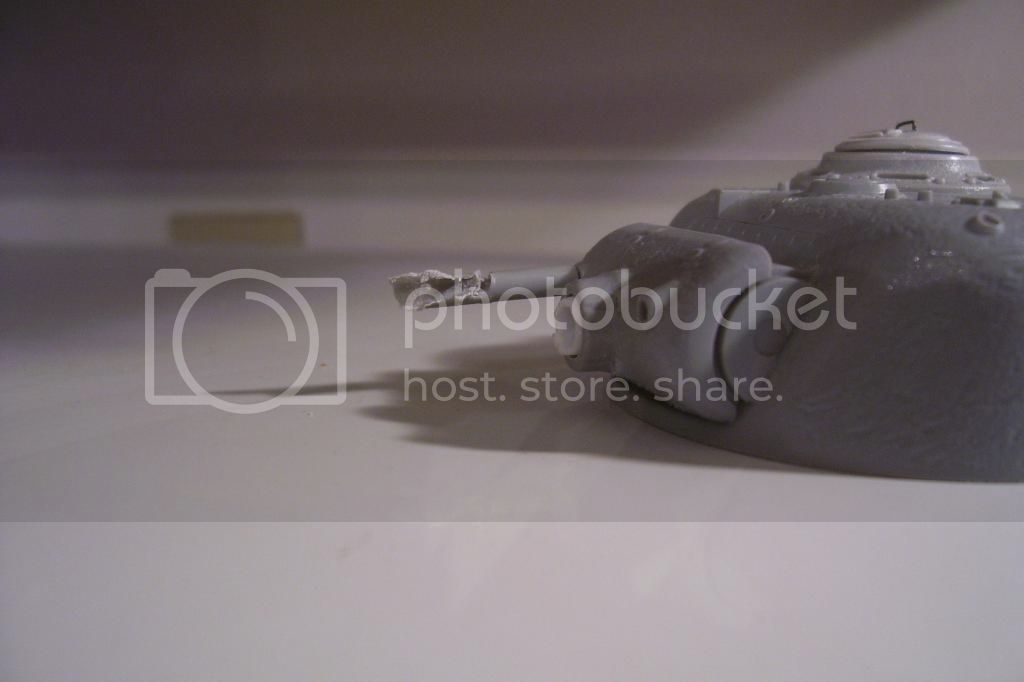
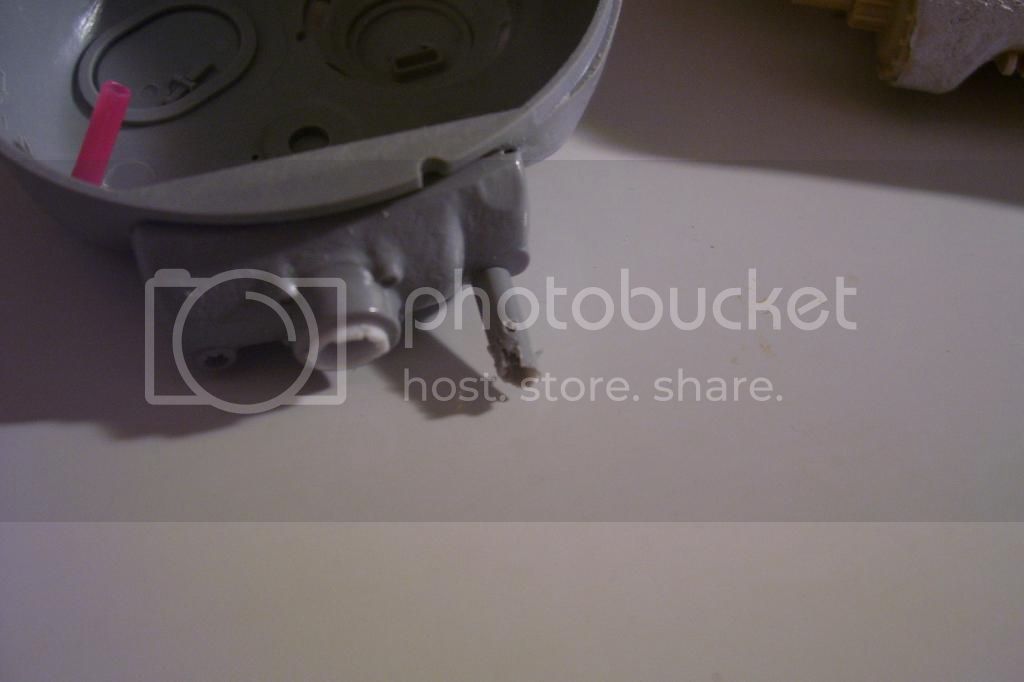
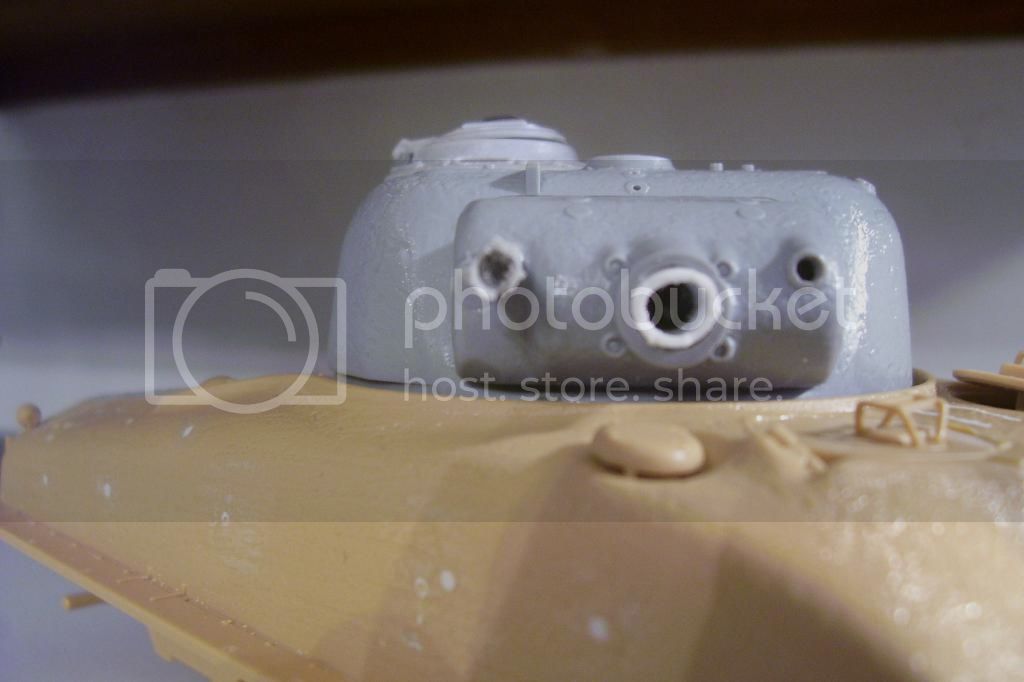
I started this project as just a discarded Sherman turret found by a hunter in the woods. After buying the new Tamiya M-51 (already built but not painted) and giving it a good looking over, I decided to part it out and either use it as spare parts or do something with it. So I parted out the running gear to my Super Pershing build.
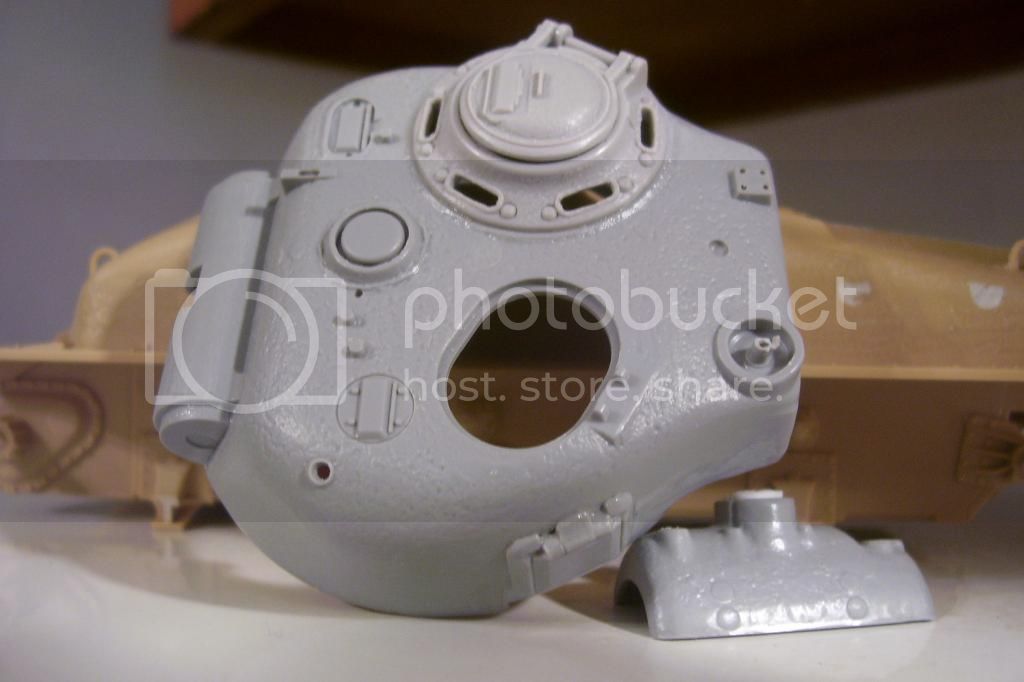
The first work I did was on the turret, it came from my Cyber Hobby M4A3E8.
I used styrene tube to simulate the 105 barrel being cut off and am still working on ways to give the turret a rusty distressed look, at the moment I'm leaning towards super glue and baking soda. I'm also looking into "rusting" solutions like Rustall and theres another that I've heard of but I cant remember the name of it.
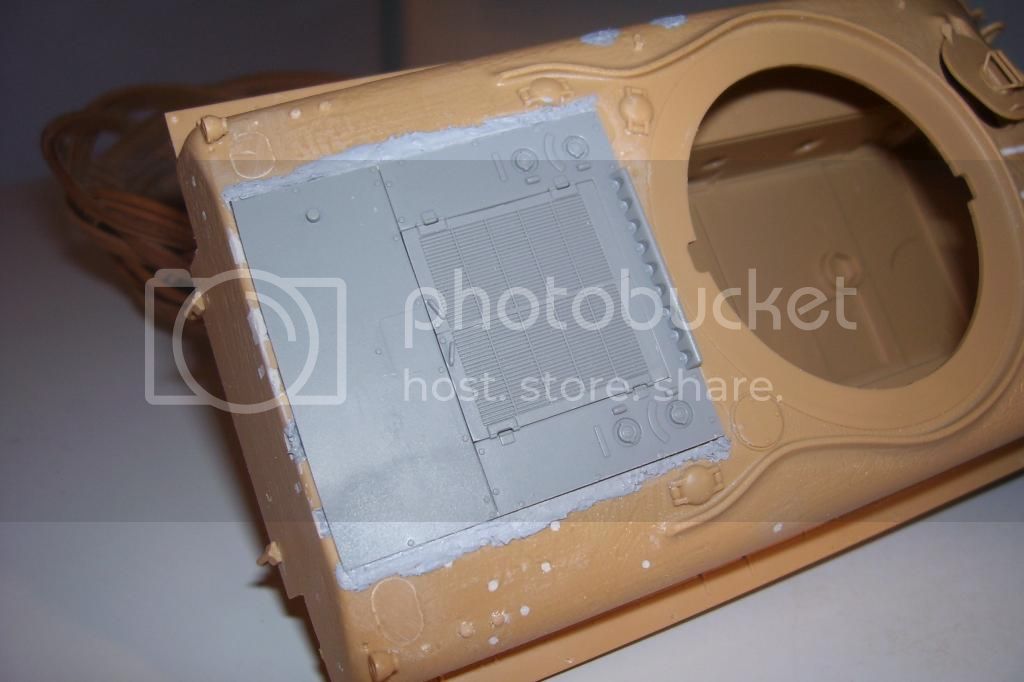
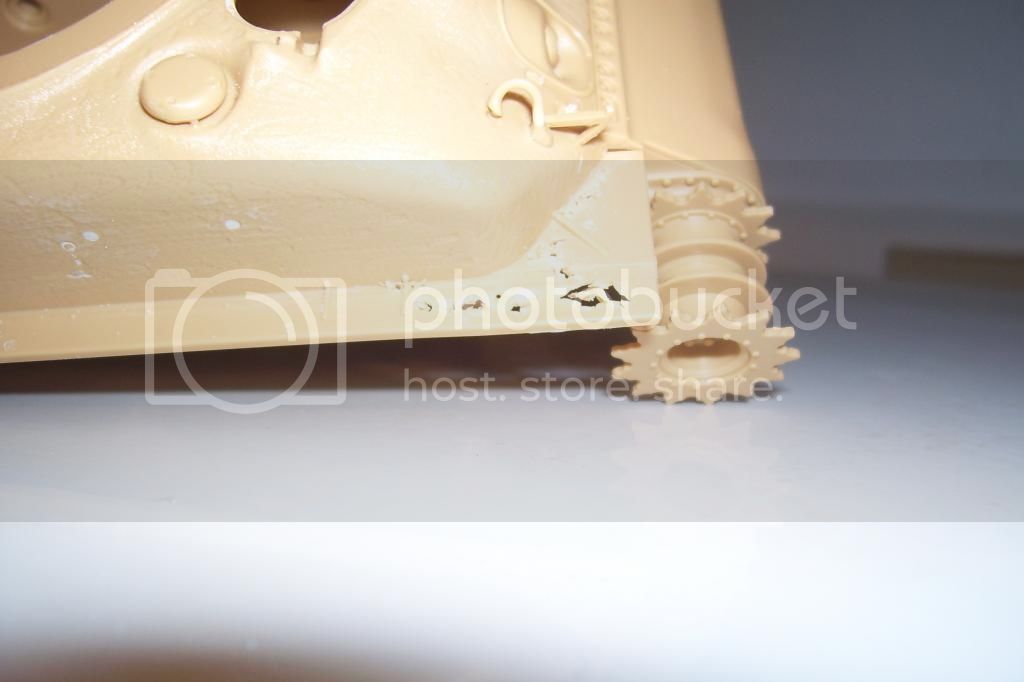
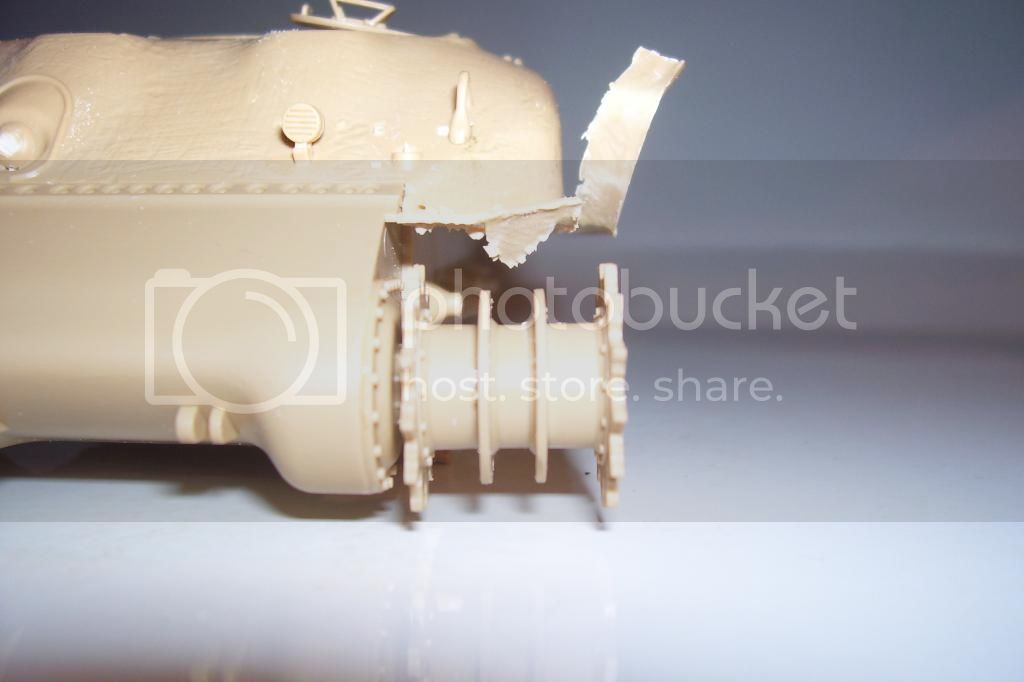
The hull itself has been roughed up with a cutting bit in Dremel on low power. These pictures are from a few days ago, I've since removed the drive sprocket cover sections of the fenders and have started to thin the rest of the fender with the dremel to eventually push a needle and other things through to give them a rusted through look.
Any hints or help will be greatly appreciated. Thanks for looking
Constructive Feedback
For in-progress or completed build photos. Give and get contructive feedback!
Hosted by Darren Baker, Dave O'Meara
The Sherman hulk
USMC6094
North Carolina, United States
Joined: August 30, 2013
KitMaker: 51 posts
Armorama: 29 posts
Joined: August 30, 2013
KitMaker: 51 posts
Armorama: 29 posts
Posted: Monday, September 02, 2013 - 05:03 AM UTC
berwickj
Fyn, Denmark
Joined: April 16, 2007
KitMaker: 352 posts
Armorama: 342 posts
Joined: April 16, 2007
KitMaker: 352 posts
Armorama: 342 posts
Posted: Monday, September 02, 2013 - 05:13 AM UTC
Good start. You'll need an extra ventilator at the back, round about where the little "dimple" is. Go a little more than halfway down this page:
Sherman Turrets
Do yourself a really big favour and get the "Son of Sherman" book! It's great.
John
Sherman Turrets
Do yourself a really big favour and get the "Son of Sherman" book! It's great.
John
retiredyank
Arkansas, United States
Joined: June 29, 2009
KitMaker: 11,610 posts
Armorama: 7,843 posts
Joined: June 29, 2009
KitMaker: 11,610 posts
Armorama: 7,843 posts
Posted: Monday, September 02, 2013 - 05:46 AM UTC
Looks interesting. For heavy weathering, you could try Micro-Mark Rust n Dust.
USMC6094
North Carolina, United States
Joined: August 30, 2013
KitMaker: 51 posts
Armorama: 29 posts
Joined: August 30, 2013
KitMaker: 51 posts
Armorama: 29 posts
Posted: Monday, September 02, 2013 - 01:03 PM UTC
definetly gonna add the ventilator, lol, its still in the Cyber Hobby box, and I'm gonna check out the Rust-n-Dust here very shortly
USMC6094
North Carolina, United States
Joined: August 30, 2013
KitMaker: 51 posts
Armorama: 29 posts
Joined: August 30, 2013
KitMaker: 51 posts
Armorama: 29 posts
Posted: Thursday, September 05, 2013 - 06:18 AM UTC
Made some progress the last few days. Got the the tube for the flame thrower barrel suitably distressed and the started on the fenders that will be above the ground line. To put it another way, I've gotten really good with the dremel and a grinding bit.
Anyway, here are some pictures, any suggestions or tips will again be greatly appreciated.
First is the engine deck, I had to shim the Cyberhobby part to fit the Tamiya hull. the grey area on either side of the deck Tamiya putty over styrene strips.
Next is the turret again, I've started adding the fiddley bits and grinding in the smooth spots to get the cast texture back to the parts after filling and sanding. As well as the flame gun barrel, with it I had to be really careful as I thinned the halves to the point where the plastic is about paper thin.
And a view of the turret top, I shaved the original handle off the cupola hatch and replaced it with one I mde from a bread bag tie.
USMC6094
North Carolina, United States
Joined: August 30, 2013
KitMaker: 51 posts
Armorama: 29 posts
Joined: August 30, 2013
KitMaker: 51 posts
Armorama: 29 posts
Posted: Thursday, September 05, 2013 - 06:23 AM UTC
USMC6094
North Carolina, United States
Joined: August 30, 2013
KitMaker: 51 posts
Armorama: 29 posts
Joined: August 30, 2013
KitMaker: 51 posts
Armorama: 29 posts
Posted: Thursday, September 05, 2013 - 06:24 AM UTC
retiredyank
Arkansas, United States
Joined: June 29, 2009
KitMaker: 11,610 posts
Armorama: 7,843 posts
Joined: June 29, 2009
KitMaker: 11,610 posts
Armorama: 7,843 posts
Posted: Thursday, September 05, 2013 - 07:26 AM UTC
Attacking the plastic, seems to have been highly successful. I'm not subscribed, but I will check up on the build every so often. I really want to see how you weather it.
USMC6094
North Carolina, United States
Joined: August 30, 2013
KitMaker: 51 posts
Armorama: 29 posts
Joined: August 30, 2013
KitMaker: 51 posts
Armorama: 29 posts
Posted: Saturday, September 07, 2013 - 05:57 AM UTC
I decided to cut down the flame gun barrel last night, so I started grinding it out from the muzzle and using two different knife blades to do the damage. I used a small grinding bit and worked slowly until I could about see the spinning bit through the plastic, then I tried to replicate how thin rusty metal would fracture and disintegrate over time.
I also added a coating of Squadron white putty to the final drive housing to give it more of a cast look because the kit part was too smooth for my taste.
More to follow
I also added a coating of Squadron white putty to the final drive housing to give it more of a cast look because the kit part was too smooth for my taste.
More to follow
retiredyank
Arkansas, United States
Joined: June 29, 2009
KitMaker: 11,610 posts
Armorama: 7,843 posts
Joined: June 29, 2009
KitMaker: 11,610 posts
Armorama: 7,843 posts
Posted: Saturday, September 07, 2013 - 06:43 AM UTC
I never thought of using putty to represent a cast texture. I have most of a tube of white putty. I'll have to give it a go, on some of my shelf queens. The damage is very believable. Treat your hands well. Looks like arthritis waiting to happen.
USMC6094
North Carolina, United States
Joined: August 30, 2013
KitMaker: 51 posts
Armorama: 29 posts
Joined: August 30, 2013
KitMaker: 51 posts
Armorama: 29 posts
Posted: Sunday, September 08, 2013 - 04:30 AM UTC
Quoted Text
I never thought of using putty to represent a cast texture. I have most of a tube of white putty. I'll have to give it a go, on some of my shelf queens. The damage is very believable. Treat your hands well. Looks like arthritis waiting to happen.
Its really not as bad as it sounds. All I do is take either Tamiya grey or Squadron white putty, wet it with Testors liquid cement, smear it on as even as I can, then use a stiff bristled brush thats wetted with the cement and stipple it. The aforementioned putties work okay for this, but the best one to use is Testors Red putty in the big tube, and I cant find it anywhwere.
I made some more headway on the flame gun barrel last night and shortened it to what I think is more believeable length. I've really gotten the hang of the grinding bit and super slow work lol.
vonHengest
Texas, United States
Joined: June 29, 2010
KitMaker: 5,854 posts
Armorama: 4,817 posts
Joined: June 29, 2010
KitMaker: 5,854 posts
Armorama: 4,817 posts
Posted: Sunday, September 08, 2013 - 12:06 PM UTC
Certainly not what I was expecting when I checked this thread out. Very interesting
retiredyank
Arkansas, United States
Joined: June 29, 2009
KitMaker: 11,610 posts
Armorama: 7,843 posts
Joined: June 29, 2009
KitMaker: 11,610 posts
Armorama: 7,843 posts
Posted: Thursday, September 12, 2013 - 07:41 AM UTC
Coming along, nicely. Could the Testors red utty you are referring be auto body putty?
shermaholic-king
Louisiana, United States
Joined: December 30, 2012
KitMaker: 34 posts
Armorama: 33 posts
Joined: December 30, 2012
KitMaker: 34 posts
Armorama: 33 posts
Posted: Thursday, September 12, 2013 - 07:59 AM UTC
Question...why are you using an M4A3 engine deck on an M4A1? Inquiring minds want to know. Being that I am King of all Shermaholics..I am morbidly curious.
USMC6094
North Carolina, United States
Joined: August 30, 2013
KitMaker: 51 posts
Armorama: 29 posts
Joined: August 30, 2013
KitMaker: 51 posts
Armorama: 29 posts
Posted: Tuesday, September 17, 2013 - 06:42 AM UTC
Quoted Text
Coming along, nicely. Could the Testors red utty you are referring be auto body putty?
I dont believe so, but then again I bought the last tube I saw over a decade ago and it was sold in a hobby shop in San Diego.
USMC6094
North Carolina, United States
Joined: August 30, 2013
KitMaker: 51 posts
Armorama: 29 posts
Joined: August 30, 2013
KitMaker: 51 posts
Armorama: 29 posts
Posted: Tuesday, September 17, 2013 - 06:44 AM UTC
Quoted Text
Question...why are you using an M4A3 engine deck on an M4A1? Inquiring minds want to know. Being that I am King of all Shermaholics..I am morbidly curious.
Perfectly apt question KJD, and my answer to you is I wanted use up some of the spare parts I had laying around, lol, and to make people in the know scratch thier heads lol
USMC6094
North Carolina, United States
Joined: August 30, 2013
KitMaker: 51 posts
Armorama: 29 posts
Joined: August 30, 2013
KitMaker: 51 posts
Armorama: 29 posts
Posted: Tuesday, September 17, 2013 - 06:52 AM UTC
and an update, I used the grinder to get the original barrel stub out of the mantlet to use the 105 barrel, I thought I'd lost it somewhere around the work bench and I found it.
not to mention I found two pictures of Shermans found in the woods around two Marine bases and from the looks of the pictures I jumped the gun (no pun intended) by working over the flame gun barrel, unless it was attacked with a cutting torch, fifty plus years in the weather wouldnt have had too much effect on the flame gun barrel either.