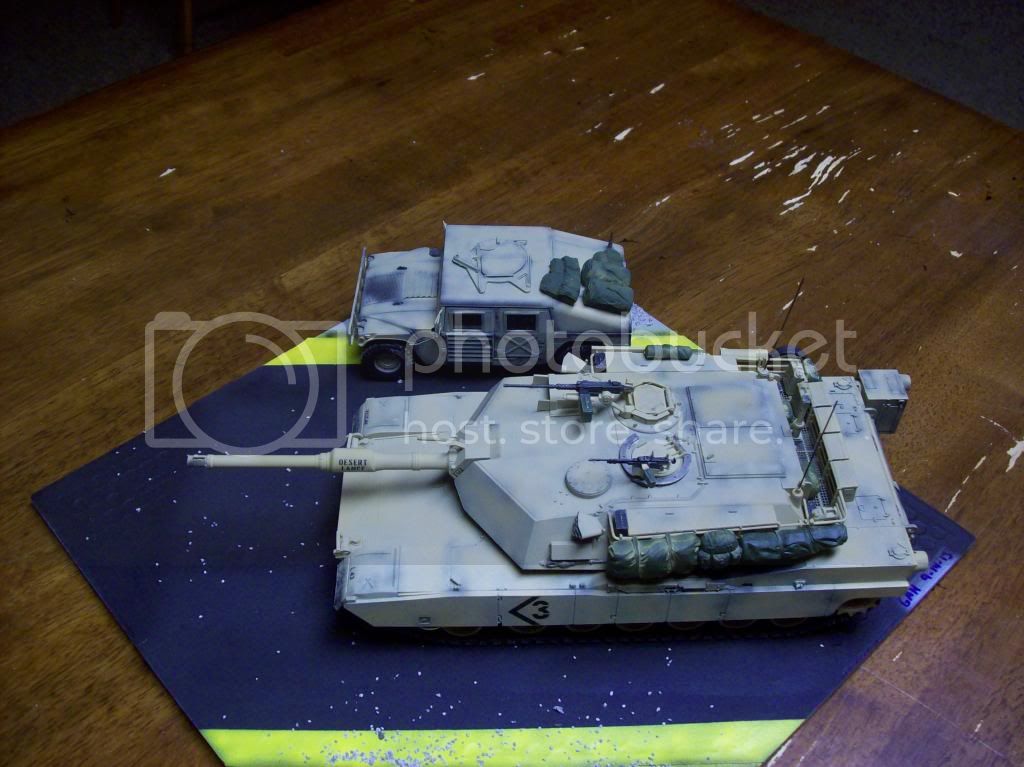
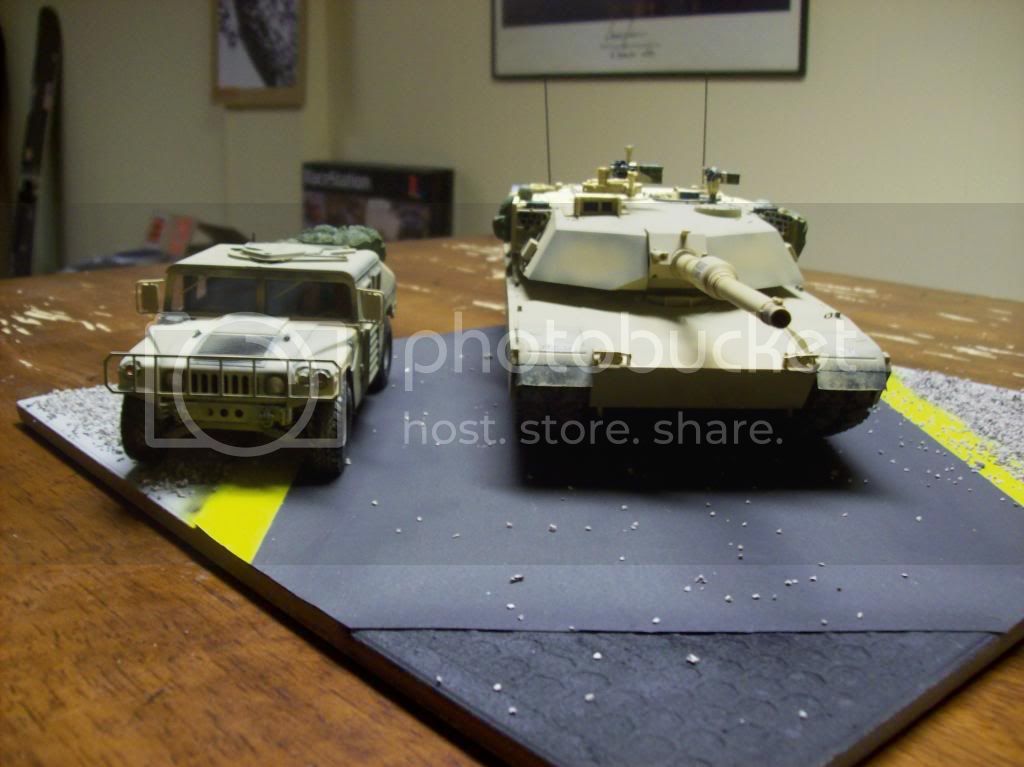
Hey guys, recently I was approached by my dad to build a model for a co worker of his, so that he could give it too him as a surprise gift.
My dad currently works for the DOD, but previous had served in the USAF for 22 years as a jet engine mechanic. Needless to say I have littered his house with F4's. F104's and numerous F16's and B-52 bombers.
He recently came to visit me and he saw my growing collection of modern main battle tanks and thought it would be cool to give his coworker a tank, he had asked me if it was easier to just buy one, or if I would be willing to give it a shot, well to make a long story short, I offered and got to cracking!
My dad's coworker served in the USMC for what I believe was over 20 years, he served in ODS, and OIF, and a few other theaters. I have never met this guy, and have no idea what he did in the core, all I know is that he was part of a tank crew, and the Abrams was his "chariot" as my father tells me. He talks to my dad about how cool that tank is, and how attached he is to it.
So I basically built this for my dad more or less to give to him, as my dad lives and works in the twin cities. I'm currently making a base for it as well, and next time my dad comes down to visit, he will take it back with him.
The last touch is just to hit with the dull cote, this was also my first attempt at using different base colors to build up to the main color.
Anyways Thanks for looking!
Constructive Feedback
For in-progress or completed build photos. Give and get contructive feedback!
Hosted by Darren Baker, Dave O'Meara
M1A1/father's co worker
andromeda673
Wisconsin, United States
Joined: July 30, 2013
KitMaker: 584 posts
Armorama: 525 posts
Joined: July 30, 2013
KitMaker: 584 posts
Armorama: 525 posts
Posted: Monday, September 02, 2013 - 12:47 PM UTC
retiredyank
Arkansas, United States
Joined: June 29, 2009
KitMaker: 11,610 posts
Armorama: 7,843 posts
Joined: June 29, 2009
KitMaker: 11,610 posts
Armorama: 7,843 posts
Posted: Monday, September 02, 2013 - 01:07 PM UTC
Wow! I think you have pulled off a great Abrams. The only piece of advice I have would be to add straps to the stowage. As is, it looks like it is floating. Too bad you couldn't get the division and name of the tank your dad's friend crewed.
andromeda673
Wisconsin, United States
Joined: July 30, 2013
KitMaker: 584 posts
Armorama: 525 posts
Joined: July 30, 2013
KitMaker: 584 posts
Armorama: 525 posts
Posted: Friday, September 13, 2013 - 11:07 AM UTC
Quoted Text
Wow! I think you have pulled off a great Abrams. The only piece of advice I have would be to add straps to the stowage. As is, it looks like it is floating. Too bad you couldn't get the division and name of the tank your dad's friend crewed.
that you! I appreciate the help and tips
dcook11
Georgia, United States
Joined: November 28, 2012
KitMaker: 216 posts
Armorama: 57 posts
Joined: November 28, 2012
KitMaker: 216 posts
Armorama: 57 posts
Posted: Friday, September 13, 2013 - 11:27 AM UTC
Looks great. Could you elaborate on your paint method?
andromeda673
Wisconsin, United States
Joined: July 30, 2013
KitMaker: 584 posts
Armorama: 525 posts
Joined: July 30, 2013
KitMaker: 584 posts
Armorama: 525 posts
Posted: Saturday, September 14, 2013 - 03:33 AM UTC
Quoted Text
Looks great. Could you elaborate on your paint method?
sure can, I shot the model with Tamiya acrylics, and model master enamels, I shot the model first with flat black and highlighted all the panel lines and, then went back over certain areas with nato black, to creat the two tone black/vechicle wear/soot/grease/build up etc. The wheels I painted with nato black as well, to simulate the worn look.
I then shot the base coat which is model master US Army/Marines sand, as from the research I did, it was the color used in ODS, and is darker in color then what the military uses now.
I did not lighten the model master color in anyway, and only shot one coat. I pre shaded pretty heavily on this one to simulate that worn look. And really went after the panel lines.
Then for the dust/dirt/mud, I mixed up some "armor sand" model master enamel and baking soda, then just dry brushed onto areas, and did the same on the tracks and wheels. And since this sits on a base, and the base is made to look like a road, I didn't bother dry brushing the bottom, just making sure to add dirt/sand where it would be, and where I saw it based on pictures I looked at.
Hope that helps/or what you were looking for.
andromeda673
Wisconsin, United States
Joined: July 30, 2013
KitMaker: 584 posts
Armorama: 525 posts
Joined: July 30, 2013
KitMaker: 584 posts
Armorama: 525 posts
Posted: Sunday, September 15, 2013 - 03:14 AM UTC