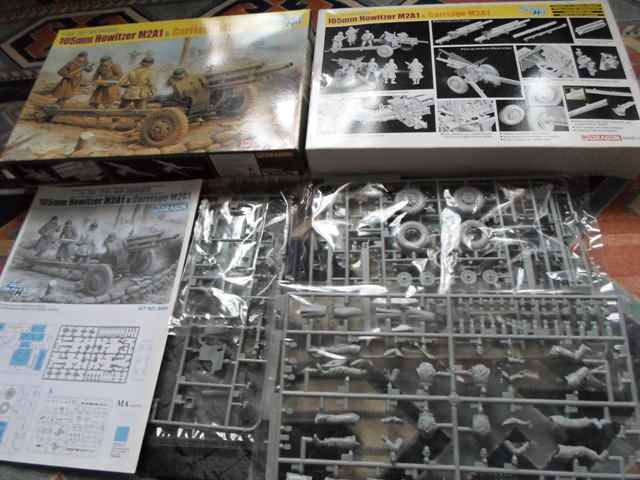
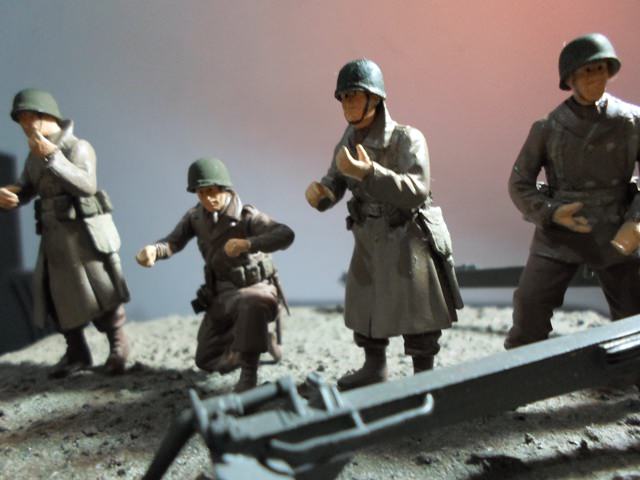
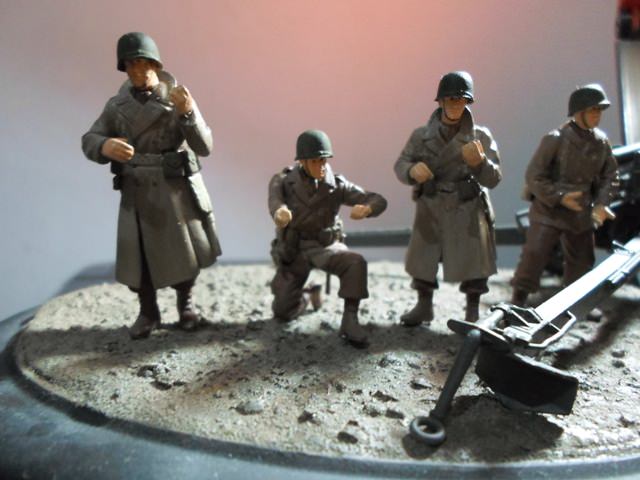
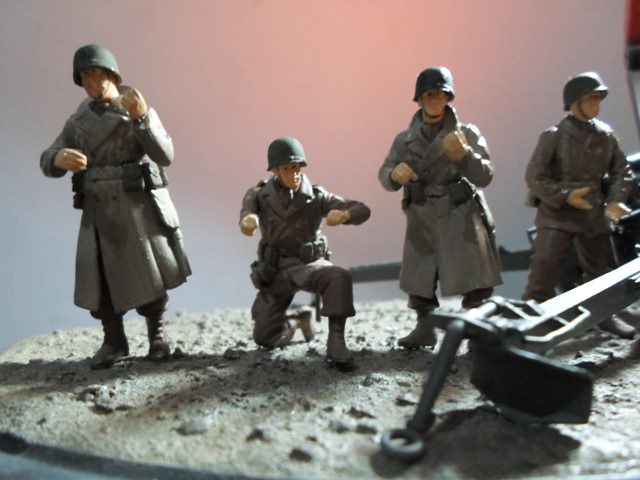
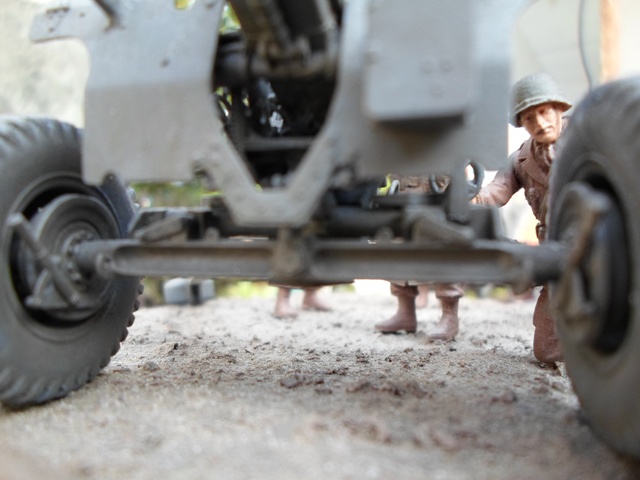
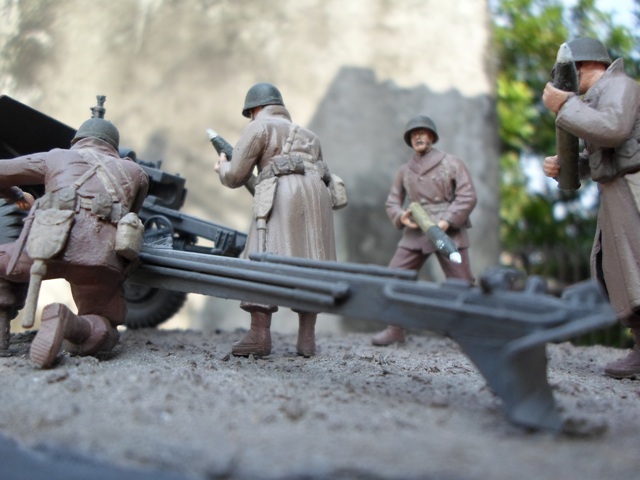
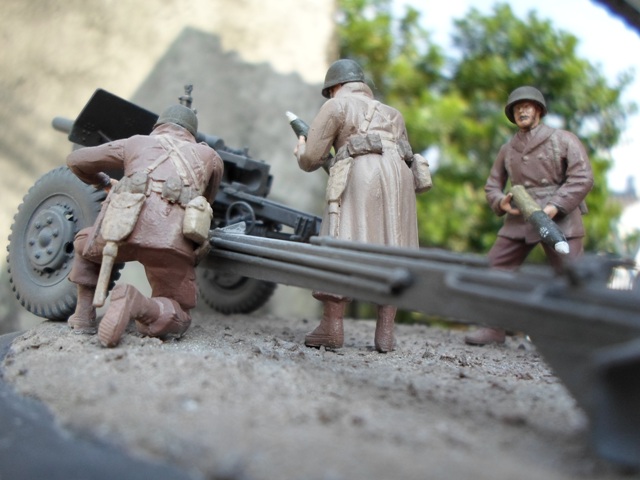
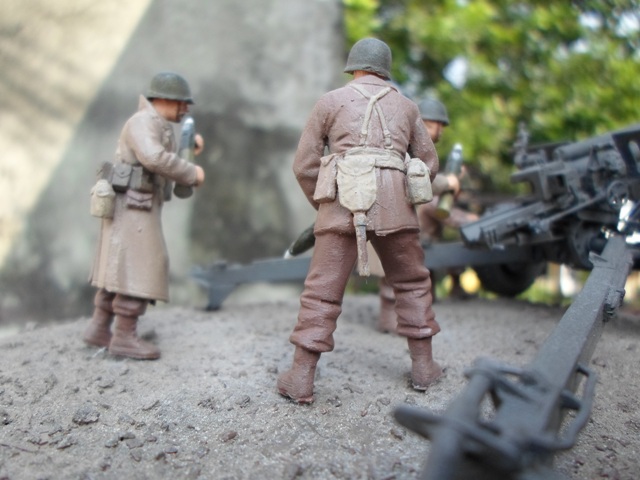
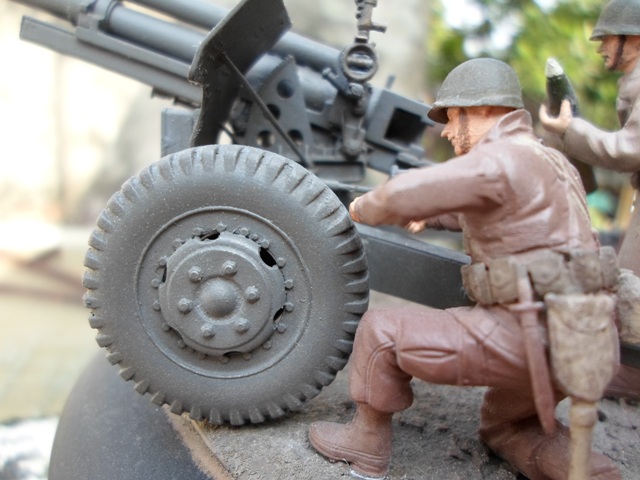
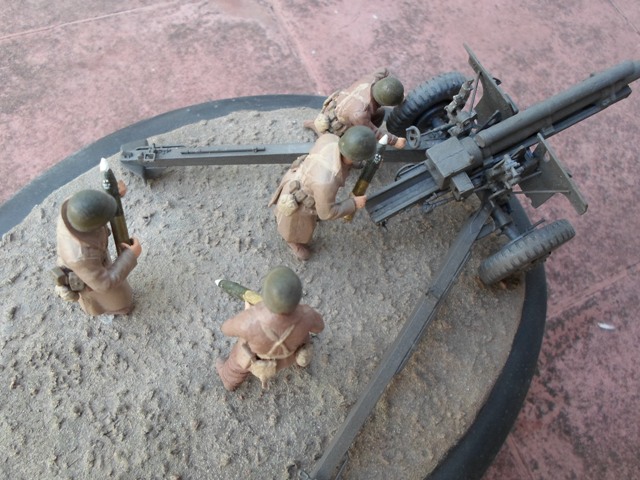
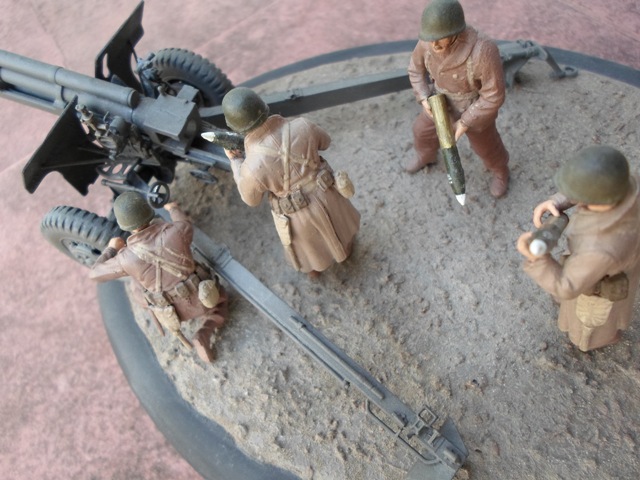
Hi fellas, in line with starting date of "Boots on The Ground" campaign, I will show you several contains of cool stuff that I promised as an entry of this campaign. This is a set from Dragon that released in 2009 (as stated in copyright), bringing us 4 US WW II airborne artillery troop figures and a 105 mm Howitzer M2A1. My plan is to build this OOB and I think that my choice was suitable to repair my lack of painting skills at all The contains of the set are as follows:
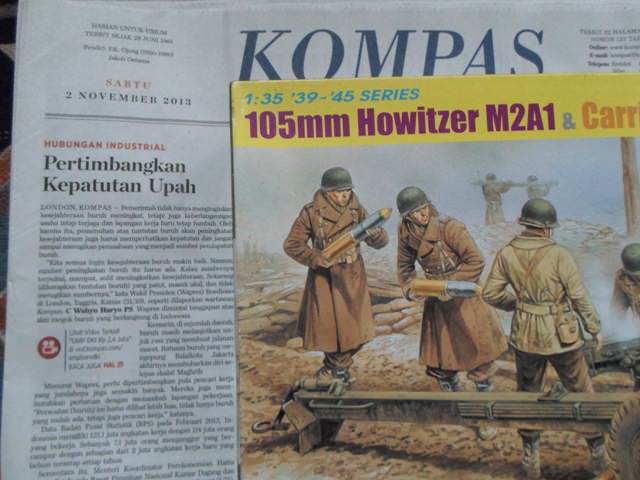
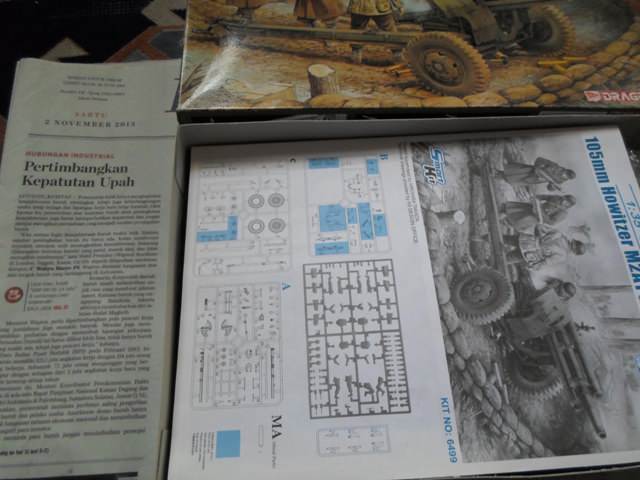
The next step is to unwrap all of them and start the basic assembly and also the sanding stage! See you guys
Kind regards
Garry
Hosted by Darren Baker
Build Log: 'Artillery for Victory' Vignette
All_You_Can_Kit
Jakarta Raya, Indonesia
Joined: August 22, 2012
KitMaker: 599 posts
Armorama: 527 posts
Joined: August 22, 2012
KitMaker: 599 posts
Armorama: 527 posts
Posted: Friday, November 01, 2013 - 09:48 PM UTC
All_You_Can_Kit
Jakarta Raya, Indonesia
Joined: August 22, 2012
KitMaker: 599 posts
Armorama: 527 posts
Joined: August 22, 2012
KitMaker: 599 posts
Armorama: 527 posts
Posted: Saturday, November 02, 2013 - 03:52 PM UTC
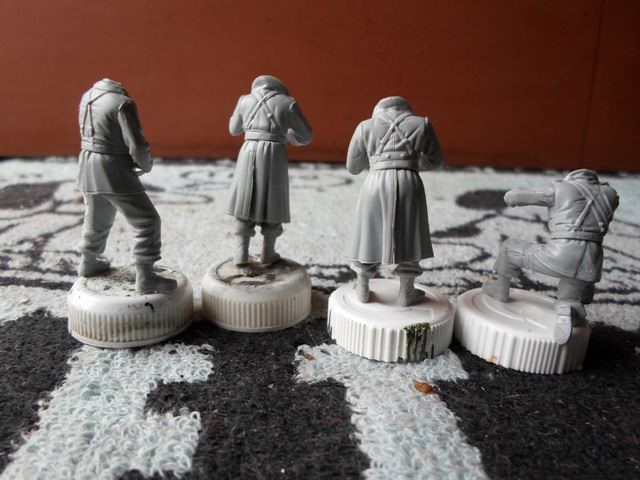
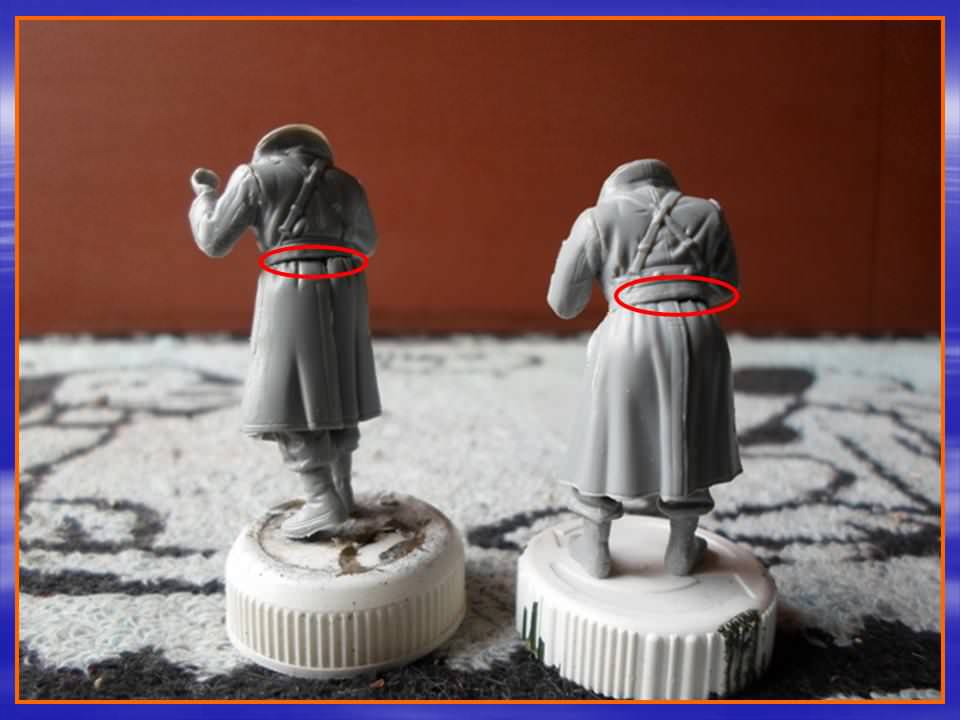
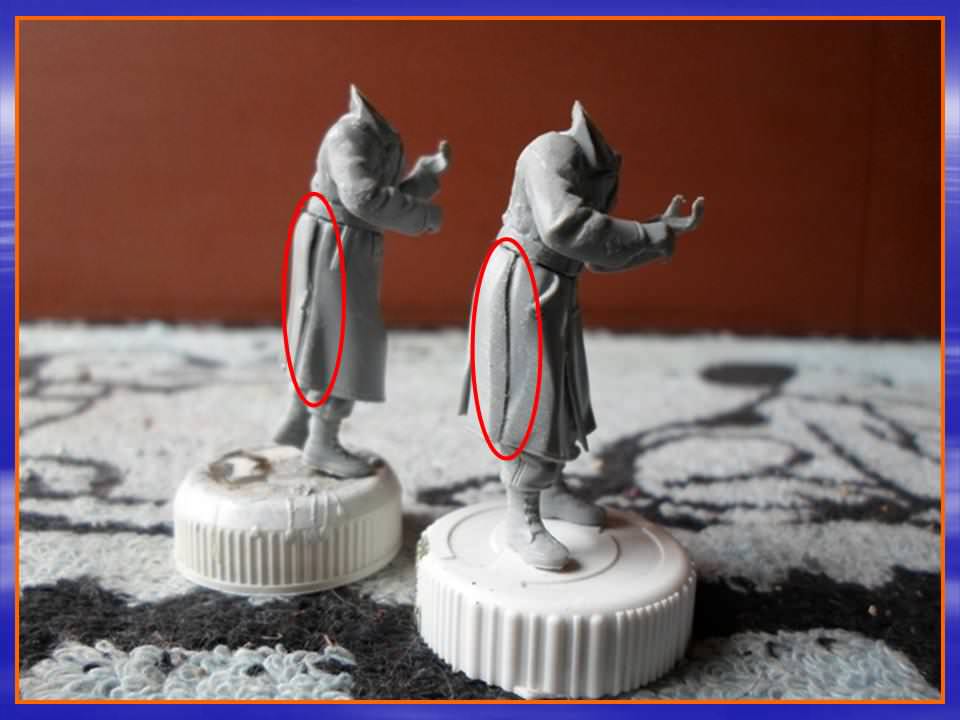
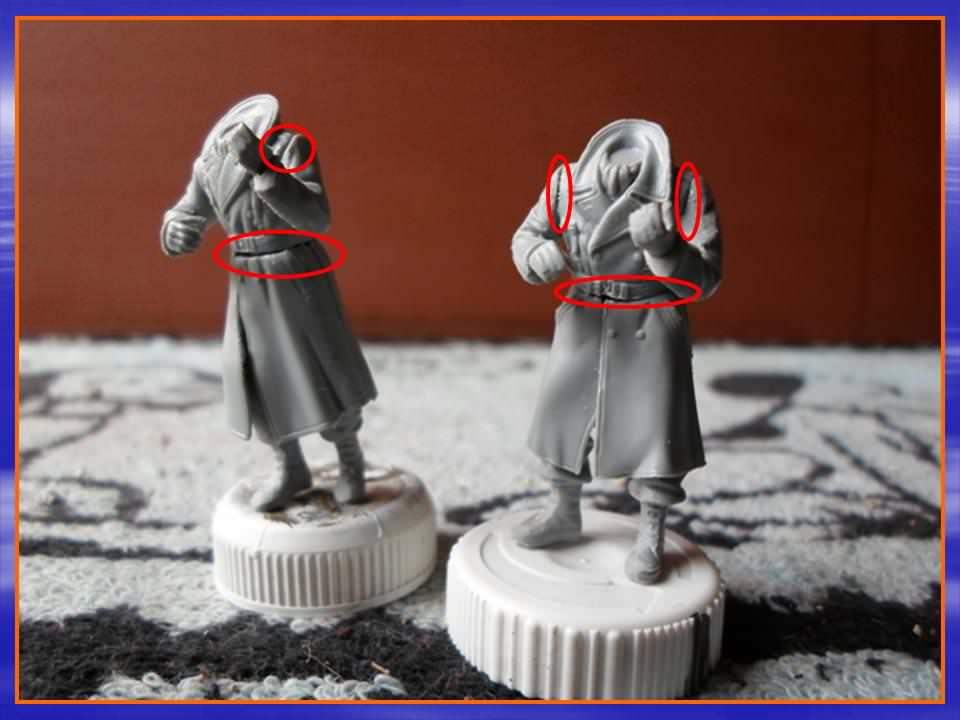
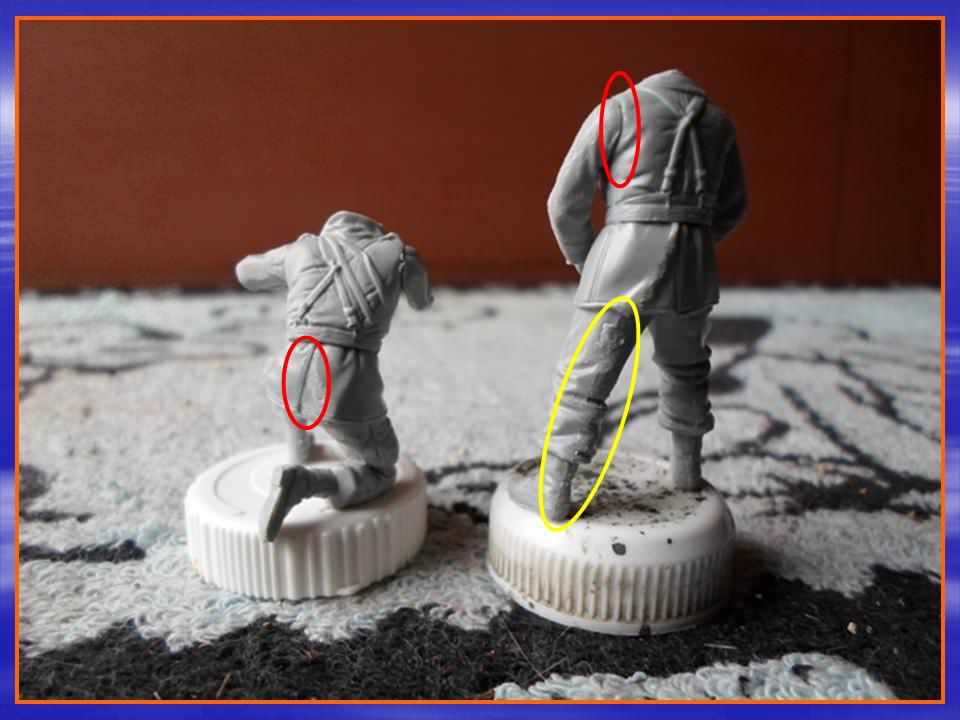
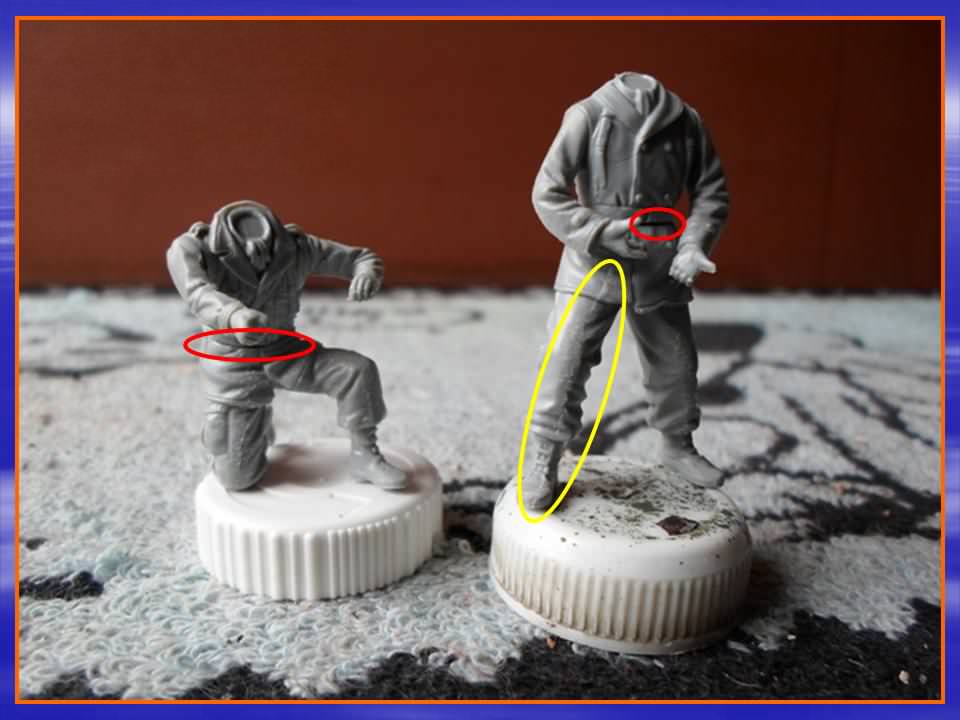
Hi fellas, this is what I've done recently per Sunday 10.10 AM local time: unwrap their plastic cover and begin to analyze (too much serious, isn't it? ). Just kidding... I enter the basic assembly, including dry fit and sanding the appeared seam line, start from the figures and the result are as follows:
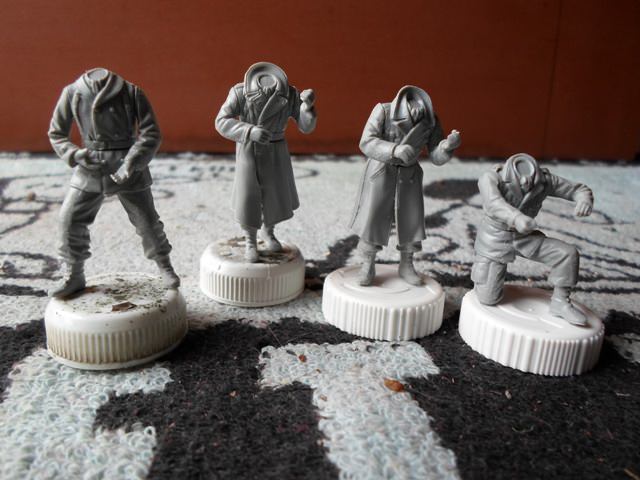
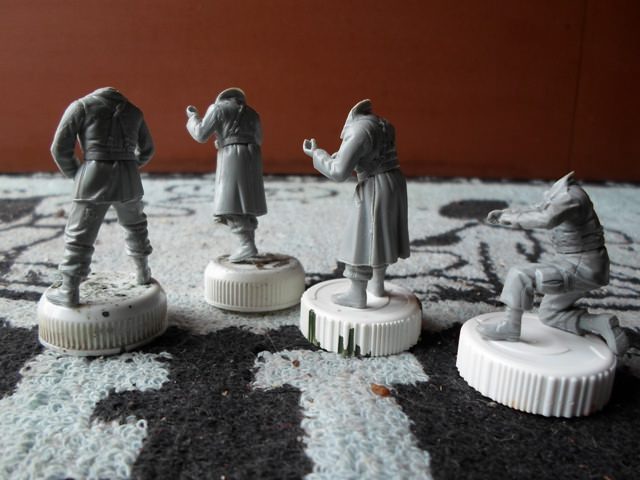
The red circles indicate that such areas need to be filled by putty and the yellow circles indicate my careless job! So, such areas need to be cleaned up again. I will return ASAP.
Kind regards
Garry
The red circles indicate that such areas need to be filled by putty and the yellow circles indicate my careless job! So, such areas need to be cleaned up again. I will return ASAP.
Kind regards
Garry
1stjaeger
Wien, Austria
Joined: May 20, 2011
KitMaker: 1,744 posts
Armorama: 1,727 posts
Joined: May 20, 2011
KitMaker: 1,744 posts
Armorama: 1,727 posts
Posted: Saturday, November 02, 2013 - 07:23 PM UTC
Hi Garry,
I welcome your choice as I was curious about those figs too! So thank you very much for the build log!!
Your analysis of the troublesome areas is top notch (and promises a great result )
Don't forget to thoroughly clean the gaps between the fingers (something I sometimes miss myself ). The photos still show some mould line residue there!
Will watch this thread as closely as possible!!
Cheers
Romain
All_You_Can_Kit
Jakarta Raya, Indonesia
Joined: August 22, 2012
KitMaker: 599 posts
Armorama: 527 posts
Joined: August 22, 2012
KitMaker: 599 posts
Armorama: 527 posts
Posted: Saturday, November 02, 2013 - 07:51 PM UTC
Quoted Text
Hi Garry,
I welcome your choice as I was curious about those figs too! So thank you very much for the build log!!
Your analysis of the troublesome areas is top notch (and promises a great result )
Don't forget to thoroughly clean the gaps between the fingers (something I sometimes miss myself ). The photos still show some mould line residue there!
Will watch this thread as closely as possible!!
Cheers
Romain
Yeah, yeah, you have eagle eye mate! Sure, I will clean them up, usually near to putty application, I just realize it at that time. You remind me about that earlier Glad to know that it may help you and I will do as possible as I can!
Kind regards
Garry
retiredbee2
Florida, United States
Joined: May 04, 2008
KitMaker: 757 posts
Armorama: 518 posts
Joined: May 04, 2008
KitMaker: 757 posts
Armorama: 518 posts
Posted: Monday, November 04, 2013 - 12:18 PM UTC
At present time I am working on the very same figures. They need a lot of cleanup and squadron putty. Also the area below the gun belts needs a little trimming so that the ammo pouches fit better. Good luck with your diorama. Thanks for sharing. ............by the way some of those gaps along the waist line can be covered by the ammo pouches and accessories............here is another tip.......mount your figures on flat sheet plastic squares cut out about the size of your bottle caps. When you are through with them to your satisfaction, place them all on a paint stirring stick clip them down with alligator clips and blast them all with clear flat. Works for me.
All_You_Can_Kit
Jakarta Raya, Indonesia
Joined: August 22, 2012
KitMaker: 599 posts
Armorama: 527 posts
Joined: August 22, 2012
KitMaker: 599 posts
Armorama: 527 posts
Posted: Monday, November 04, 2013 - 11:07 PM UTC
Quoted Text
At present time I am working on the very same figures. They need a lot of cleanup and squadron putty. Also the area below the gun belts needs a little trimming so that the ammo pouches fit better. Good luck with your diorama. Thanks for sharing. ............by the way some of those gaps along the waist line can be covered by the ammo pouches and accessories............here is another tip.......mount your figures on flat sheet plastic squares cut out about the size of your bottle caps. When you are through with them to your satisfaction, place them all on a paint stirring stick clip them down with alligator clips and blast them all with clear flat. Works for me.
You're welcome mate! ...and glad to know that somebody far from my workbench performing job similar as currently I do, so there will be a vice versa sharing You're right Alfred, thanks for remind me up. I will try to apply putty as efficient as I can. Thanks also for the tip, nice to try! But now, I just jump into the assembly of the gun and can't wait for any constructive critics and comments See you again friend Alfred!
Best regards from Indonesia
Garry
All_You_Can_Kit
Jakarta Raya, Indonesia
Joined: August 22, 2012
KitMaker: 599 posts
Armorama: 527 posts
Joined: August 22, 2012
KitMaker: 599 posts
Armorama: 527 posts
Posted: Monday, November 04, 2013 - 11:39 PM UTC
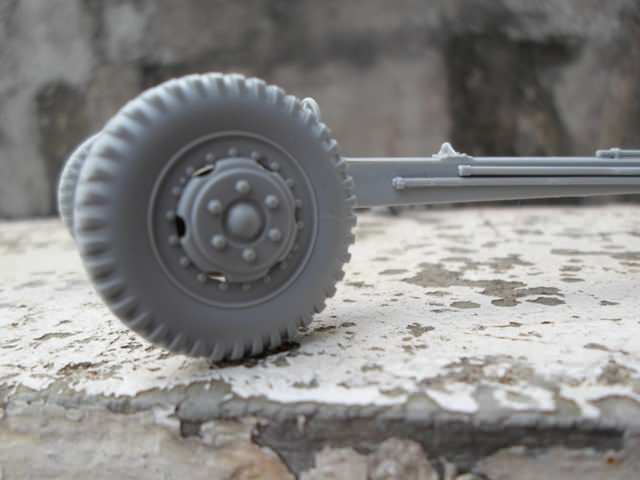
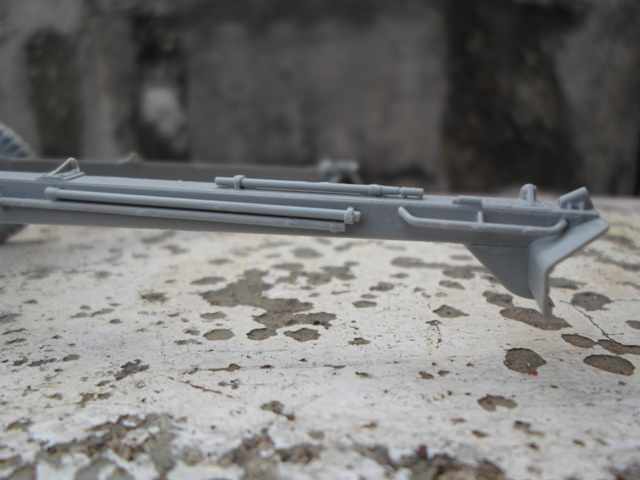
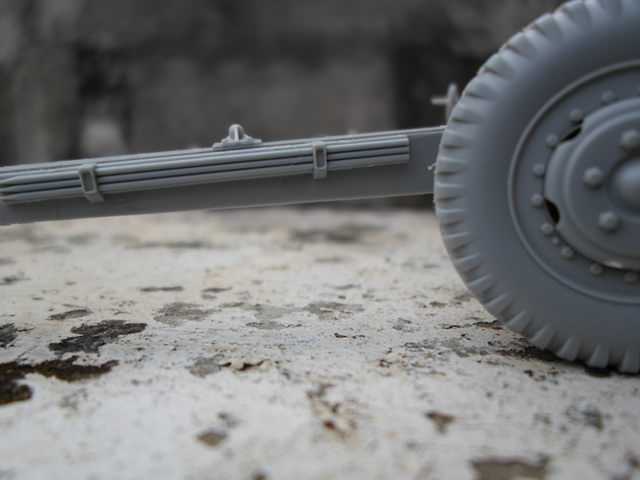
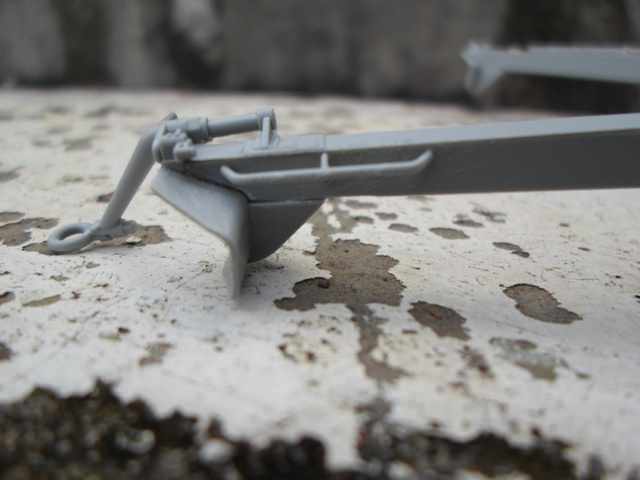
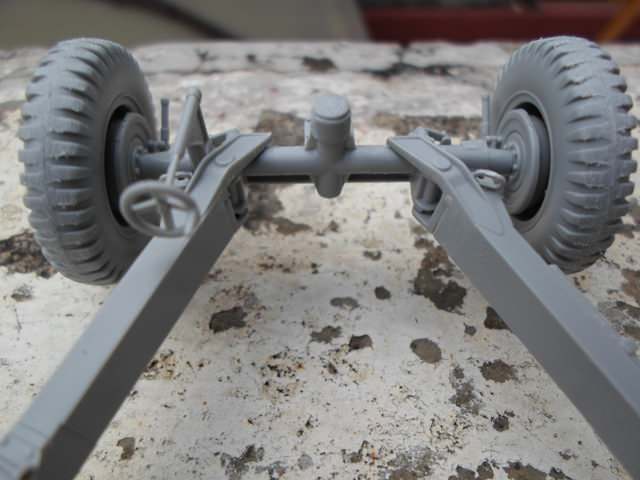
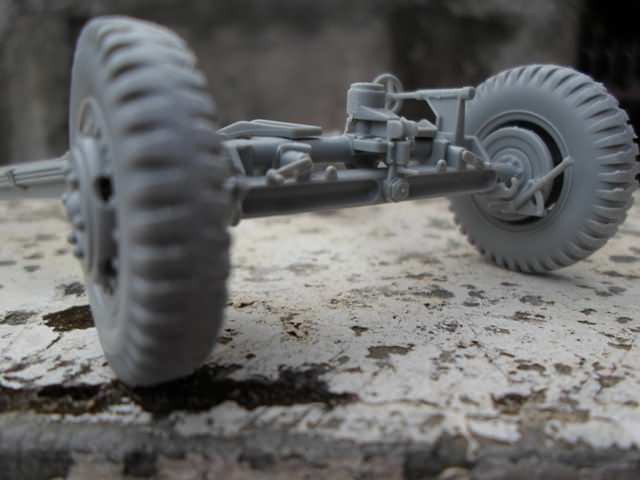
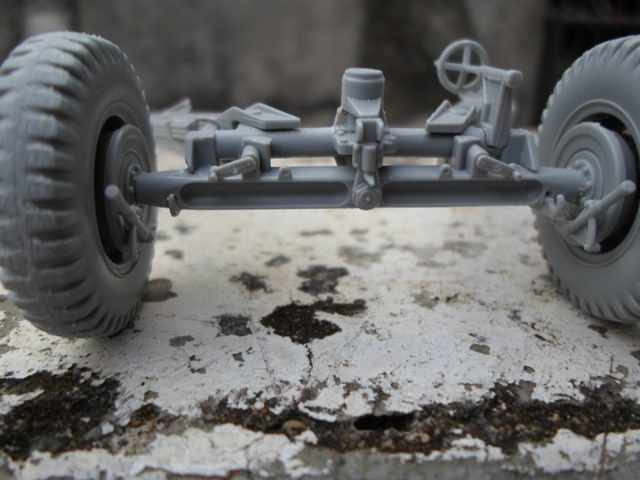
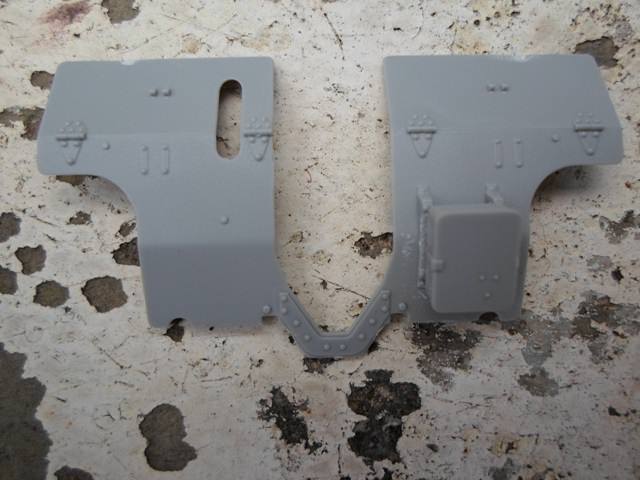
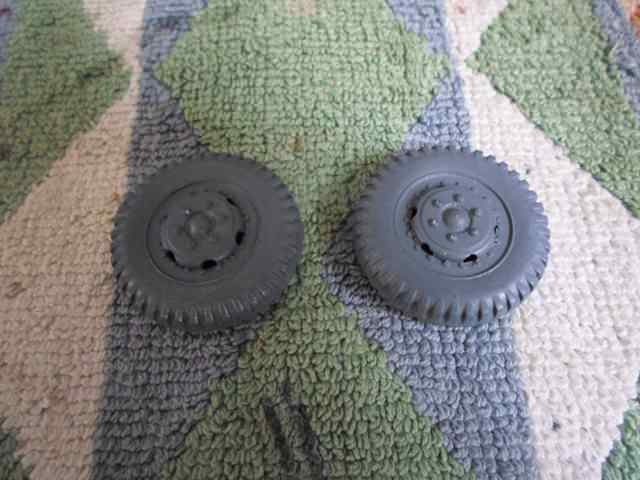
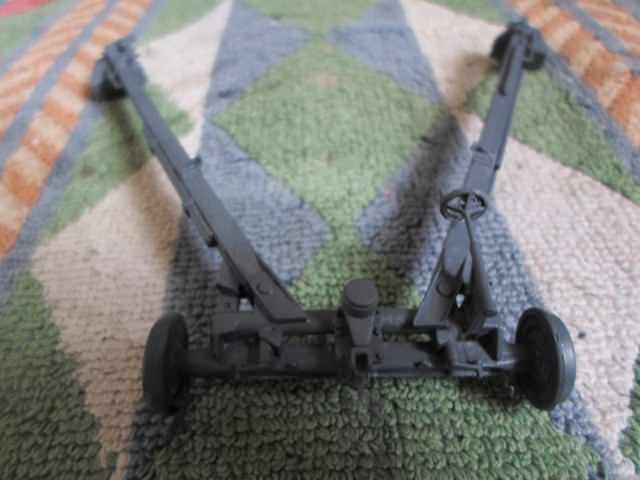
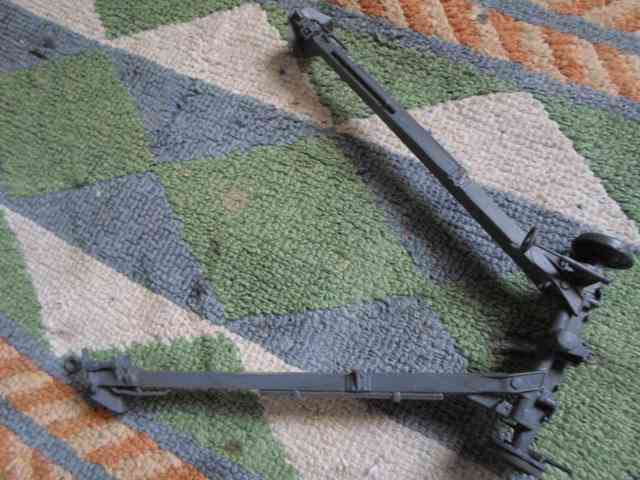
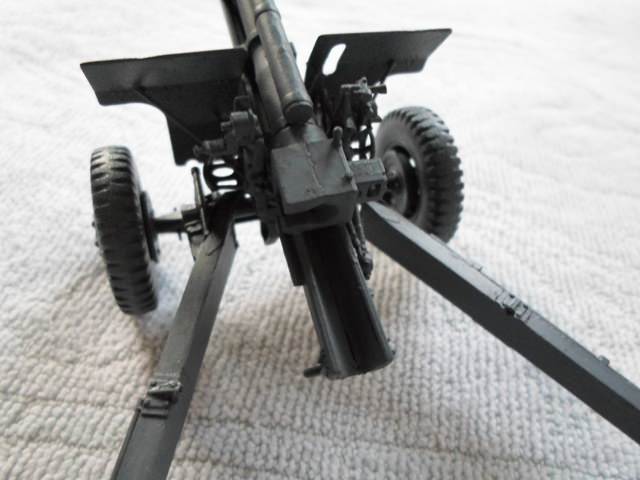
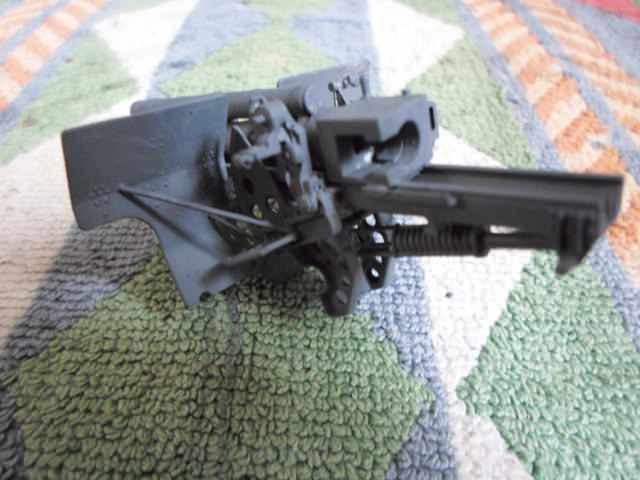
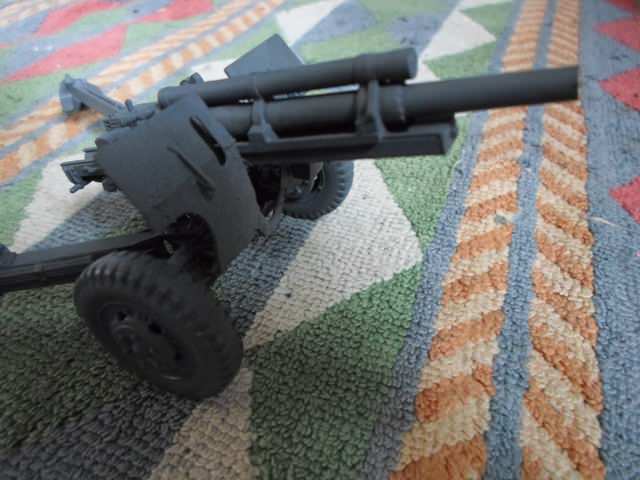
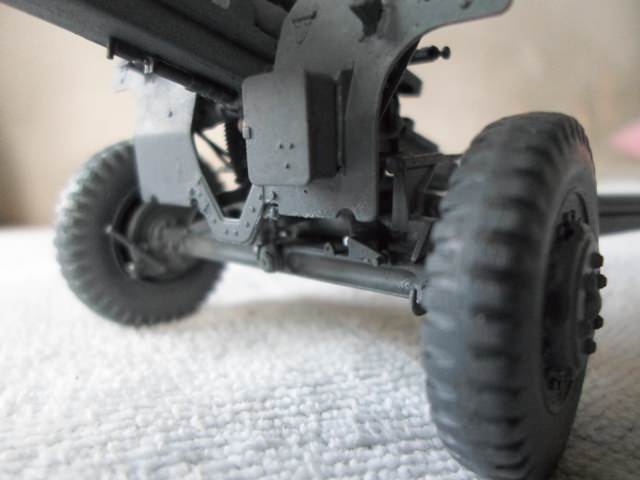
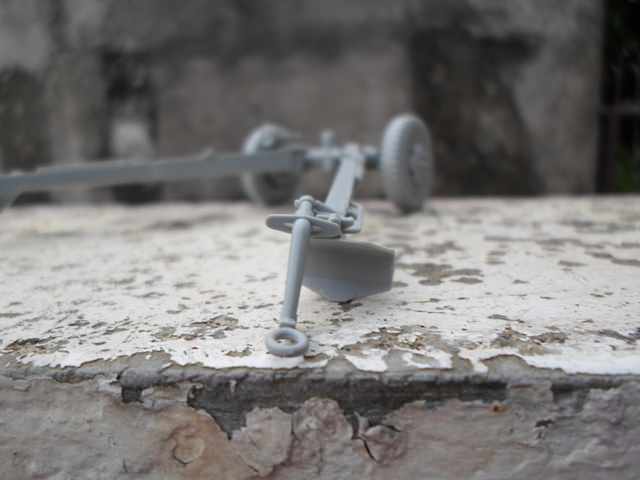
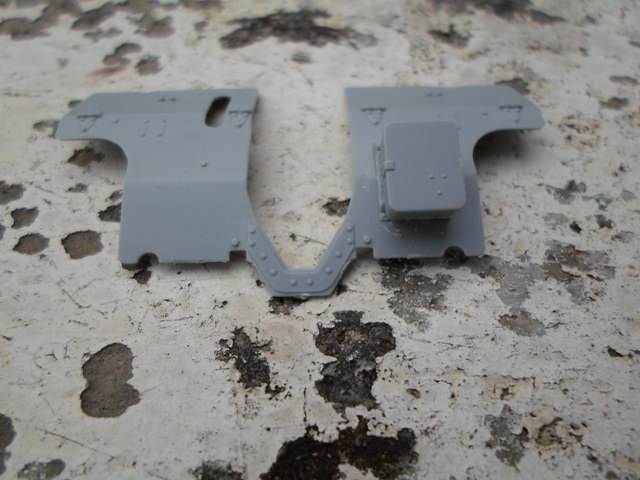
Hi fellas, an update for what I've done recently per Monday until Tuesday ended at 02.50 AM local time: the figures were 'at ease' and the basic assembly with sanding for the components of the gun was started. IMO, Dragon provides very delicate parts and also for their detail appearance as they promised on the under-box illustration. The results are as follows:
The supporting structure (wheels and trails):
The gun shield:
I will be back with update for the 'module' of main gun structure, just for the organization of the photos taken!
Cheers
Garry
The supporting structure (wheels and trails):
The gun shield:
I will be back with update for the 'module' of main gun structure, just for the organization of the photos taken!
Cheers
Garry
All_You_Can_Kit
Jakarta Raya, Indonesia
Joined: August 22, 2012
KitMaker: 599 posts
Armorama: 527 posts
Joined: August 22, 2012
KitMaker: 599 posts
Armorama: 527 posts
Posted: Wednesday, November 06, 2013 - 04:45 AM UTC
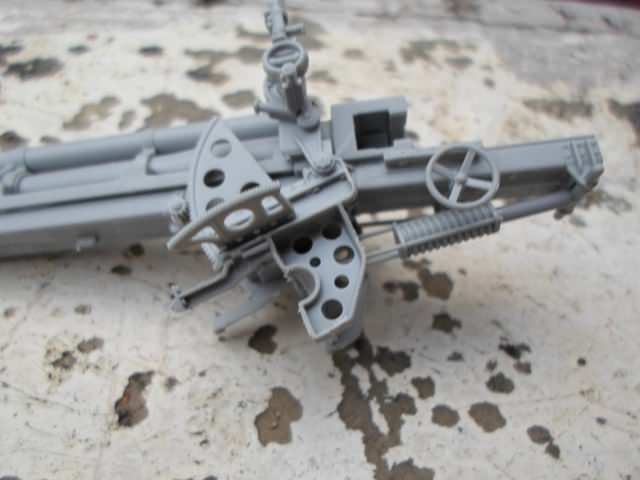
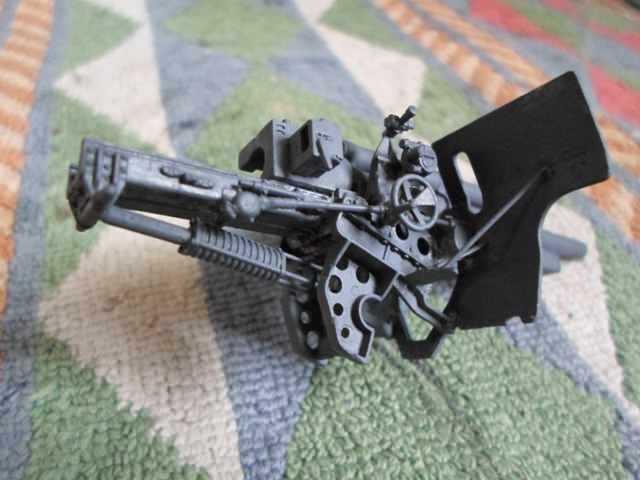
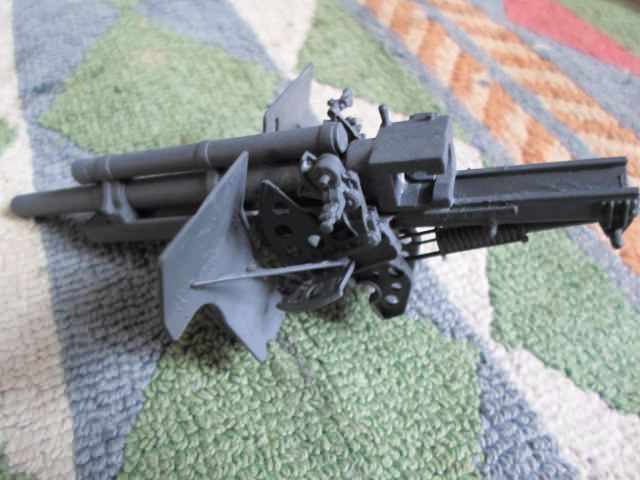
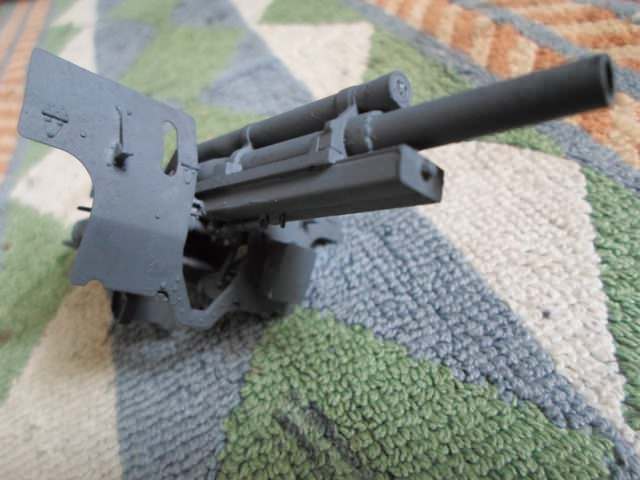
Hi guys! fulfilling my promise to post another update, mainly deals with the 'module' of main gun structure as follows:
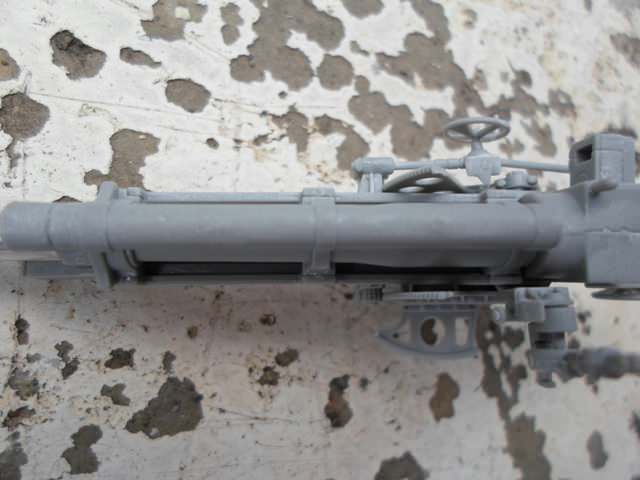
The main gun structure
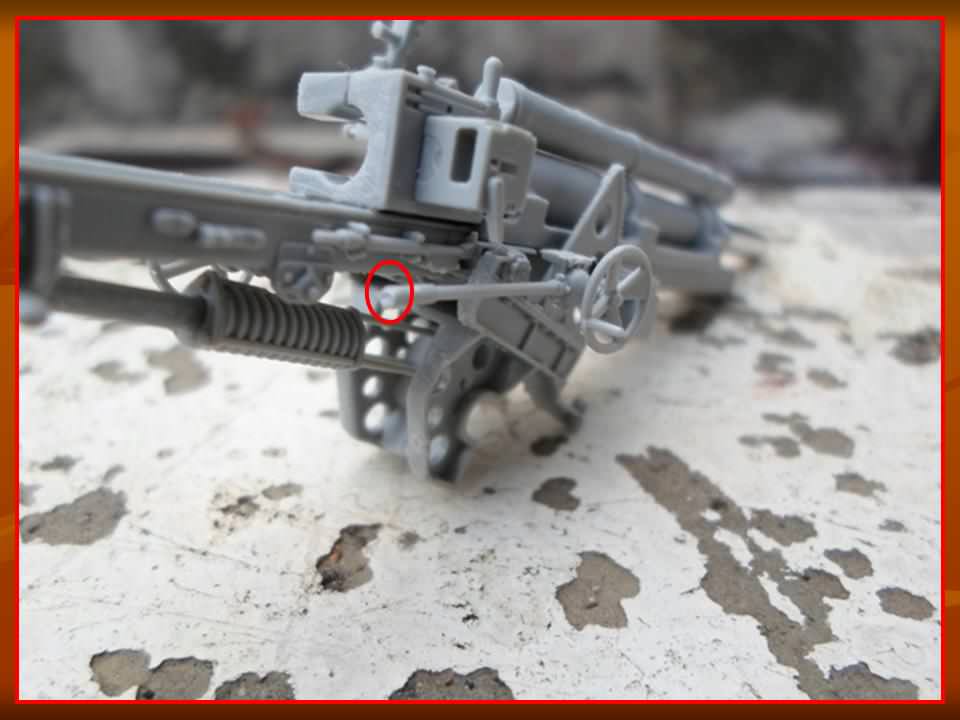
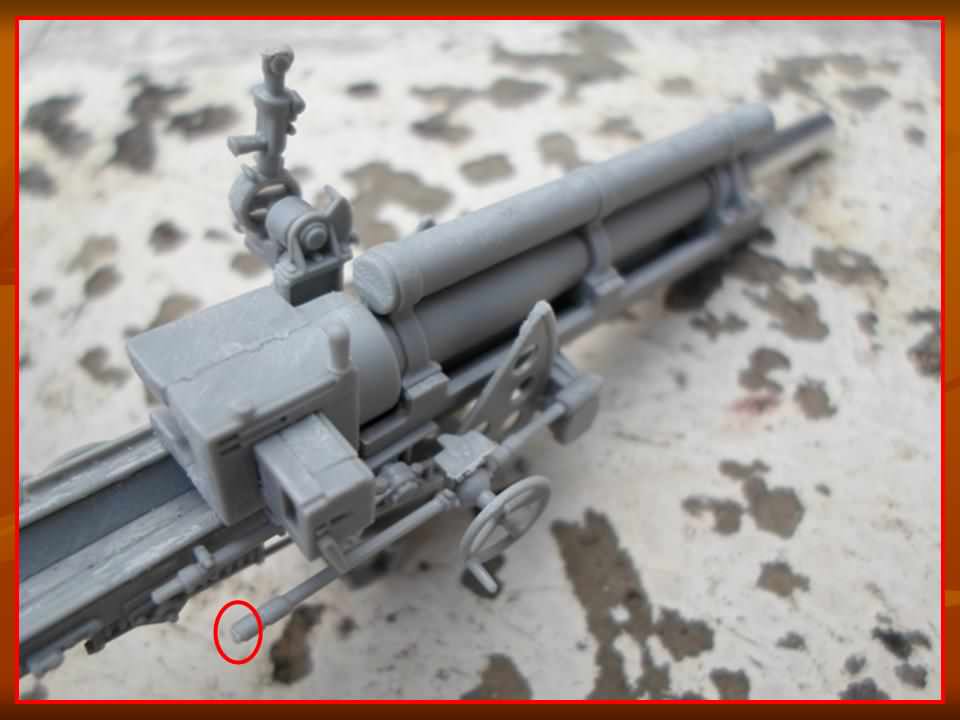
..until unfortunately I suffer a loss of detail at gun cradle as marked by red circle as follows:
...I'm planning to fix it by using a tiny sprue, but with definitely high risk: loss of detail of course. But, I think better to do rather than not at all. I'll never surrender!
Kind regards
Garry
All_You_Can_Kit
Jakarta Raya, Indonesia
Joined: August 22, 2012
KitMaker: 599 posts
Armorama: 527 posts
Joined: August 22, 2012
KitMaker: 599 posts
Armorama: 527 posts
Posted: Saturday, November 30, 2013 - 03:56 AM UTC
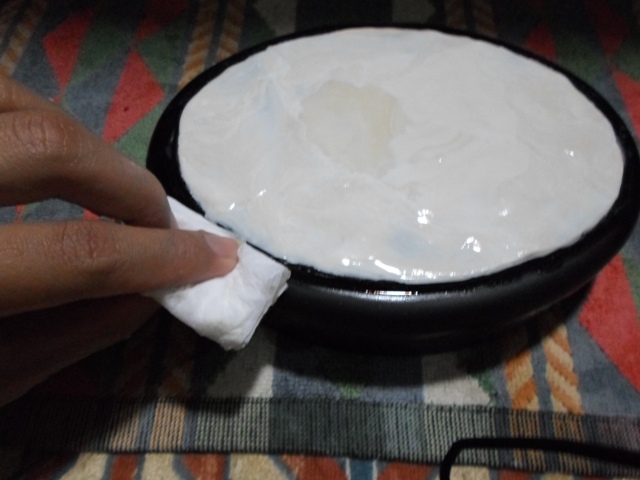
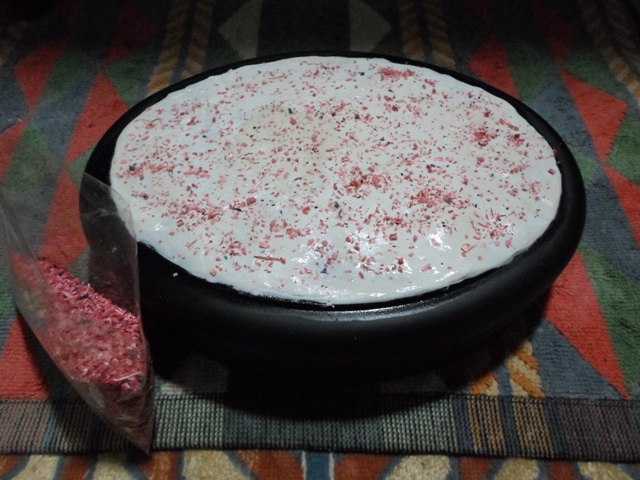
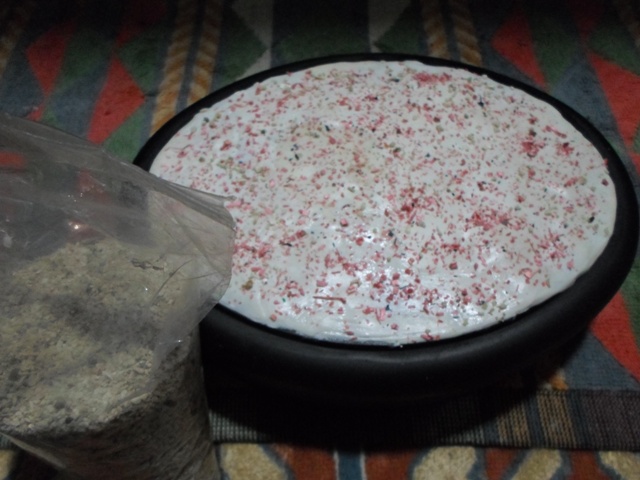
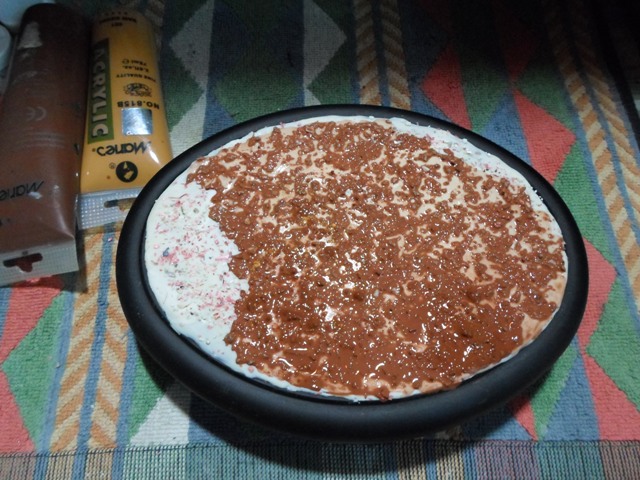
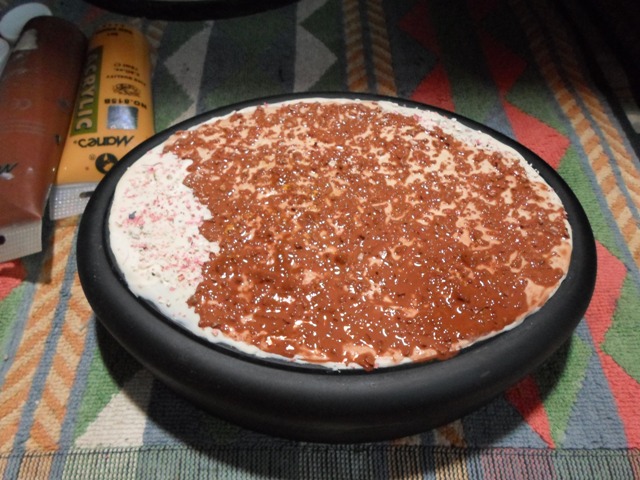
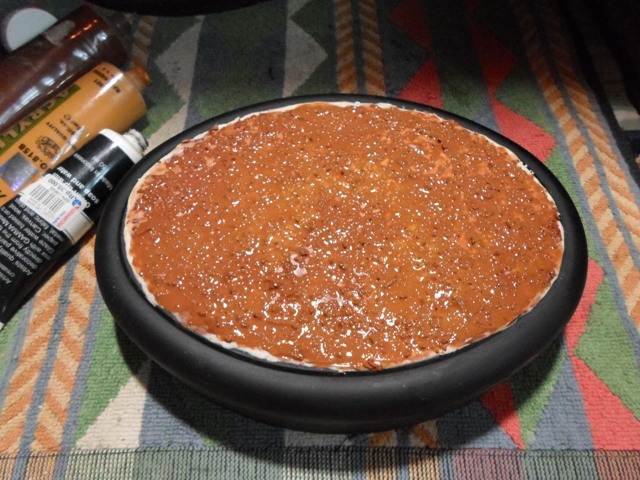
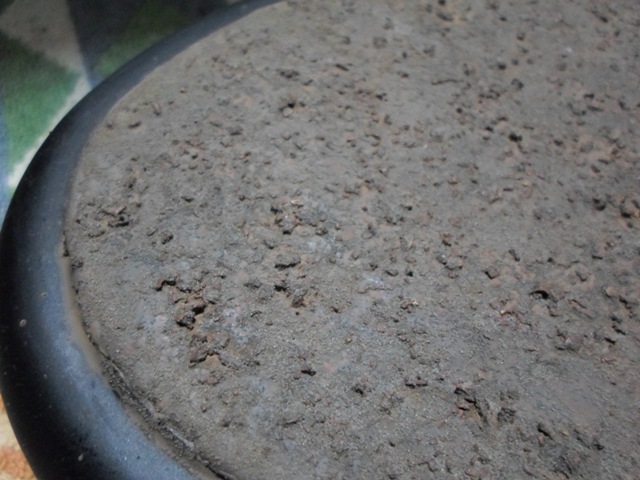
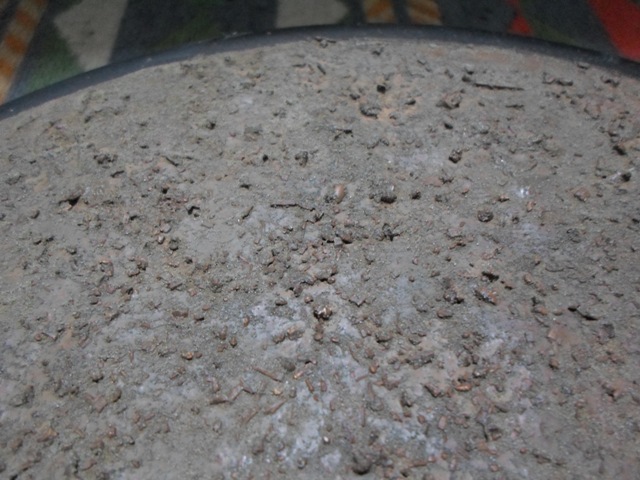
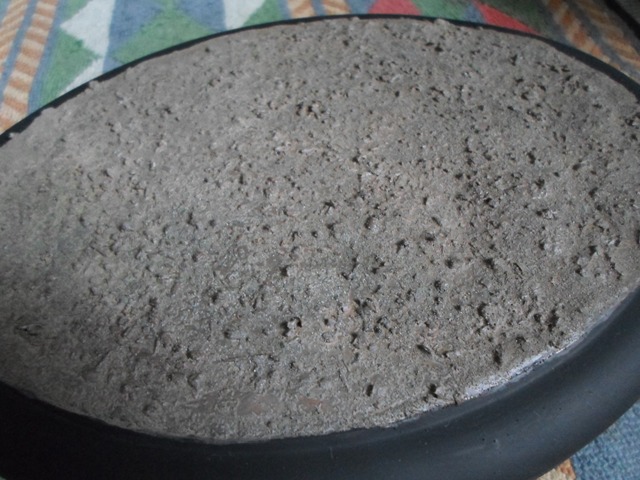
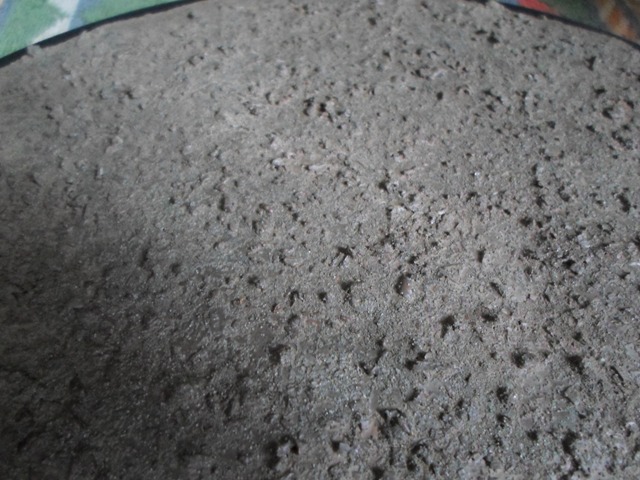
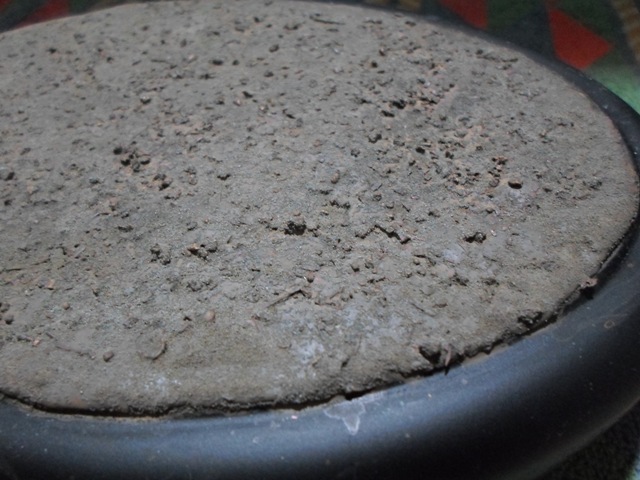
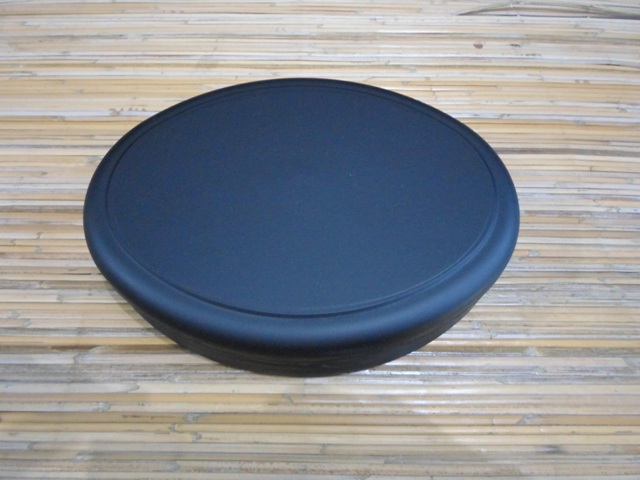
Hi all, I'm back with several updates of this vignette project after being suspended for several time. Also being bored by the construction stage of the main gun, I switch the stage into the major step for preparing basic ground base that will be used to place the items available from the kit. The sub-steps are described and visualized as follows:
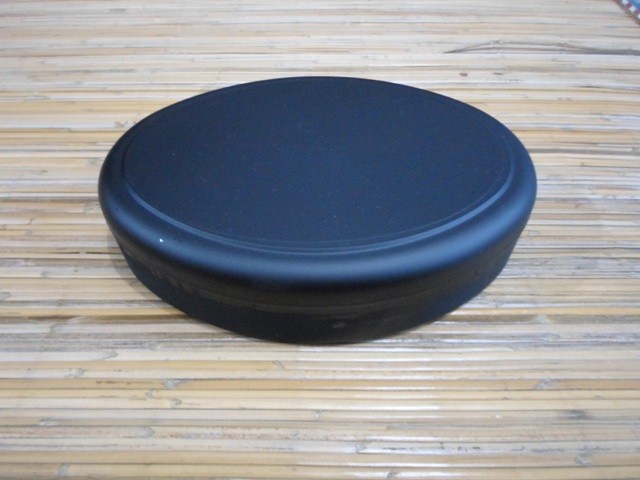
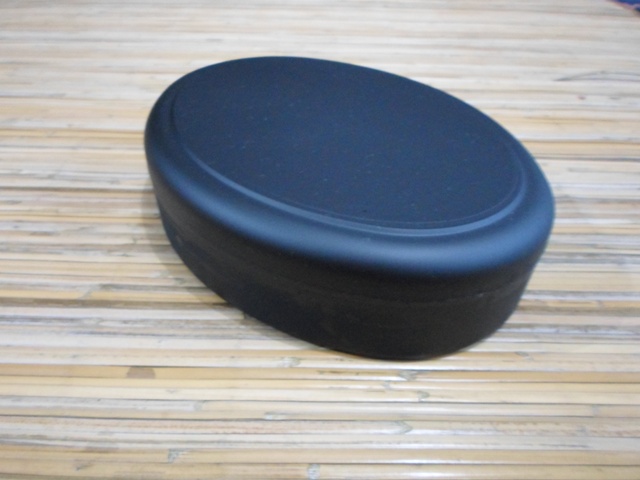
Deciding the best material base ; from ex-container of Cadbury chocolate balls:
The making of the basic ground work by using putty:
Pouring the sawdust and micro stone granules:
Basic painting by using mix of local brand acrylic Burnt Umber and Yellow Ochre with minor used of other colors:
..will be continued soon..
Cheers
Garry
Deciding the best material base ; from ex-container of Cadbury chocolate balls:
The making of the basic ground work by using putty:
Pouring the sawdust and micro stone granules:
Basic painting by using mix of local brand acrylic Burnt Umber and Yellow Ochre with minor used of other colors:
..will be continued soon..
Cheers
Garry
All_You_Can_Kit
Jakarta Raya, Indonesia
Joined: August 22, 2012
KitMaker: 599 posts
Armorama: 527 posts
Joined: August 22, 2012
KitMaker: 599 posts
Armorama: 527 posts
Posted: Saturday, November 30, 2013 - 04:10 AM UTC
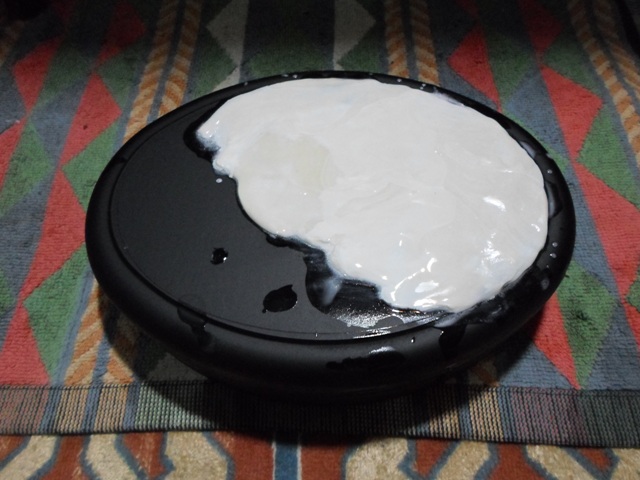
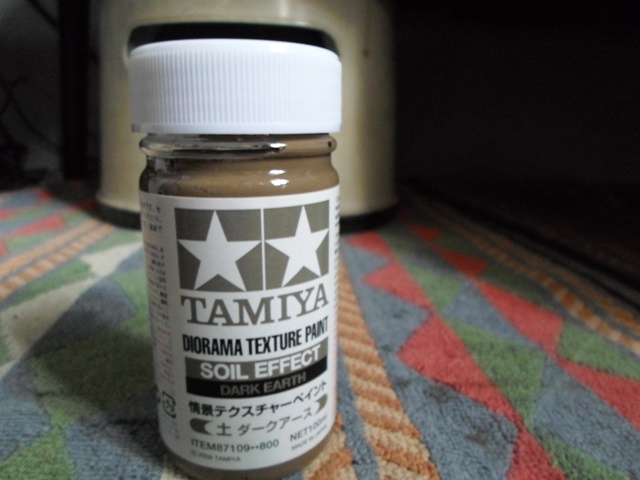
..Continuing the recent post before with application of diorama texture paint from Tamiya that enable us to performing soil effect that shown as follows:
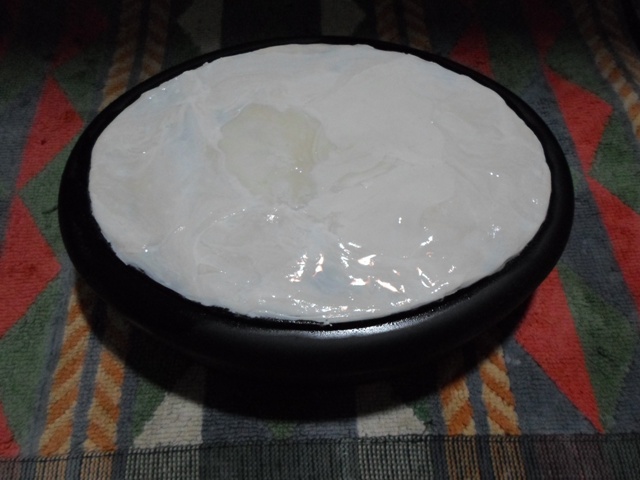
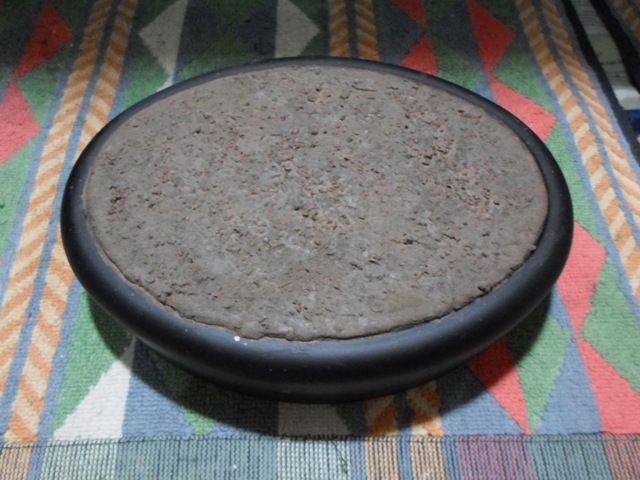
The results of such application:
In order to decrease the wet effect of such application above, I added the mix of acrylic Buff and Flat Earth, also from Tamiya, over the entire ground surface. No significant effect occurred, but at least IMO it can decrease such wet effect that shown as follows:
Can't wait for your constructive inputs guys! See you again!
Cheers
Garry
1stjaeger
Wien, Austria
Joined: May 20, 2011
KitMaker: 1,744 posts
Armorama: 1,727 posts
Joined: May 20, 2011
KitMaker: 1,744 posts
Armorama: 1,727 posts
Posted: Saturday, November 30, 2013 - 09:30 AM UTC
Hi Garry,
the soil on the base is interesting, but how hard is this ground effect??
I'm asking because I cannot see any prepared "locations".
So how are you going to settle the figures and the gun into the soil with the correct "weight"??
Cheers
Romain
All_You_Can_Kit
Jakarta Raya, Indonesia
Joined: August 22, 2012
KitMaker: 599 posts
Armorama: 527 posts
Joined: August 22, 2012
KitMaker: 599 posts
Armorama: 527 posts
Posted: Saturday, November 30, 2013 - 01:41 PM UTC
Quoted Text
Hi Garry,
the soil on the base is interesting, but how hard is this ground effect??
I'm asking because I cannot see any prepared "locations".
So how are you going to settle the figures and the gun into the soil with the correct "weight"??
Cheers
Romain
Hello too, Romain
I'm planning for the normal type of soil in a typical dry condition, so IMO there was no significant impact from the weight of such howitzer and also the figures toward the soil's surface. I also already observed the work of Steve Zaloga's vignette work of this kit on Missing Lynx with nearly similar theme as I do. I hope I was not in wrong perception on addressing your criticsm, Romain
Kind regards
Garry
All_You_Can_Kit
Jakarta Raya, Indonesia
Joined: August 22, 2012
KitMaker: 599 posts
Armorama: 527 posts
Joined: August 22, 2012
KitMaker: 599 posts
Armorama: 527 posts
Posted: Saturday, November 30, 2013 - 01:45 PM UTC
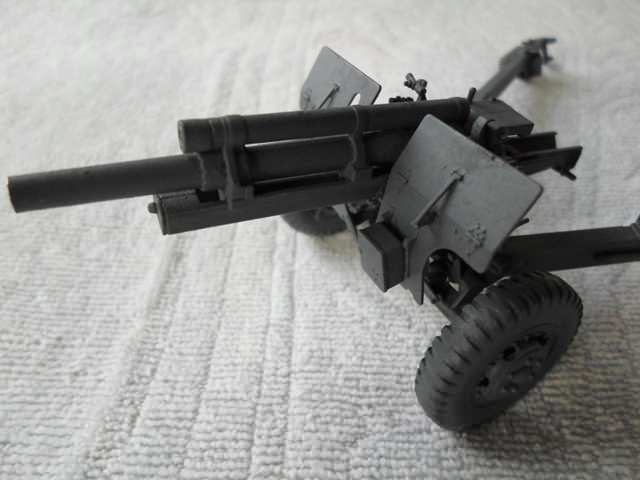
Hello guys, I'm switch again to the painting stage of the howitzer, by using the mix of local brand of acrylic Lamp Black and Titanium White, I have the final result as follows:
See you again soon!
Cheers
Garry
See you again soon!
Cheers
Garry
1stjaeger
Wien, Austria
Joined: May 20, 2011
KitMaker: 1,744 posts
Armorama: 1,727 posts
Joined: May 20, 2011
KitMaker: 1,744 posts
Armorama: 1,727 posts
Posted: Saturday, November 30, 2013 - 08:48 PM UTC
Quoted Text
Quoted Text
Hi Garry,
the soil on the base is interesting, but how hard is this ground effect??
I'm asking because I cannot see any prepared "locations".
So how are you going to settle the figures and the gun into the soil with the correct "weight"??
Cheers
Romain
Hello too, Romain
I'm planning for the normal type of soil in a typical dry condition, so IMO there was no significant impact from the weight of such howitzer and also the figures toward the soil's surface. I also already observed the work of Steve Zaloga's vignette work of this kit on Missing Lynx with nearly similar theme as I do. I hope I was not in wrong perception on addressing your criticsm, Romain
Kind regards
Garry
Hi Garry,
please don't ever take my comments for criticism. They are meant to help ....or simply come from my curiosity, like the last one.
I was just worried it might be tricky to fit the figures and the gun in without them "floating" lightly over the ground.
I was curious if you were going to scrape some of the soil off where the feet/wheels touch.
You will do fine, I'm sure!
Cheers m8!
Romain
P.S.: couldn't find the Zaloga vignette on ML (probably too stupid for the task!?!)
Posted: Sunday, December 01, 2013 - 12:58 AM UTC
Selemat Siang Ricky
Been readin all through this thread and it looks good so far. Looking forward how it progresses. Love that howitzer.
All_You_Can_Kit
Jakarta Raya, Indonesia
Joined: August 22, 2012
KitMaker: 599 posts
Armorama: 527 posts
Joined: August 22, 2012
KitMaker: 599 posts
Armorama: 527 posts
Posted: Saturday, April 19, 2014 - 03:25 AM UTC
Quoted Text
Hi Garry,
please don't ever take my comments for criticism. They are meant to help ....or simply come from my curiosity, like the last one.
I was just worried it might be tricky to fit the figures and the gun in without them "floating" lightly over the ground.
I was curious if you were going to scrape some of the soil off where the feet/wheels touch.
You will do fine, I'm sure!
Cheers m8!
Romain
P.S.: couldn't find the Zaloga vignette on ML (probably too stupid for the task!?!)
Hello again Romain! Sorry for my very loooooonggg leave for this thread (also the forum! ) Very busy and complicated life for abouttt... errrr.... 4-5 months.. But I try to recover.. and here I am!
I'm on my progress continuing this project and oh yeah, about Zaloga's work: I will let you know that if you try to directly find his article in Missing-Lynx (by manually searching the index), you will never find it. Try google and you will catch it up (or just my lucky on that day?? ) Whatever.. I'll show the link: 105mm Howitzer M2A1 on Carriage M2A1 by Steve Zaloga
Good luck!
Garry
All_You_Can_Kit
Jakarta Raya, Indonesia
Joined: August 22, 2012
KitMaker: 599 posts
Armorama: 527 posts
Joined: August 22, 2012
KitMaker: 599 posts
Armorama: 527 posts
Posted: Saturday, April 19, 2014 - 03:29 AM UTC
Quoted Text
Selemat Siang Ricky
Been readin all through this thread and it looks good so far. Looking forward how it progresses. Love that howitzer.
Thank you so much mate!
As I told to Romain in the previous post, so complicated life of mine for those 4-5 months and try to reboot my mind again into this forum. I will continue this project soon and many thanks for your compliment Robert
Kind regards from Indonesia
Garry
1stjaeger
Wien, Austria
Joined: May 20, 2011
KitMaker: 1,744 posts
Armorama: 1,727 posts
Joined: May 20, 2011
KitMaker: 1,744 posts
Armorama: 1,727 posts
Posted: Saturday, April 19, 2014 - 06:43 AM UTC
Good to see you back in the saddle Garry!
Cheers
Romain
All_You_Can_Kit
Jakarta Raya, Indonesia
Joined: August 22, 2012
KitMaker: 599 posts
Armorama: 527 posts
Joined: August 22, 2012
KitMaker: 599 posts
Armorama: 527 posts
Posted: Sunday, April 20, 2014 - 01:28 AM UTC
Quoted Text
Good to see you back in the saddle Garry!
Cheers
Romain
Thank you mate!
1stjaeger
Wien, Austria
Joined: May 20, 2011
KitMaker: 1,744 posts
Armorama: 1,727 posts
Joined: May 20, 2011
KitMaker: 1,744 posts
Armorama: 1,727 posts
Posted: Saturday, April 26, 2014 - 07:05 AM UTC
Quoted Text
Quoted TextHi Garry,
please don't ever take my comments for criticism. They are meant to help ....or simply come from my curiosity, like the last one.
I was just worried it might be tricky to fit the figures and the gun in without them "floating" lightly over the ground.
I was curious if you were going to scrape some of the soil off where the feet/wheels touch.
You will do fine, I'm sure!
Cheers m8!
Romain
P.S.: couldn't find the Zaloga vignette on ML (probably too stupid for the task!?!)
Hello again Romain! Sorry for my very loooooonggg leave for this thread (also the forum! ) Very busy and complicated life for abouttt... errrr.... 4-5 months.. But I try to recover.. and here I am!
I'm on my progress continuing this project and oh yeah, about Zaloga's work: I will let you know that if you try to directly find his article in Missing-Lynx (by manually searching the index), you will never find it. Try google and you will catch it up (or just my lucky on that day?? ) Whatever.. I'll show the link: 105mm Howitzer M2A1 on Carriage M2A1 by Steve Zaloga
Good luck!
Garry
Hej Garry,
i totally overlooked your link to Steve's scene!!
Thanks a lot m8!!
Steve Zaloga has a certain something that I like a lot!!
Cheers
Romain
All_You_Can_Kit
Jakarta Raya, Indonesia
Joined: August 22, 2012
KitMaker: 599 posts
Armorama: 527 posts
Joined: August 22, 2012
KitMaker: 599 posts
Armorama: 527 posts
Posted: Sunday, April 27, 2014 - 01:46 AM UTC
Quoted Text
Hej Garry,
i totally overlooked your link to Steve's scene!!
Thanks a lot m8!!
Steve Zaloga has a certain something that I like a lot!!
Cheers
Romain
You're welcome again mate. The idea was simple but very cool ending result, isn't it? I learn a lot from his article
Cheers
Garry
All_You_Can_Kit
Jakarta Raya, Indonesia
Joined: August 22, 2012
KitMaker: 599 posts
Armorama: 527 posts
Joined: August 22, 2012
KitMaker: 599 posts
Armorama: 527 posts
Posted: Sunday, April 27, 2014 - 01:58 AM UTC
Hi guys! First update for the figures, still rough. Sorry for the images that generated in low quality, since I take their pose at night with insufficient lighting. Hope that they able to be finished soon.
Thanks and have fun!
Best regards
Garry
Thanks and have fun!
Best regards
Garry
All_You_Can_Kit
Jakarta Raya, Indonesia
Joined: August 22, 2012
KitMaker: 599 posts
Armorama: 527 posts
Joined: August 22, 2012
KitMaker: 599 posts
Armorama: 527 posts
Posted: Monday, April 28, 2014 - 02:44 PM UTC
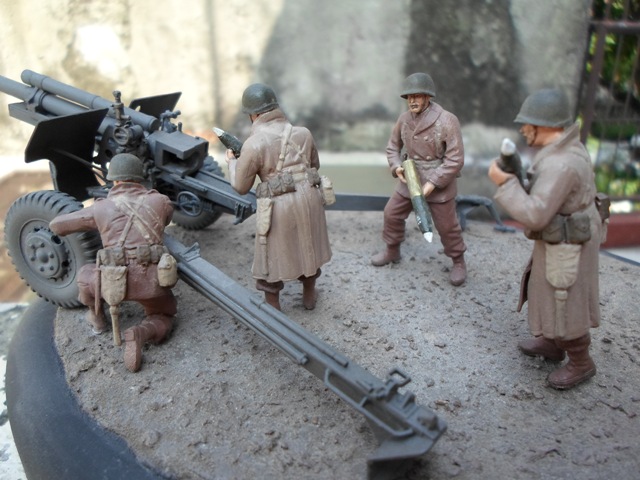
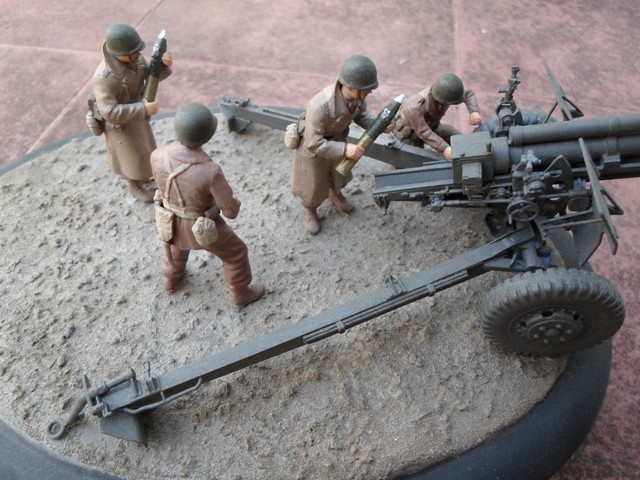
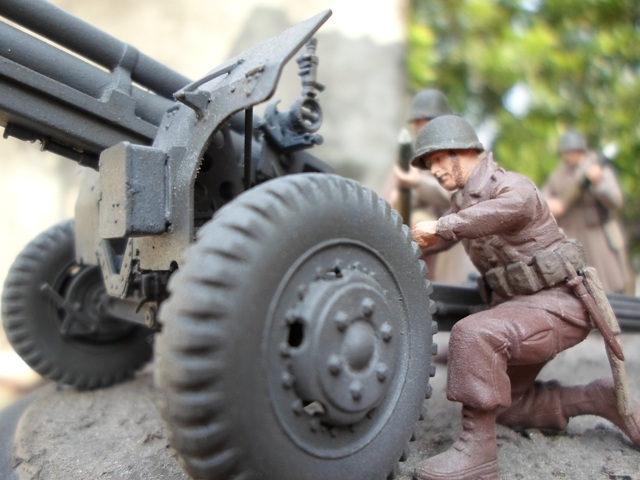
Hello guys, after lots of working hours and delay period, I hope these following images will become final touch of my simple vignette. I realize that this vignette was performed in hurry and not too good in the end, but I still hope for more constructive comments and critics.
If compared with real war condition, this vignette is very far from such condition, such as lack of ammo crates, empty tubes, or anything else properly to be occurred in battle condition, since this kit poor of such additional accessories needed for the howitzer. But, according to the box art (I forget the term "out-of-box" or "straight-of-box" ), I claimed that the vignette is DONE! :8 :8 :8
Again, if any, please put your constructive and comments, and I'm sure will be a lot . Hope that you enjoy it guys!
See you at another project!
Warm regards from Indonesia
Garry
If compared with real war condition, this vignette is very far from such condition, such as lack of ammo crates, empty tubes, or anything else properly to be occurred in battle condition, since this kit poor of such additional accessories needed for the howitzer. But, according to the box art (I forget the term "out-of-box" or "straight-of-box" ), I claimed that the vignette is DONE! :8 :8 :8
Again, if any, please put your constructive and comments, and I'm sure will be a lot . Hope that you enjoy it guys!
See you at another project!
Warm regards from Indonesia
Garry
1stjaeger
Wien, Austria
Joined: May 20, 2011
KitMaker: 1,744 posts
Armorama: 1,727 posts
Joined: May 20, 2011
KitMaker: 1,744 posts
Armorama: 1,727 posts
Posted: Tuesday, April 29, 2014 - 06:21 AM UTC
Garry, sent PM, look into your inbox!
Cheers m8!
Romain
All_You_Can_Kit
Jakarta Raya, Indonesia
Joined: August 22, 2012
KitMaker: 599 posts
Armorama: 527 posts
Joined: August 22, 2012
KitMaker: 599 posts
Armorama: 527 posts
Posted: Saturday, May 10, 2014 - 05:54 AM UTC
Quoted Text
Garry, sent PM, look into your inbox!
Cheers m8!
Romain
Hello mate Romain Many thanks for your very very hard critics Don't worry, I'm okay and really really appreciate that even you post them directly in this thread. Honestly, after the long delay, I refer to one of old local military magazines that displayed several sample figures of WWII US infantrymen and I assume that the great coat and M1943 jacket can be available in same color. Maybe that's the point: inaccurate reference.
Also, I have several statement related to your other judgement:
1. The difference of helmets and not all look US (fortunately, not my fault in your opinion).
I have no spare time to got better aftermarket parts due to closing date of the campaign in which such vignette I submit as a participant. Beside that, about three days to the closing date, I have to prepare my religious trip to Saudi Arabia, so honestly: a little bit in hurry when I finished them!
2.Illogical of the guy that holding the round pointing towards the ground.
Yup, you're right. I exactly understand what you mean. I already run a fit test among the guy's hand and the ammo tube: the tube can not be positioned reverse from the ground (should be pointing to the sky, right) to as its' weight was very weighed. Maybe illogical at normal situation, but let's assume suddenly he felt so tired when carrying one of the tube and he almost drop it! Just kidding mate... Any better idea?
3.No outlines on straps of any kind and also, no enough shades and highlights on the uniforms.
My first time deal with WWII US infantryman figures (I have deal with WWII US paratrooper before and I realize that they really really different ) and also I realize that they really differ from the WWII Germans. And don't forget.. as I already stated above: I do them in hurry! I will try to improve it soon.
4.Hovering figures
I already make sure that their boots were fit to the ground. Could you show me which one? I'm afraid still missing form my observation.
Yup, maybe not my best work and such things needed: very hard critics that adequate enough to rebuild my motivation and perform again another patient work. Really no problem at all, that's cool my friend!
Thanks for your sharing and I promise that the improvements will be posted here. Have a great day mate!
Warm regards
Garry