_GOTOBOTTOM
Constructive Feedback
For in-progress or completed build photos. Give and get contructive feedback!
Stug IV Last Production
thebear
Visit this Community
Quebec, Canada
Joined: November 15, 2002
KitMaker: 3,960 posts
Armorama: 3,579 posts
Posted: Saturday, August 16, 2014 - 05:17 AM UTC


This will be a blog of the new Dragon Stug IV Last production kit number 6647. Now I had taken sprue shots before starting but I didn't check and came out dark and blurry so I'll pass on those just to say that there are 23 different sprues of grey plastic parts ,one clear , 2 metal sprues for the new sideskirts, one sheet of photoetched metal parts and DS tracks in the box .. As you can imagine much of this kit has already been released in their other Stug IV kits and only the new sideskirts and their holders seem to be new plastic and the PE sheet is different from those I've seen before.
This is a typical Dragon kit with no flash or sink holes worth mentioning ..Crisp details are the norm that we are used to from this company ..So no problems there .
I have noticed some mistakes in the instructions that I will mention so you don't have to make the same mistakes I did or at least noticed before I made them...
So let's get started .. The construction begins with the wheels and lower hull , and this is where the first mistake in the instructions begins .. Do not add parts B2 and B3 to the Idler supports .. I found out the hard way that in step 3 parts B18 and B19 are added to the hull sides and are replacement parts for B2 and B3 .. when I went to add the rear to the hull sides nothing fit and I had to sand them away . (Not being in the same stage things had dried solid.) I did not add the exhaust at this time as I want to paint them separately.


Also in step 1 we have the usual clean up and preparation of the road wheels sprockets and idlers .. I used the cast type idlers and here Dragon have gone and changed their simple circle PE piece to 3 pieces per side making for 12 pieces of PE with at least three attachement points per piece to be cleaned up and attached .. on top of that the pieces overlap.. (I think they have made one piece that will be used in both their panzer III and IV kits ) I suppose this won't be noticeable in the end but I don't see any improvement by using these pieces instead of the older PE ... Even the instructions show the older parts which I went looking for until I noticed the instructions say x3 .
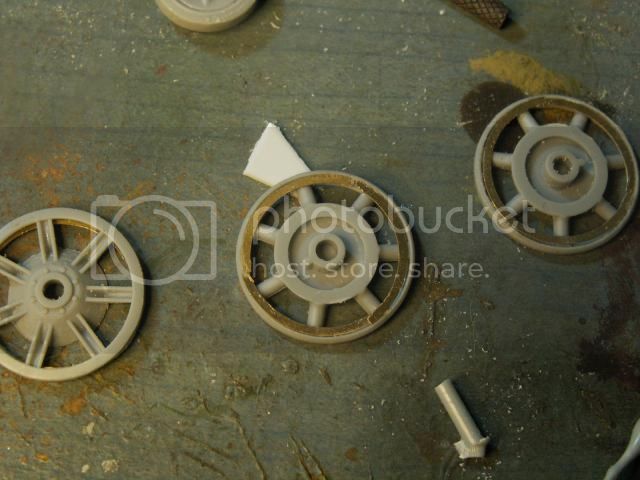

I always scuff up my roadwheels to show some wear and tear so this was done during clean up.
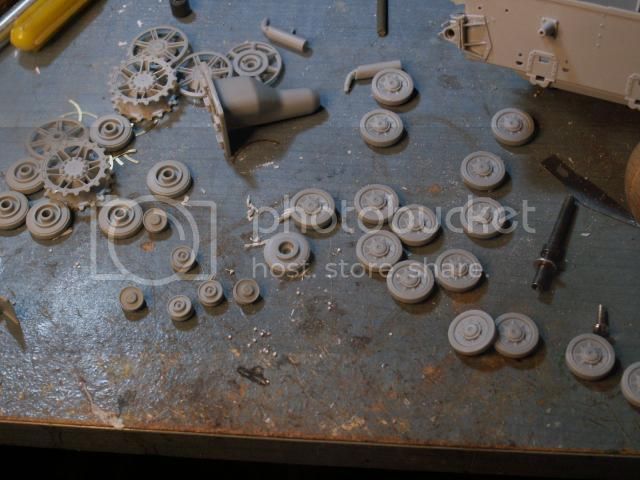


Next comes the build up of the lower hull . This kit is based on the late J kit and has the three return rollers and the hull extentions towing points.. These are some of the differences in the earlier kits of the stug IV .. In step IV be careful and follow the instructions . Add parts D13 and D15 as shown and don't listen to the instructions in step 5 that tell you to use A38 and A39. D13 and 15 are the right parts to use!
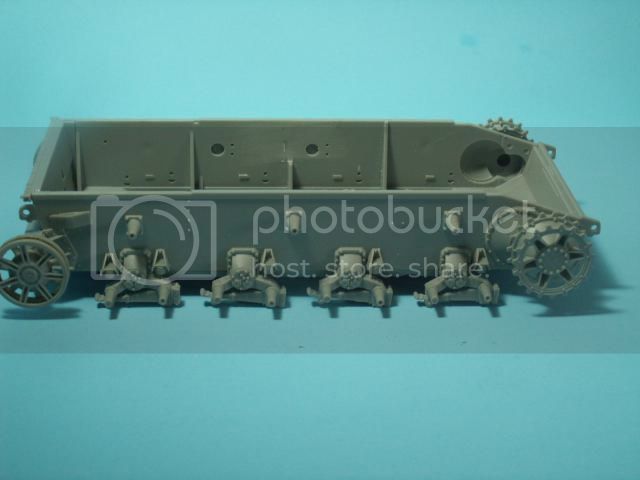


Of course I don't add the wheels till after painting .

Next in Step 4 is the transmission cover and the hatches.. I used N8 grab handles as I personally have never seen T6 in pictures or in my references but I'm not saying this not right ,I've just never seen them .. I was also thinking of how easy it would be to break them off during the build .
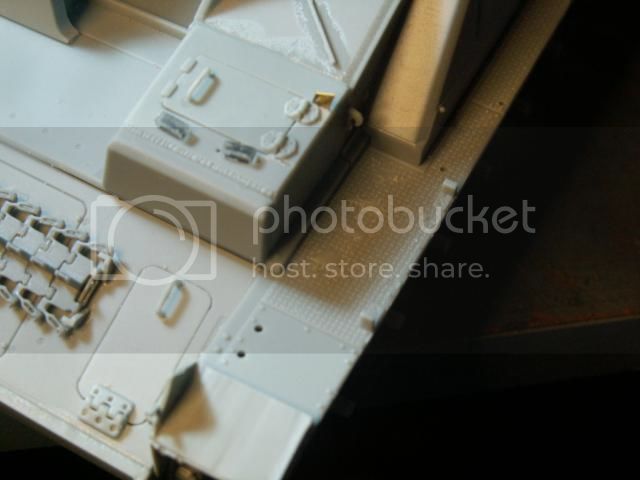
Also during this stage they have you add the spare track holders and even tell you to open up holes from under part B6...DON'T !! They don't give you any spare tracks to go in the holder... come on Dragon!! Anyway I think it looks bare without some spare tracks and I stole some from another kit to fill in the holders.. I added some stretched sprue to the tracks where the pins would show .
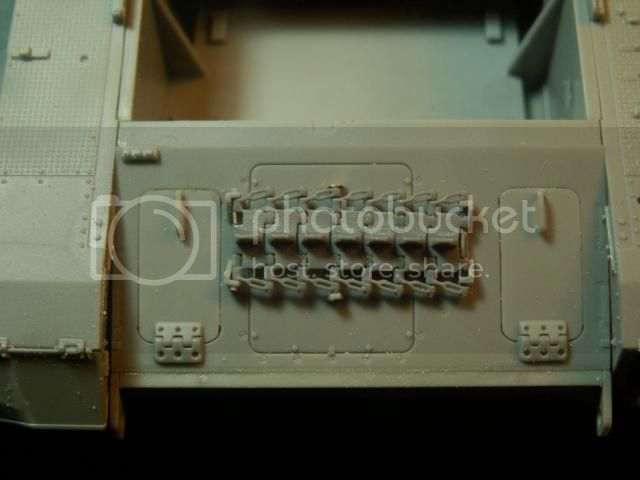


Next up the engine deck ... Nothing spectacular but for some reason they no longer give you the PE for the doors ..I never really noticed the PE under them but I'll check before I glue everything in place to see if I need to paint the engine room black as not to see grey plastic.. I'll let you know when I get there ..
I have no idea what the differences are between parts H44 and H48 as compared to H36 and H40 for the air intakes if anyone knows if these were factory specific or early verses late options I would really like to know . Not that it really shows much but I'm interested to know.
I haven't added the tow rope hangers yet since they are so fragile I'll wait or might just decide to use wire to replace the flimsy plastic parts.. Hey I just noticed they don't give you tow ropes in this kit ... darn!!
Also missing in this kit are the plastic parts for the intake covers on the fenders .. you only get the PE type which are fine but the less PE I use the better and I found some plastic ones in my spare parts box ... Are they better ? No .. Worse? with a little sanding with a file they look great and line up straight without any cyano glue in sight .. I'm happy ! Also if you look on the H sprue you get all kinds of wing nuts and half wing nuts on the sprue just begging to be used and not mentioned in the instructions.. go for it guys ..
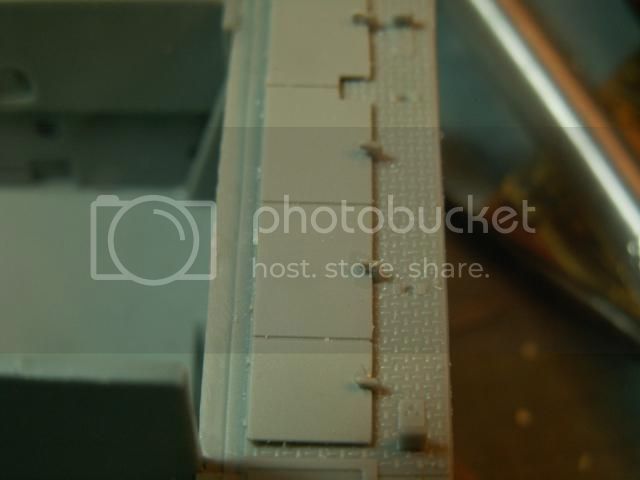


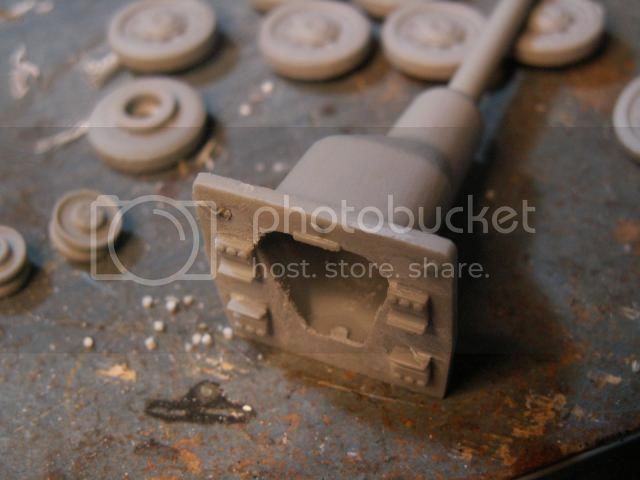
I skipped ahead a bit and built up the gun and mantlet just to change from the PanzerIV hull parts .. I added three hookes to the back side of the mantlet .. This was simply done by flattening some stretched sprue and bending them to shape.. There were a few punch marks on the backside of the mantlet but they won't be seen in the end ..I filled them just because they were there ..


The interior gun and radios were built up but nothing will be seen as I plan on doing this one buttoned up ...At least you know they are there ..lol
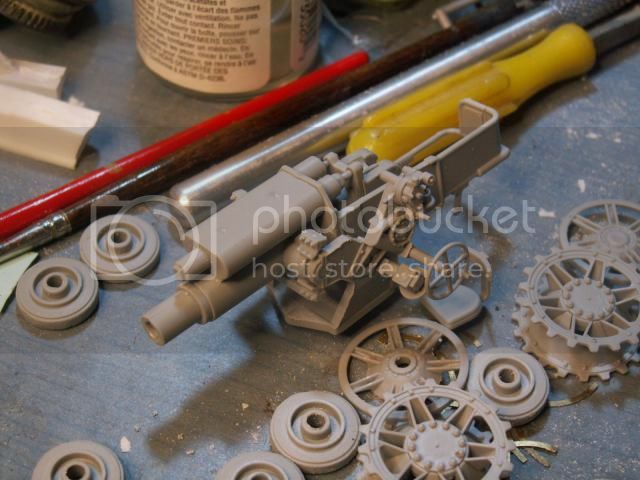
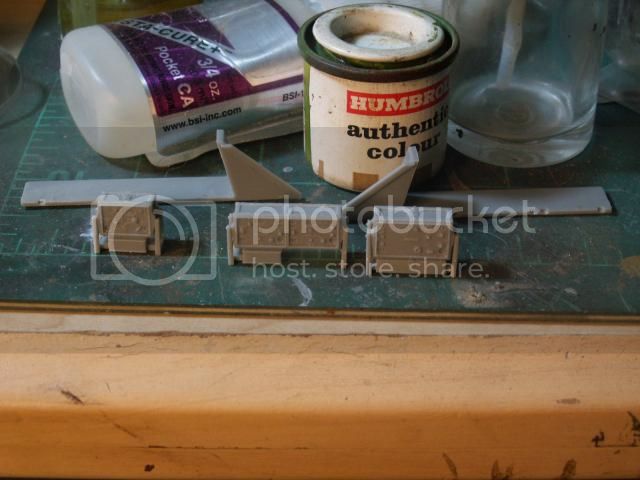

And that folks is where I'm at so far ... Things are starting to shape up and I can't wait to get to the painting section ..

I want to thank Craig Ellis for pointing out a mistake on the sideskirts that I'll try and fix , and if you are interested in the late Stug IV , Mike Roof aka SdAufKla did an awesome blog on what he did to make a late from the early kit .. I think anyone wanting to build this kit should take a while and read his blog ..

https://armorama.kitmaker.net/forums/170904&ord=&page=2

Rick

Thudius
Visit this Community
Uusimaa, Finland
Joined: October 22, 2012
KitMaker: 1,194 posts
Armorama: 1,077 posts
Posted: Saturday, August 16, 2014 - 06:29 AM UTC
Oh the joy that is Dragon. So far so good, it's looking like a Stug

Kimmo
chumpo
Visit this Community
United States
Joined: August 30, 2010
KitMaker: 749 posts
Armorama: 521 posts
Posted: Saturday, August 16, 2014 - 07:42 AM UTC
Is that a 30 year old tin of Humbrol ?
thebear
Visit this Community
Quebec, Canada
Joined: November 15, 2002
KitMaker: 3,960 posts
Armorama: 3,579 posts
Posted: Saturday, August 16, 2014 - 07:49 AM UTC
Thanks Kimmo and yes that is one of my oldest humbrol tins Grass green .. I think I still have a tin of German Pale Yellow not opened ..lol

Rick
chumpo
Visit this Community
United States
Joined: August 30, 2010
KitMaker: 749 posts
Armorama: 521 posts
Posted: Saturday, August 16, 2014 - 08:24 AM UTC
I have some Humbrol authentic , I dare not open them , they are antiques .
thebear
Visit this Community
Quebec, Canada
Joined: November 15, 2002
KitMaker: 3,960 posts
Armorama: 3,579 posts
Posted: Wednesday, August 20, 2014 - 08:23 AM UTC
No new pictures right now (probably tomorrow but I must say the instructions for this kit must be some of the worst ones I've seen even from Dragon .. I'm trying to find more info on the tool placement on these late stugs.. Most of the tools are cleaned up and ready for paint ..That's when I realised they make no mention of the fire extinguisher or the starter crank .. Seems to me these are both essential even at this time in the war ..So I'm scrambling through my references and asked around for any info .. So keep watching I hope to have a few answers soon.

Rick
thebear
Visit this Community
Quebec, Canada
Joined: November 15, 2002
KitMaker: 3,960 posts
Armorama: 3,579 posts
Posted: Friday, August 29, 2014 - 06:48 AM UTC
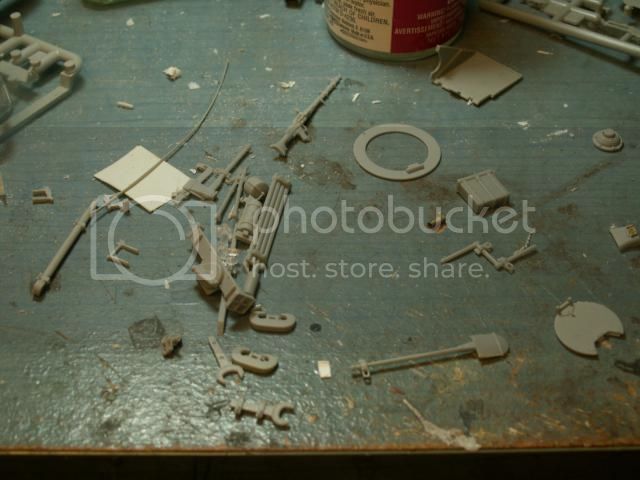
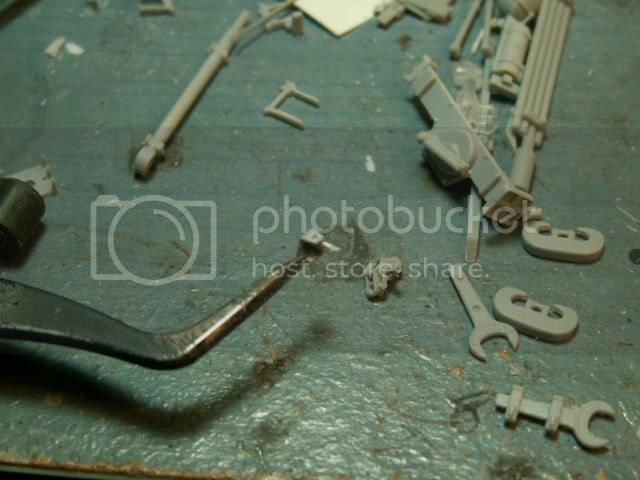
Next update finally.. Very hot and humid here ,so I don`t like to paint in those conditions.. So I`ve got all the tools cleaned up and ready for paint ..


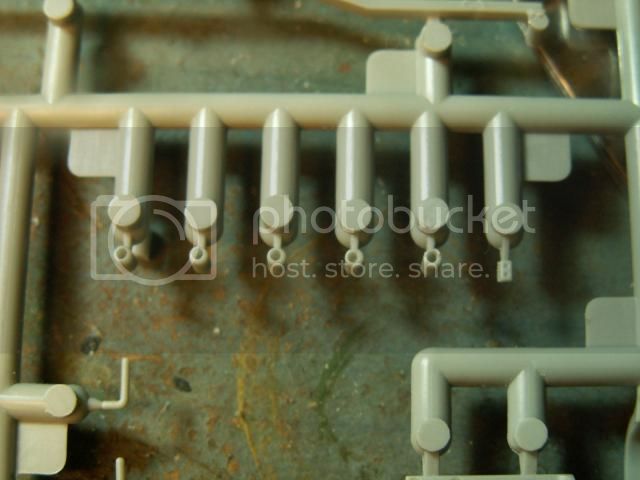
Looking at the sprues I noticed the ends of the new shutzen hangers ...


Five minutes with a drill bit and I think they`ll look a lot better in the end..


A little warning .. I was working on the cupola and Dragon give you a piece of PE to wrap around the inside ..I started to fit it and I found it quite springy. So I brought out my trusty lighter to anneal the PE.. DON'T!! Man the piece just fell apart... Never seen that happen so fast.. So look through the pile of Evergreen stock I have and found a piece to replace the PE ..No big deal but just be careful if you heat the PE.


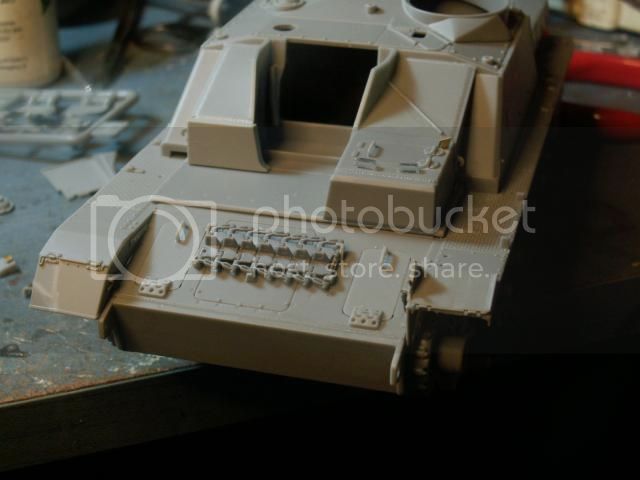
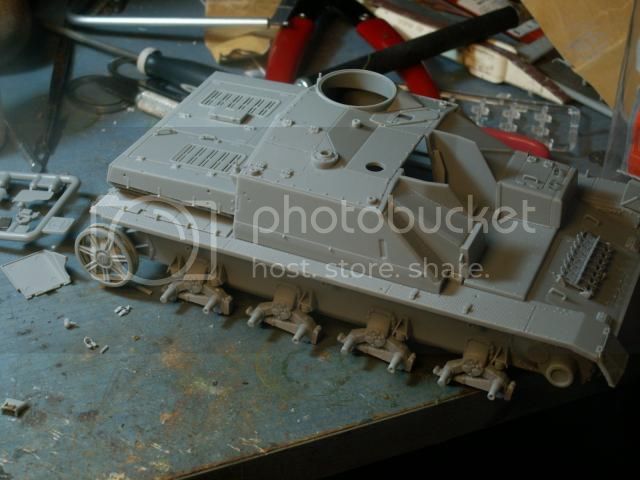
Things are starting to come together .. The hull ,engine deck and fighting compartments fit together almost perfectly .. I needed to sand the rear end a bit to get everything snug ..


You can see the drivers hatch and they have you add a PE part to support the open hatch when open .. Dragon also give you two piece that make up a lock to keep it open .. I really had to study the plans to figure out where things were to go and I finally figured it out no thanks to Dragons instructions.. This is going to be very fragile and I think I'll wait as long as possible before gluing this into place..


So things are moving along (not as fast as I would hope but I have a nice long weekend ) So I hope to get in another update by Monday..
That's it for now

Rick

Thudius
Visit this Community
Uusimaa, Finland
Joined: October 22, 2012
KitMaker: 1,194 posts
Armorama: 1,077 posts
Posted: Friday, August 29, 2014 - 07:11 AM UTC
Everything is looking Stug shape. Take extra care when you do the remote mg and mount. Plenty of opportunity to feed the carpet monster there.

Kimmo
thebear
Visit this Community
Quebec, Canada
Joined: November 15, 2002
KitMaker: 3,960 posts
Armorama: 3,579 posts
Posted: Friday, August 29, 2014 - 07:40 AM UTC
will do Kimmo .. Thanks for the comment.
thebear
Visit this Community
Quebec, Canada
Joined: November 15, 2002
KitMaker: 3,960 posts
Armorama: 3,579 posts
Posted: Monday, September 01, 2014 - 03:19 AM UTC
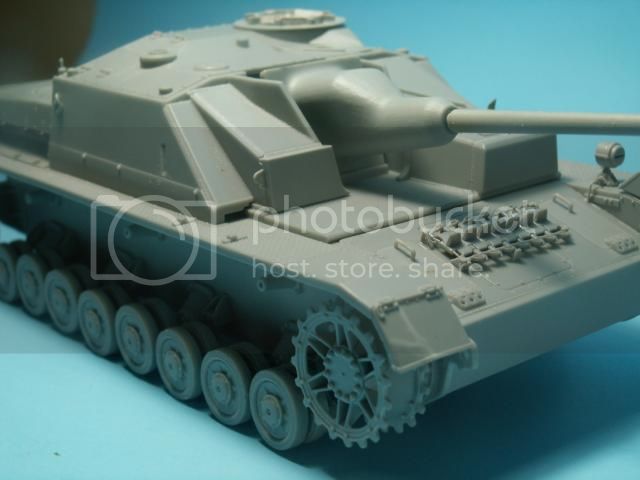
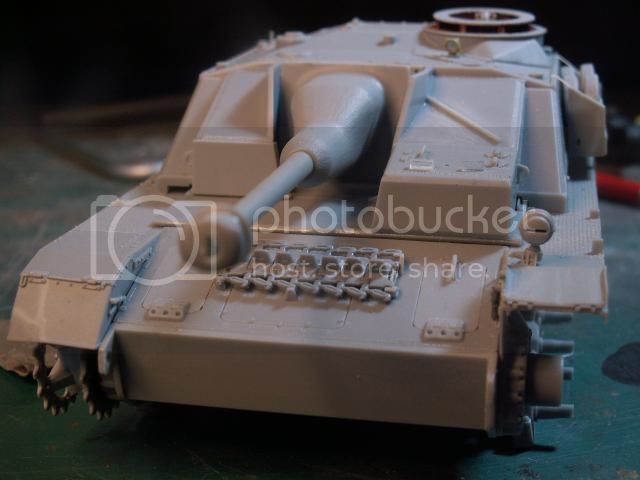
Just a couple of pictures to show this weekends progress.. Everything went together quite well .. but to get the gun into place is a struggle .. Take your time and test fit before gluing and all will line up.. You need to add the mantlet at the same time as you add the fighting compartment ..if you don't you'll be swearing later..


Rick
thebear
Visit this Community
Quebec, Canada
Joined: November 15, 2002
KitMaker: 3,960 posts
Armorama: 3,579 posts
Posted: Saturday, September 13, 2014 - 05:24 AM UTC
Just a quick note to say things are still moving forward ... Not worth taking pictures of but the tools have all been cleaned up and painted .. I should add some wear and tear to them and then take some pictures.. New job has been really killing my modelling time .. I should get back in the swing of things once I get used to the new schedule.
Hope to show you something tomorrow .

Rick
thebear
Visit this Community
Quebec, Canada
Joined: November 15, 2002
KitMaker: 3,960 posts
Armorama: 3,579 posts
Posted: Friday, February 27, 2015 - 09:30 PM UTC
Been a long time since I have sat down at my desk .. Life has been kicking me in the teeth lately but I'm slowly trying to get back at this kit .. I haven't done much since September but here goes nothing ..
painted the inside of the commanders hatch since it'll be hard to get into all the corners .. so if it doesn't reach everywhere there will be some red primer showing ..

folded up a front fender and added a small spring from fuse wire..

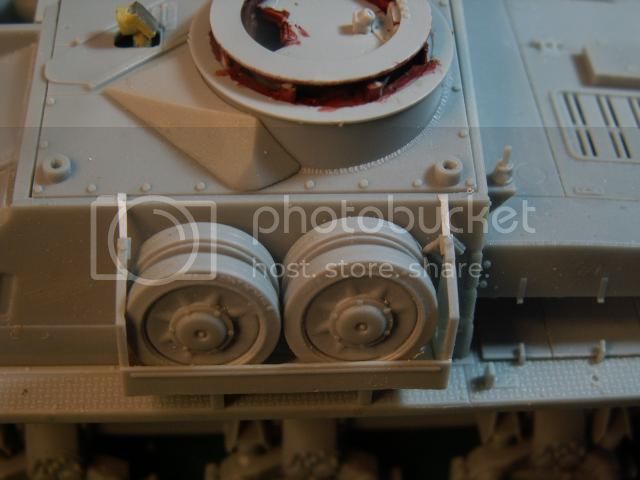
Added the spare wheel box on the side .. The way Dragon shows it is hard to figure out but it doesn't sit up against the hull so I added some evergreen strips to lengthen the attachement points so it would sit on the supports on the fenders and also reach the roof .. If you look close the seams are still on the roadwheels and this is wanted because the new wheels really did have a seam down the middle . (I did lightly sand it to make it more to scale )

Well that's it for now .. Not much but I hope to have a bit more time to get this one moving again .. Have a great weekend folks!
 _GOTOTOP