_GOTOBOTTOM
Constructive Feedback
For in-progress or completed build photos. Give and get contructive feedback!
Abandoned ZiL-131
deichevster
Visit this Community
Bulgaria
Joined: January 08, 2015
KitMaker: 21 posts
Armorama: 20 posts
Posted: Friday, January 09, 2015 - 07:02 PM UTC
Hi guys,

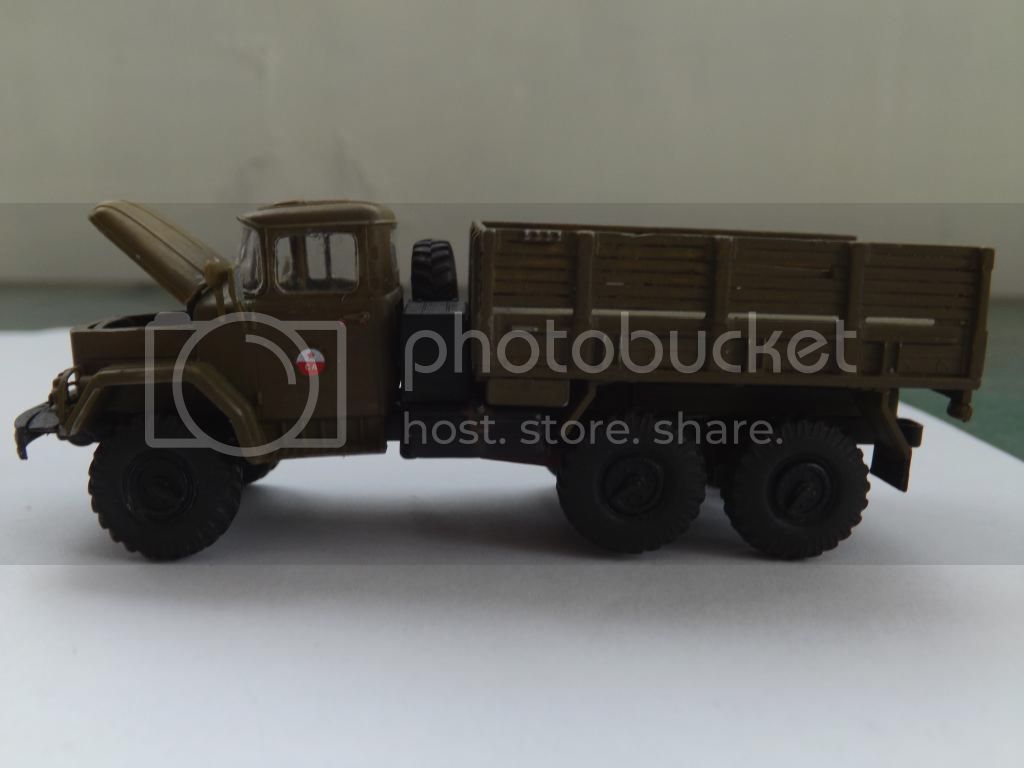
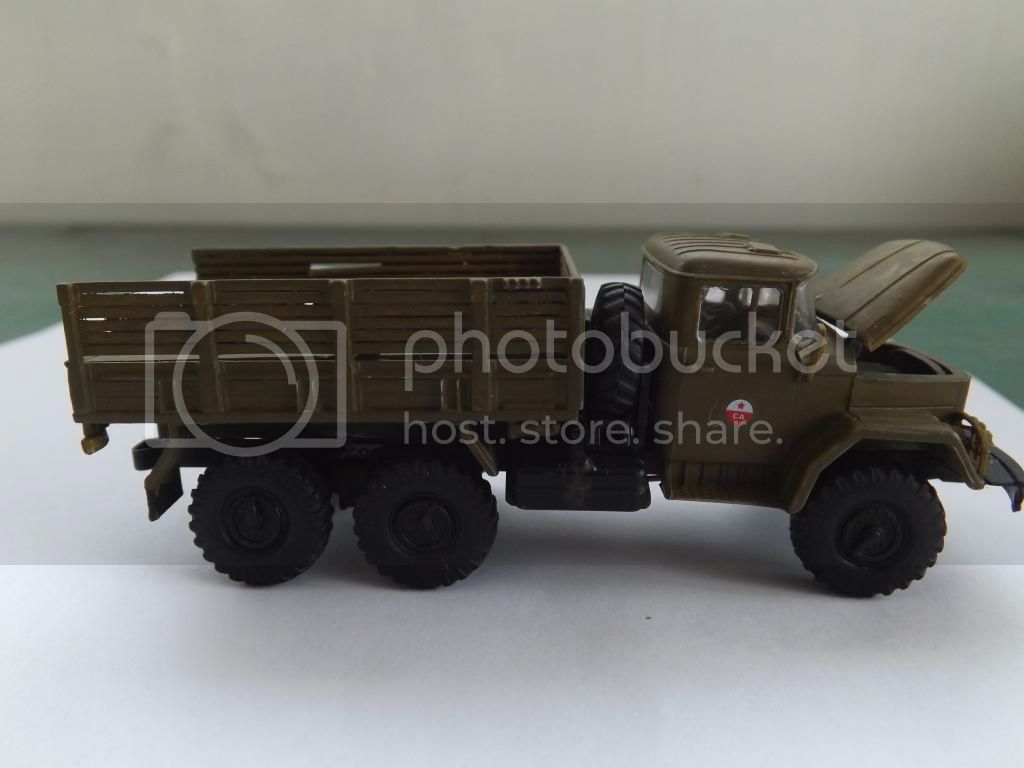
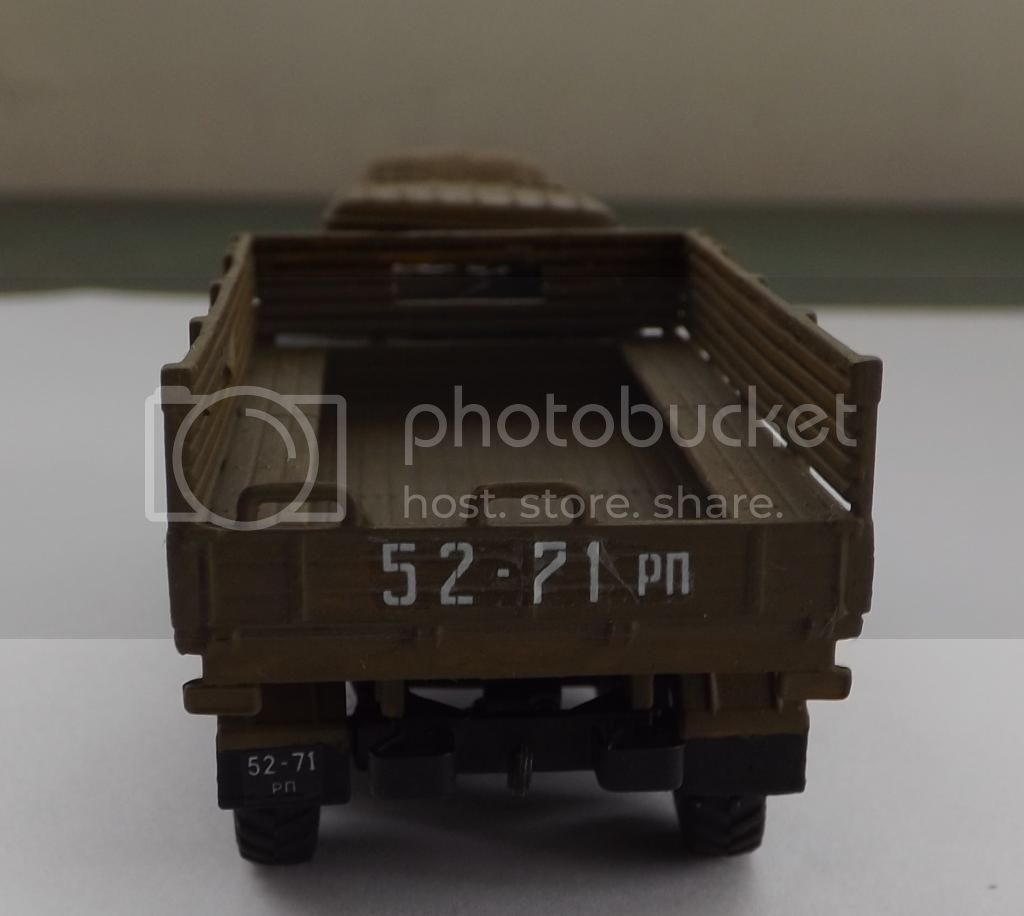
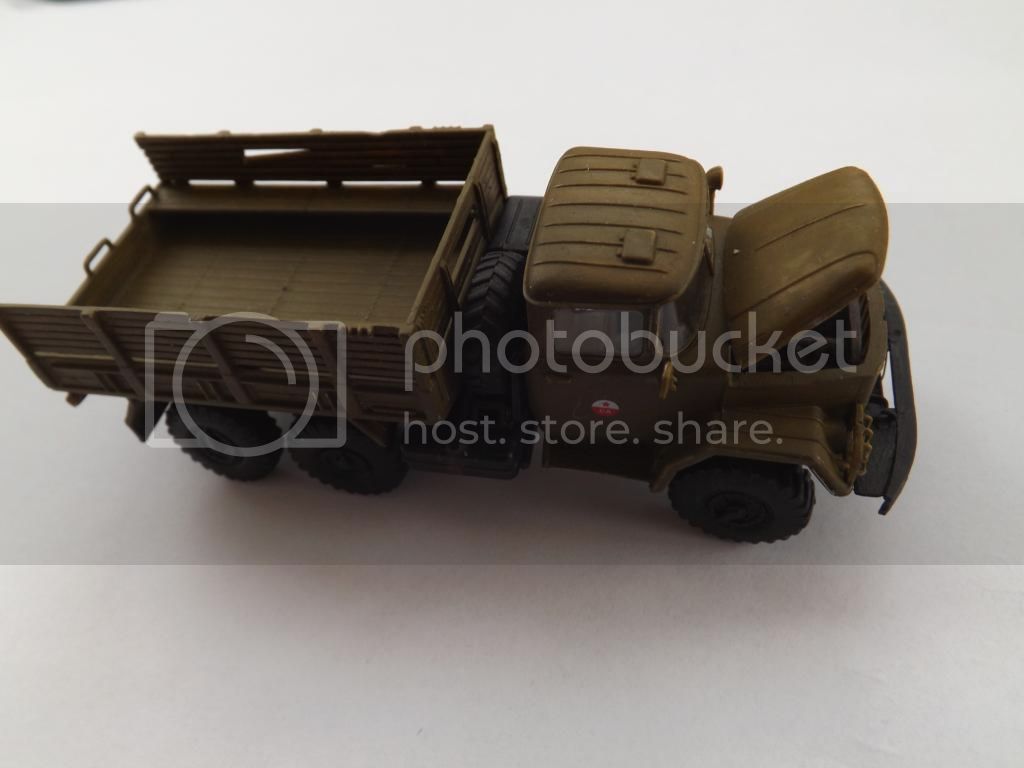
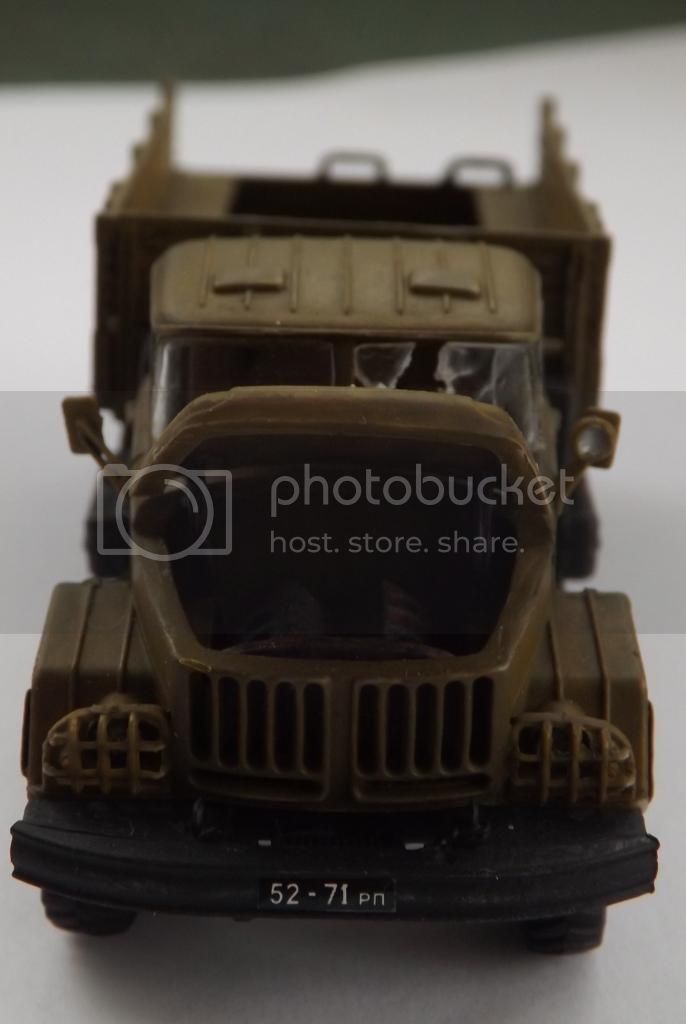
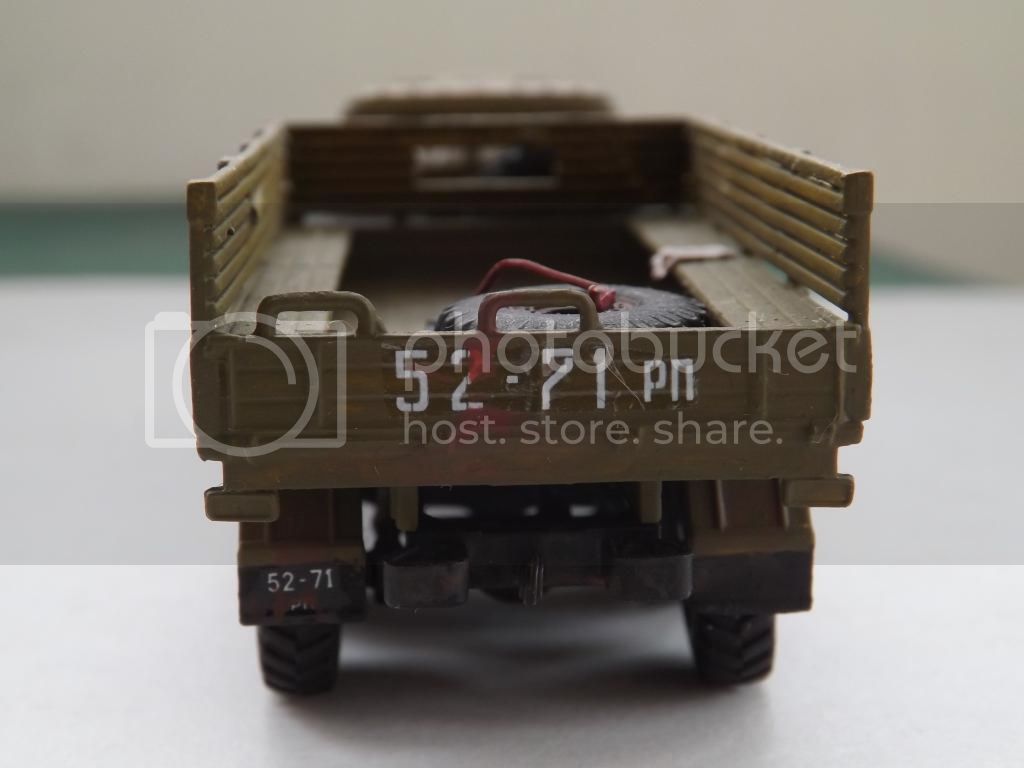
I'm trying to depict an ex-soviet truck slowly rotting and getting cannibalized for parts, I'm more or less done with painting and building and I'm looking for some feedback on what can be improved. The kit is the ICM 1:72 ZiL-131 The cab isn't glued to the chassis yet, the bed has. I'm mainly concerned with the decals, which aren't blending with the paint at all. I am aware that matte paint and decals don't go well together, but I was hoping for a nicer result. Any suggestions on what could improve the quality of the build would be appreciated!


Bluestab
Visit this Community
South Carolina, United States
Joined: December 03, 2009
KitMaker: 2,160 posts
Armorama: 1,906 posts
Posted: Friday, January 09, 2015 - 10:29 PM UTC
Since it's being scavenged over for parts, remove some exterior parts as well as drivetrain parts. Remove one of the headlights and leave the guard in the back or inside the cab. Remove a door handle, side mirror, etc. If you can, remove the seat...I assume it's a one-piece bench seat. And leave some trash inside...or even loose parts that may have been removed to get other parts. No sense putting them back. Maybe the odd tool or oil can. Do something with the spare tire. I figure it would be one of the first bits to be reused. You could also add some mechanical miscellaneous to the bed...sort of a catch-all possibly from other vehicles scavenged. Or tools like blocks for a jack. Stuff like that.
easyco69
Visit this Community
Ontario, Canada
Joined: November 03, 2012
KitMaker: 2,275 posts
Armorama: 2,233 posts
Posted: Friday, January 09, 2015 - 10:32 PM UTC
it should be on blocks lol
Bluestab
Visit this Community
South Carolina, United States
Joined: December 03, 2009
KitMaker: 2,160 posts
Armorama: 1,906 posts
Posted: Friday, January 09, 2015 - 10:36 PM UTC

Quoted Text

it should be on blocks lol


I knew I forgot something...put it up on blocks. But another is a tarp sort of across the cab with the intention of keeping the weather out from the smashed windshield. But wind or scavengers have moved it aside to show the inside. Remove a driveshaft and put it in the bed. Beat it up a bit too. Maybe a bit of graffiti from the local juvenile delinquents.
JClapp
#259
Visit this Community
Massachusetts, United States
Joined: October 23, 2011
KitMaker: 2,265 posts
Armorama: 180 posts
Posted: Friday, January 09, 2015 - 10:48 PM UTC
All the glass should be completely smashed to leave only crumbs around the edges of the window frames, and the floor of the cab should be strewn with crumbs of shattered glass. pickling salt might look good.
justsendit
Visit this Community
Colorado, United States
Joined: February 24, 2014
KitMaker: 3,033 posts
Armorama: 2,492 posts
Posted: Friday, January 09, 2015 - 10:49 PM UTC
Hi Ian,

All very good points made above.

Are you planning on mounting the truck onto a small dio base? I can picture some interesting ground treatment possibilities ... tire ruts, dirt, weeds, overgrowth, etc.

—mike
spaarndammer
Visit this Community
Noord-Holland, Netherlands
Joined: January 28, 2007
KitMaker: 1,945 posts
Armorama: 282 posts
Posted: Friday, January 09, 2015 - 11:02 PM UTC
A few suggestions from my side:

A birds nest on the seat, but that is pretty small to make in 1/72 scale. The front license plate hanging on only one screw. The spare tire gone, flat tires.


Jelger
deichevster
Visit this Community
Bulgaria
Joined: January 08, 2015
KitMaker: 21 posts
Armorama: 20 posts
Posted: Saturday, January 10, 2015 - 01:02 PM UTC
Hello everyone,

Thanks for the great ideas!

Jelger, unfortunately the interior is practically not visible, but I'll try making a bird's nest and stuffing it in some handy nook if I'm happy with the result. I tried melting the tires for the deflated look, but I wasn't happy with the two I melted, so I decided not to risk the other ones. Number plates are sadly just decals, and will have to do as they are.

I'm using these two galleries as a reference:
http://saoirse-2010.livejournal.com/23478.html
http://saoirse-2010.livejournal.com/23553.html

Contrary to common sense, it seems that spare wheels are present on most vehicles, guess either the soviets had an overabundance, or a puncture was too much of a rarity to bother. Oddly, most of those vehicles' tires also still look under the proper pressure.

Mike, I am planning on a small dio, the truck will be posed next to a chainlink fence with barbed wire on top, I'll be adding a couple of figures to make it a bit more interesting. The wheels will be dug in the groundwork, I may add ruts, still not decided on it.

Jonathan, I thought of having properly smashed glass, but my skills are rather limited at this point, so I went for the rock-through-the-windscreen look. I thought of shaving off some small pieces of clear sprue and putting them inside the cab, but again the small scale and lack of visibility made it pointless.

David, I would have taken a tire or two off, but they're molded in a single piece with the rim, and at the time of building it I didn't have the tools to grind the wheel down. I've since got a handy rotary tool as a Christmas gift, but I already broke the stupid flimsy axles on which the wheels fit enough times to try and make any changes.

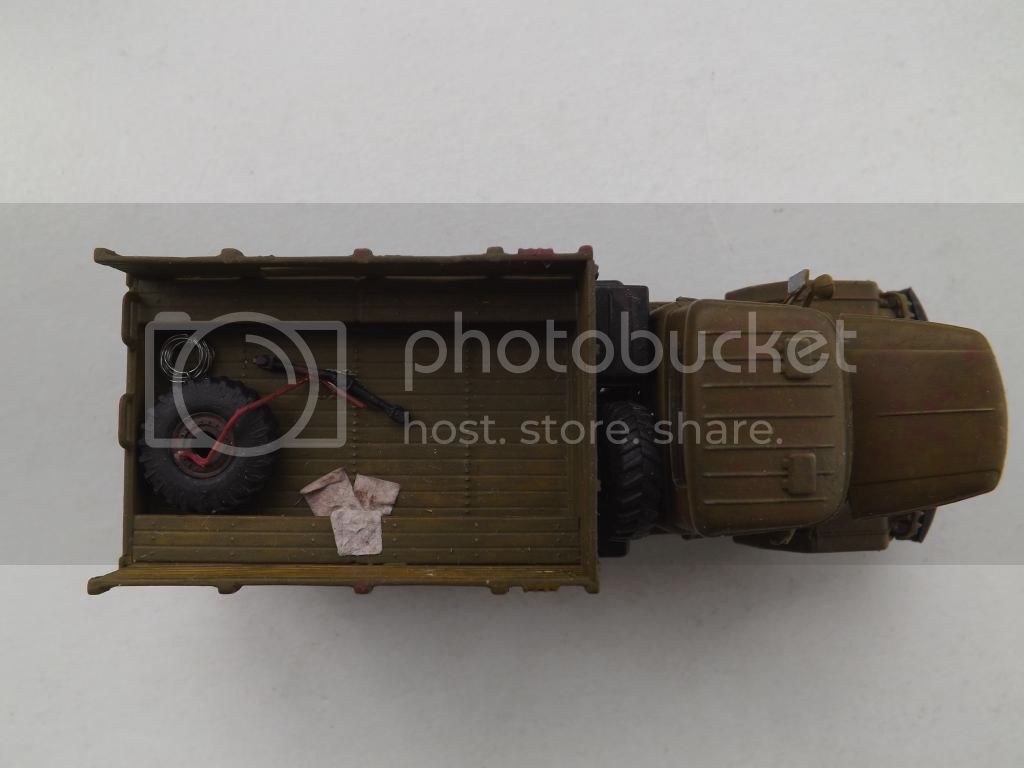
Alex, I was thinking of chucking the extra spare tire from the kit in the back, maybe making a few boxes to go with it, but I love the idea of the truck being used to store old parts. I'll go through the boxes to look for spares that would go well here, I should be able to find something fitting. Both headlights don't have the glass in them, unfortunately the guards' bars are too thick for a clear view, but I couldn't think of any way to make them thinner and still hold their shape, and I'm still not sure it was the right decision. What I'm assuming is the infrared light in front of one of the mirrors is also broken, but looking at the reference pictures, I should paint the inside in a different color, as the reflector should be missing.

Thanks again everyone for the great ideas, now I can get busy on weathering and adding the other finishing details
justsendit
Visit this Community
Colorado, United States
Joined: February 24, 2014
KitMaker: 3,033 posts
Armorama: 2,492 posts
Posted: Sunday, January 11, 2015 - 11:13 PM UTC
Those are nice reference photos!

Good luck with the project. Go for it!

—mike
deichevster
Visit this Community
Bulgaria
Joined: January 08, 2015
KitMaker: 21 posts
Armorama: 20 posts
Posted: Saturday, January 17, 2015 - 01:21 PM UTC
Hi everyone,

I haven't had a lot of free time lately, so the little ZiL has been neglected. I did the rusting, but I think I overdid it in some areas. I wasn't able to find good spares in my boxes, will have to do with what I have and some scratchbuilt stuff for details. Added what should be faded newspapers, I figured that text wouldn't be visible at this scale, so it's paper soaked in diluted paint and then put in place, I'm happy with the result, but I think I'd have to tell anyone who views the model that those are supposed to be newspapers. First attempt at bird's nest out of thread wasn't successful, but I'm gonna keep trying. I tried building some boxes, but I'm having a serious difficulty in making the proper size crates in 1/72. I had success making boxes that could have been loaded by crane, but seeing how everything is supposed to have been chucked in, that's not gonna fit in. The figures I ordered are on their way, so hopefully next week I'll be able to start work on the diorama.


 _GOTOTOP