_GOTOBOTTOM
Constructive Feedback
For in-progress or completed build photos. Give and get contructive feedback!
Syrian Conflict Ural 4320 85mm Guntruck
fireontheway
Visit this Community
Pennsylvania, United States
Joined: May 17, 2006
KitMaker: 370 posts
Armorama: 368 posts
Posted: Monday, February 23, 2015 - 03:03 AM UTC
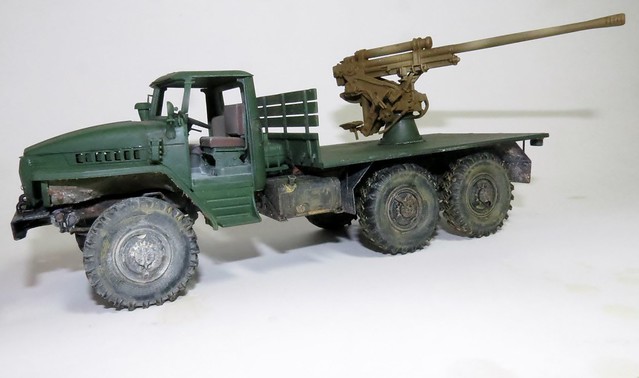
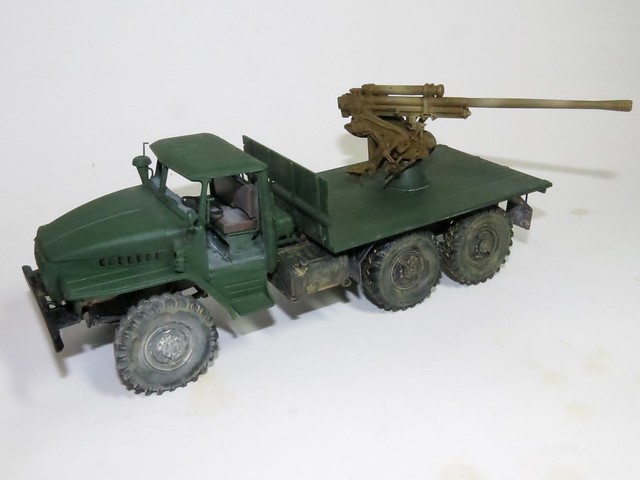
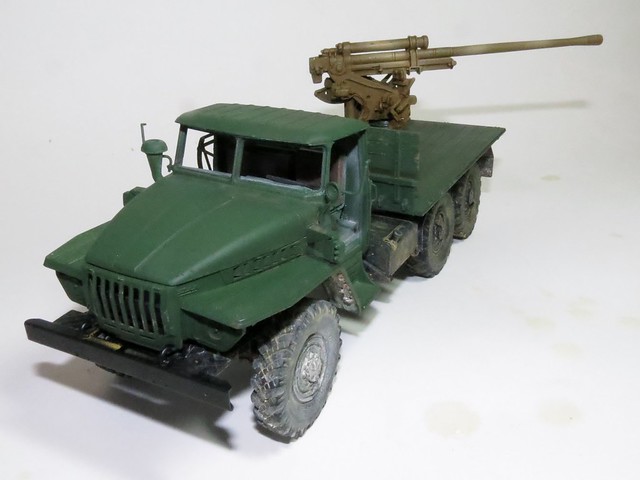
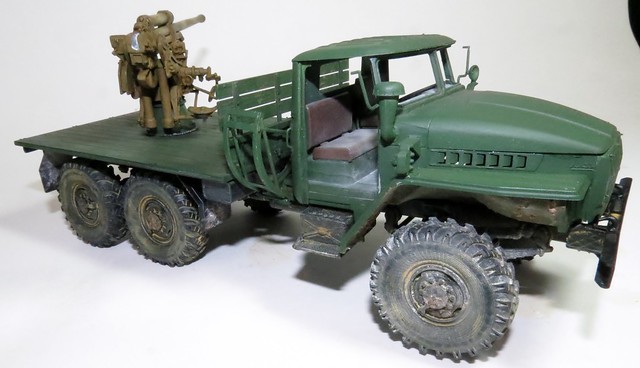
Yep I'm at it again. This time I have decided to model this guntruck or my version of this example of a guntruck. So its not an exact copy. Now with that caveat out of the way, here it goes.
sft-004" BORDER="0">

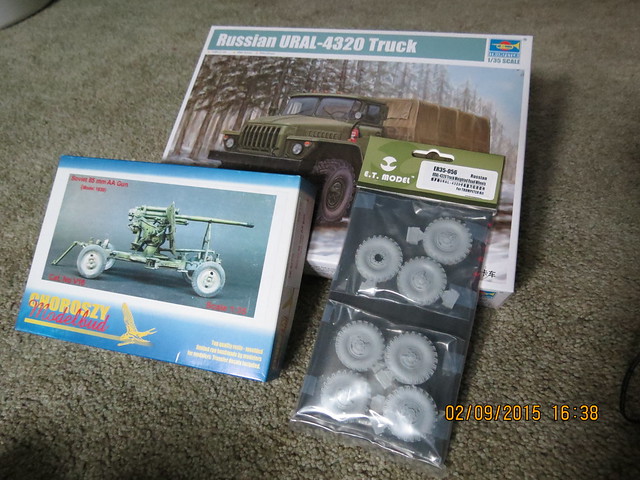
This is what I will be using
ural 4320 018" BORDER="0">

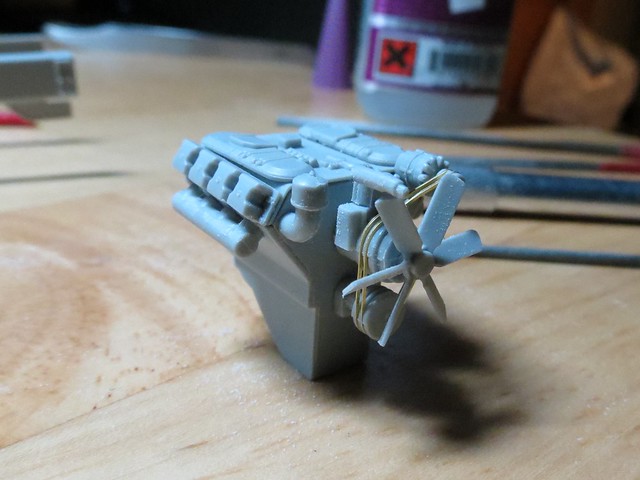
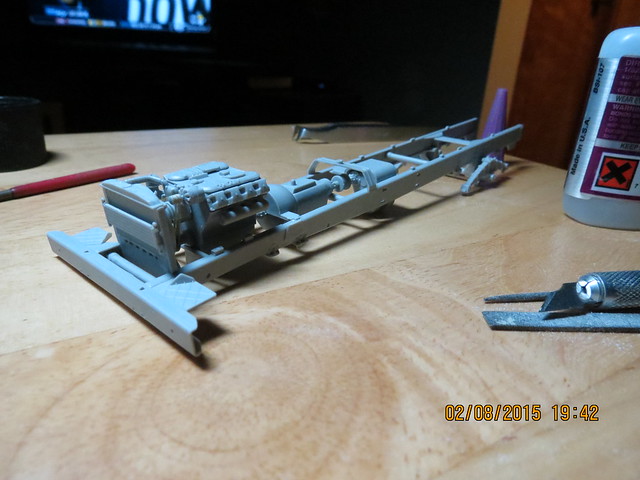
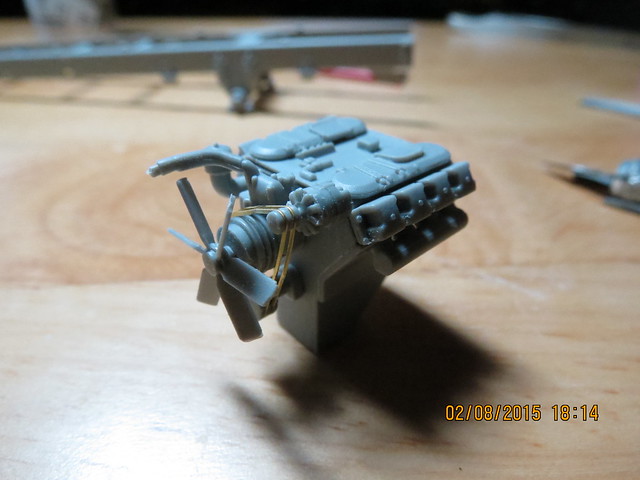
Pretty straight forward initially
ural 4320 001" BORDER="0">
ural 4320 002" BORDER="0">
ural 4320 005" BORDER="0">

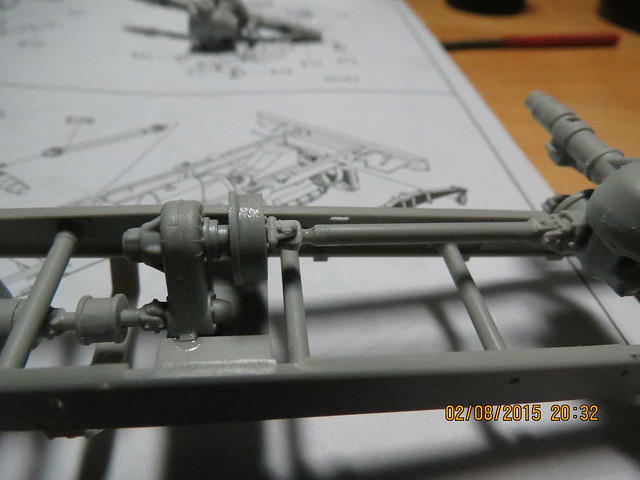
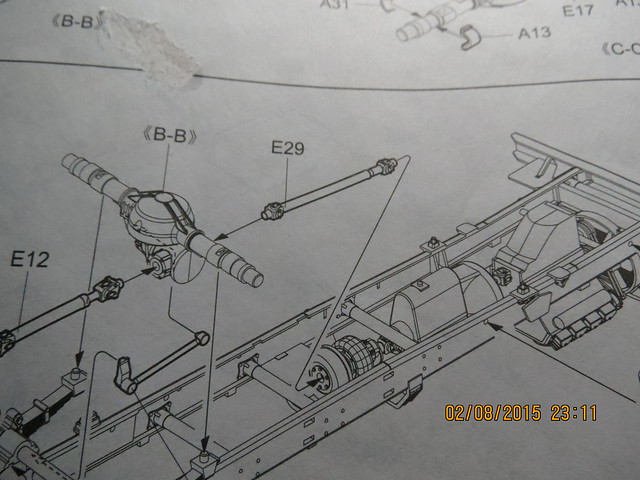
Here is where things start to go south. Trumpeter misidentified the drive shafts labelling 2 of them E29. Needless to say when I went to install the 1st one it was too long. Thinking this was a slight error I modified it to fit
ural 4320 017" BORDER="0">
ural 4320 011" BORDER="0">

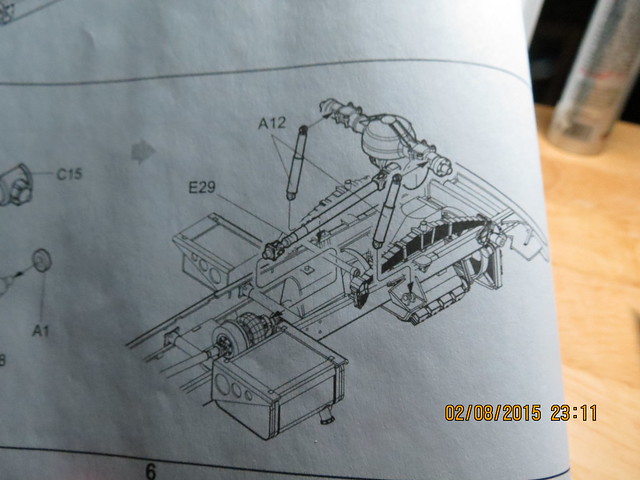
Then a lil later on I find myself here
ural 4320 016" BORDER="0">

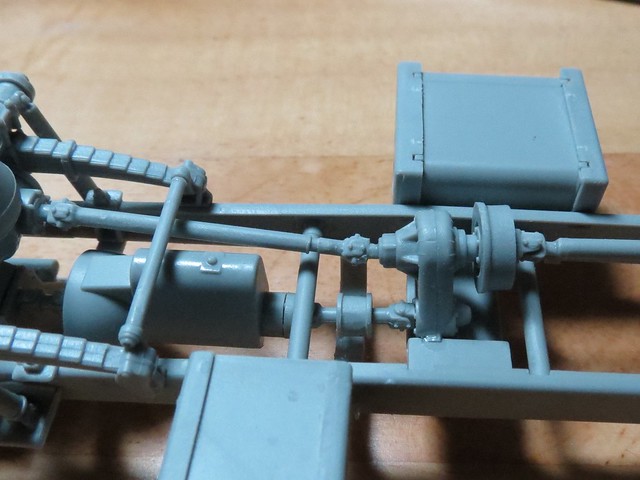
Now the shat I had cut and installed is in permanently there is no going back. The shaft I should have used is just barely long enough to fit. Seeing that it wont be seen that well I pressed on and installed it.
ural 4320 014" BORDER="0">

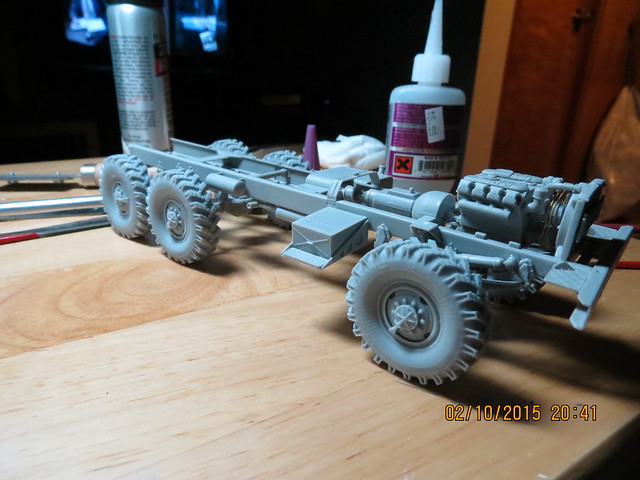
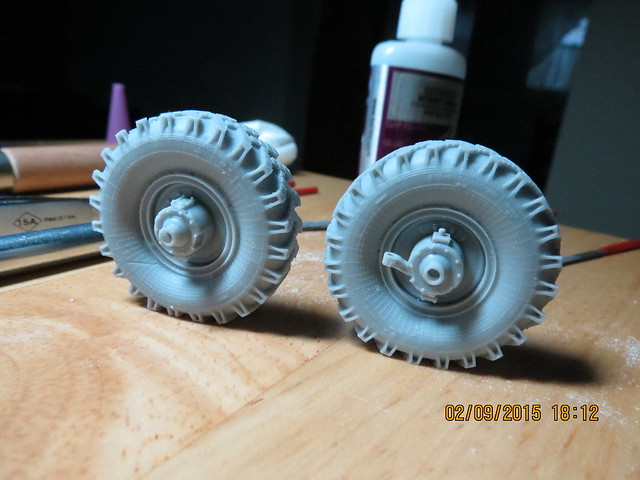
Next I find that my AM wheels are molded incorrectly or upside down on the inside. If I were to have installed them as molded the flat surface would have been on top of the tires. So I removed the parts that were incorrect and used the Trumpeter supplied parts and solved this issue. Corrected wheel is on the right
ural 4320 020" BORDER="0">
ural 4320 022" BORDER="0">

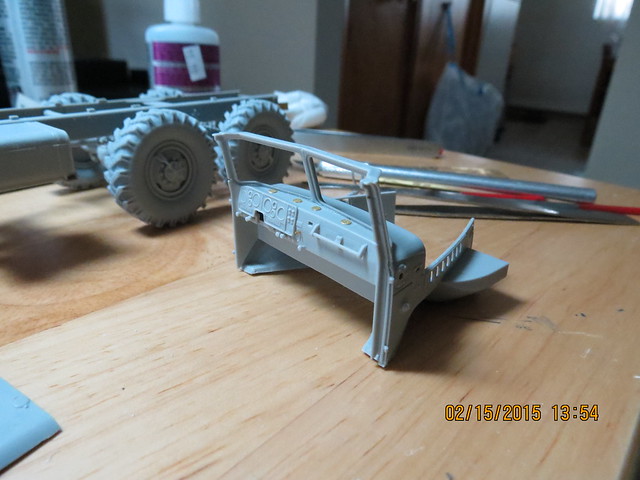
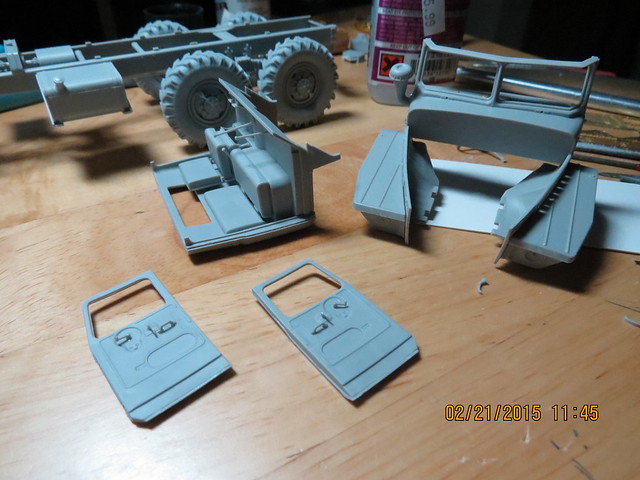
Dont install the steering wheel until the cab is together, I took mine back out
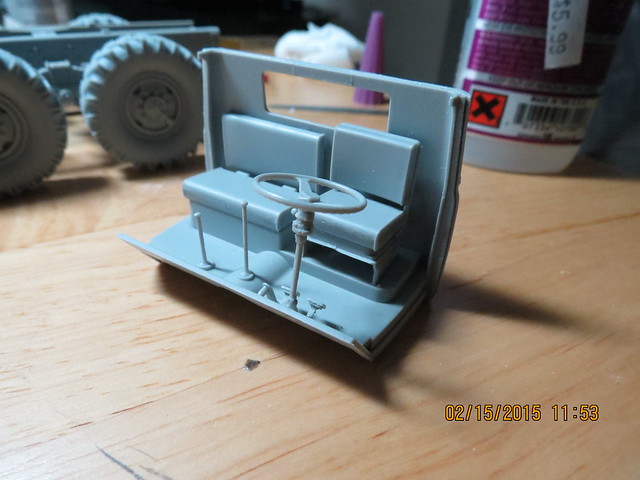
ural 4320 023" BORDER="0">

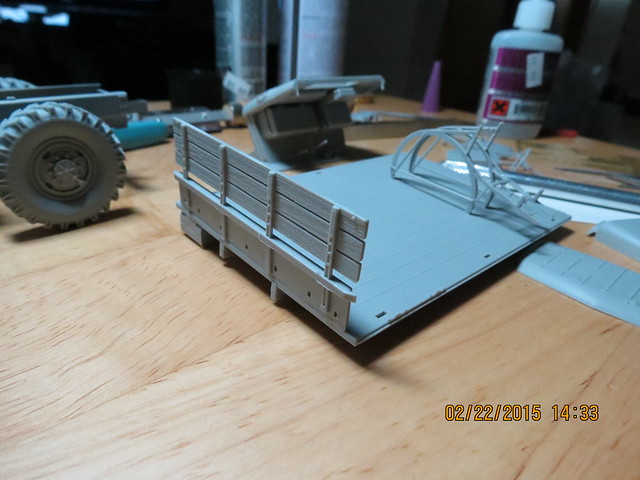
More build pics
ural 4320 024" BORDER="0">
ural 4320 026" BORDER="0">
ural 4320 029" BORDER="0">

Now this resin gun kit. First I was trying to find a 57mm gun kit, cant. So I upped the mm's and chose this one because it came with a gunshield. This is by far and away the worst kit I have used, well maybe 1 other beats this one. The direction sheet is just about hopeless. Thank goodness for pictures on the net or I would have been lost how to build this. The directions are incorrect in spots and pretty much of no use. The gun barrel was warped and tons of flash. There are parts I couldnt identify it was not worth the $34 or so I paid for it.
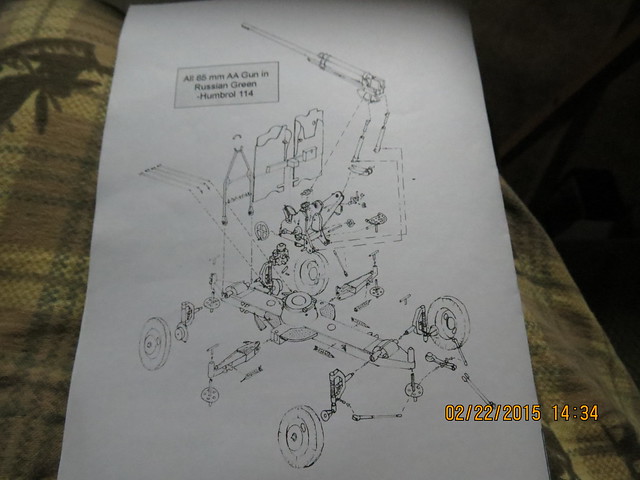
ural 4320 030" BORDER="0">

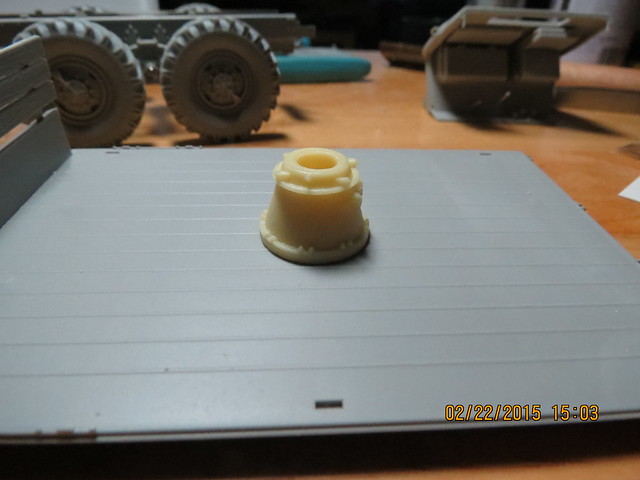
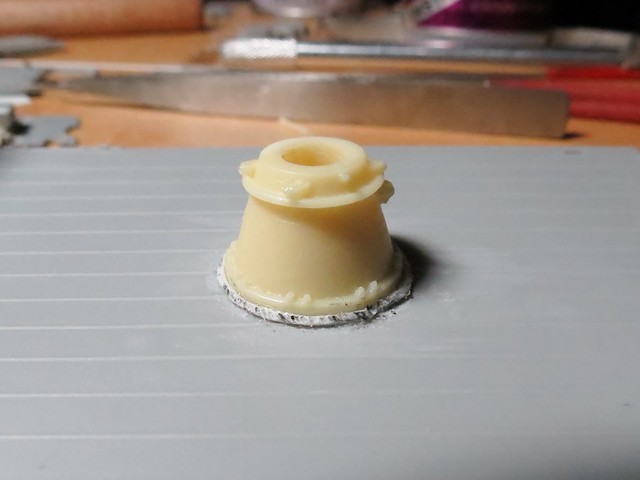
I just needed the pedestal for my project so I started with this
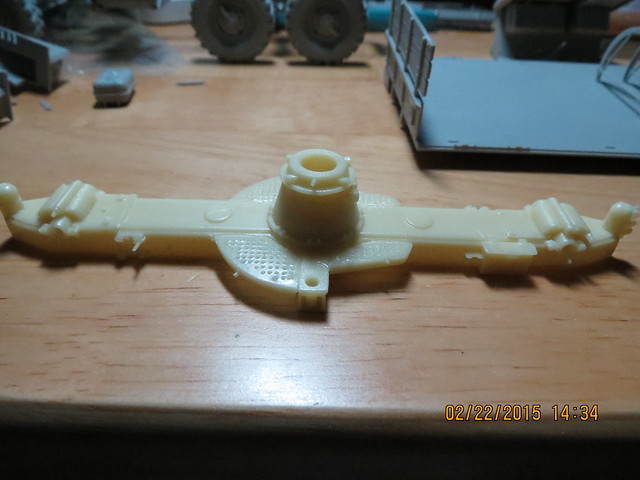
ural 4320 031" BORDER="0">

And ended up with this
ural 4320 032" BORDER="0">

Here is where I am currently at awaiting paint. So its off to the LHS for paint resupply. The cab sections are just placed not attached yet
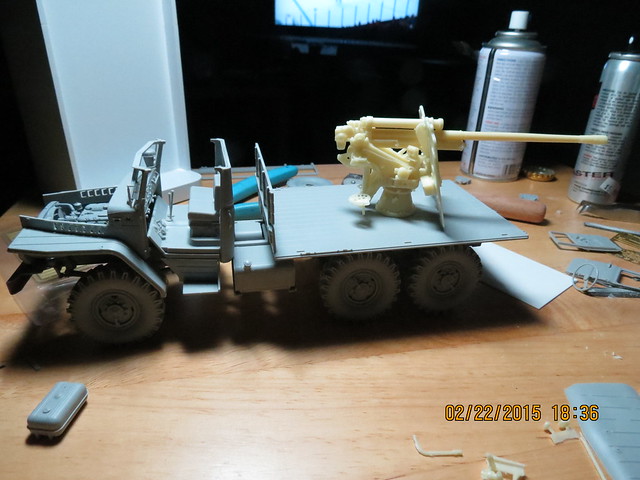
ural 4320 034" BORDER="0">
chefchris
Visit this Community
North Carolina, United States
Joined: February 06, 2006
KitMaker: 1,544 posts
Armorama: 1,464 posts
Posted: Monday, February 23, 2015 - 03:18 AM UTC
What a timely subject. I love all the Syrian conflict models. The truck looks like its a solid kit. The gun in the picture however is a AZP S-60 57mm gun or maybe the Chinese copy.

Following with interest....

Chris
fireontheway
Visit this Community
Pennsylvania, United States
Joined: May 17, 2006
KitMaker: 370 posts
Armorama: 368 posts
Posted: Monday, February 23, 2015 - 03:31 AM UTC
Yes you are correct that is the gun on the actual vehicle but like finding bigfoot or the Loch Ness monster you just cant find a kit of that gun in 35mm. So as I said I went bigger to the Model 1939 85mm
fireontheway
Visit this Community
Pennsylvania, United States
Joined: May 17, 2006
KitMaker: 370 posts
Armorama: 368 posts
Posted: Monday, March 02, 2015 - 04:17 AM UTC
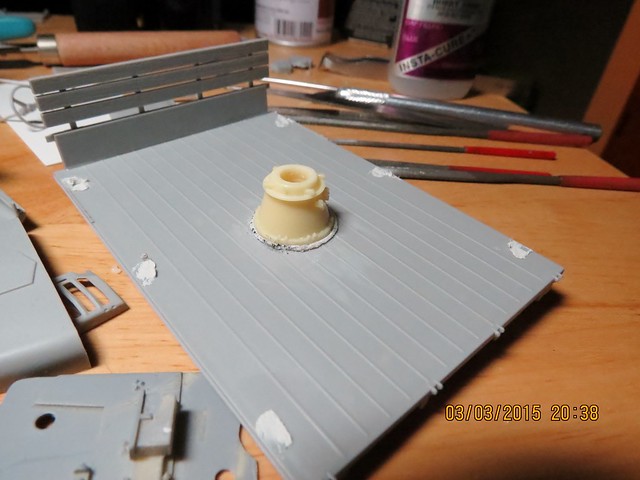
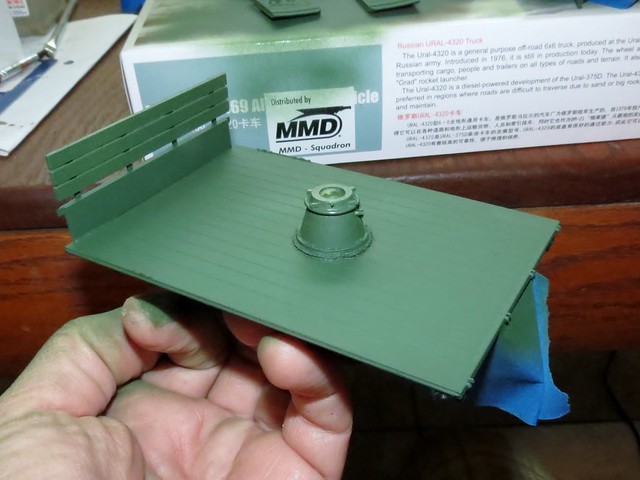
OK, tiny update. Added the pedestal mount to the truck bedd and added a weld bead. Not pretty but I dont think the field modification would be either.
001" BORDER="0">

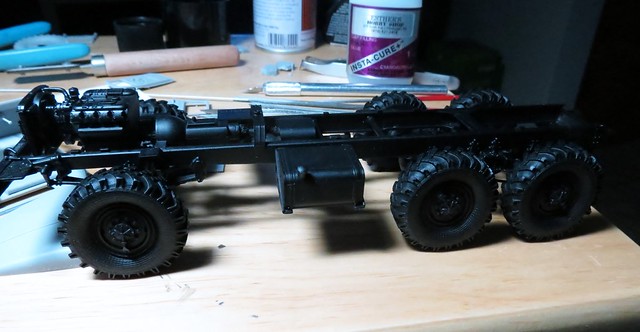
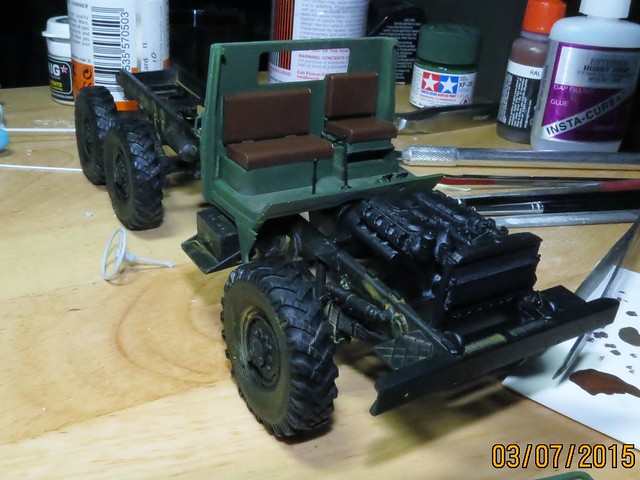
Great thing about the Ural the frame, suspension, wheels/tires are all black. Makes this part of the painting easy.
002" BORDER="0">
17741907
Visit this Community
Istanbul, Turkey / Türkçe
Joined: December 05, 2007
KitMaker: 953 posts
Armorama: 705 posts
Posted: Monday, March 02, 2015 - 04:30 AM UTC
Amazing...I'll follow....Good luck Tim...


http://www.facebook.com/povHG
http://battletankpower.blogspot.com/
fireontheway
Visit this Community
Pennsylvania, United States
Joined: May 17, 2006
KitMaker: 370 posts
Armorama: 368 posts
Posted: Monday, March 02, 2015 - 04:39 AM UTC
Thank you Hakan, and I hope that is correct. I see you have a thing for the 4320 also. I like your work, your 4320 is nicely weathered and I assume the halftrack will be also, good luck on your project.
pgb3476
Visit this Community
Texas, United States
Joined: March 11, 2007
KitMaker: 977 posts
Armorama: 976 posts
Posted: Monday, March 02, 2015 - 11:29 PM UTC
If that gun continues to fight you, might be worth it to purchase the Trumpeter kit and merge the two together as the Trumpeter kit does not have the shield.
jphillips
Visit this Community
Arizona, United States
Joined: February 25, 2007
KitMaker: 1,066 posts
Armorama: 789 posts
Posted: Monday, March 02, 2015 - 11:37 PM UTC
It's too bad that gun is such a POS. But you've done a fine job with it.
fireontheway
Visit this Community
Pennsylvania, United States
Joined: May 17, 2006
KitMaker: 370 posts
Armorama: 368 posts
Posted: Tuesday, March 03, 2015 - 01:10 AM UTC
Greg I thought about it, the shield was the main reason I got this one but I'm gonna stick with it. Im hoping to make it work at the painting and weathering stages.

J, I just need to clean it up as best as I can, I had to remove the shield yesterday it was on at an angle. So I cut it off had to fill some air bubbles and I should have it back on tonight. But for any of you out there I would suggest going with the Trumpeter gun.
Lisec
Visit this Community
Croatia Hrvatska
Joined: September 13, 2006
KitMaker: 306 posts
Armorama: 282 posts
Posted: Tuesday, March 03, 2015 - 01:25 AM UTC
Sorry to barge in, but is the truck bed metal or wood? If its wood, then the welding of the mount makes no sense...
fireontheway
Visit this Community
Pennsylvania, United States
Joined: May 17, 2006
KitMaker: 370 posts
Armorama: 368 posts
Posted: Tuesday, March 03, 2015 - 01:33 AM UTC
Well I agree, therefore I checked it out with I think Frenchy's help and the bed is metal. I'm no welder but I no dummy either, that too may be up for discussion.
fireontheway
Visit this Community
Pennsylvania, United States
Joined: May 17, 2006
KitMaker: 370 posts
Armorama: 368 posts
Posted: Tuesday, March 03, 2015 - 01:38 AM UTC

This is the pic Frenchy shared with me. Floor is metal along with seat supports and the rest is wood.
17741907
Visit this Community
Istanbul, Turkey / Türkçe
Joined: December 05, 2007
KitMaker: 953 posts
Armorama: 705 posts
Posted: Tuesday, March 03, 2015 - 03:45 AM UTC

Quoted Text

Thank you Hakan, and I hope that is correct. I see you have a thing for the 4320 also. I like your work, your 4320 is nicely weathered and I assume the halftrack will be also, good luck on your project.


Thanks my friend...
Lisec
Visit this Community
Croatia Hrvatska
Joined: September 13, 2006
KitMaker: 306 posts
Armorama: 282 posts
Posted: Wednesday, March 04, 2015 - 01:32 PM UTC
i presumed you didn`t just go loco and welded it to metal, but from that pic i wasn`t sure, kinda looked like wood to me
fireontheway
Visit this Community
Pennsylvania, United States
Joined: May 17, 2006
KitMaker: 370 posts
Armorama: 368 posts
Posted: Friday, March 06, 2015 - 10:01 PM UTC
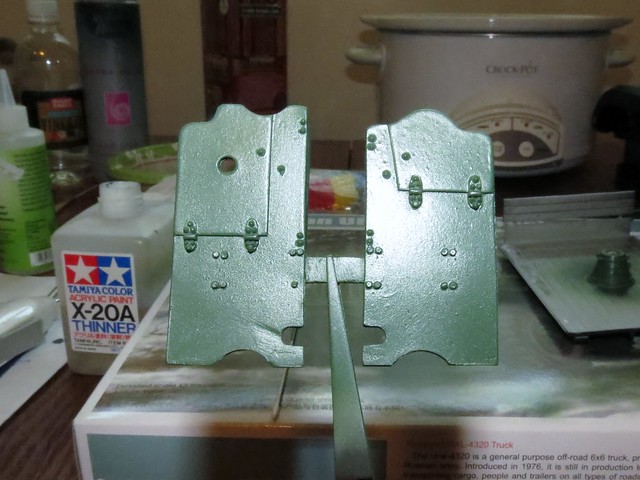
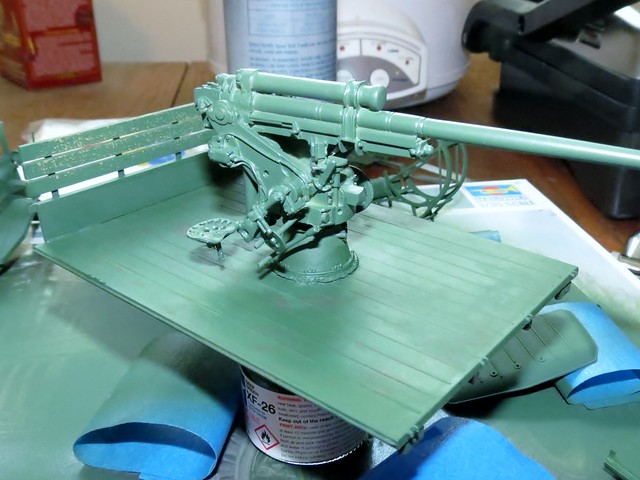
Its been a pretty productive morning so far, painting that is. Filled and sanded the holes to mount the side railings on the bed.
001" BORDER="0">
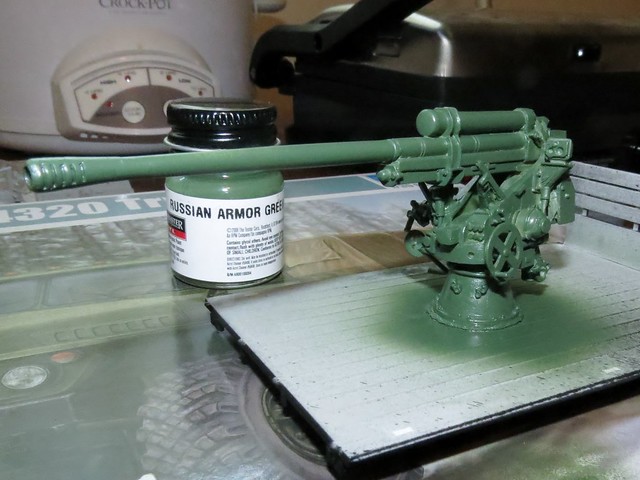
Then used Model Master Russian Armor Green for the AA gun
003" BORDER="0">
005" BORDER="0">
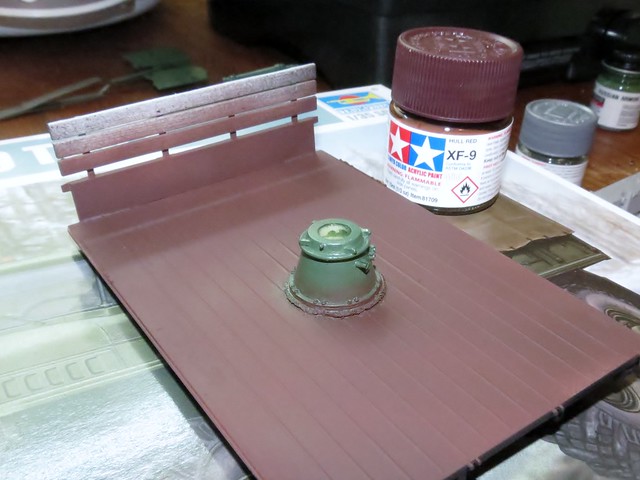
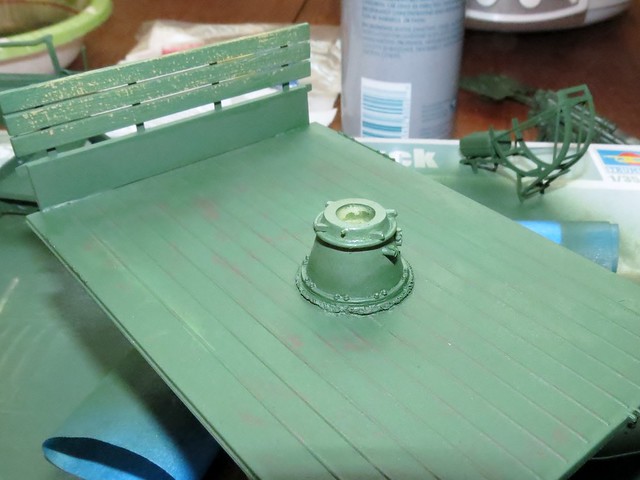
Then used Tamiya Hull Red on the bed of the truck. I like this color for chipping as i believe it shows a worn metal look.
007" BORDER="0">
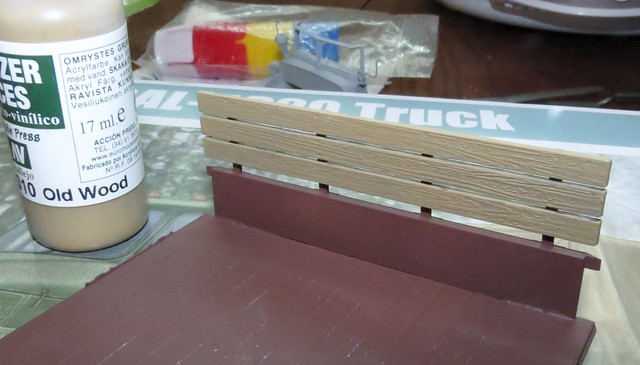
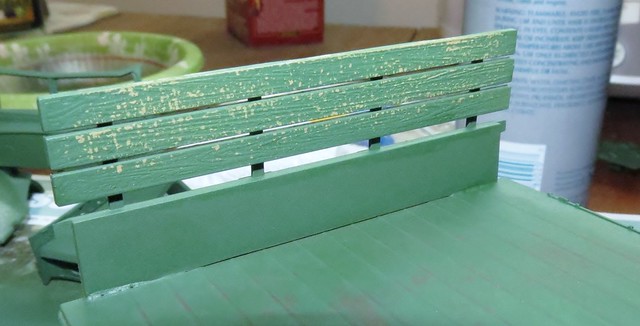
I used Vallejo Old Wood for the slats
012" BORDER="0">
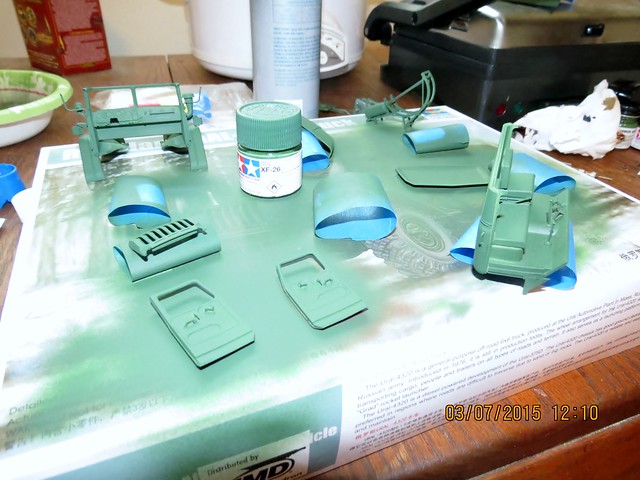
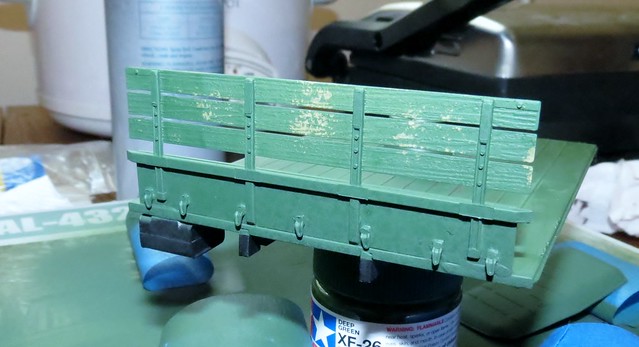
And tamiya Dark Green as my overall base color for the truck.
014" BORDER="0">
015" BORDER="0">
This is after I applied hairspray and did the subsequent chipping.
018" BORDER="0">
019" BORDER="0">
020" BORDER="0">
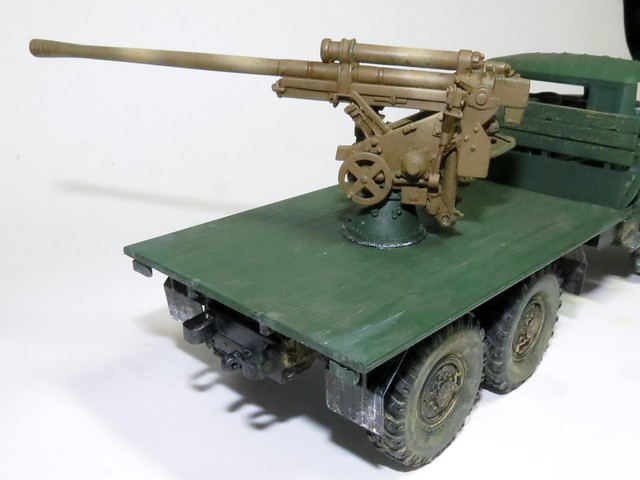
I just placed the gun back on for a "this is where I am so far" look.
021" BORDER="0">
sampiero
Visit this Community
Cote-d`Or, France
Joined: January 14, 2008
KitMaker: 257 posts
Armorama: 250 posts
Posted: Friday, March 06, 2015 - 11:58 PM UTC
it's a great job
greeting
fireontheway
Visit this Community
Pennsylvania, United States
Joined: May 17, 2006
KitMaker: 370 posts
Armorama: 368 posts
Posted: Sunday, March 08, 2015 - 04:58 AM UTC
Bertucci, Thank you.

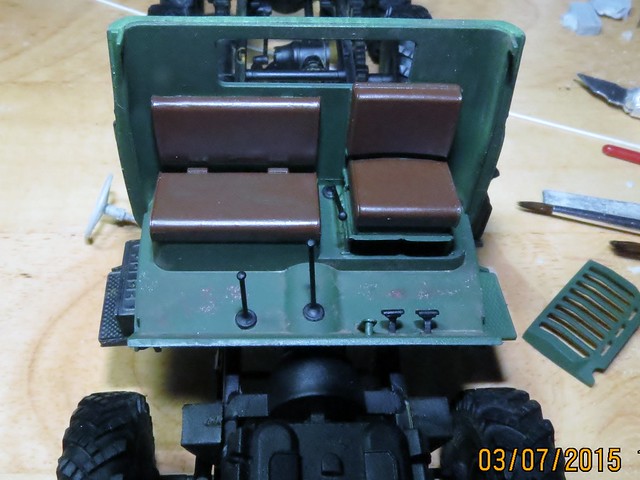
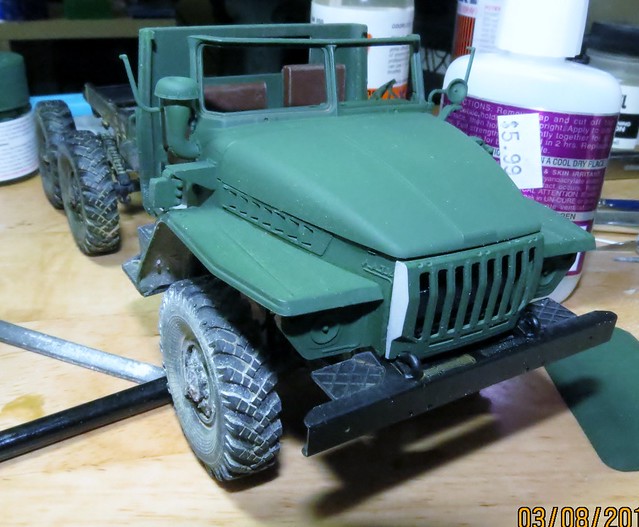
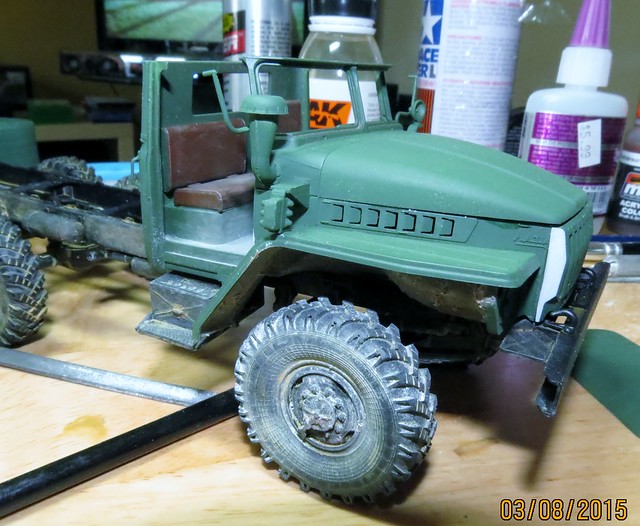
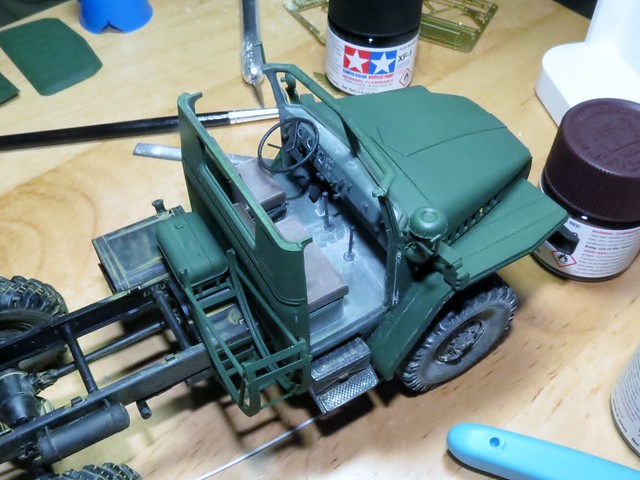
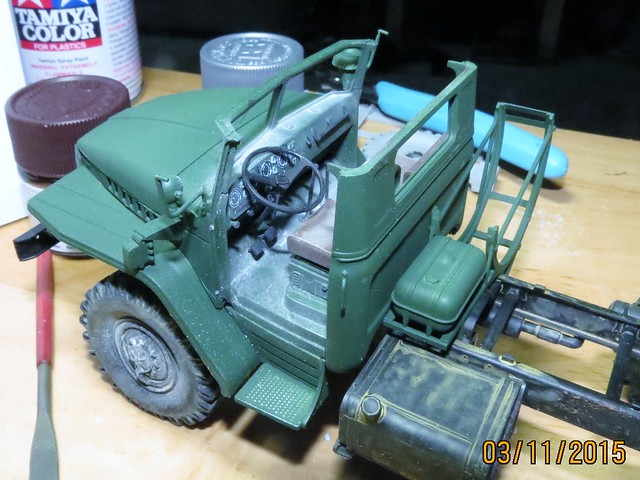
So this is why i like building tanks. Build then paint, these trucks and halftracks that you have to build, paint, then build paint again are very tricky. Things dont fit sometimes as is the case with putting the cab together. Fit issues attaching the front of the cab to the frame, the front grill, the hood the roof of the cab, all have a fit issue. I think I've gone too far to undo plus the CA glue has them welded together. So I'm pressing on.
002" BORDER="0">
003" BORDER="0">
This decal is a nice touch but the second I started removing it from the paper it started folding over on itself and took several attempts to get it in place, which you can see is off to the left of exactly where it should be the decal softening solution worked well though
004" BORDER="0">
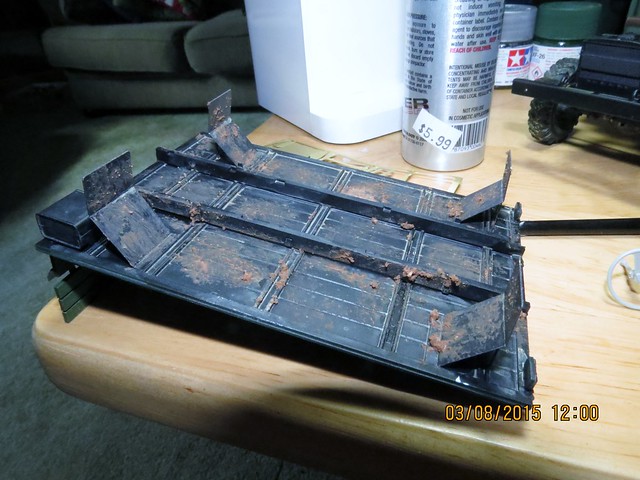
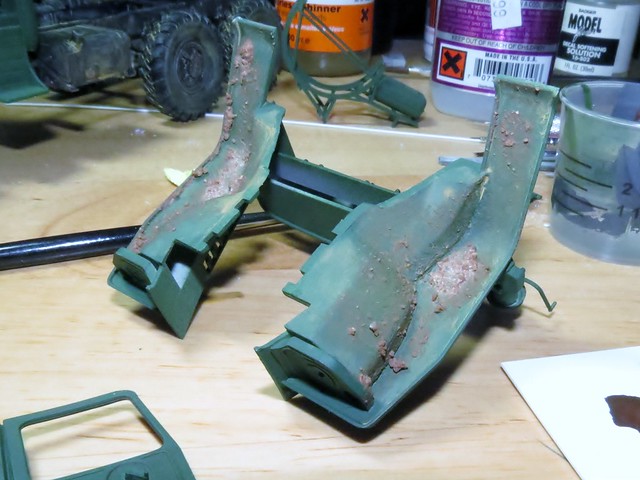
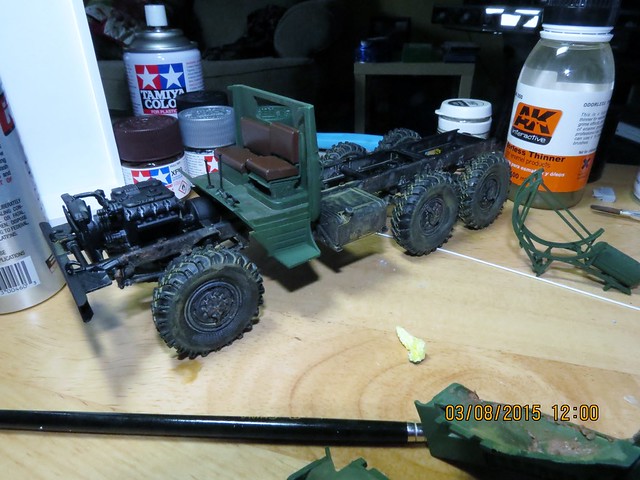
Started weather the whole undercarraige using washes and Mig mud and pigments, still in work
005" BORDER="0">
007" BORDER="0">
006" BORDER="0">
Those fit issues I mentioned earlier were with both side panels around the engine and I had to file down both sides of the front grill may have to hide a gap where the front of the cab attaches to the frame.
008" BORDER="0">
009" BORDER="0">
fireontheway
Visit this Community
Pennsylvania, United States
Joined: May 17, 2006
KitMaker: 370 posts
Armorama: 368 posts
Posted: Monday, March 09, 2015 - 02:40 AM UTC
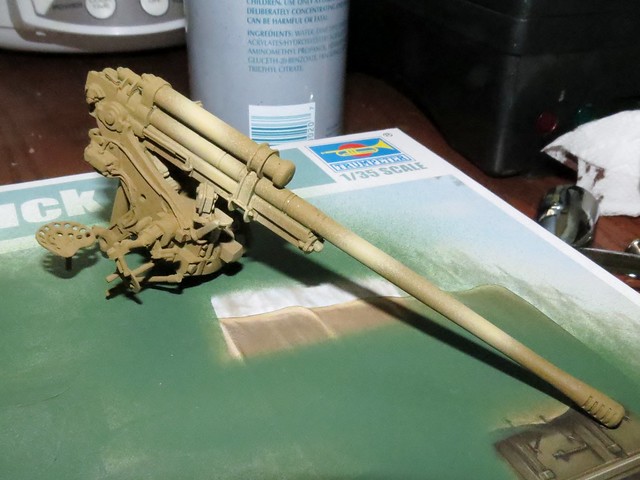
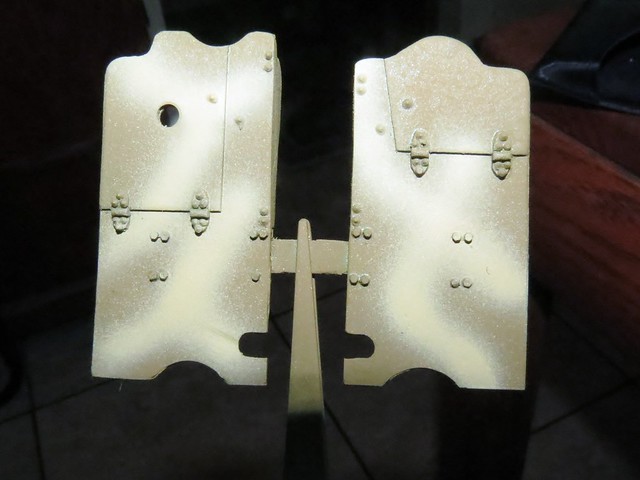
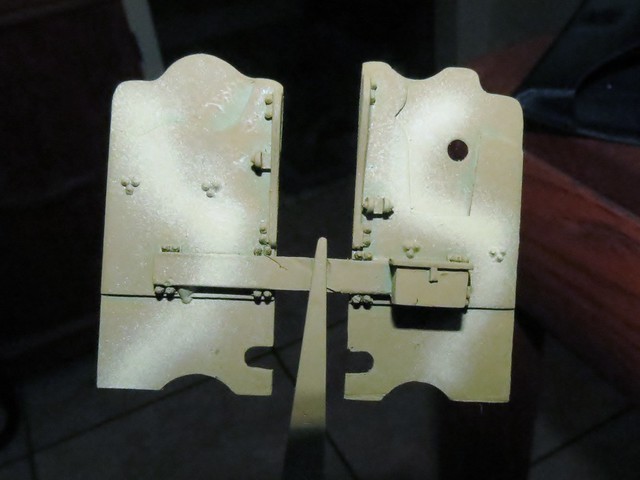
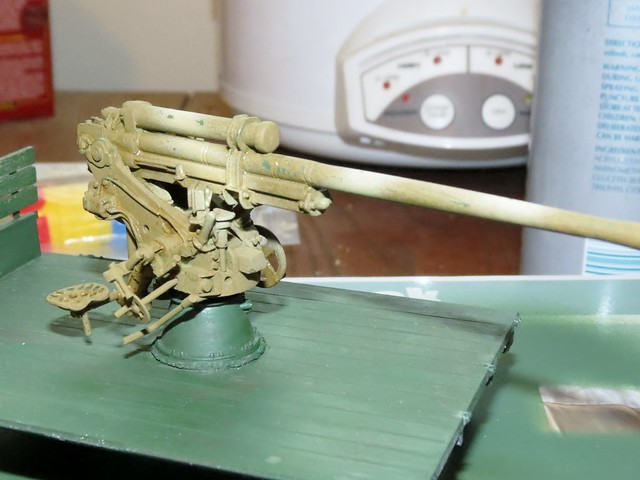
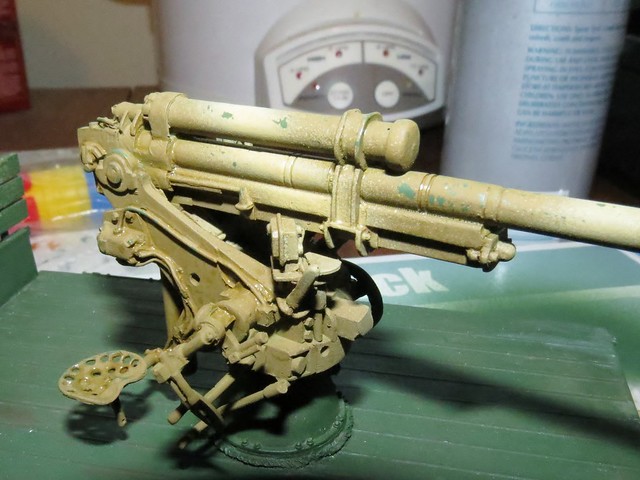
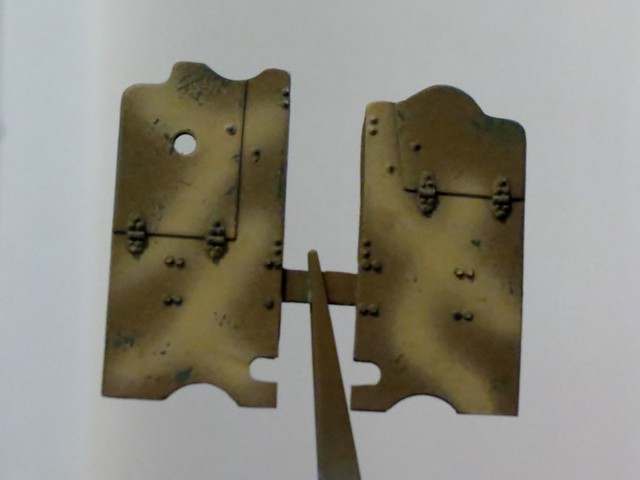
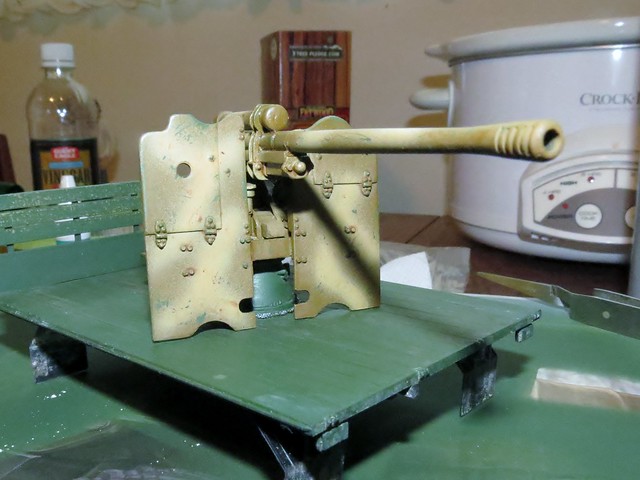
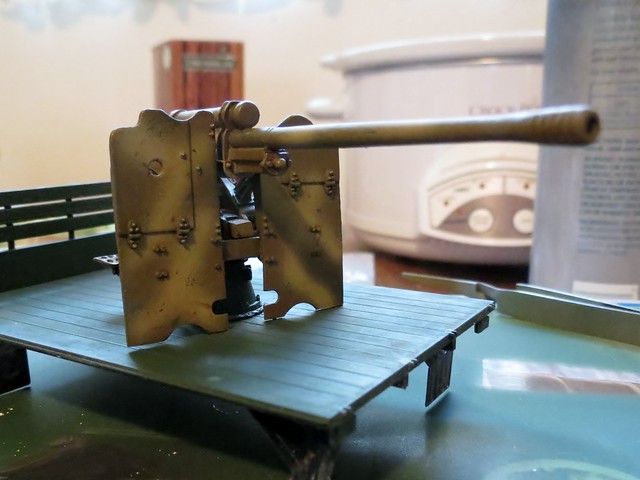
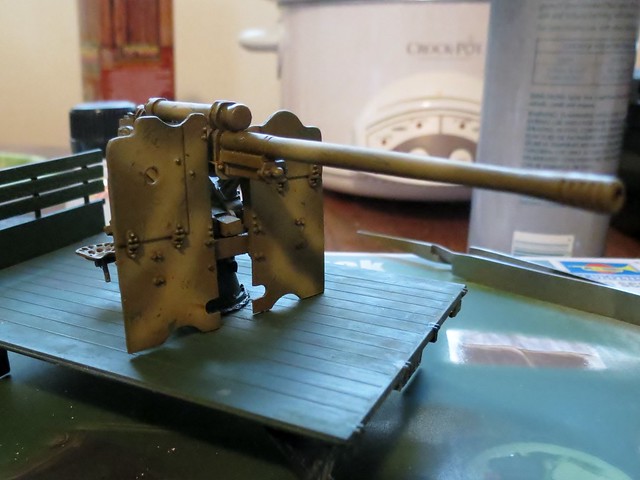
This evening was all about the gun. So I painted the camo colors using Vallejo English Uniform for the primary and Tamiya Dark Yellow for the stripes.
001" BORDER="0">
002" BORDER="0">
003" BORDER="0">
Once that was done I chipped slightly, hairspray was applied prior.
005" BORDER="0">
004" BORDER="0">
012" BORDER="0">
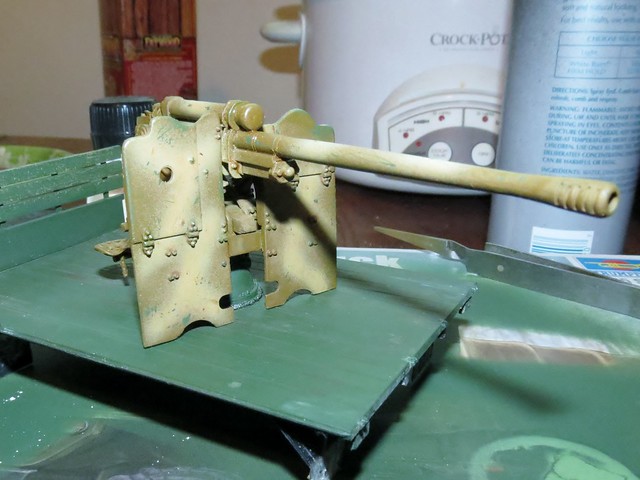
The gunshield is not attached but I wanted to give you a look of things to come. With and without flash photography, 1 filter has been applied.
014" BORDER="0">
017" BORDER="0">
016" BORDER="0">
015" BORDER="0">
fireontheway
Visit this Community
Pennsylvania, United States
Joined: May 17, 2006
KitMaker: 370 posts
Armorama: 368 posts
Posted: Tuesday, March 10, 2015 - 10:06 PM UTC
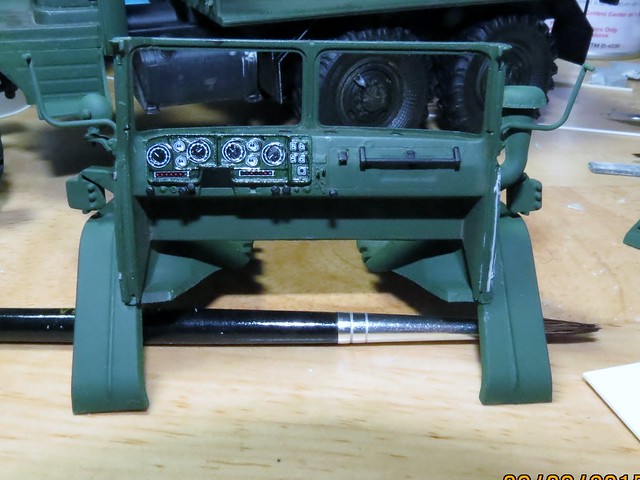
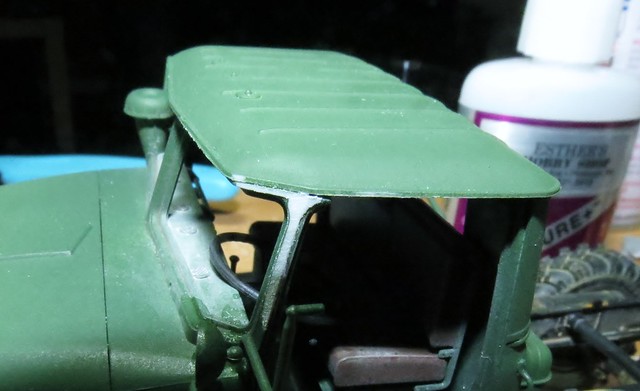
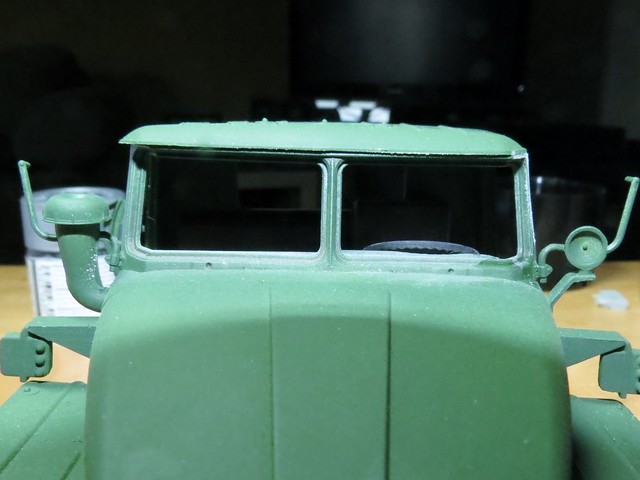
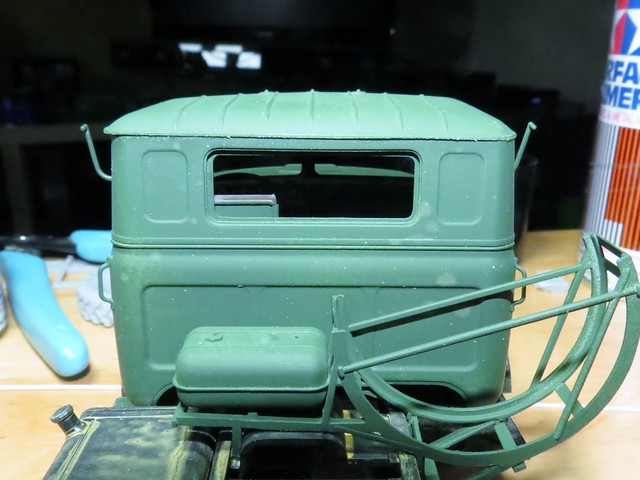
Oh the cab assembly. Hindsight is a wonderful thing. Looking back I would assemble the cab prior to installing the engine and mount it prior to the engine. The cab needs a fixture to help in assembly because what I have now is a cab that isnt plumb or square or even, take your pick. Neither door will install correctly so both will be slightly opened. The roof does not fit squarely so I will do the best to beat, sand, cut to shape and fill with putty and paint. But I will press on regardless.
001" BORDER="0">
002" BORDER="0">
Notice the front and rear of the cab roof
003" BORDER="0">
Notice the left and right front sides of the cab
004" BORDER="0">
The only part that looks remotely close is the view from the back. If you straighten the front out then the back will be out and so on and so on.
005" BORDER="0">
fireontheway
Visit this Community
Pennsylvania, United States
Joined: May 17, 2006
KitMaker: 370 posts
Armorama: 368 posts
Posted: Tuesday, March 10, 2015 - 11:42 PM UTC
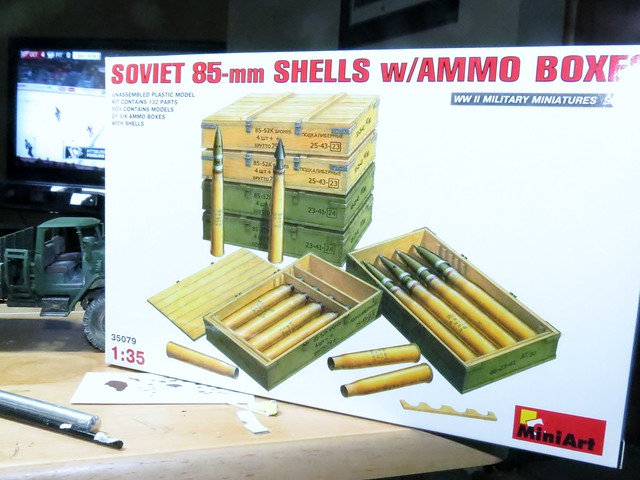
Here is where I am currently at, still assembling, painting and weathering. Waiting on dry transfers and 85mm ammo and crates.
006" BORDER="0">
007" BORDER="0">
008" BORDER="0">
009" BORDER="0">
010" BORDER="0">
fireontheway
Visit this Community
Pennsylvania, United States
Joined: May 17, 2006
KitMaker: 370 posts
Armorama: 368 posts
Posted: Sunday, March 15, 2015 - 05:21 AM UTC
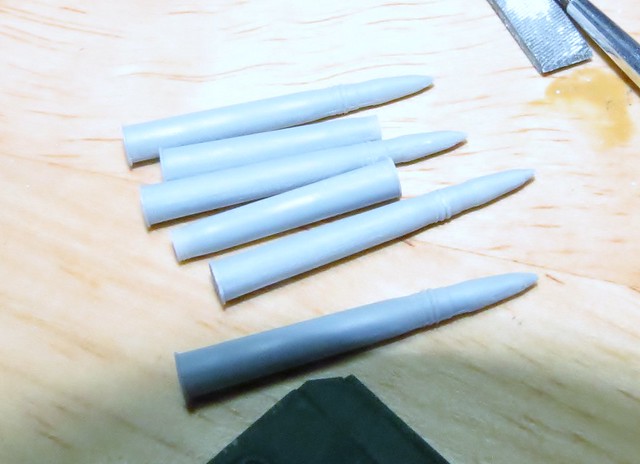
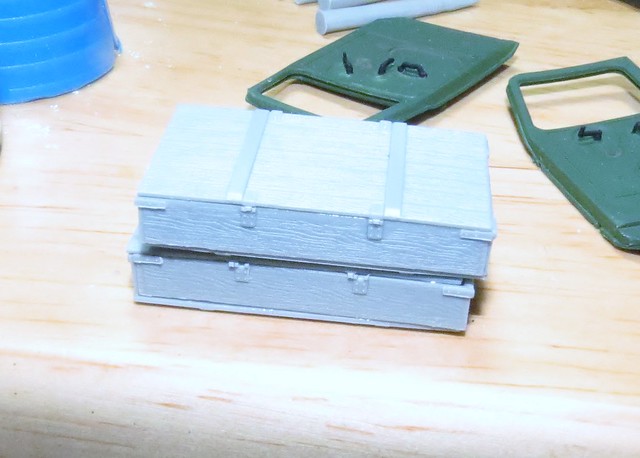
The ammo arrived yesterday so here that goes.
001" BORDER="0">
002" BORDER="0">
003" BORDER="0">
005" BORDER="0">
fireontheway
Visit this Community
Pennsylvania, United States
Joined: May 17, 2006
KitMaker: 370 posts
Armorama: 368 posts
Posted: Monday, March 16, 2015 - 04:06 AM UTC
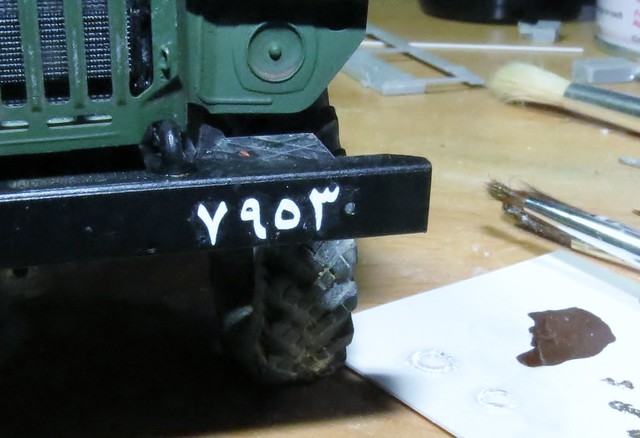
Archer Fine Transfers arrived today.
003" BORDER="0">
001" BORDER="0">
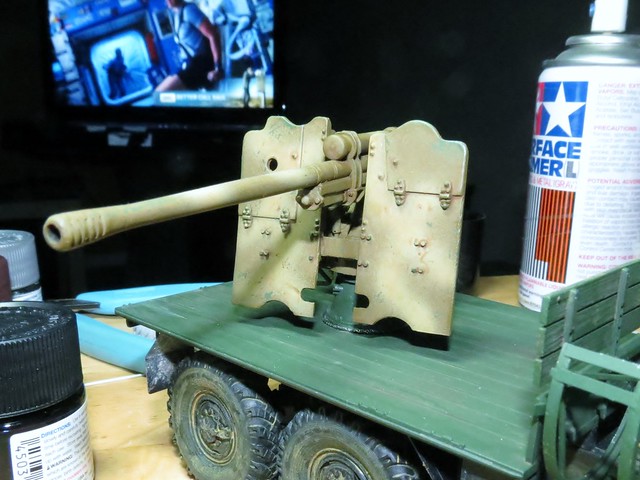
I also mounted the gun shield.
002" BORDER="0">
jphillips
Visit this Community
Arizona, United States
Joined: February 25, 2007
KitMaker: 1,066 posts
Armorama: 789 posts
Posted: Monday, March 16, 2015 - 04:35 AM UTC
It's coming together nicely! Those white Archer Arabic numerals are the best, aren't they, I use them all the time.
If only there were crew figures for these gun trucks, wouldn't that be something?
fireontheway
Visit this Community
Pennsylvania, United States
Joined: May 17, 2006
KitMaker: 370 posts
Armorama: 368 posts
Posted: Monday, March 16, 2015 - 05:08 AM UTC
Thanks J, it was the first time I used the transfers, they are quite nice. I thought about figures but they are not my strong suit. If they came specific for the truck yes that would be wonderful.
fireontheway
Visit this Community
Pennsylvania, United States
Joined: May 17, 2006
KitMaker: 370 posts
Armorama: 368 posts
Posted: Saturday, March 21, 2015 - 12:28 AM UTC
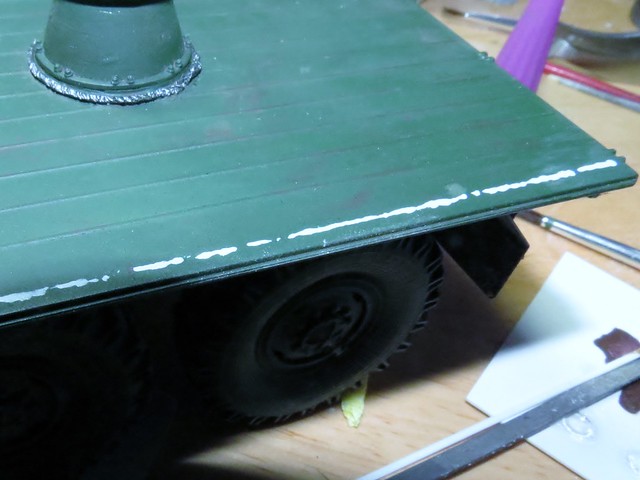
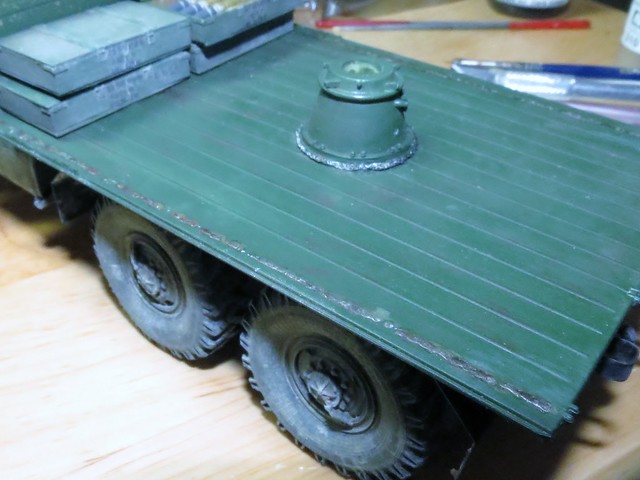
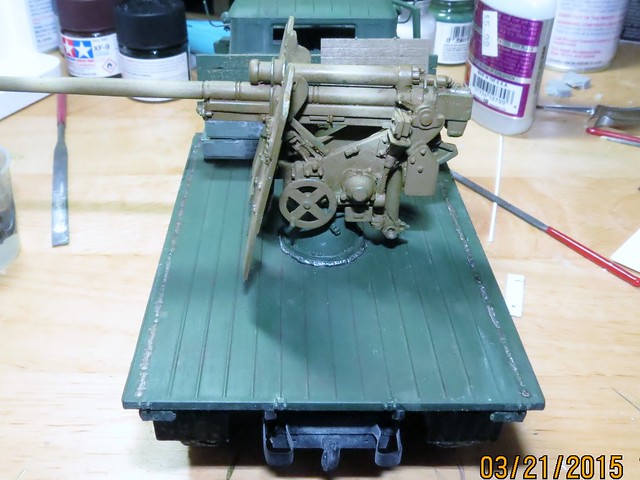
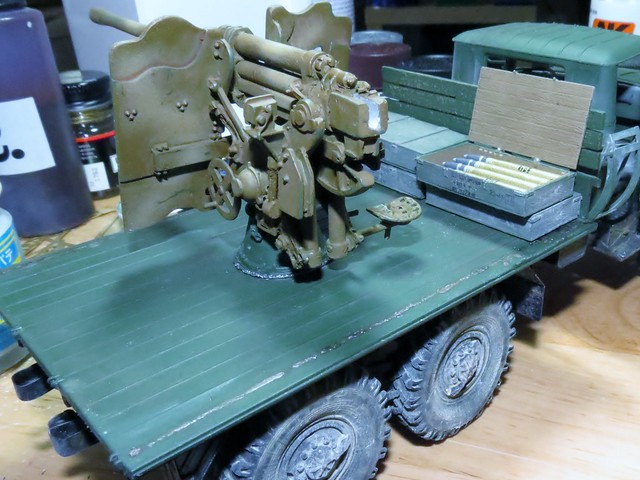
Todays update; figuring on the real truck you would have had to remove the sidewalls of the tuck bed I used Mr Surfacer 500 to simulate were a torch would have been used.
001" BORDER="0">
This is the result after Tamiya gun metal paint and several coats of rust all (keeping that to a minimum) and a black wash.
005" BORDER="0">
006" BORDER="0">
007" BORDER="0">
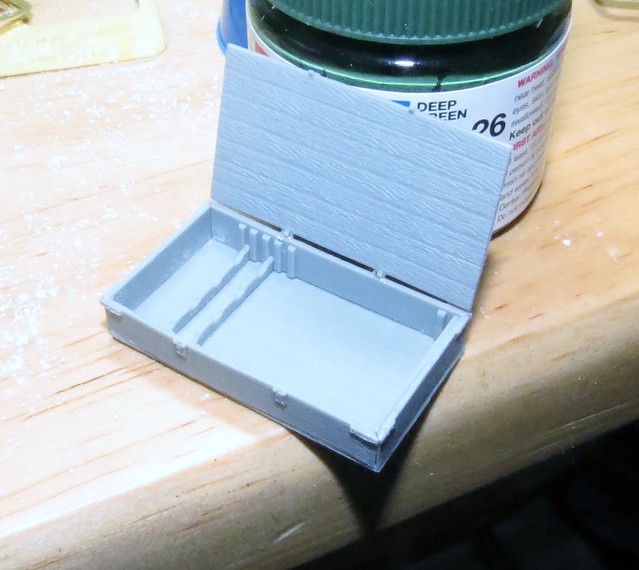
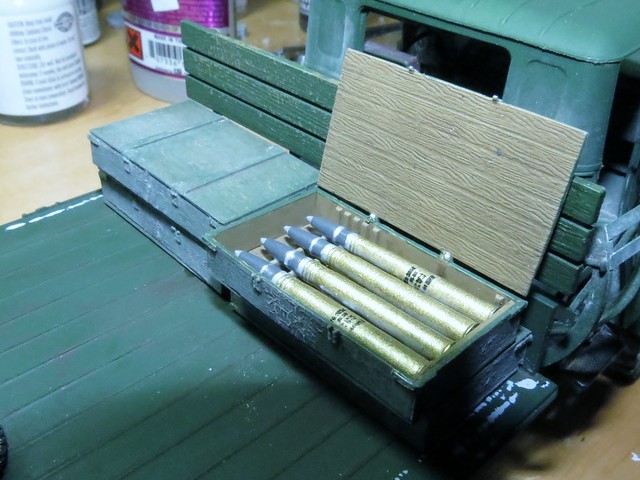
I also finished the ammo and crates and attached them to the bed which I also permanently attached to the frame.
004" BORDER="0">
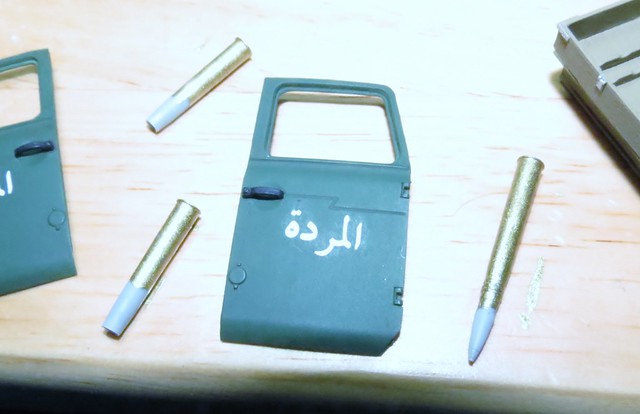
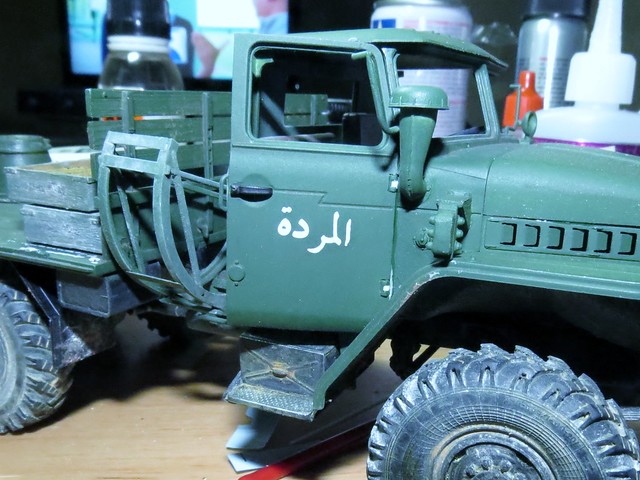
Lastly I had to repair the door hinges I had removed with stock and installed the passenger door. The saying is "the Giant"
003" BORDER="0">
 _GOTOTOP