Hi All
Wanted to share my latest work.
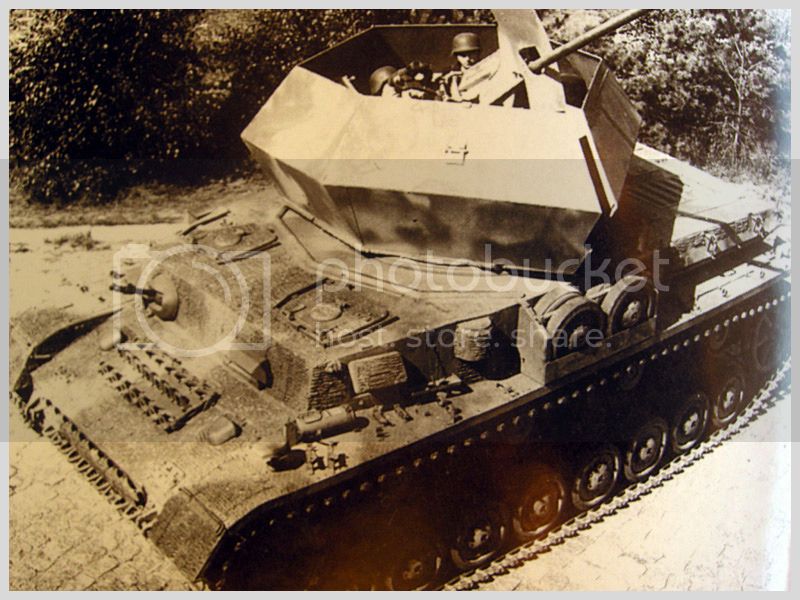
It's a 1/35 Pz. Kpfw. IV Ausf. H from Tamiya.
Nothing fancy, brush painted, sponge for chipping effect and metal dry brushing for finish.
Considering that this is my 4th build ever I'm really happy with results
Hope you like it too
Constructive Feedback
For in-progress or completed build photos. Give and get contructive feedback!
Hosted by Darren Baker, Dave O'Meara
Pz. Kpfw. IV Ausf. H
JazoJazavac
Croatia Hrvatska
Joined: February 16, 2015
KitMaker: 12 posts
Armorama: 12 posts
Joined: February 16, 2015
KitMaker: 12 posts
Armorama: 12 posts
Posted: Sunday, March 08, 2015 - 09:04 PM UTC
retiredyank
Arkansas, United States
Joined: June 29, 2009
KitMaker: 11,610 posts
Armorama: 7,843 posts
Joined: June 29, 2009
KitMaker: 11,610 posts
Armorama: 7,843 posts
Posted: Sunday, March 08, 2015 - 09:46 PM UTC
Nice 4th build. A few suggestions. I believe the paint is a bit too yellow. It looks like yellow green, when it should be a bit more of a tan color. The weathering is a little heavy handed. The handles of the bolt cutters would be made of bakelite.

And, the tracks start out as enamel black. The ones being used a well depicted, but it is unlikely the spare tracks would have a metallic sheen.
All of that being said, if you enjoyed it; you did it right. As I said, nicely done. Again, these are only tips for accuracy and are not set in stone as the only way to build.
210cav
Virginia, United States
Joined: February 05, 2002
KitMaker: 6,149 posts
Armorama: 4,573 posts
Joined: February 05, 2002
KitMaker: 6,149 posts
Armorama: 4,573 posts
Posted: Sunday, March 08, 2015 - 10:04 PM UTC
Nice workmanship, the rust effect is truly impressive
Well done
DJ
Well done
DJ
JazoJazavac
Croatia Hrvatska
Joined: February 16, 2015
KitMaker: 12 posts
Armorama: 12 posts
Joined: February 16, 2015
KitMaker: 12 posts
Armorama: 12 posts
Posted: Sunday, March 08, 2015 - 10:48 PM UTC
Quoted Text
Nice 4th build. A few suggestions. I believe the paint is a bit too yellow. It looks like yellow green, when it should be a bit more of a tan color. The weathering is a little heavy handed. The handles of the bolt cutters would be made of bakelite.
And, the tracks start out as enamel black. The ones being used a well depicted, but it is unlikely the spare tracks would have a metallic sheen.
All of that being said, if you enjoyed it; you did it right. As I said, nicely done. Again, these are only tips for accuracy and are not set in stone as the only way to build.
Noted
Tnx!
JazoJazavac
Croatia Hrvatska
Joined: February 16, 2015
KitMaker: 12 posts
Armorama: 12 posts
Joined: February 16, 2015
KitMaker: 12 posts
Armorama: 12 posts
Posted: Sunday, March 08, 2015 - 10:50 PM UTC
Quoted Text
Nice workmanship, the rust effect is truly impressive
Well done
DJ
Tnx DJ !
Glad you like it
obg153
Texas, United States
Joined: April 07, 2009
KitMaker: 1,063 posts
Armorama: 1,049 posts
Joined: April 07, 2009
KitMaker: 1,063 posts
Armorama: 1,049 posts
Posted: Monday, March 09, 2015 - 06:09 AM UTC
If you're happy with it, that's what matters. Looks pretty good overall,, my only critique is that I think the fire extinguisher on the left front fender should be a color different from the base color.
KevPak
United States
Joined: June 04, 2014
KitMaker: 137 posts
Armorama: 128 posts
Joined: June 04, 2014
KitMaker: 137 posts
Armorama: 128 posts
Posted: Monday, March 09, 2015 - 07:59 AM UTC
Actually, the fire extinguisher, when stowed externally on the vehicle, was usually painted the same color as the rest of the vehicle. Shown below are three examples on different vehicles:
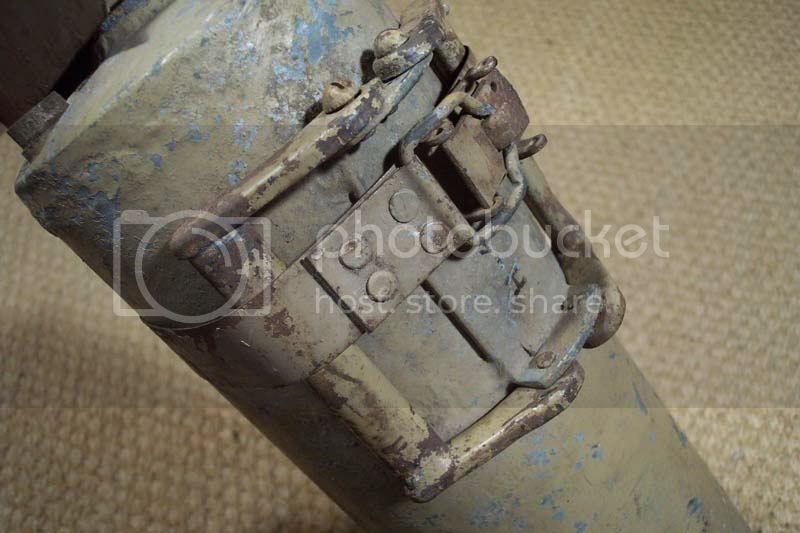
And a surviving extinguisher showing its original color of dunkelgelb:
AFVFan
North Carolina, United States
Joined: May 17, 2012
KitMaker: 1,980 posts
Armorama: 1,571 posts
Joined: May 17, 2012
KitMaker: 1,980 posts
Armorama: 1,571 posts
Posted: Tuesday, March 10, 2015 - 01:33 AM UTC
Have to agree pretty much with all of Matt's observations. I'd like to add a couple things on to his comments. First, the pad on the commander's hatch shouldn't be painted yellow. It was made out of leather and should be colored as such. The other item is a suggestion to experiment with a pin wash. This will help bring out the details and add some dimensionality to the piece by adding a shadow effect.
Overall, for your 4th build, it looks very good. You seem to have a good handle on basic construction techniques.
JazoJazavac
Croatia Hrvatska
Joined: February 16, 2015
KitMaker: 12 posts
Armorama: 12 posts
Joined: February 16, 2015
KitMaker: 12 posts
Armorama: 12 posts
Posted: Tuesday, March 10, 2015 - 05:16 AM UTC
Tnx guys for all reply's.
I know that is not prefect, tnx for all your tips, just trying out some techniques and its all still a learning process. Just remember building your "4th model ever"
Bob, can you give me some tips on applying a pin wash to mat colors? Tried it before with not so good results...
I know that is not prefect, tnx for all your tips, just trying out some techniques and its all still a learning process. Just remember building your "4th model ever"
Bob, can you give me some tips on applying a pin wash to mat colors? Tried it before with not so good results...
brekinapez
Georgia, United States
Joined: July 26, 2013
KitMaker: 2,272 posts
Armorama: 1,860 posts
Joined: July 26, 2013
KitMaker: 2,272 posts
Armorama: 1,860 posts
Posted: Tuesday, March 10, 2015 - 06:49 AM UTC
Looks put together pretty solid but you definitely need to tone down the yellow. Dunkelgelb is a darker yellow with a greenish tone more or less depending on who you buy it from. I actually use Tamiya's Dark Yellow, Model Master's Dunkelgelb, or Vallejo's Middlestone just to give a bit of variety to the base colors, like they came from different factories or paint batches.
As it is, your tank looks like a very high quality metal child's toy that has been heavily worn and left out in the rain. Not a bad thing - wish my toy tanks had been as detailed. Dial back the yellow a tad and it will transform into a MAN's very high quality toy. For your next Pzkpfw IV, you should give a Dragon kit a try. Any of the Smart kits would be good to start with. They aren't as easy as good old Tamiya, but the detailing is up to date.
tybugg
California, United States
Joined: April 28, 2007
KitMaker: 79 posts
Armorama: 53 posts
Joined: April 28, 2007
KitMaker: 79 posts
Armorama: 53 posts
Posted: Tuesday, March 10, 2015 - 07:18 AM UTC
Try using oil paints for the pin wash. The kind that come in the little tubes. If you spray a coat of gloss first, the oil paints will flow better into all the recessed detail. Use the appropriate thinner for your paint. If it doesn't come out right the first time the slow drying time for the paint allows you to load up some more thinner on your brush and remove the paint. When your satisfied with the results, then spray a coat of clear flat. Hope this helps you out.
JazoJazavac
Croatia Hrvatska
Joined: February 16, 2015
KitMaker: 12 posts
Armorama: 12 posts
Joined: February 16, 2015
KitMaker: 12 posts
Armorama: 12 posts
Posted: Tuesday, March 10, 2015 - 10:05 AM UTC
Tnx man
The color is revells sandy yellow, and its definitive not so bright in real life. I think that fluorescent light and cameras auto white balance setting made it not so "dunkel"
When I ordered this kit from my supplier i asked for Tamiyas dunkelgelb. He didn't had any in stock so he sent me dunkelgelb from italieri... And that was a mistake, that color is just lime green if you ask me So I ran to a nearest hobby shop and got this one.
Now I'm trying out vallejo colors and i like them so far, good for brushing and nice colors overall .
JazoJazavac
Croatia Hrvatska
Joined: February 16, 2015
KitMaker: 12 posts
Armorama: 12 posts
Joined: February 16, 2015
KitMaker: 12 posts
Armorama: 12 posts
Posted: Tuesday, March 10, 2015 - 10:08 AM UTC
Tnx Mile
Will give it a try on my next build
Steel_Spektor
Queensland, Australia
Joined: December 19, 2012
KitMaker: 74 posts
Armorama: 68 posts
Joined: December 19, 2012
KitMaker: 74 posts
Armorama: 68 posts
Posted: Monday, April 13, 2015 - 10:33 AM UTC
Cracking job considering it is your 4th kit! As with the other comments, pull back on the weathering a bit and try a few different techniques. Your 5th kit should be great