_GOTOBOTTOM
Constructive Feedback
For in-progress or completed build photos. Give and get contructive feedback!
Panzer III L
pinkfloyd1312
Visit this Community
United States
Joined: May 22, 2008
KitMaker: 4 posts
Armorama: 4 posts
Posted: Tuesday, November 03, 2015 - 11:33 PM UTC
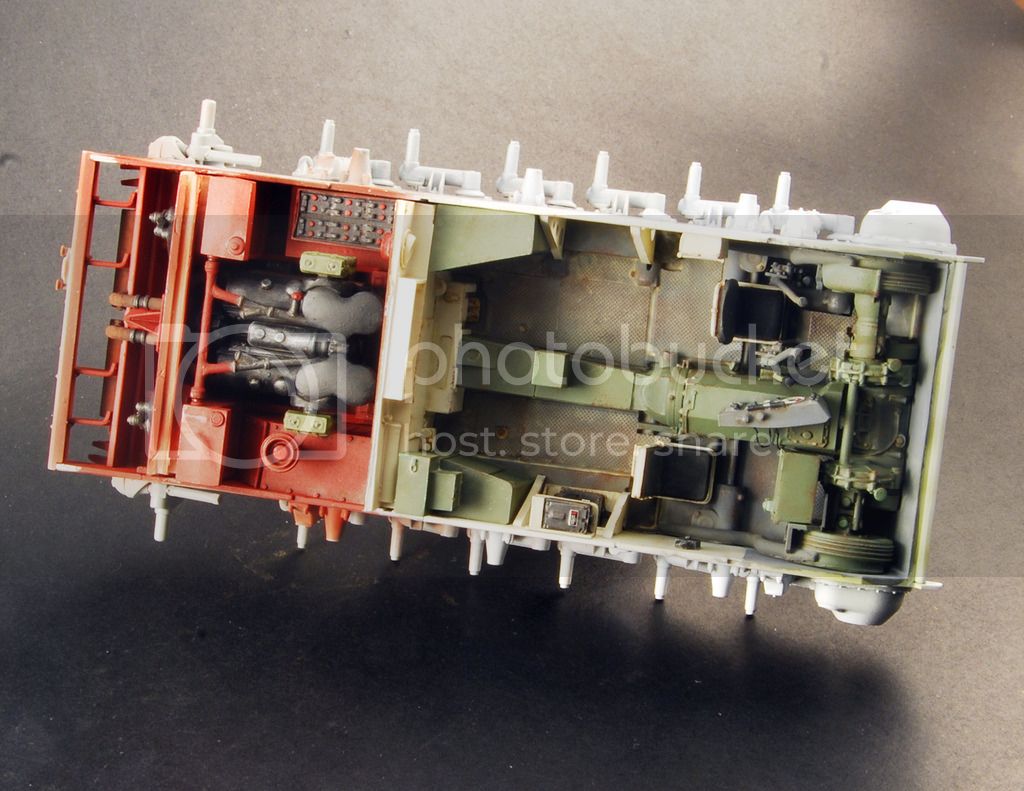
Hi guys, I've been a long time frequenter of this site but only recently signed up for an account and thought I'd do my part and share what I'm working on. I've started in on the Dragon Panzer III L and intend to show this one on a base with most of the hatches open as an abandoned vehicle. That off course, would necessitate that I have some sort of interior so I opted for the old Verlinden offering. As you guys know, it's not the best or most accurate interior but it will suffice to add some interest to the finished model and with it being a Panzer III, much of it will be hidden once the hull is completed. The Verlinden kit was designed for the Tamiya hull and I've encountered quite a number of issues with getting it to fit into the Dragon kit. First, the fighting compartment and engine compartments both come with a firewall but they cannot be both fitted as there is not nearly enough room. As such, I used the fighting compartment firewall as it has the most detail on it, and skinned the back of it with sheet plastic and recreated some of the visible details for the engine compartment firewall. With that done, it became apparent that the engine was not going to fit. It sits way too high so the bottom has to be sanded down and much of the detail on the hull floor underneath it removed so that it can sit low enough for the upper hull to be attached. As you can imagine, this throws off the alignment of all the other parts so it was one minor issue after another but it's finally all in there and accounted for. I did scratch build the bracket for the exhaust that sits just behind the fan housing as the Verlinden one was too wide and didn't line up with the kit exhaust above the mufflers and the pipe diameter was much larger than the kit ones as well. Also had to scratch/modify the headers and exhaust on the front side of the fan housing since the engine was lowered. All the belts were redone as they are massively over-scalled in resin. Anyway, here is where I am at the moment. It's all decked out in primer red.
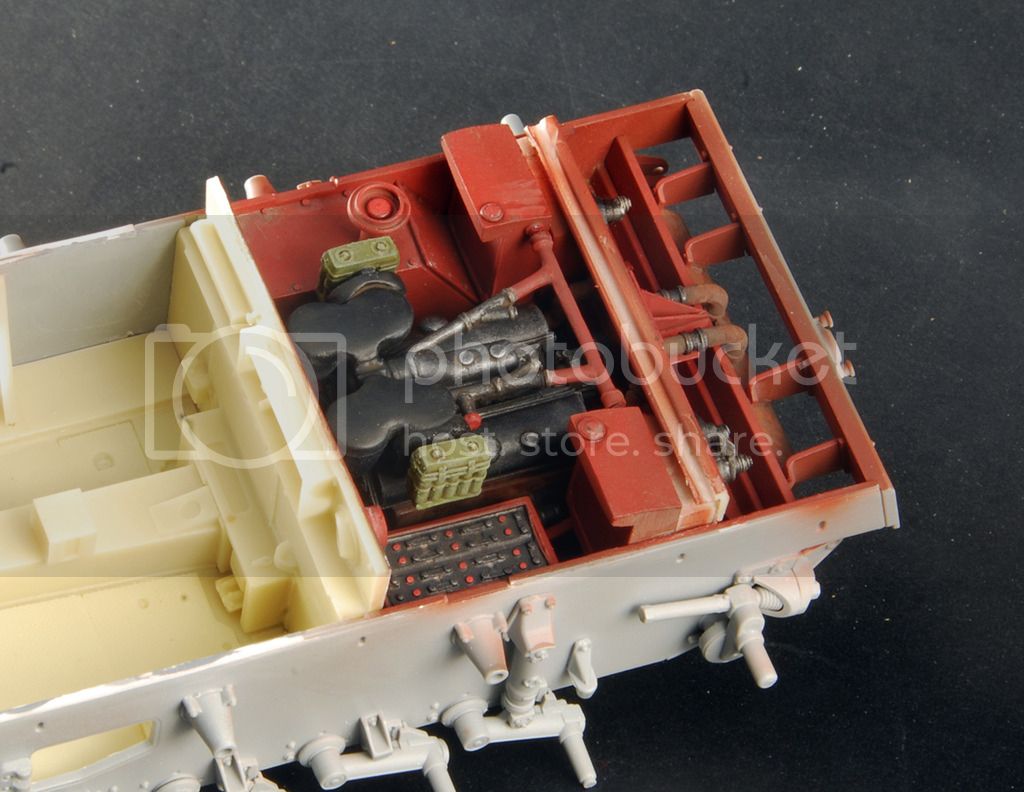
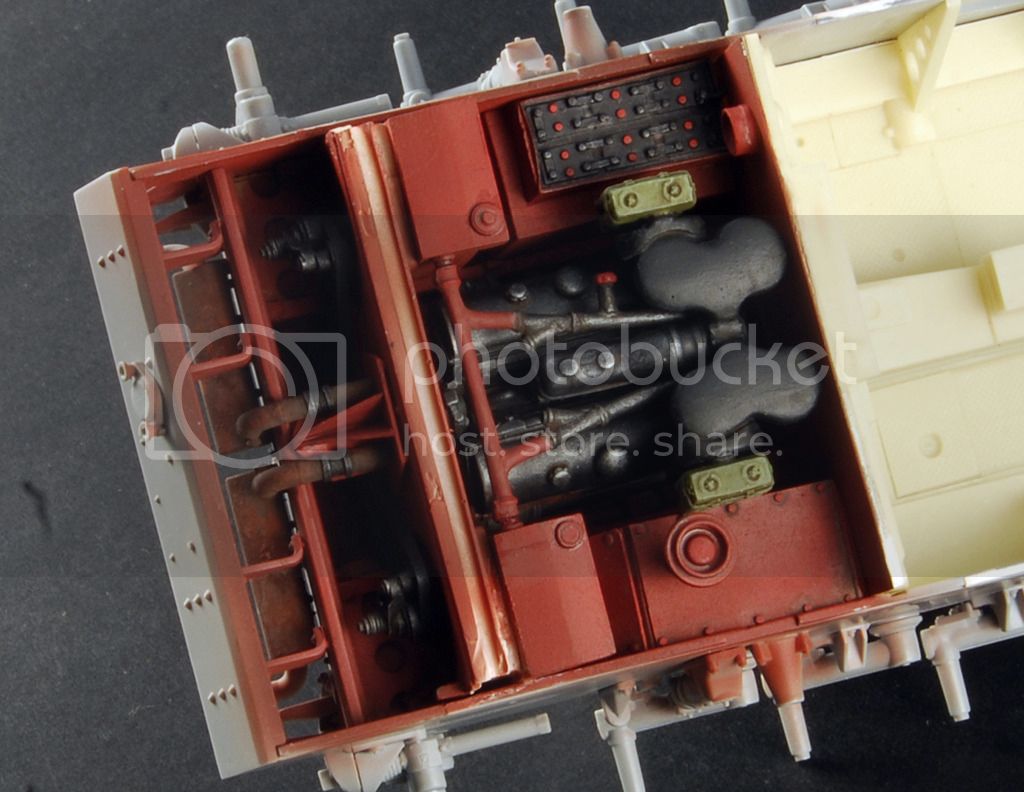
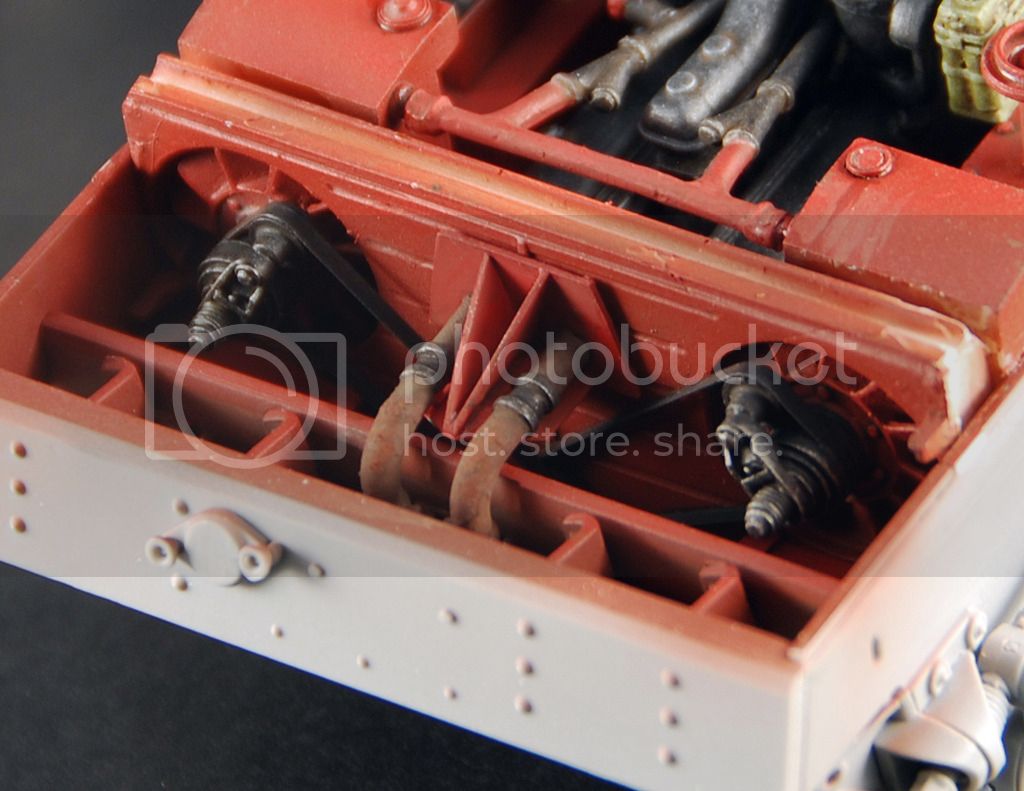
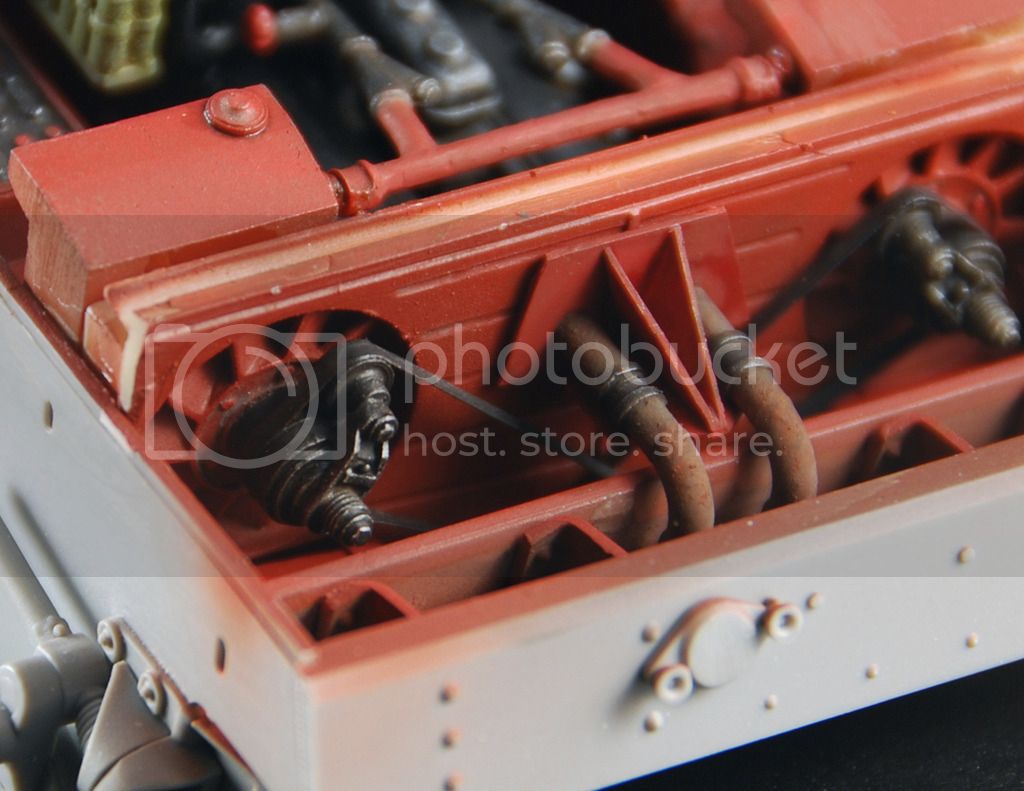
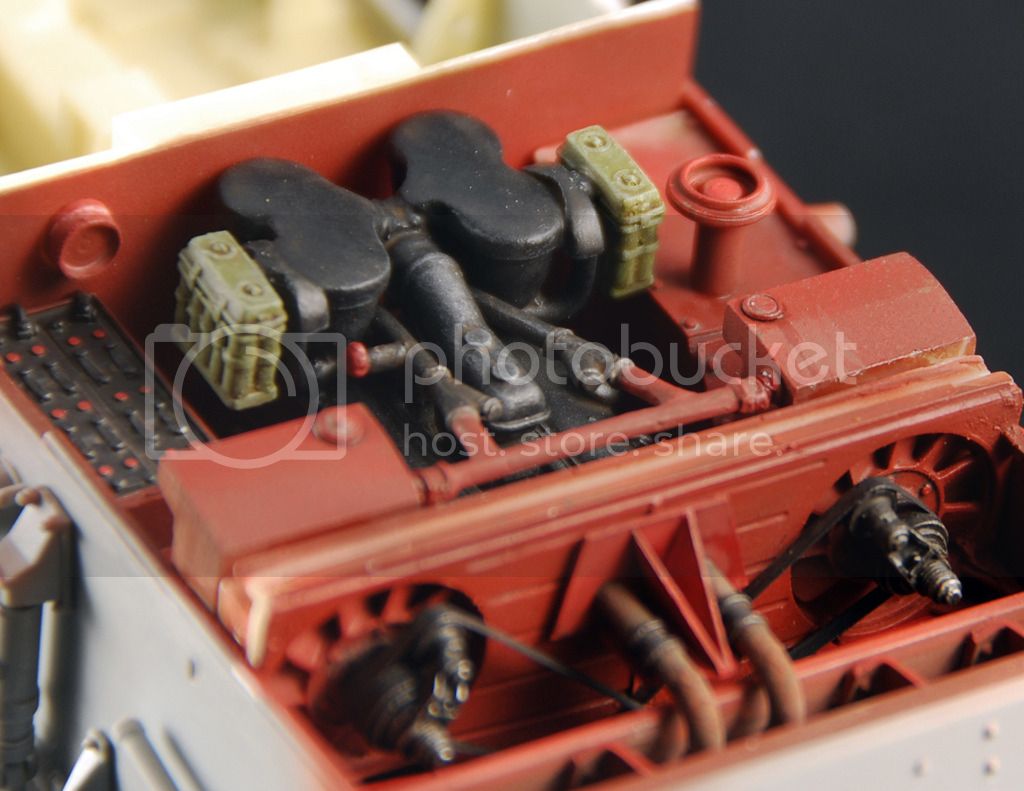
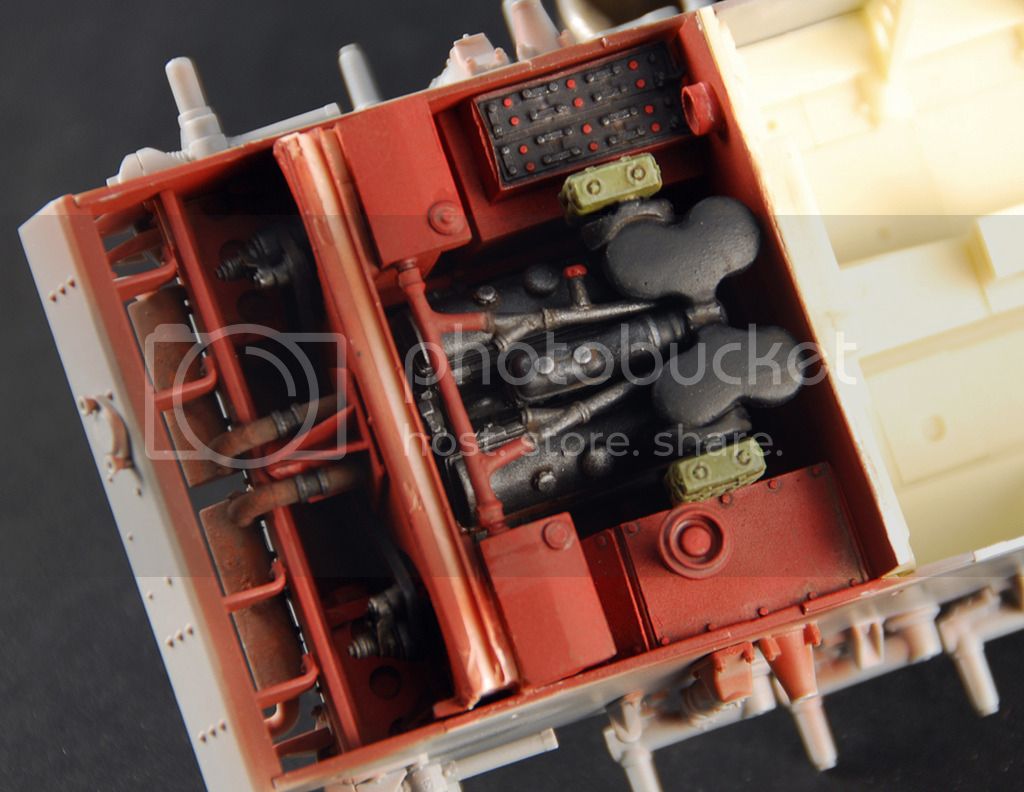

I am a slow worker but I'll keep you guys updated of my progress from here on out. Next step is to get working on the fighting compartment area. I've got it fitted and primed so when you guys see it, I'll have it base coated. All comments are welcome and thanks for looking.
Removed by original poster on 11/04/15 - 18:36:41 (GMT).
Removed by original poster on 11/04/15 - 18:37:37 (GMT).
Removed by original poster on 11/04/15 - 18:40:59 (GMT).
ivanhoe6
Visit this Community
Wisconsin, United States
Joined: April 05, 2007
KitMaker: 2,023 posts
Armorama: 1,234 posts
Posted: Wednesday, November 04, 2015 - 02:51 AM UTC
Hey Chad,nice looking Pz.III engine compartment so far.
Thanks for sharing and keep us posted on your progress !

Tom
tatbaqui
Staff MemberNews Writer
ARMORAMA
#040
Visit this Community
Metro Manila, Philippines
Joined: May 06, 2007
KitMaker: 2,713 posts
Armorama: 2,451 posts
Posted: Wednesday, November 04, 2015 - 04:19 AM UTC
Welcome to Armorama Chad. I recall seeing this over at ML. Thanks for sharing -- kudos to the fantastic work you've put into this. Looking forward to your updates. Cheers, Tat
pinkfloyd1312
Visit this Community
United States
Joined: May 22, 2008
KitMaker: 4 posts
Armorama: 4 posts
Posted: Sunday, November 22, 2015 - 06:16 AM UTC
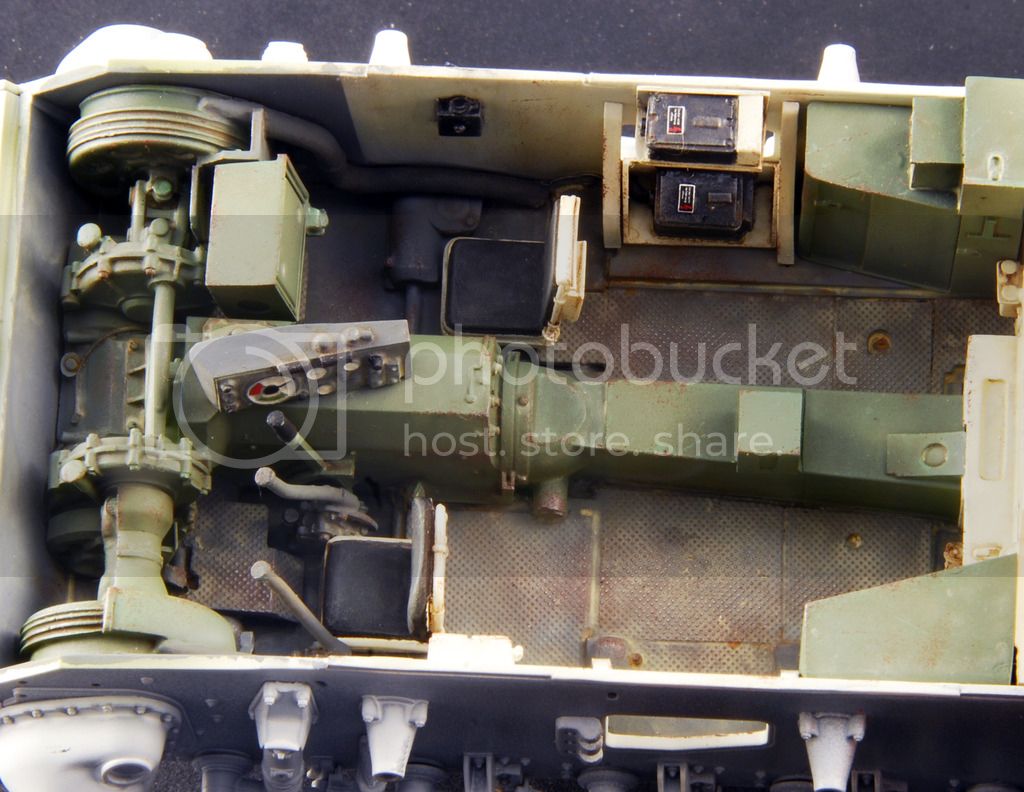
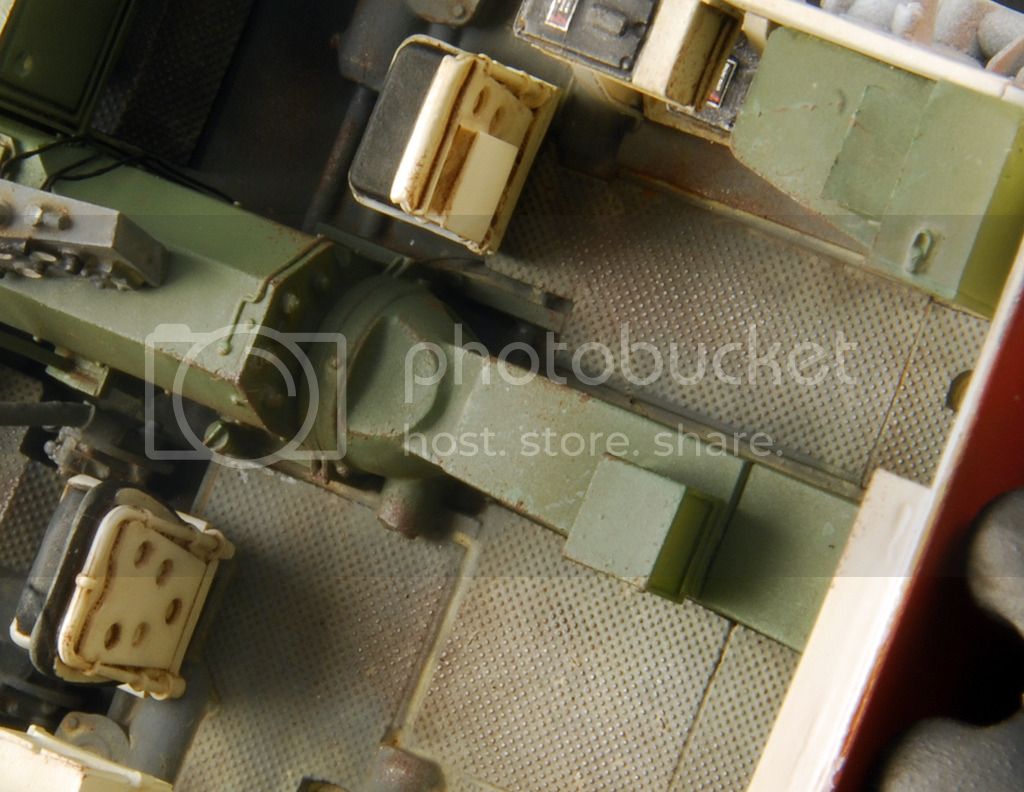
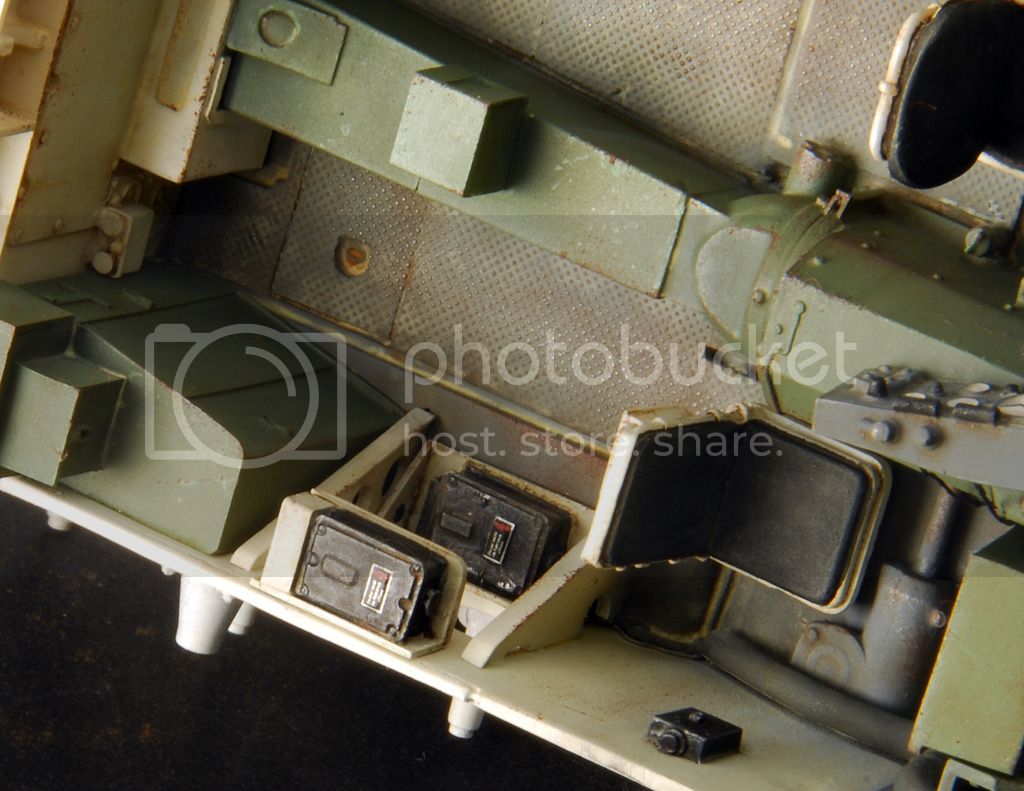
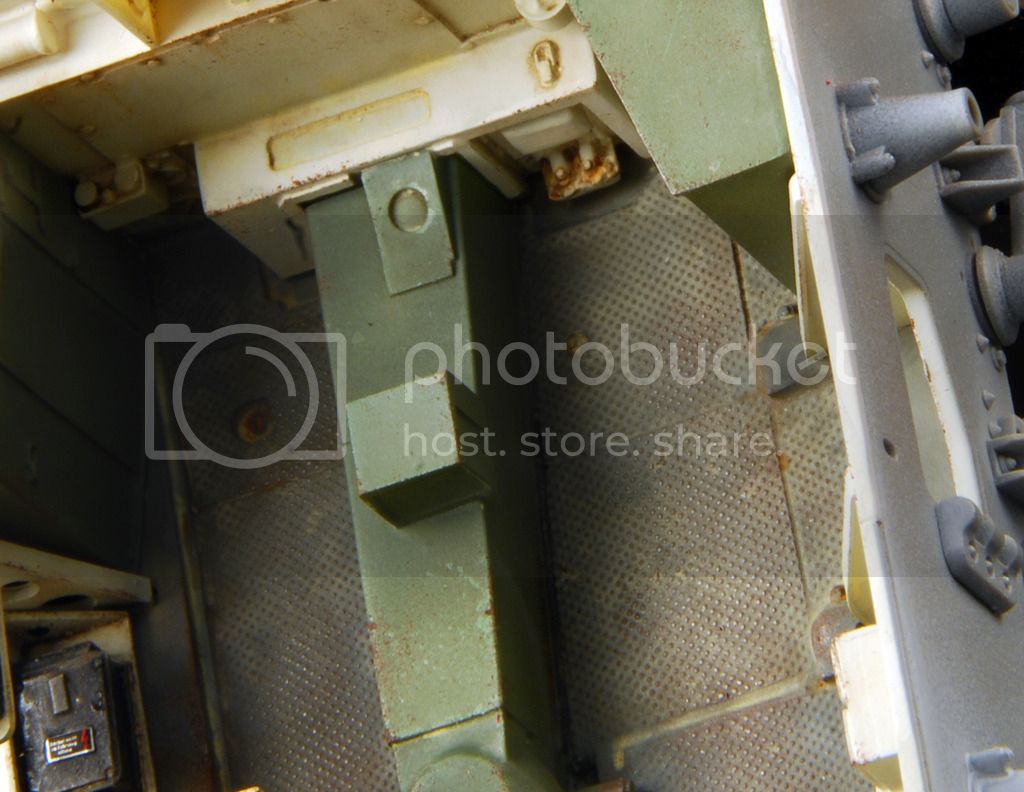
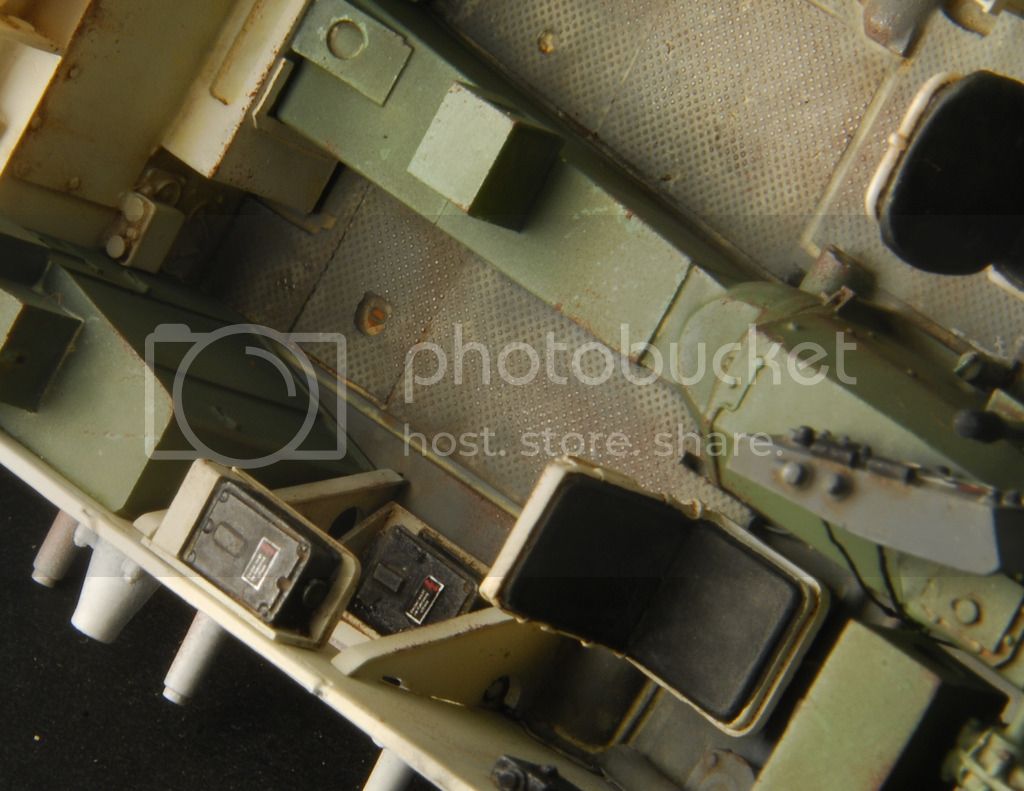
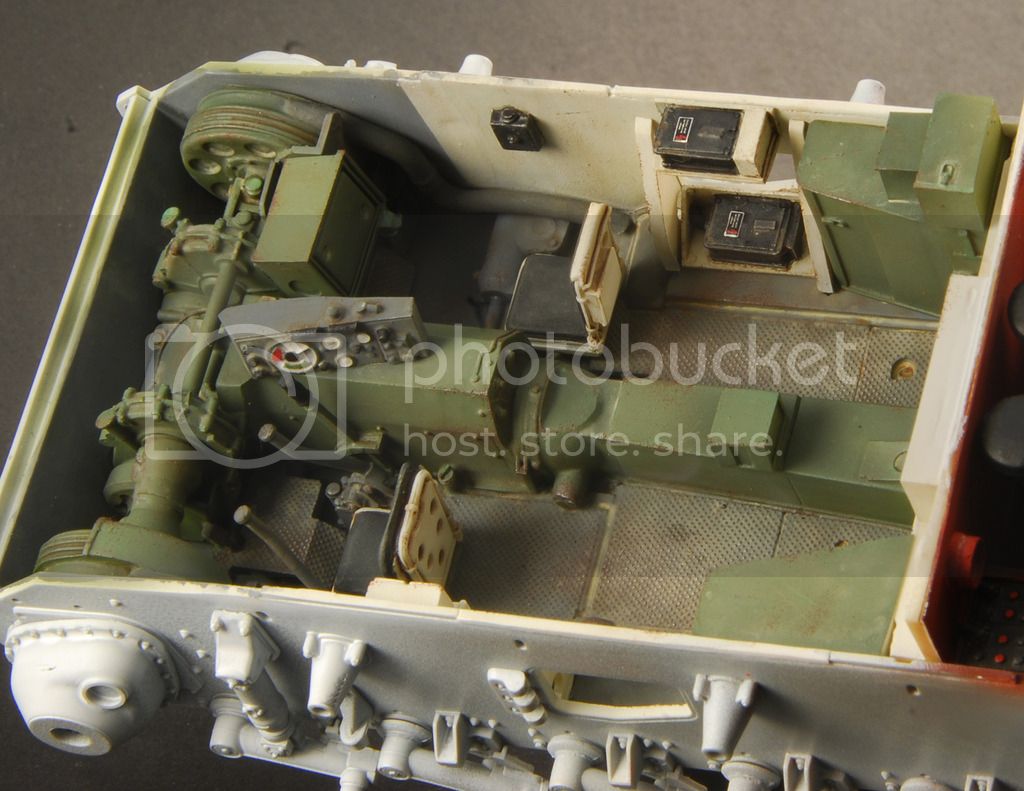
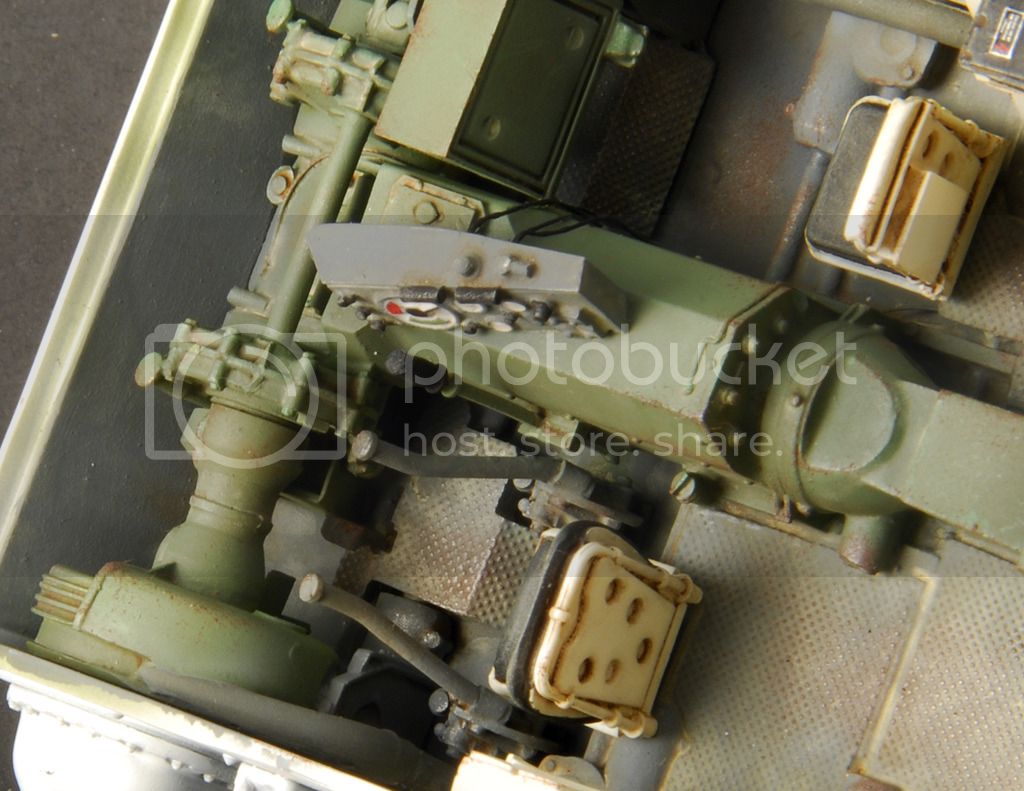
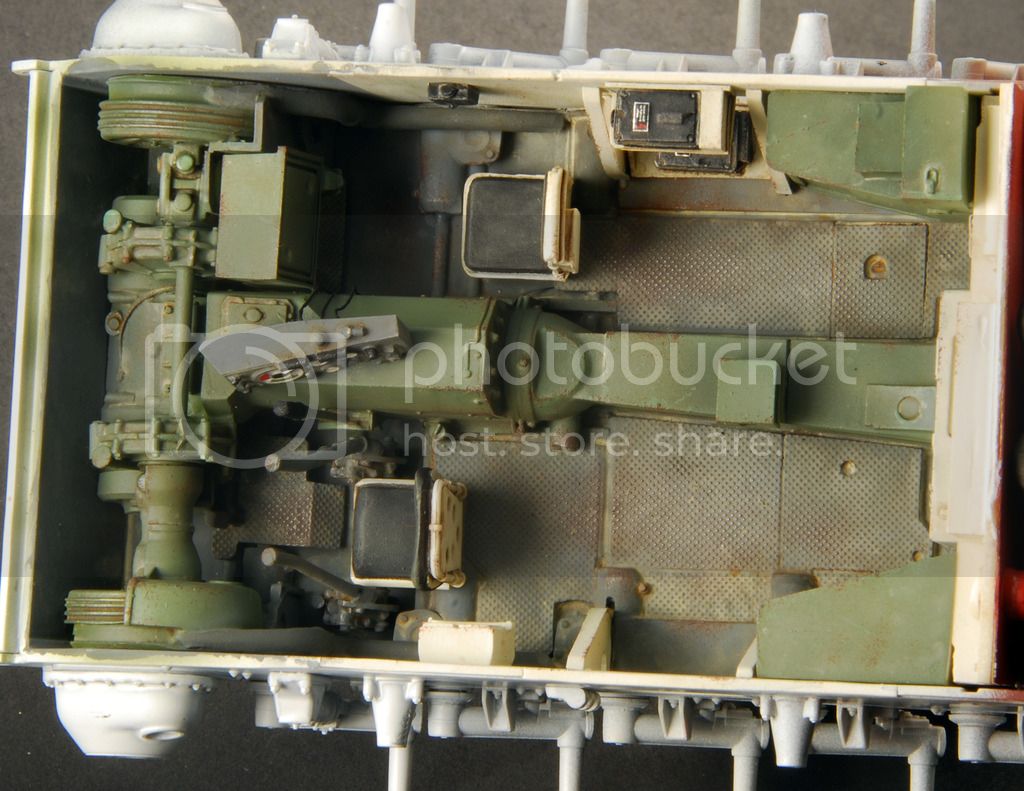
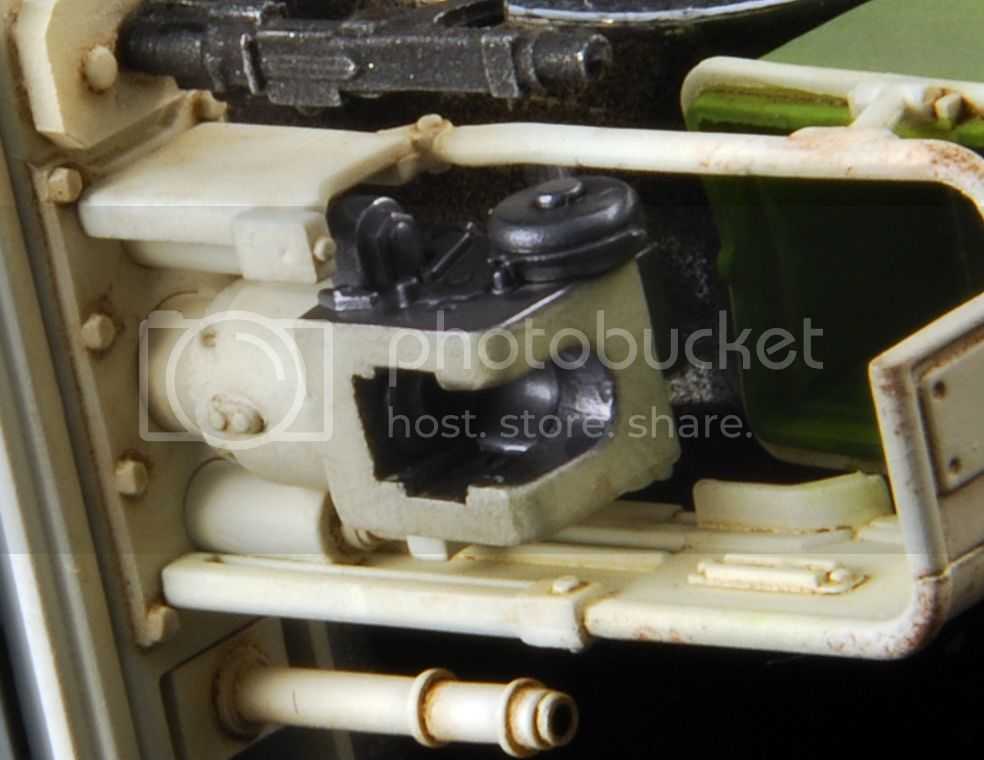
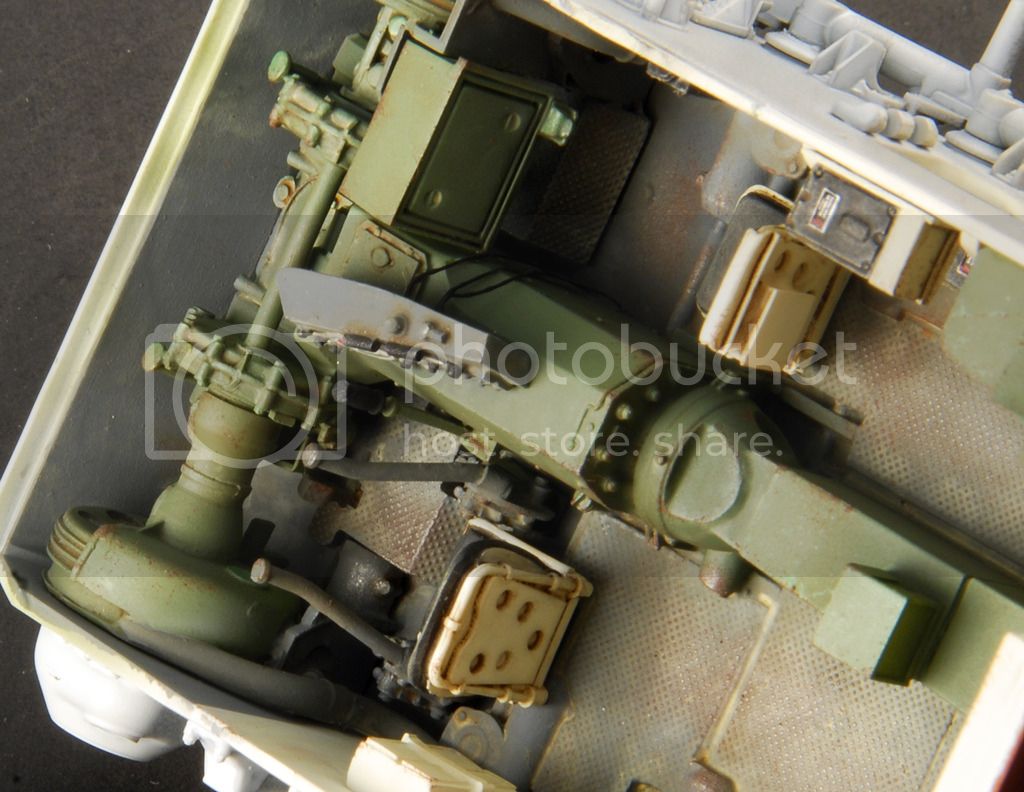
Update.... I got lazy on my photography I must confess as I've pretty well finished the fighting compartment over the last couple weeks. Here she is as of this evening....


All tamiya paints thinned with lacquer thinner. Hull floor was a mix of dark gray lightened with some white and buff. The green is a mix of JA Green again lightened with the same colors and the ivory is just a mix of white and buff. The green and gray were modulated a little but nothing too drastic. All of the detail painting was done with humbrol enamels as was some of the small modulation effects ie: filler caps, a few bolts here and there, etc... The breach block was done with their metal coat paints which are awesome. Lots of oil washes in various tones were used to create the dirt and dust effects. I've not used any pigments. Finally a very light dry brushing was done on some of the contact areas and on certain parts of the floor with silver enamel. Constructive comments are always welcome. Thanks for looking.
bgcmd59
#353
Visit this Community
Connecticut, United States
Joined: October 20, 2013
KitMaker: 90 posts
Armorama: 81 posts
Posted: Sunday, November 22, 2015 - 07:26 AM UTC
Beautiful job. I am doing my first full interior on a Panzer III hull for an SU-76i conversion. I know little about German armor. Was the drive-train cover and transmission routinely green and not white? If so your post was very timely for me and saved me a big error.
ColinEdm
Staff MemberAssociate Editor
ARMORAMA
Visit this Community
Alberta, Canada
Joined: October 15, 2013
KitMaker: 1,355 posts
Armorama: 1,229 posts
Posted: Sunday, November 22, 2015 - 10:15 AM UTC
Wow, beautiful work on the interior.
pinkfloyd1312
Visit this Community
United States
Joined: May 22, 2008
KitMaker: 4 posts
Armorama: 4 posts
Posted: Sunday, November 22, 2015 - 07:43 PM UTC

Quoted Text

Beautiful job. I am doing my first full interior on a Panzer III hull for an SU-76i conversion. I know little about German armor. Was the drive-train cover and transmission routinely green and not white? If so your post was very timely for me and saved me a big error.


so far as i have been able to determine, on the panzer III only the hull side walls, firewall and ceiling areas were painted in ivory. the floor and the forward sections were all in dark gray and the other components which were sourced from various suppliers, were supplied already in a gray/green mix of colors. this would include the transmission assembly, storage bins, drive shaft housing, etc... i'm by no means the authority on this subject but i did try to make the colors accurate based on the sources that i have seen.
easyco69
Visit this Community
Ontario, Canada
Joined: November 03, 2012
KitMaker: 2,275 posts
Armorama: 2,233 posts
Posted: Sunday, November 22, 2015 - 08:37 PM UTC
very kool
Tobias5555
Visit this Community
Hessen, Germany
Joined: October 26, 2015
KitMaker: 446 posts
Armorama: 445 posts
Posted: Sunday, November 22, 2015 - 09:15 PM UTC
Great work on the interior.
 _GOTOTOP