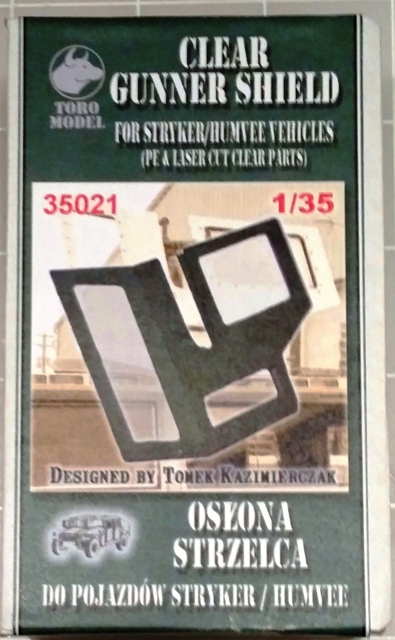
It comes packed in a sturdy cardboard box with foam 'peanuts' inside to protect the contents.
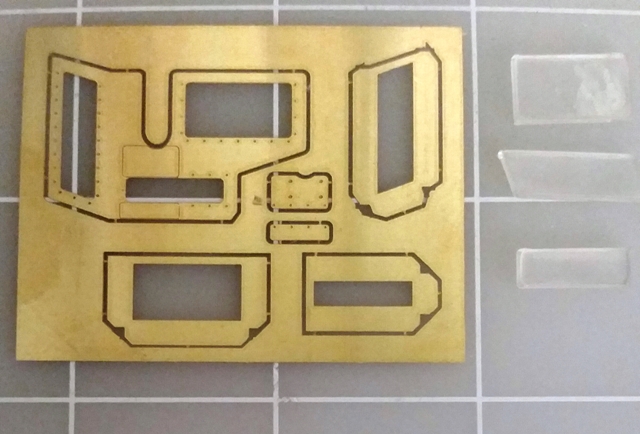
The parts included is one fret of photo-etch and three laser cut sections of clear acrylic for the ballistic glass parts. There are no assembly instructions.
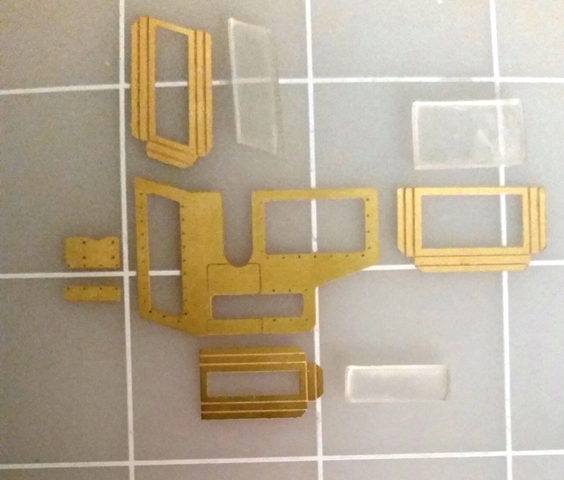
The primary assembly tasks are:
1. Remove parts from the photo-etch fret (referenced as PE for the duration of the article).
2. Fold PE frames for the ballistic glass sections
3. Install PE frames on the backside of the gunner shield.
4. Trim and sand acrylic 'glass' to required size to fit in PE frames.
5. Glue on front PE details just below the weapon elevation slot.
6. Fold shield section at appropriate angle.
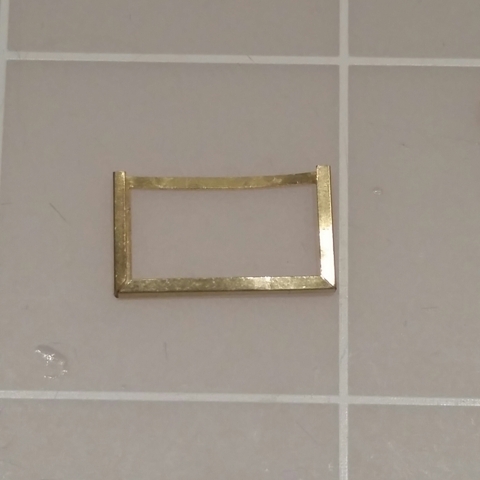
In this photo, I have folded one of the PE frames.
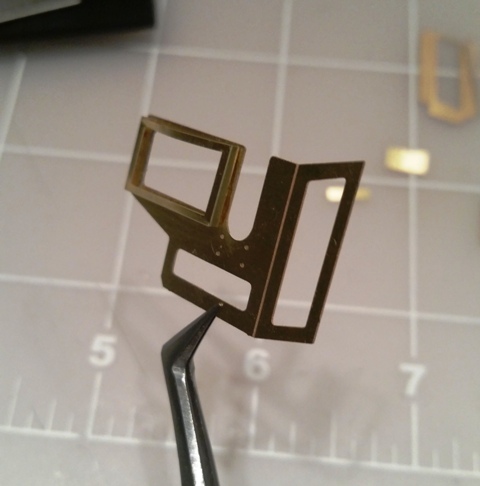
The square PE frame has been installed on the backside of the shield using CA (super) glue. YOU MUST BE VERY CAREFUL TO ENSURE THAT YOUR FRAME LINES UP APPROPRIATELY WITH THE OPENING IN THE SHIELD.
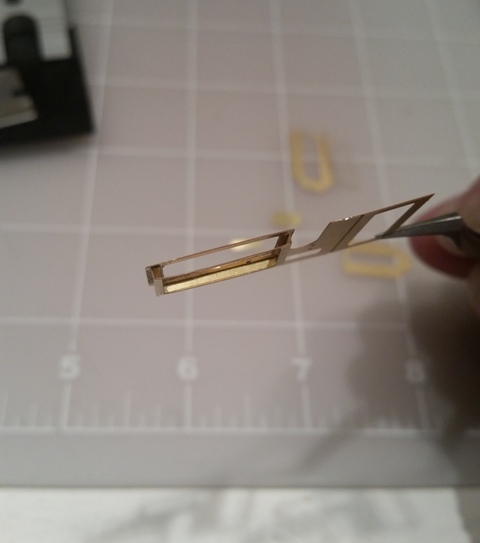
In this view, you are looking down from the top of the gunner shield/frame.
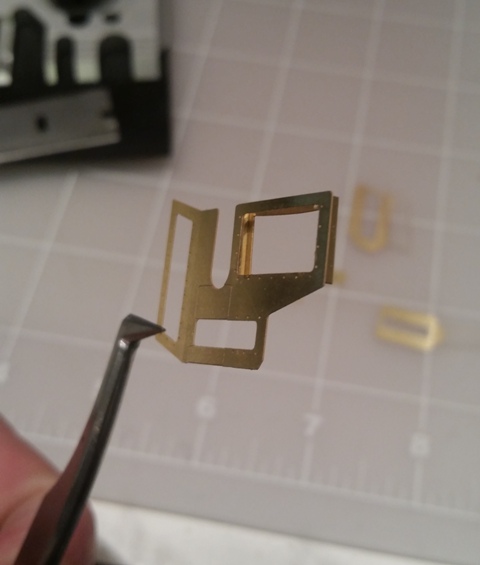
View from the front of the shield showing the frame detail through the opening.
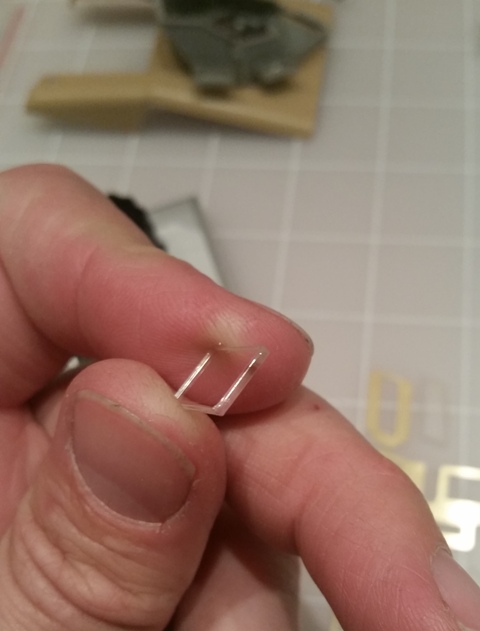
This photo shows the square acrylic 'glass' piece. As a result of the laser cutting process, each glass piece has a ridge around the edge that makes the part too thick to fit in the PE frames that you have installed on the gunner shield. To fix this, I used a no. 11 xacto blade and cut the ridge down so that the glass surface was flush. In addition to the depth of the parts being to thick, they were also to wide. To fix this, I used a #1500 sanding stick to sand down the edges and gradually reduced the part dimensions until they fit in PE frames satisfactorily. The key here is to remove just enough material to make the clear parts fit well.
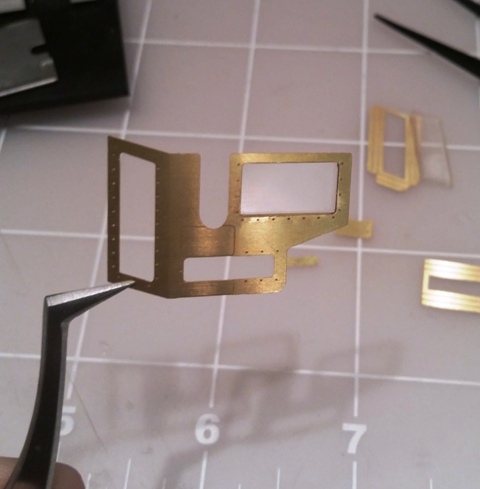
In this photo, the square clear part is in place in its PE frame. You are looking from the front of the shield as indicated by the etched rivet detail on the front of the shield.
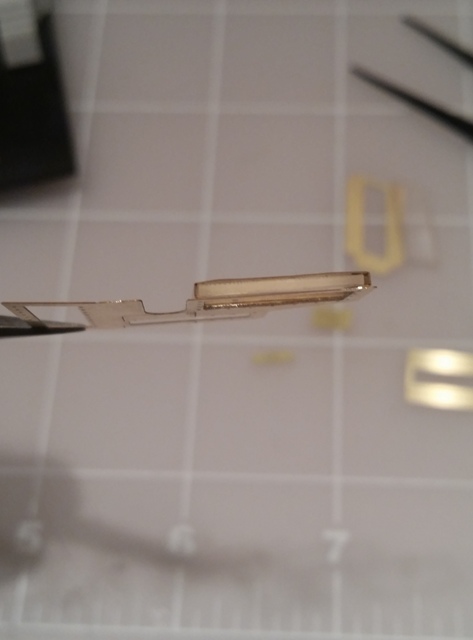
In this photo, you are looking down from the top of the shield/frame. Visible is the top edge of the glass.
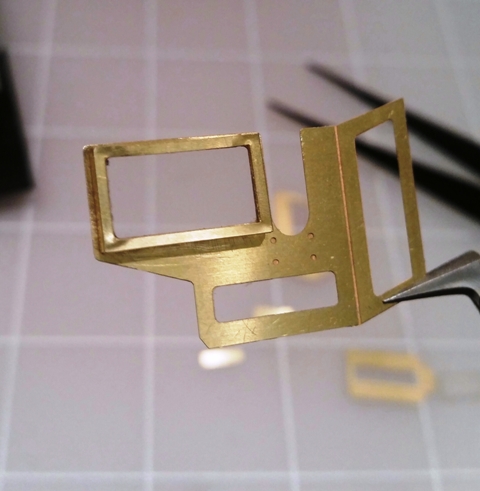
Looking at the installed glass from the rear of the shield.
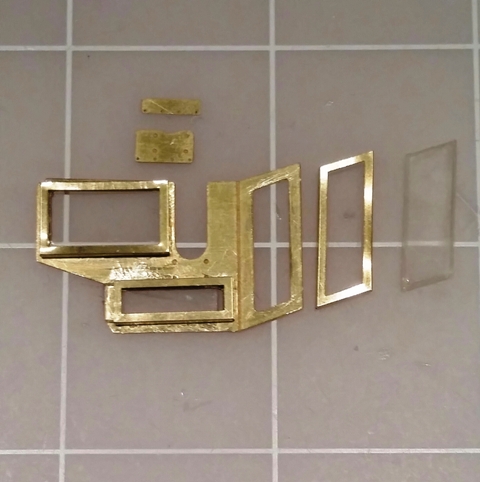
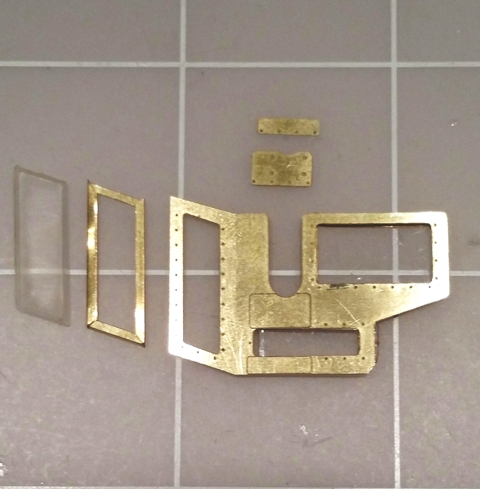
In this photo, I have installed the square glass and the rectangular glass at the bottom of the shield. I still have to install the side glass and the two detail parts to the front of the GSK. Be sure you have the opening for the smaller rectangular glass from facing away from the angle part of the shield. Otherwise, after you bend the side shield angle, you will not be able to get your glass section back into the lower PE frame.
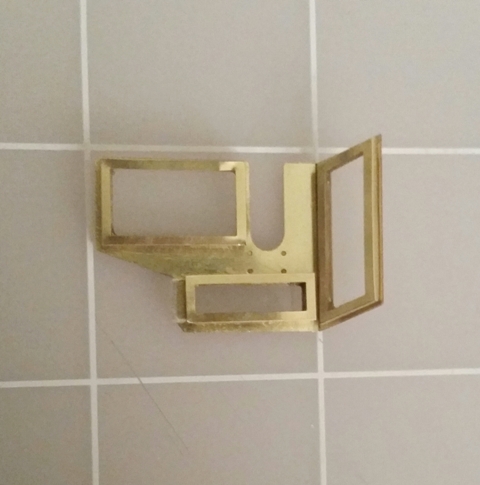
Here is the rear detail of the completed shield.
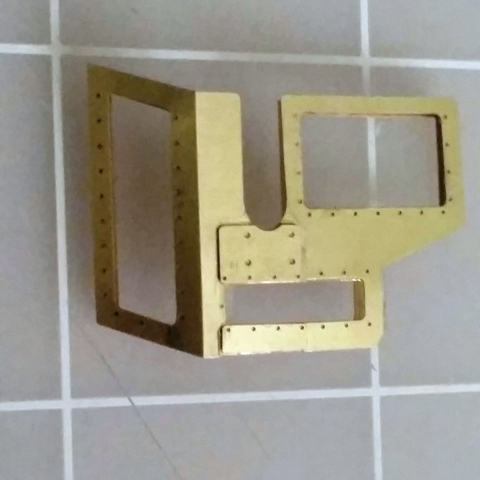
The front of the completed shield.
When I 'sized' the glass parts to fit, I sized them so that they were snug yet I could still remove the clear parts to prime/finish the shield.
The assembly takes patience and some basic tools to get everything to go together right. As mentioned previously, I used CA glue but others may prefer to solder parts.
Overall, I highly recommend the Toro Models GSK if you want to have this GSK variant in your HMMWV or Stryker fleet.


