_GOTOBOTTOM
Armor/AFV: Early Armor
WWI and other early tanks and armored cars.
Hosted by Darren Baker
Meng Renault FT17 build
Silantra
Visit this Community
Putrajaya, Malaysia
Joined: March 04, 2004
KitMaker: 2,511 posts
Armorama: 913 posts
Posted: Sunday, June 04, 2017 - 06:35 AM UTC
Hi all..
another build for this coming MALCON in July.
This gonna be another OOB. It was such a great news when we had plenty of ww1 tank in 1.35 these 2 years... since i dont have much time, i chose this light tank due its smaller size.
Build started 3 weeks ago...
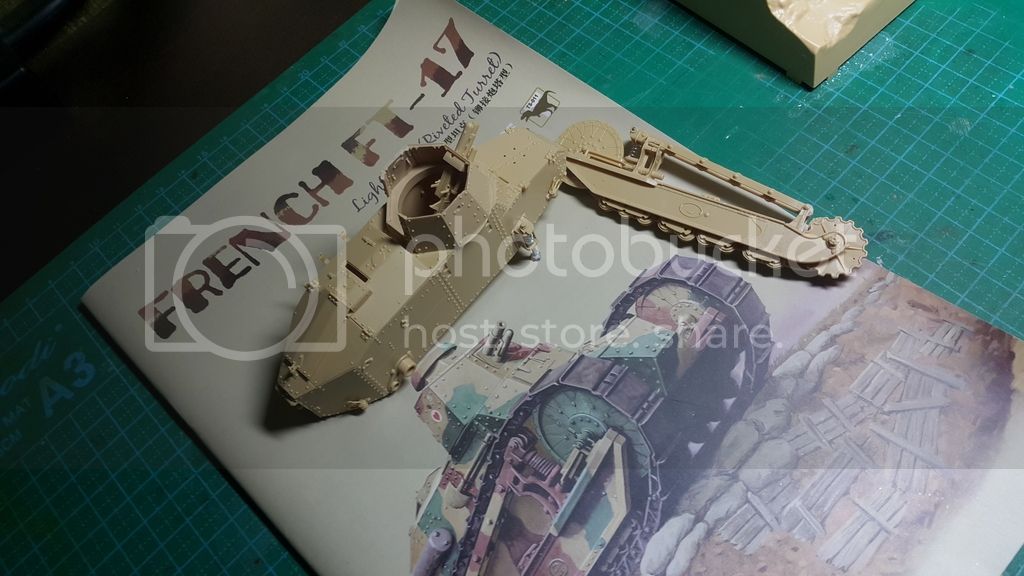
The construction process just took a few hours but more time for the track cleaning.

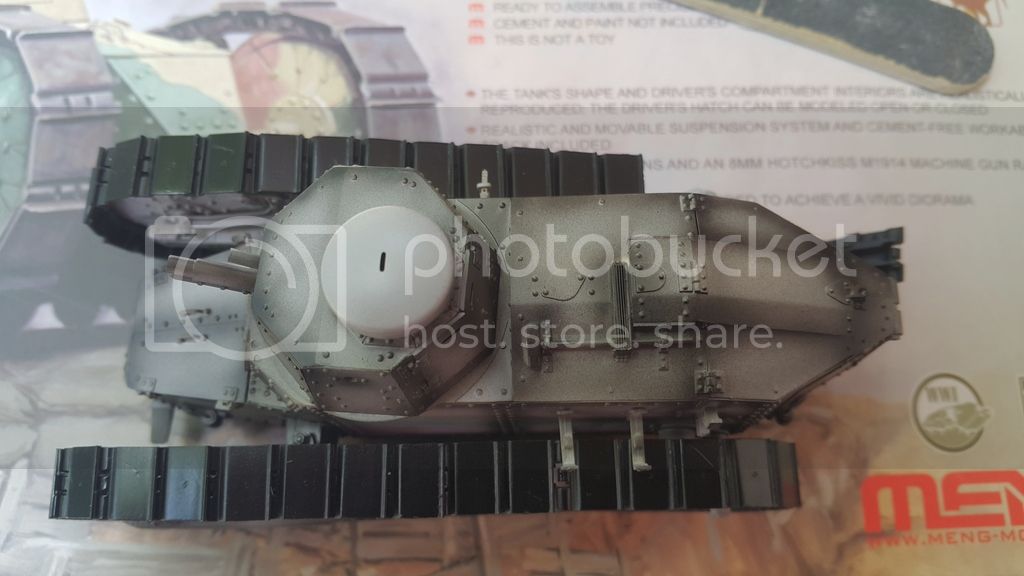
I primed the kit with Mr Surfacer 1000 and then preshaded with black.
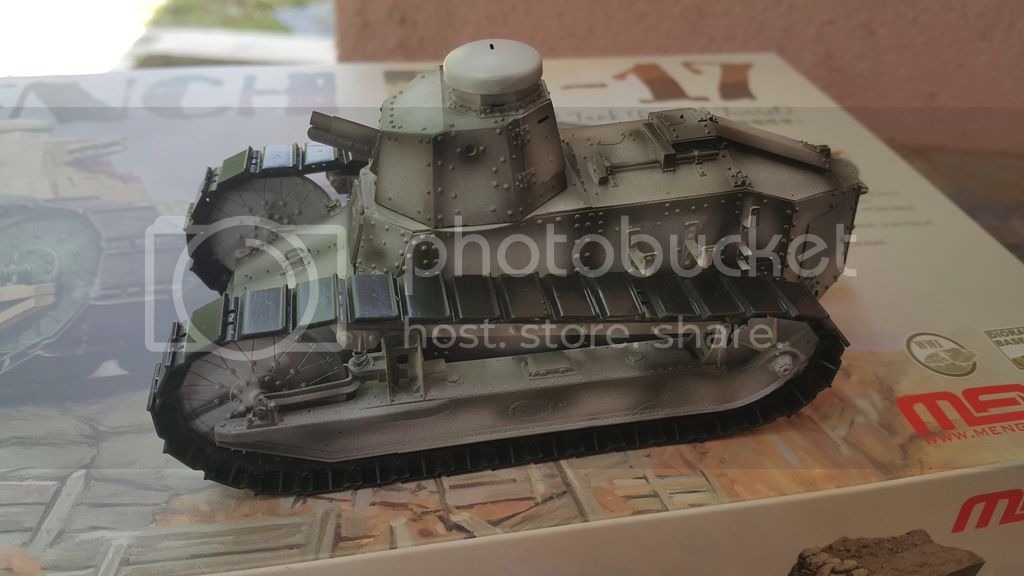


then i decided to try preshade it with red...since i dont have the right shade of red, the only color i had is the red wine. so i gave it a try


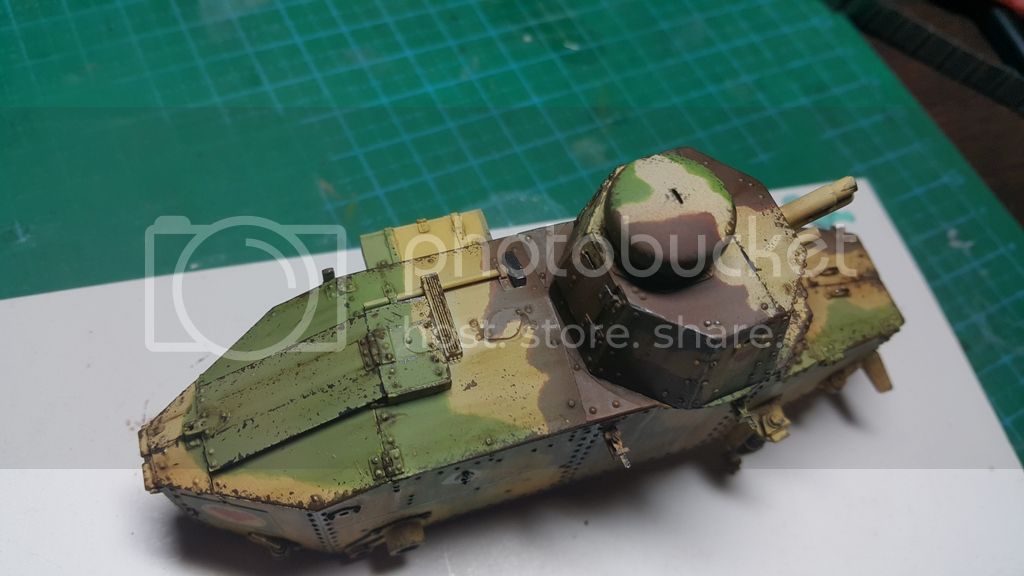
Meng call out the color instruction for meng acrylics which i dont have and very hard to get here, so i used Mr.Color radome tan for the base color.
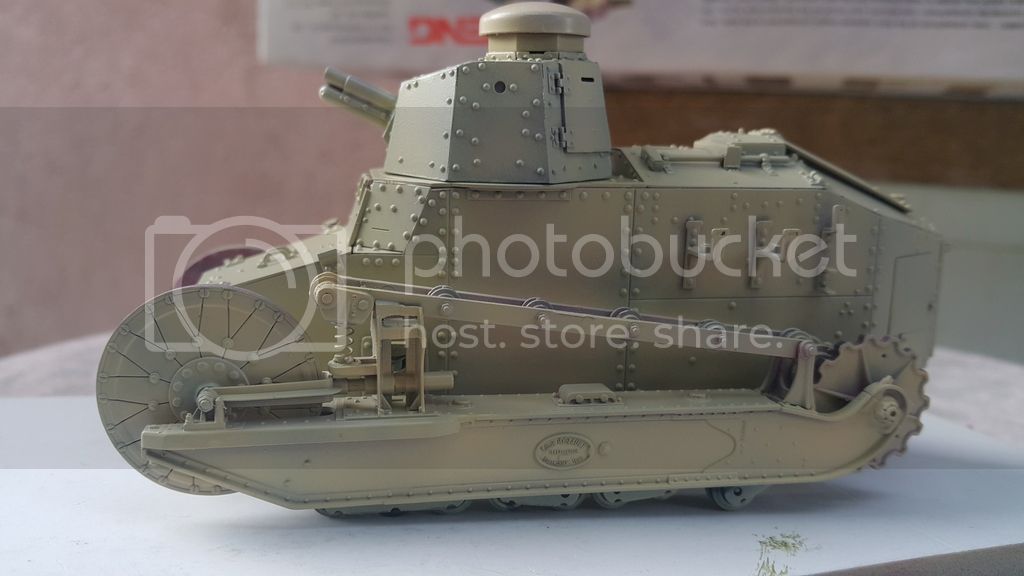
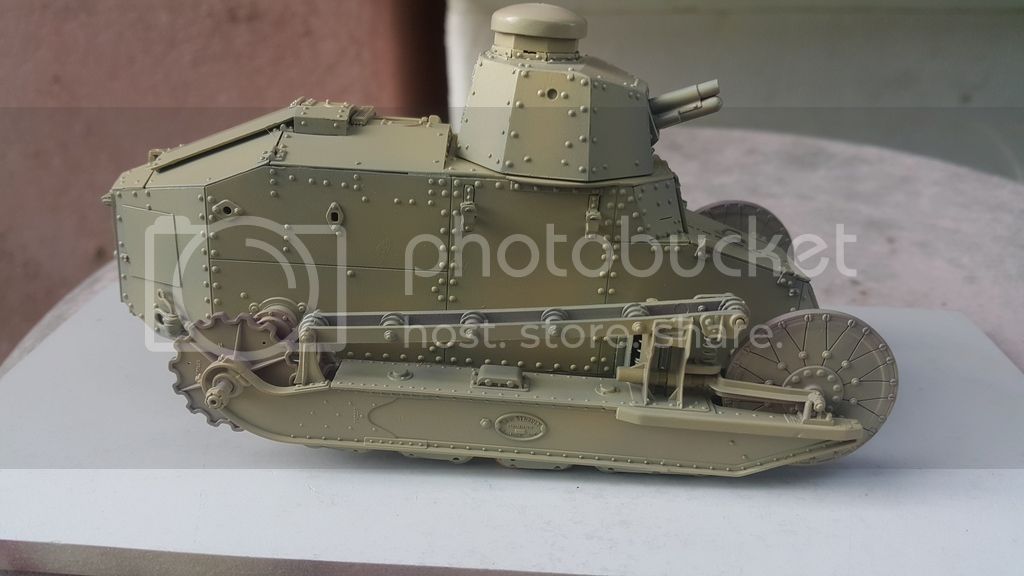

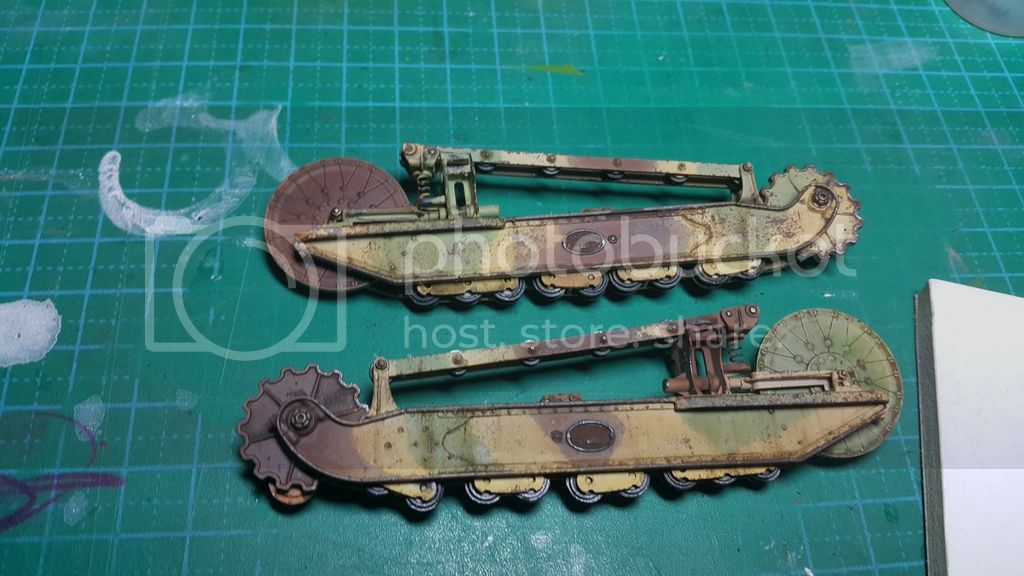
The i move to the 2nd color which is french brown. I brushpainted vallejo tank brown. The 3rd color which is french green, i used vallejo light cammo green mix with a bit of olive green. Both cammo were handpainted with dabbing motion along the edges. They look awful right now. LOL
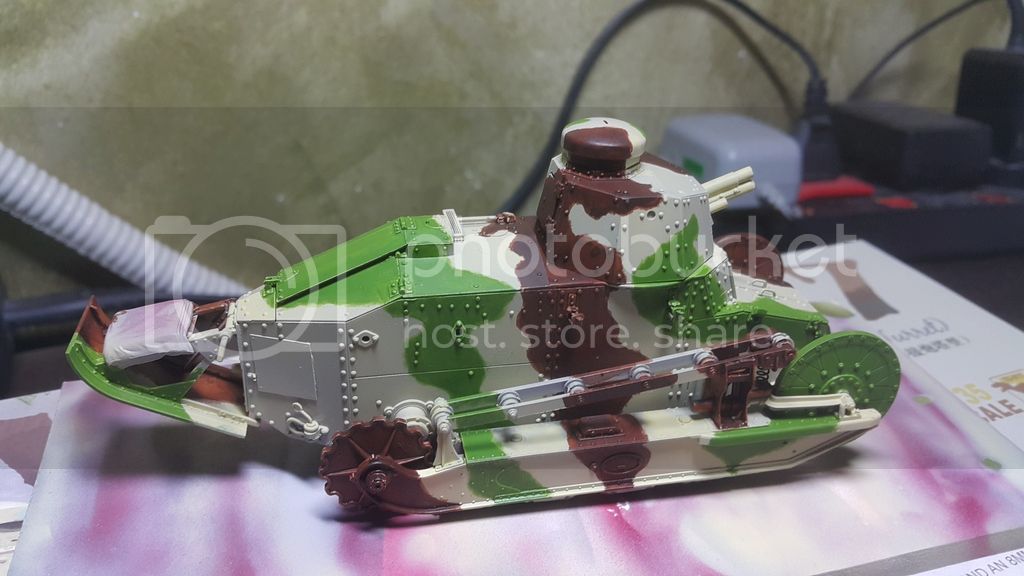
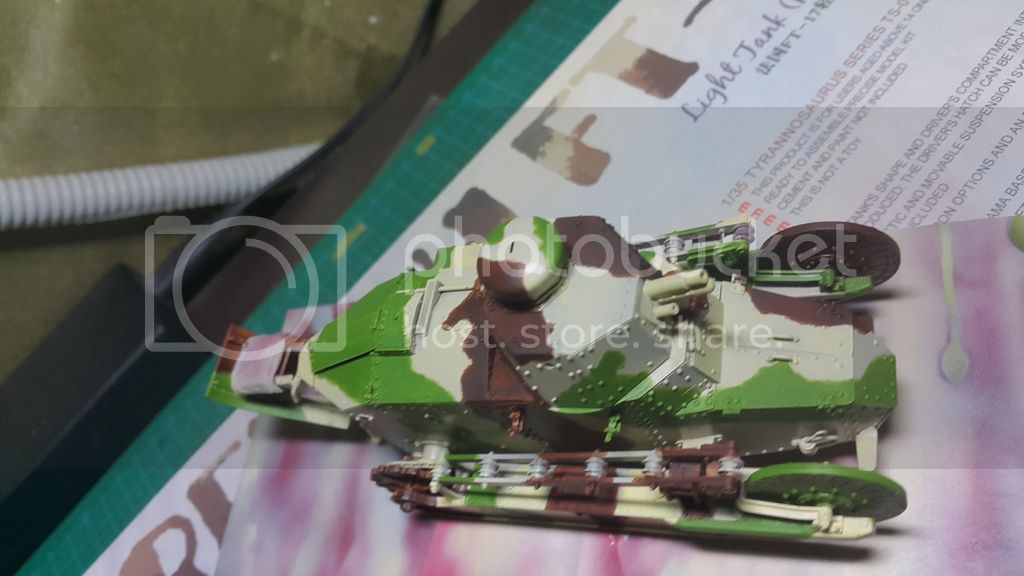
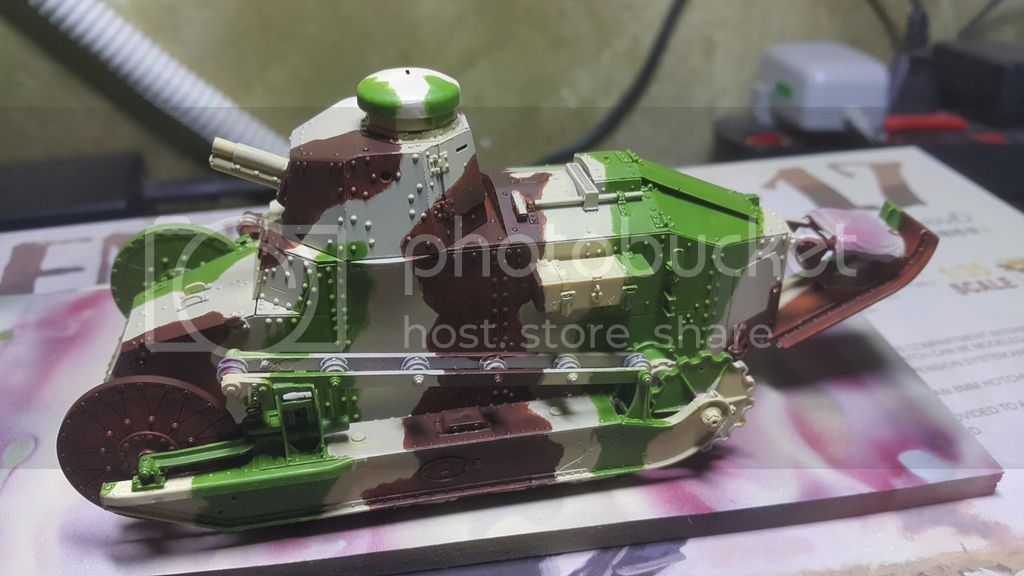

Then decal..decal went well and i had no problem applying them. They respond well to SS also.

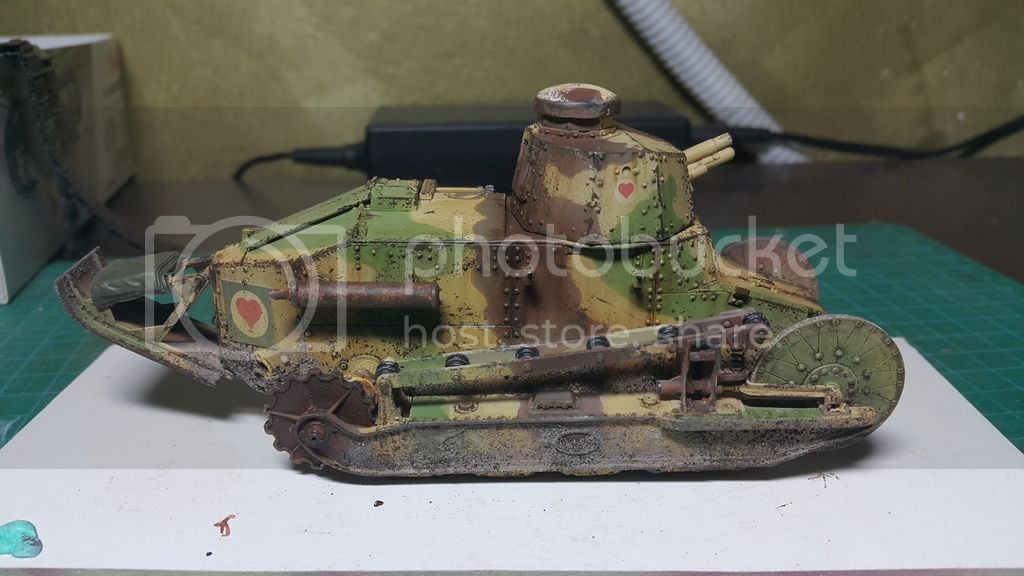
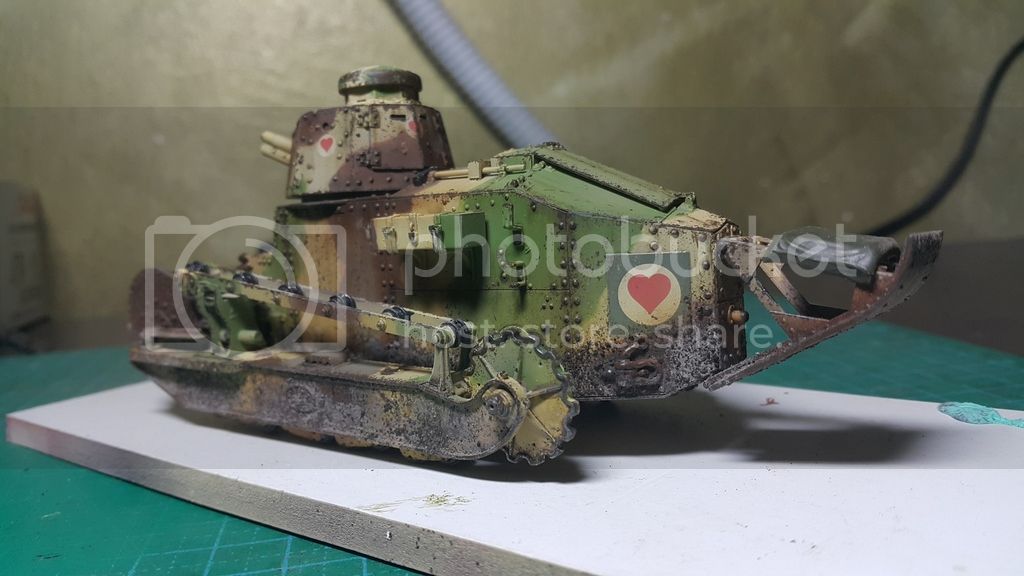
To further soften the colors, i sprayed tamiya buff to entire model and giving more coat on the lower part to simulated dust. I then spray a light mist of tamiya flesh to the lower part.

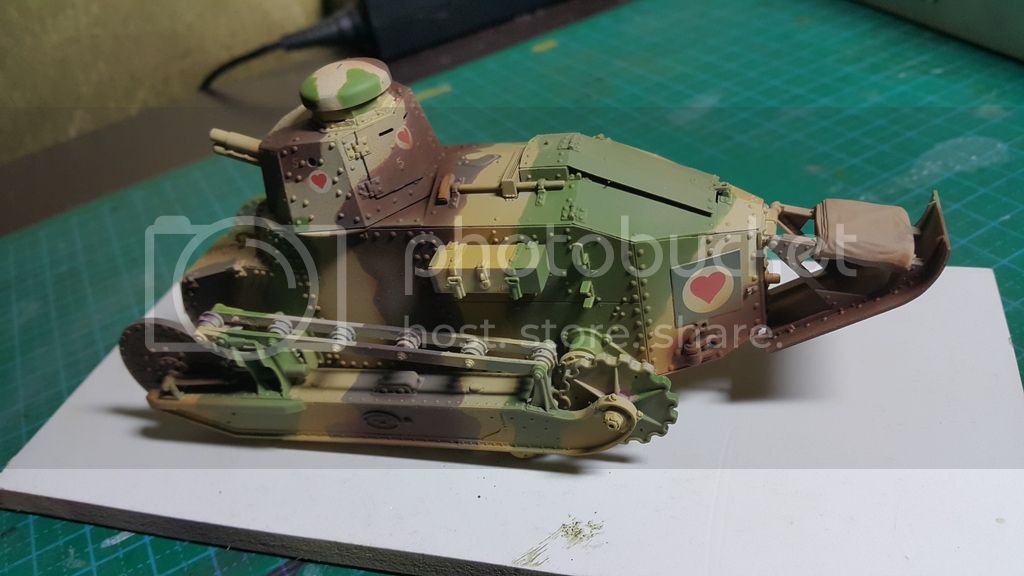

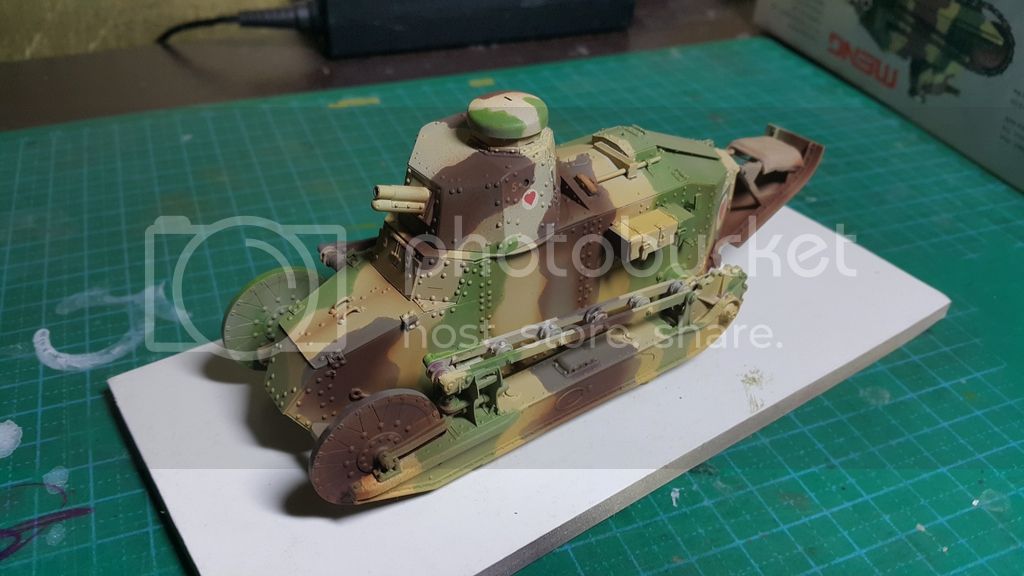

Then i added chipping by using sponge method with vallejo chocolate brown. applied in no uniform pattern and along the edges.
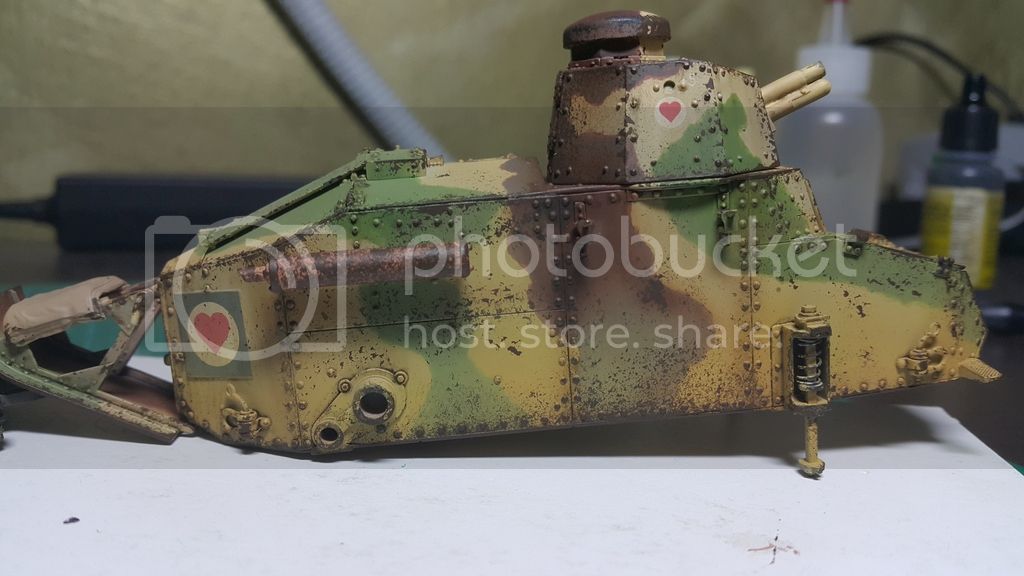
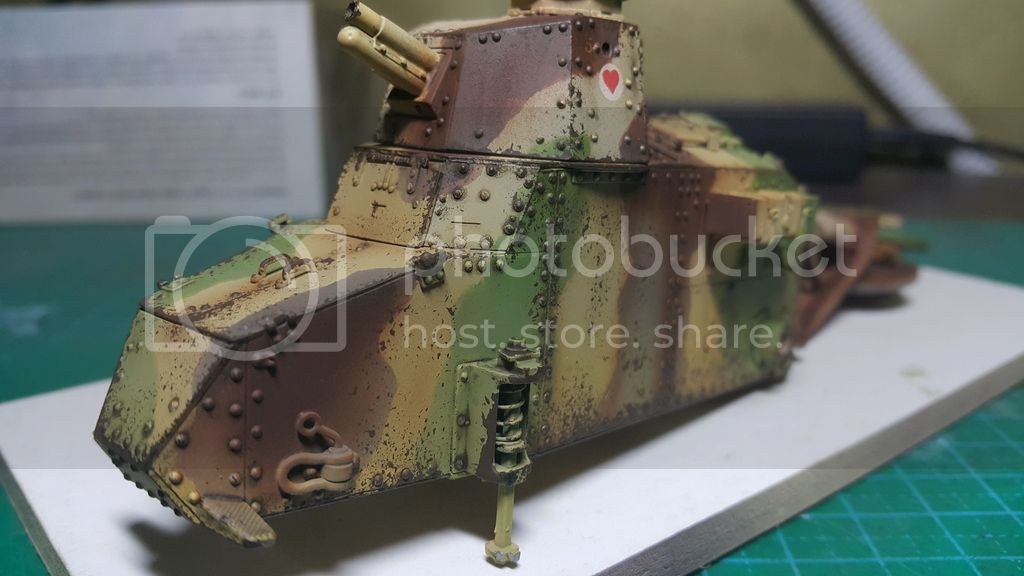

test fitted the tracks.
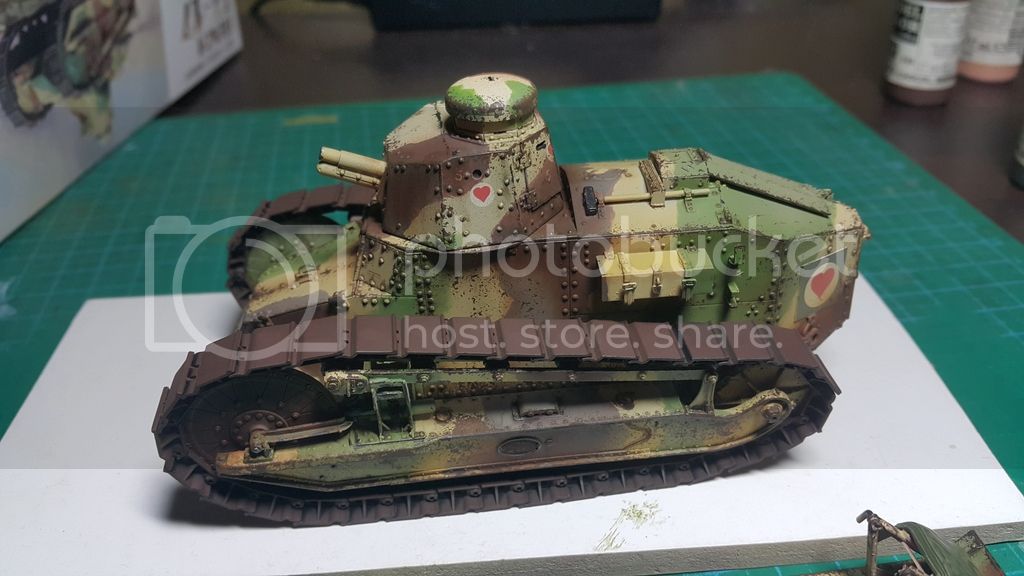

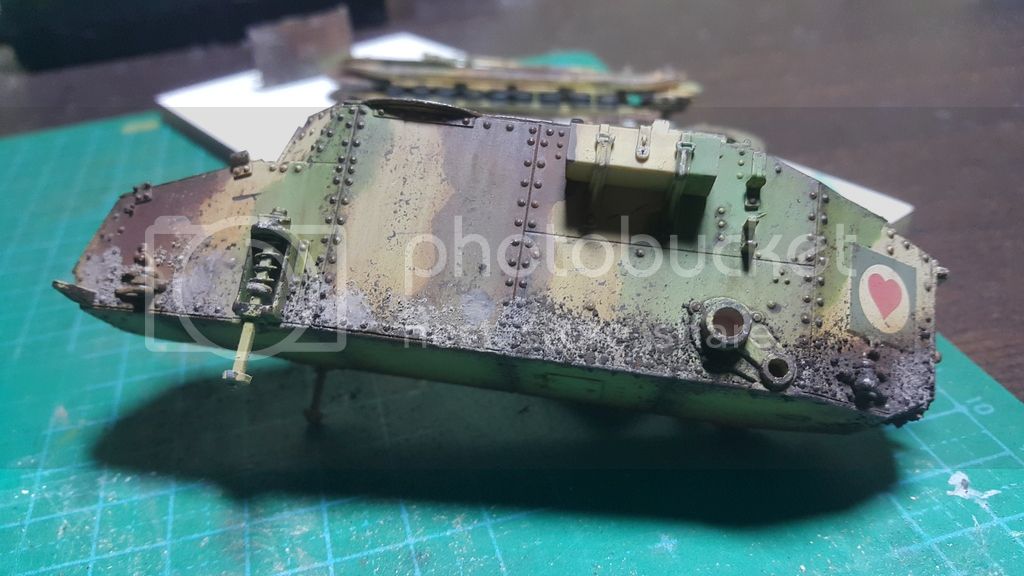
Then i added vertical streaking with AK interactive products..i used several shade.
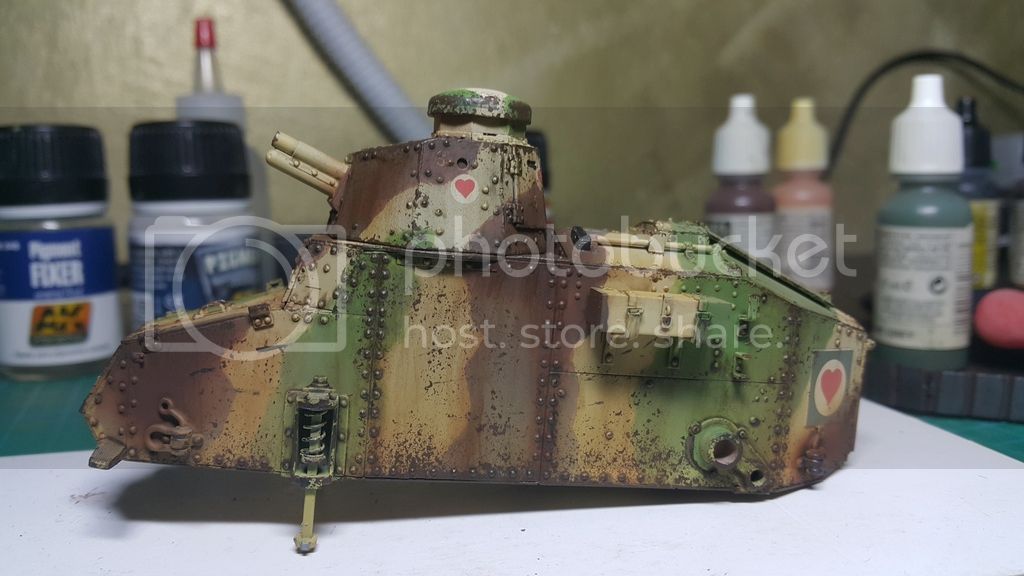


Then i added dust pigment to the lower parts.
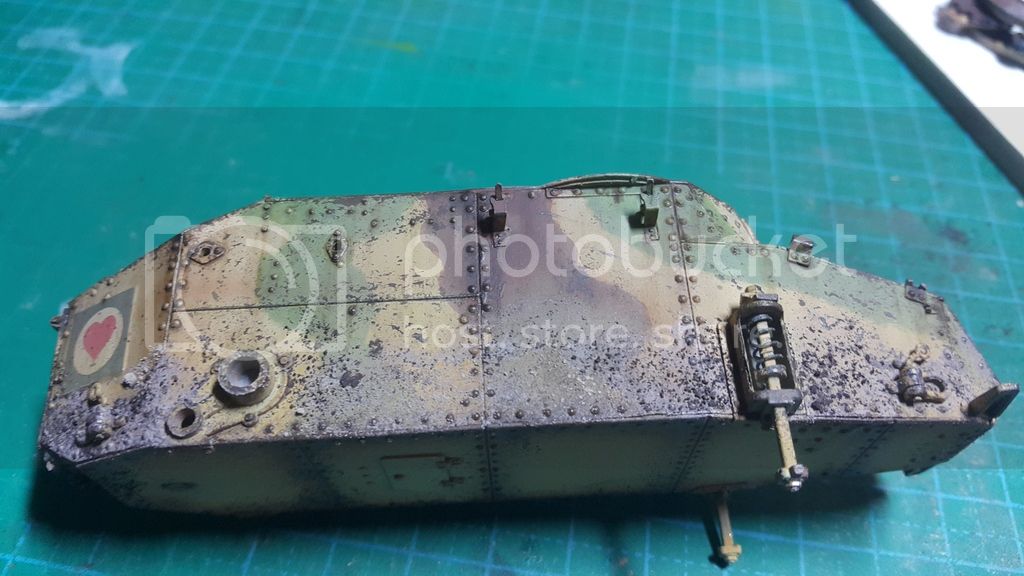


There a a few more things to do before i call it finished.
next is the tracks and some small accessories.

Thanks for looking

Sil


Stickframe
#362
Visit this Community
California, United States
Joined: December 01, 2013
KitMaker: 1,661 posts
Armorama: 1,202 posts
Posted: Sunday, June 04, 2017 - 08:36 AM UTC
Hello - this is a really interesting build with nice results - I'll bet it looks great when done. I've got to say, I do some experimenting with colors too - it's hard to say how things will work out, but as paint/weather requires so many layers - why not try and see what happens? The transformation of the (your) camo is very interesting - going from stark and almost simple to very strong, nicely blended and convincing work - really good transformation...same for the wine red base coat - who would have guessed all this would work out so well? Weathering too!

Thanks for sharing your steps - looking forward to your next post -

Cheers
Nick
Silantra
Visit this Community
Putrajaya, Malaysia
Joined: March 04, 2004
KitMaker: 2,511 posts
Armorama: 913 posts
Posted: Sunday, June 04, 2017 - 12:52 PM UTC

Quoted Text

Hello - this is a really interesting build with nice results - I'll bet it looks great when done. I've got to say, I do some experimenting with colors too - it's hard to say how things will work out, but as paint/weather requires so many layers - why not try and see what happens? The transformation of the (your) camo is very interesting - going from stark and almost simple to very strong, nicely blended and convincing work - really good transformation...same for the wine red base coat - who would have guessed all this would work out so well? Weathering too!

Thanks for sharing your steps - looking forward to your next post -

Cheers
Nick


thanks Nick for the kind words... i still experimenting with various method. Glad u like it...

Sil
blacksad
Visit this Community
Quebec, Canada
Joined: September 07, 2009
KitMaker: 198 posts
Armorama: 192 posts
Posted: Tuesday, June 06, 2017 - 07:47 AM UTC
Hello ! Very nice build !! I'm impressed by the weathering techniques. In which circumstances can we use a lighter colour (in this case tamiya buff) to soften the paint job and make them blend in more easily ? How to chose the good colour for this kind of technique ?

Thank you !

Tom.
SSGToms
Visit this Community
Connecticut, United States
Joined: April 02, 2005
KitMaker: 3,608 posts
Armorama: 3,092 posts
Posted: Tuesday, June 06, 2017 - 07:59 AM UTC
Wow! Good build, and excellent blending of the paint job. Very convincing.
JSSVIII
Visit this Community
Massachusetts, United States
Joined: March 28, 2007
KitMaker: 1,169 posts
Armorama: 1,067 posts
Posted: Tuesday, June 06, 2017 - 04:05 PM UTC
Great build Zaidi! You also did a nice job of showing the progression through the painting process, Well done!
Silantra
Visit this Community
Putrajaya, Malaysia
Joined: March 04, 2004
KitMaker: 2,511 posts
Armorama: 913 posts
Posted: Wednesday, June 07, 2017 - 06:10 AM UTC
Thanks guys for the kind words. Really appreciated them.


Quoted Text

Hello ! Very nice build !! I'm impressed by the weathering techniques. In which circumstances can we use a lighter colour (in this case tamiya buff) to soften the paint job and make them blend in more easily ? How to chose the good colour for this kind of technique ?

Thank you !

Tom.


Tom, i discovered this method accidentally about 10 years ago. Frankly speaking, i never tried on other colors except on german 3 tone cammo and US OD. I found out that the brush stroke effect (due to handpainted cammo) will soften and lost if i spray a coat of tamiya buff. This also will make the color a little fade as u can see in my posting. How to chose the right color? so far i try yellow, white and buff they all give diffrent tone and hue of the original colors. It's more on personal choice and i prefer buff over the later 2 colors.

Thanks

Sil
Silantra
Visit this Community
Putrajaya, Malaysia
Joined: March 04, 2004
KitMaker: 2,511 posts
Armorama: 913 posts
Posted: Sunday, June 18, 2017 - 06:18 AM UTC
Time for some updates..

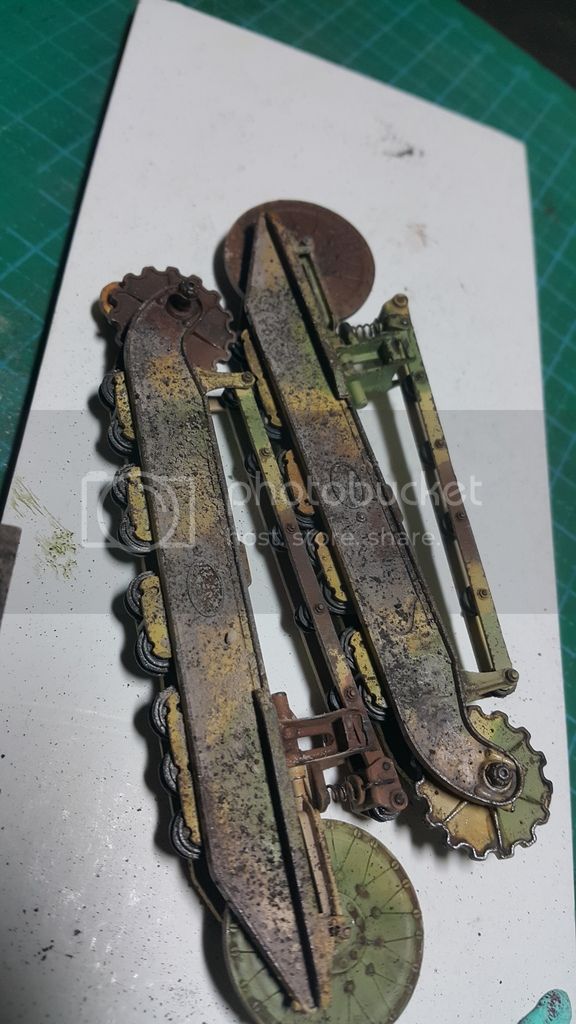
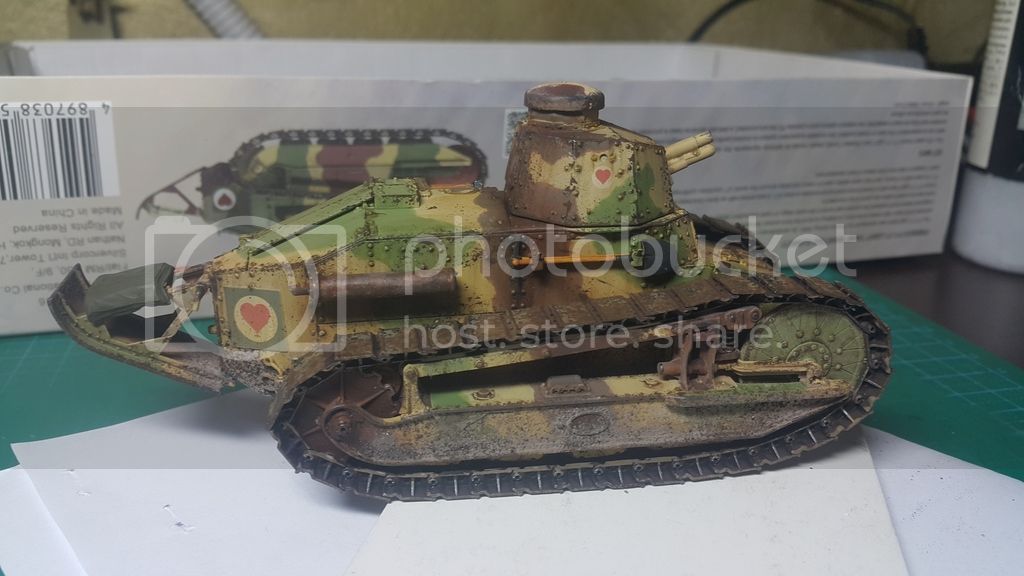
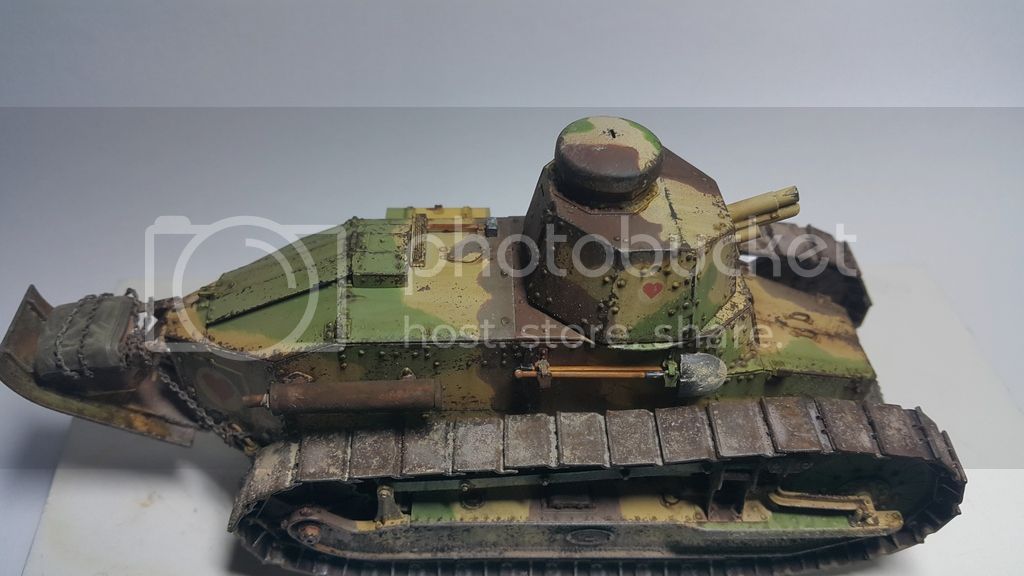
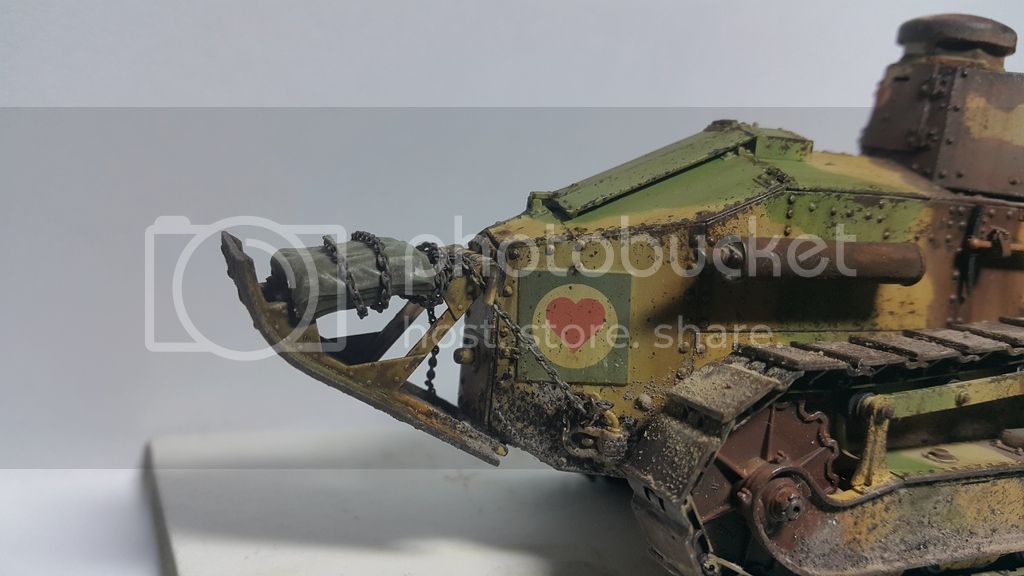
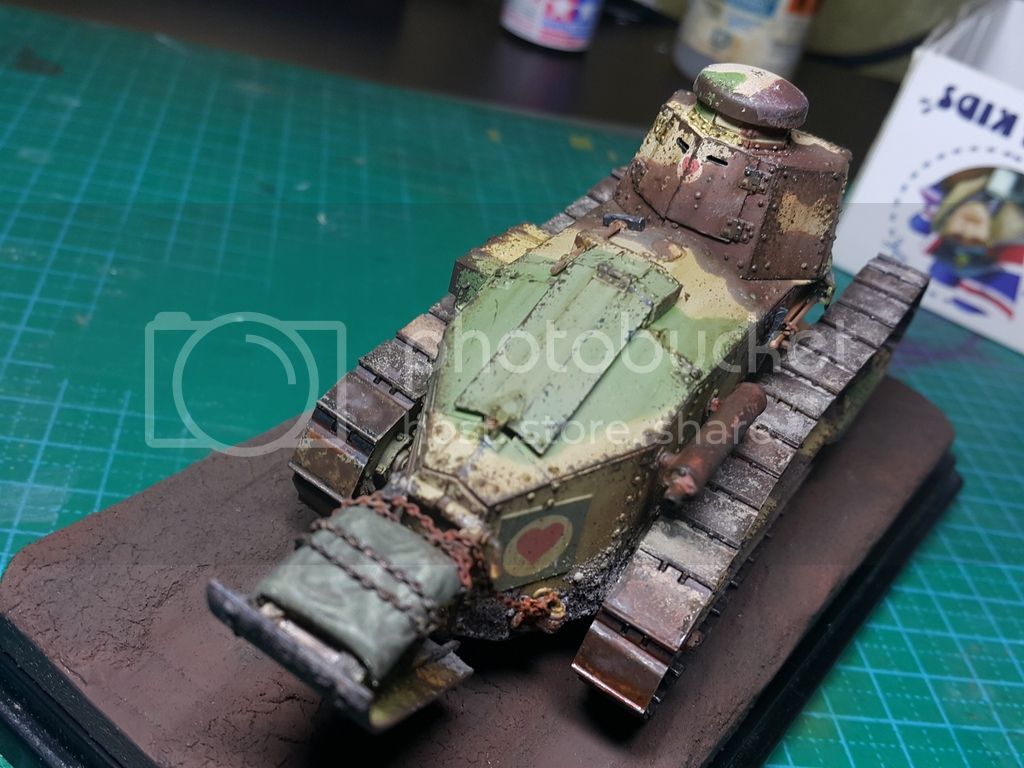
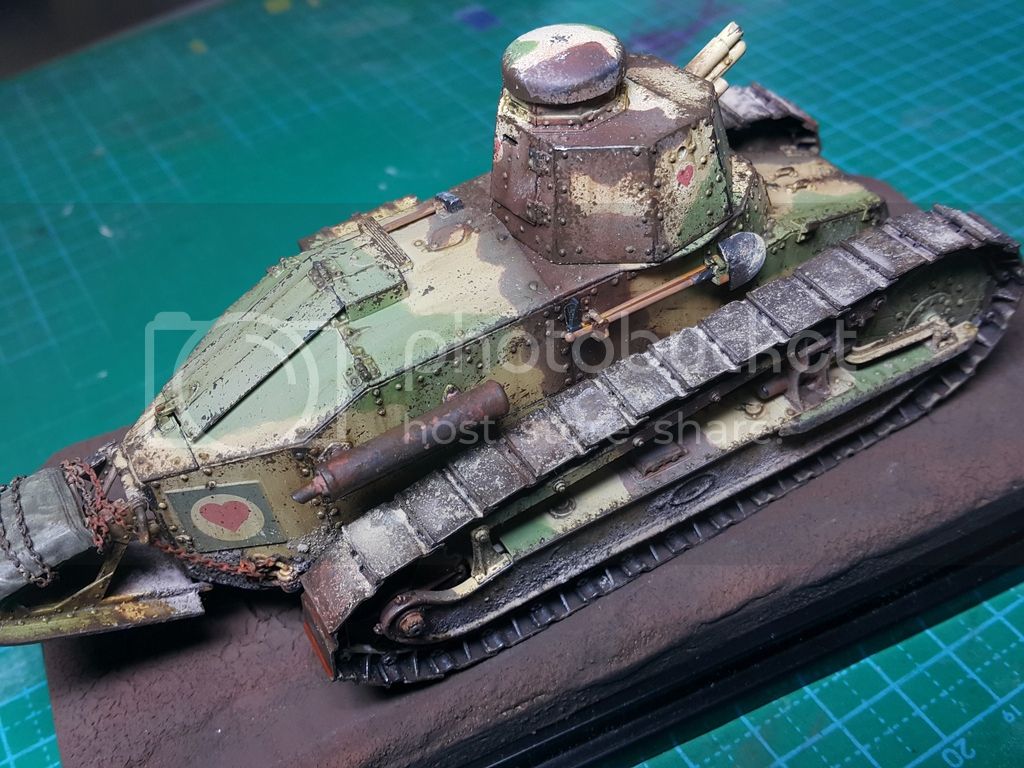
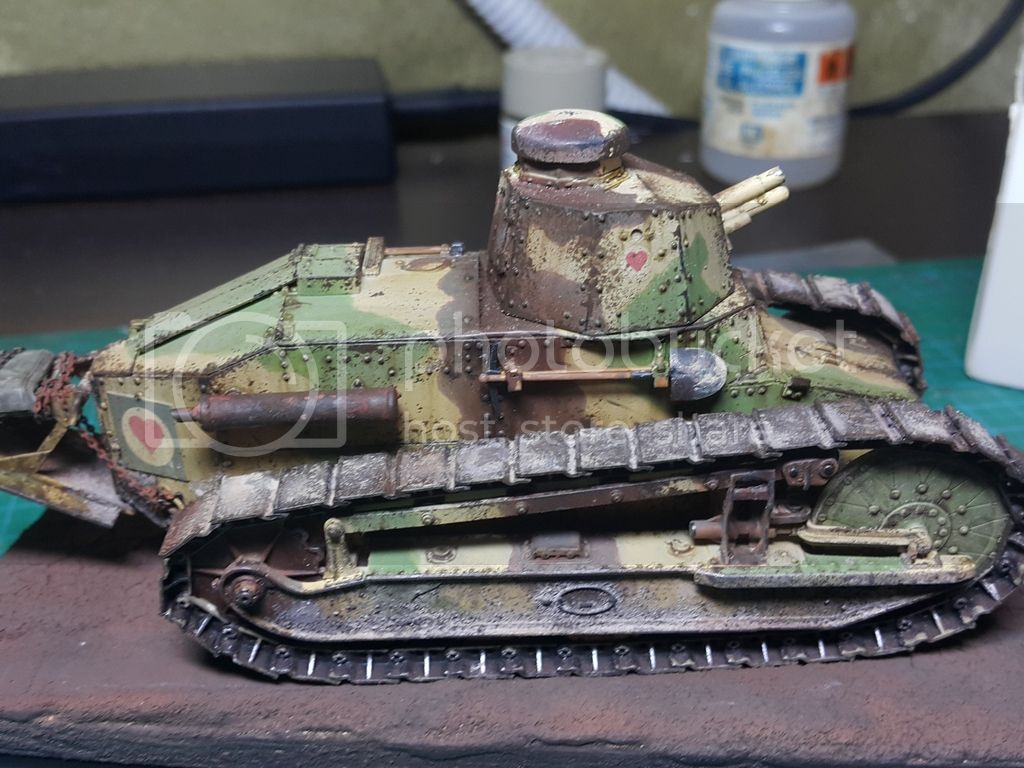
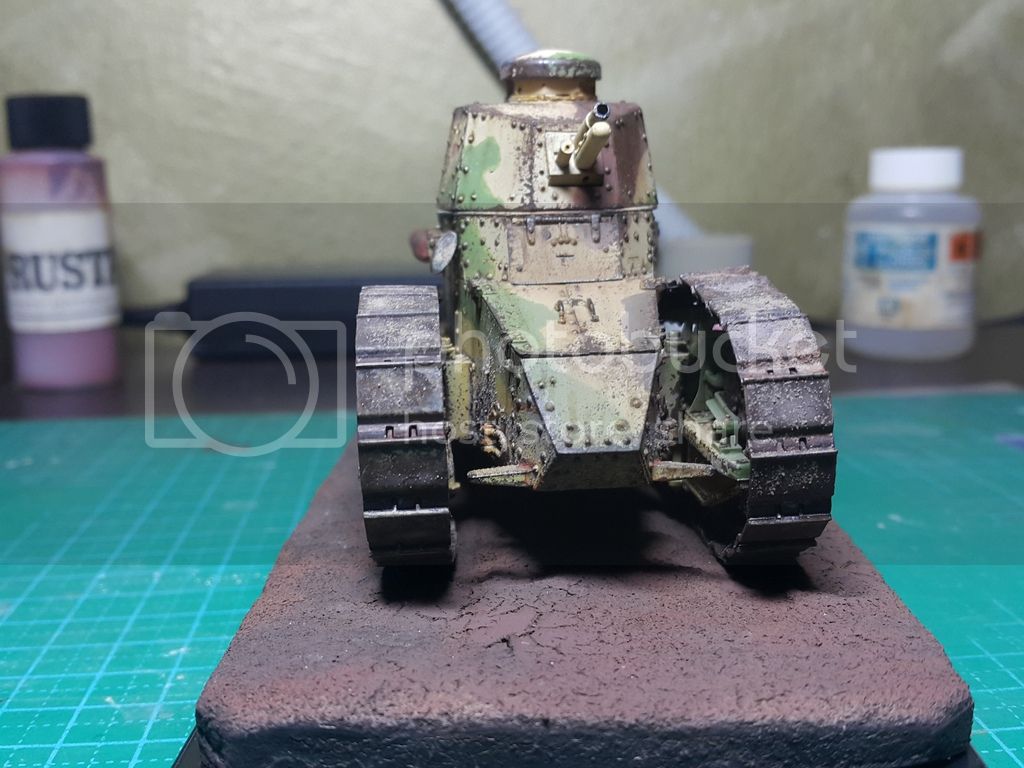
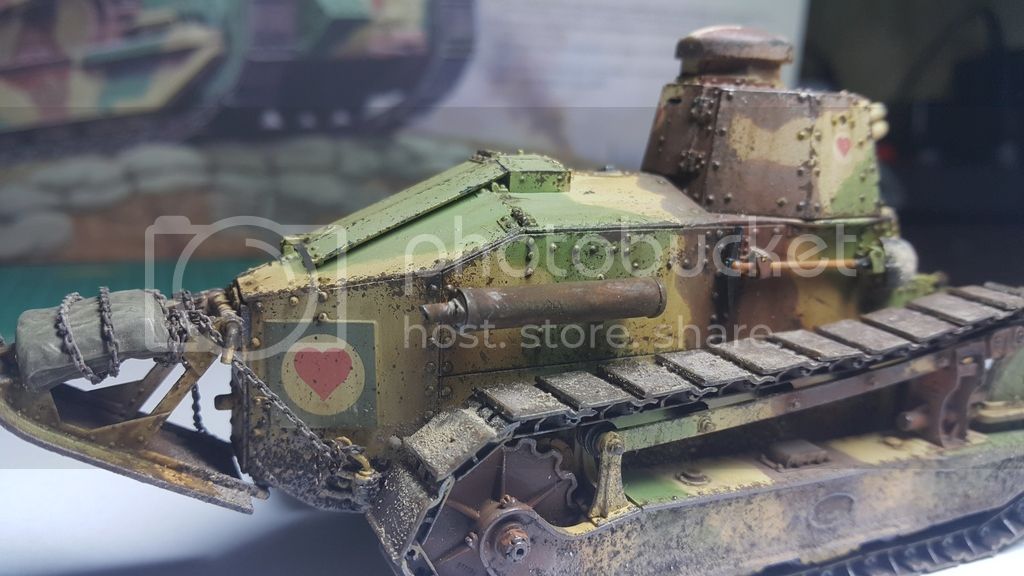
I completed the tracks. They are indy link type and snap together.
I painted them with black, then applied a wash of dark brown. Later i put on some pigment and add a very dusty and dirty tracks. I used pigment, tamiya make up as well as various shade of brown onto the tracks. Then i draw with 2B pencil to show some metal.
The tracks are easy to connect to the wheels.

Then i added brass chain from spare. All other small details i.e shovel, hammer were handpainted with vallejos.


Then i made a small base using plaster and sand as the top soil.
this is maybe 99% of the finished appearance.The base in this photos was 3 days old as yesterday i add some pigment and highlight on the surface.


will be back for the final photos... thanks for viewing
I appreciate all feedback and comments

Sil

165thspc
#521
Visit this Community
Kentucky, United States
Joined: April 13, 2011
KitMaker: 9,465 posts
Armorama: 8,695 posts
Posted: Sunday, June 18, 2017 - 08:05 PM UTC
Outstanding build and paint. Thank you for the tip on the buff overspray. That will be SOP for me from here on out!
Silantra
Visit this Community
Putrajaya, Malaysia
Joined: March 04, 2004
KitMaker: 2,511 posts
Armorama: 913 posts
Posted: Monday, June 19, 2017 - 05:02 AM UTC

Quoted Text

Outstanding build and paint. Thank you for the tip on the buff overspray. That will be SOP for me from here on out!


Thank you for the kind words... im glad u like it..

Sil
bprice1974
#436
Visit this Community
Pennsylvania, United States
Joined: August 10, 2014
KitMaker: 196 posts
Armorama: 182 posts
Posted: Monday, June 19, 2017 - 06:53 PM UTC
I love the way this tank turned out in the end. Very realistic look to it, one of the better FT-17 builds I have seen. Thanks for taking the time to photo and post your process on this build.
Silantra
Visit this Community
Putrajaya, Malaysia
Joined: March 04, 2004
KitMaker: 2,511 posts
Armorama: 913 posts
Posted: Tuesday, June 20, 2017 - 03:36 AM UTC

Quoted Text

I love the way this tank turned out in the end. Very realistic look to it, one of the better FT-17 builds I have seen. Thanks for taking the time to photo and post your process on this build.


Thank you sir.

Zaidi
gigi63
Visit this Community
Parma, Italy
Joined: February 09, 2014
KitMaker: 241 posts
Armorama: 241 posts
Posted: Wednesday, June 21, 2017 - 03:38 PM UTC
Really excellent job!!!!
 _GOTOTOP