Philippines
Joined: October 27, 2013
KitMaker: 520 posts
Armorama: 488 posts
Posted: Sunday, August 27, 2017 - 12:37 PM UTC
Greetings,
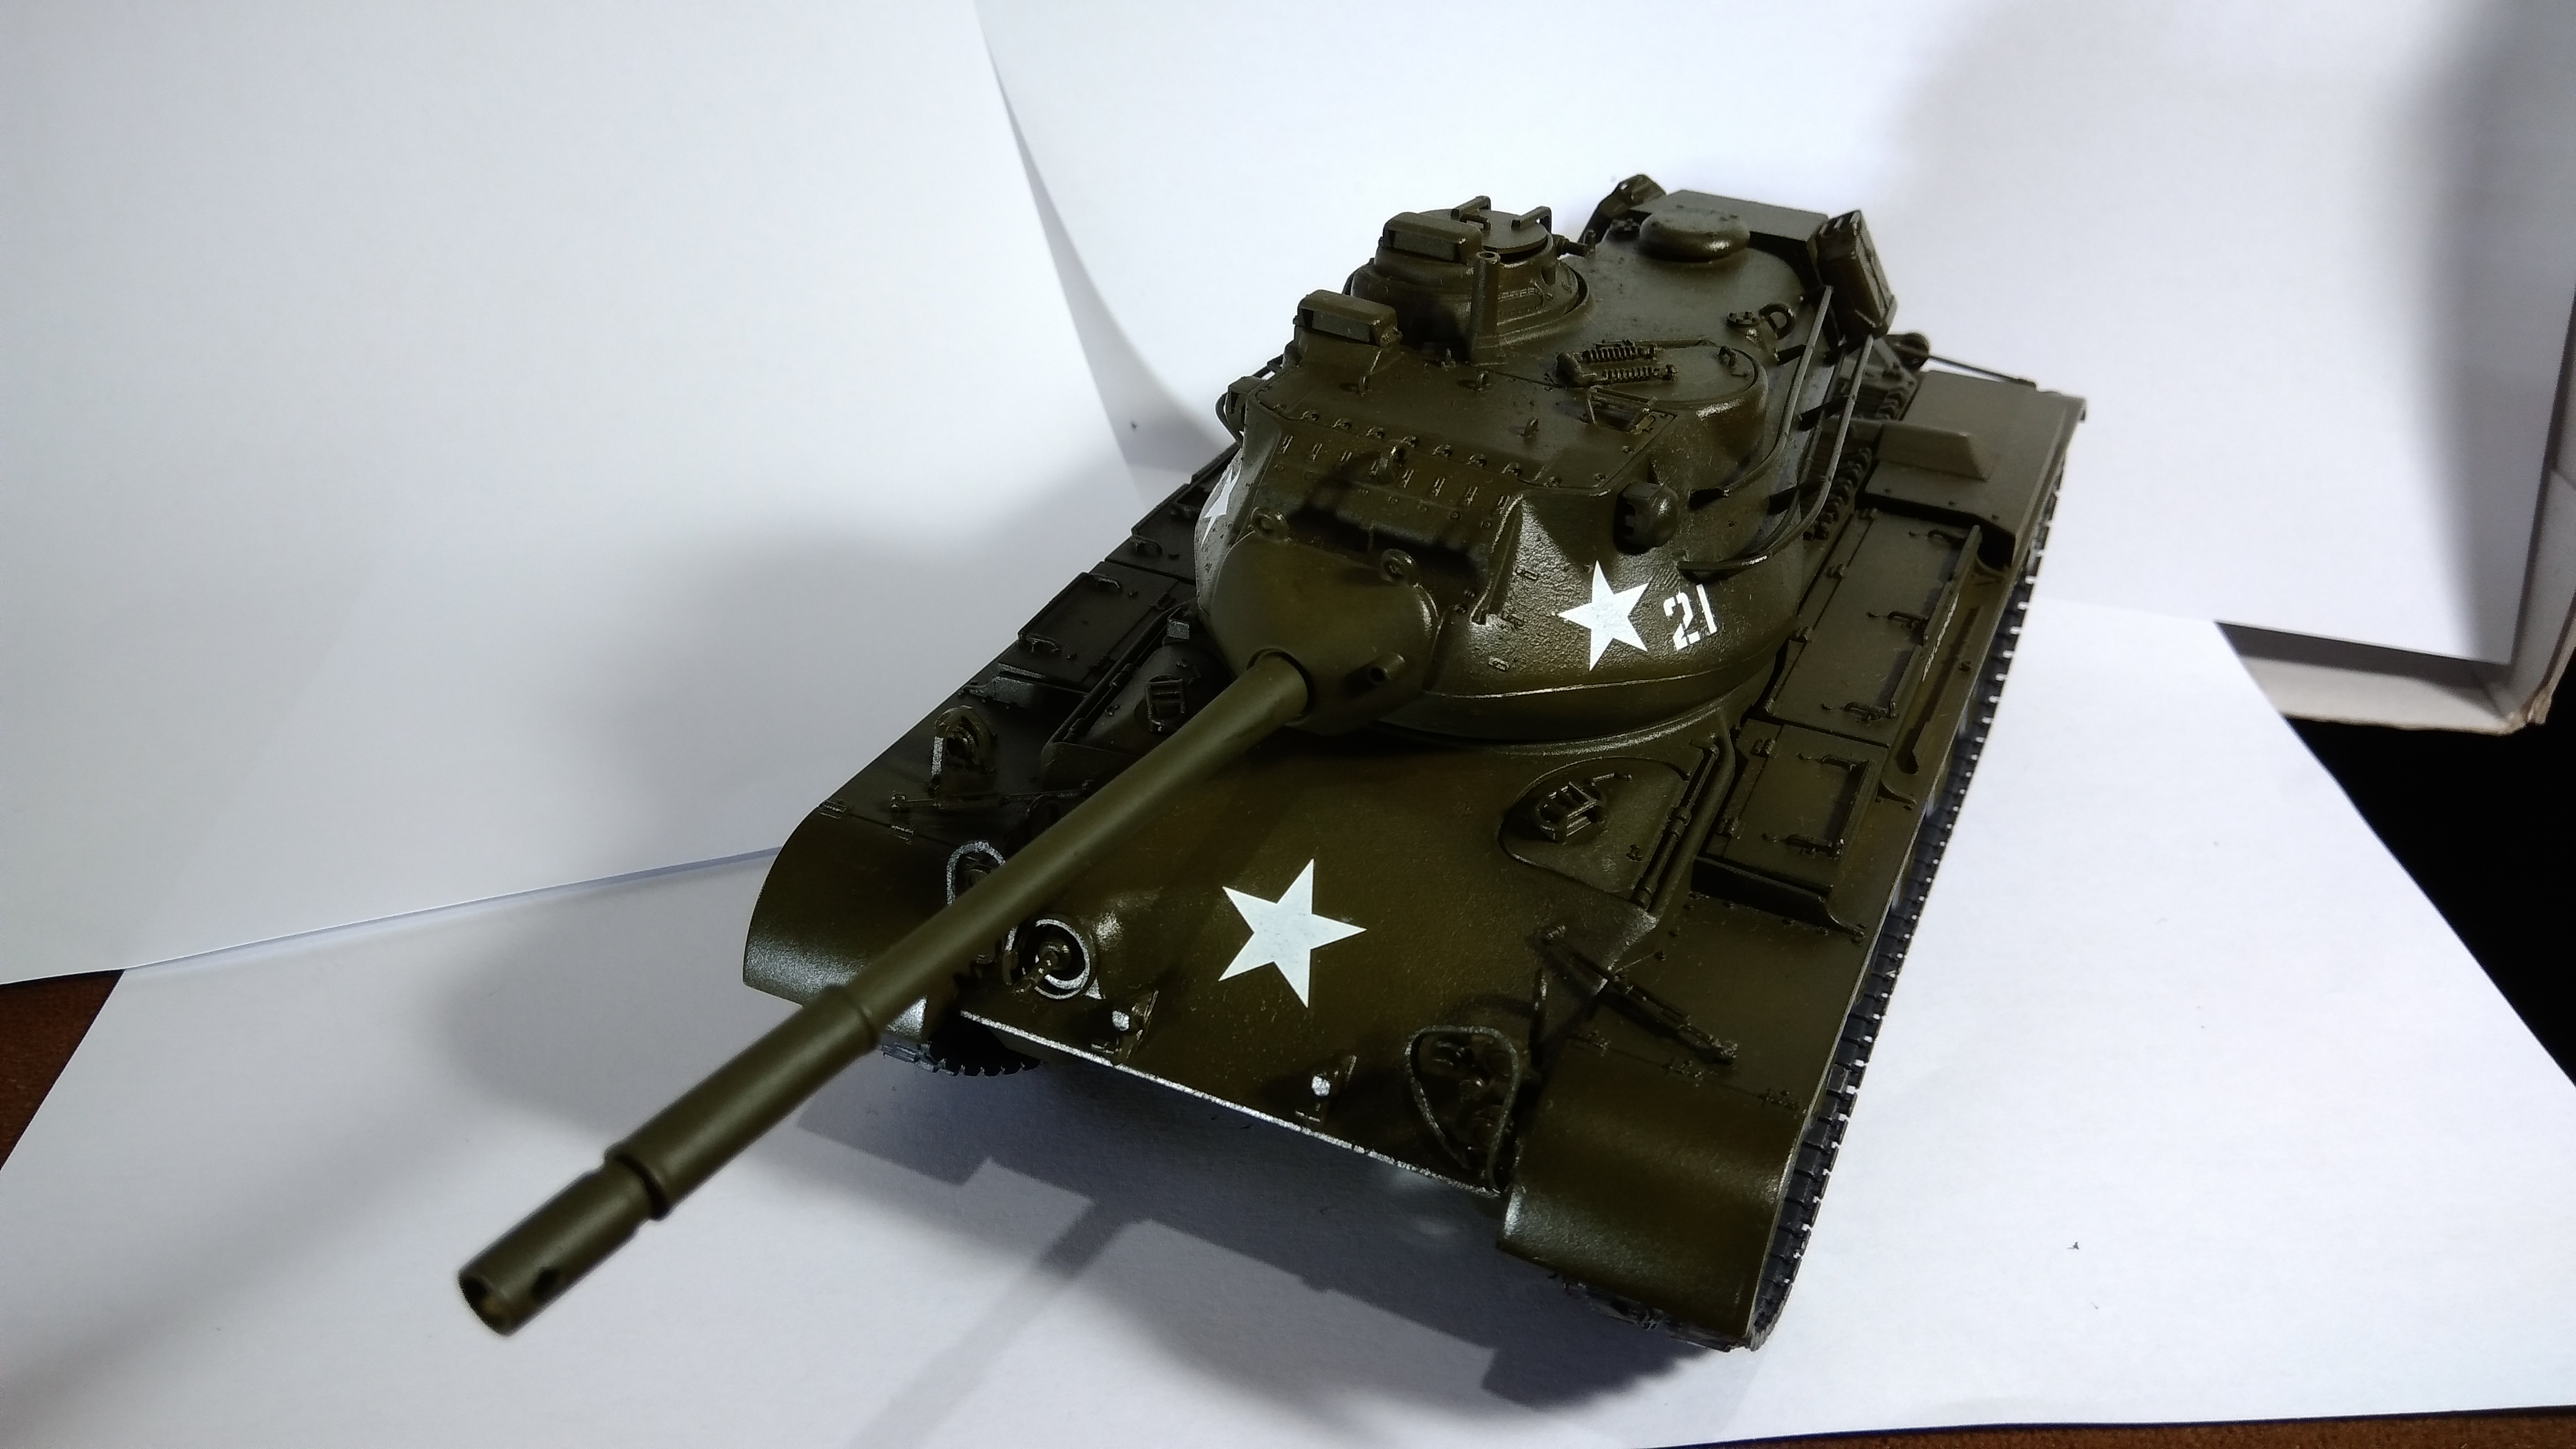
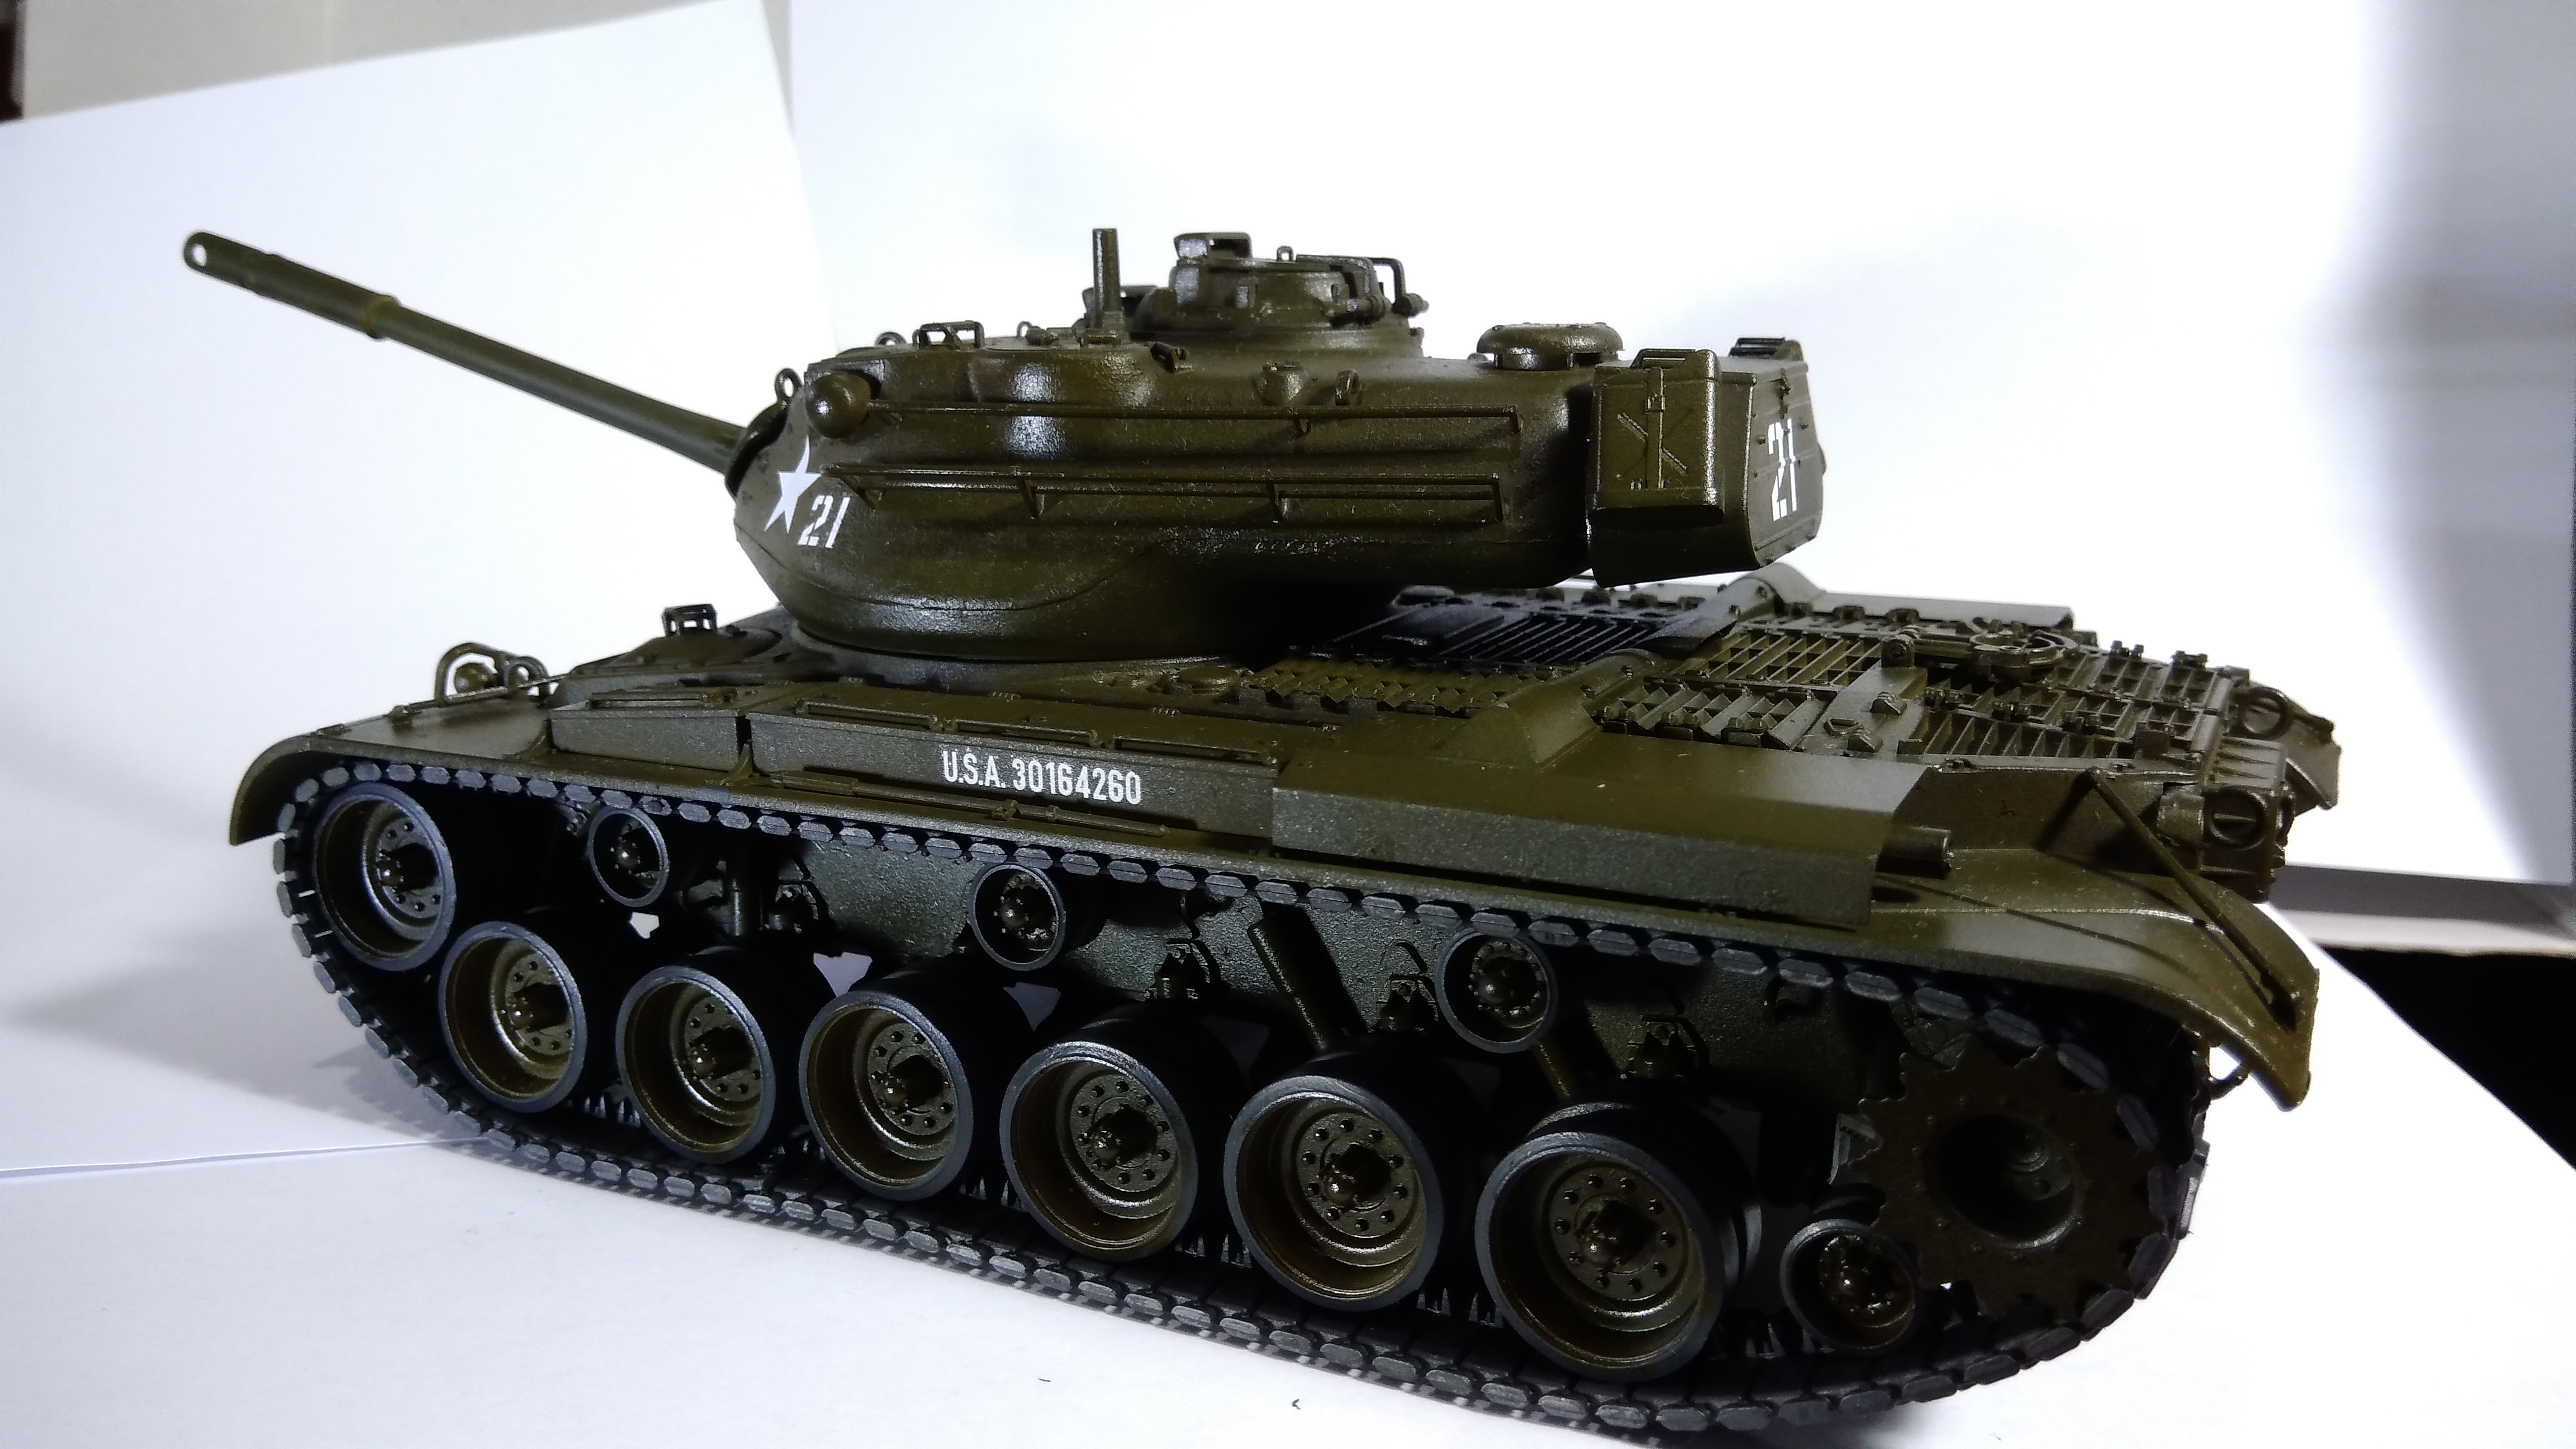
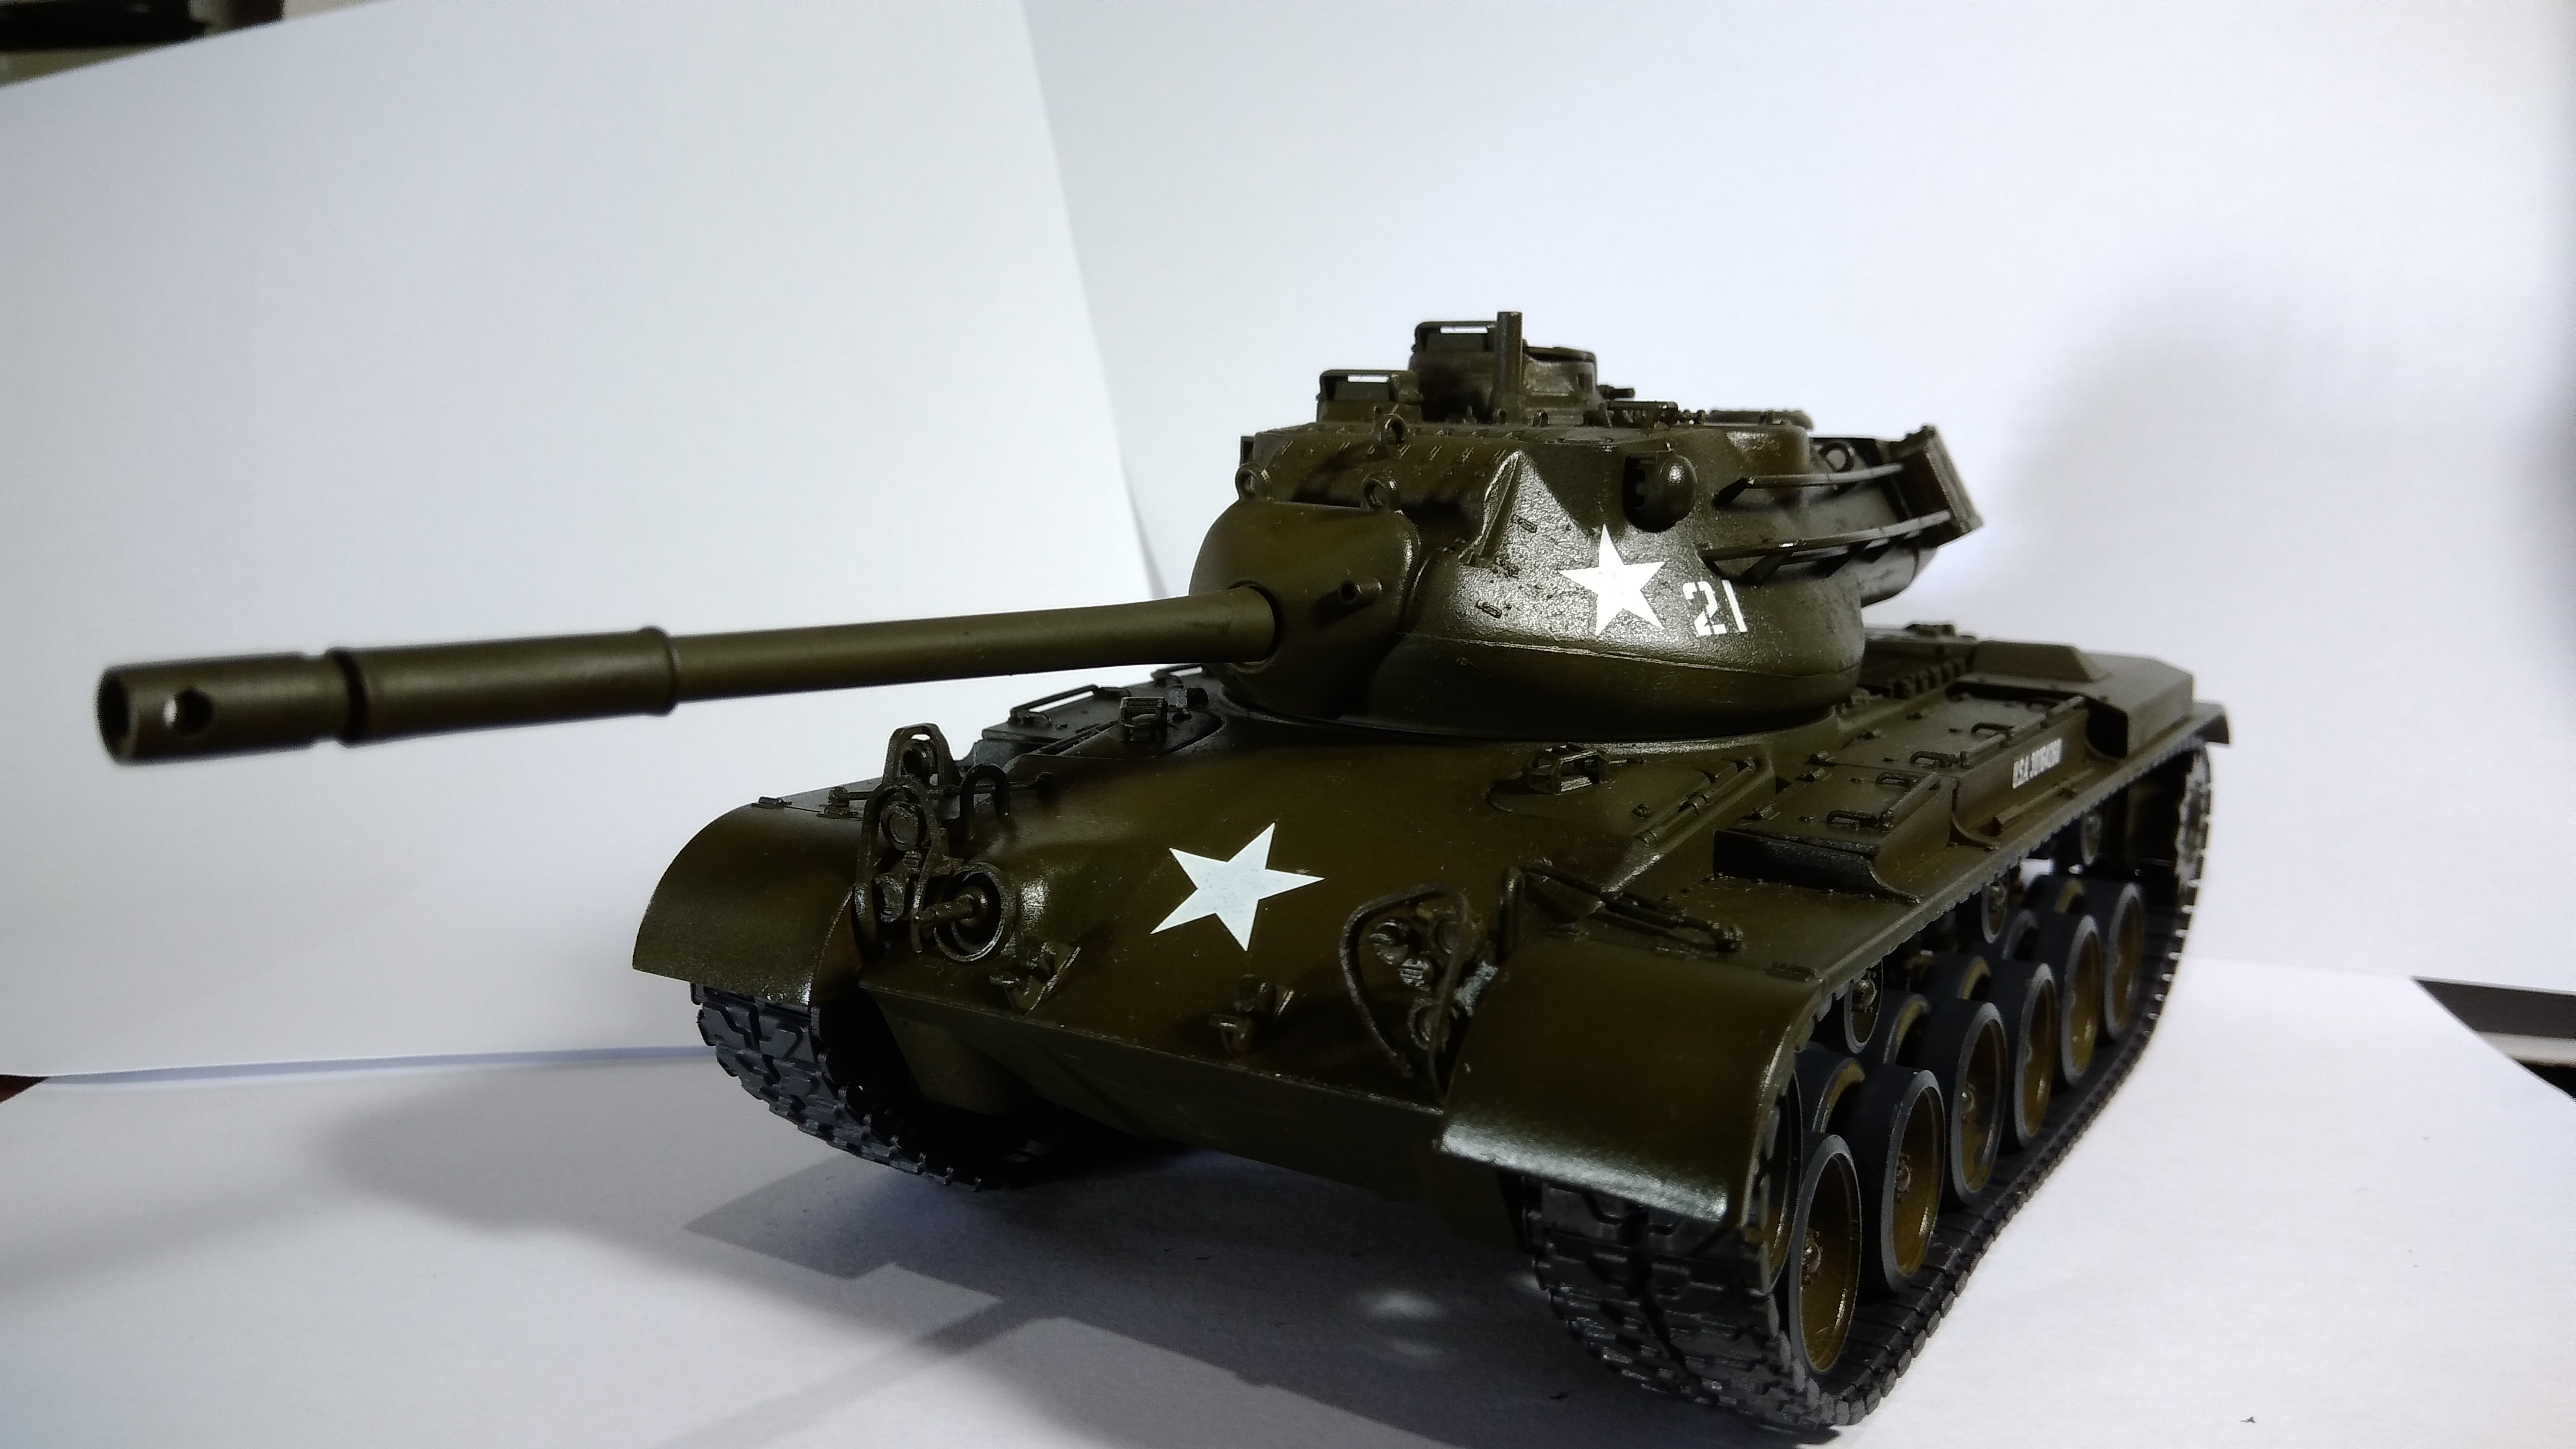
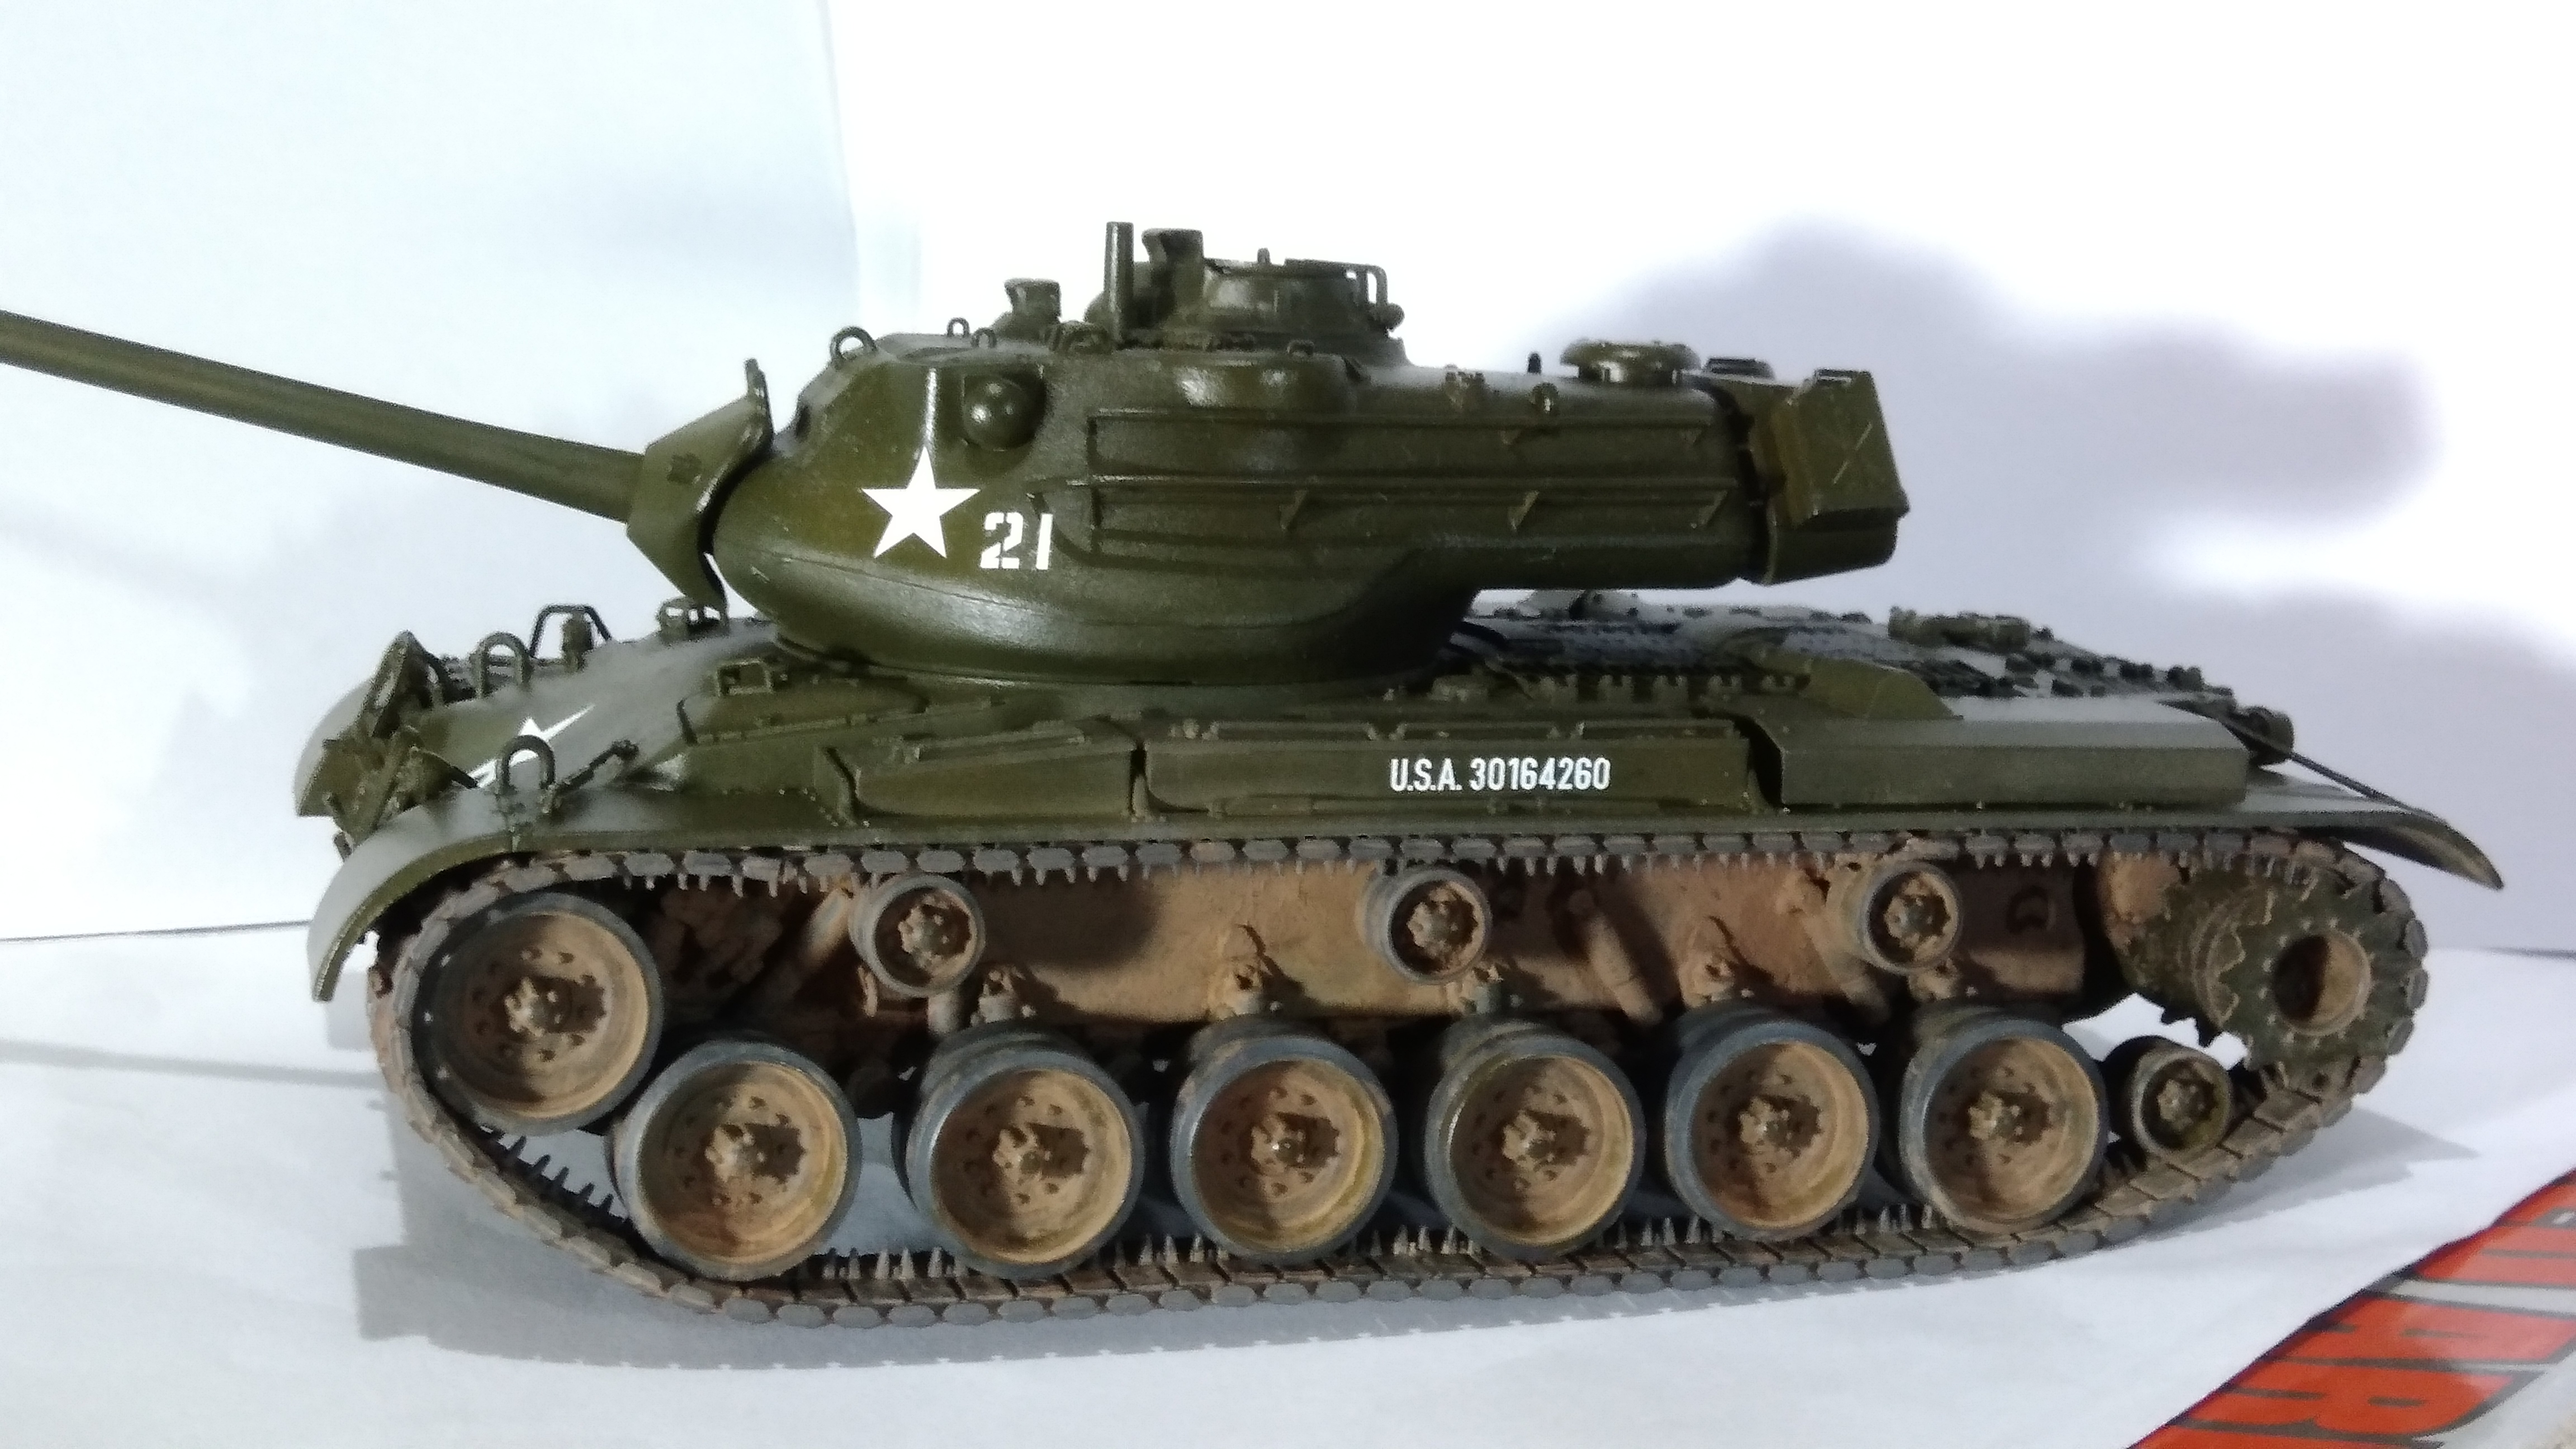
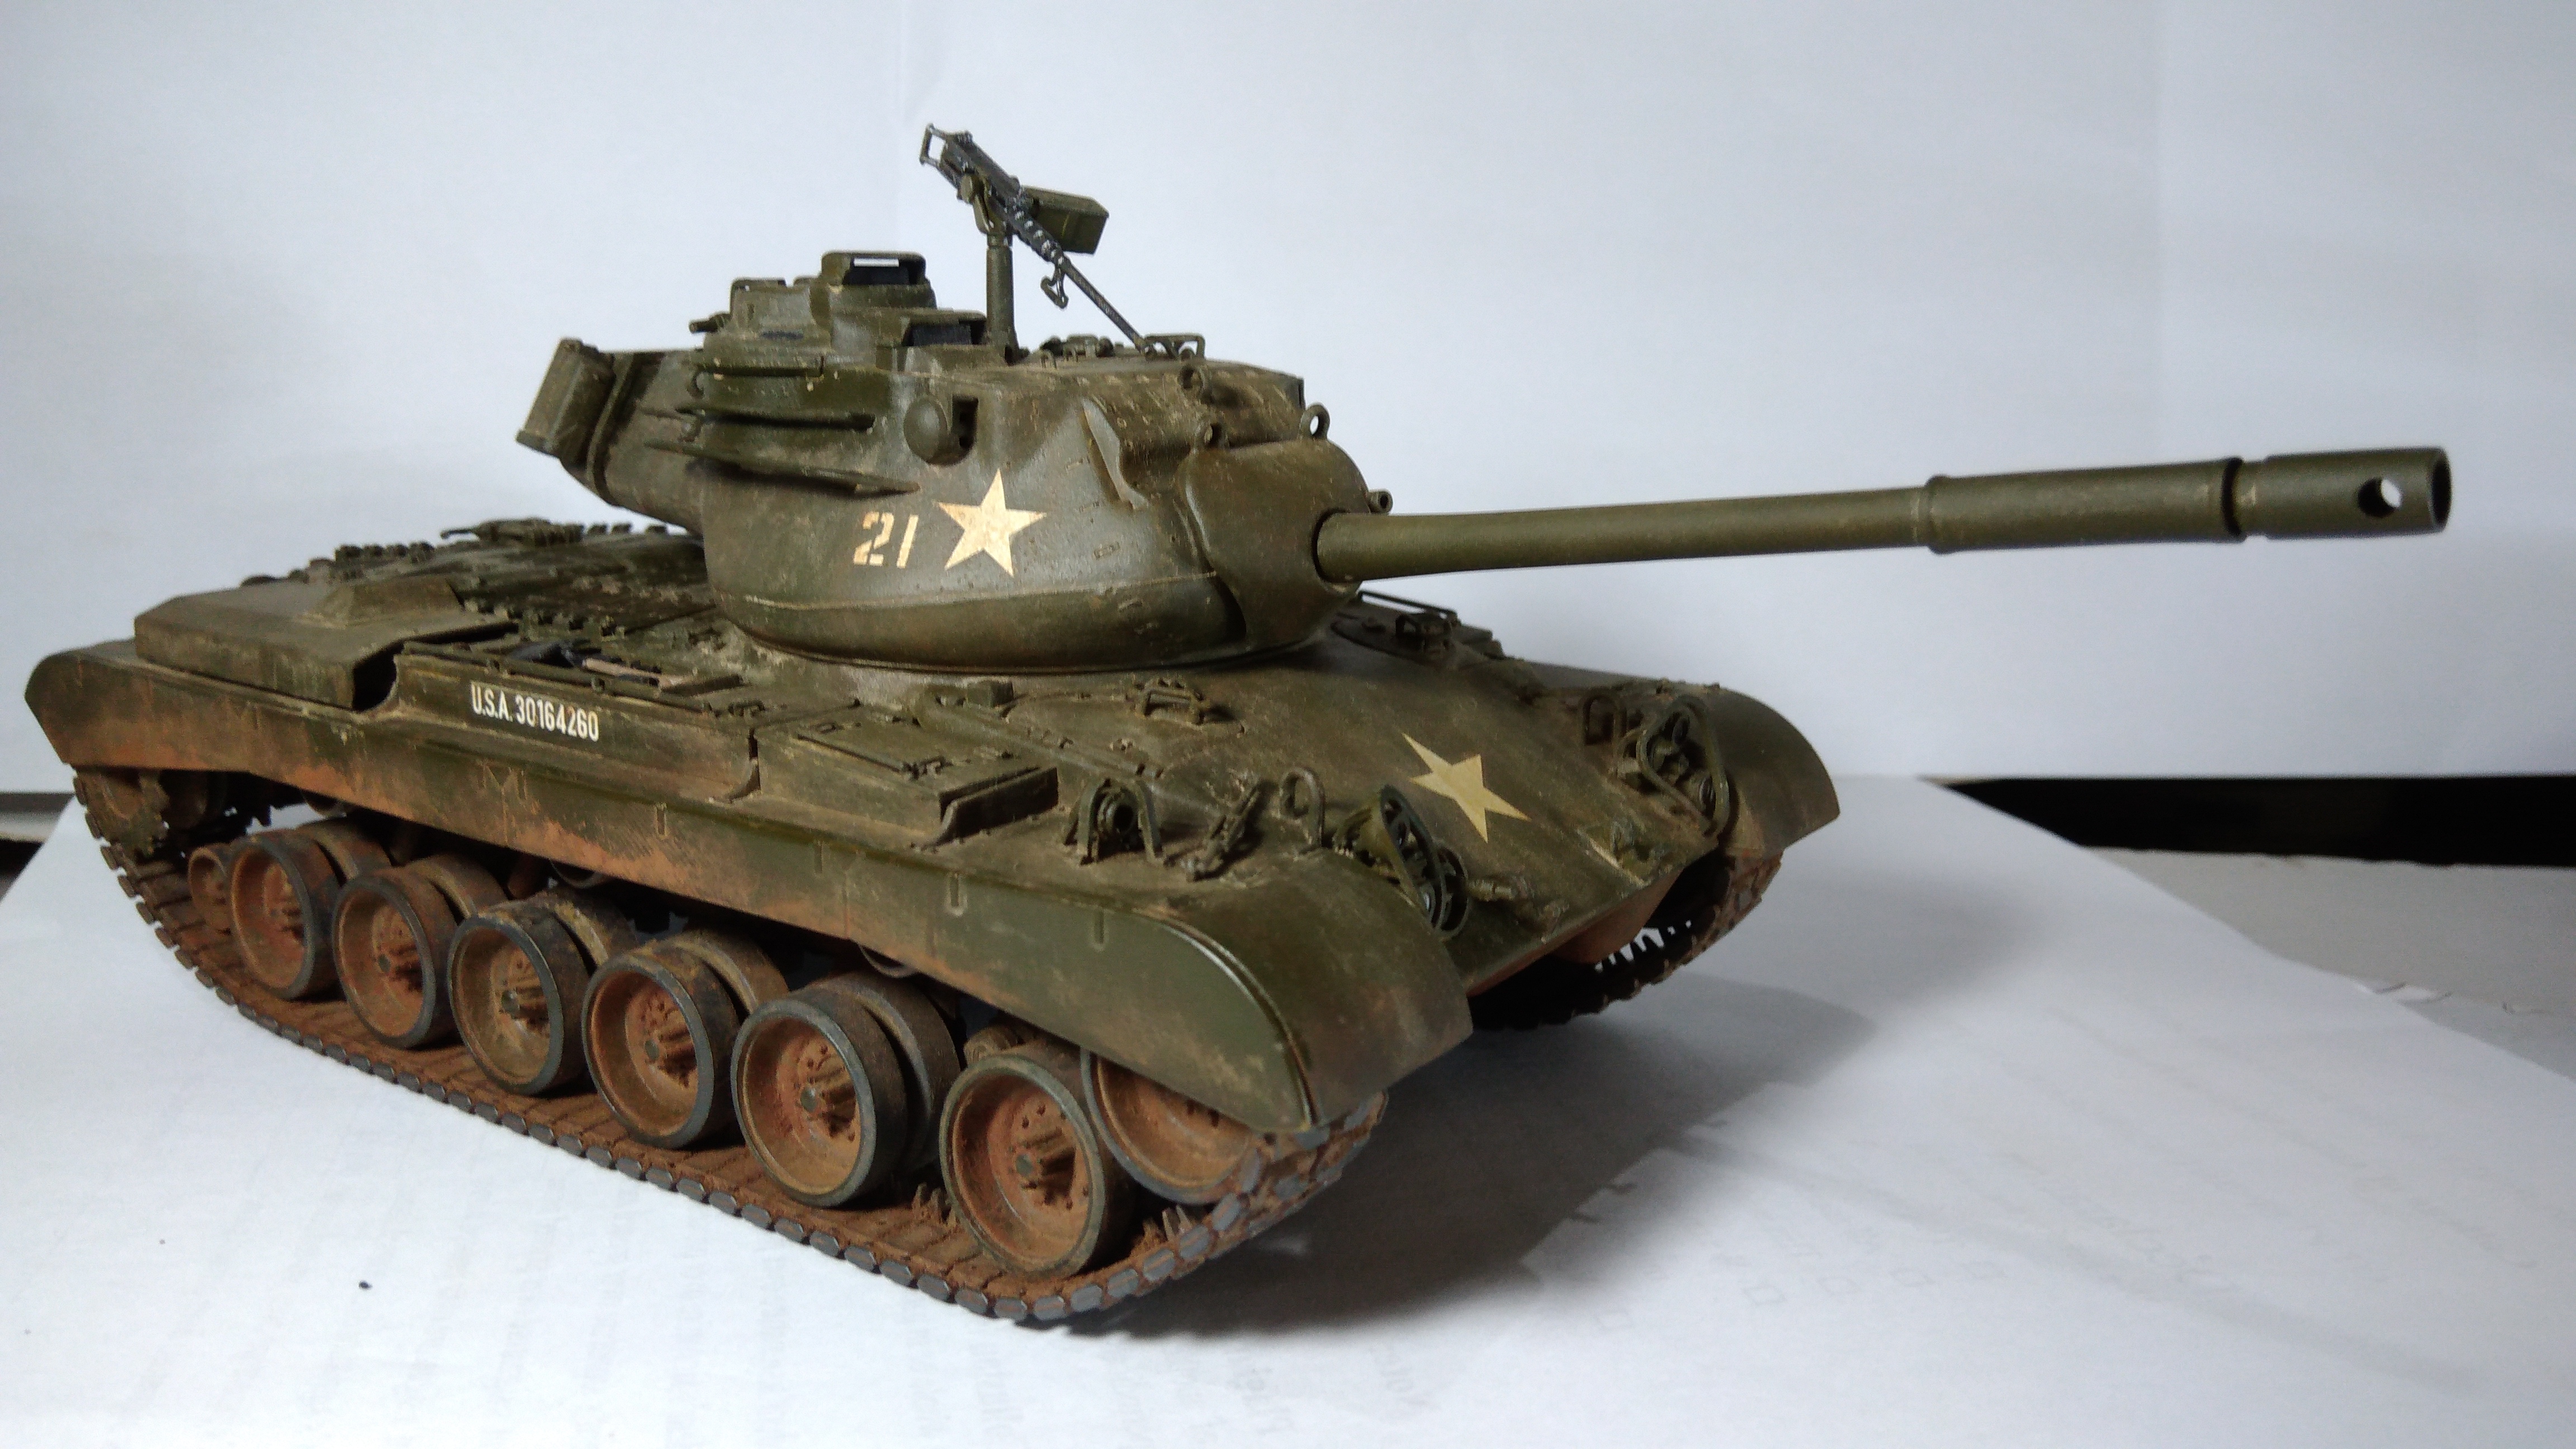
Here is my build progress for the M47 Patton. Sorry for the shoddy camera quality - will be taking better photos later. The photos show the tank in a darker shade than it ought to be.
Correze, France
Joined: June 10, 2004
KitMaker: 5,329 posts
Armorama: 5,204 posts
Posted: Sunday, August 27, 2017 - 12:57 PM UTC
Looks good but you should remove the assembly line of the turret halves.
Olivier
Visit my site Click the banner
"La reine des batailles, j'ai nommé l'infanterie"
Napoléon
Philippines
Joined: October 27, 2013
KitMaker: 520 posts
Armorama: 488 posts
Posted: Sunday, August 27, 2017 - 01:20 PM UTC
Isn't there a natural weldseam that goes along that line though? Tis was the reason I didn't remove it prior to painting (or at least from what I recall)
Correze, France
Joined: June 10, 2004
KitMaker: 5,329 posts
Armorama: 5,204 posts
Posted: Sunday, August 27, 2017 - 05:15 PM UTC
Quoted Text
Isn't there a natural weldseam that goes along that line though? Tis was the reason I didn't remove it prior to painting (or at least from what I recall)
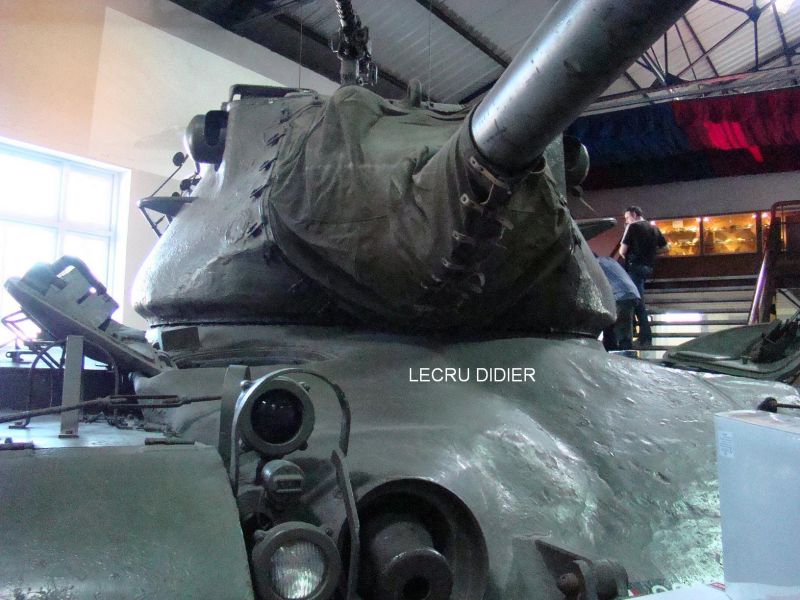
The turret was cast not welded.
Here is a picture of the turret.
Olivier
Visit my site Click the banner
"La reine des batailles, j'ai nommé l'infanterie"
Napoléon
New Jersey, United States
Joined: December 08, 2003
KitMaker: 2,864 posts
Armorama: 2,497 posts
Posted: Sunday, August 27, 2017 - 05:40 PM UTC
There is a weld seam between the two parts of the casting, but as the photo of the museum tank shows it's lower. Though some tanks have it higher but it's not a gap like that. On some tanks it has rough machining but not a gap. I have even seen one where it was nearly machined flat. (The old Patton armor museum M47 IIRC)
"The only thing a man should take seriously is the fact that nothing should be taken seriously."
Samuel Butler, Victorian satirist
Steve Willoughby
barkingdigger
 Associate Editor
#013
England - East Anglia, United Kingdom
Joined: June 20, 2008
KitMaker: 3,981 posts
Armorama: 3,403 posts
Posted: Sunday, August 27, 2017 - 05:49 PM UTC
Technically it is a casting seam, not a weld. The sand moulds are made in several parts that fit together before the steel is poured, and the edges where the moulds meet often crumble a bit, leaving lumpy rough blobs that need to be removed with an angle-grinder. The resulting finish varies from tank to tank, with some looking like there isn't a seam at all, and others having big flat spots - it al depends on the guy with the grinder.
Bear in mind your dark glossy paint will look a few shades lighter once you hit it with a clear matte coat!
"Glue, or Glue Not - there is no Dry-Fit" - Yoda (original script from Return of the Jedi...)
Correze, France
Joined: June 10, 2004
KitMaker: 5,329 posts
Armorama: 5,204 posts
Posted: Sunday, August 27, 2017 - 06:16 PM UTC
Two other M47 preserved in French museums or barracks.
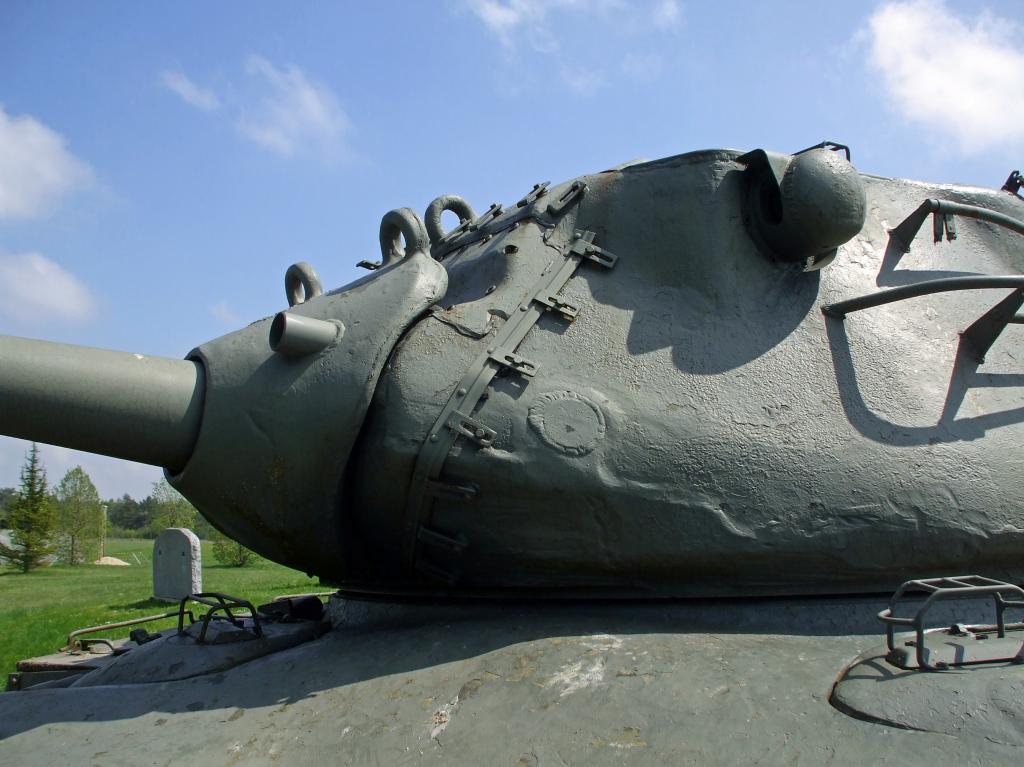
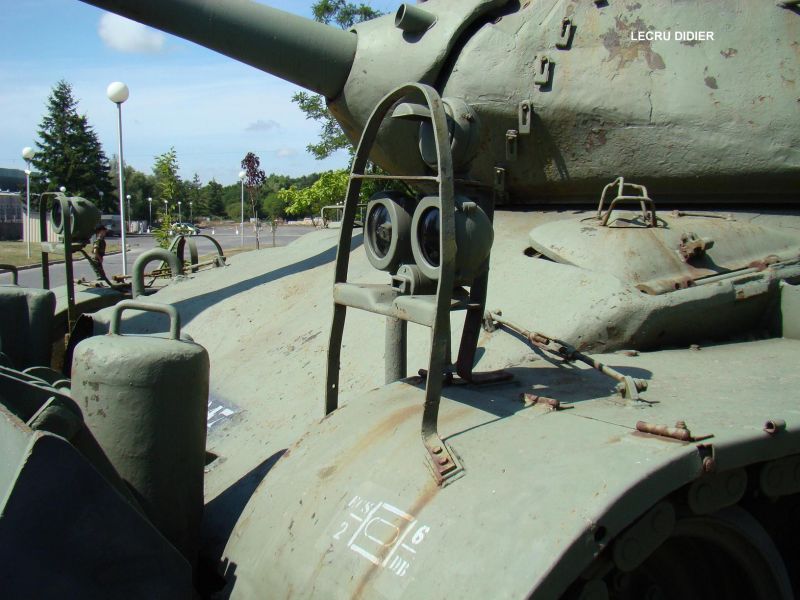
For what it's worth.
Olivier
Visit my site Click the banner
"La reine des batailles, j'ai nommé l'infanterie"
Napoléon
JPTRR
 Managing Editor
#051
Tennessee, United States
Joined: December 21, 2002
KitMaker: 7,772 posts
Armorama: 2,447 posts
Posted: Sunday, August 27, 2017 - 08:01 PM UTC
Nigel,
Good M-47.
Group - great info about the seam. I plan to build this kit someday and this answers questions I have had.
BTW, I can't recall his name but a few years ago a member who is/was a tanker in the Italian army built his Italeri M-47 and put lots of extras onto it. There is a good blog of it here in the forums.

If they demand your loyalty, give them integrity; if they demand integrity, give them your loyalty.--Col John Boyd, USAF
“Any plan where you lose your hat is a bad plan.”
JPTRR
 Managing Editor
#051
Tennessee, United States
Joined: December 21, 2002
KitMaker: 7,772 posts
Armorama: 2,447 posts
Posted: Sunday, August 27, 2017 - 08:05 PM UTC
If they demand your loyalty, give them integrity; if they demand integrity, give them your loyalty.--Col John Boyd, USAF
“Any plan where you lose your hat is a bad plan.”
Philippines
Joined: October 27, 2013
KitMaker: 520 posts
Armorama: 488 posts
Posted: Sunday, August 27, 2017 - 08:57 PM UTC
Quoted Text
Quoted Text
Isn't there a natural weldseam that goes along that line though? Tis was the reason I didn't remove it prior to painting (or at least from what I recall)
The turret was cast not welded.
Here is a picture of the turret.

Olivier
Quoted Text
There is a weld seam between the two parts of the casting, but as the photo of the museum tank shows it's lower. Though some tanks have it higher but it's not a gap like that. On some tanks it has rough machining but not a gap. I have even seen one where it was nearly machined flat. (The old Patton armor museum M47 IIRC)
Thanks to all the clarification guys! This helps me a lot as I have another Italeri M47 lined up after this... thinking of looking for more info on what it would take to make this into either a West German or a Jordanian Vehicle (with the desert camo). I don't want to touch the decals or the paint on the turret so I'll just put this lesson to good use on the next kit.
Unfortunately, I hit a snag while building the kit.

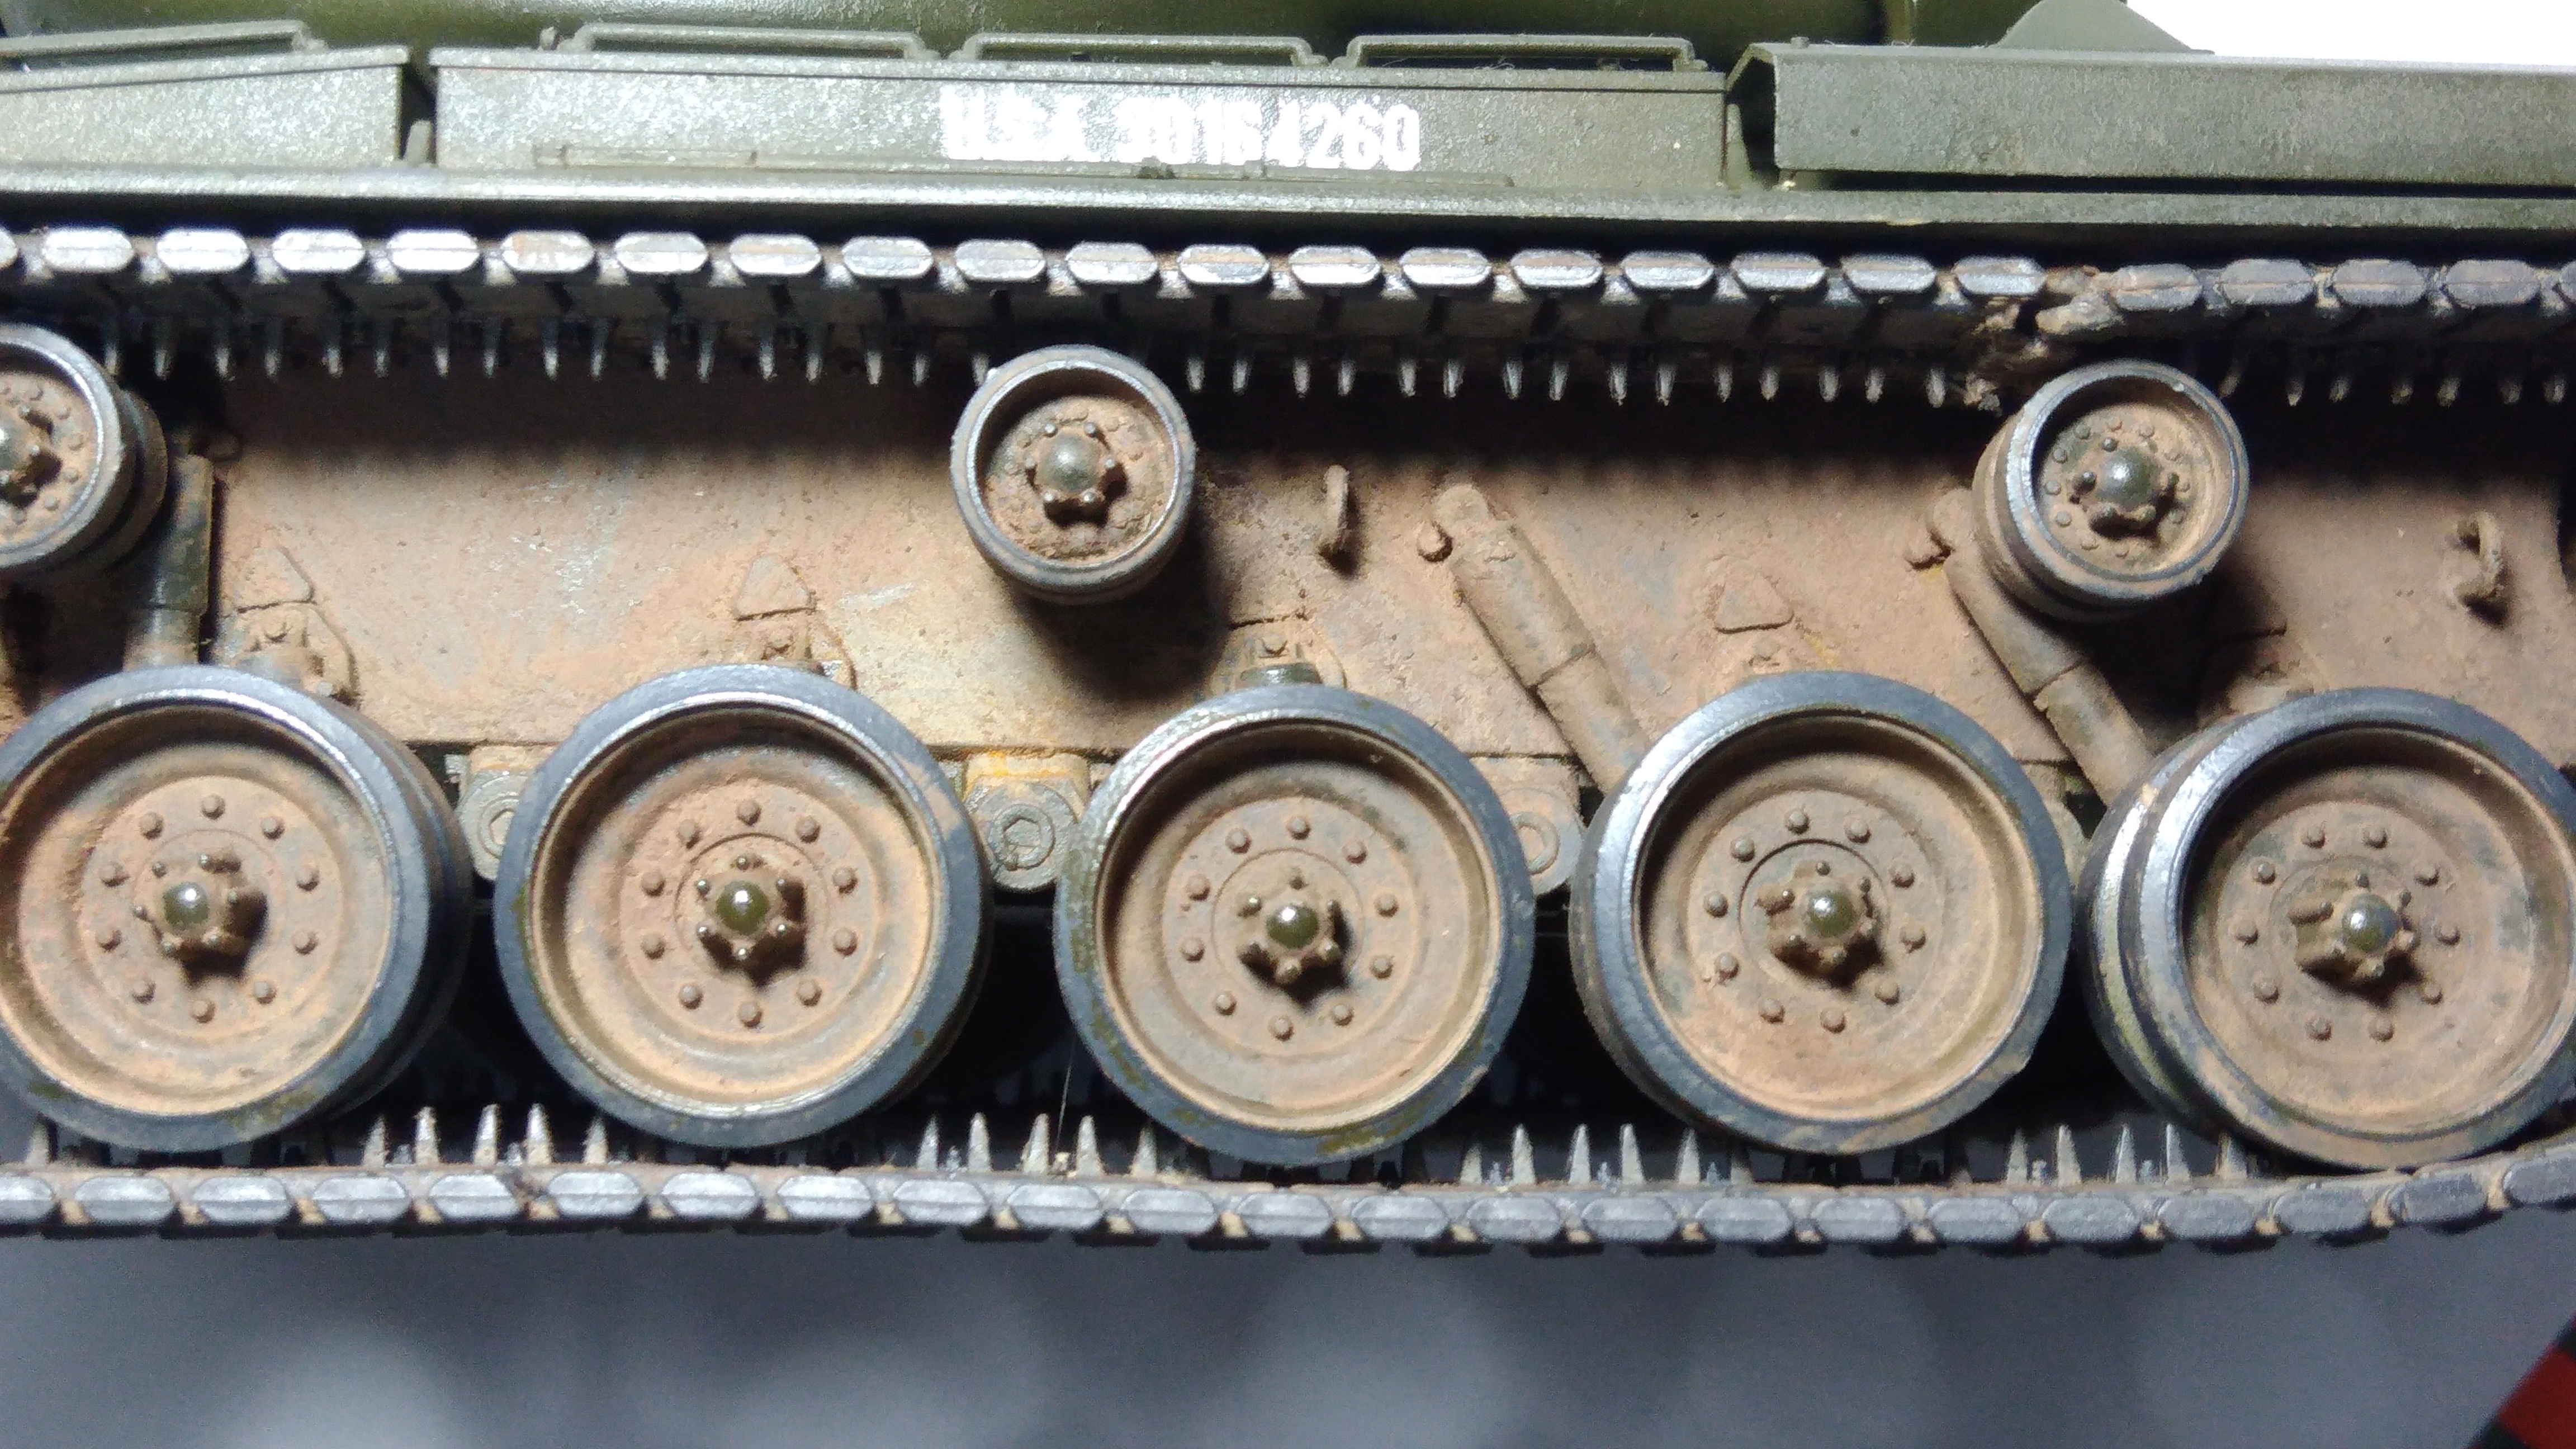
After weathering the tracks with vallejo pigments and enamels, it disintegrated after I wrapped it around the tank again. After adding more fuel to the flames (I liberally spread super glue out of frustration on the kit), I took a leaf out of old moldelers advice and used staple wire to fix the tracks. It looks ugly, and there is damage present on the tracks but at least I won't have to purchase AM tracks nor abandon the build altogether. I'm going to put a dullcoat on it and sleep for the night. I am considering putting the side skirts on just to hide the damaged parts.

Florida, United States
Joined: November 23, 2012
KitMaker: 1,277 posts
Armorama: 1,254 posts
Posted: Sunday, August 27, 2017 - 11:54 PM UTC
Quoted Text
Quoted Text
Quoted Text
Isn't there a natural weldseam that goes along that line though? Tis was the reason I didn't remove it prior to painting (or at least from what I recall)
The turret was cast not welded.
Here is a picture of the turret.

Olivier
Quoted Text
There is a weld seam between the two parts of the casting, but as the photo of the museum tank shows it's lower. Though some tanks have it higher but it's not a gap like that. On some tanks it has rough machining but not a gap. I have even seen one where it was nearly machined flat. (The old Patton armor museum M47 IIRC)
Thanks to all the clarification guys! This helps me a lot as I have another Italeri M47 lined up after this... thinking of looking for more info on what it would take to make this into either a West German or a Jordanian Vehicle (with the desert camo). I don't want to touch the decals or the paint on the turret so I'll just put this lesson to good use on the next kit.
Unfortunately, I hit a snag while building the kit.  After weathering the tracks with vallejo pigments and enamels, it disintegrated after I wrapped it around the tank again. After adding more fuel to the flames (I liberally spread super glue out of frustration on the kit), I took a leaf out of old moldelers advice and used staple wire to fix the tracks. It looks ugly, and there is damage present on the tracks but at least I won't have to purchase AM tracks nor abandon the build altogether. I'm going to put a dullcoat on it and sleep for the night. I am considering putting the side skirts on just to hide the damaged parts.

I've been working 4 M47's at the same time for the past 2 years...replacing kit shortcomings with as much aftermarket fixes that I can. In that effort, I have gone pretty much with aftermarket tracks.
Hate seeing a modeler stuck because of missing/bad parts, so, I have an extra set of kit tracks if you would like to have them. Free. Just PM me with a name and address.
IPMS number 506
AMPS number 711
Florida, United States
Joined: October 21, 2013
KitMaker: 751 posts
Armorama: 751 posts
Posted: Monday, August 28, 2017 - 01:22 AM UTC
Your M-47 does look great for the age of the kit.Even after looking at these photos and reading what others have said about midway around the turret has helped too for me.
United Kingdom
Joined: September 17, 2012
KitMaker: 462 posts
Armorama: 417 posts
Posted: Monday, August 28, 2017 - 01:44 AM UTC
Your M47 looks grand! I've built a couple of the Italeri M47s and it is a very nice kit given its age. Keep going!
Cheers
Matthew
Philippines
Joined: October 27, 2013
KitMaker: 520 posts
Armorama: 488 posts
Posted: Monday, August 28, 2017 - 06:56 PM UTC
Quoted Text
I've been working 4 M47's at the same time for the past 2 years...replacing kit shortcomings with as much aftermarket fixes that I can. In that effort, I have gone pretty much with aftermarket tracks.
Hate seeing a modeler stuck because of missing/bad parts, so, I have an extra set of kit tracks if you would like to have them. Free. Just PM me with a name and address.
Thank you for the offer! Unfortunately, I live halfway across the globe so I don't think it will be worth the trouble for you to send it

Really appreciate the offer though.
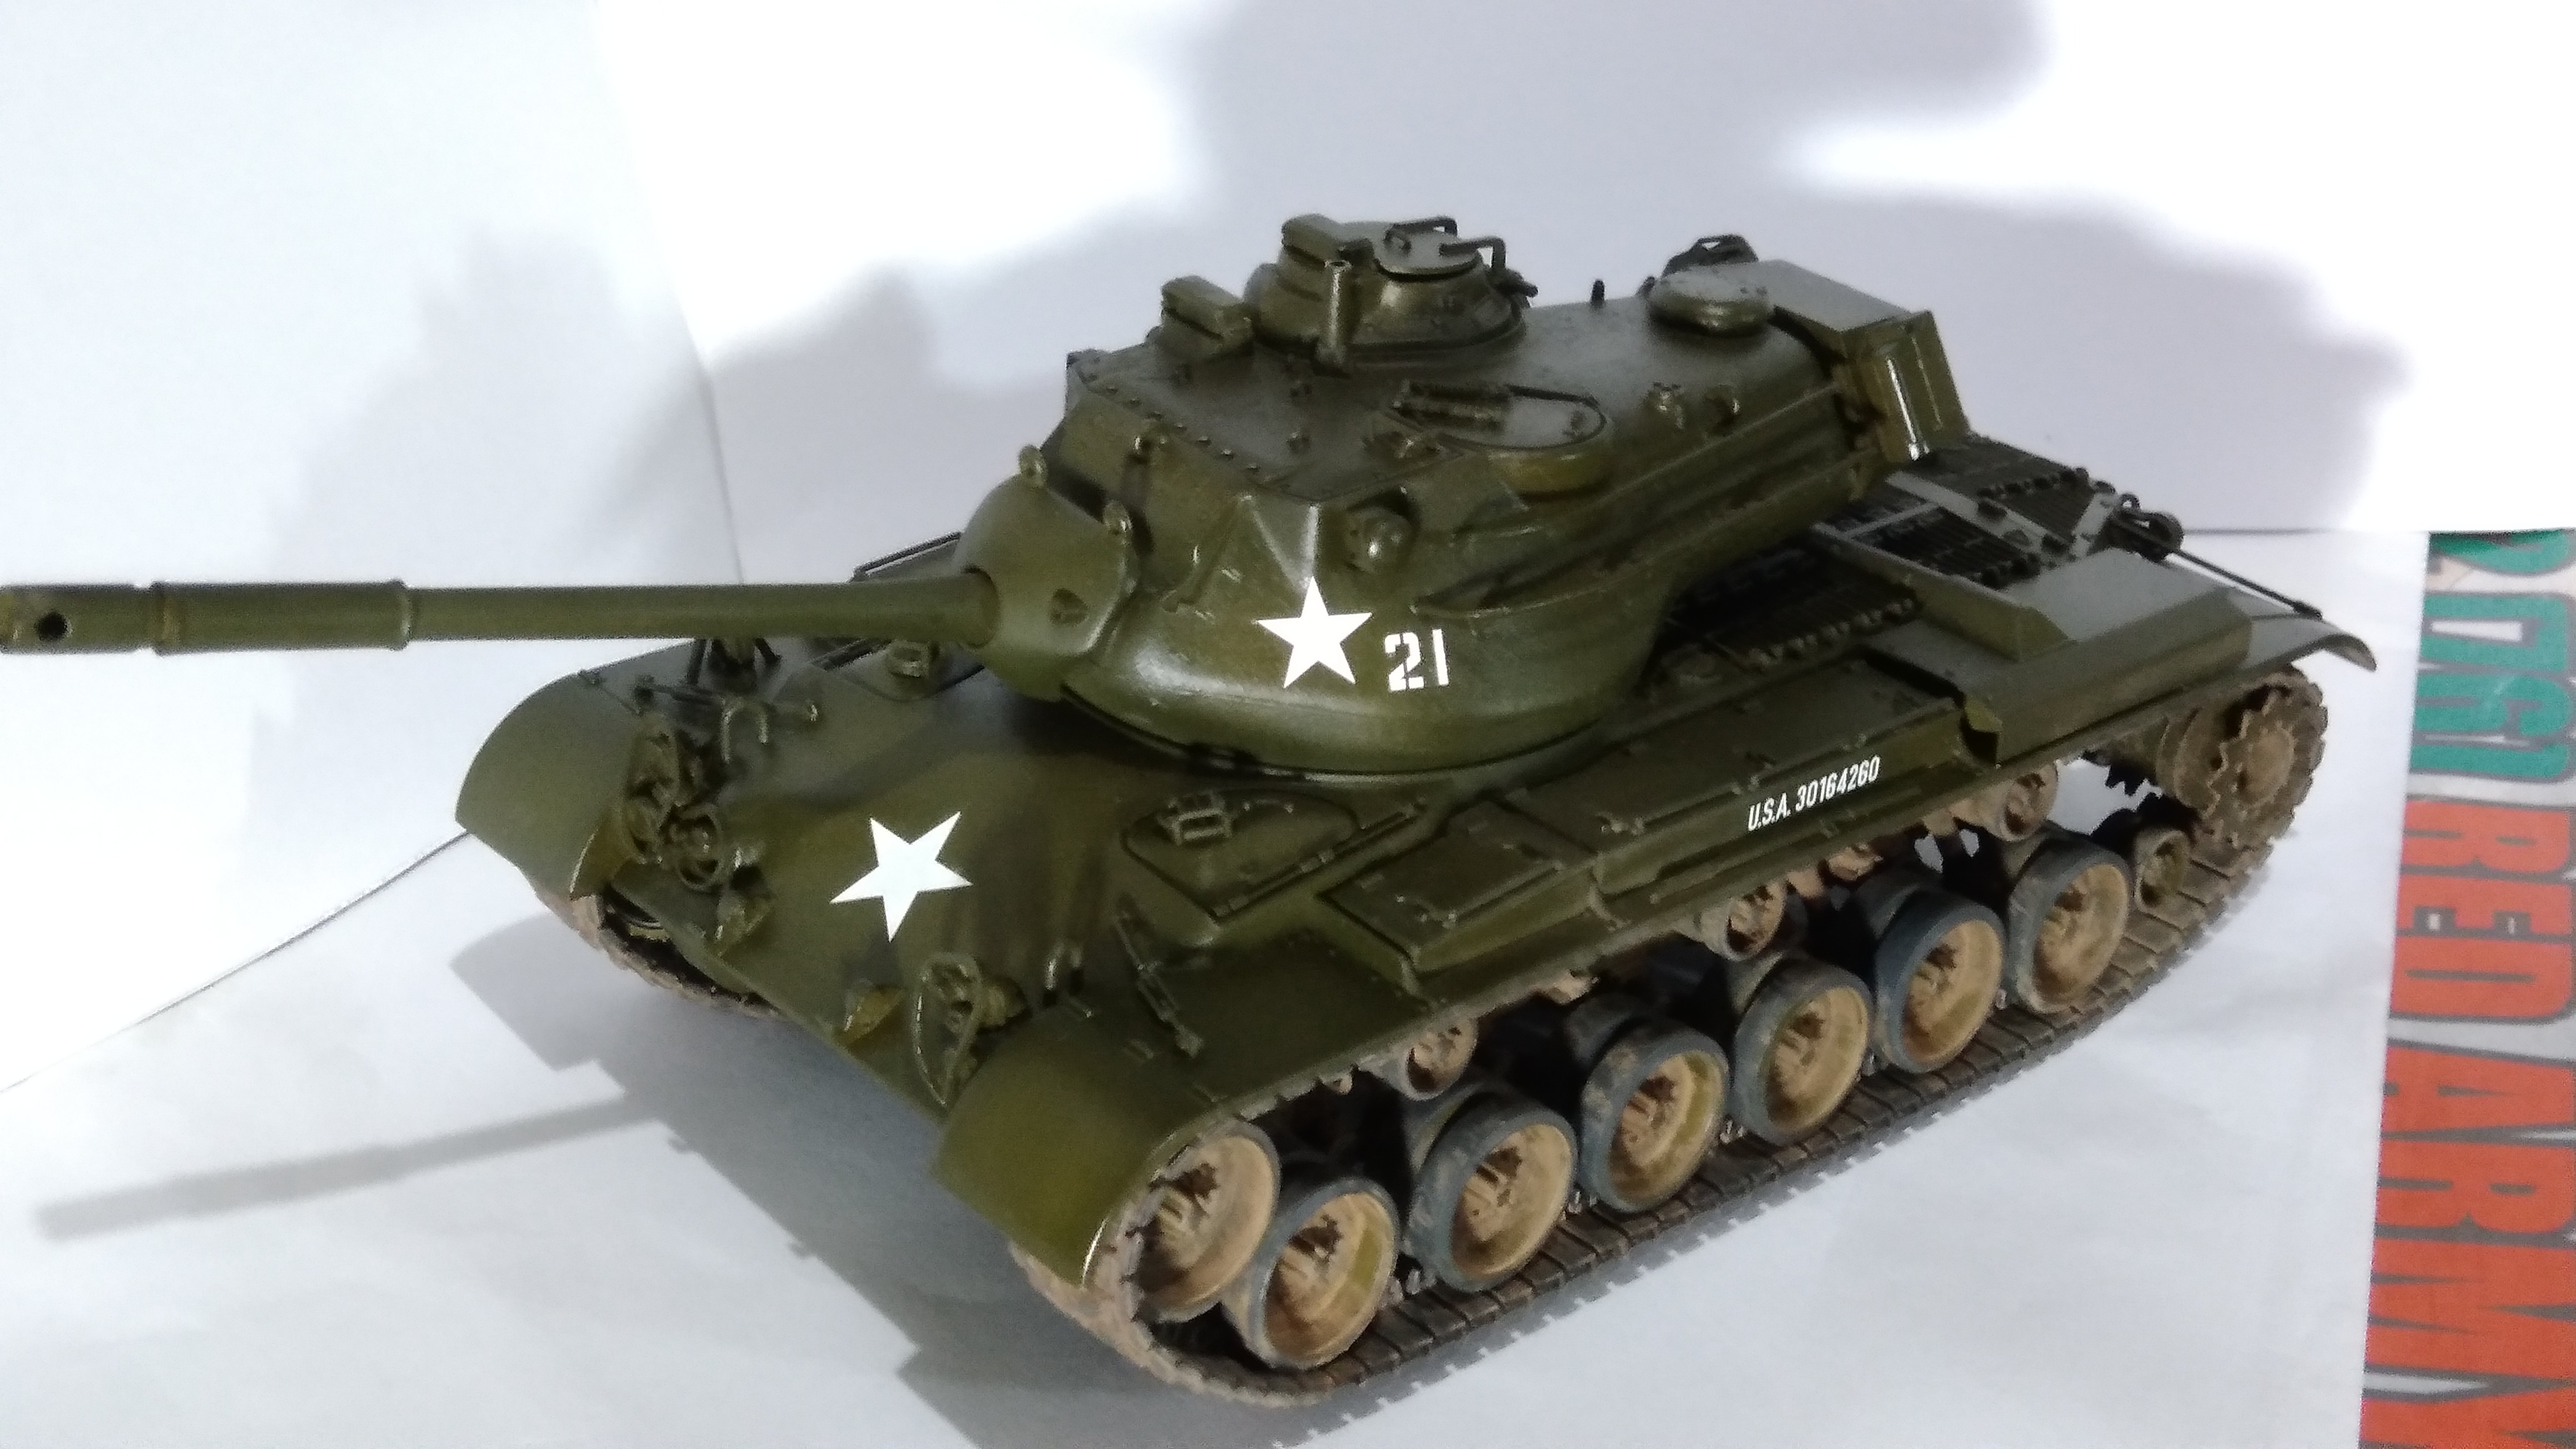
Here's what she looks like so far. I'm considering hiding the damaged parts of the tracks behind the optional sand shields...which brings me to my question: How regularly where the sand shields/skirts fitted to the vehicles? As far as I can tell fron the photos I've seen, the shields were only equipped in the factory or during tests. Were they actually used in the field?
Texas, United States
Joined: March 05, 2003
KitMaker: 2,092 posts
Armorama: 1,607 posts
Posted: Tuesday, August 29, 2017 - 02:48 AM UTC
Can you hide it under a roadwheel which will push it flat?
Philippines
Joined: October 27, 2013
KitMaker: 520 posts
Armorama: 488 posts
Posted: Friday, September 08, 2017 - 09:25 PM UTC
Oklahoma, United States
Joined: March 01, 2002
KitMaker: 6,043 posts
Armorama: 4,347 posts
Posted: Friday, September 08, 2017 - 09:35 PM UTC
Looks good.
Came out swell.
Nice job.

Massachusetts, United States
Joined: March 28, 2007
KitMaker: 1,169 posts
Armorama: 1,067 posts
Posted: Saturday, September 09, 2017 - 01:22 AM UTC
Nice job Nigel, I have built that kit also. I thought it was a very nice kit, it holds its own very well.
Texas, United States
Joined: December 14, 2011
KitMaker: 208 posts
Armorama: 192 posts
Posted: Saturday, September 09, 2017 - 02:01 AM UTC
nice job

Canada
Joined: December 30, 2011
KitMaker: 902 posts
Armorama: 788 posts
Posted: Saturday, September 09, 2017 - 03:44 AM UTC
Alabama, United States
Joined: March 09, 2015
KitMaker: 281 posts
Armorama: 273 posts
Posted: Saturday, September 09, 2017 - 06:18 PM UTC
Worst part of the Italeri kit is the stiff brittle tracks.


 After weathering the tracks with vallejo pigments and enamels, it disintegrated after I wrapped it around the tank again. After adding more fuel to the flames (I liberally spread super glue out of frustration on the kit), I took a leaf out of old moldelers advice and used staple wire to fix the tracks. It looks ugly, and there is damage present on the tracks but at least I won't have to purchase AM tracks nor abandon the build altogether. I'm going to put a dullcoat on it and sleep for the night. I am considering putting the side skirts on just to hide the damaged parts.


After weathering the tracks with vallejo pigments and enamels, it disintegrated after I wrapped it around the tank again. After adding more fuel to the flames (I liberally spread super glue out of frustration on the kit), I took a leaf out of old moldelers advice and used staple wire to fix the tracks. It looks ugly, and there is damage present on the tracks but at least I won't have to purchase AM tracks nor abandon the build altogether. I'm going to put a dullcoat on it and sleep for the night. I am considering putting the side skirts on just to hide the damaged parts.


 Really appreciate the offer though.


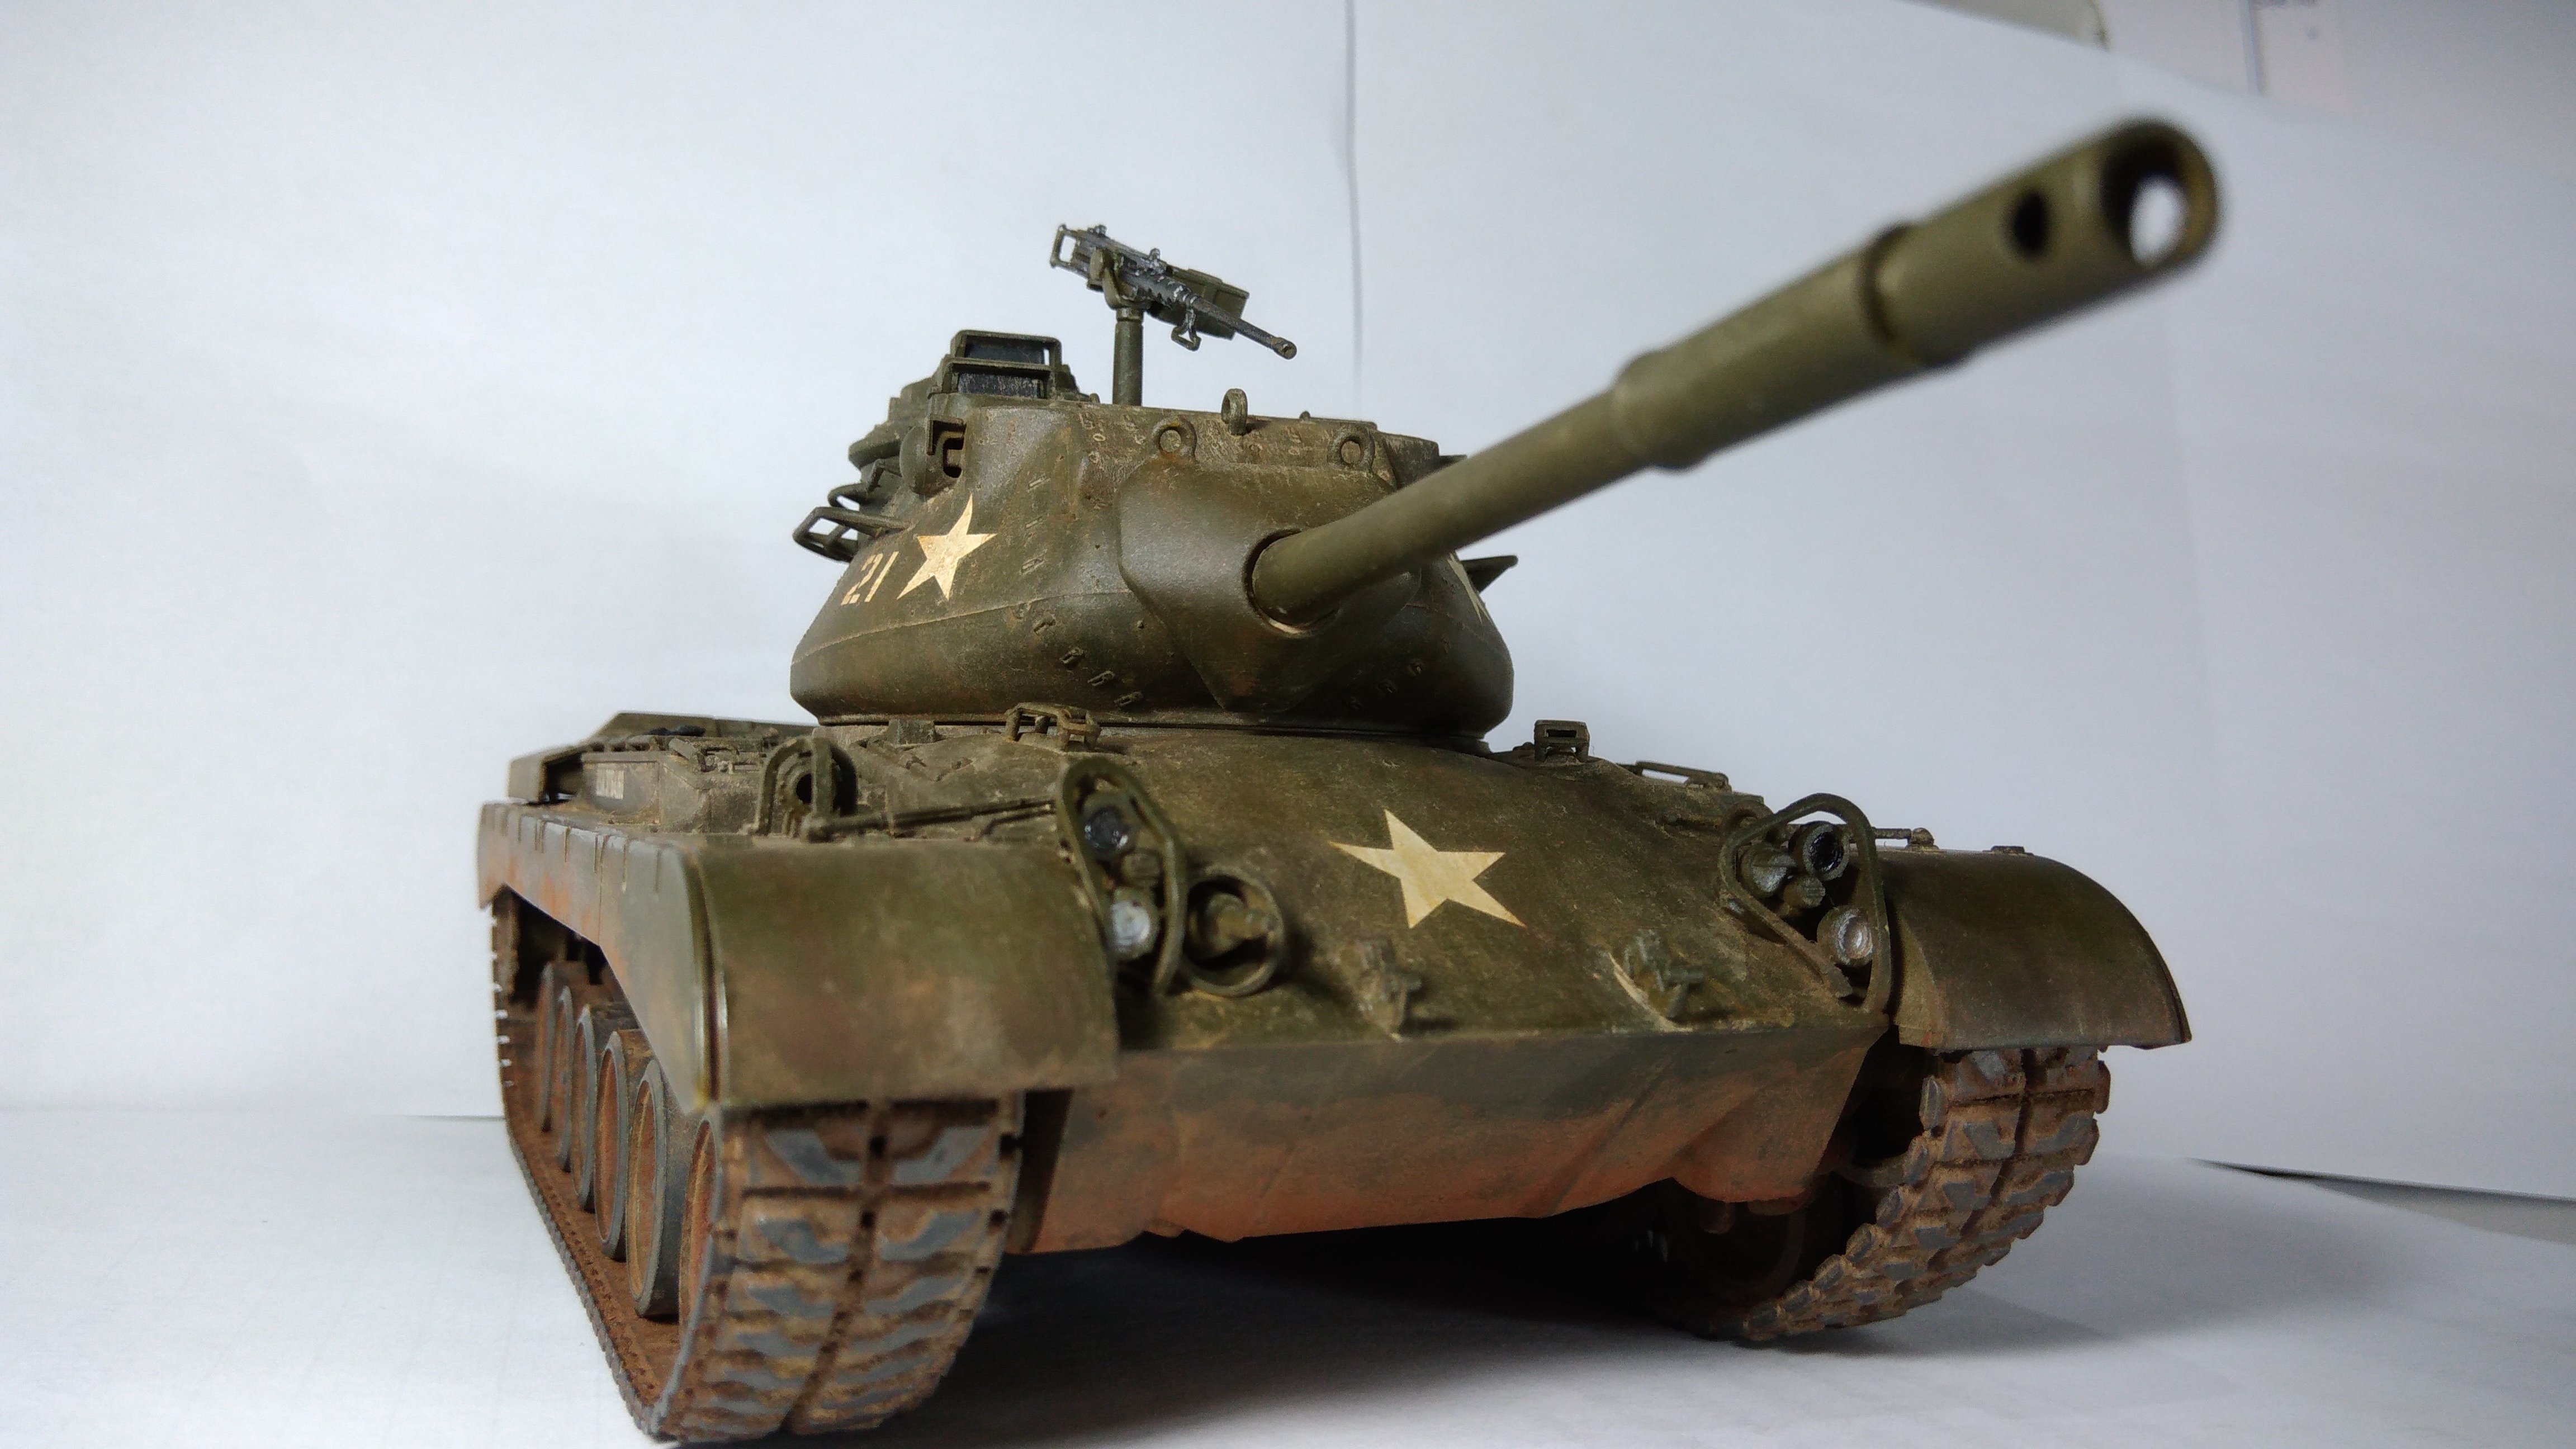
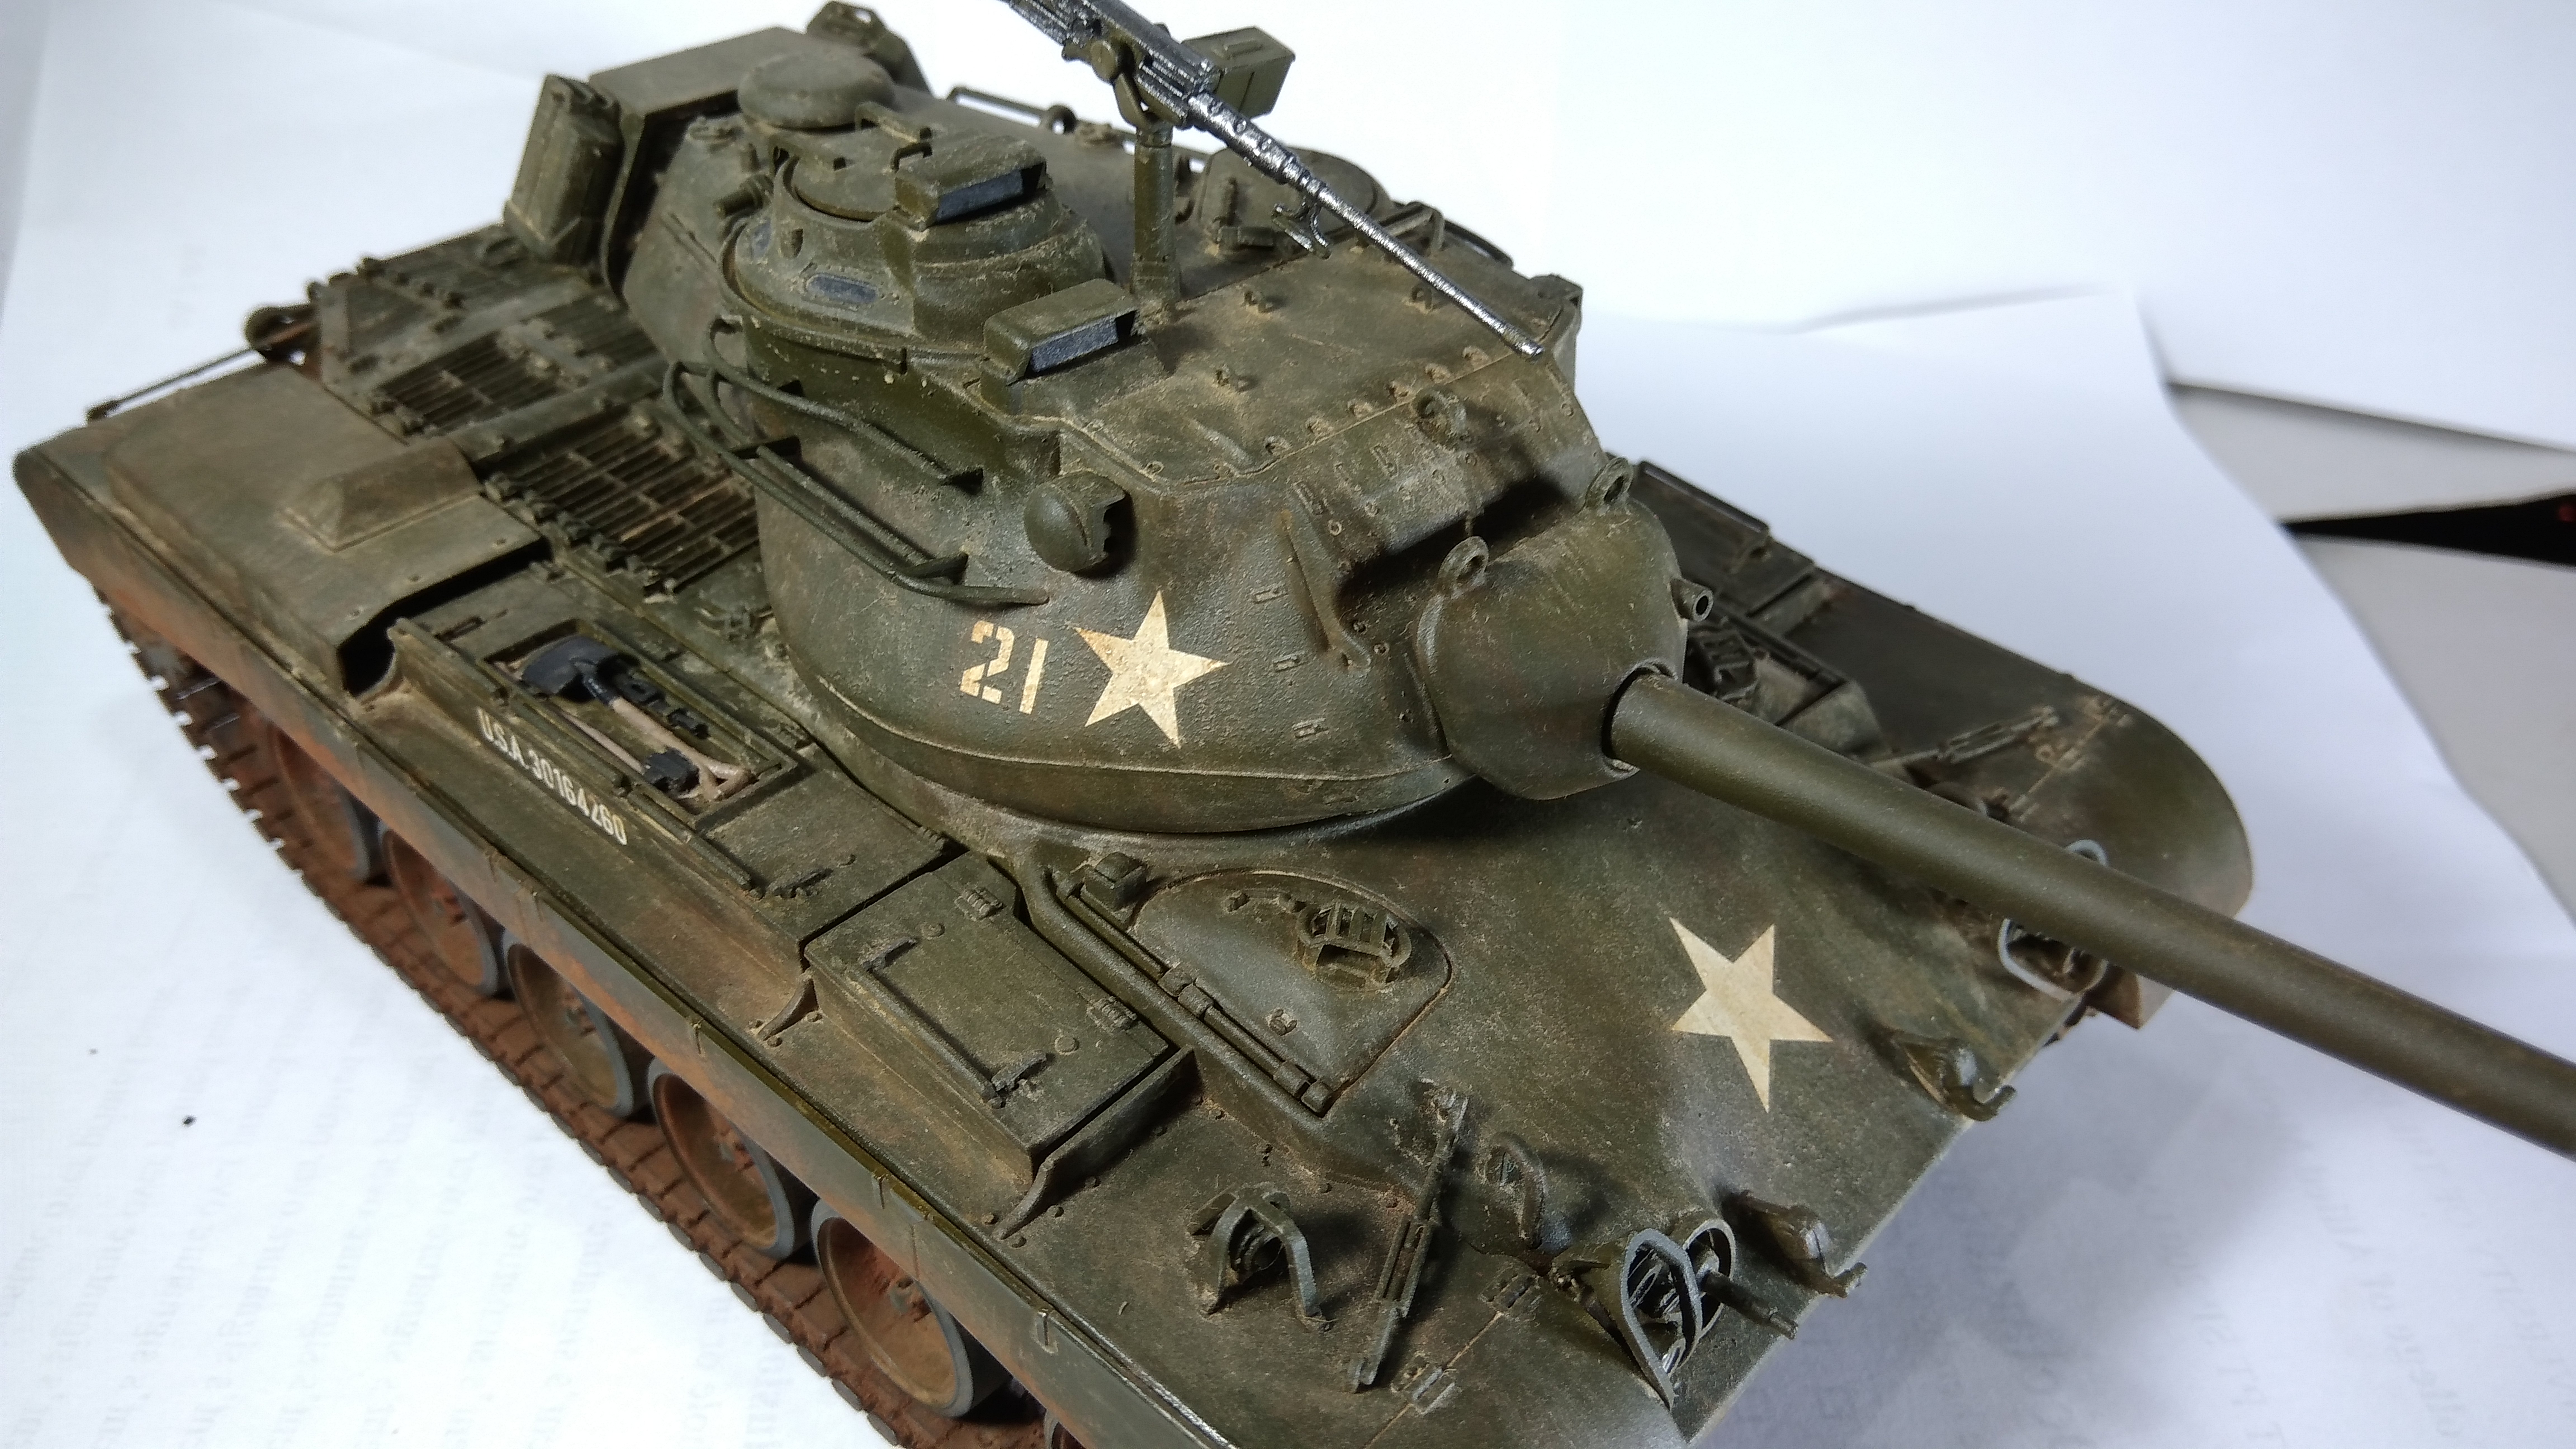
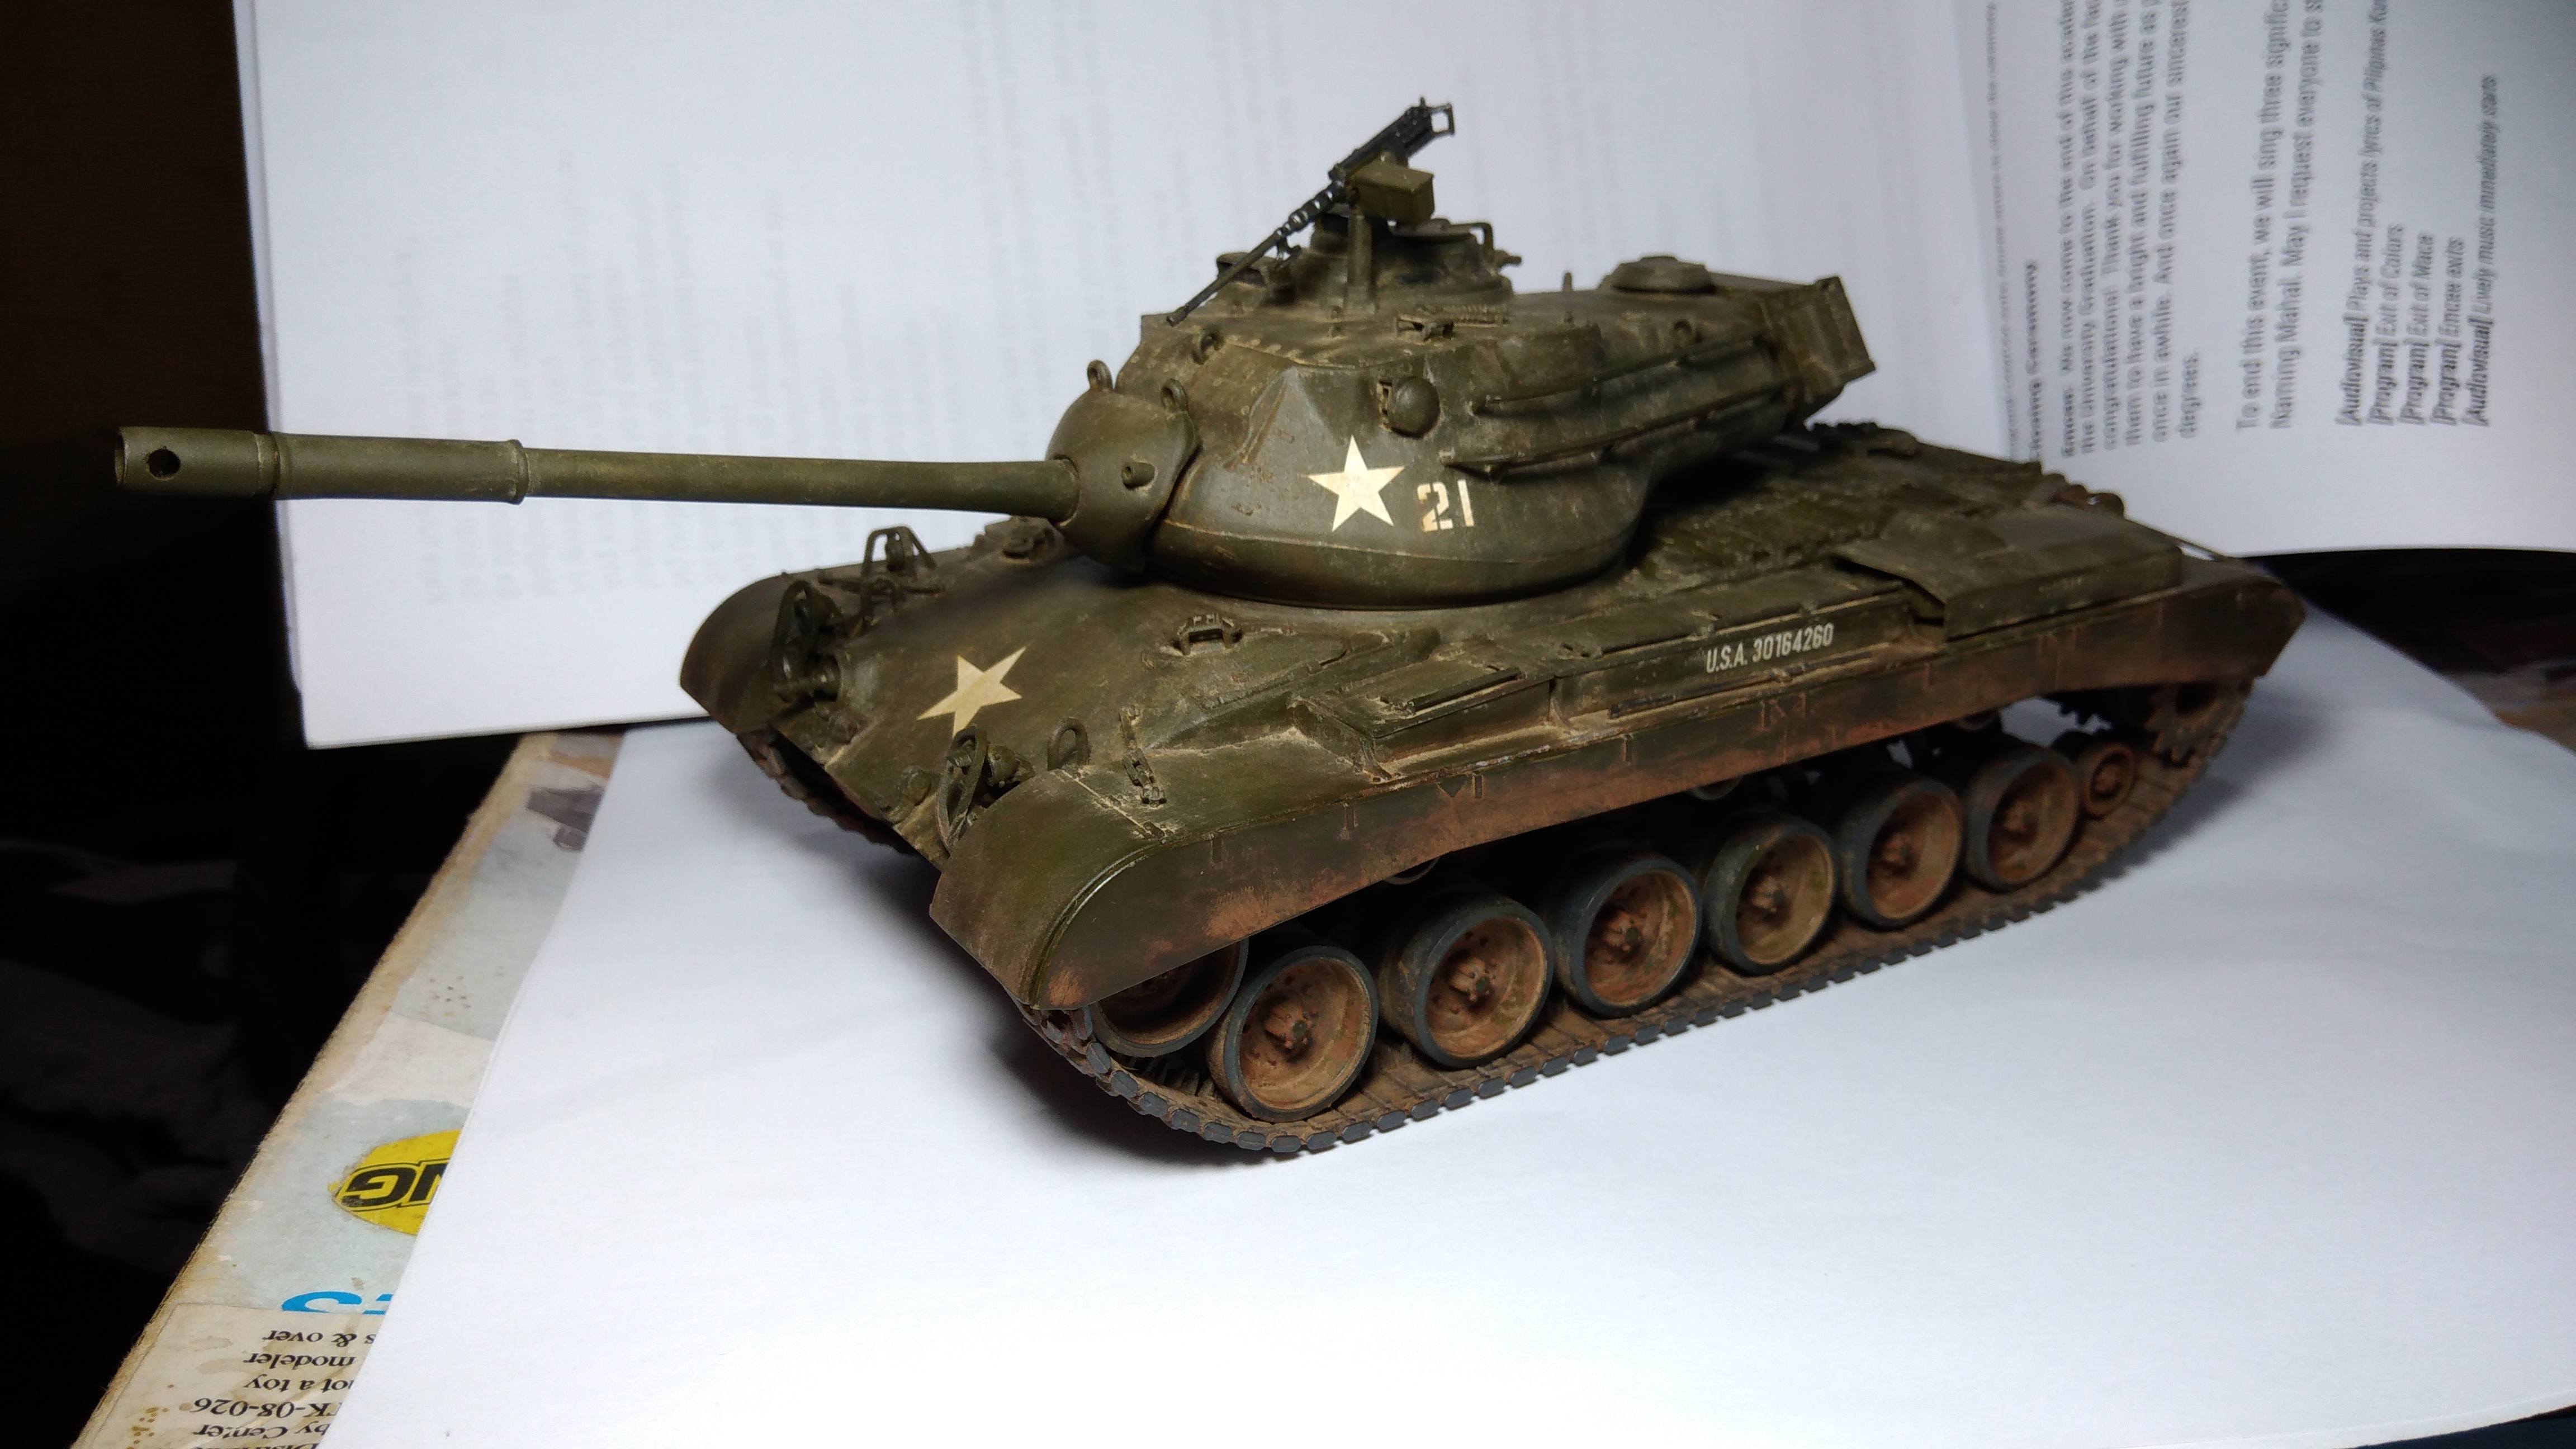


 great job ,those side skirts hide the trak problem ,well done .


