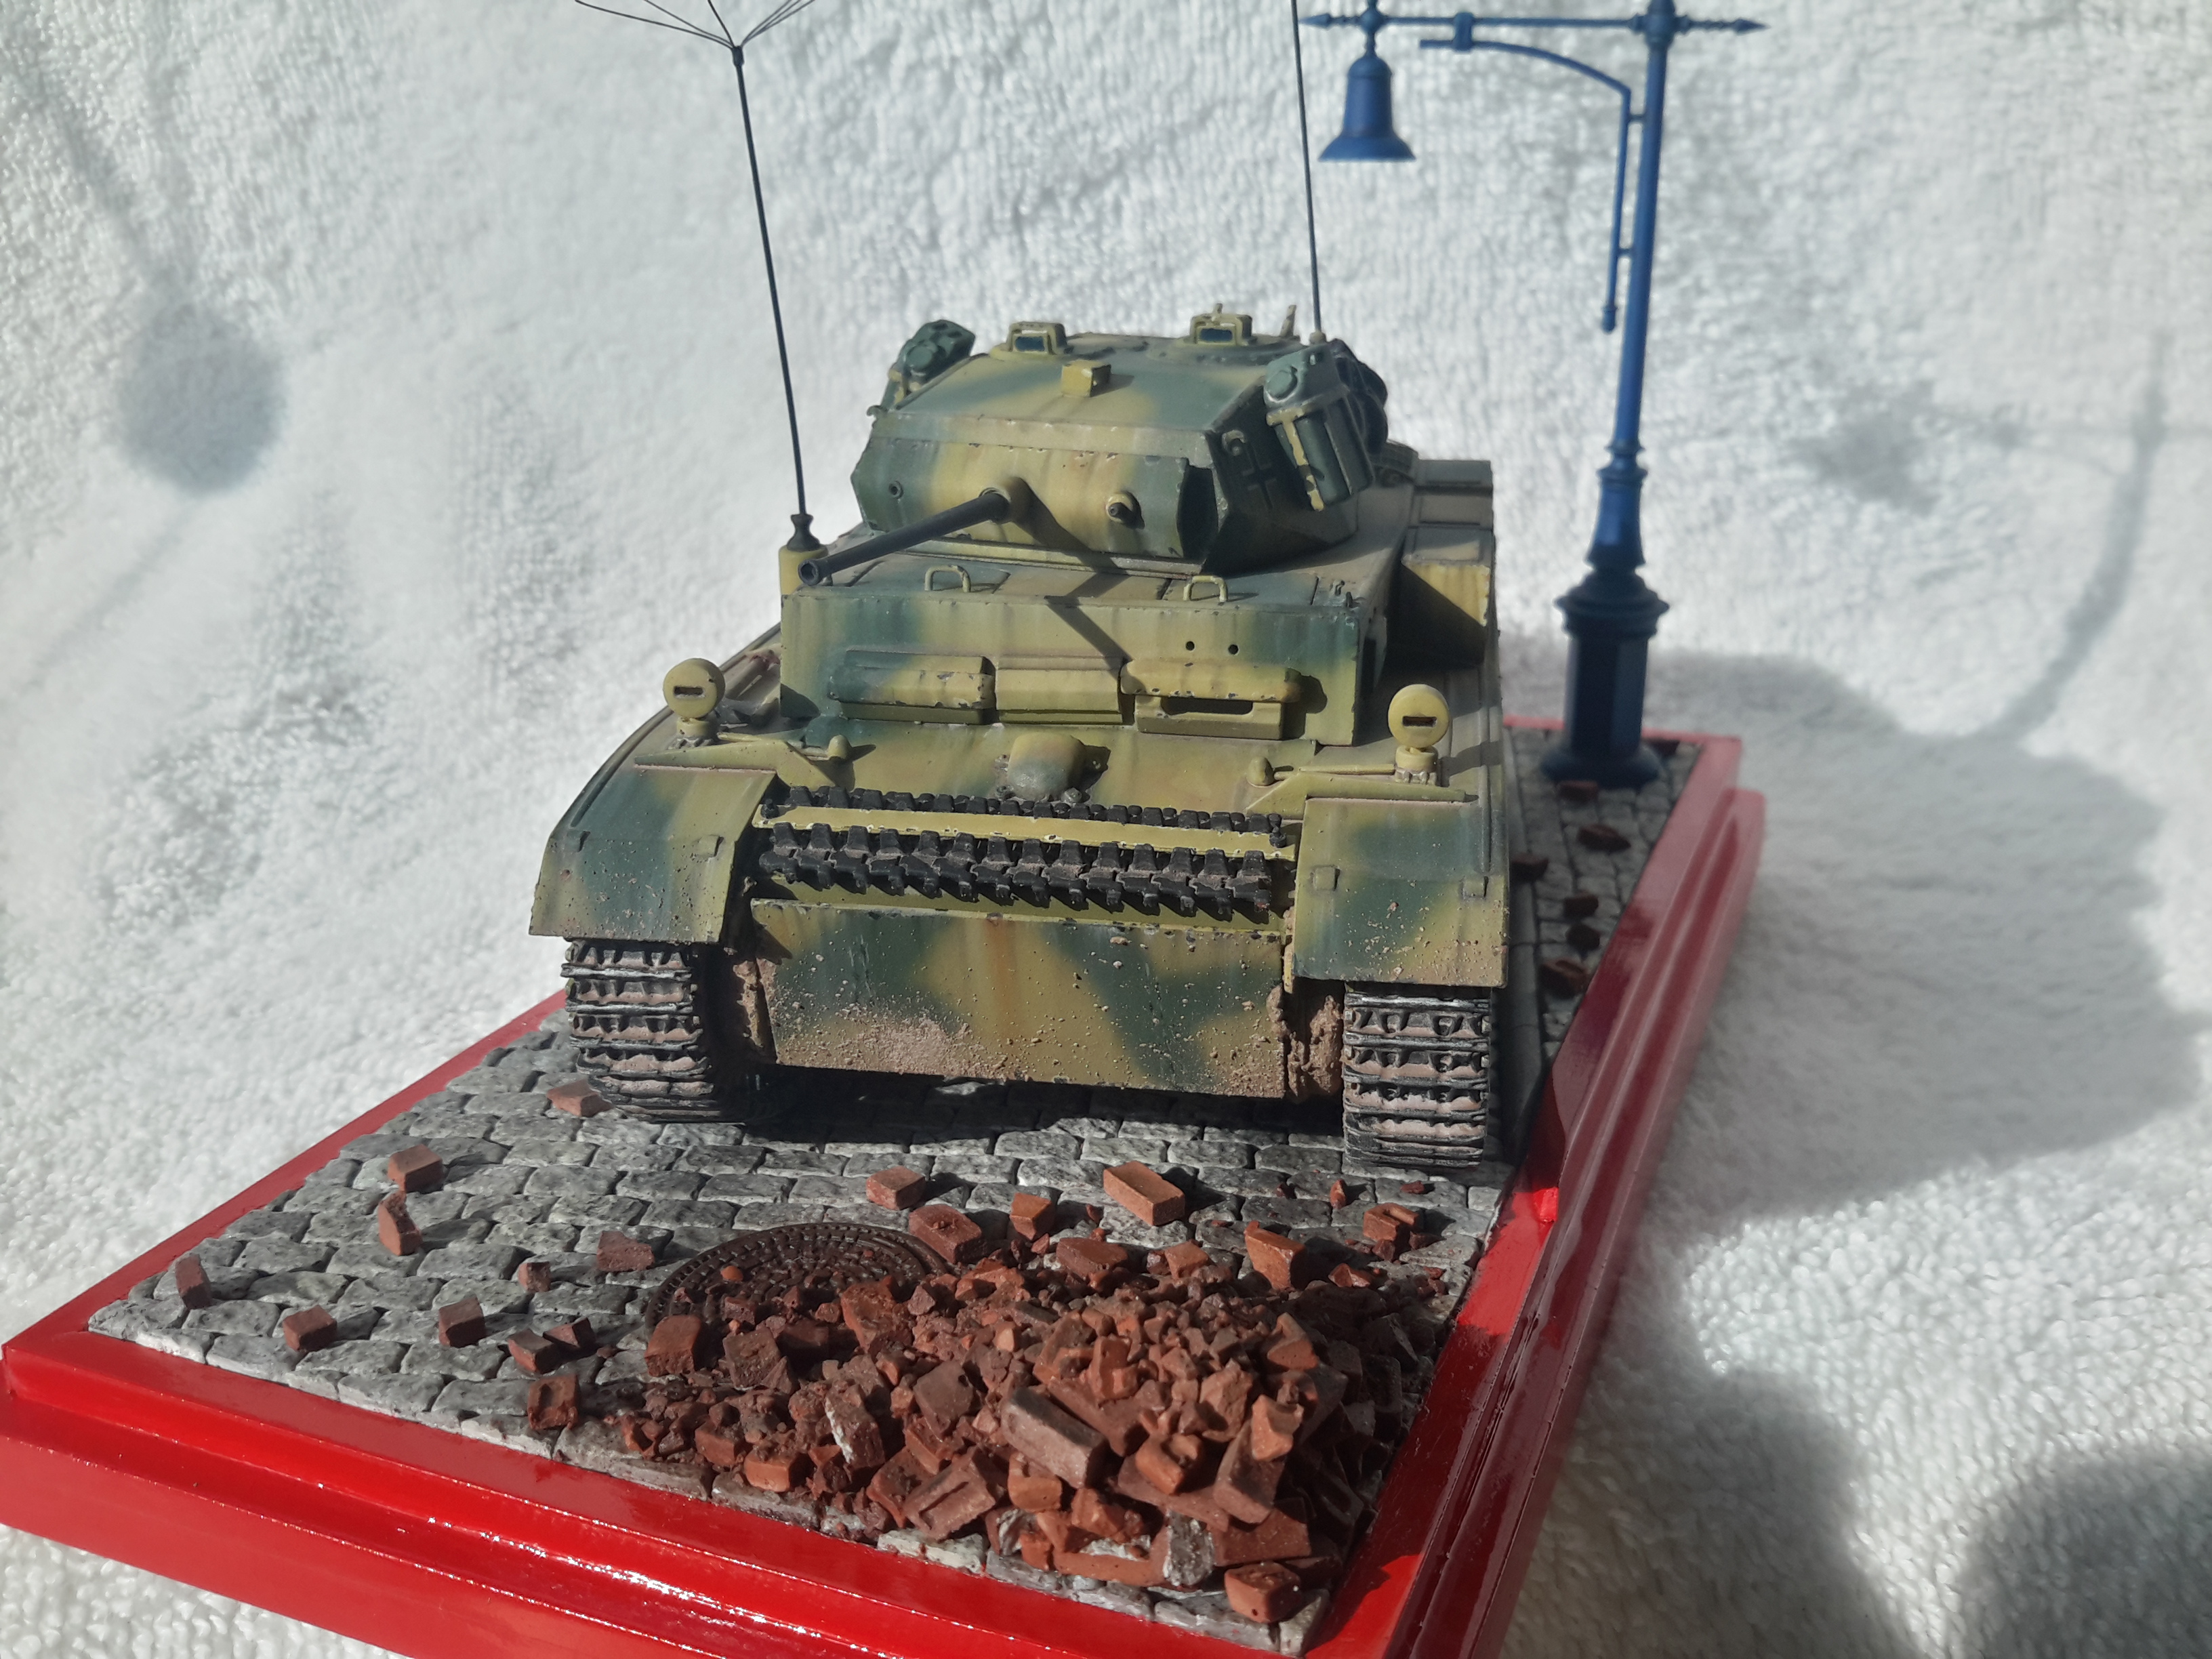
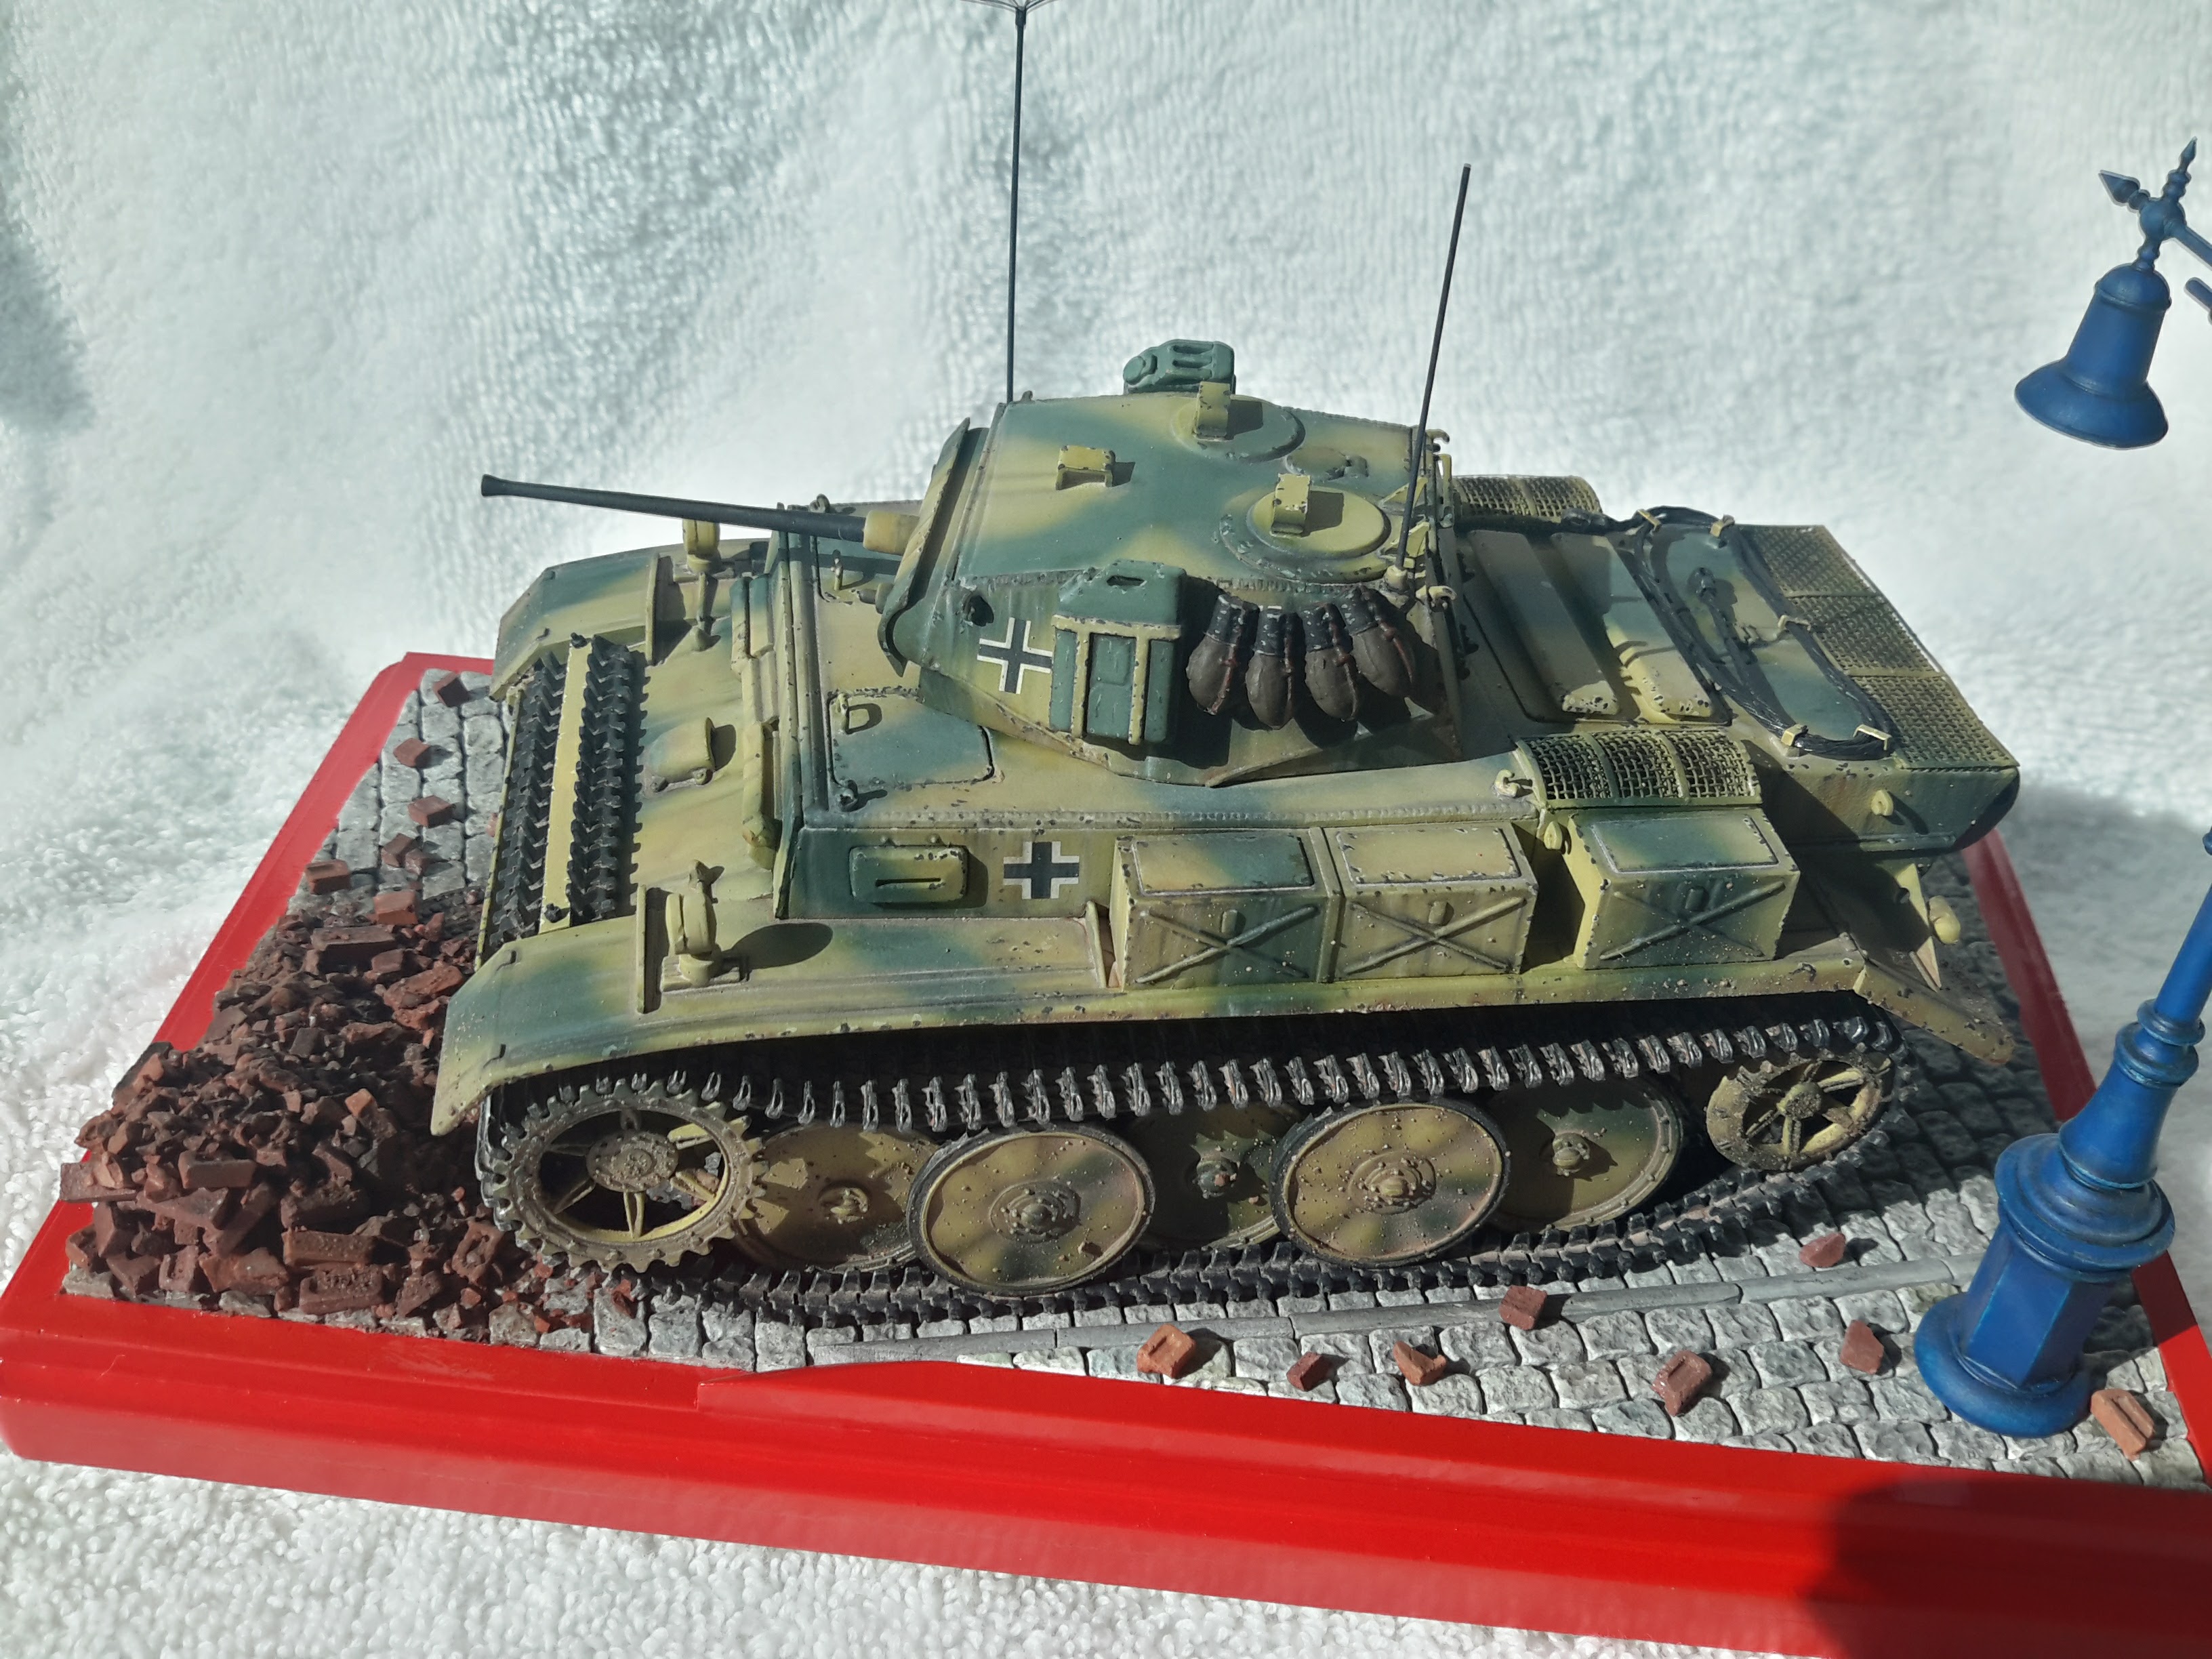
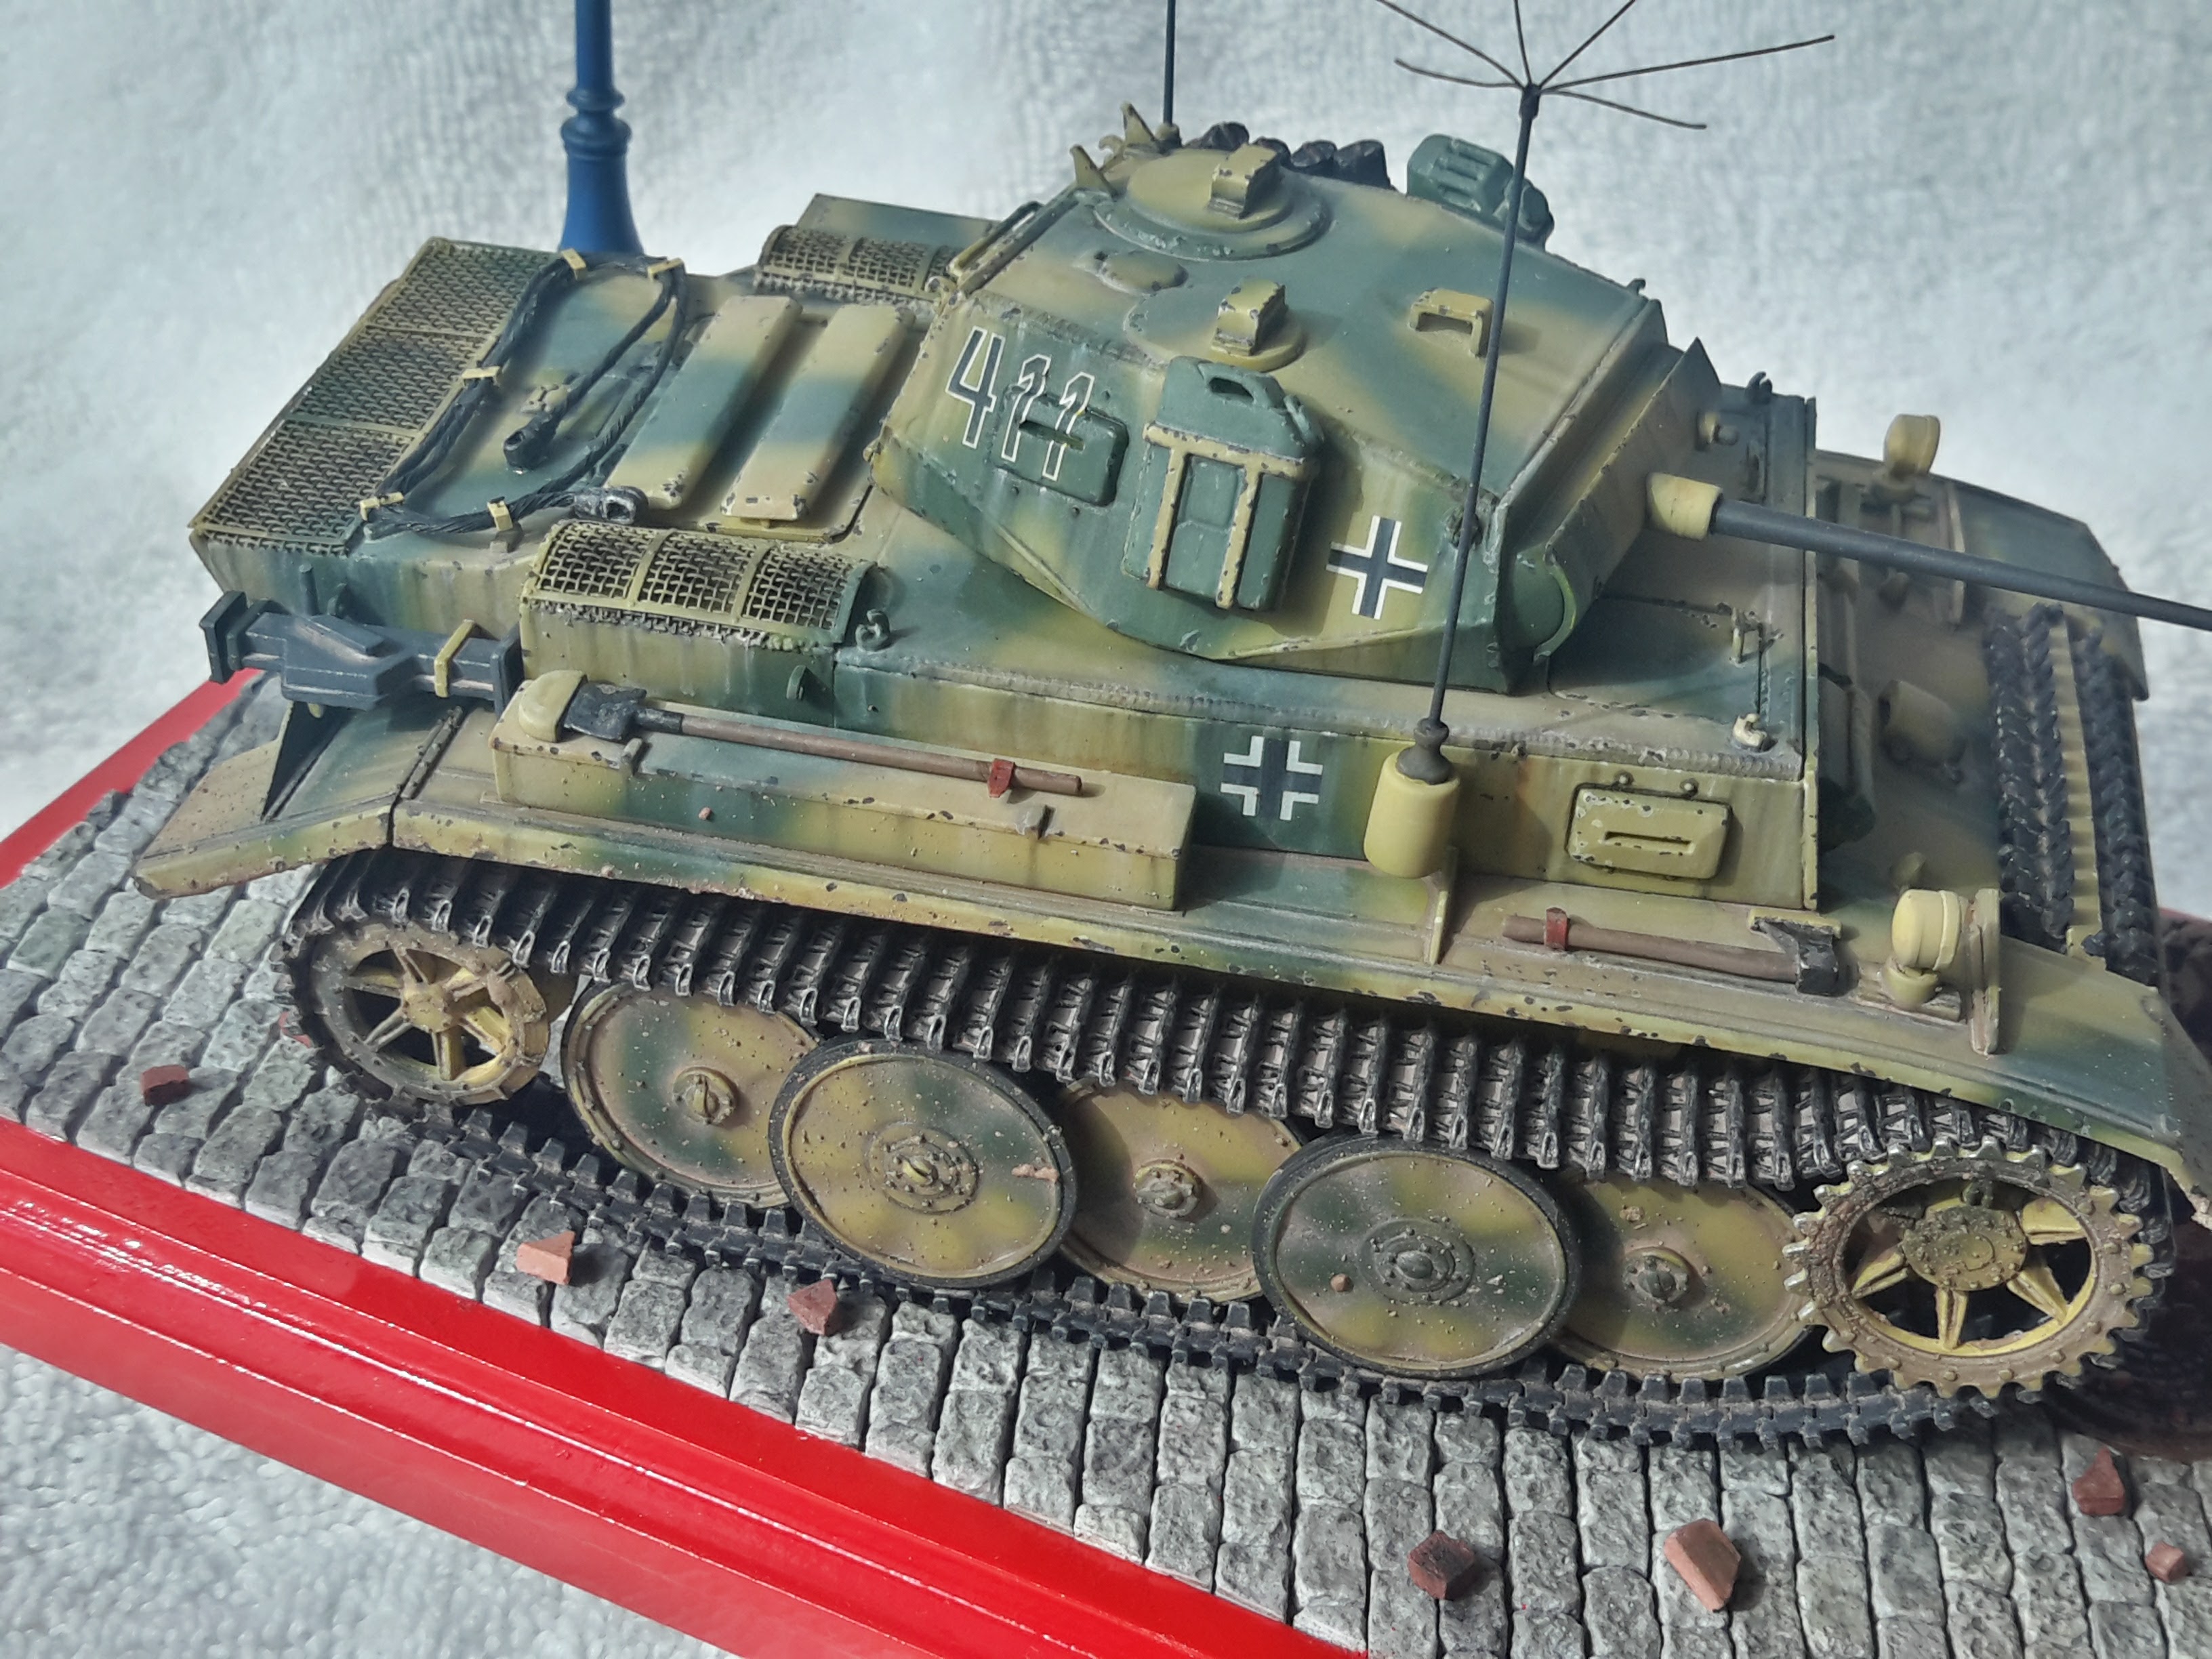
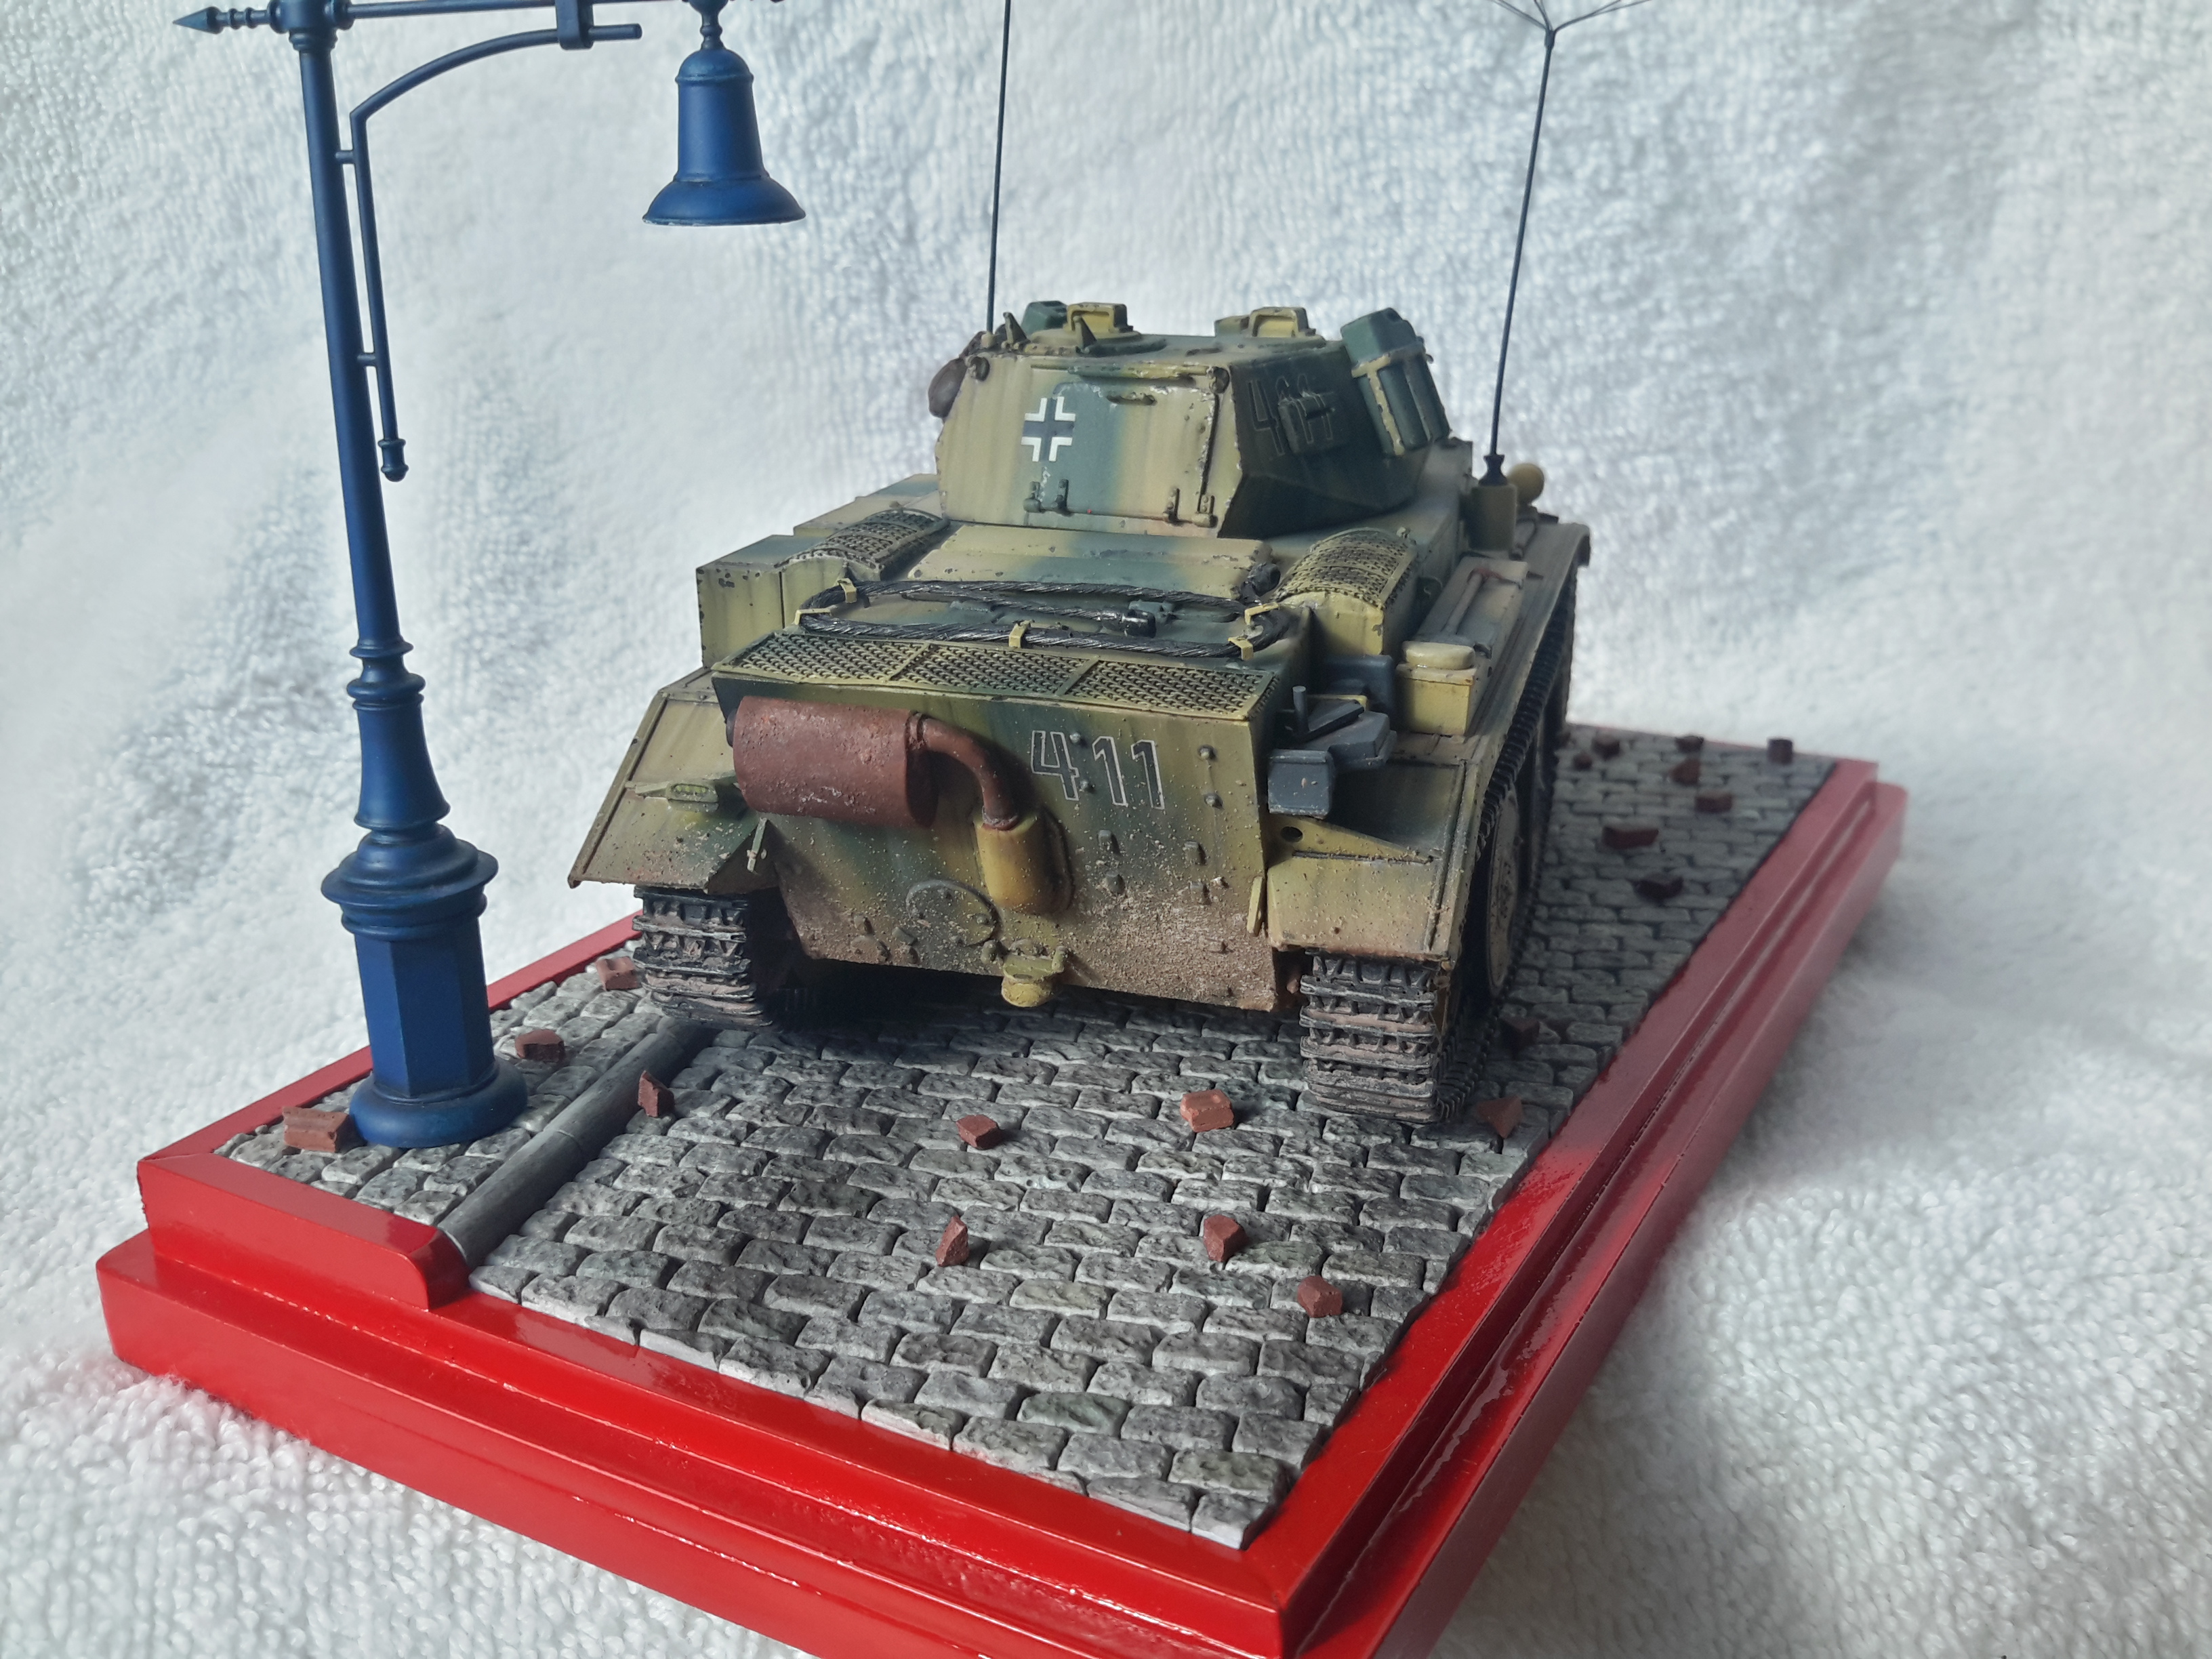
As the title says this is the Techmod PzKpfw II Ausf L or Luchs. It's on a plaster cast cobblestone street that is made from molds from Diorama Debris out of the UK. The base is painted and weather with acrylics. The Luchs is painted with Tamiya enamels (my first time using them) and weathered with artist oils and Tamiya Enamels. This is basically an out of the box build with some bits here and there to make it look better but nothing crazy. Hope you like it.
First time using the imgur site for pic hosting.. thanks Photobucket. Hope it works
Armor/AFV
For discussions on tanks, artillery, jeeps, etc.
Hosted by Darren Baker, Mario Matijasic
TechMod Luchs
M4A3E8Easy8
Washington, United States
Joined: February 04, 2006
KitMaker: 302 posts
Armorama: 300 posts
Joined: February 04, 2006
KitMaker: 302 posts
Armorama: 300 posts
Posted: Thursday, September 07, 2017 - 07:37 AM UTC
RobinNilsson
TOS Moderator
Stockholm, Sweden
Joined: November 29, 2006
KitMaker: 6,693 posts
Armorama: 5,562 posts
Joined: November 29, 2006
KitMaker: 6,693 posts
Armorama: 5,562 posts
Posted: Thursday, September 07, 2017 - 06:23 PM UTC
The pictures work perfectly
Nice a clean look (this suits my personal taste).
Just one minor point to consider for the future:
cobblestones have fine sand between them instead of large gaps.
Without sand to lock them down they would wobble all over the place. I don't have any tips/hints for how to achieve this, it depends on how the cobblestones are made. Maybe very fine sand and then locked with laquer.
One possible method that could possibly work:
Take ordinary sand based putty used for smoothing walls before covering with wall paper. Not the light weight stuff but the one based on very find sand.
Mix it with some pigment powder, water colours or water based paint to get a usable colour instead of bright white. Smear it on a board, let it dry, use a fine sand paper to grind it off again. This gives you a very fine coloured dust which contains the "glue" from the original wall putty.
Brush the dust into the cracks between the cobble "stones", moisten it when all the cracks have been filled, let dry.
Clean up the cobble stones if needed.
/ Robin
Biggles2
Quebec, Canada
Joined: January 01, 2004
KitMaker: 7,600 posts
Armorama: 6,110 posts
Joined: January 01, 2004
KitMaker: 7,600 posts
Armorama: 6,110 posts
Posted: Thursday, September 07, 2017 - 08:10 PM UTC
Makes me want to dig out my Tasca Luchs sitting in my 1/35 stash for the last 15 yrs!
M4A3E8Easy8
Washington, United States
Joined: February 04, 2006
KitMaker: 302 posts
Armorama: 300 posts
Joined: February 04, 2006
KitMaker: 302 posts
Armorama: 300 posts
Posted: Friday, September 08, 2017 - 06:51 AM UTC
Quoted Text
The pictures work perfectly
Nice a clean look (this suits my personal taste).
Just one minor point to consider for the future:
cobblestones have fine sand between them instead of large gaps.
Without sand to lock them down they would wobble all over the place. I don't have any tips/hints for how to achieve this, it depends on how the cobblestones are made. Maybe very fine sand and then locked with laquer.
One possible method that could possibly work:
Take ordinary sand based putty used for smoothing walls before covering with wall paper. Not the light weight stuff but the one based on very find sand.
Mix it with some pigment powder, water colours or water based paint to get a usable colour instead of bright white. Smear it on a board, let it dry, use a fine sand paper to grind it off again. This gives you a very fine coloured dust which contains the "glue" from the original wall putty.
Brush the dust into the cracks between the cobble "stones", moisten it when all the cracks have been filled, let dry.
Clean up the cobble stones if needed.
/ Robin
I was aiming for a cleaner tank since it is in a town. I will give your process a go since I agree with the cobblestones. I tried sanding up some pastels but when I applied them it ruined the color of the cobblestones. Now the issue is to find some sand based putty. That issue is due to me being in Taiwan and not reading or speaking Chinese. Thanks for the advice, we will give her a go.
RobinNilsson
TOS Moderator
Stockholm, Sweden
Joined: November 29, 2006
KitMaker: 6,693 posts
Armorama: 5,562 posts
Joined: November 29, 2006
KitMaker: 6,693 posts
Armorama: 5,562 posts
Posted: Friday, September 08, 2017 - 11:18 AM UTC
Maybe they don't use that kind of putty in Taiwan, different cultures can have different traditions in house building as well. If you find something please make sure to try it on some scrap pieces first
/ Robin
/ Robin
M4A3E8Easy8
Washington, United States
Joined: February 04, 2006
KitMaker: 302 posts
Armorama: 300 posts
Joined: February 04, 2006
KitMaker: 302 posts
Armorama: 300 posts
Posted: Saturday, September 09, 2017 - 10:28 AM UTC
Don't worry, there is a spot under the middle of the tank that is already discolored from my attempts earlier. I will go back to that spot again and see how things go.