_GOTOBOTTOM
Armor/AFV
For discussions on tanks, artillery, jeeps, etc.
SAS/LRDG
Pave-Hawk
Visit this Community
Western Australia, Australia
Joined: May 05, 2006
KitMaker: 900 posts
Armorama: 510 posts
Posted: Saturday, September 16, 2006 - 03:07 PM UTC
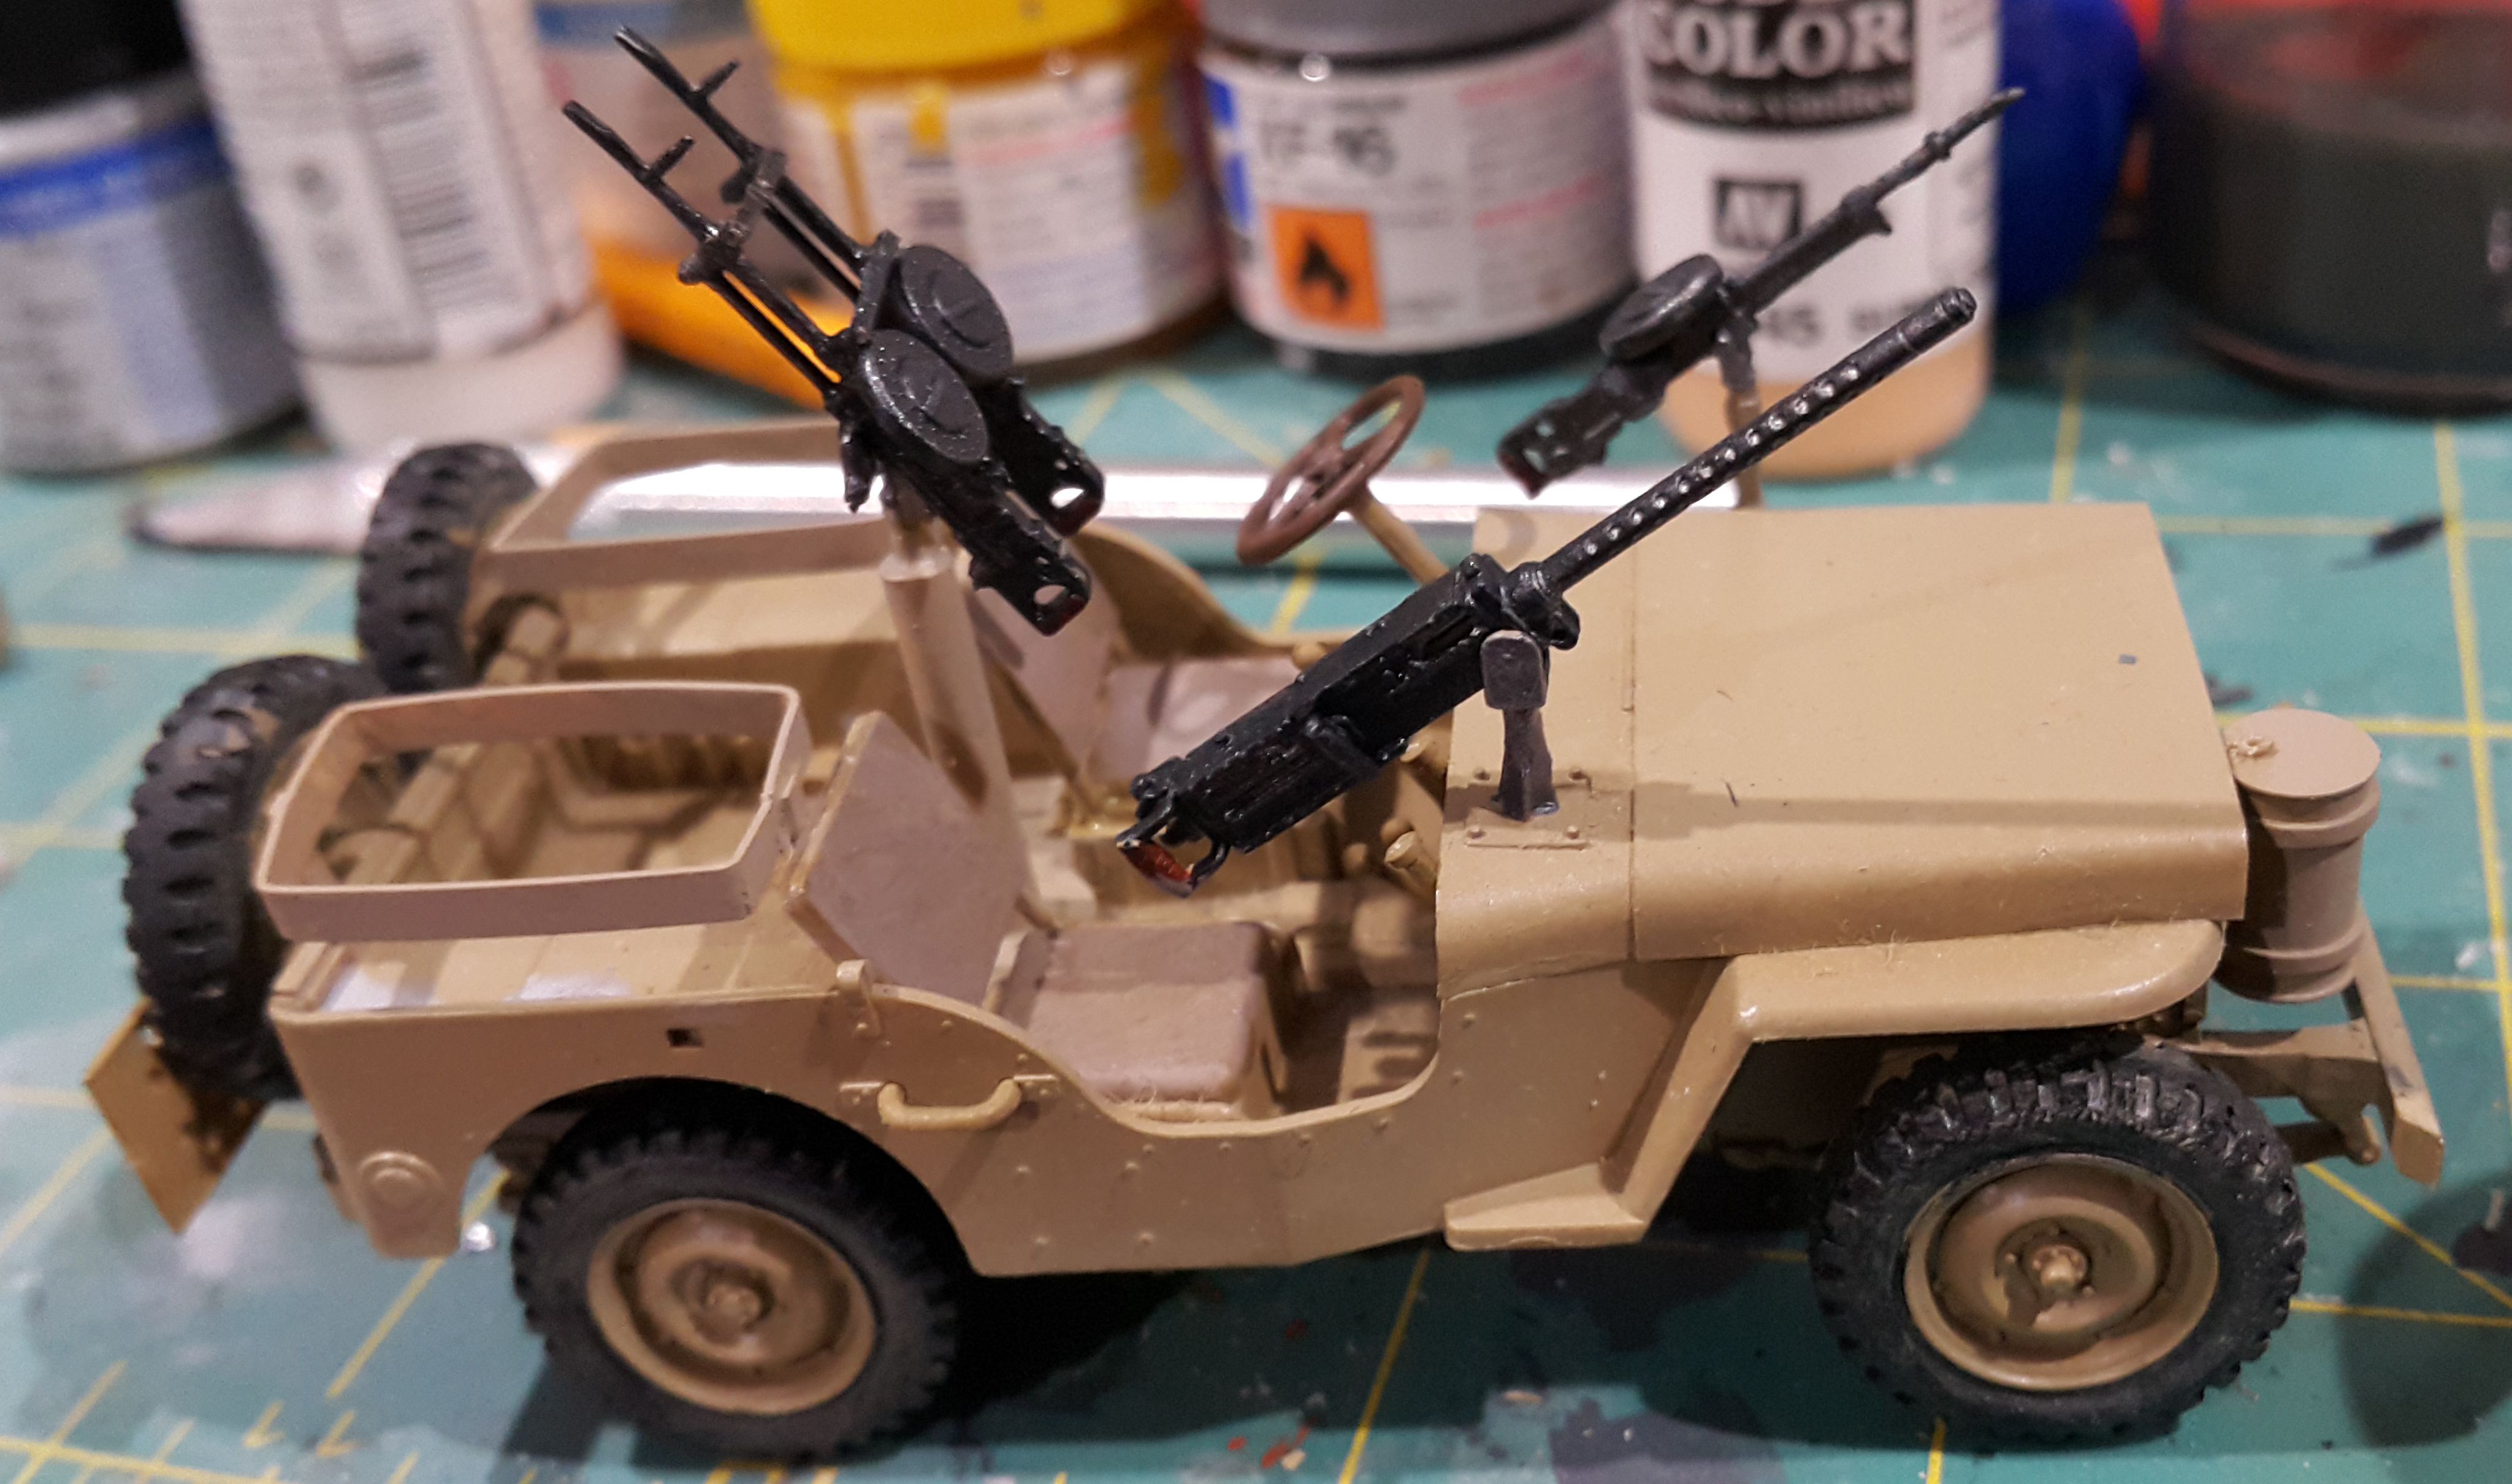
Spent part of the weekend working on part of my backlog.

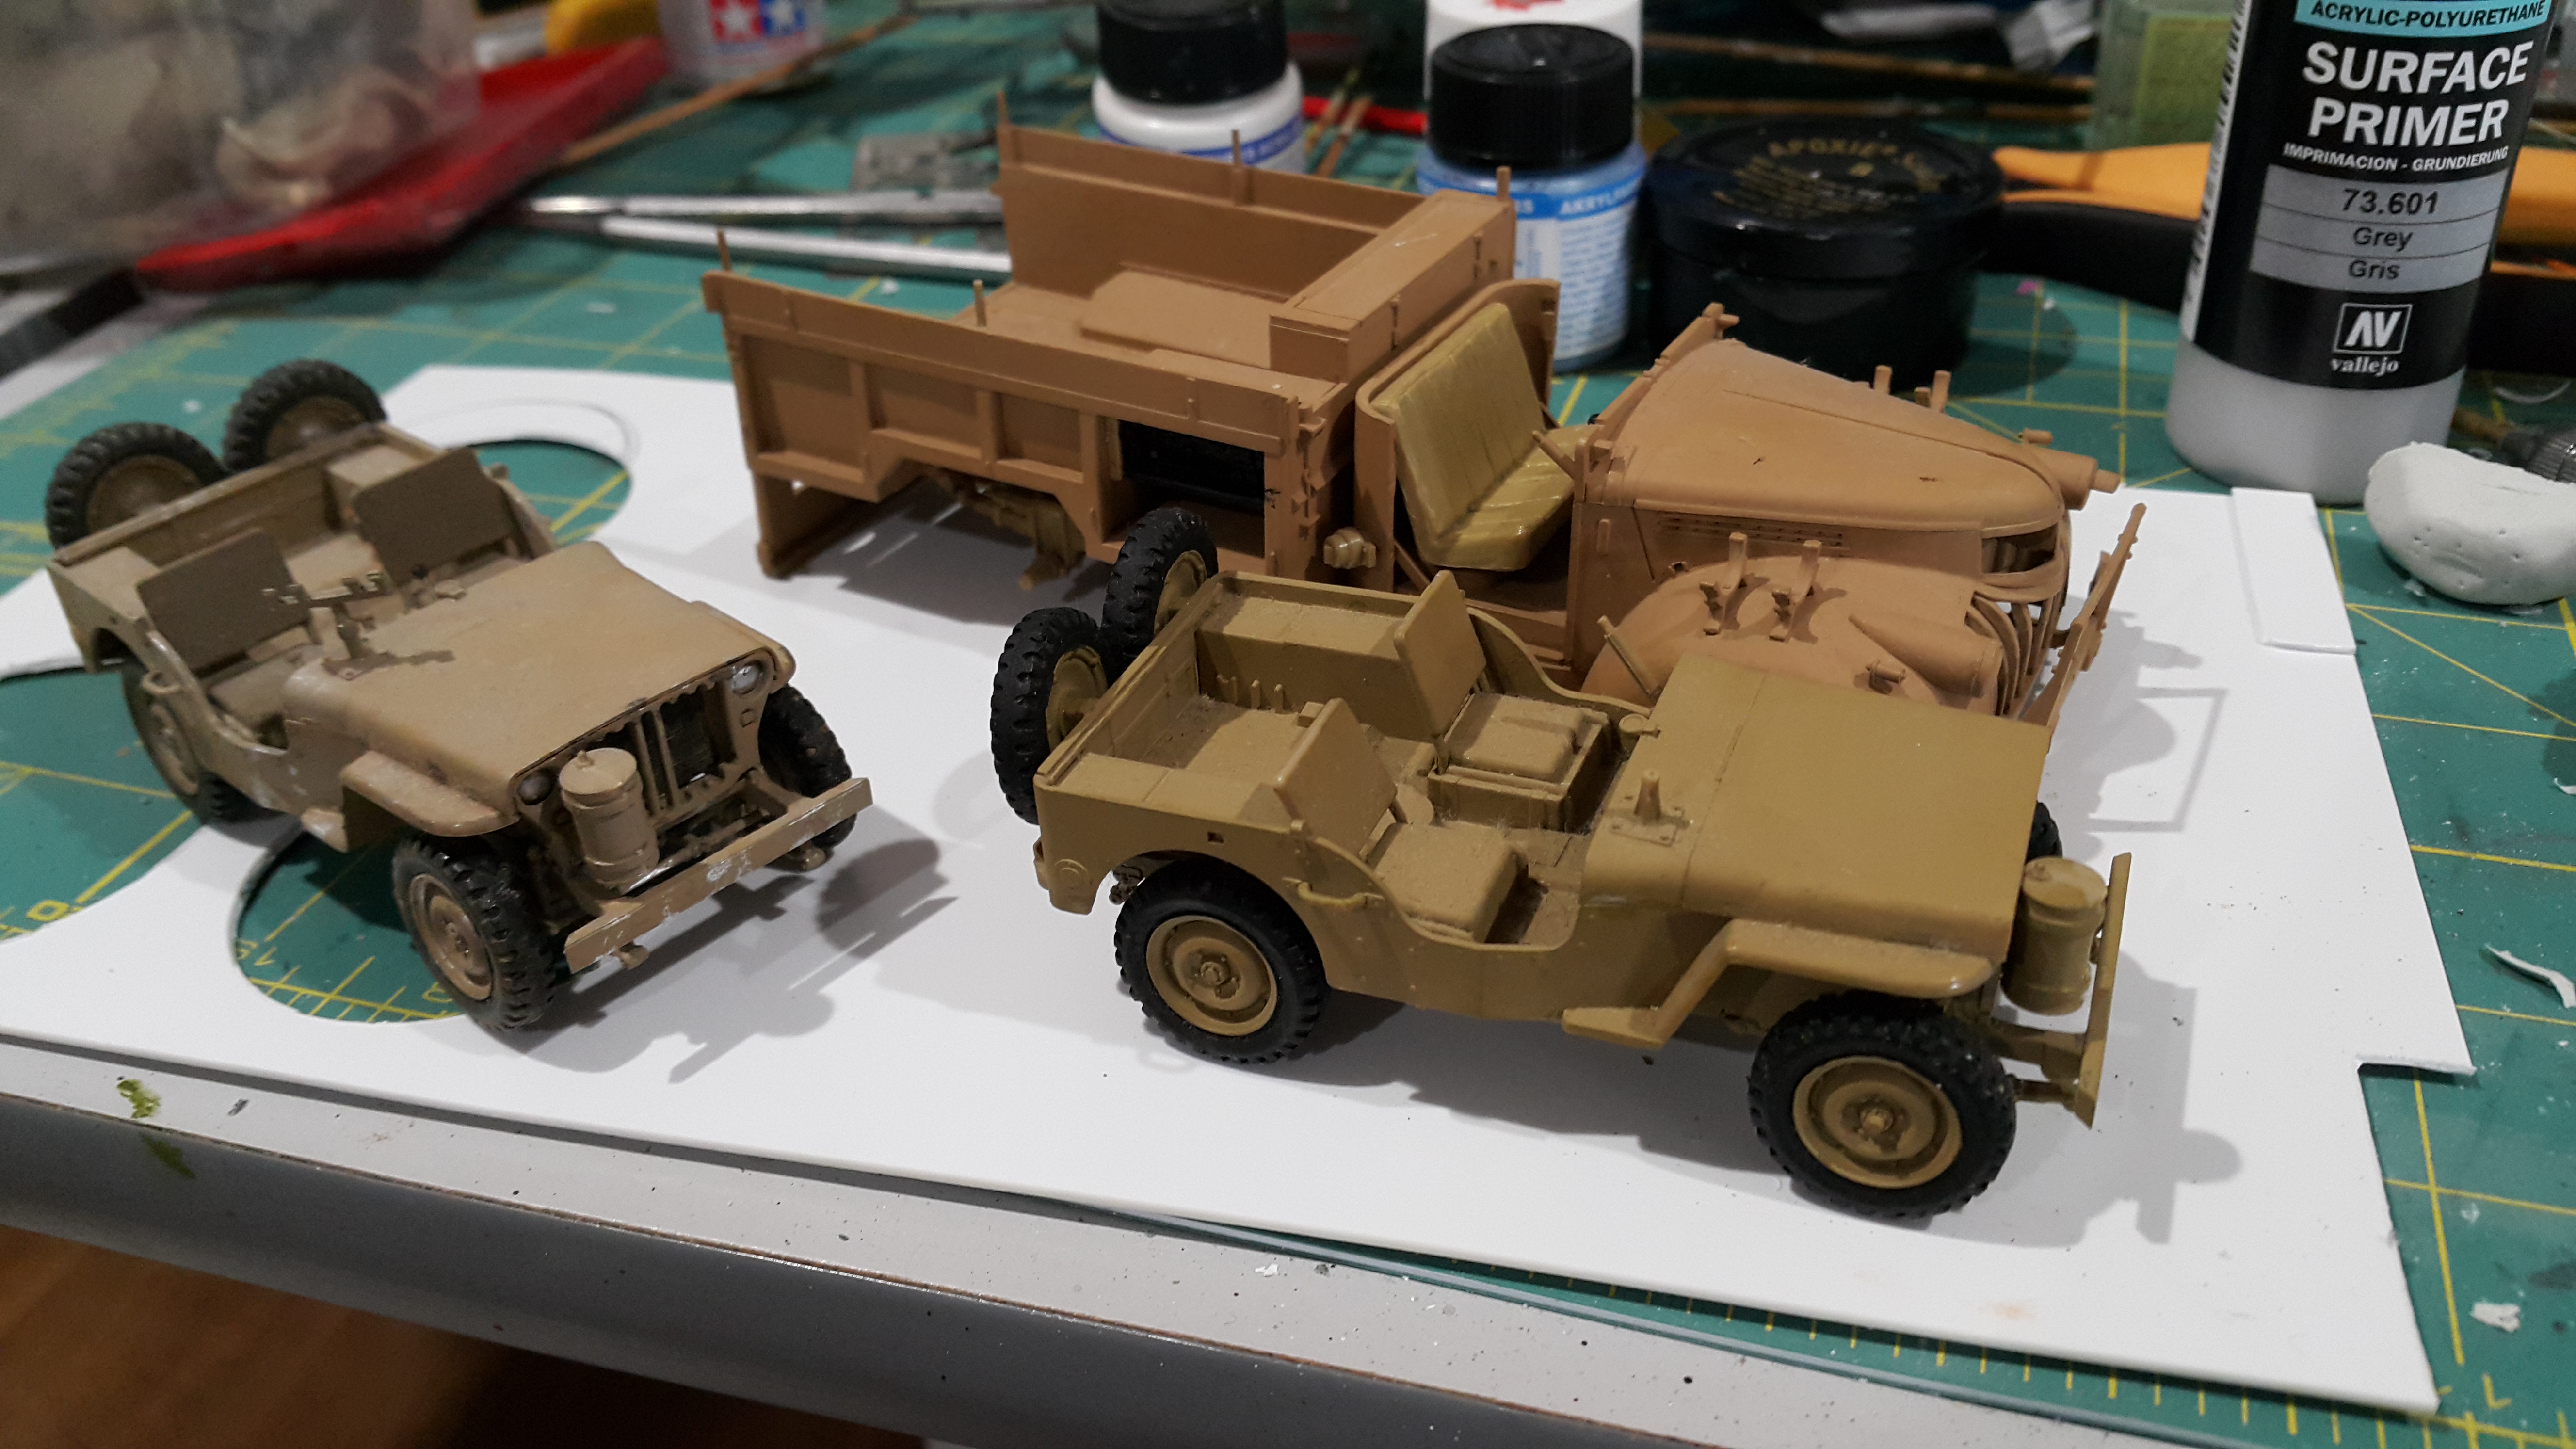
A pair of SAS Jeeps and LRDG Chevy. The paint chipping on one jeep is a little overdone despite my careful attempts at being subtle.




The kit .50 is rubbish so I'm replacing it with one from Academys machine gun set.
Brigandine
Visit this Community
Dunedin, New Zealand
Joined: July 12, 2006
KitMaker: 553 posts
Armorama: 312 posts
Posted: Saturday, September 16, 2006 - 04:29 PM UTC
Gidday Pave-Hawk,
Good to see some more from the LRDG and SAS under way!
Just some quick notes on the Chevy: The 'rubber' tyres are prone to splitting; one way of avoiding this is to paint your wheels and tyres using acrylics only - this seems to stop a slow chemical reaction between the polystyrene wheels and the synthetic material of the tyres.

The rear axle assemblies were the same colour as the rest of the chassis; more than likely 'Canadian Sand.'

A really good site to check out:
http://blindkat.hegewisch.net/lrdg/lrdg.html This should help, especially when it comes to arming and equipping your 1533X2.

There are several good books available on the LRDG - the best of them are 'Kiwi Scorpians', 'Bearded Brigands' and 'The Barce Raid' by Brendon O'Carroll.


'R' Patrol setting out from Siwa Oasis (LRDG base). Note how light the paintwork is. R patrol trucks carried a green Maori 'Tiki' on the right front of the upper clamshell bonnet and a Maori word starting with R on the left; usually white on dark green or black.


A posed photo of a 'T' patrol vehicle showing the use of the 'greedy board' posts doubling as weapon mounts. T10 painted on the oil cans. The oil cans in the kitset are too short by a couple of millimetres.


The Guards patrol this time - once again note light paint finish and greedy board posts doubling as weapons mounts. The greedy boards were the wooden extension pieces on top of the main steel bodywork. photos from http://www.lrdg.org/

Look forward to seeing your projects as they progress. If you need help on anything let me know.

On the jeeps you can tone down the chipping by mixing a medium grey with your silver/aluminium paint.

Cheers!
Jeff W.
Pave-Hawk
Visit this Community
Western Australia, Australia
Joined: May 05, 2006
KitMaker: 900 posts
Armorama: 510 posts
Posted: Saturday, September 16, 2006 - 04:53 PM UTC
My current funds don't really extend to actual book reference material so the various LRDG net sites are what I have been relying on. The only book I have is "Phantom Major" which isn't exactly replete with reference photos.

Noticed one of the rubber tyres has a partial split in it already, almost like a knife cut. I may have to try and get some replacements.

Also trying to convert some figures into LRDG troopers.
Brigandine
Visit this Community
Dunedin, New Zealand
Joined: July 12, 2006
KitMaker: 553 posts
Armorama: 312 posts
Posted: Saturday, September 16, 2006 - 05:22 PM UTC

Quoted Text

My current funds don't really extend to actual book reference material so the various LRDG net sites are what I have been relying on. The only book I have is "Phantom Major" which isn't exactly replete with reference photos.

Noticed one of the rubber tyres has a partial split in it already, almost like a knife cut. I may have to try and get some replacements.

Also trying to convert some figures into LRDG troopers.


What a pain that your tyres have started splitting! It may pay to ease them off your wheels temporarily.

You should be able to repair the split, preferably with epoxy, which will allow some give; the split tyre could be used on your spare wheel. Check your other tyres as well - there may be a fine line showing where a split could start.

Another thing you could do is sand a small amount off your wheel rims to ease the pressure on your tyres, and use pva or similar to secure them.

I presume where you live is hot and dry? That means that your tyres will shrink...hmm! Let me think on that one.
Pave-Hawk
Visit this Community
Western Australia, Australia
Joined: May 05, 2006
KitMaker: 900 posts
Armorama: 510 posts
Posted: Saturday, September 16, 2006 - 05:29 PM UTC
Hot yes, not so much with the dry though.

Looks like they are all developing the split. I may try recasting them in resin. Think I have enough silicone for that.
Brigandine
Visit this Community
Dunedin, New Zealand
Joined: July 12, 2006
KitMaker: 553 posts
Armorama: 312 posts
Posted: Saturday, September 16, 2006 - 05:57 PM UTC
Good idea moulding your tyres and wheels in resin; I'm going to end up doing the same. Also means you can have a few more spare wheels than the one provided in the kitset.

Cheers!
Jeff W.
Pave-Hawk
Visit this Community
Western Australia, Australia
Joined: May 05, 2006
KitMaker: 900 posts
Armorama: 510 posts
Posted: Saturday, September 16, 2006 - 06:00 PM UTC

Quoted Text

Also means you can have a few more spare wheels than the one provided in the kitset


I never thought of that!
Brigandine
Visit this Community
Dunedin, New Zealand
Joined: July 12, 2006
KitMaker: 553 posts
Armorama: 312 posts
Posted: Sunday, September 17, 2006 - 05:46 PM UTC
A couple of photos you might find handy.


The LRDG and SAS used the .50 cal Browning Light Barrel Air Pattern rather than the standard Heavy Barrel type - the Acadamy set provides some.


The No 11 W/T as used by the LRDG.
Pave-Hawk
Visit this Community
Western Australia, Australia
Joined: May 05, 2006
KitMaker: 900 posts
Armorama: 510 posts
Posted: Monday, September 18, 2006 - 12:55 PM UTC
Thats the 50 I'm going with, you can see it just sitting on the passenger seat in the photos.

I actually had the wrong type prepared and ready to mount before I realised I should probably make sure which one I needed.
Brigandine
Visit this Community
Dunedin, New Zealand
Joined: July 12, 2006
KitMaker: 553 posts
Armorama: 312 posts
Posted: Monday, September 18, 2006 - 06:00 PM UTC
Now that you mention it...well spotted! How are you going for the Vickers K guns? I have plenty of spares from a couple of Italeri's 'Commando' Jeeps.
Pave-Hawk
Visit this Community
Western Australia, Australia
Joined: May 05, 2006
KitMaker: 900 posts
Armorama: 510 posts
Posted: Tuesday, September 19, 2006 - 12:43 PM UTC
The armament loadout I am going for with the jeeps will be one with a 50 up front and a twin vickers mount in rear, the other will have twin vickers up front, and either single or twin vickers in rear. If I go with dual twin vickers it just means I need to create another twin mount, 3 vickers in each kit means I have enough.

Havent decided on how exactly the chevy will be setup yet.

Haven't done any work on them this week, work has been exhausting and just haven't felt up to it.
Pave-Hawk
Visit this Community
Western Australia, Australia
Joined: May 05, 2006
KitMaker: 900 posts
Armorama: 510 posts
Posted: Wednesday, October 18, 2006 - 01:39 PM UTC
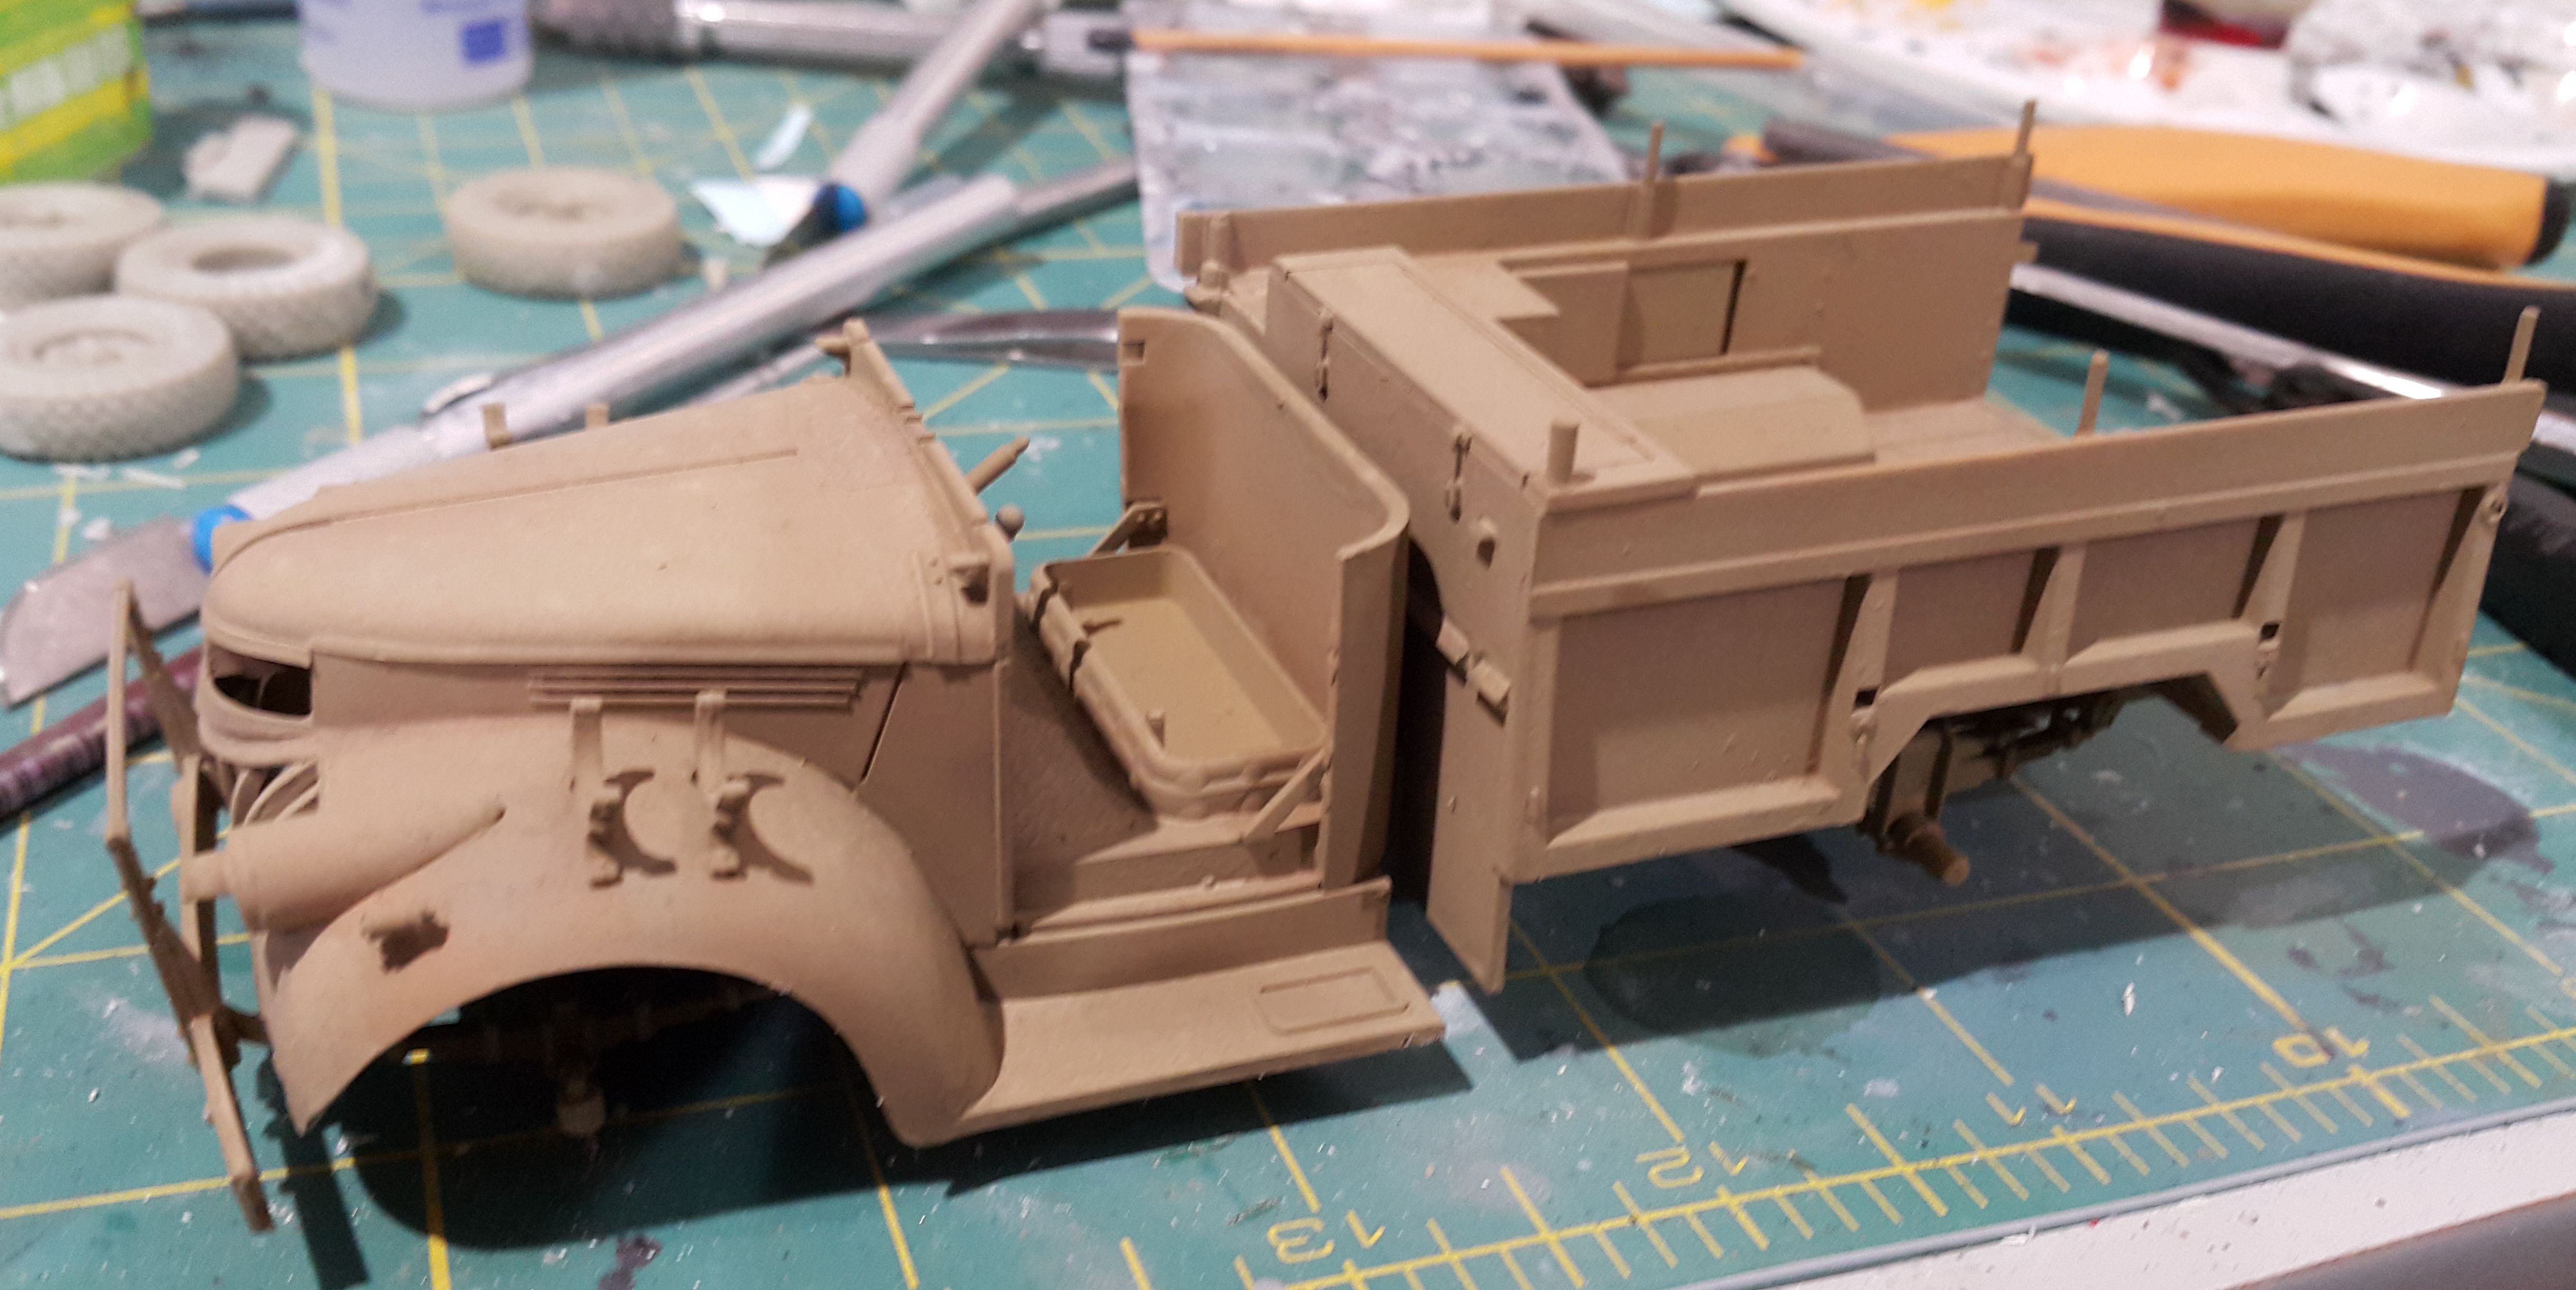
Done a bit more work on the chevy. Mounted and base coated the cargo section, and started painting the radio. (No new photos yet.)

Not sure how the cargo floor should be painted, if they were wooden or metal construction.
sahariana
Visit this Community
England - South East, United Kingdom
Joined: September 01, 2005
KitMaker: 381 posts
Armorama: 273 posts
Posted: Wednesday, October 18, 2006 - 02:22 PM UTC
Hi Mate

Pretty sure the body on the Chev is all steel. The earlier/original chevs had wooden bodies.
Look forwards to seeing some more pics, all the best
Dus
Brigandine
Visit this Community
Dunedin, New Zealand
Joined: July 12, 2006
KitMaker: 553 posts
Armorama: 312 posts
Posted: Thursday, October 19, 2006 - 06:10 PM UTC

Quoted Text

Done a bit more work on the chevy. Mounted and base coated the cargo section, and started painting the radio. (No new photos yet.)

Not sure how the cargo floor should be painted, if they were wooden or metal construction.


The 1533x2 Chevies were Canadian built, with 'Gotfredson 4BI steel ammunition body' - the floors were steel, and would have probably taken a reasonable beating, especially around the gun post.

The 'greedy boards' or extension peices above the main tray (where the 'Windom' aerial rods [B8]were mounted), front locker [B15, 20] and radio cabinet were wooden. Not that the greedy board posts were hollow, and were capable of being used as additional weapons mounts:


A careful look at these two photos will show other detail, apart from those mentioned. Note, for example, on T10 the additional cargo tie hook behind the fuel filler, the fire extinguisher on the bodywork behind the driver, and the panel line and boltheads behind the oil cans. The front faces of the lower lockers [B5 & 6] need about 1 mm sanded off - the lockers doors [B11] weren't quite flush with the bodywork (Tamiya's box art is actually quite accurate in showing the right detail).
There was also a noticable gap in the bodywork above the running boards.


Another thing Tamiya haven't quite got right is the size of the top opening to the radiator; the extra 'lip' which appears on the main cab moulding [A27], below the bonnet [A16] shouldn't be there - this can be removed by carefully reducing the thickness of the plastic platform forward of the radiator aperture Note how the bonnet opens? A line needs to be scribed across the top of the lip moulded onto A16.
See what I mean about those lower lockers being recessed?

Enough of the lecture! Enjoy your Chevy. I look forward to seeing it.
Pave-Hawk
Visit this Community
Western Australia, Australia
Joined: May 05, 2006
KitMaker: 900 posts
Armorama: 510 posts
Posted: Monday, December 26, 2011 - 03:24 PM UTC
Ok, been a long time between efforts on this one, but slowly getting back into modelling and working on bits and pieces of my partially finished stash.

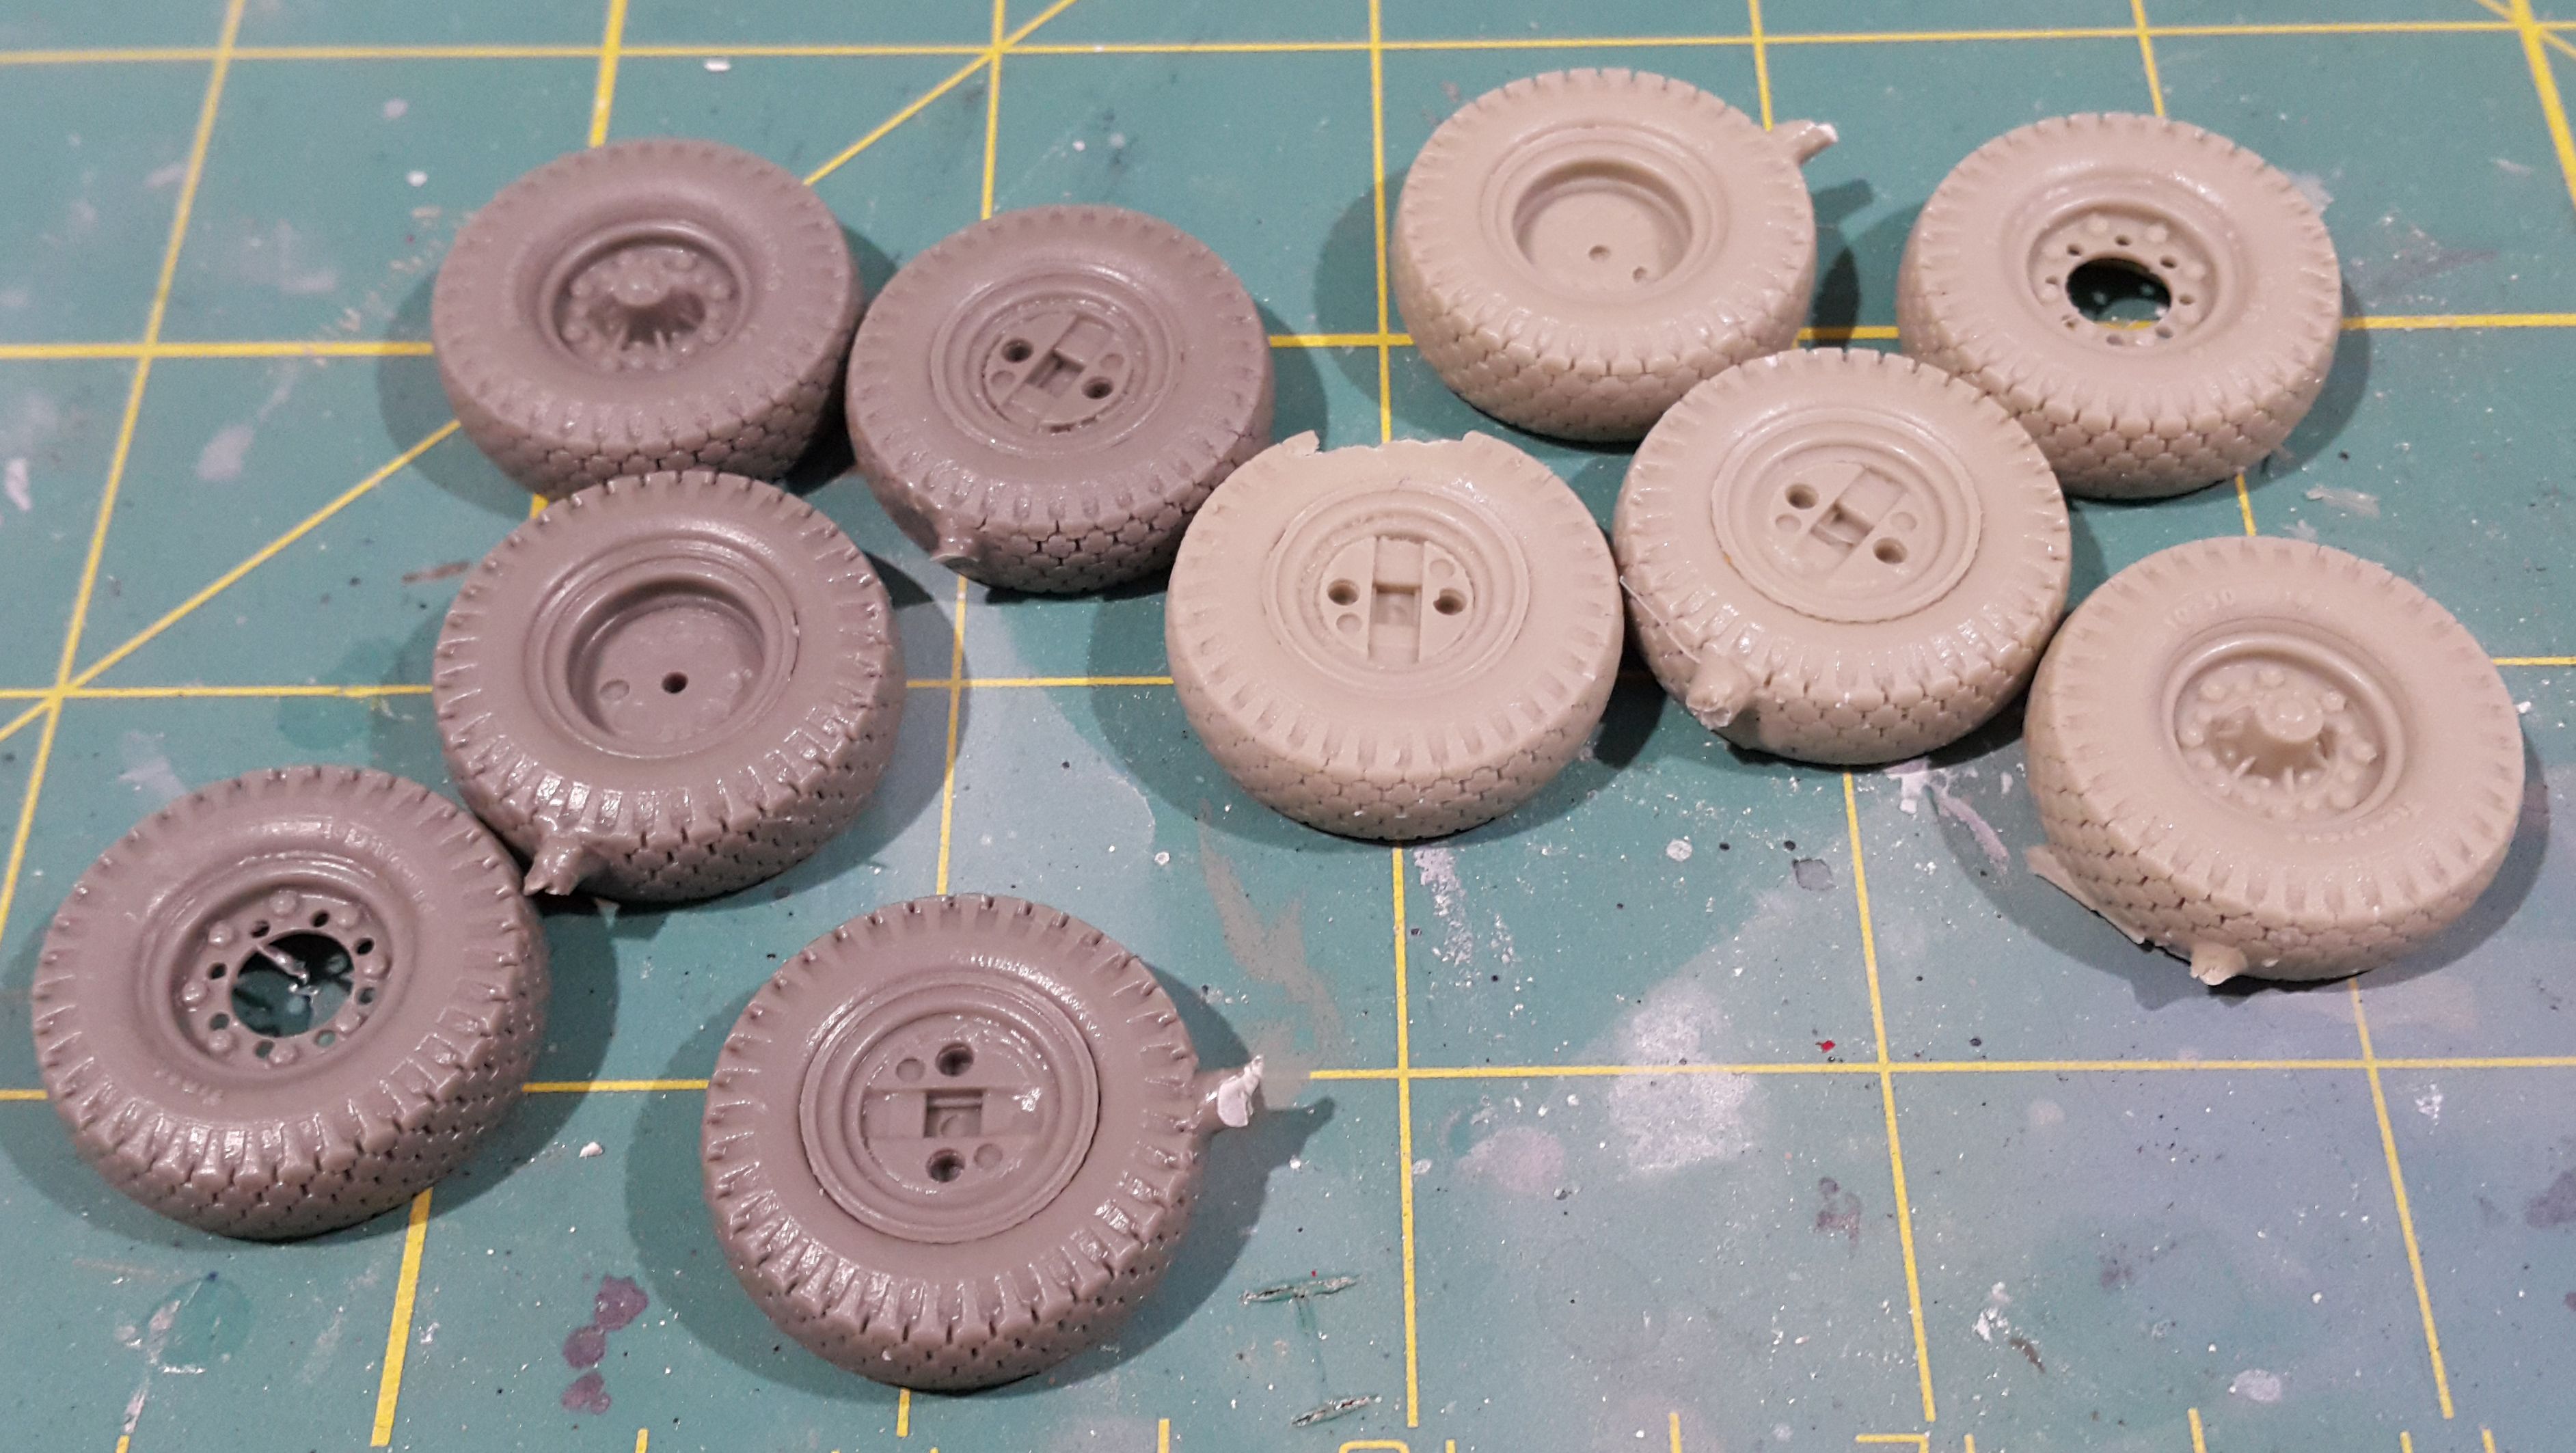
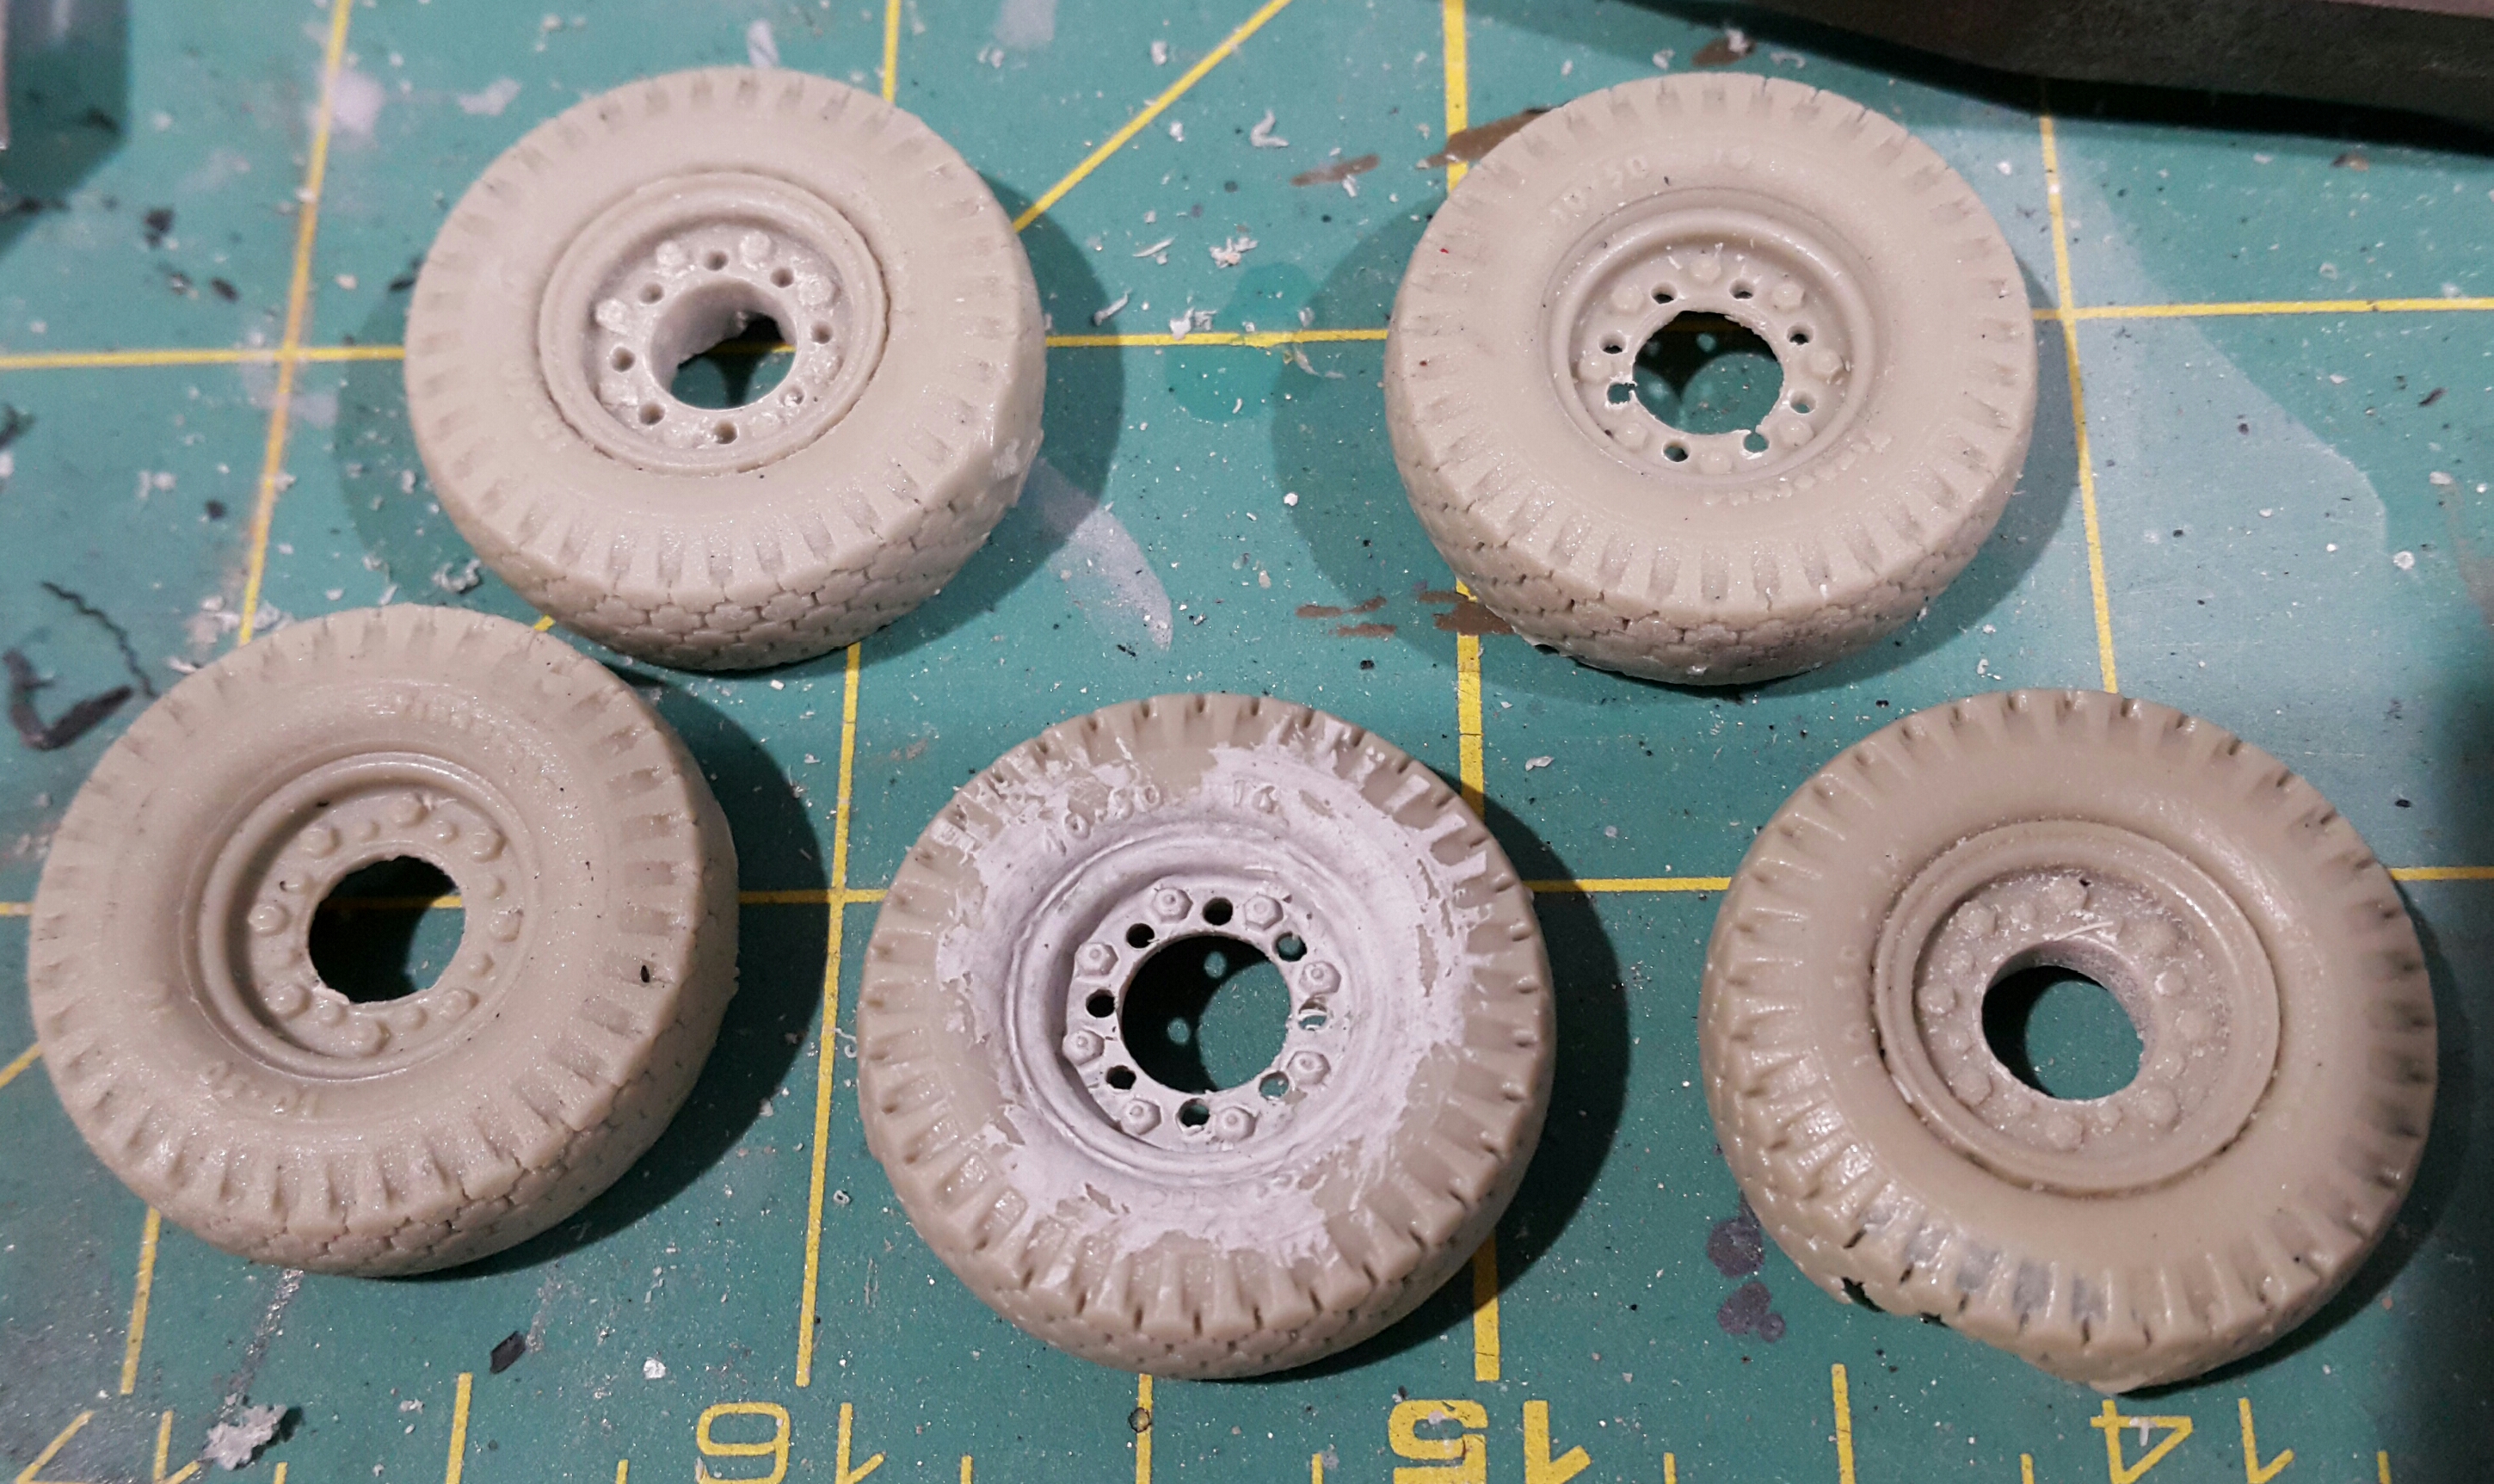
In one of my previous posts I mentioned the Chevys splitting rubber tyres and my intent to recast them in resin.

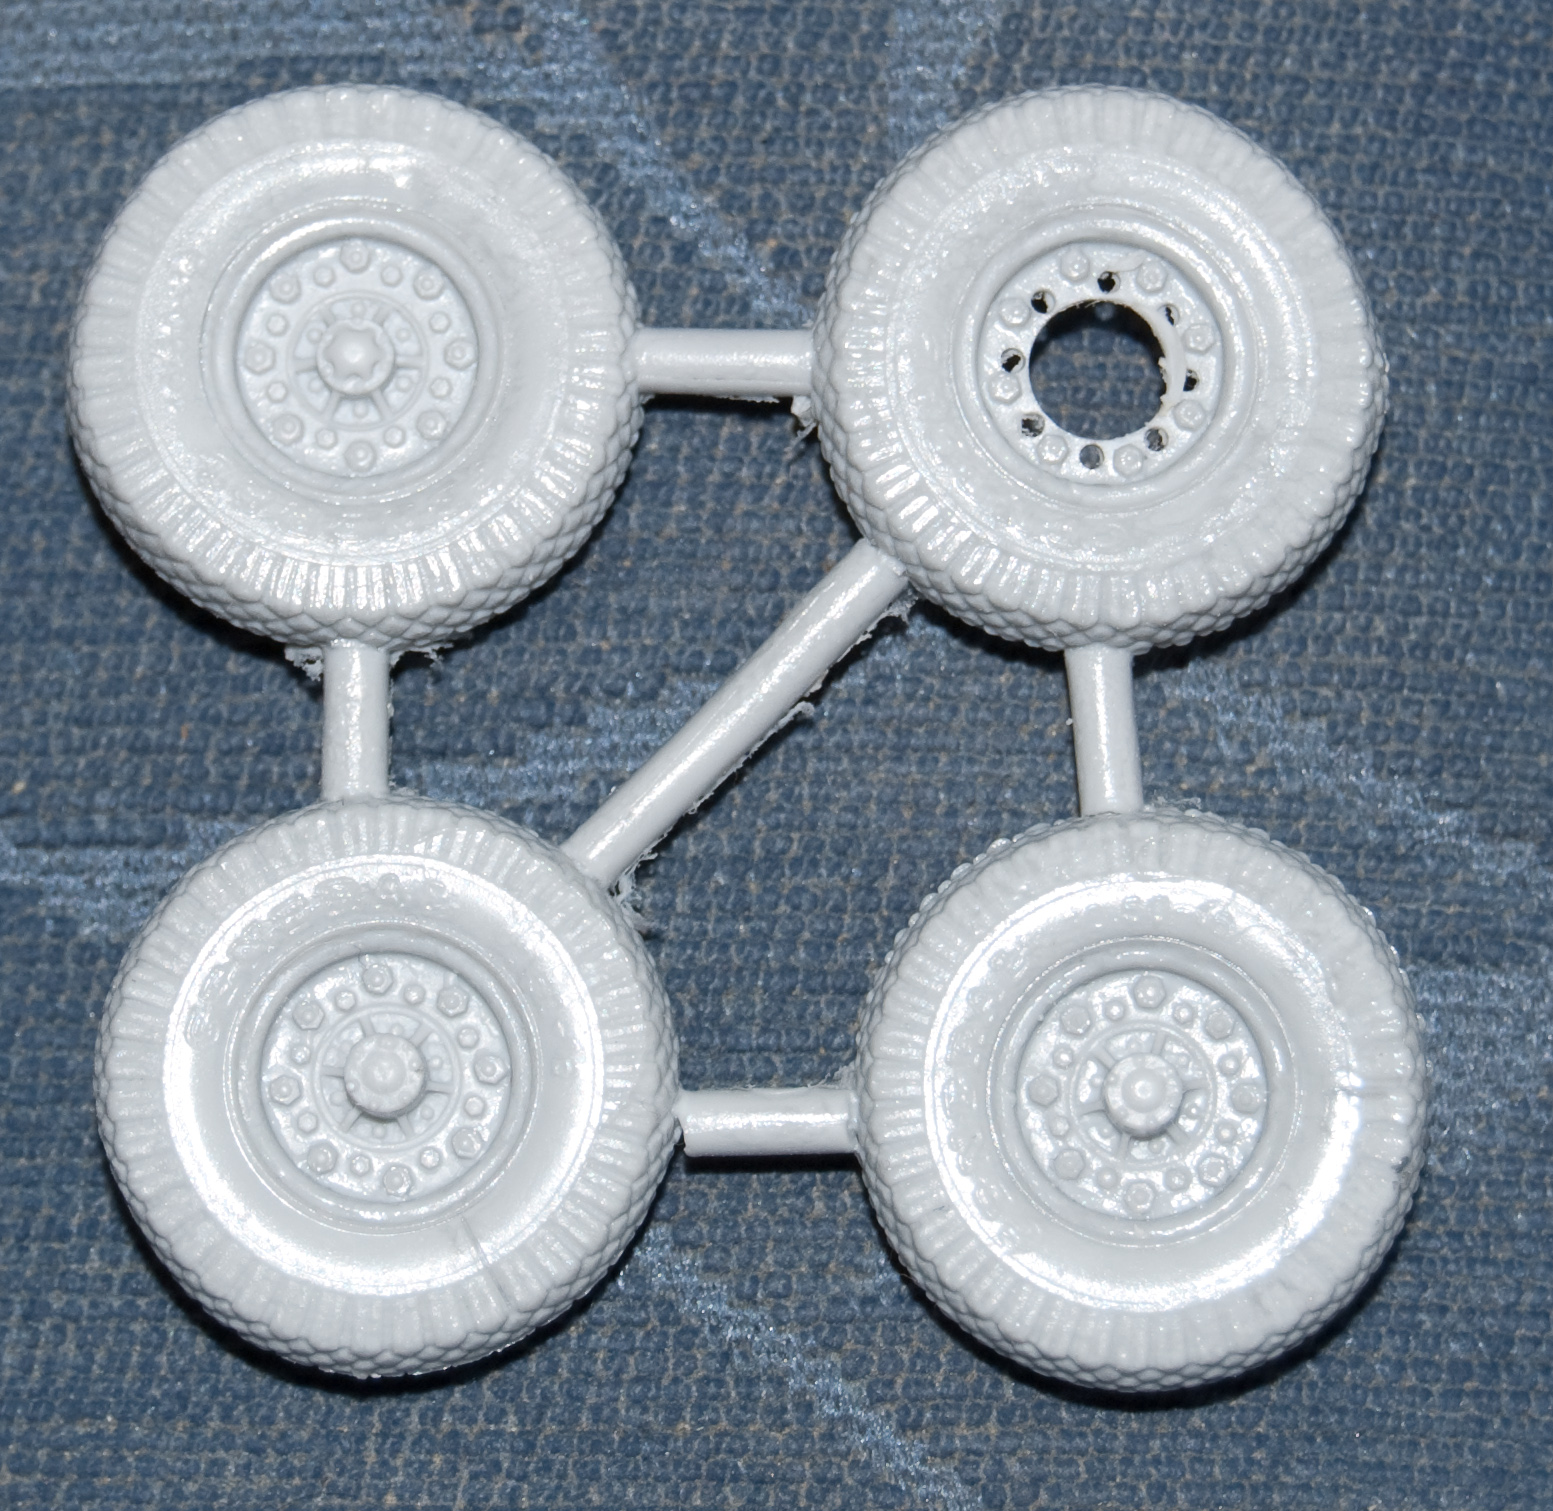
Well, here they are:


They are not perfect due to the rubber deforming slightly during the casting process, but with careful painting and weathering, and proper placement in a diorama, I think they should look like a decent set of worn tyres.
You can just see where one of the worst splits was actually duplicated in the resin on the lower left tyre, so a little filling will be needed.

There are also a few voids on some of the undercuts, but those are on the back side and shouldn't be visible once mounted to the vehicle.
Pave-Hawk
Visit this Community
Western Australia, Australia
Joined: May 05, 2006
KitMaker: 900 posts
Armorama: 510 posts
Posted: Monday, July 10, 2017 - 12:59 PM UTC
ZOMBIE THREAD!!!!!!

resurrecting this build for the unfinished builds campaign.

Here's what I had at last review


Since then I have sprayed a new wash coat of colour as I wasn't happy with the wide variation, so now they are a bit closer while not being exactly the same,


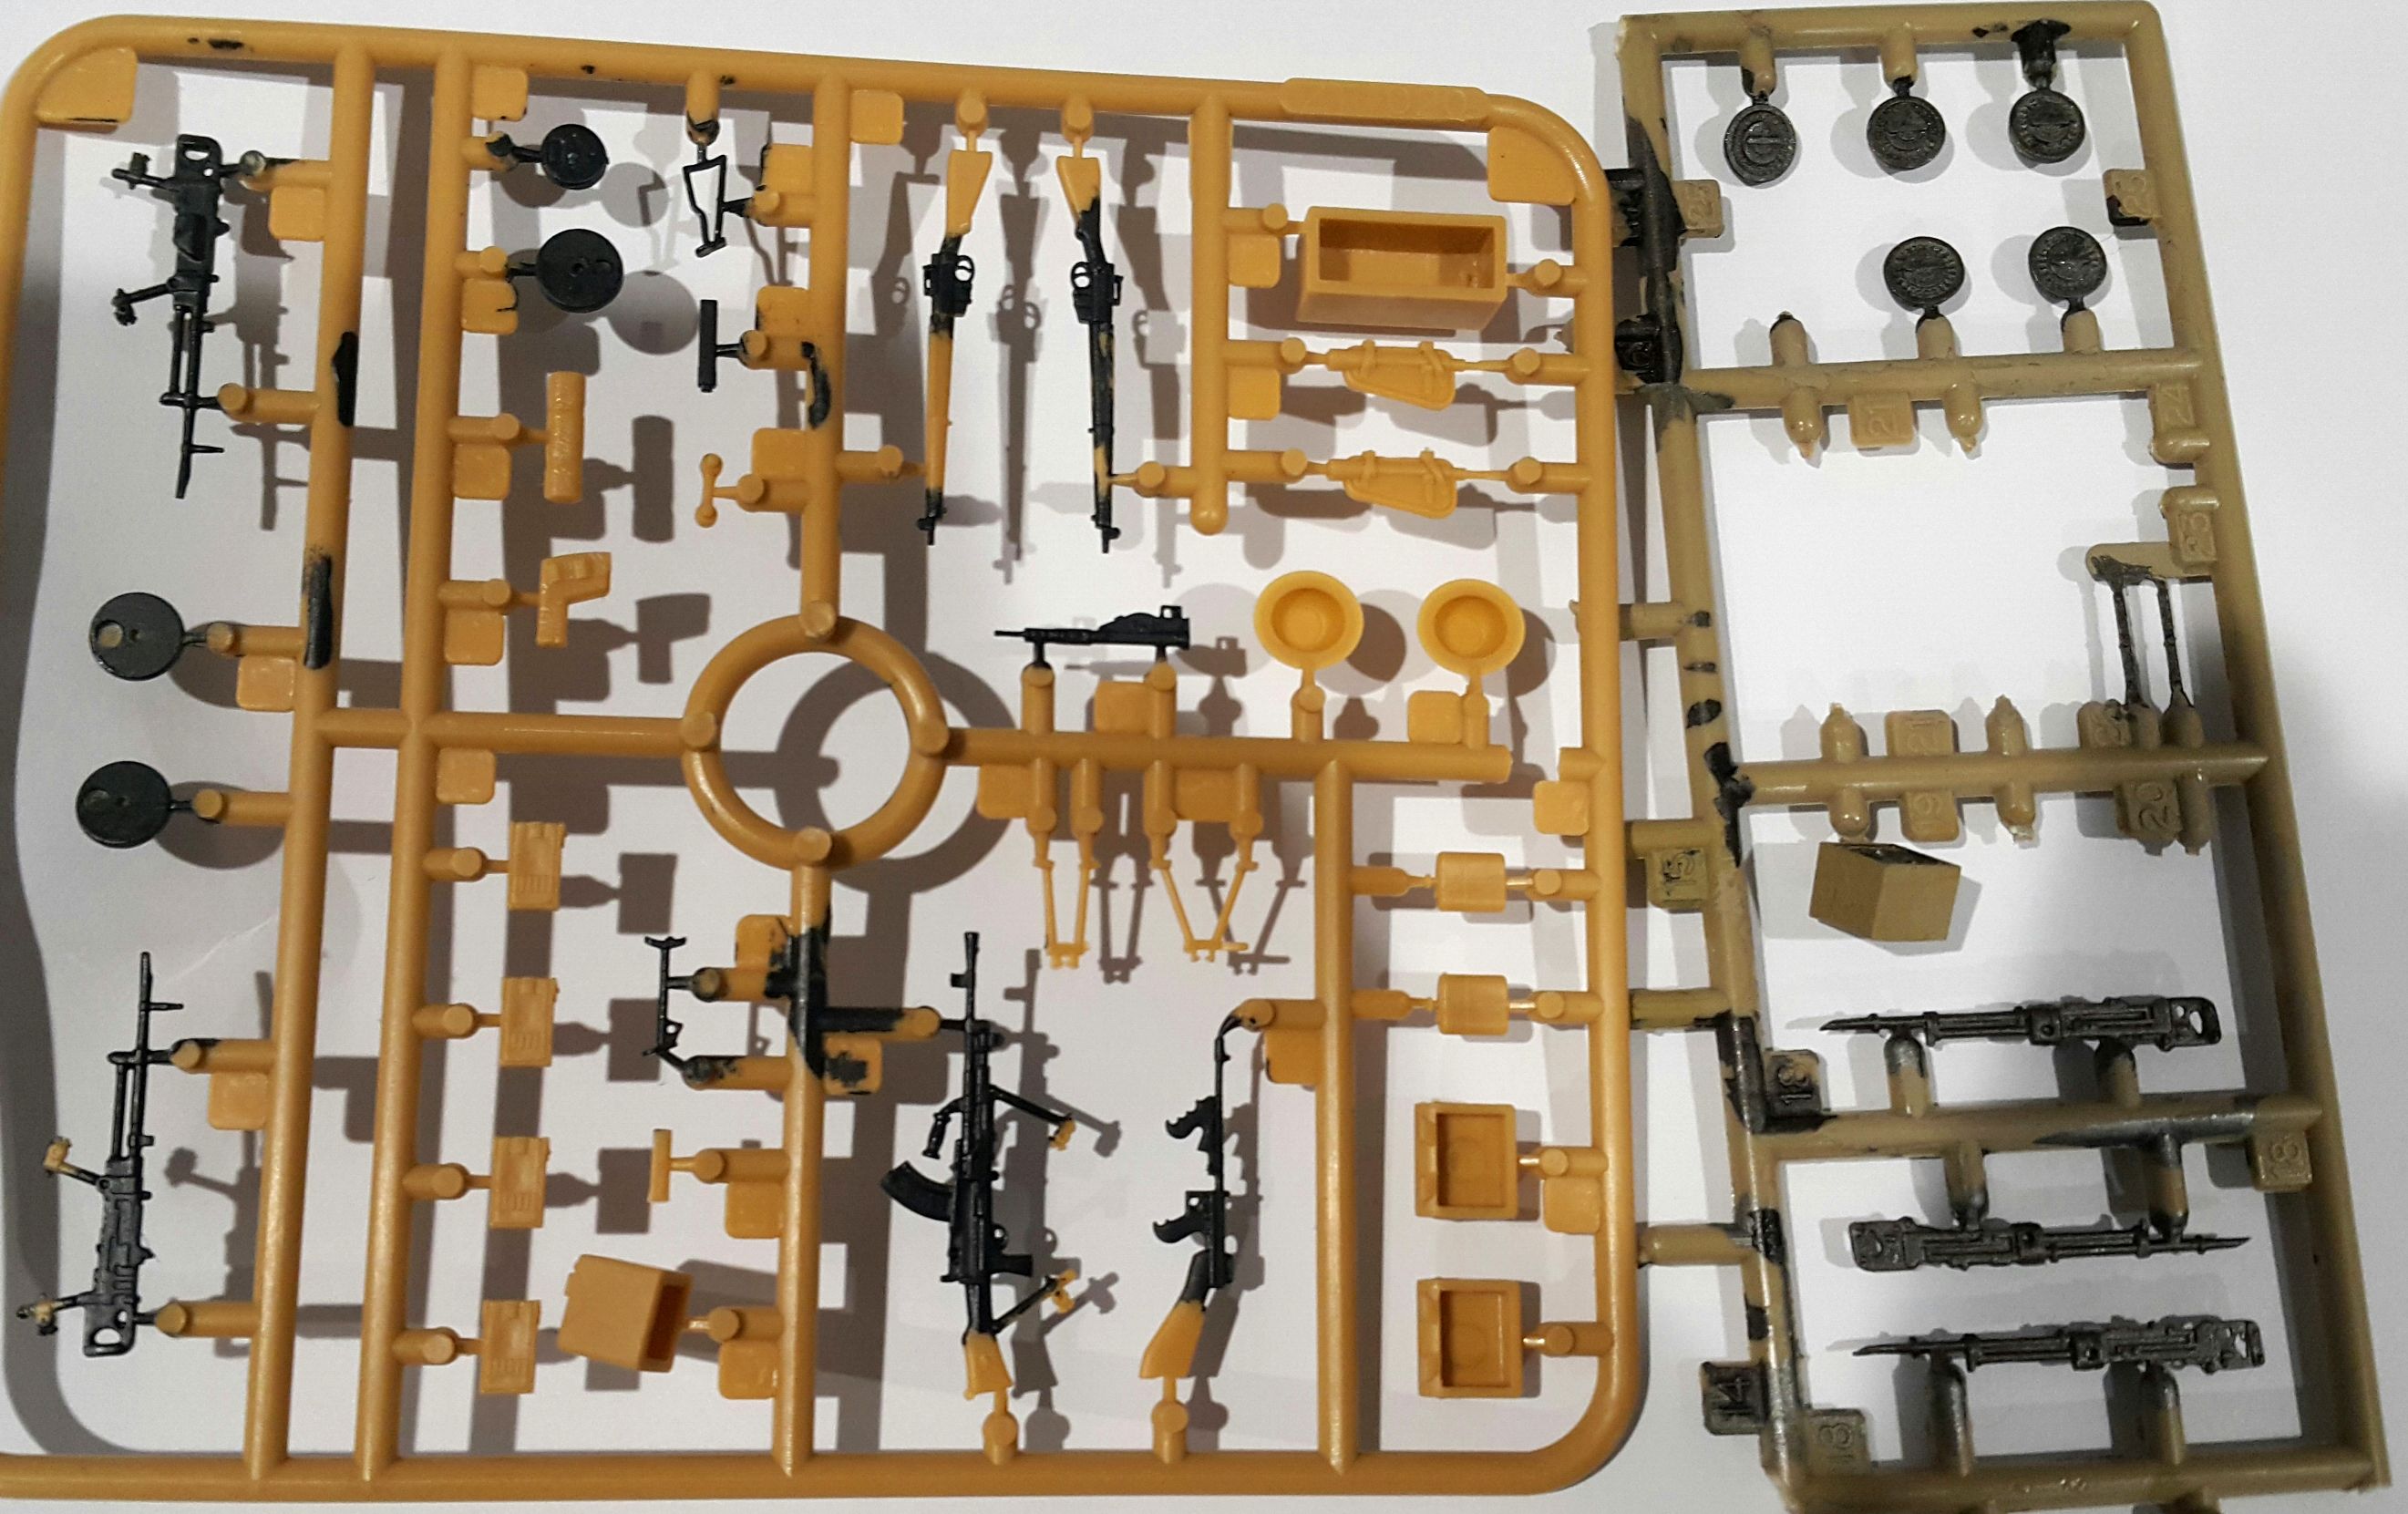
Plan is to replace some of the weapons with items from Bronco's 17pdr/crew, and Bishop kits, as well as making use of the originals where necessary, plus the .50 machine gun from Academy as originally planned.


With the original rubber tyres split and my efforts at recasting them not entirely satisfactory, I bought replacements


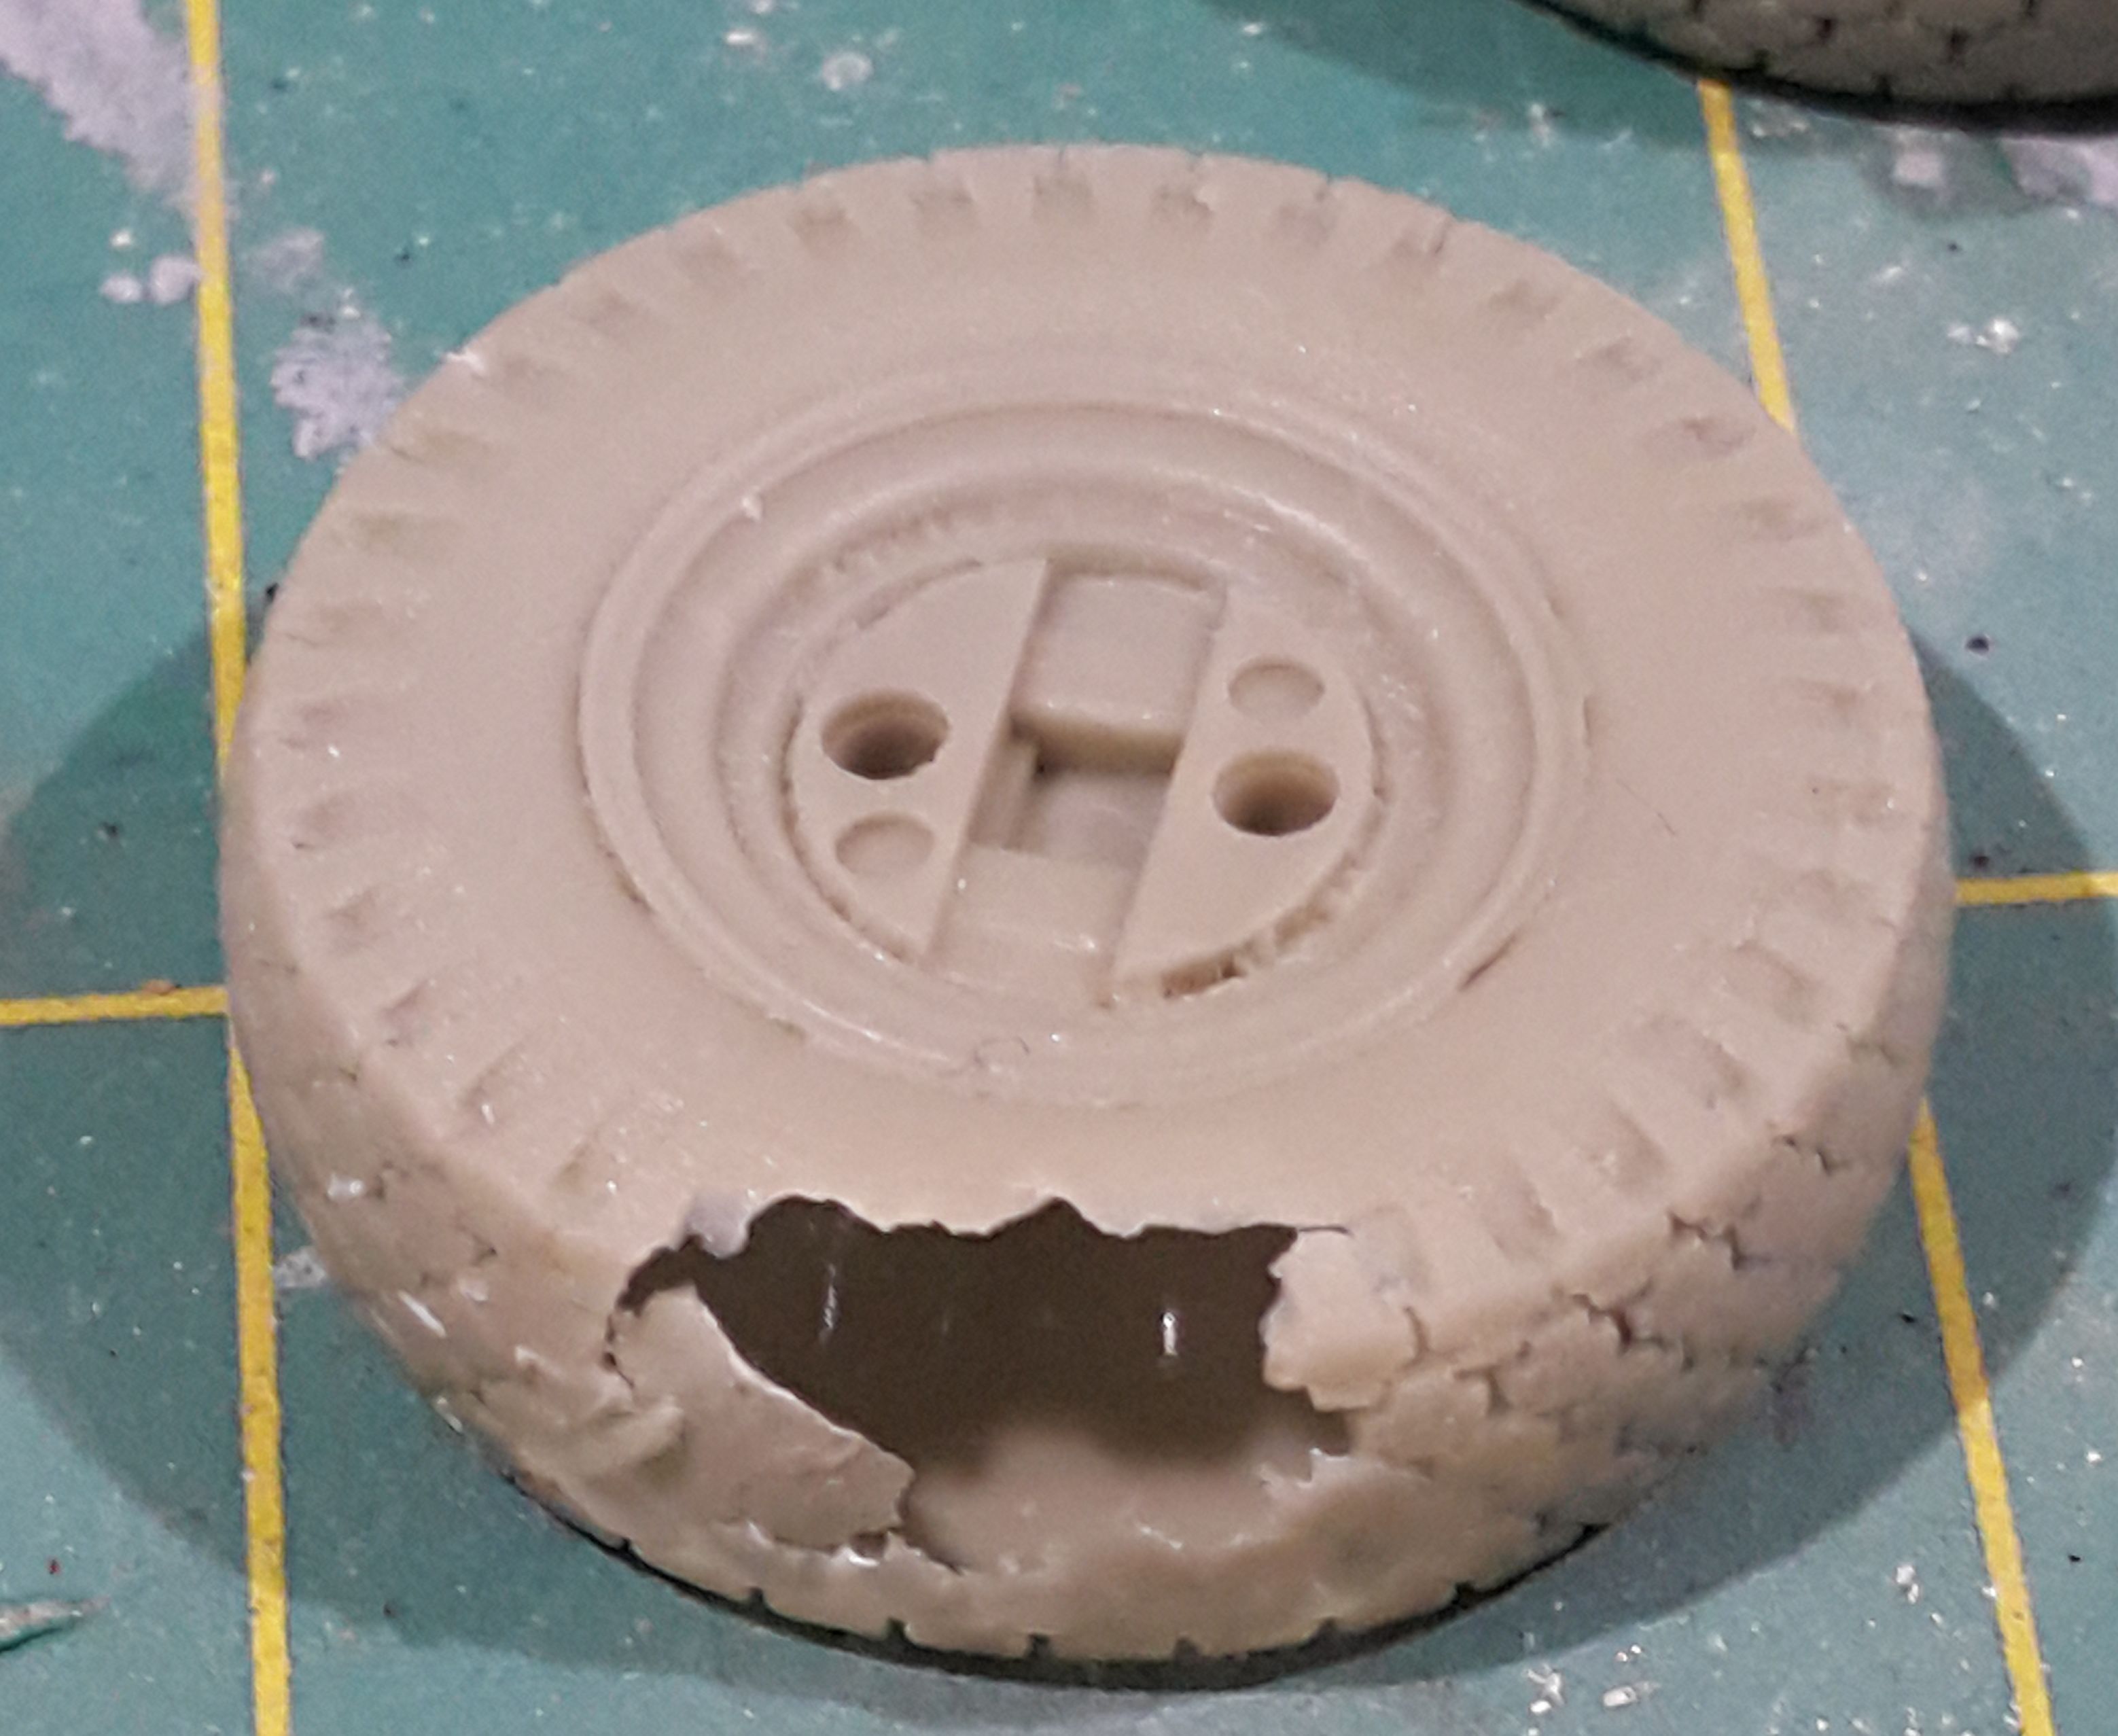
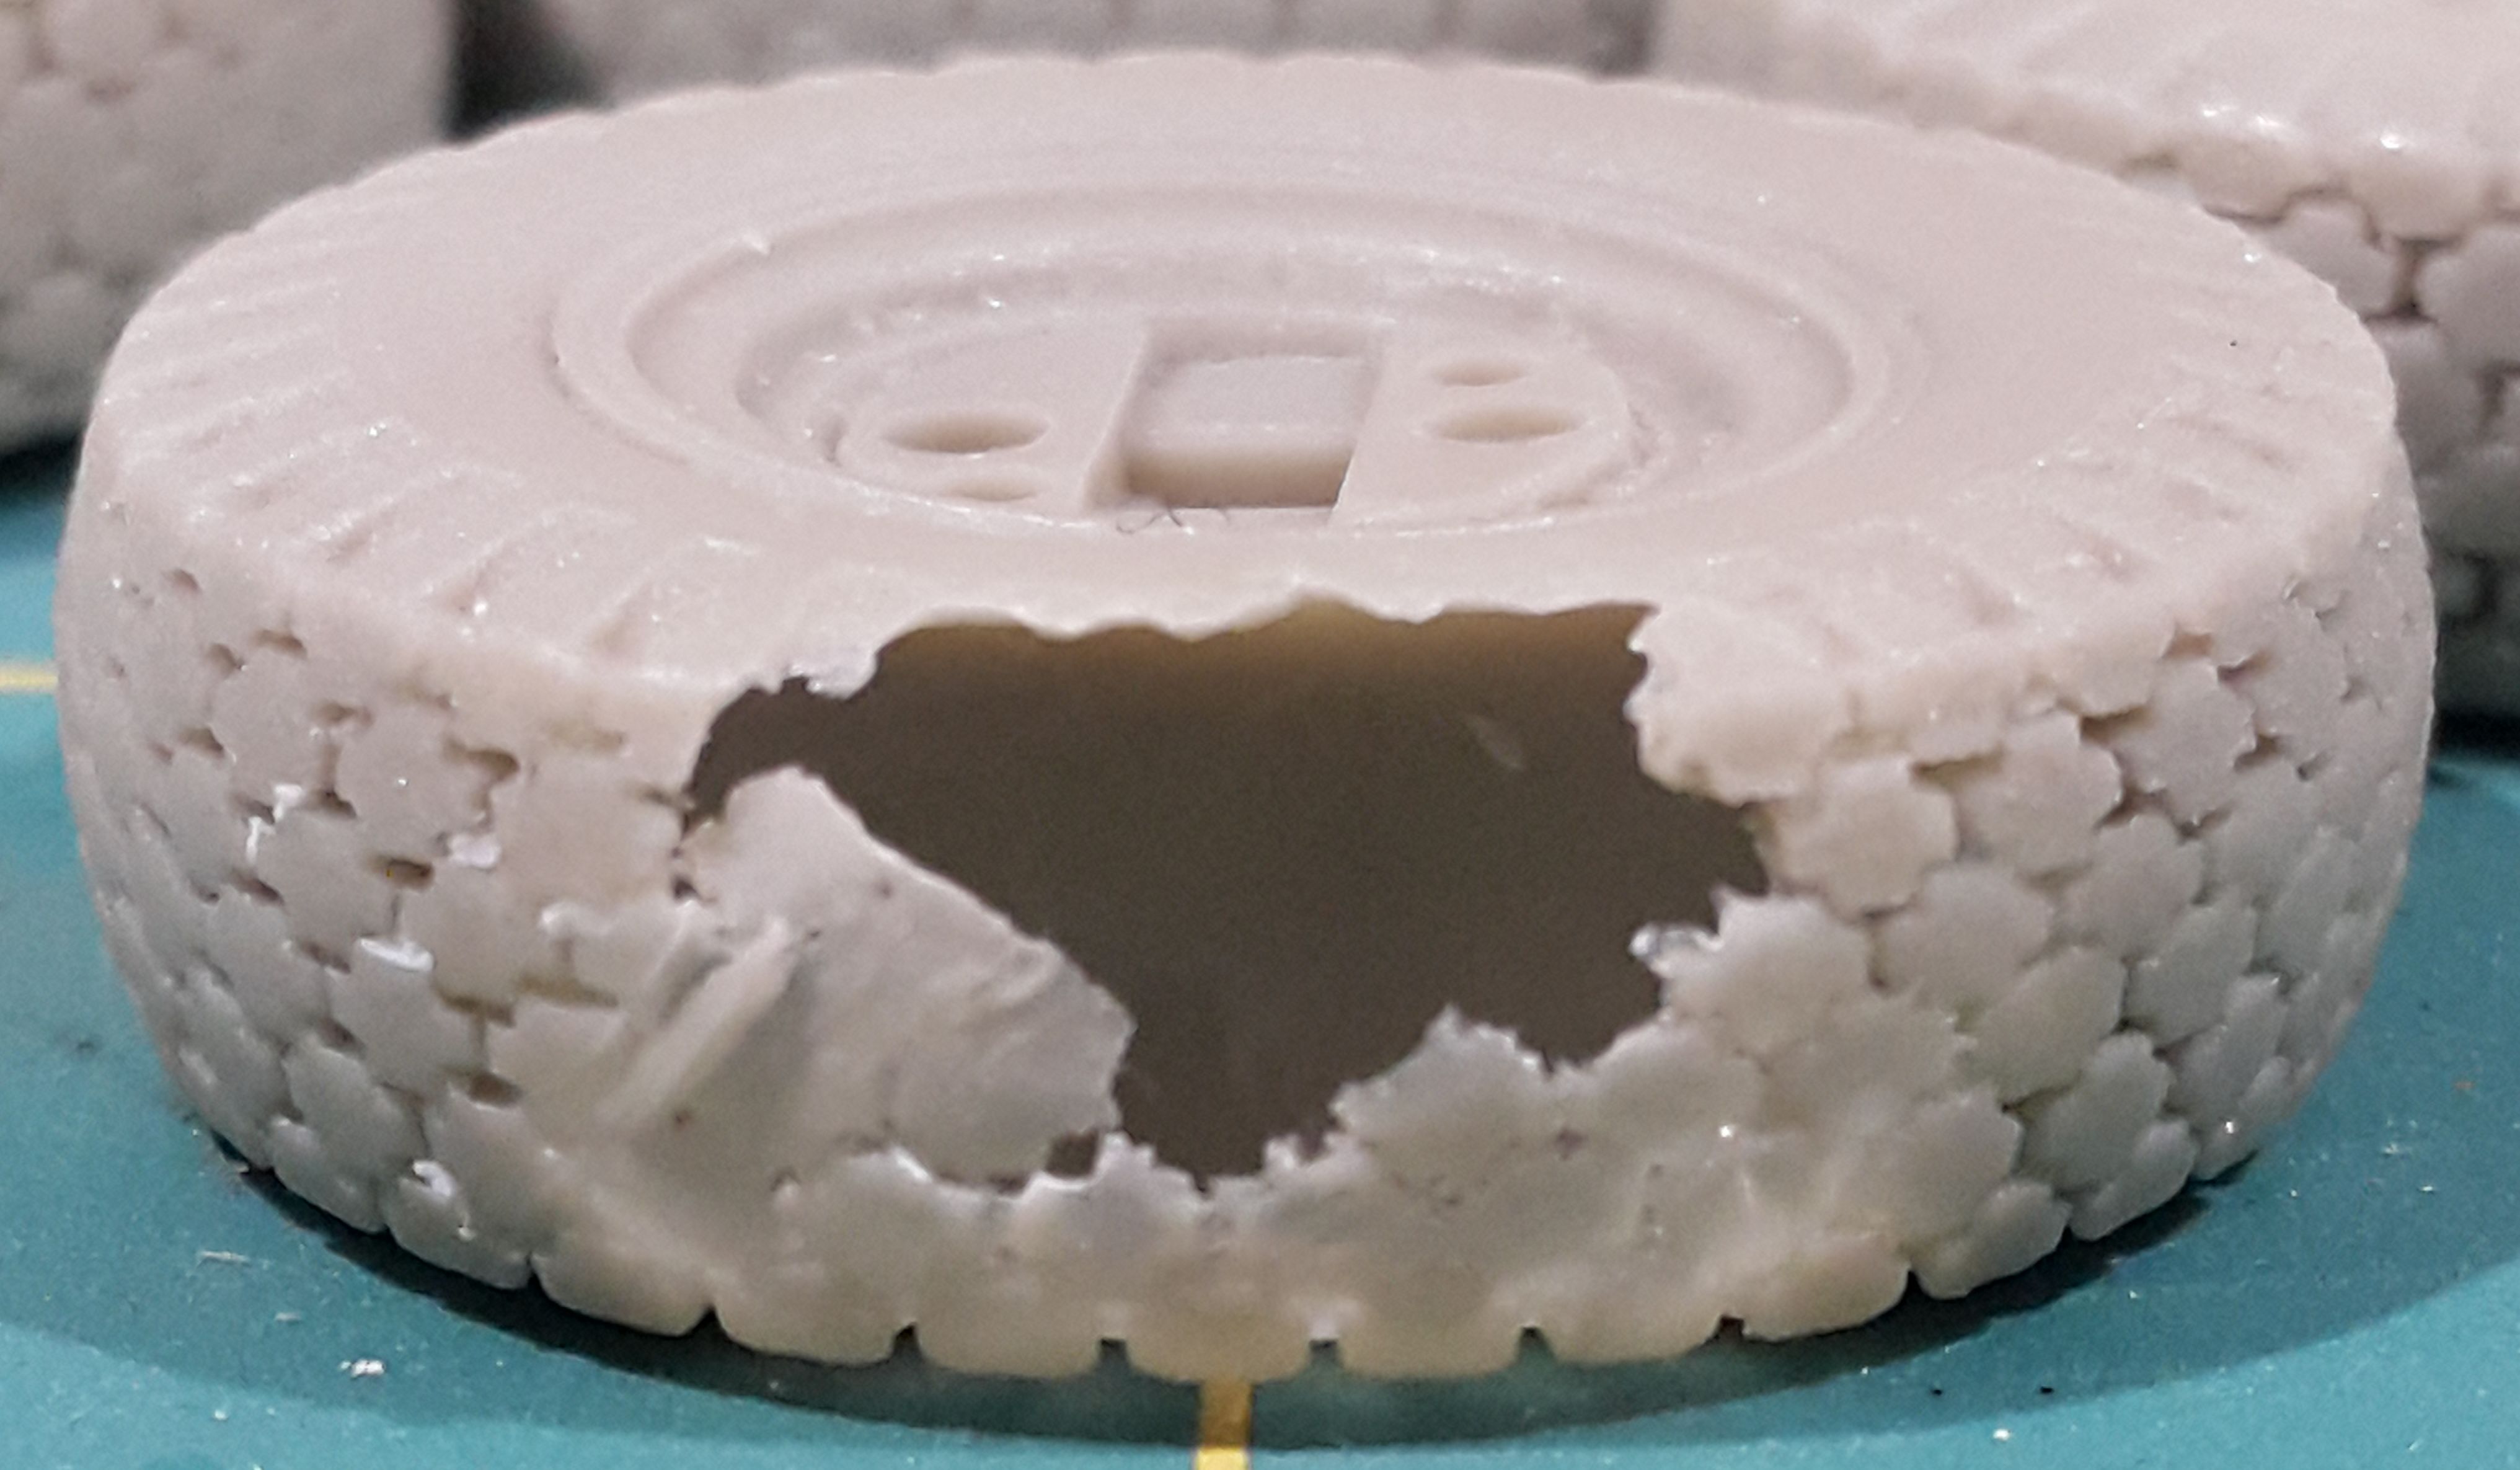
Not sure why I bought two sets, but glad I did as I think one is actually a bad recast of the other, and this is the state of one of the wheels


Since each set only came with one spare and I figure LRDG trucks want lots of spares for the harsh desert conditions,
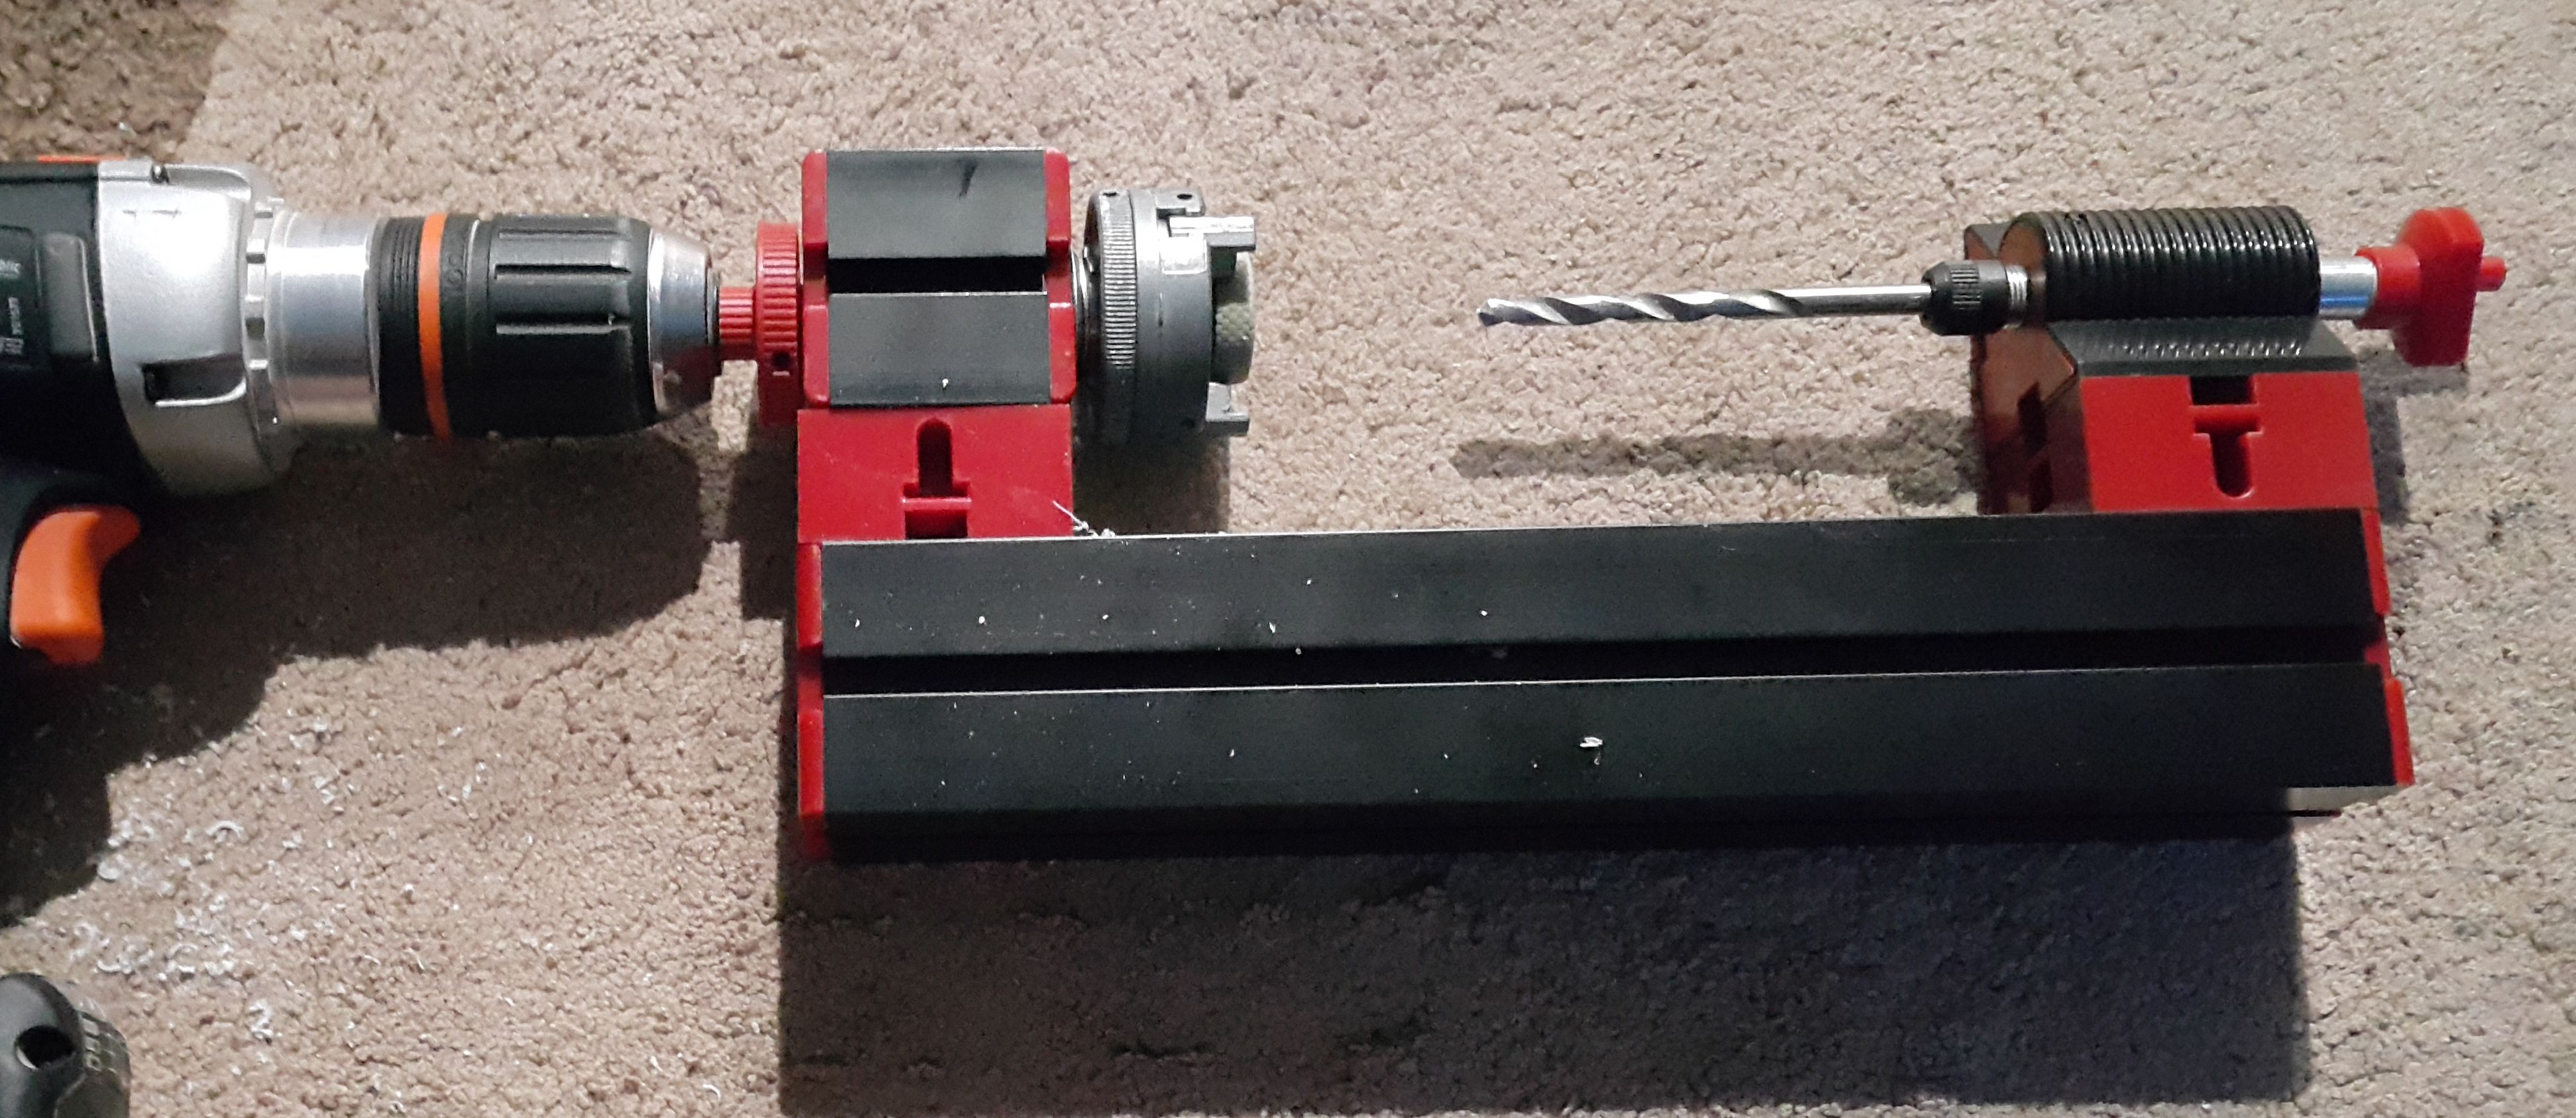
I got out what will laughingly be referred to as my lathe


and drilled out the center hole


Have done that on all the wheels from the dodgy set. and have also drilled out some of the bolt holes. These may just be mounted in the back coverd with a tarp, but I amy use some in dio later on.
tankmodeler
#417
Visit this Community
Ontario, Canada
Joined: March 01, 2004
KitMaker: 3,123 posts
Armorama: 2,539 posts
Posted: Tuesday, July 11, 2017 - 07:43 PM UTC

Quoted Text

and have also drilled out some of the bolt holes.


Be aware that the outer ring of bolts needs to remain, only drill out the inner ring of bolts.

The outer ring holds the two halves of the rim together, it's the inner half that holds the rim to the hub. That's why the outer bolts are usually painted red in commonwealth service, to remind crews to not unbolt them unless the tire is totally deflated, otherwise, with the tire under pressure, the loosened bolt can fly off and kill you.

Paul
Pave-Hawk
Visit this Community
Western Australia, Australia
Joined: May 05, 2006
KitMaker: 900 posts
Armorama: 510 posts
Posted: Wednesday, July 12, 2017 - 04:32 AM UTC

Quoted Text


Quoted Text

and have also drilled out some of the bolt holes.


Be aware that the outer ring of bolts needs to remain, only drill out the inner ring of bolts.

The outer ring holds the two halves of the rim together, it's the inner half that holds the rim to the hub. That's why the outer bolts are usually painted red in commonwealth service, to remind crews to not unbolt them unless the tire is totally deflated, otherwise, with the tire under pressure, the loosened bolt can fly off and kill you.

Paul


Well now I know what the additional ring of bolts is for, cheers
I am copying the provided spare tyres which already have the correct bolt pattern.
Pave-Hawk
Visit this Community
Western Australia, Australia
Joined: May 05, 2006
KitMaker: 900 posts
Armorama: 510 posts
Posted: Saturday, July 22, 2017 - 12:11 PM UTC
So some additional work on my "lathe" and the other wheels are drilled, along with a few of the required bolt holes. Managed to stuff up the one I absolutely didn't want stuffed up, but some cosmetic work should make it useful.


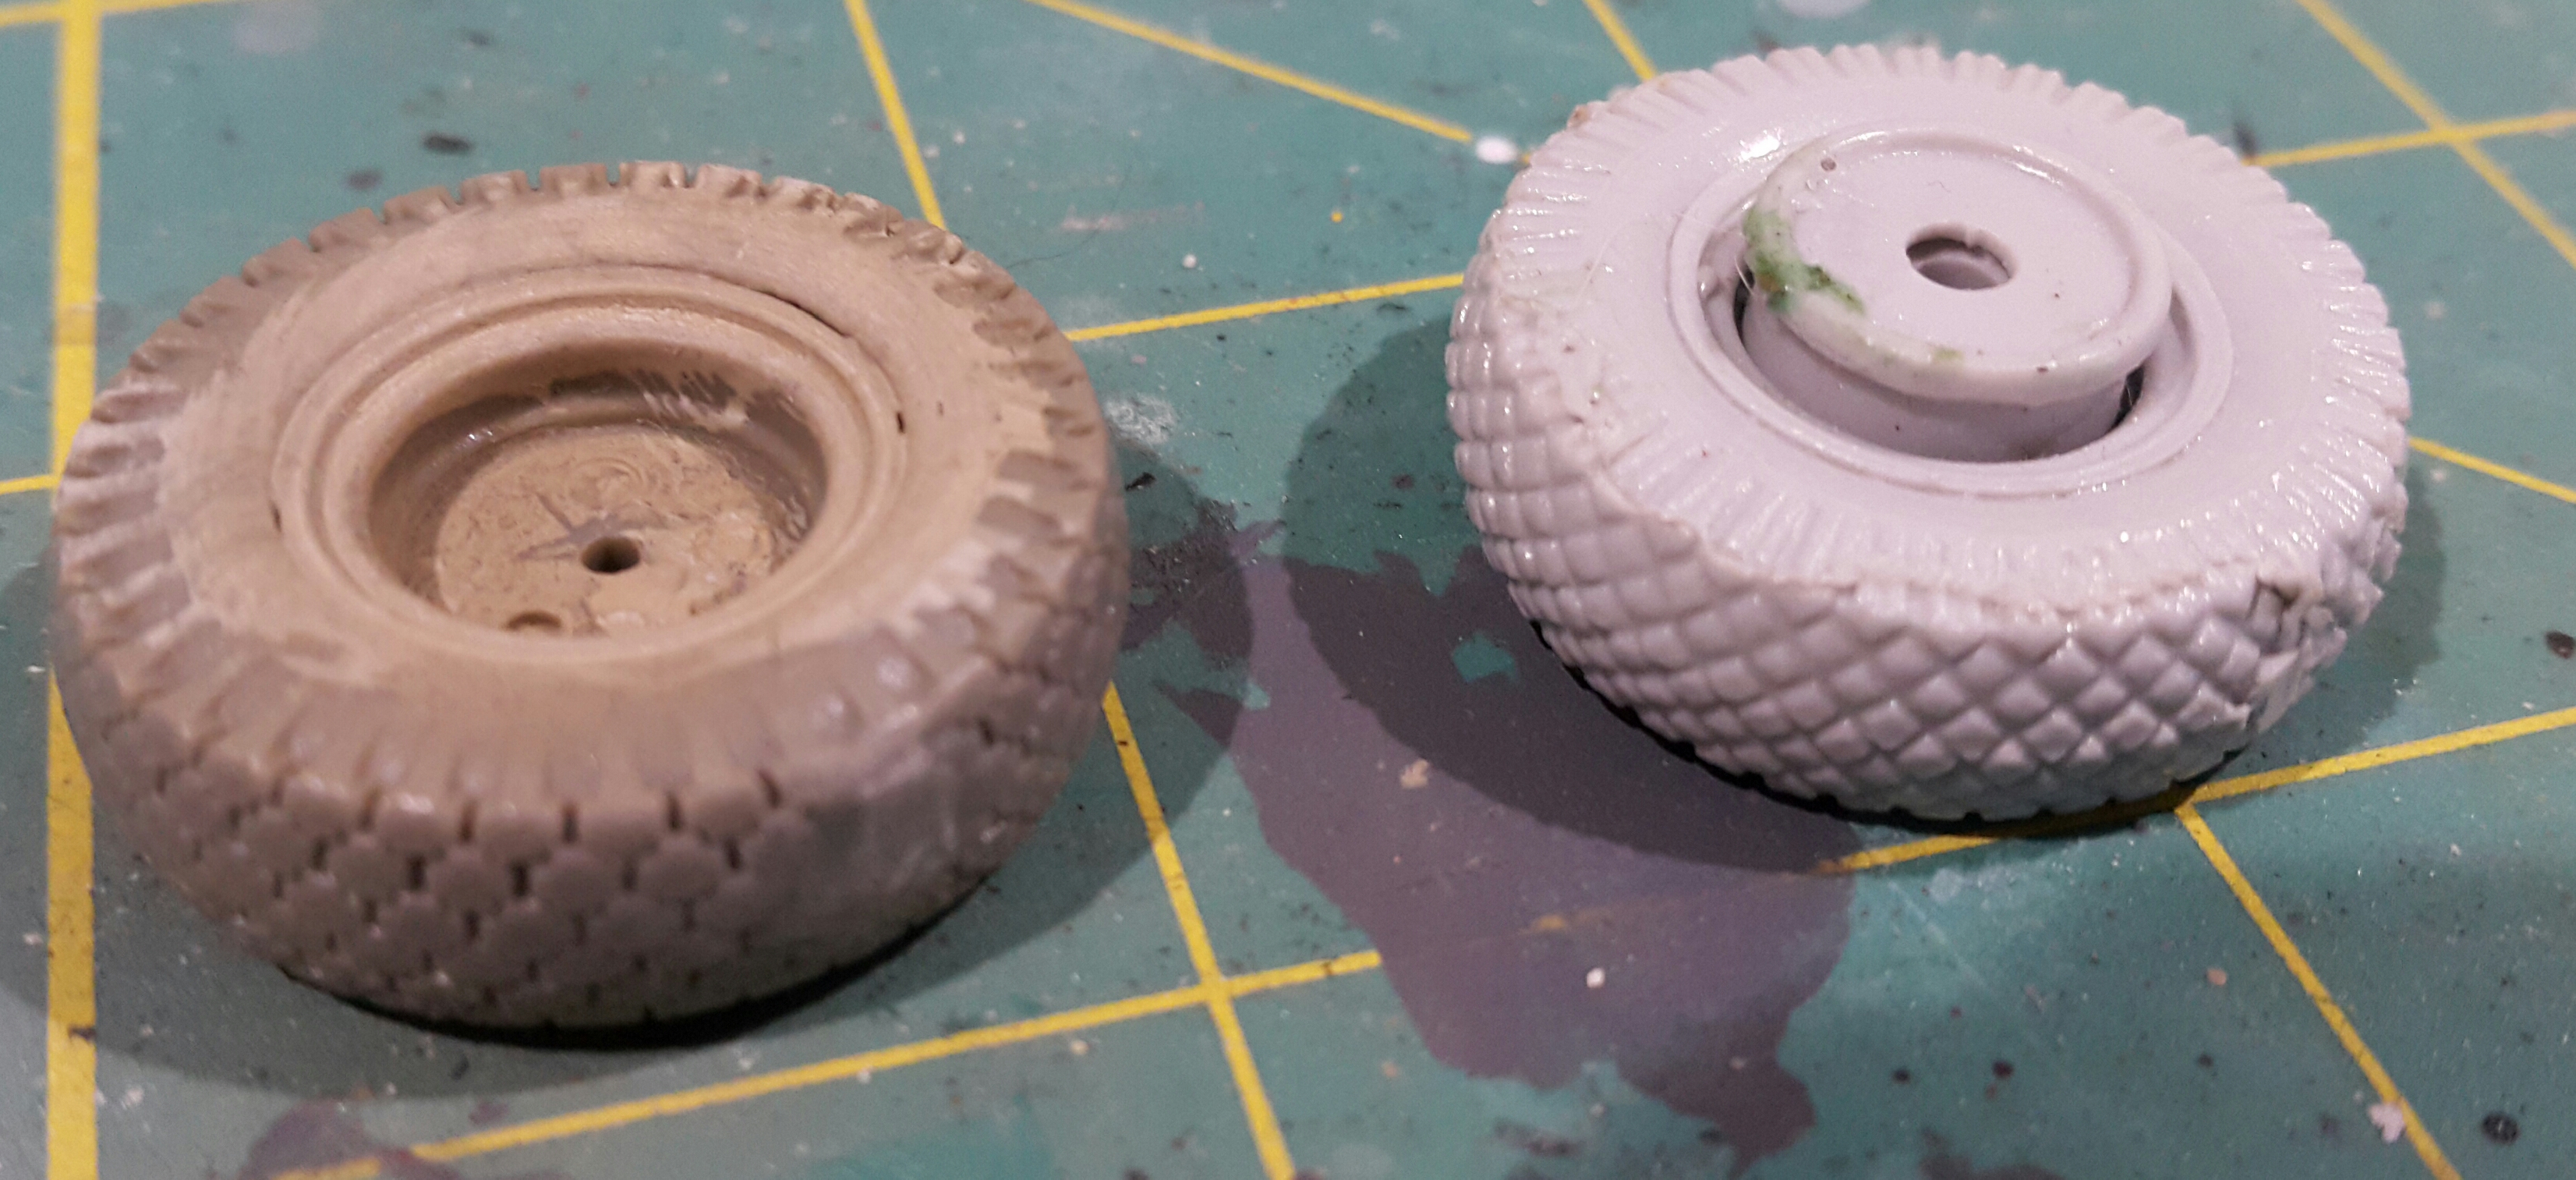
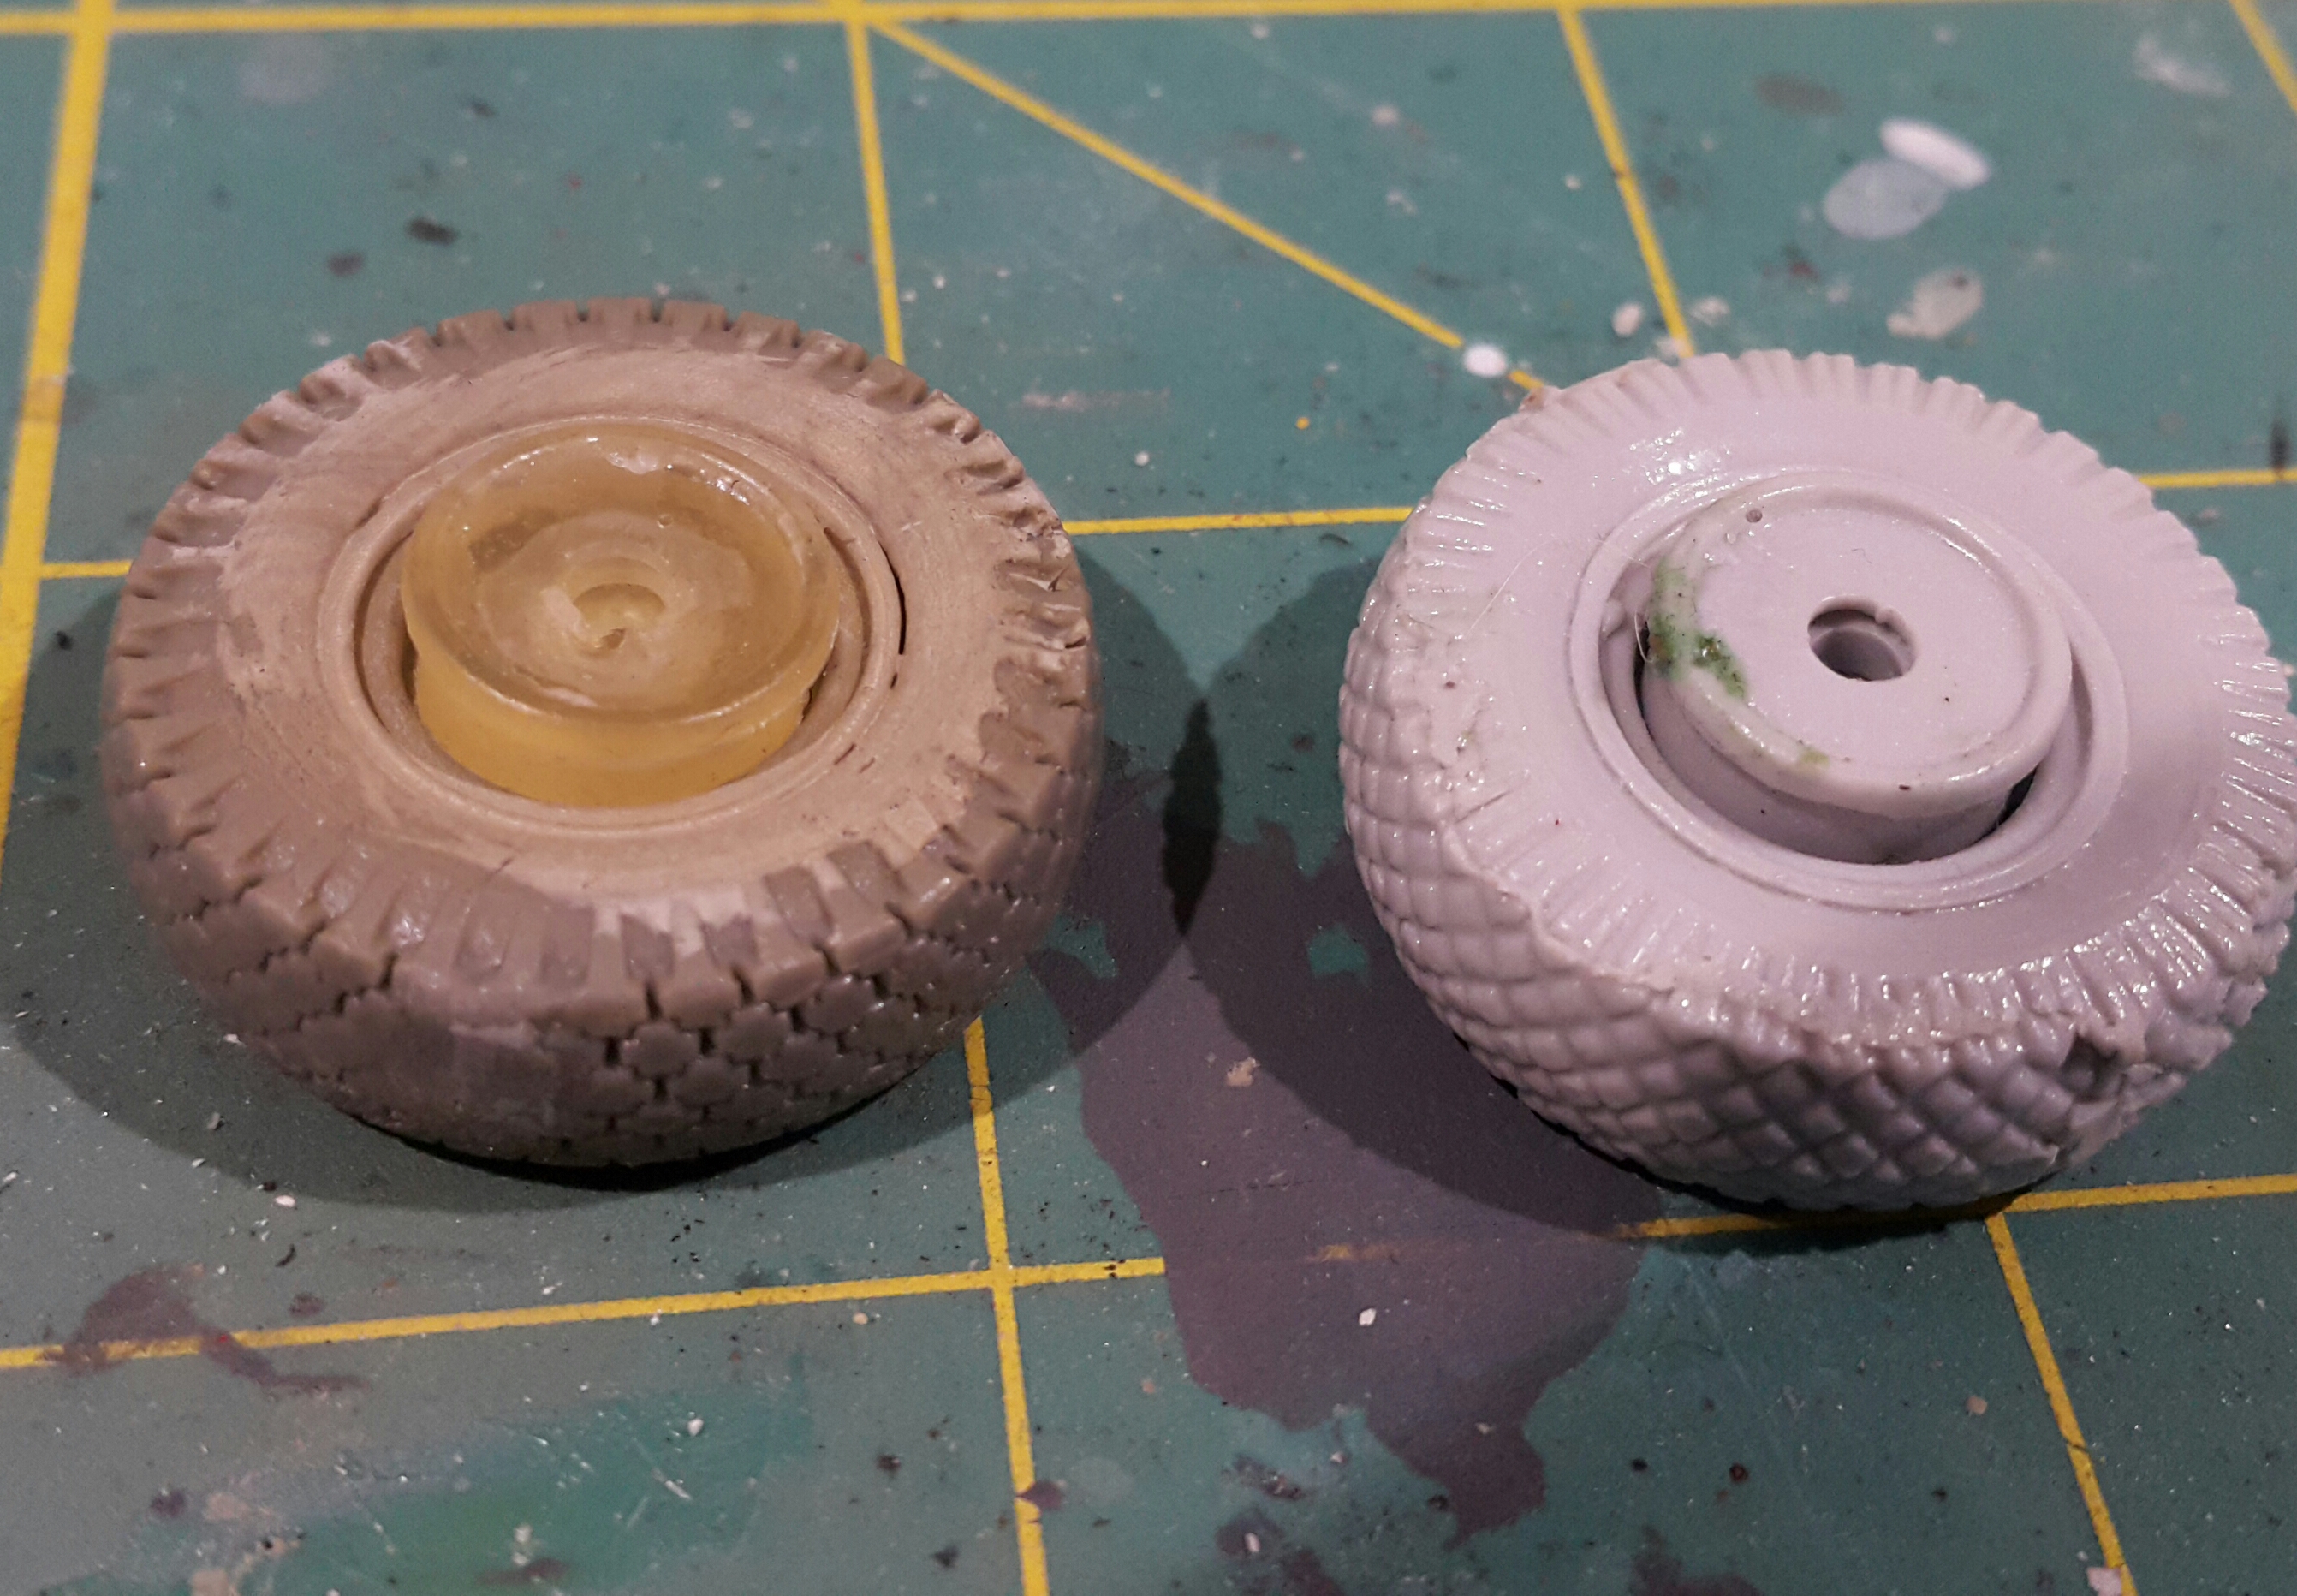
Unfortunately I discovered a slight issue with the rear wheels, in that they are missing a vital part to let them fit correctly on the rear axle. On the left is the aftermarket item, and on the right is my recast of the original kit wheel


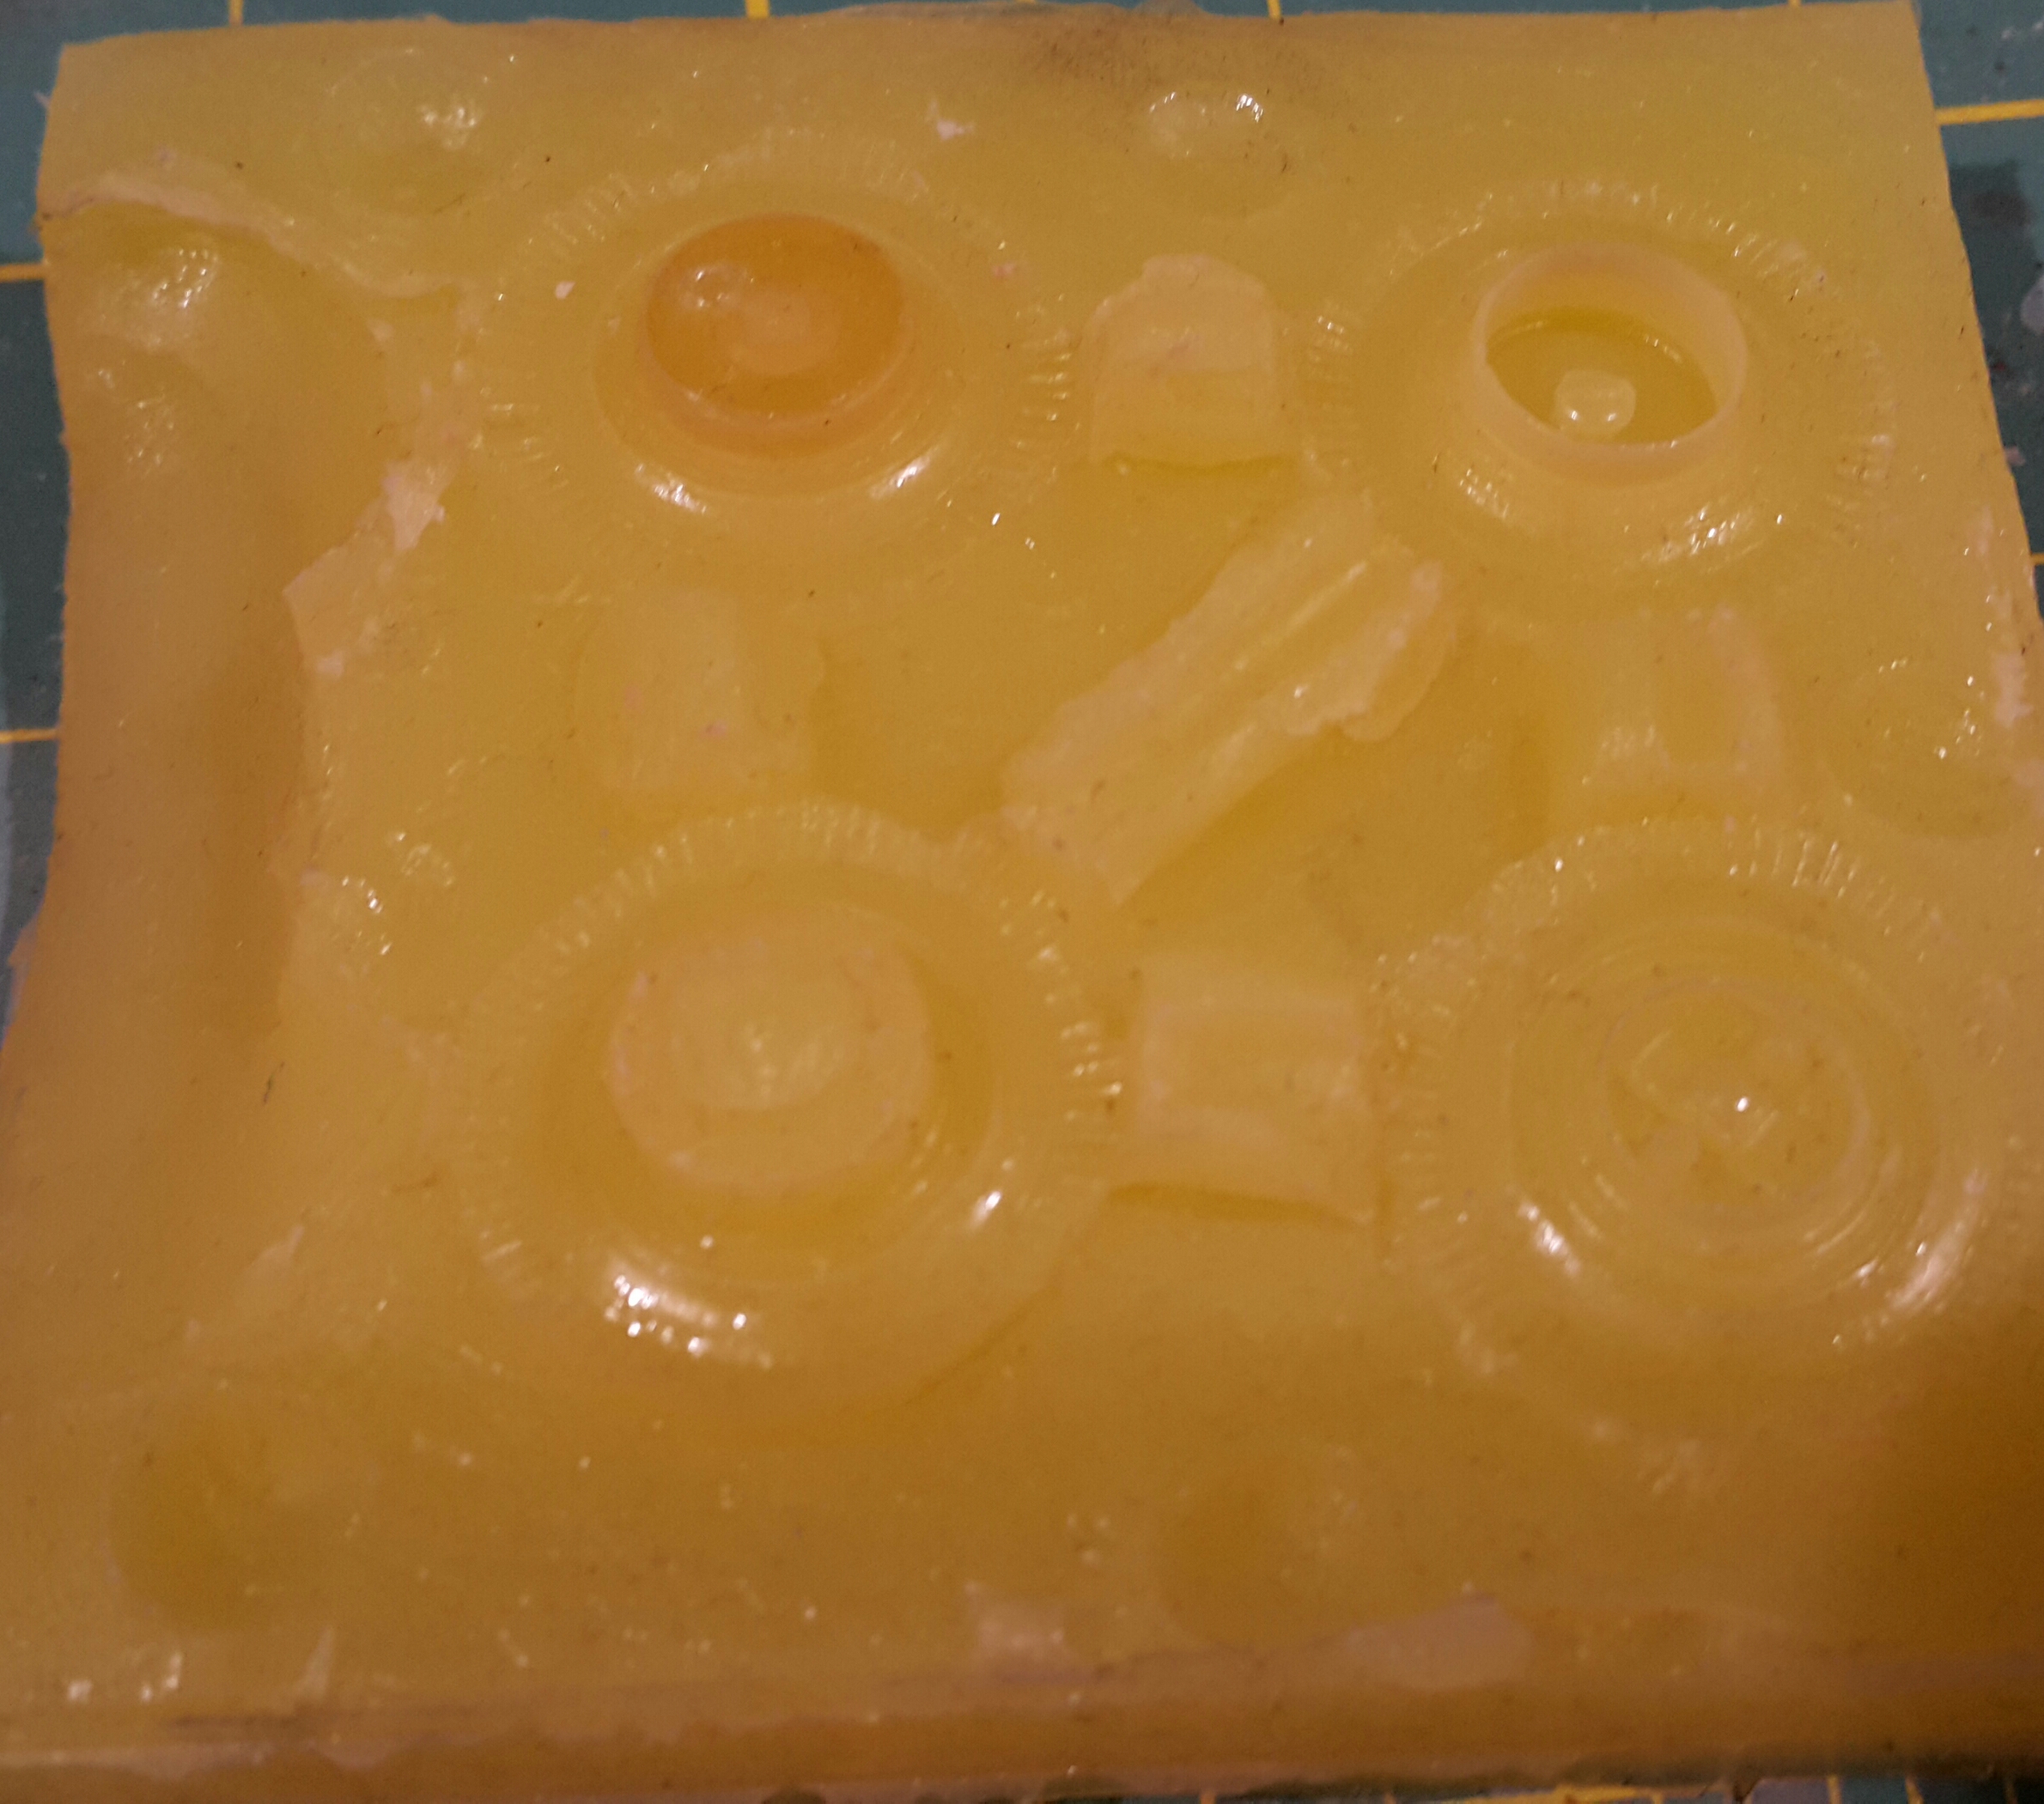
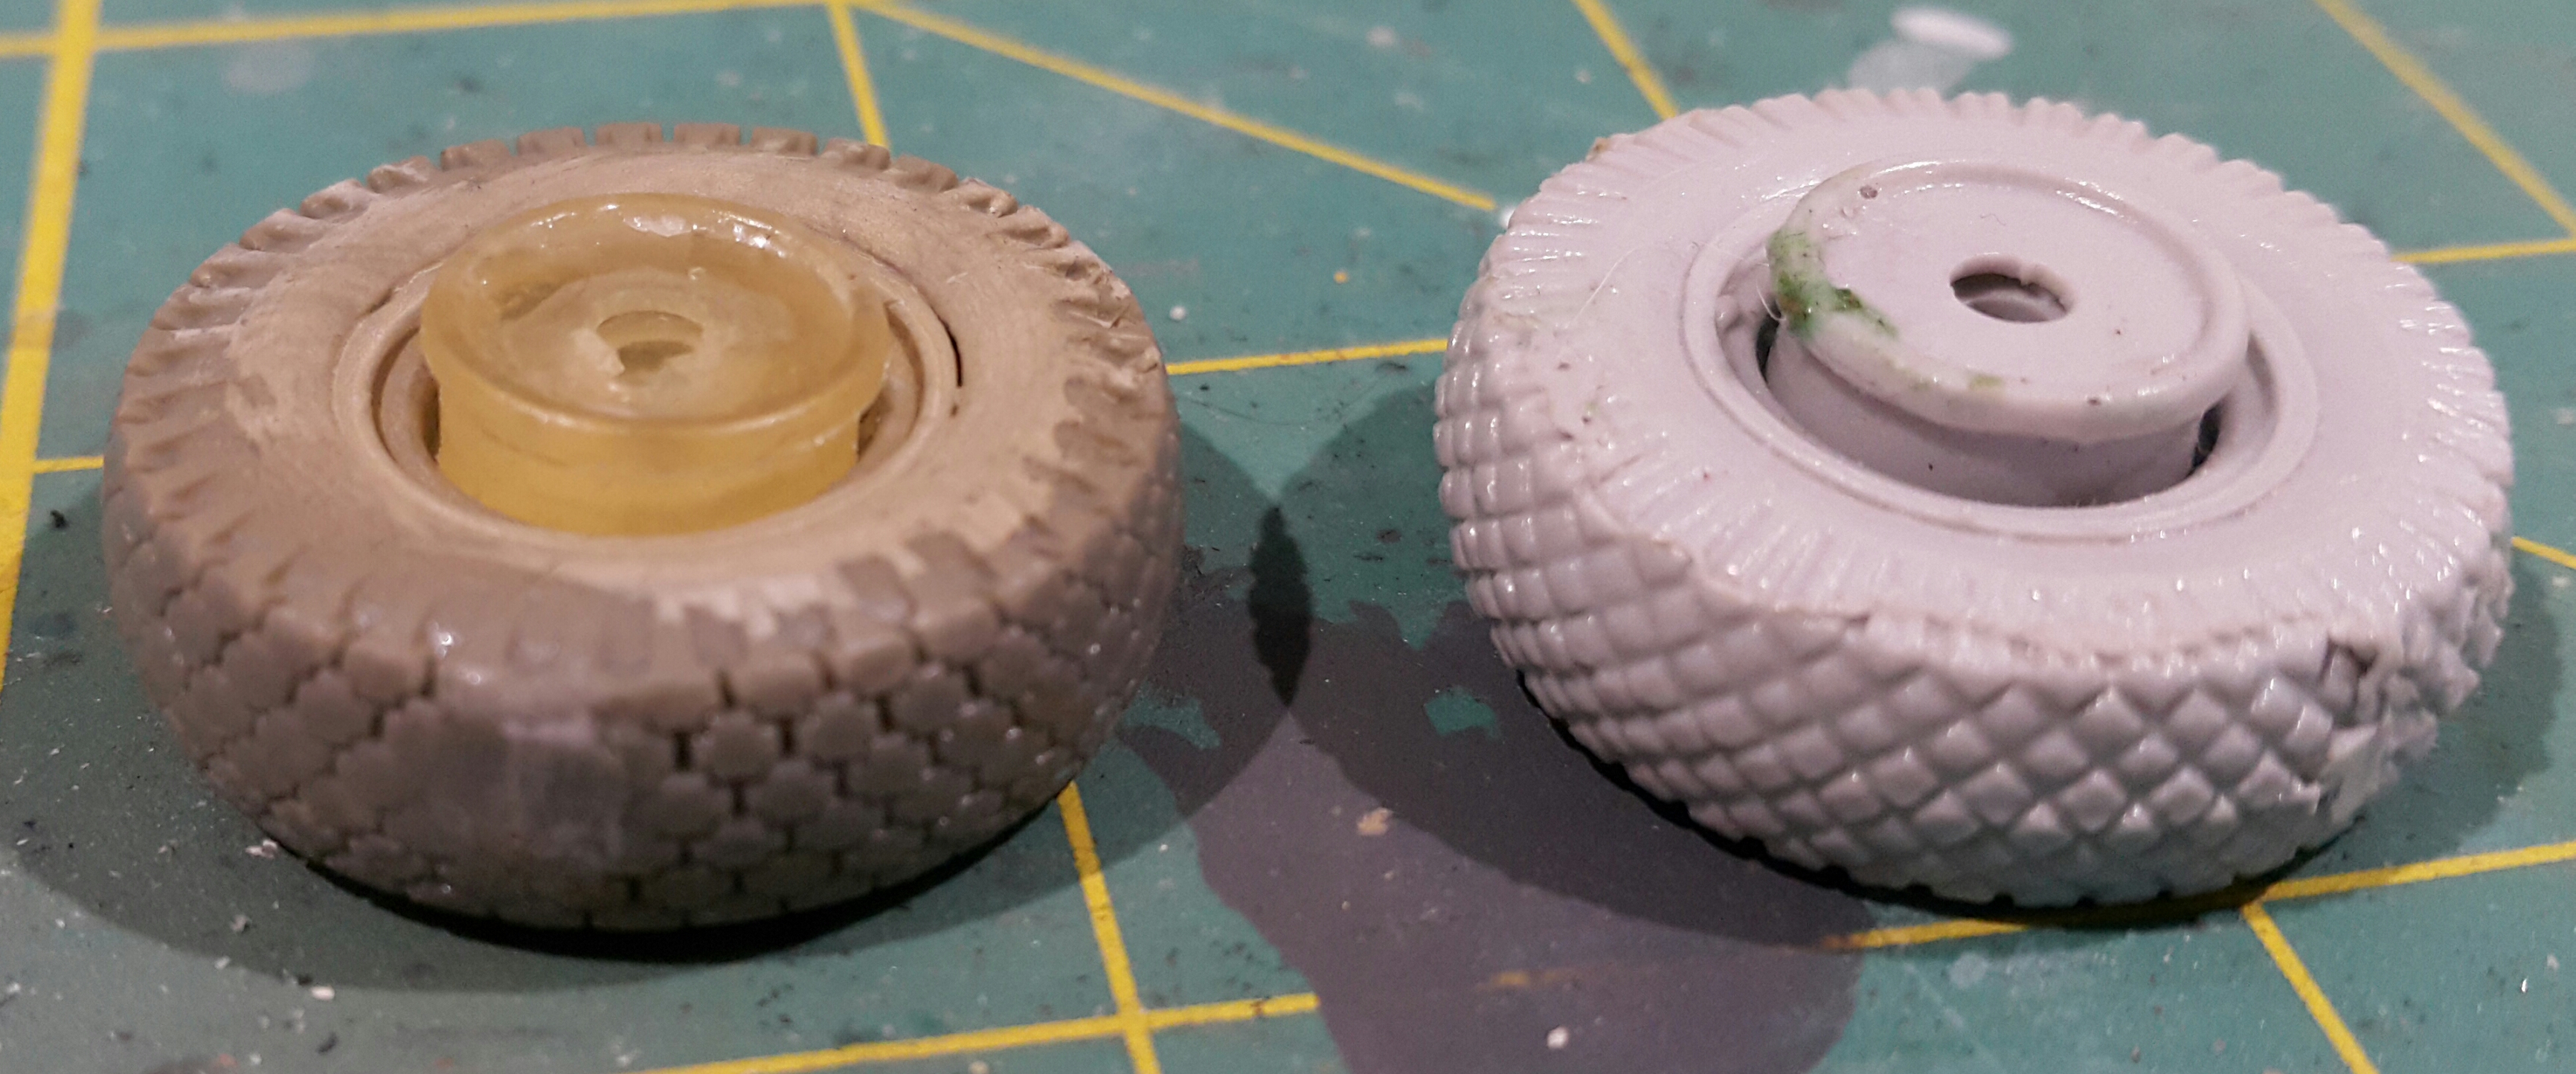
Can't cut the resin mounting hub out successfully, and I seem to have thrown the original plastic away so I went back to my mould, and did a test pour with some epoxy to try and recreat just the hub section


Looks ok, but doesn't quite sit as far out as my wheel, so I may need to add a thin spacer from some scrap plastic sheet


Pave-Hawk
Visit this Community
Western Australia, Australia
Joined: May 05, 2006
KitMaker: 900 posts
Armorama: 510 posts
Posted: Sunday, August 27, 2017 - 09:21 AM UTC
Jumping back and forth between vehicles on this build a bit.

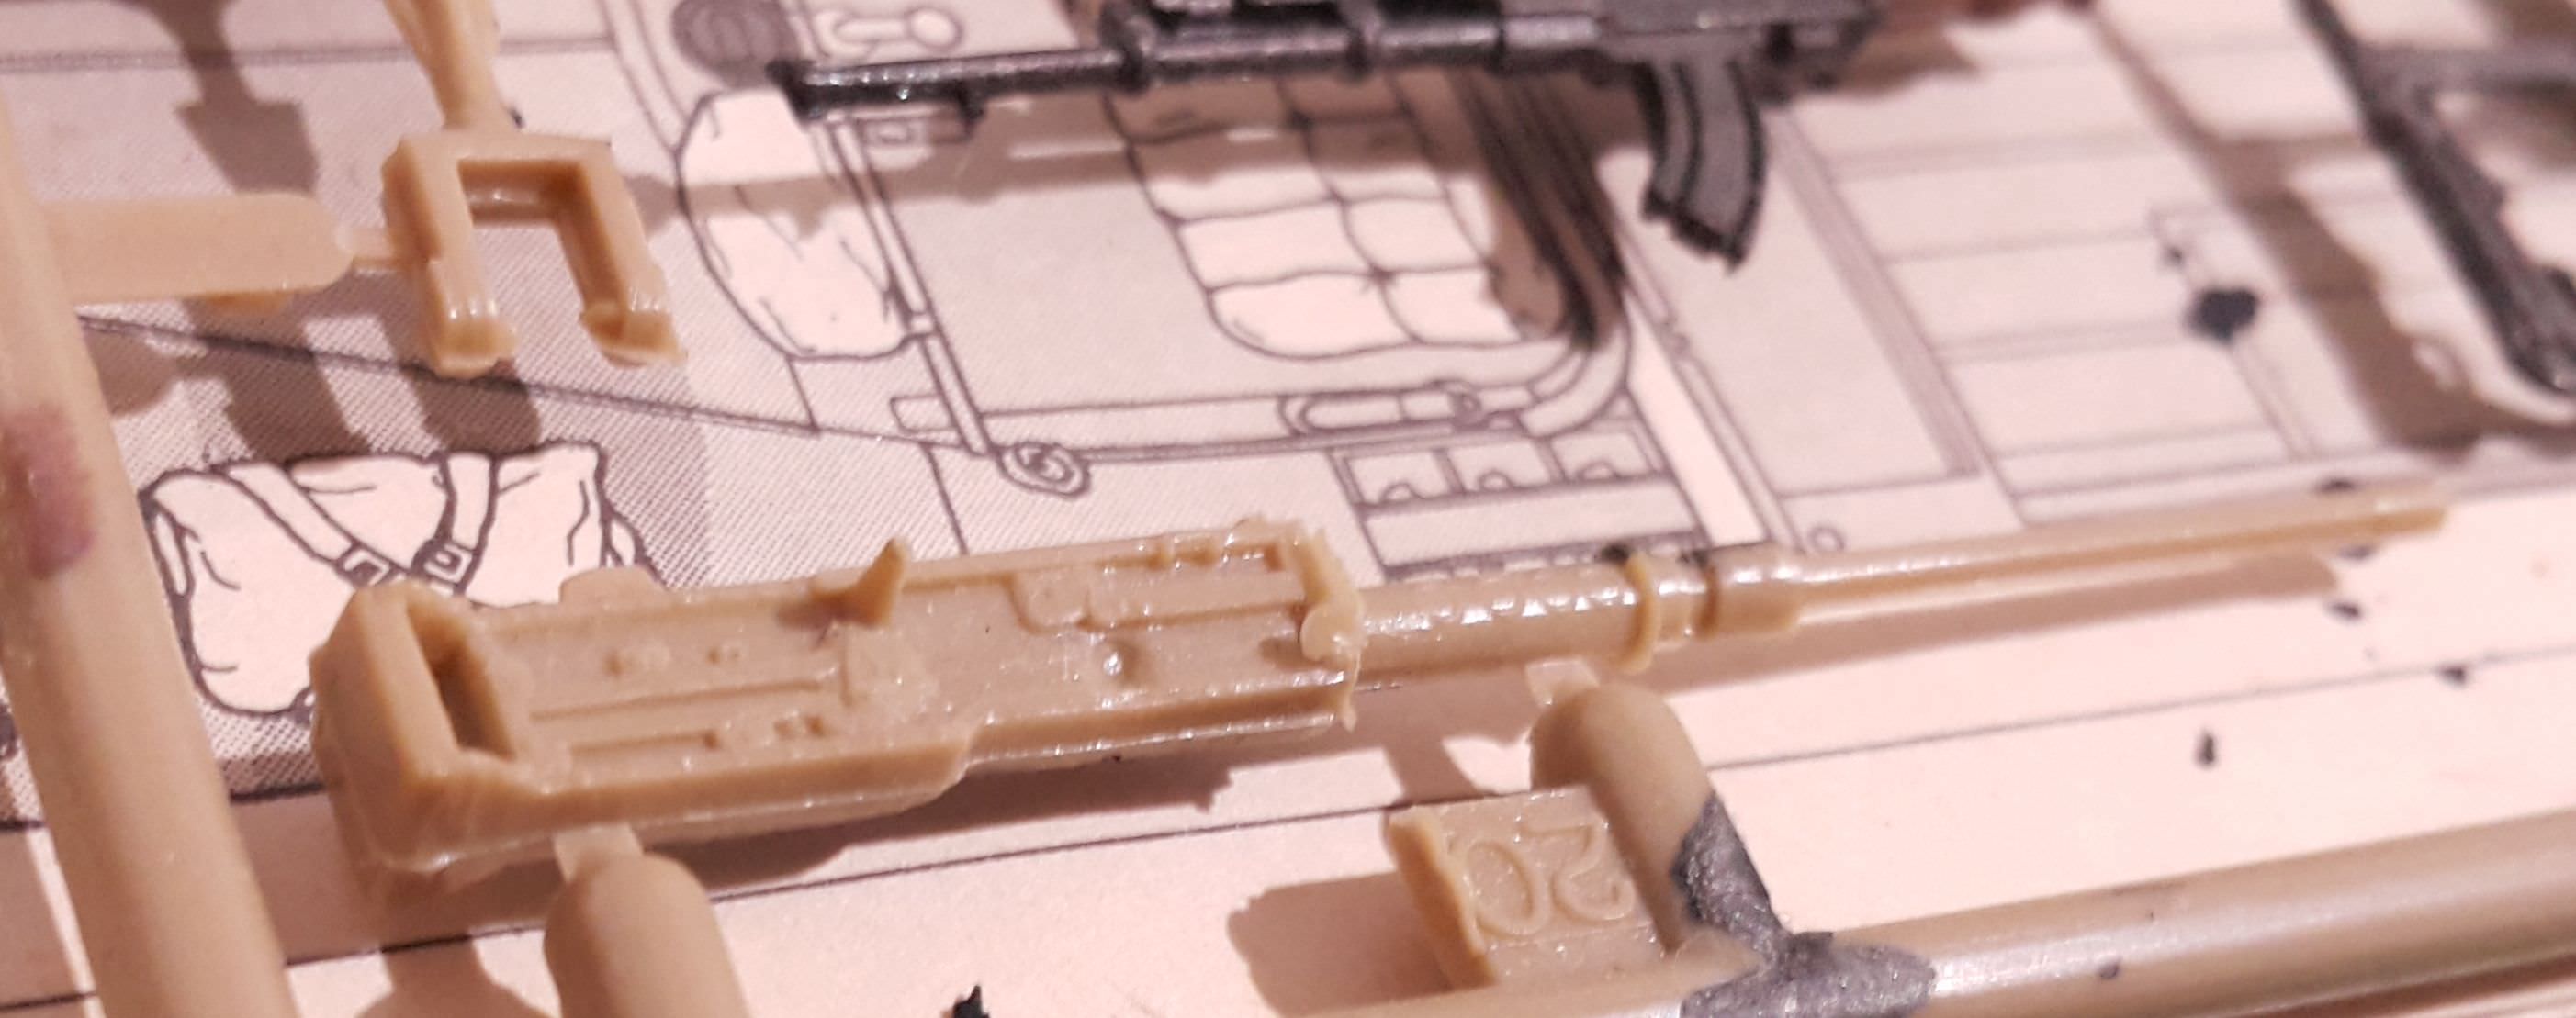
Some more work to the jeeps, replaced the kit .50


with the correct version from an academy set


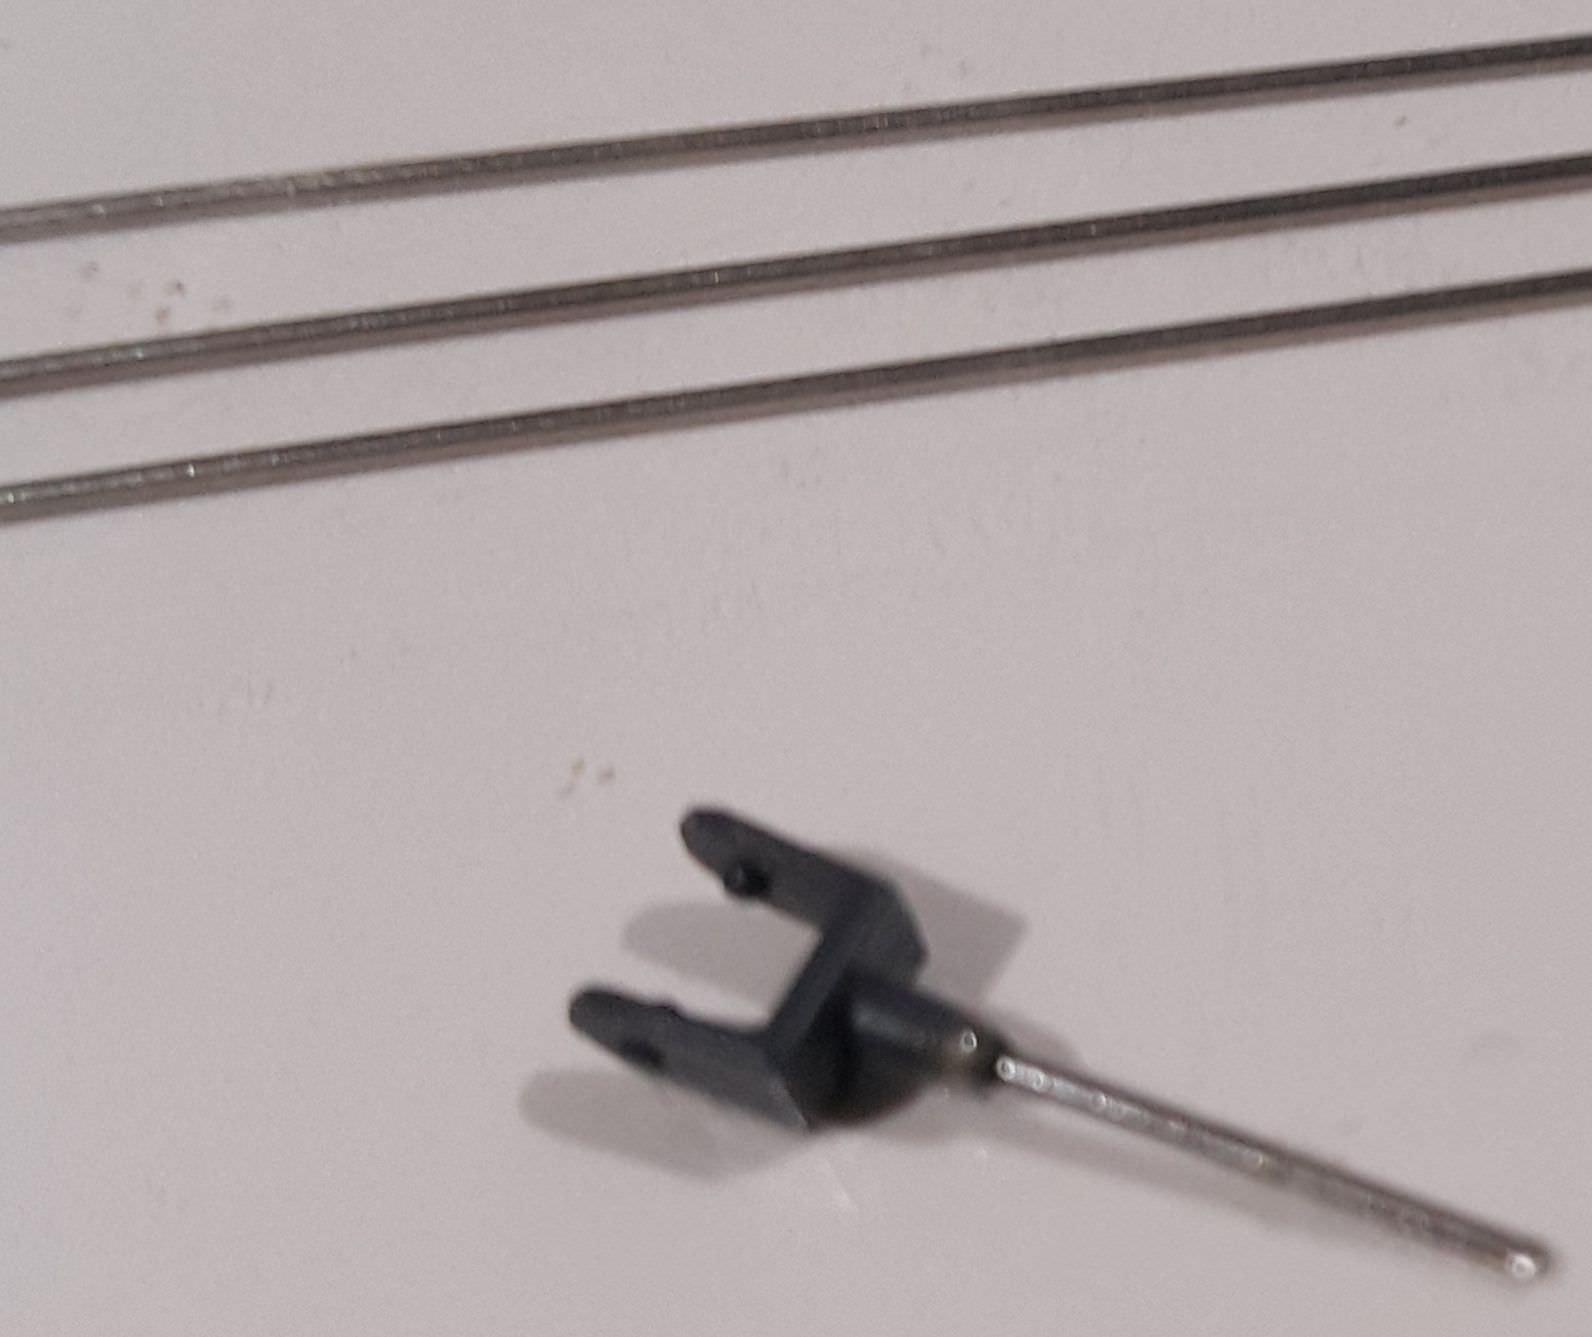
Cut of the bracket for the kit .50 and reinforced the academy mount with some 0.5mm steel wire


Added a styrene rod mount for the rear vickers guns


and made up some jerry can holders for the rear
Pave-Hawk
Visit this Community
Western Australia, Australia
Joined: May 05, 2006
KitMaker: 900 posts
Armorama: 510 posts
Posted: Tuesday, October 03, 2017 - 12:20 PM UTC
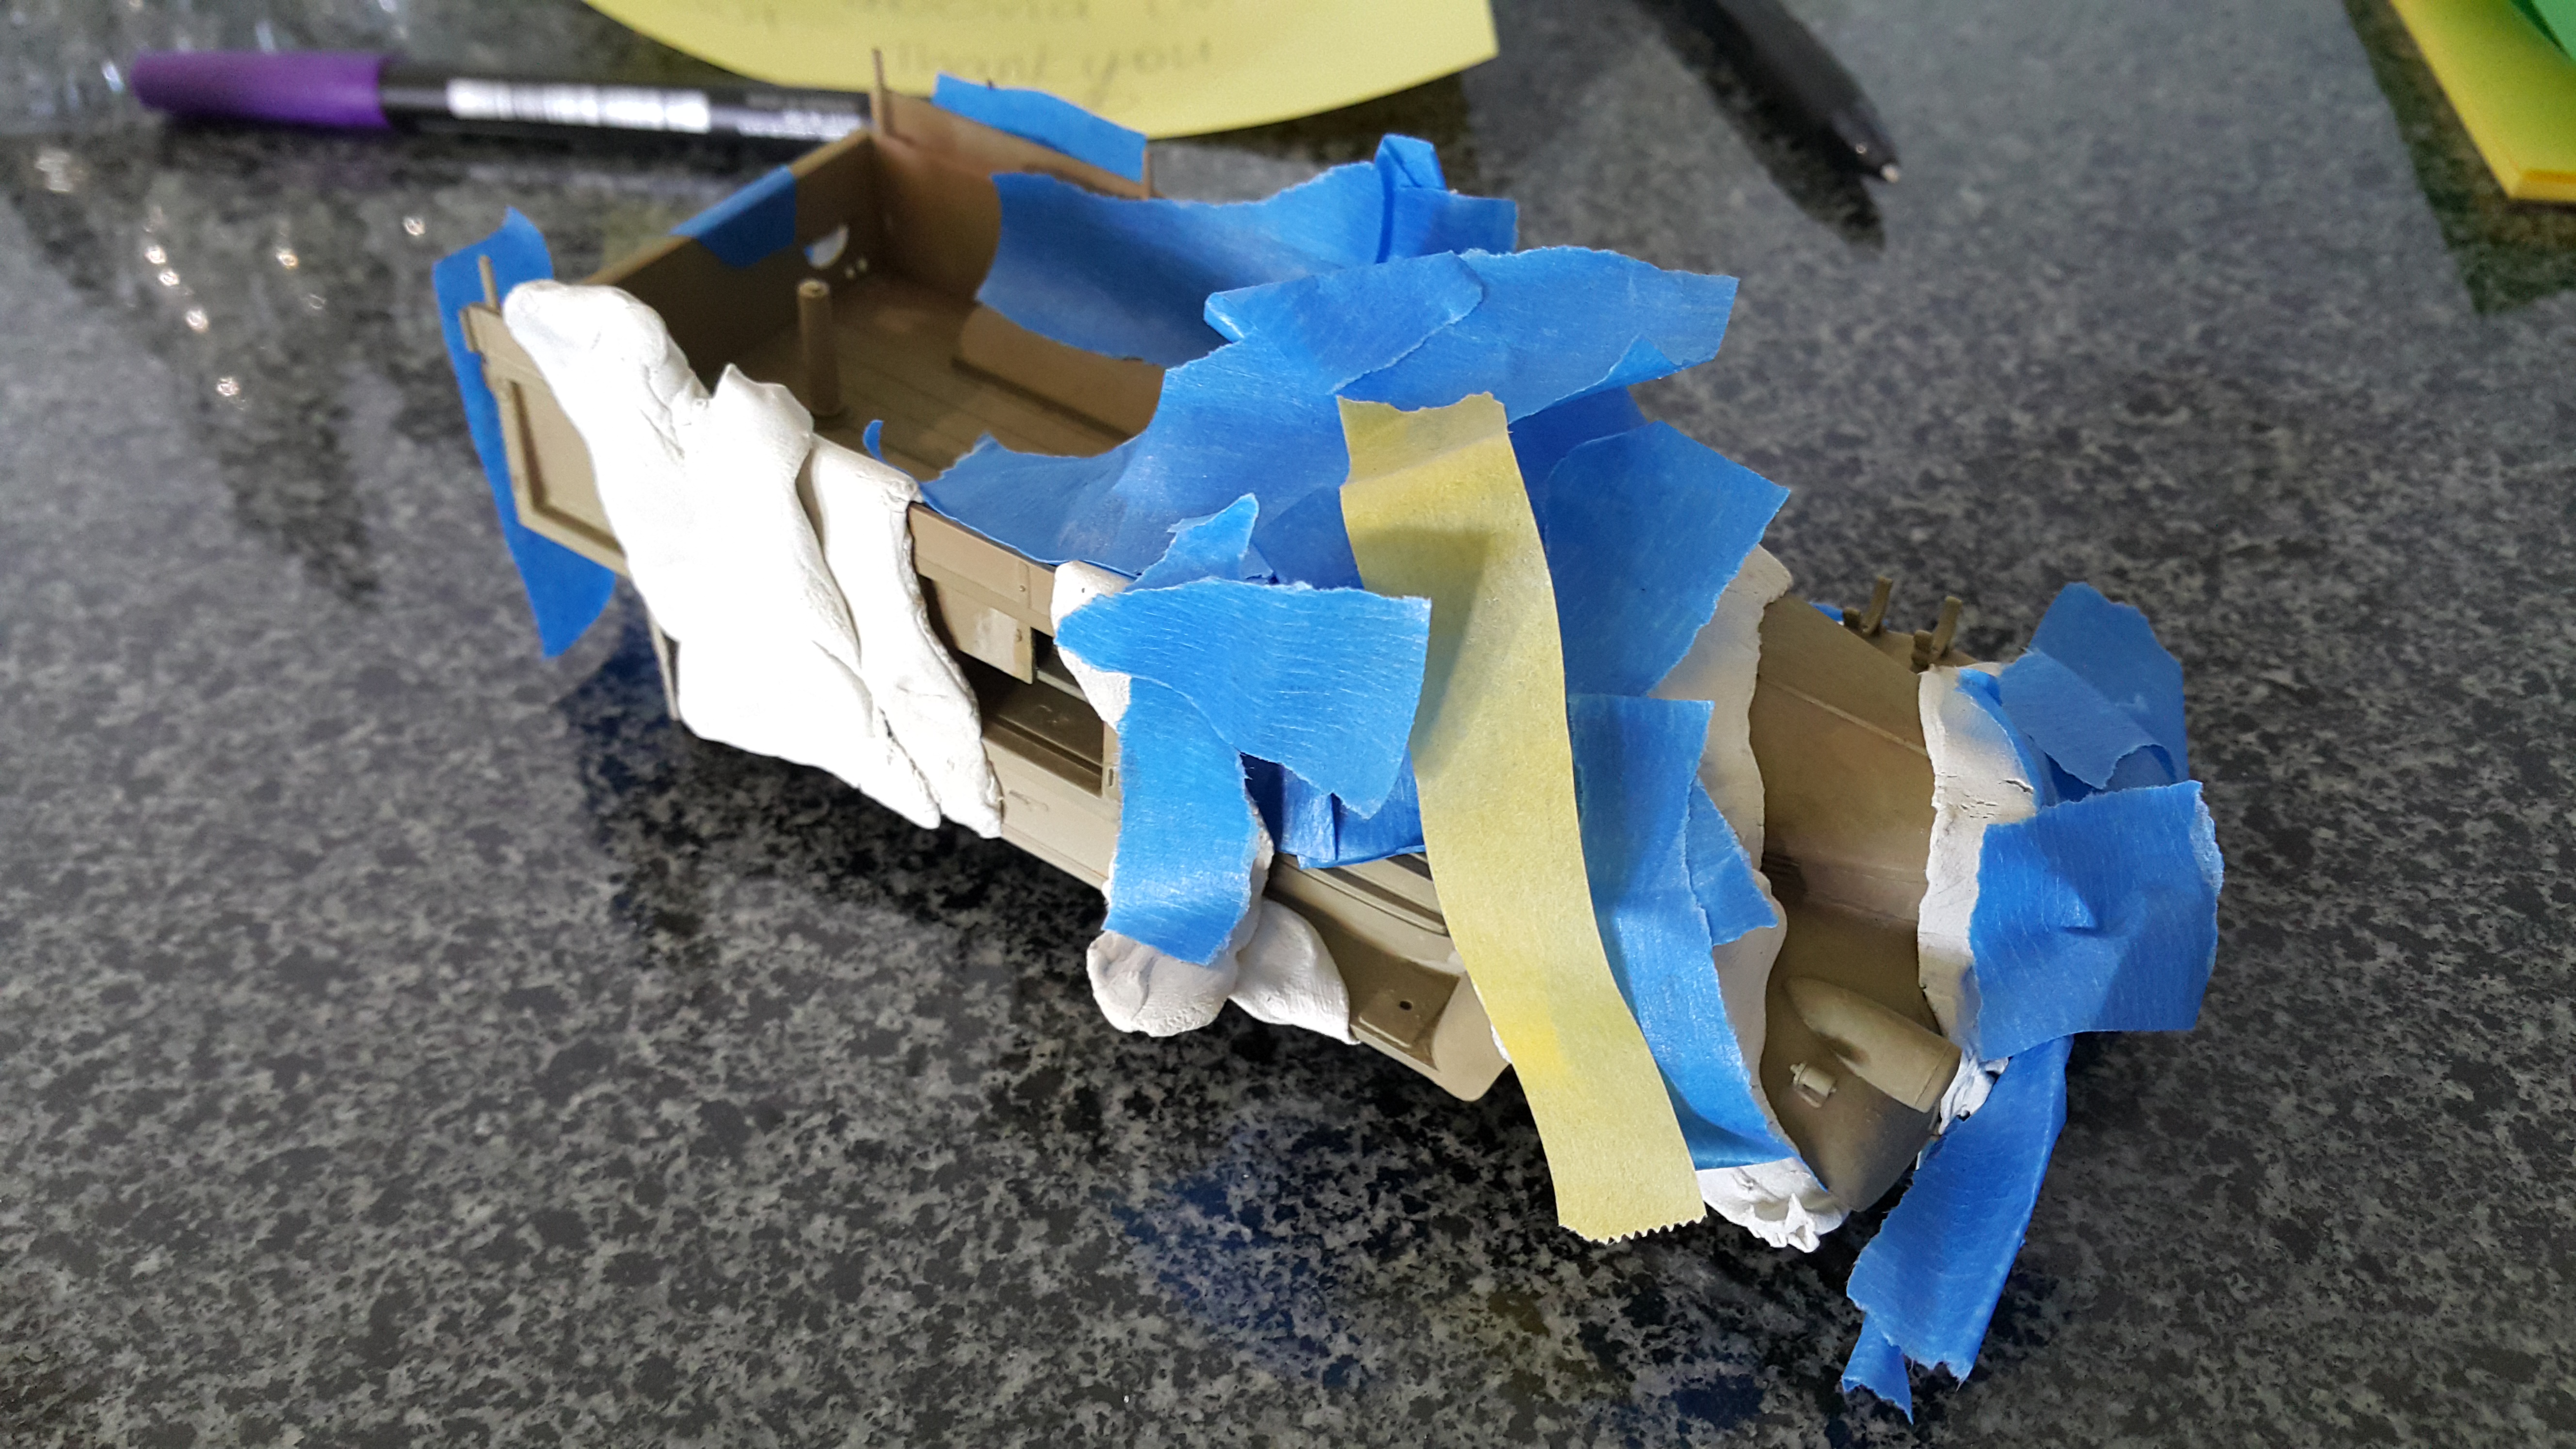
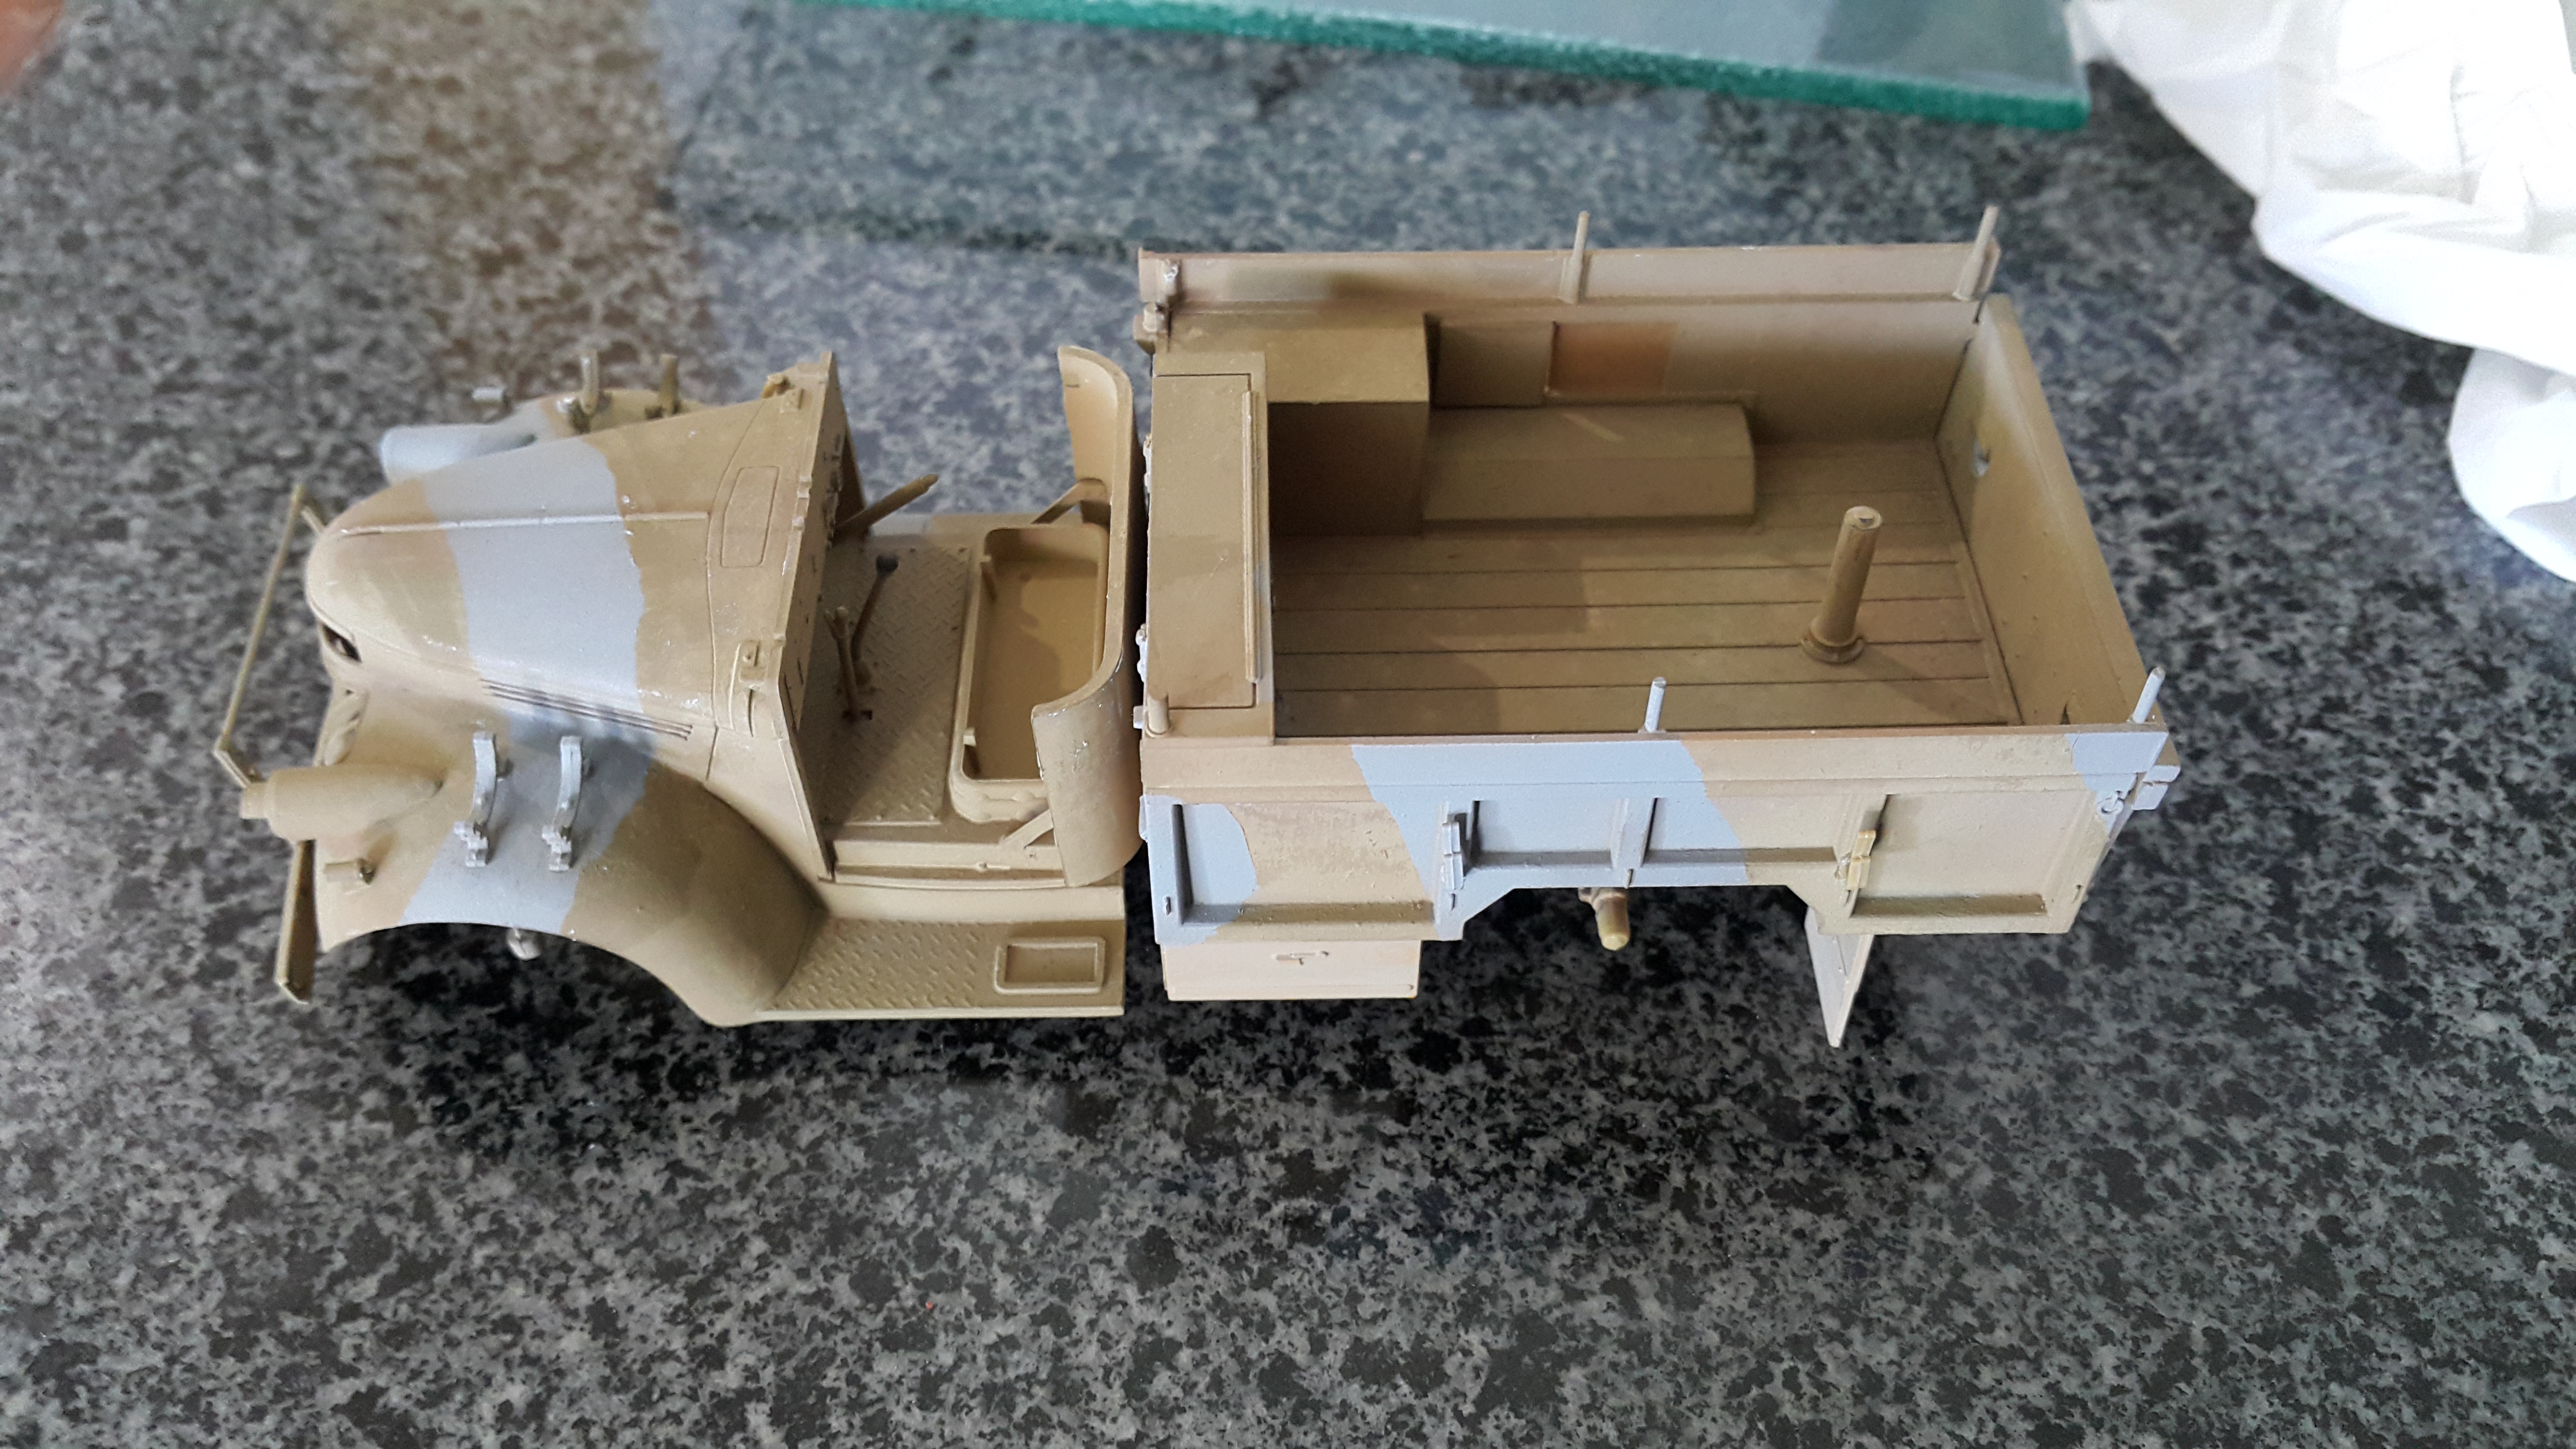
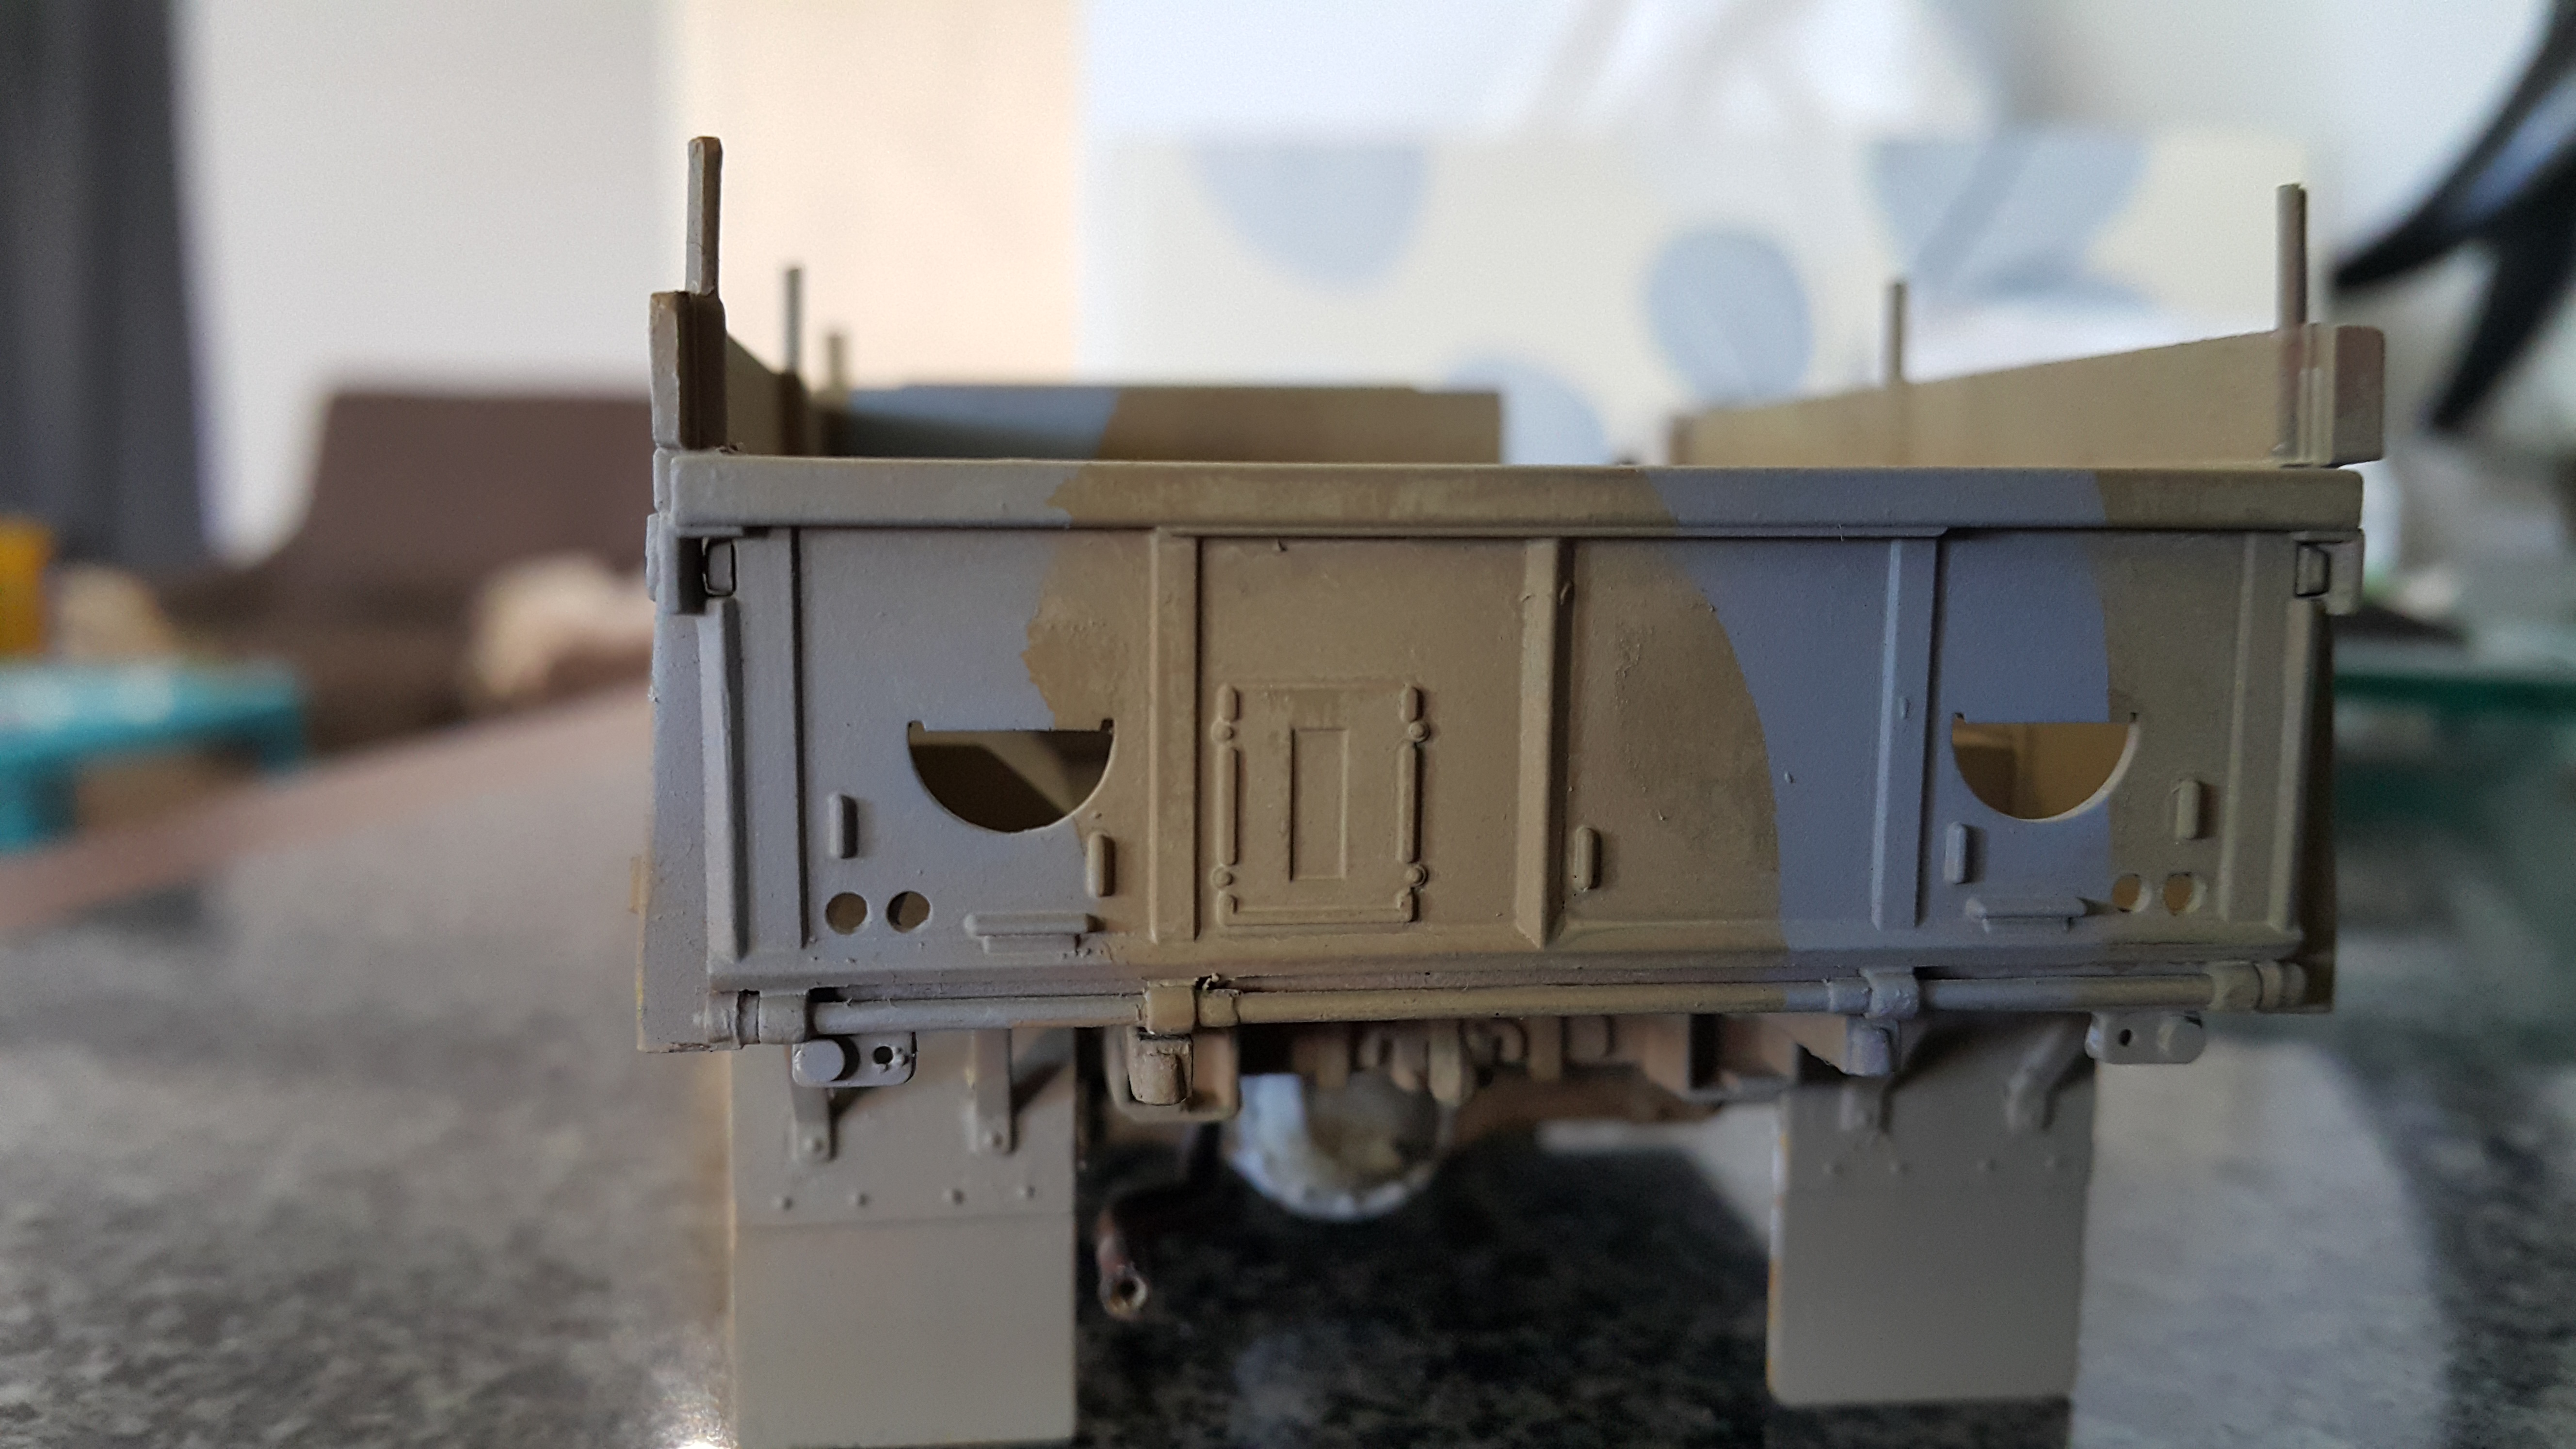
More work on the Chevy, chiselled the moulded on solid handles of the fuel cans and replaced them with some pieces of a photo etch fret. Slightly oversize but does the job


Masked up


and sprayed


Pave-Hawk
Visit this Community
Western Australia, Australia
Joined: May 05, 2006
KitMaker: 900 posts
Armorama: 510 posts
Posted: Tuesday, October 10, 2017 - 05:16 PM UTC
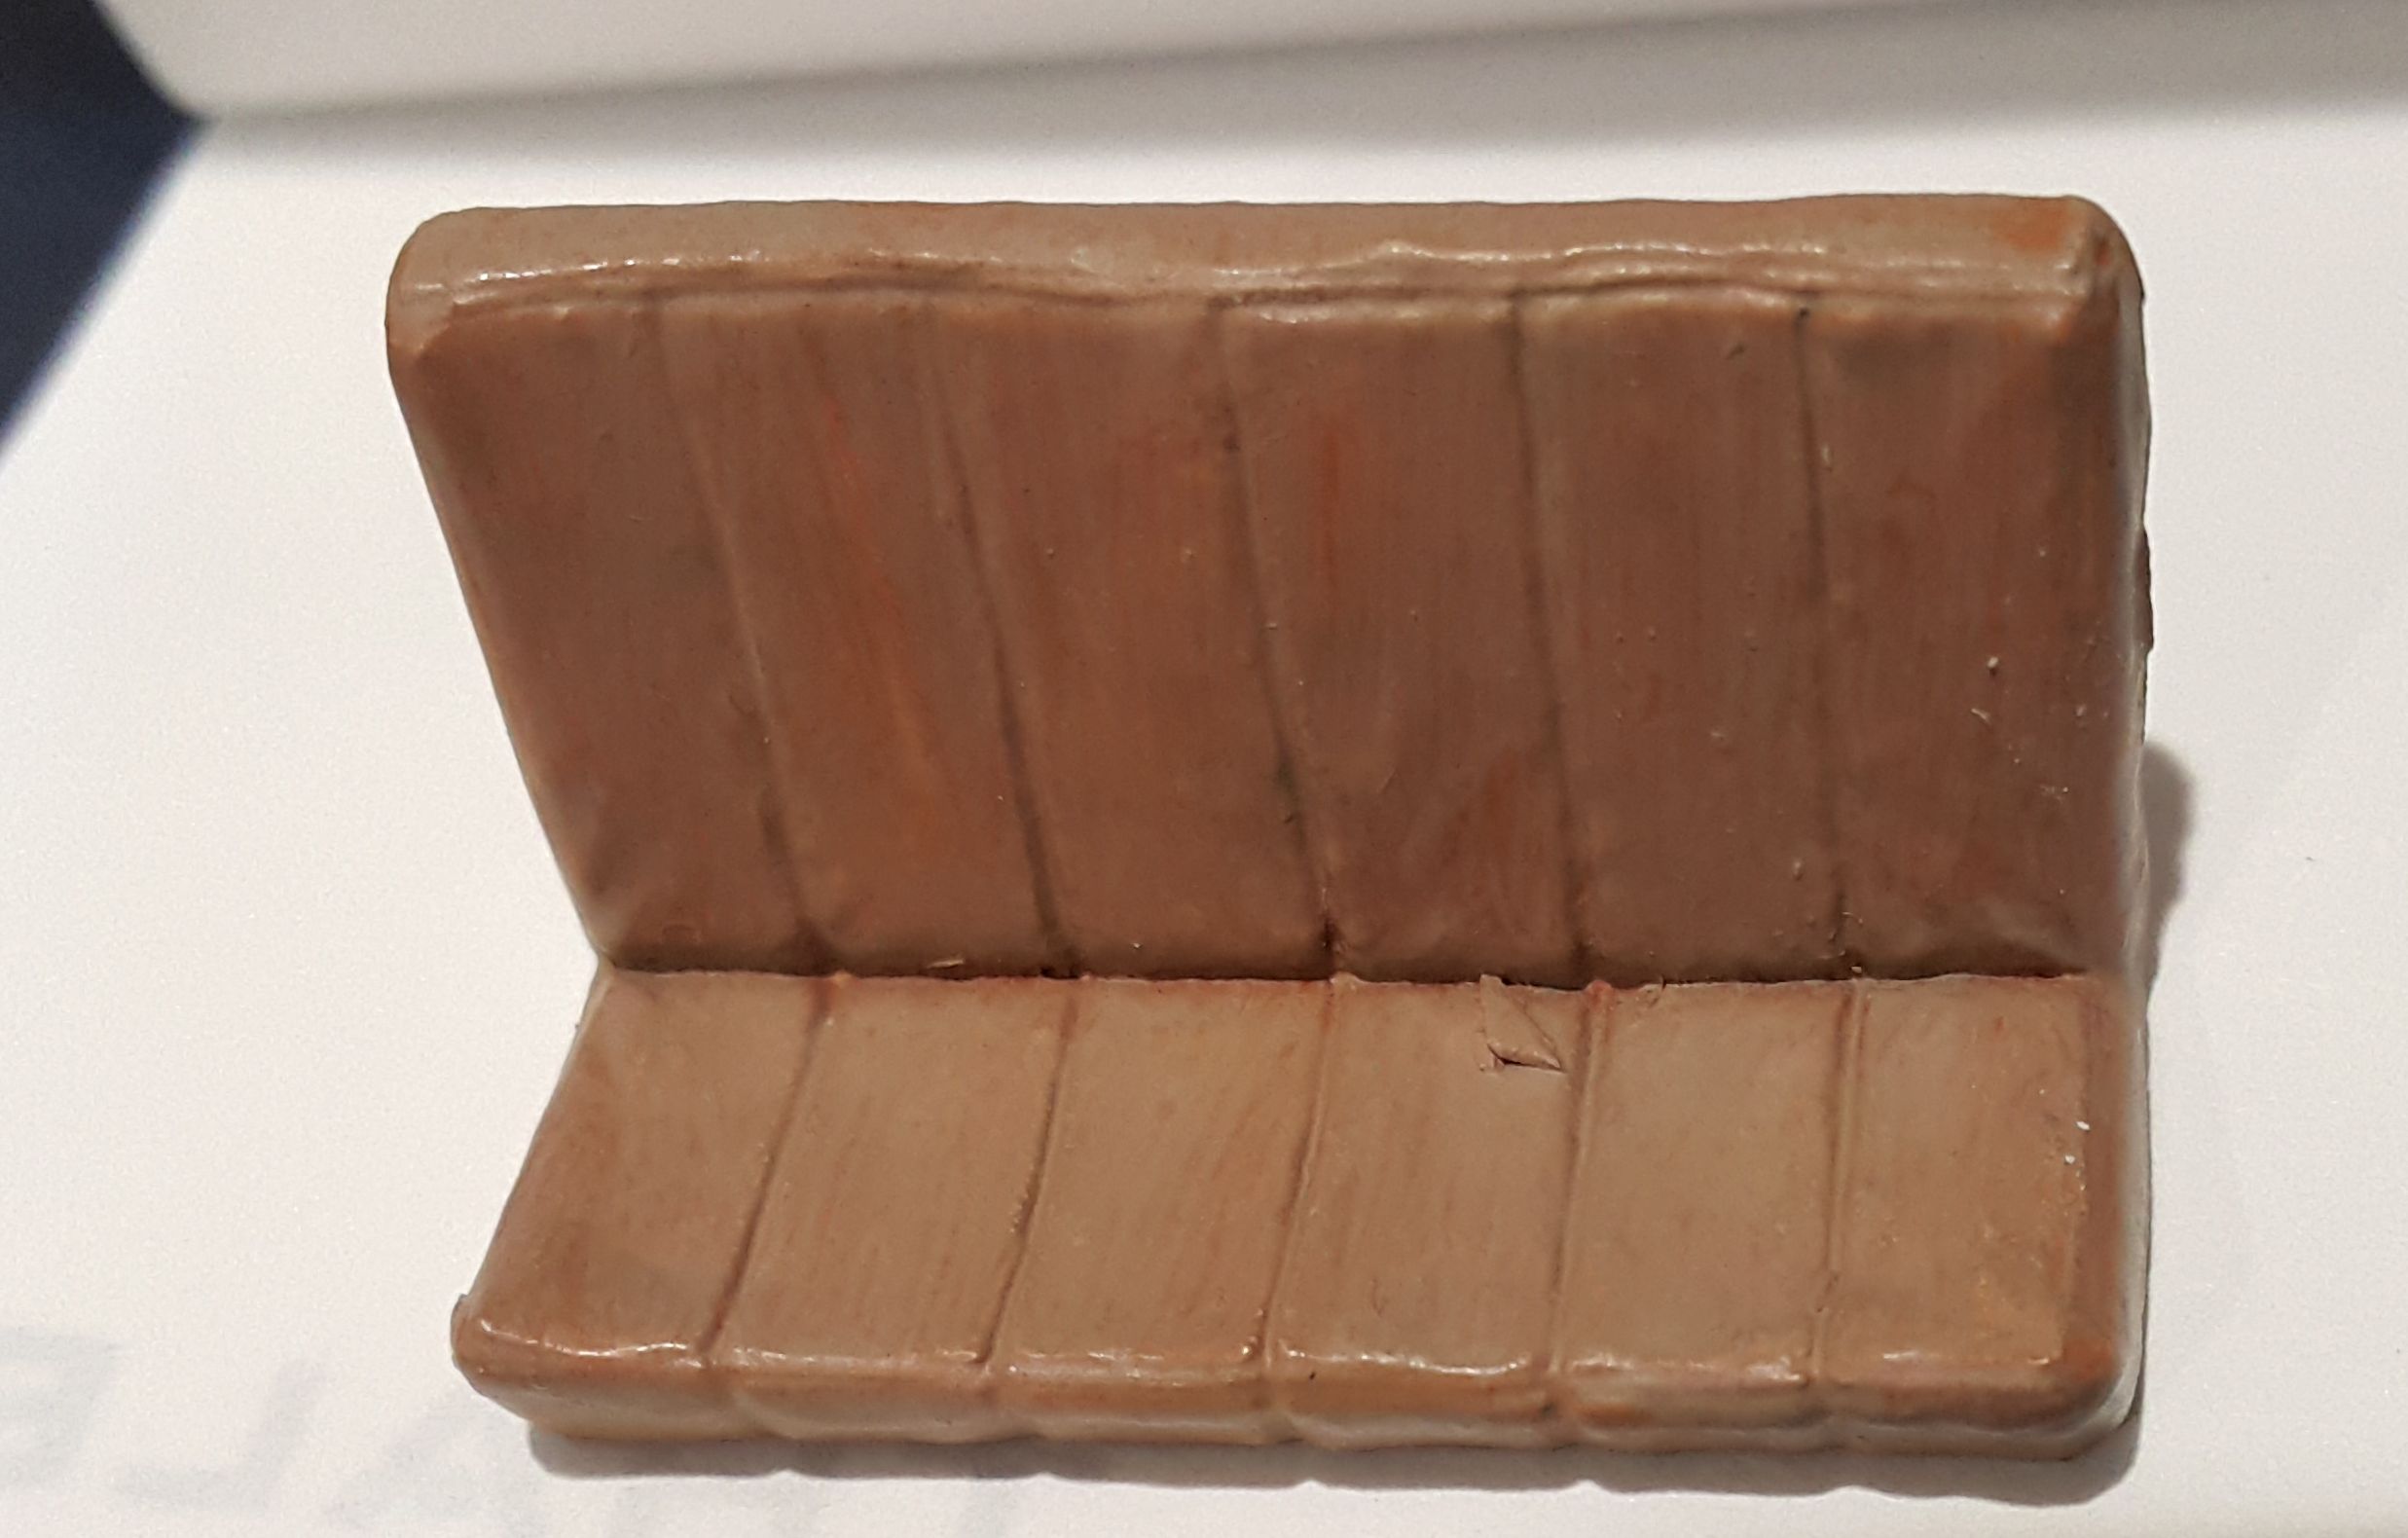
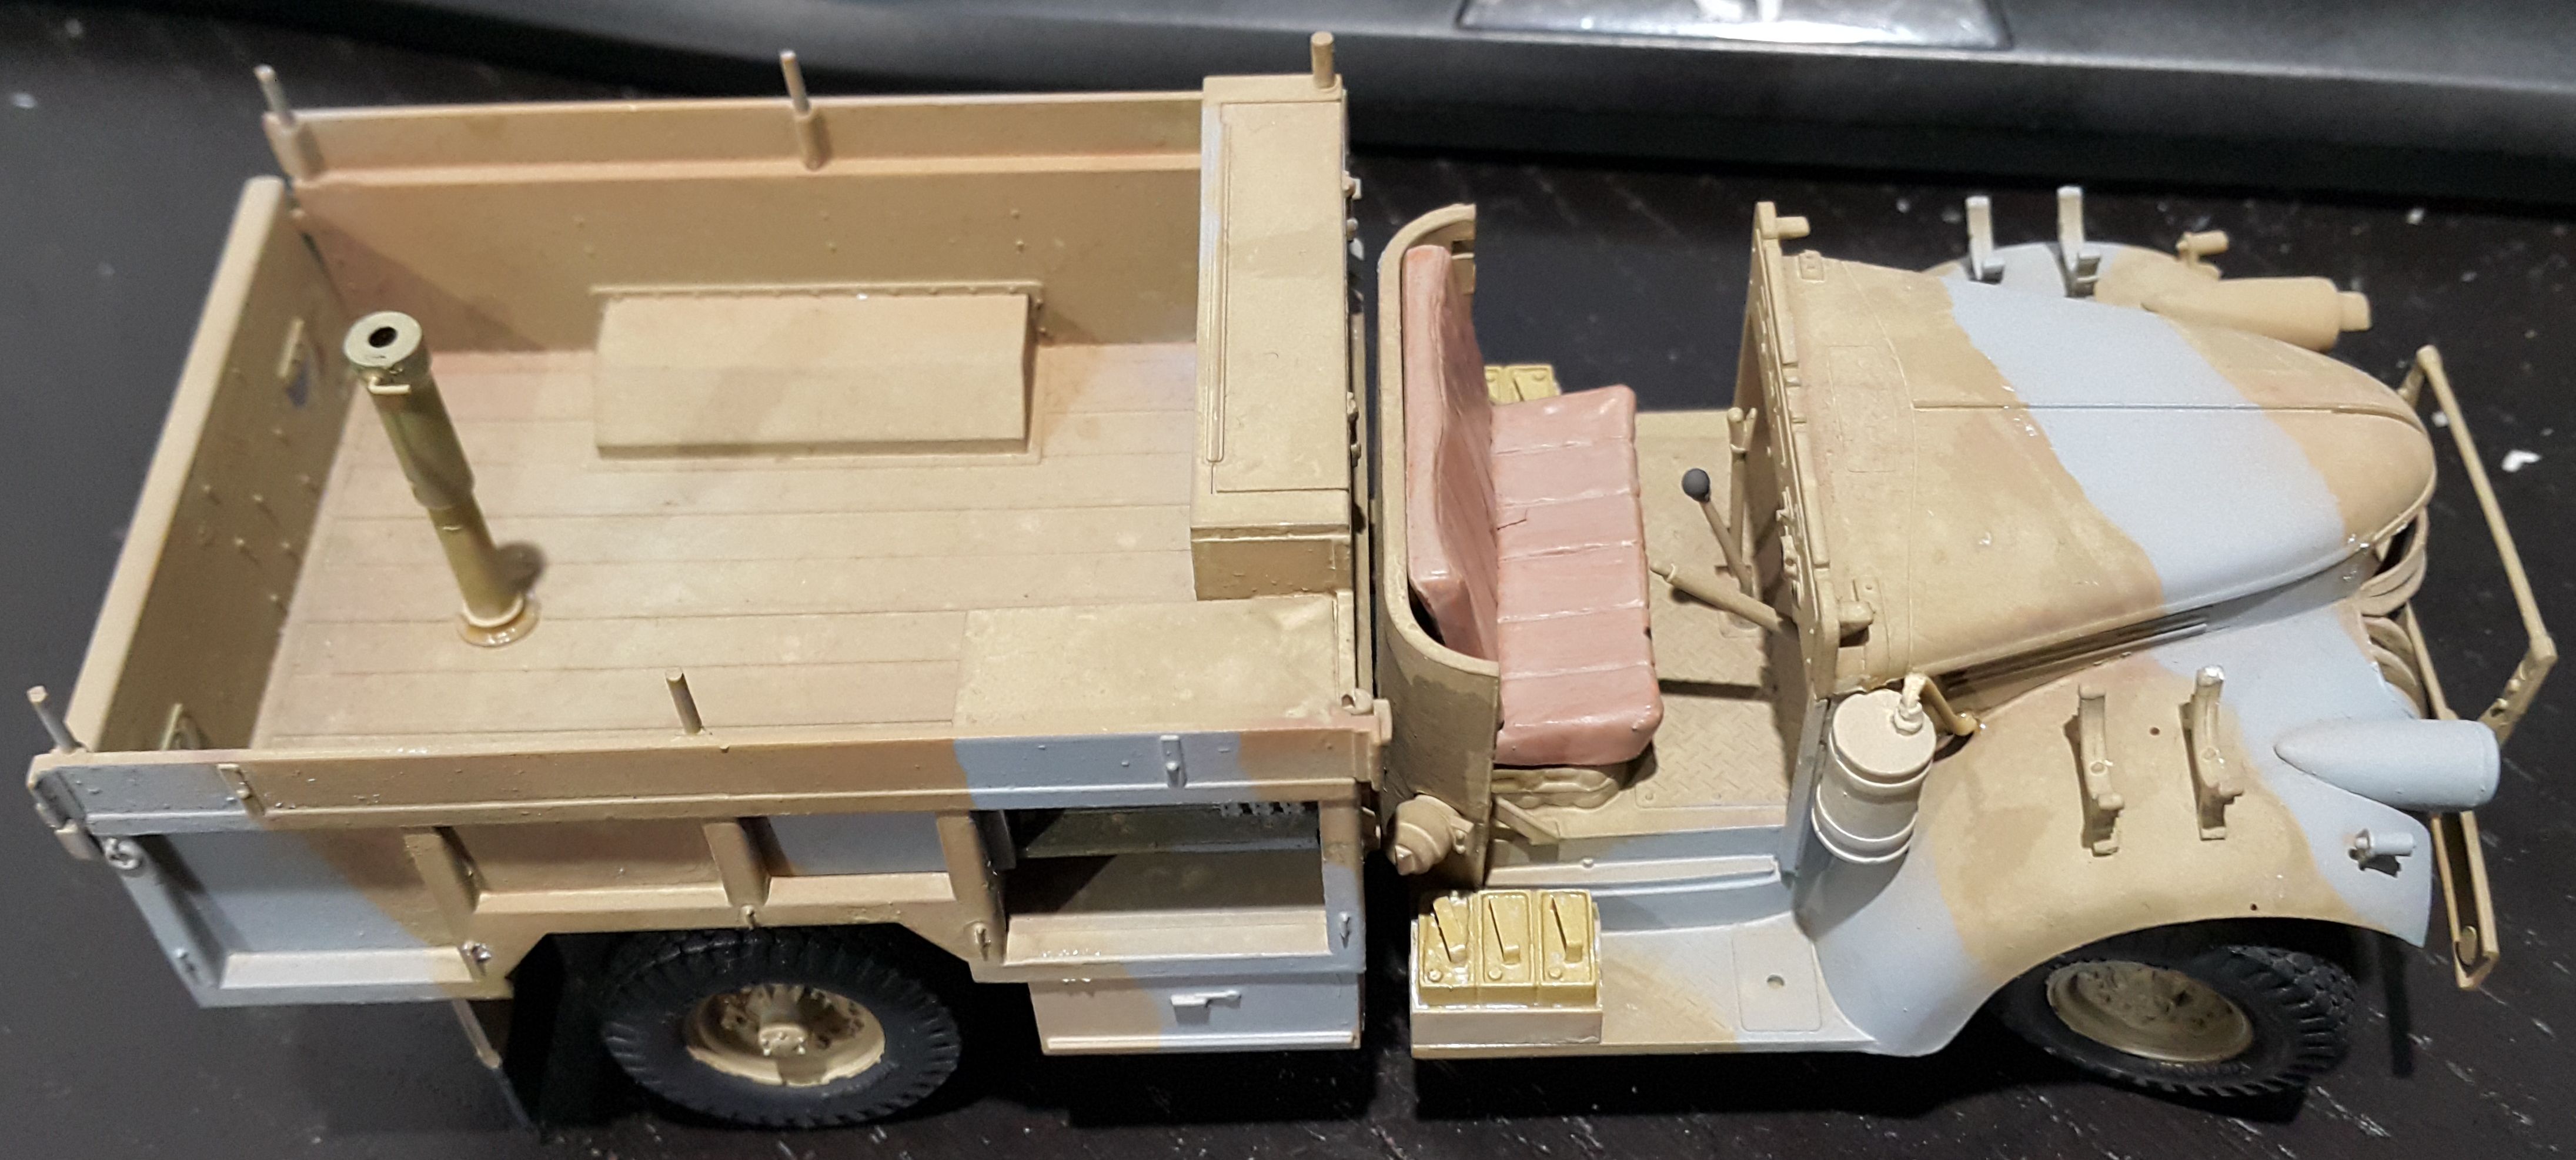
Wheels installed on the Chevy

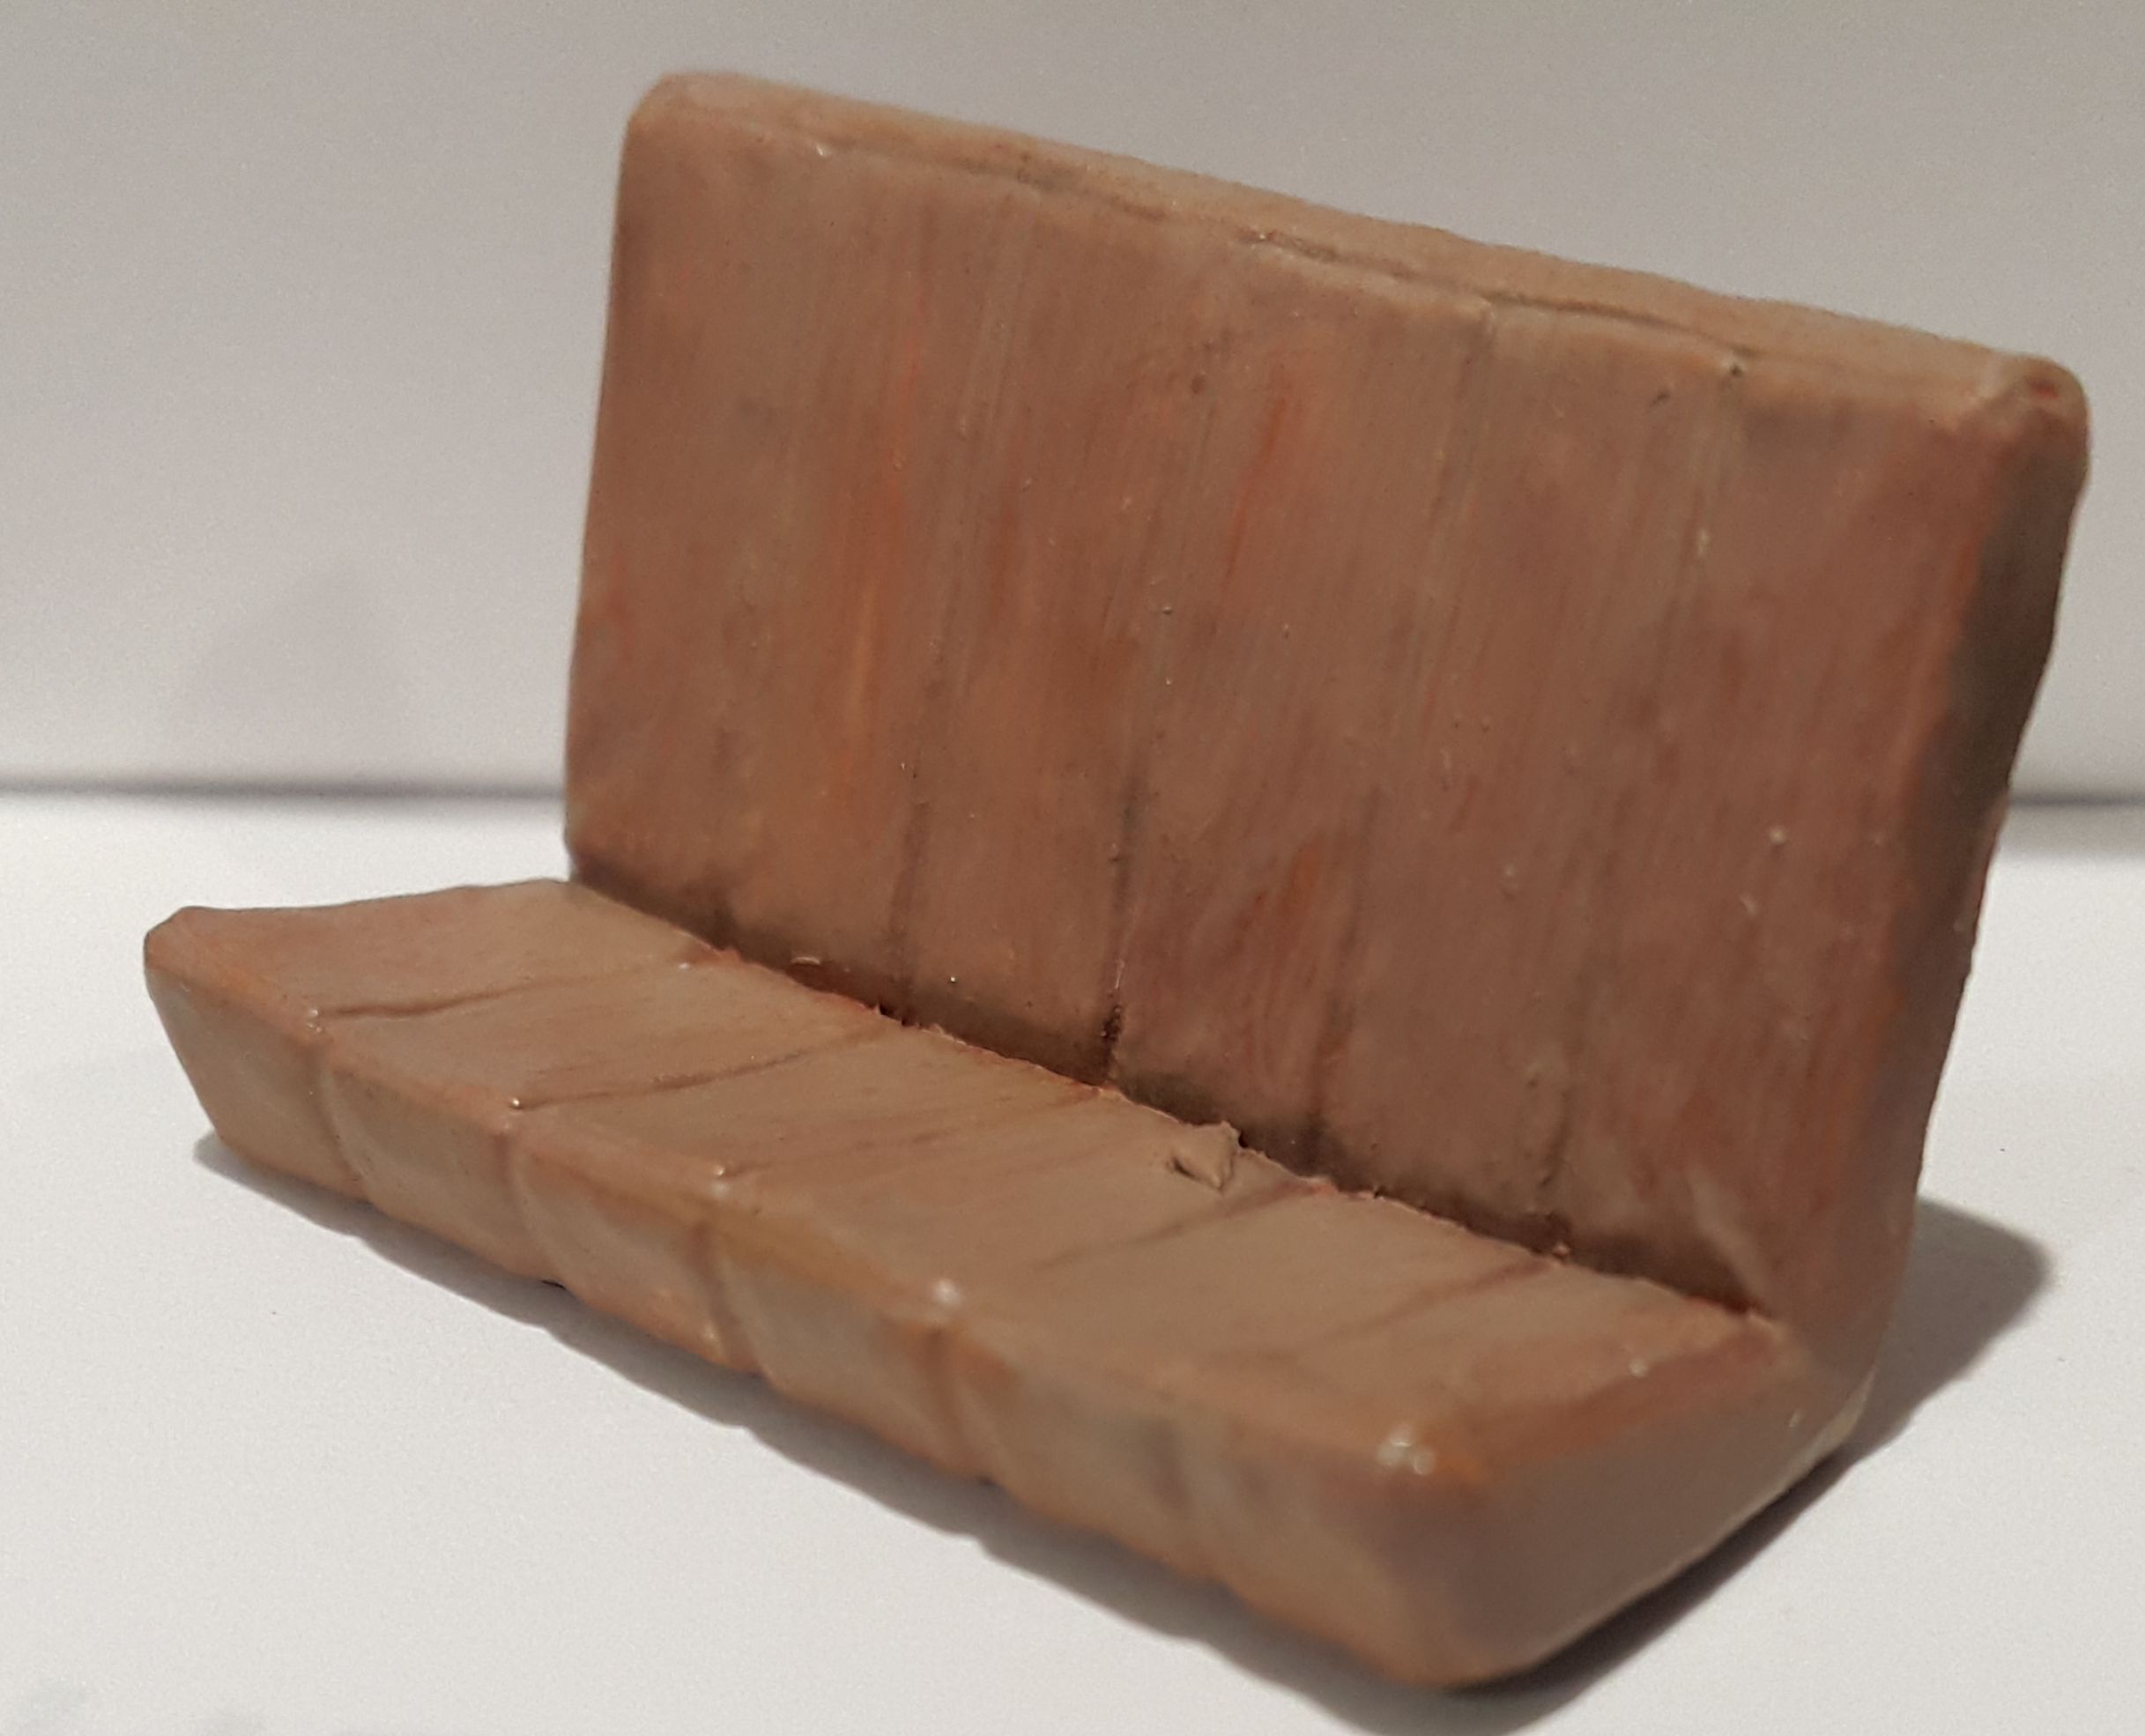
Seat painted up


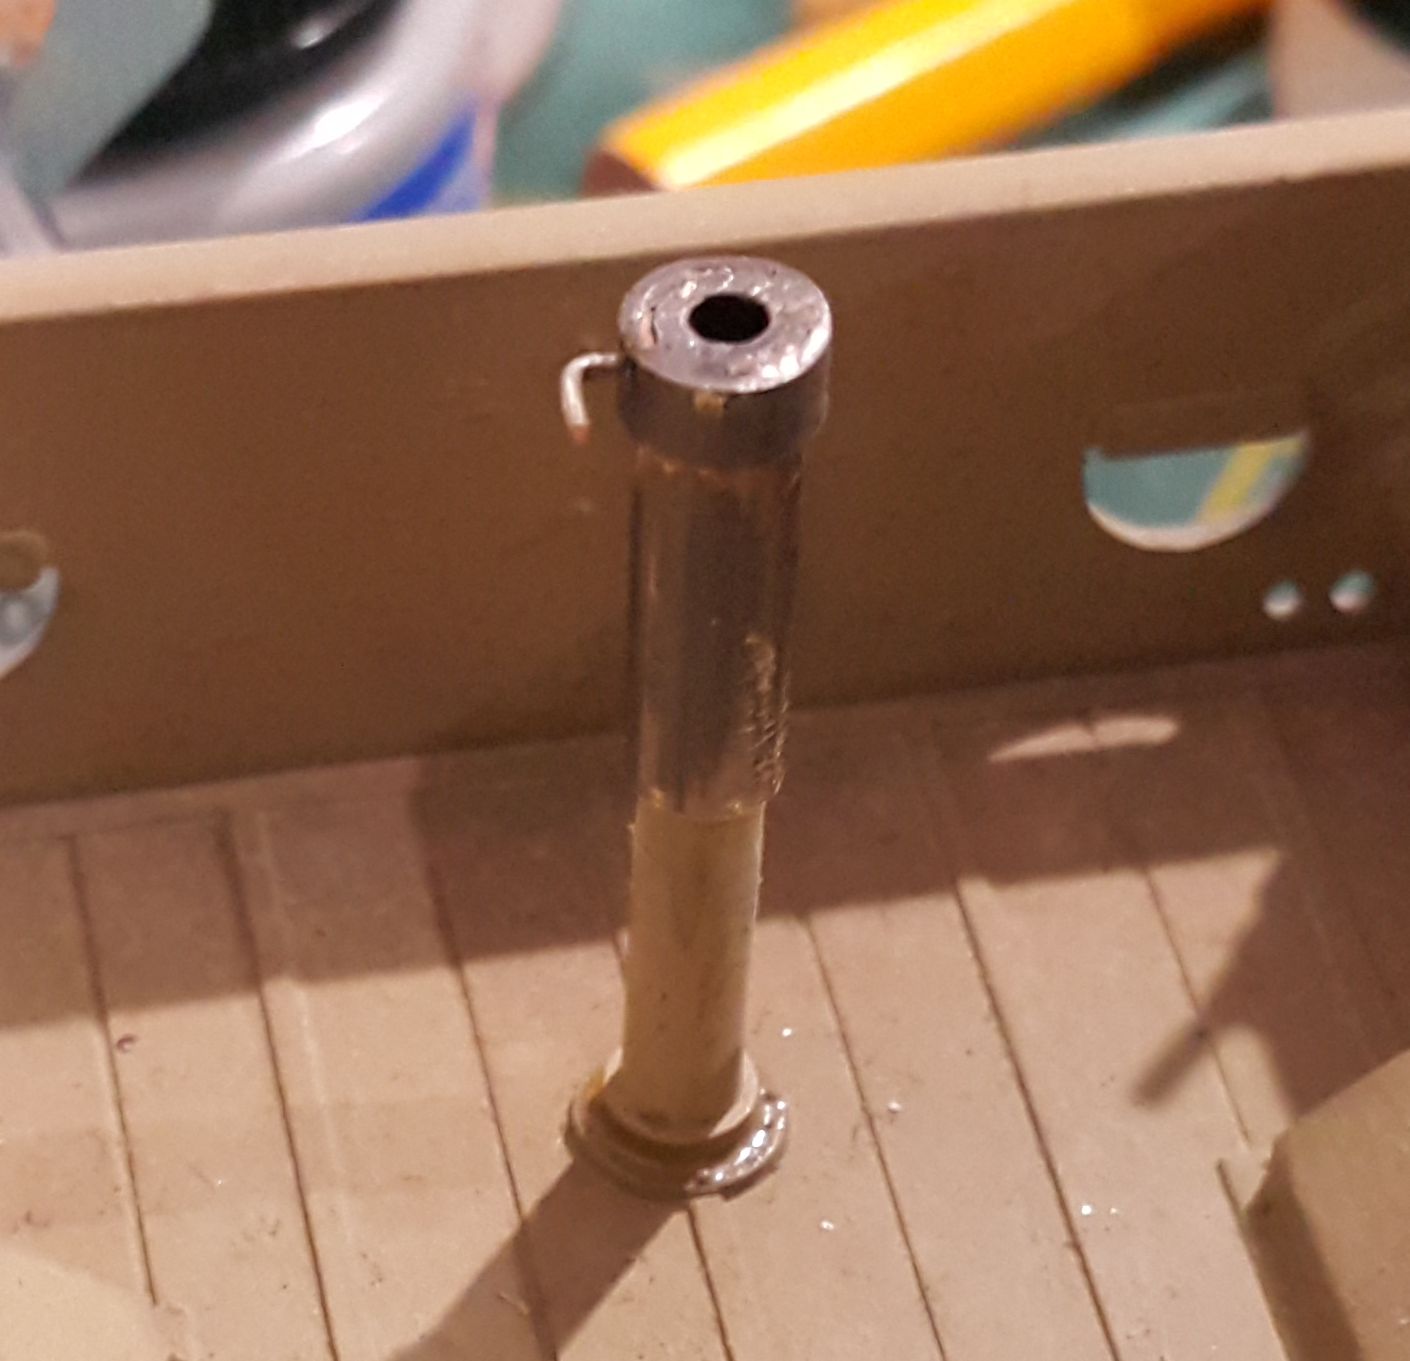
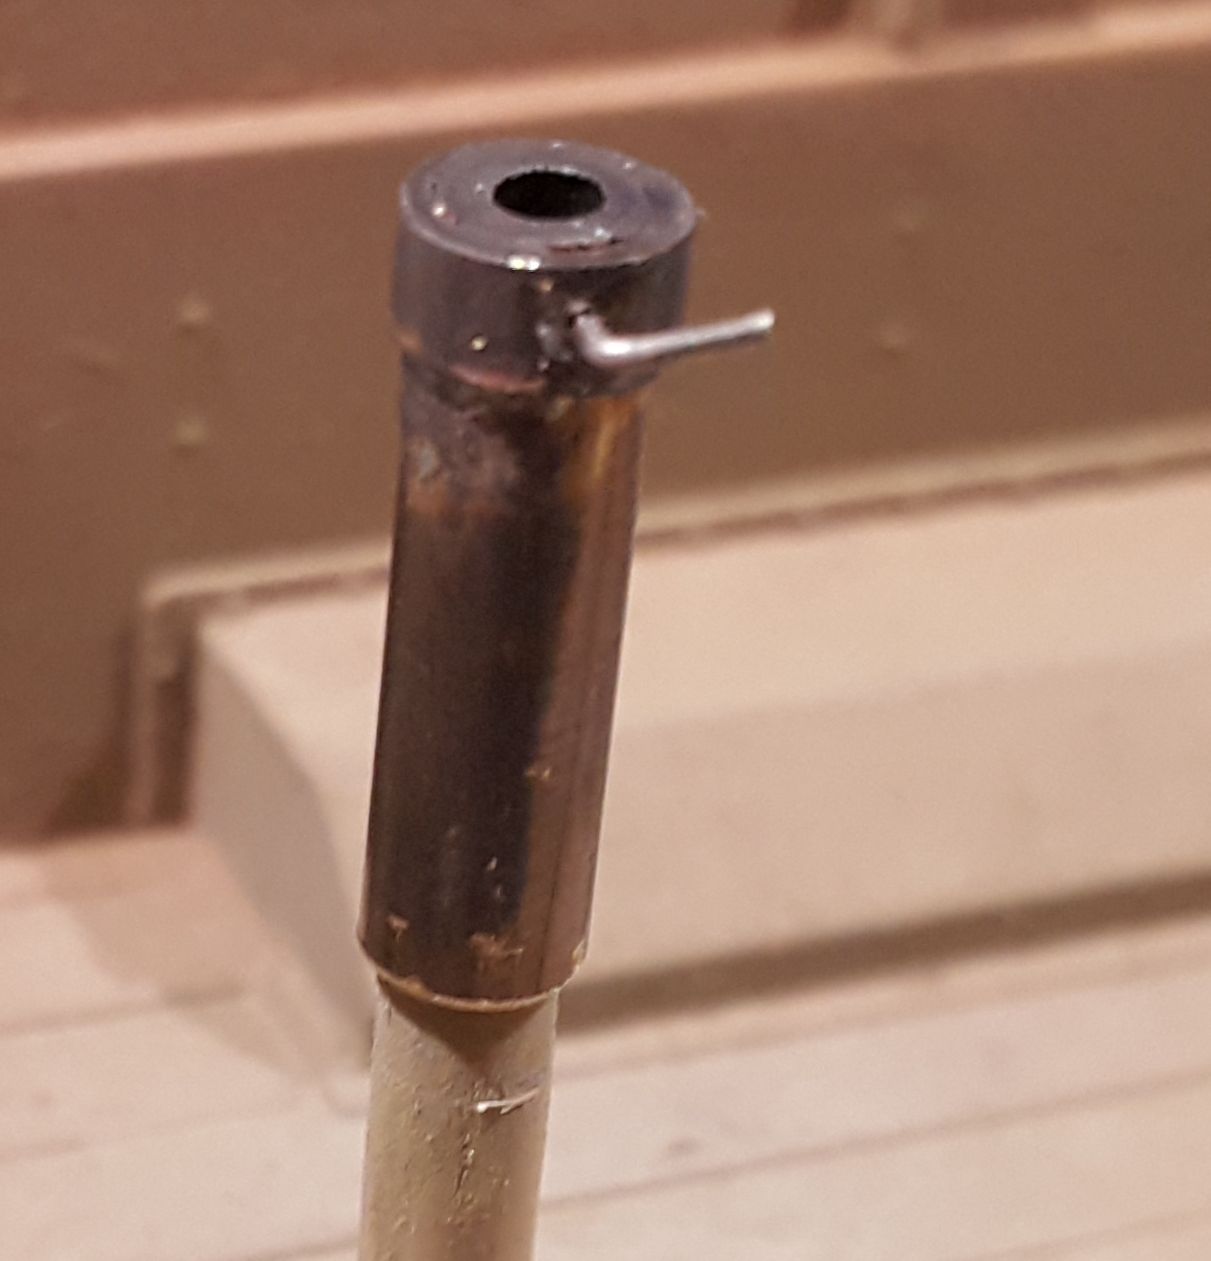
Somewhere over the years part of the lewis gun mount went missing, so I knocked one up from some brass tube and a bit of fuse wire


Used brass instead of styrene because I had that in about the right size.


Pave-Hawk
Visit this Community
Western Australia, Australia
Joined: May 05, 2006
KitMaker: 900 posts
Armorama: 510 posts
Posted: Friday, October 13, 2017 - 11:59 AM UTC
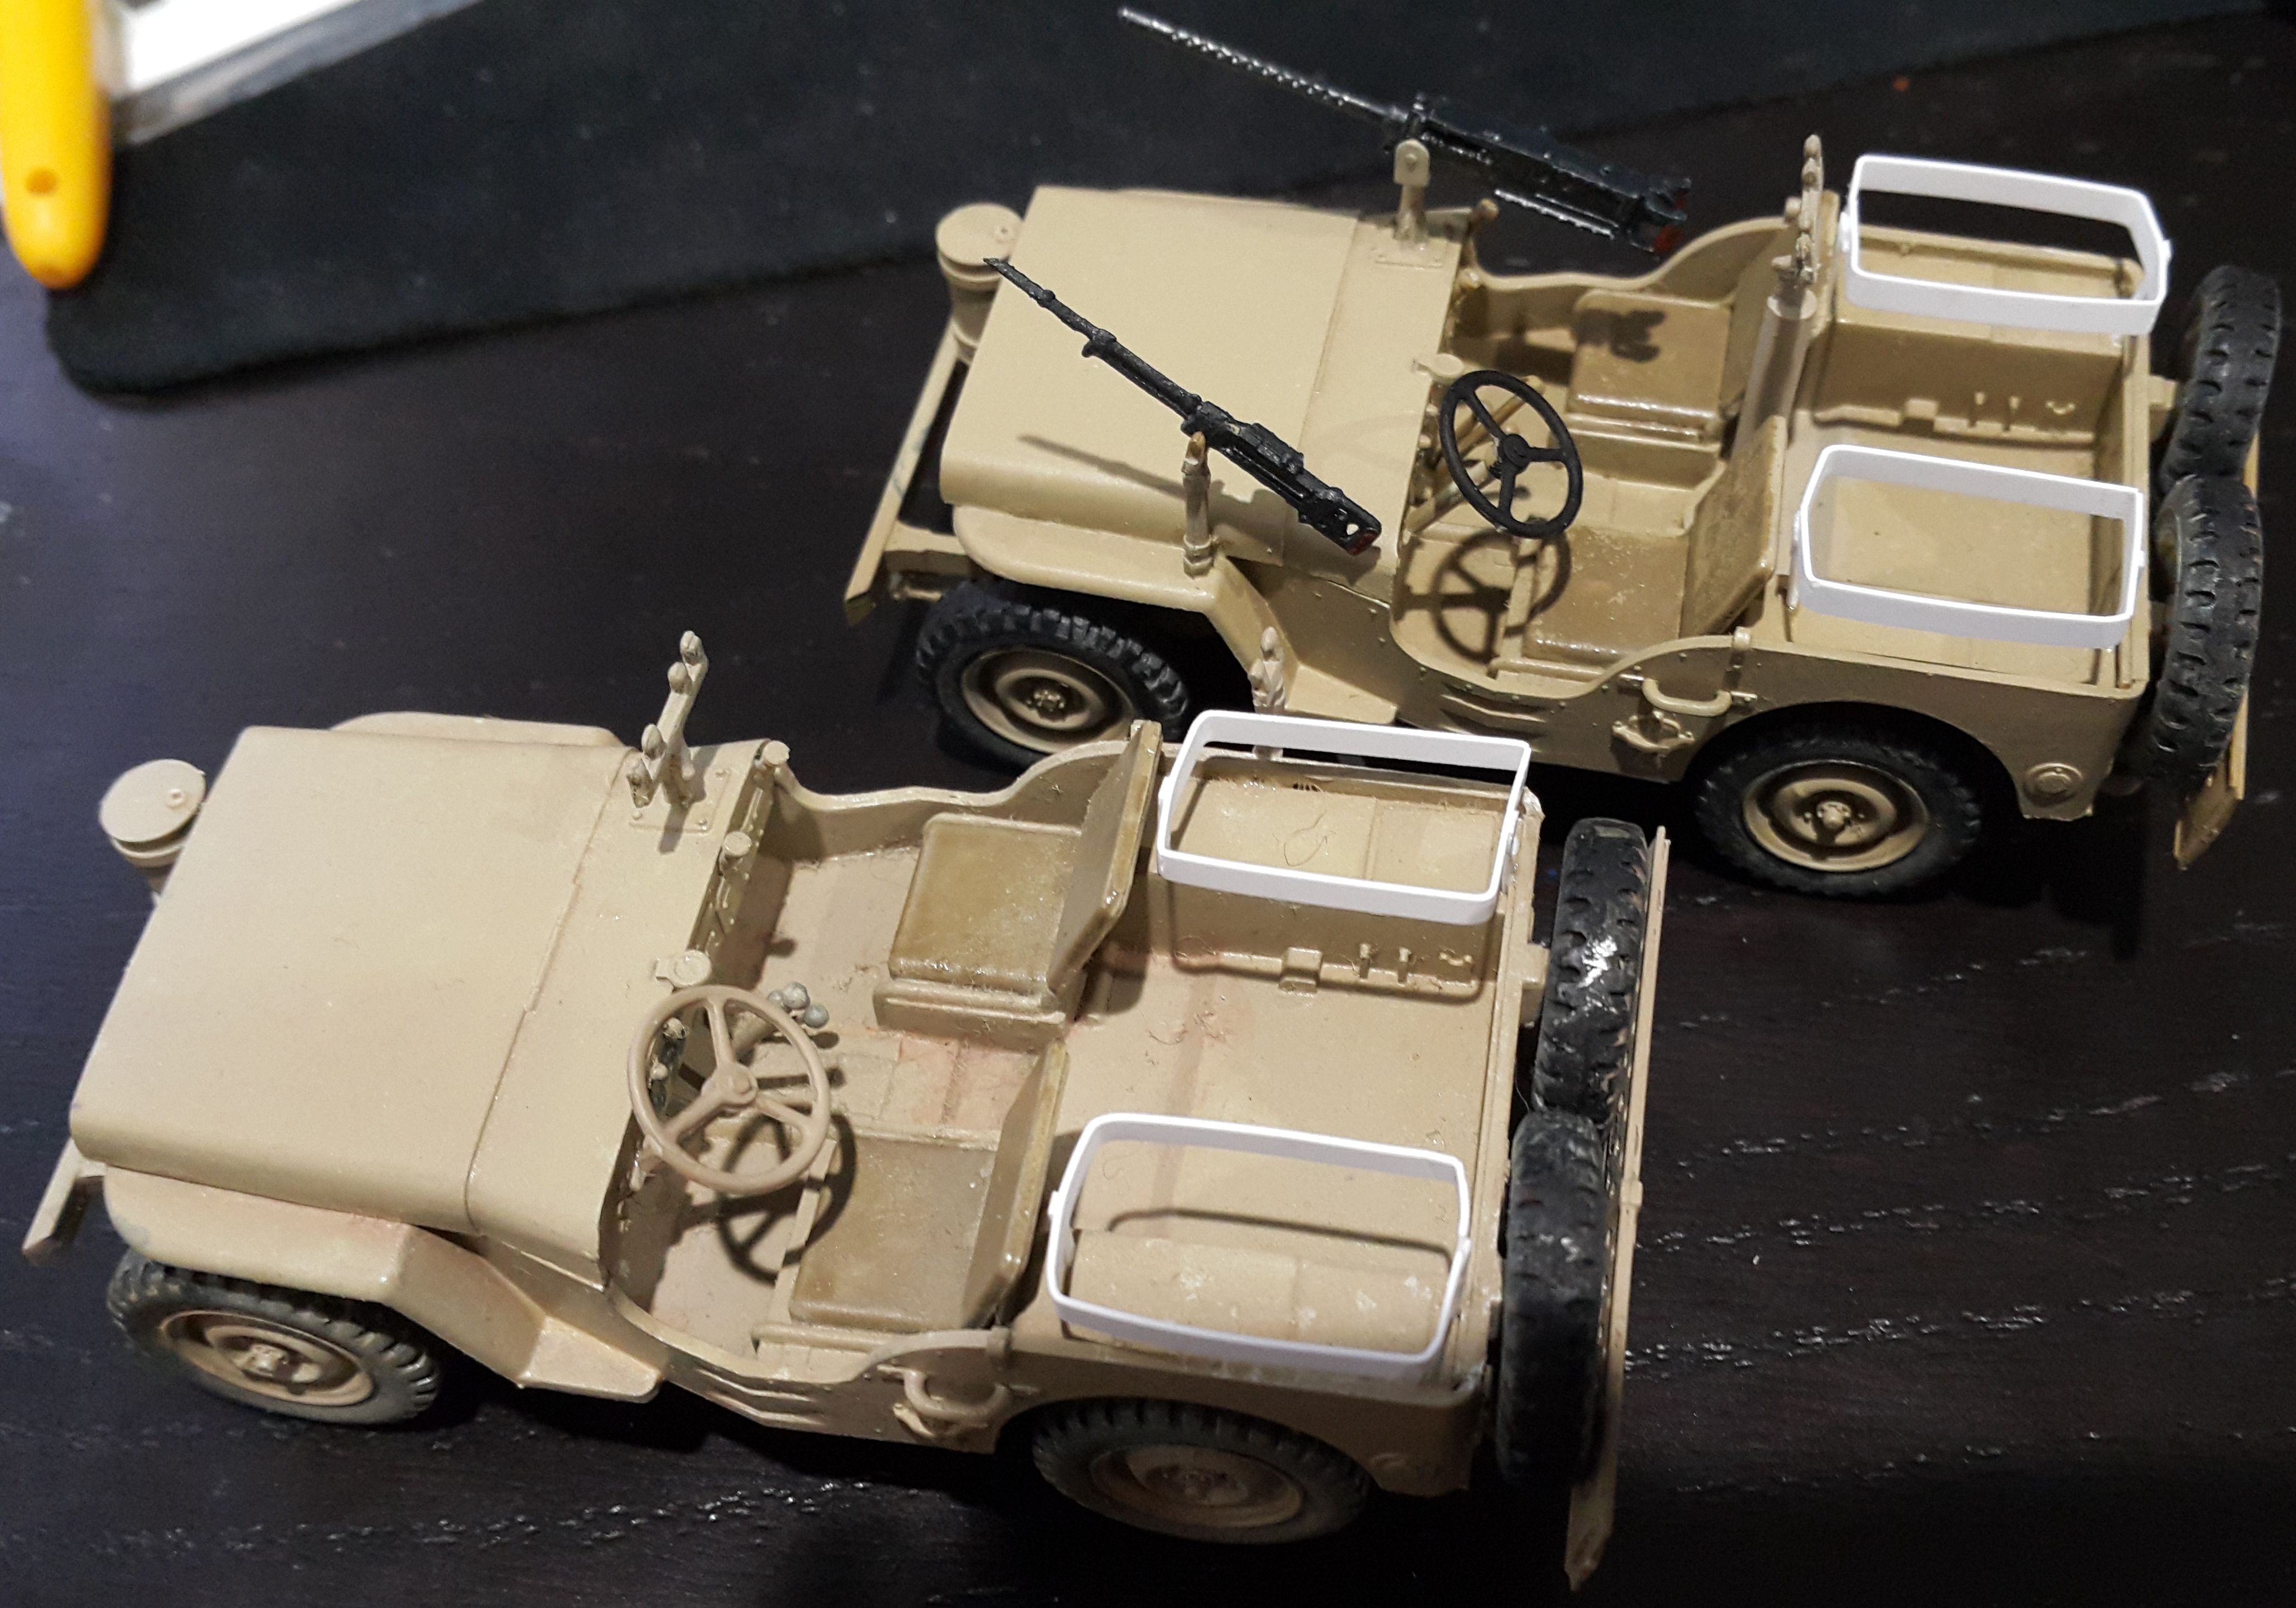
Now witness the firepower of this fully ARMED and OPERATIONAL battle station... err jeep.


One jeep nearly down, just want to replace the kit jerry cans with some better ones.


Does anyone have the dimensions of the sun compass used by the LRDG, there are plenty of photos to get the shape correct but I can't find out how big it actually was.
Frenchy
Visit this Community
Rhone, France
Joined: December 02, 2002
KitMaker: 12,719 posts
Armorama: 12,507 posts
Posted: Friday, October 13, 2017 - 03:50 PM UTC

Quoted Text

Does anyone have the dimensions of the sun compass used by the LRDG, there are plenty of photos to get the shape correct but I can't find out how big it actually was.


If you're getting lazy like me, another option is ordering a PE one from Inside The Armor website

http://www.insidethearmour.com/pe.html

http://www.small-tracks.org/t7579-compas-solaires-sun-compass-1-35

H.P.
Pave-Hawk
Visit this Community
Western Australia, Australia
Joined: May 05, 2006
KitMaker: 900 posts
Armorama: 510 posts
Posted: Friday, October 13, 2017 - 03:54 PM UTC
Unfortunately I have zero fun tickets to use on aftermarket bits, and all my mods require stuff already on hand. I'll probably just take a stab in the dark as they don't seem particularly large.
 _GOTOTOP