Campaigns
Where Armorama group builds can be discussed, organized, and updates posted.
ACUTR- Cuhail's Guntruck, Take two
Cuhail
Visit this Community
Illinois, United States
Joined: February 10, 2004
KitMaker: 2,058 posts
Armorama: 791 posts
Posted: Friday, February 23, 2007 - 09:32 AM UTC
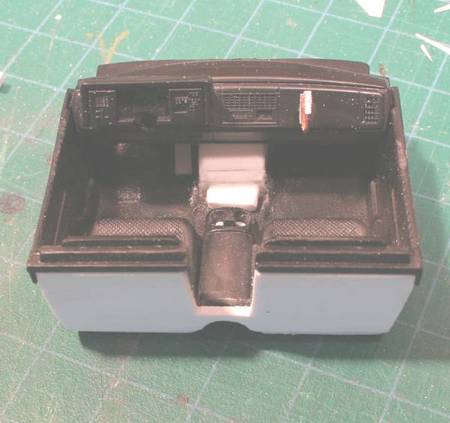
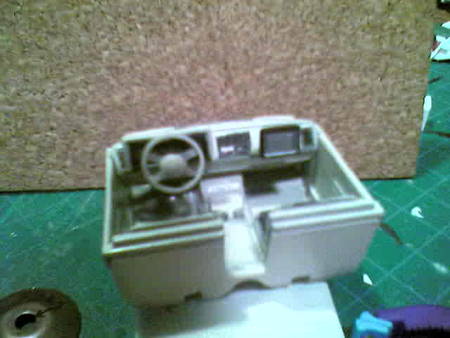
At the bench off and on today. Working on the dash and steering wheel. The dash goes all the way down to the center console now and will be stuffed full of radio equipment. The passenger will have a laptop desk in front of him too.
I'm having to build the steering wheel and column over again because the kit one was broken. I took pictures as I went as well as pix of the completed and installed headers. I just have to upload them from the camera tomorrow.

Well, that's the day.
Goodnite from the Chilly Midwest.

Cuhail
Cuhail
Visit this Community
Illinois, United States
Joined: February 10, 2004
KitMaker: 2,058 posts
Armorama: 791 posts
Posted: Friday, February 23, 2007 - 11:13 PM UTC

Pictures!

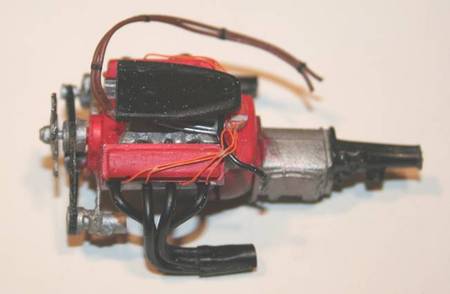
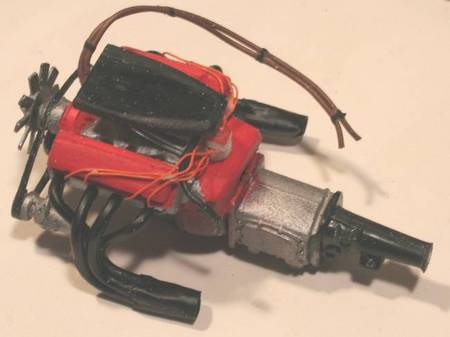
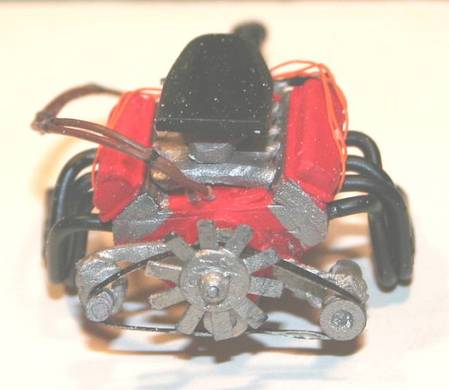
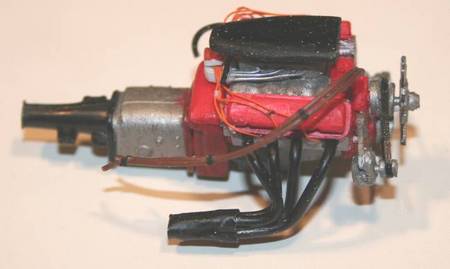
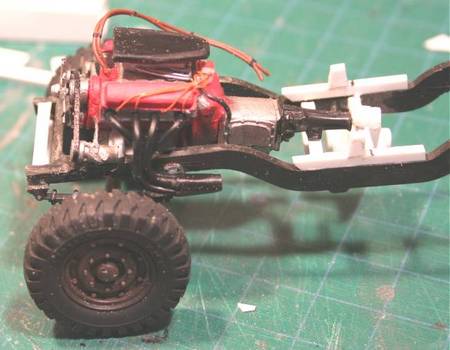
let's wrap up the engine pictures, huh? Enough is enough and honestly, I'm tired of working on it. I wanna move on, soooooo,


And installed


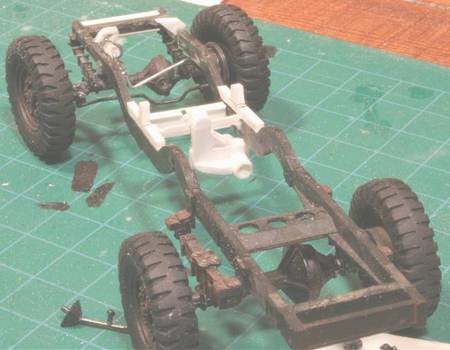
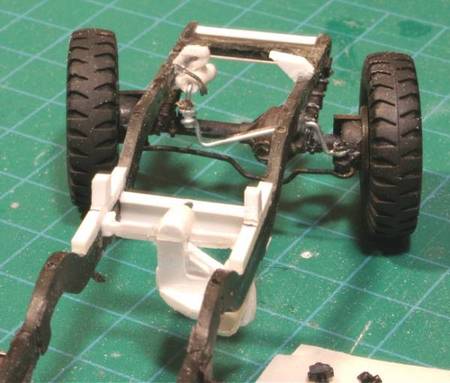
so, after I made sure the engine was fitting good, I had to make it link up with the transfer case and the steering box.


I want the interior to look a bit "aftermarket" so I'm bashing the H-E-double hockeysticks out of it.
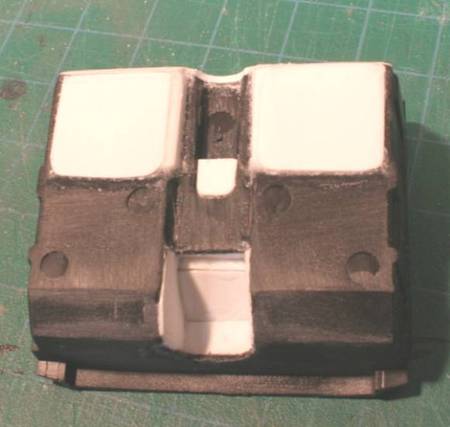
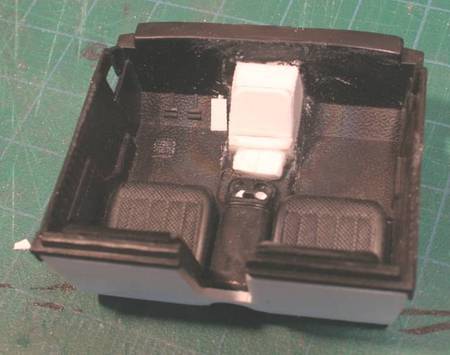
I had to cut the tranny tunnel out so the engine would clear it and so I re boxed it up. I also filled the depressions from the seats since there is no one piece bottom like the kit I got the interior from.


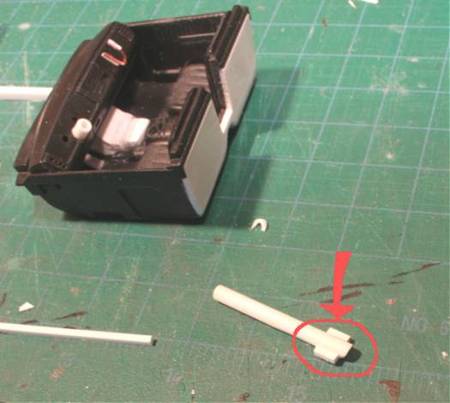
Now, since the steering wheel was busted in the kit, I'm in the process of making a new one. I started with a tube and glued two small square stock bits on either side. I filled in the rest and I'm waiting for it to dry until I can sand it to shape.


And that's where I am this fine Saturday morning.

COMMENTS, PLEASE!!! I thrive on imput! I need to know it looks okay or I get all depressed and hide in closets.

:-)

Cuhail
TreadHead
Visit this Community
Colorado, United States
Joined: January 12, 2002
KitMaker: 5,000 posts
Armorama: 2,868 posts
Posted: Saturday, February 24, 2007 - 07:02 PM UTC


Now, not that I want to participate in any way in making you 'come out of the closet' :-) I did want to stop by and say a few thingies about your project.

First, I am most happy to see that one of three things has apparently happened.
1) You became a better photographer overnight.
2) You purchased a new camera capable of macro
3) You figured out how to use the focus ring on the camera

:-) Just joshin' ya big guy. Mighty glad to see your great progress so far. It really seems to be coming along, and it's looking more and more like the finished product everyday.
I have been following along and enjoying your build up. Your work on the engine is just another page in the book entitled 'Modeling Inspiration" for me. Especially your own blend of mniature custom pipe bending....still lovin' that wee bit of technique Which BTW, you bloody well better write a How-To article for publication here. The technique you described about bending your own exhaust tubes would be most helpful not only to automotive modelers, but to WWI aircraft modelers as well. Where the exhaust tubes of the engines in those aircraft were most often times sticking out and/or over the sides of the aircraft fuselage........so get writin' ya big lug!

I'm also liking your undercarraige work. The scratched transfer case looks dandy, and the additional details in the frame are really 'dude' -ing it up {This comment an attempt at letting my younger side out for a sec......bad idea huh?}

And in parting, I wanted to say one more thing. And this, as far as I am concerned, is a 'high' compliment.
Looking over your automotive build-up thread reminds me of someone who's presence I personally miss around here, and that is our good 'Roo'....your style of posting is somewhat reminesent of his......including the rather rotten camera focus

Keep up the good work Murph'

regards,

Tread.
Cuhail
Visit this Community
Illinois, United States
Joined: February 10, 2004
KitMaker: 2,058 posts
Armorama: 791 posts
Posted: Saturday, February 24, 2007 - 09:09 PM UTC

Thanks Tread (ya crazy nutball you :-) )

I didn't actually buy a new camera. My fiancee is the photographer for a high-dollar landscaping company on the North Shore of Chicago ($$$) and has access to the Canon Rebel EOS 8mp Pro Camera that they use. She brings it home as often as possible. When she can't, or hasn't, I'm forced to use my minus 4mp phone camera which barely passes as a drawn picture by a parapalegic walrus! But, it works in a pinch.
I was going to write up a tutorial this week and snap pics next weekend to accompany it. The aircraft modeling will be different though, but, I'm going to check some references on how prop-driven planes' exhaust work so I can give an example.
I think I'll have her do the pix as she understands "field of depth" and all that crazy stuff.
As for the build. I'm again having fun with this truck. It's so....not...feasable in this day and age with all the modern LAV variants out there that could probably blow this baby off the face of the Earth long before she ever gets a chance to shoot, but, what the hell. It'll LOOK cool.

:-)

Thanks for the look-see, Tread. How goes the Barge work?

Cuhail
Cuhail
Visit this Community
Illinois, United States
Joined: February 10, 2004
KitMaker: 2,058 posts
Armorama: 791 posts
Posted: Tuesday, February 27, 2007 - 04:18 AM UTC

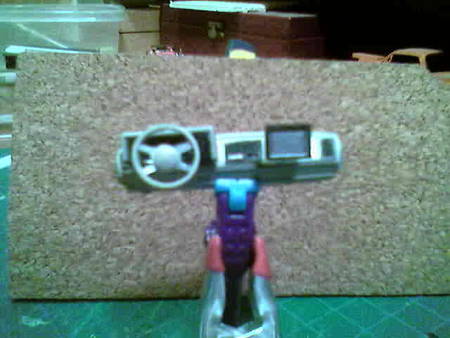
Well the interior is coming along slowly, but, surely. I had to remake a steering wheel out of a slice of 1/2" tube stock, some aluminum sheet and some other bits and pieces. I whipped up a column too.

Some cruddie pix.


Nuthin much. I like how the tunnel came out. I still have to add some buttons, knobs and a mike. I'm thinking of some sort of overhead/visor storage area, depends on space.

Chime in, always happy to hear criticism on my modeling.

Cuhail
ti
Visit this Community
Dalarnas, Sweden
Joined: May 08, 2002
KitMaker: 2,264 posts
Armorama: 1,763 posts
Posted: Tuesday, February 27, 2007 - 05:46 AM UTC
I love that engine Murphy. Looking just fantastic.
Cuhail
Visit this Community
Illinois, United States
Joined: February 10, 2004
KitMaker: 2,058 posts
Armorama: 791 posts
Posted: Wednesday, February 28, 2007 - 12:23 AM UTC

Thanks Chas!

I'm so glad the engine is done. The interior is 99% done too. Pics soon.

I'm now working on the offensive capabilities of the truck. I wandered over to Aeroscale and did a querey about spare-part 1/32 Vulcan Cannons, but nobody bit. That's okay. I want to go a bit smaller so I'm going to use what I have and it'll be a M2 .50 cal. and a MK19 mounted next to each other and controlled from the passenger seat computer. I bought the Dragon 1/35 Quartermaster Ser. Modern Infantry Fire Support Weapons a looooong time ago and I found it in the stash today. I am assembling the MK 19 now. I'm not sure HOW to mount them together yet and I am going to do a little turret research today and figure some things out about it.

Any ideas on that out there?

Cuhail
matt
Staff MemberCampaigns Administrator
Visit this Community
New York, United States
Joined: February 28, 2002
KitMaker: 5,957 posts
Armorama: 2,956 posts
Posted: Wednesday, February 28, 2007 - 12:36 AM UTC
Murph,

I've got some line drawings of varous gatling type guns....... the barrel sections are pretty easy to scratc from the looks of it............
Cuhail
Visit this Community
Illinois, United States
Joined: February 10, 2004
KitMaker: 2,058 posts
Armorama: 791 posts
Posted: Wednesday, February 28, 2007 - 12:49 AM UTC

Thank you Matt, but, I saw the combo I'm going with on a M2 turret one time and it looked VERY efficient. I think it was on a ...Scorpion? I watched a MK19 demo on Mail Call I think, and I really thought it was cool. That, paired up with a classic .50 cal. should look competent enough. My only issue is how to turret them for this guntruck.

But thanks.

I almost went to the office and picked up some plant-injection needles to scratch out a Vulcan, but, meh. I like the MK 19 more.

Peace!

Cuhail
TreadHead
Visit this Community
Colorado, United States
Joined: January 12, 2002
KitMaker: 5,000 posts
Armorama: 2,868 posts
Posted: Wednesday, February 28, 2007 - 05:30 AM UTC
Howdy Murph",

Sorry, I got in a bit late from work {that's supposed to be sweat from my brow....not tears }

Anyway, I'm liking your dash work so far...looking nice. The piece on the passenger side of the dash looks like the computer screen you see in police cars. Is that what it is? The tunnel appears well laid out and balanced...it all fits.

To your gattling gun query. Were you looking for one in 1/32nd scale only?...if so, I don't know of anyone who either makes one, or even a kitted version to plunder.....I'd be curious if anyone speaks up with a source.

Keep it up sasquatch...we're all watchin' yer progress.

Tread.
Cuhail
Visit this Community
Illinois, United States
Joined: February 10, 2004
KitMaker: 2,058 posts
Armorama: 791 posts
Posted: Wednesday, February 28, 2007 - 08:03 AM UTC

Thanks Tread et al.

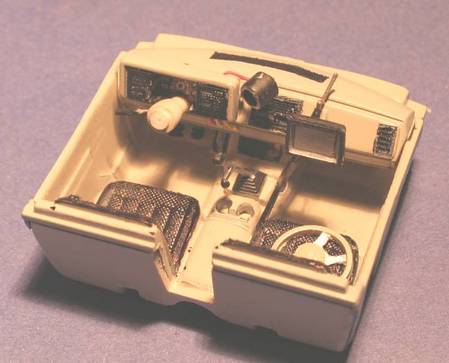
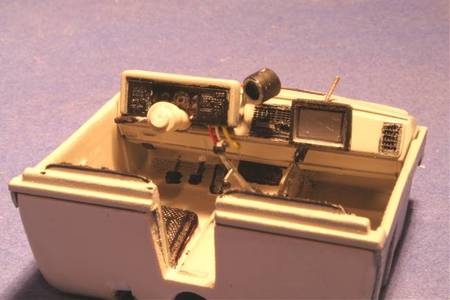
I took some good pictures of the finished interior (except for a bit of touchup and a couple of decals. I removed the steering wheel for photographic quality and yes, that's an M-16 against the dash.


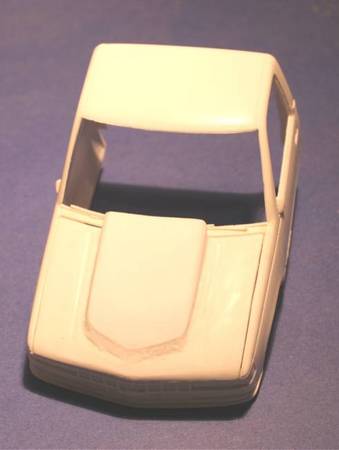
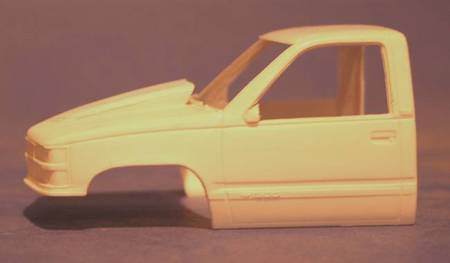
I also added the hood scoop to the hood and cut a hole underneath so the air cleaner on top of the engine would fit under the hood. I still have some smoothing and sanding to take care of before it's ready for primer. Besides, it needs panel armor before primer anyway. But, I had the camera so I took the pics.


Havin a great time, wish you were here!
Cuhail
TreadHead
Visit this Community
Colorado, United States
Joined: January 12, 2002
KitMaker: 5,000 posts
Armorama: 2,868 posts
Posted: Thursday, March 01, 2007 - 04:28 AM UTC
Howdy BIgGuy,

Just stoppin' by to check out your progress.....looks great pard'. The interior's shaping up just dandy, and the dashboard just seems to 'fit' your ideaof this thing to a tee. Am curious where ya found a 1/32 example of Uncle Sam's wee plastic marvel?

Now to your hood scoop. Your hood rework looks very well done {I can't even make out any Bondo 'islands' } And considering your mean little GunTruck definitely qualifies for modern day "SS" status because of the Super Stock quality of the base vehicle......just be careful hangin' that politically incorrect 'SS' moniker on it, O.K. Murph?..... :-)

Lookin great, keep it up bud.

Tread.
Cuhail
Visit this Community
Illinois, United States
Joined: February 10, 2004
KitMaker: 2,058 posts
Armorama: 791 posts
Posted: Thursday, March 01, 2007 - 08:16 AM UTC
Thanks Tread, the interior looks comfey, yet, bad business-ready! Exactly how a man truck should be! :-) The M-16 is 1/35. It's okay though because this whole build is very loose in scale between 1/35 and 1/32. Since I'm no rivet-counter, I forgive my accuracy for artistic licence.

As for the SS? KISS did it and I am WAY cooler than KISS, so, that ends that problem. Murph does what Murphy wants, damn the press!

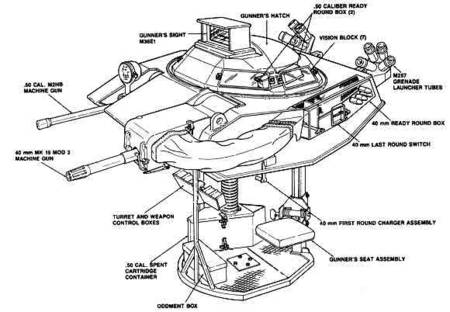
Now. This AAVP7A1 turret I wanna put on this monster.


Would y'all believe I'm trying to scratchbuild this thing from the above drawing? Or, at least, something LIKE it?


EEEEEEKK! The freaking angles are driving me NUTS! Man-o-man-o-shove-its! I've cut more roofs on houses than you can possibly believe and these silly angle cuts to come up with a turret are enraging!

Luckily, Mother's helping me out with some pics and such. I still have a good outlook, but a long way to go.

Now, back to the bench and that infernal protractor!


Cuhail
Cuhail
Visit this Community
Illinois, United States
Joined: February 10, 2004
KitMaker: 2,058 posts
Armorama: 791 posts
Posted: Friday, March 02, 2007 - 04:59 AM UTC
SMASH KILL !!

MURPH SMASH!!!


can ya tell I gave up on scratching out a turret? I'm gonna give myself an ulcer if I kept up with it. I'm better now. I put a "Parts Wanted" ad in Buy, Sell, Trade for the UGWS. Just the body of the turret. I hope something comes up, it's perfect for the job, and I just can't get the plastic to do what I want it to do in my scratchbuilding attempts. Man I went mad for an hour or so. I had to go outside and shovel snow to blow off the steam. Luckily, the beginning of March has entered like the lion here and we have high winds and blowing snow. Happy March!

well, I'm gonna start dinner, maybe that will perk me up.

Cuhail
Cuhail
Visit this Community
Illinois, United States
Joined: February 10, 2004
KitMaker: 2,058 posts
Armorama: 791 posts
Posted: Tuesday, March 06, 2007 - 04:54 AM UTC

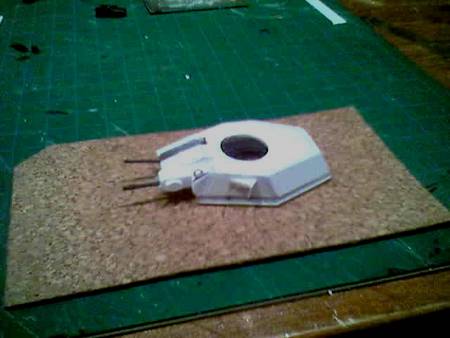
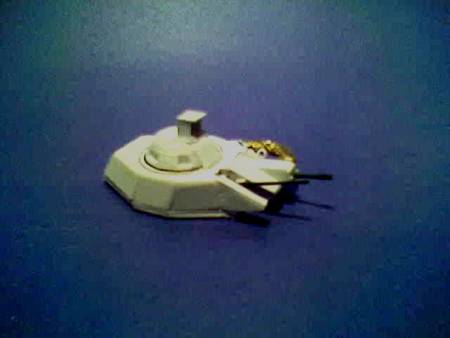
Okay, so I started it again and had a bit better luck. Crappy pictures as usual. You can't see to much of the awesome scratchbuilding I did here, but, It's since come along a bit more with the .40 mm grenade ammo tube and a better mount for the .50 cal. I should have better pix tomorrow.


I tried cleaning up the other pics I took, but, This phone cam of mine...

Cuhail
Cuhail
Visit this Community
Illinois, United States
Joined: February 10, 2004
KitMaker: 2,058 posts
Armorama: 791 posts
Posted: Wednesday, March 07, 2007 - 08:36 PM UTC

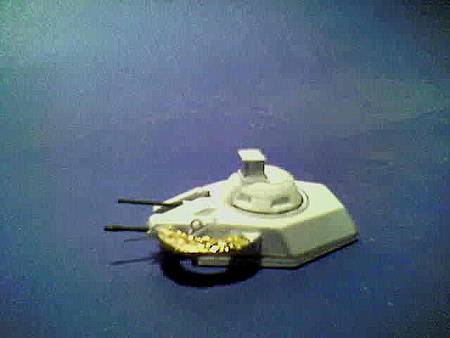
Turret progress!


Comments welcome!

Cuhail
ti
Visit this Community
Dalarnas, Sweden
Joined: May 08, 2002
KitMaker: 2,264 posts
Armorama: 1,763 posts
Posted: Wednesday, March 07, 2007 - 09:44 PM UTC
Looking good Murphy. It seems you and Joe are working on the same head
Cuhail
Visit this Community
Illinois, United States
Joined: February 10, 2004
KitMaker: 2,058 posts
Armorama: 791 posts
Posted: Thursday, March 08, 2007 - 07:43 PM UTC

Hi all!

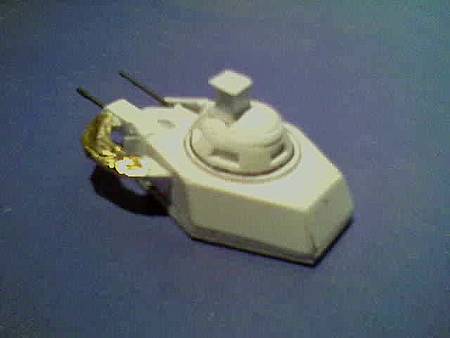
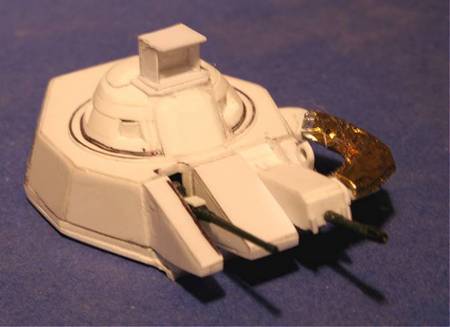
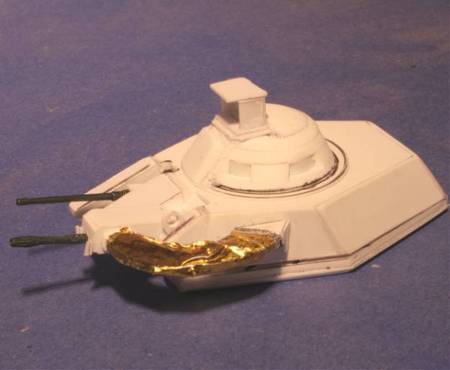
Well I took the good camera out and did some better turret shots:


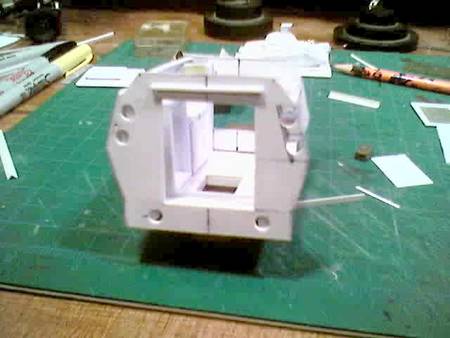
I also started the armored hull for the back of the truck. HOPEFULLY it will come out a quarter as good as Joe's interior on his AAVP7A1 because that's my inspiration. I've only done the walls and bulkheads, but, you can see how the rear bulkhead is going to be laid out.


Comments? Advice on the interior of the hull is totally encouraged. I'm not exactly sure what to install in there. The turret is R/C from the passenger console, so it's all stowage, ammo and kit. There will be spent shell boxes from the 40 mm and .50 cal. and the tubes going from the guns to the boxes, but it's a work in progress of course.

Cuhail
Cuhail
Visit this Community
Illinois, United States
Joined: February 10, 2004
KitMaker: 2,058 posts
Armorama: 791 posts
Posted: Monday, March 12, 2007 - 07:34 AM UTC

The Armored Hull!

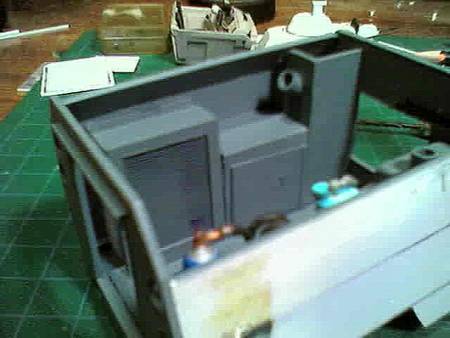
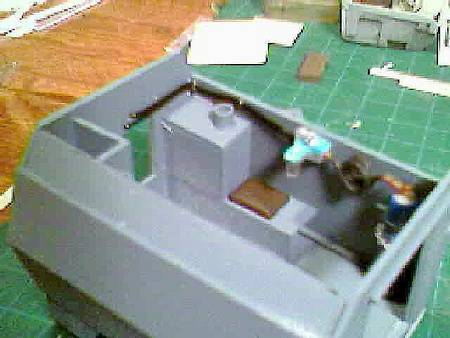
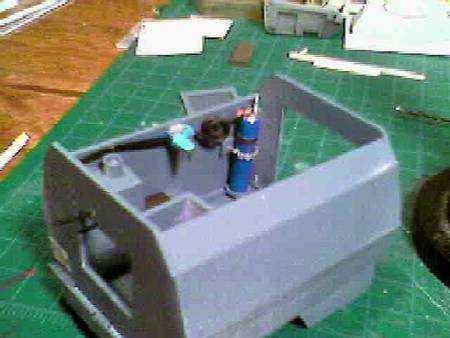
I didn't have too many ideas bursting from me on what to fill the "Box" with, but, I knew I wanted an empty casings collection system for both the MK-19 and the M2. I also wanted a fresh-oxygen supply for the cab. I did both.
The collection boxes are on each side and, since it's not visable, there "is" a system to collect the empty shells inside the turret until it gets locked in the forward position and a trapdoor is opened to allow the shells to flow down the tubes to tubs accessed from the outside of the box.
The whole oxygen setup is scratchbuilt including the bottle, fittings and regulator. It's aft-starboard
There's also a small-arms cage on the port side.

The pix: The first picture is the framing and sides with the doors cut out and rear light holes drilled. You can see a lot of the lines drawn out on the plastic to keep everything square. Oh yeah...camera phone.


I hate the camera phone.

Here we have a view from the right rear to the left front and from left to right we have the small-arms locker, then the ammo locker for boxes of ammo for the MK-19 and .50 cal. In front, there's the 40 mm. casing bin.


The next two are from the left side. From left to right- The .50 cal. collection bin, a rear seat on a small cabinet. Above the seat is the regulator for the oxygen setup. You can see the hoses leading towards the rear, where they attach to the O2 bottle chained in the back.


That's where I'm at. Comments welcome. Criticism will be met with outrageous sarcasm.

Cuhail
ti
Visit this Community
Dalarnas, Sweden
Joined: May 08, 2002
KitMaker: 2,264 posts
Armorama: 1,763 posts
Posted: Monday, March 12, 2007 - 11:15 AM UTC
Wow! this is really beautiful work Murphy. Now I got another modeller to admire...
Cuhail
Visit this Community
Illinois, United States
Joined: February 10, 2004
KitMaker: 2,058 posts
Armorama: 791 posts
Posted: Monday, March 12, 2007 - 06:32 PM UTC
Thank you Charles, I appreciate the response. I'm gonna have a good time filling this puppy with all sorts of stuff. A cooler, maybe a randy pinup or two, a calendar. For the life of me I can't find any .50 cal. ammo boxes in my parts box. I was gonna put some in there, but, I can only find one.

So, it's back to the bench.

More commentary, please.

Cuhail
ti
Visit this Community
Dalarnas, Sweden
Joined: May 08, 2002
KitMaker: 2,264 posts
Armorama: 1,763 posts
Posted: Monday, March 12, 2007 - 09:21 PM UTC
If you plan on scrabuilding tose ammo boxes please do a WIP. Thanks murphy. always a pleasure.
Cuhail
Visit this Community
Illinois, United States
Joined: February 10, 2004
KitMaker: 2,058 posts
Armorama: 791 posts
Posted: Tuesday, March 13, 2007 - 11:49 PM UTC

I wil, if I do, Charles, but, I haven't decided on it yet.

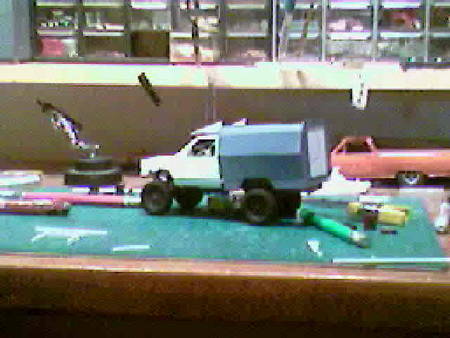
I did a quick pic of a dryfit.
Looking good! Eh?


Crappy pic, but, my thread in Spare Parts will explain my Karma on THAT subject.

Cuhail
matt
Staff MemberCampaigns Administrator
Visit this Community
New York, United States
Joined: February 28, 2002
KitMaker: 5,957 posts
Armorama: 2,956 posts
Posted: Wednesday, March 14, 2007 - 12:43 AM UTC
You're gonna need a Ladder to get in that monster!!!! maybe some Chain or wire rope "running boards"?????
TreadHead
Visit this Community
Colorado, United States
Joined: January 12, 2002
KitMaker: 5,000 posts
Armorama: 2,868 posts
Posted: Wednesday, March 14, 2007 - 01:14 AM UTC


Wow Murph' .....you scratchbuilt that turret?...man, very impressive work there bucko. With all those complicated, and intersecting angles you did a really superb job of it....really nice.
And your interior shots are great...........you da man, bud!

keep it up.

Tread.