

1⁄35WhiteOut: Winterizing an M4 Sherman
19
Comments
Winter Wonderland
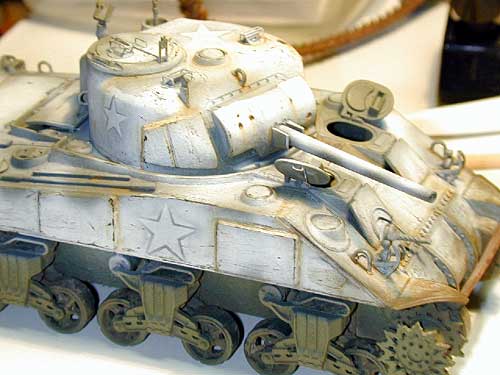
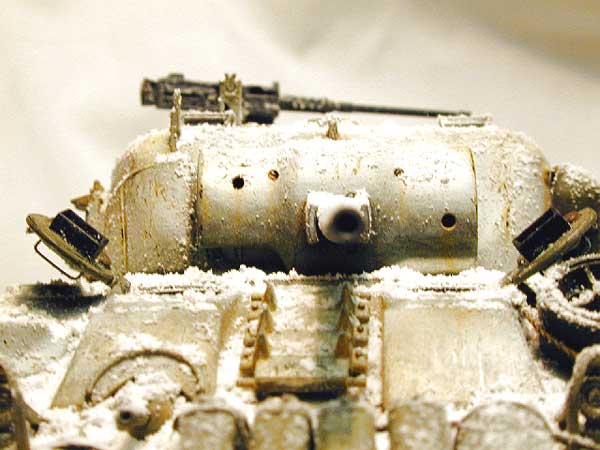
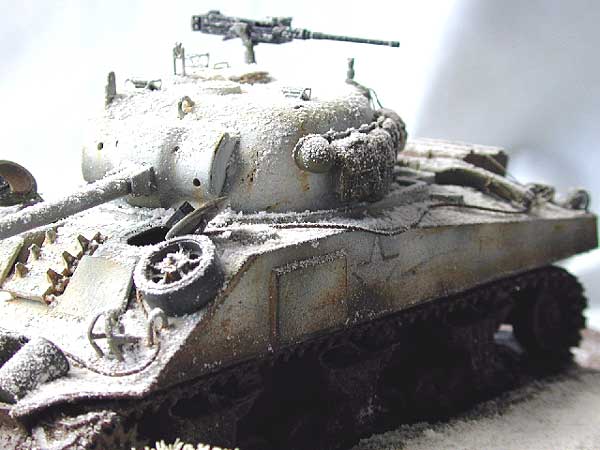
This brings me to the final build of the M4. I decided the best route was to go with the airbrush for the white wash. Not to cover the whole upper hull this time around but, leave some of the base color to show through.After the white wash dried, I used the wood pick again to make chips in the white wash from wear and tear. The wooden pick I use is of several types. A toothpick, a thin wooden dowel, and a coffee stir stick. With varying pressures I was able to replicate differing sized scratches and chips in the white wash.
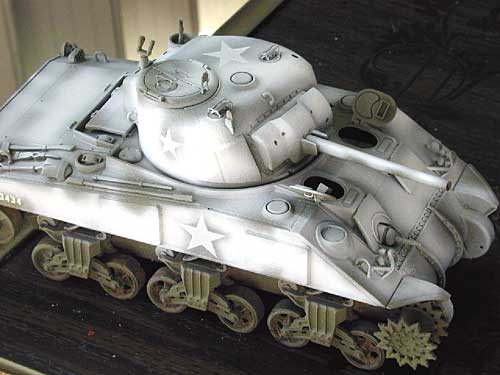
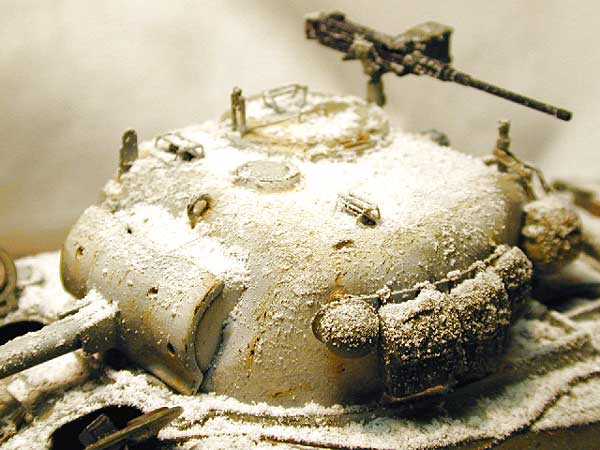
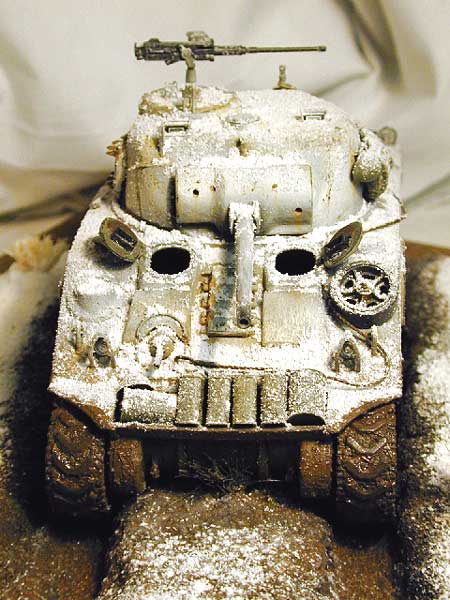
In order for me to duplicate the look that the decals were masked, like the crews would have before they painted the white wash on, (some, not all crews) I followed a trick I learned awhile ago by mistake. The model needed a wash too, so I killed two birds with one stone. If you do not seal the model with a clear coat before doing a wash, the decals carrier film will show through, looking like a masks outline. Look at the picture above, it was taken before the wash. No mask over decal. The one below was taken after the wash, now the decal looks like it was masked.
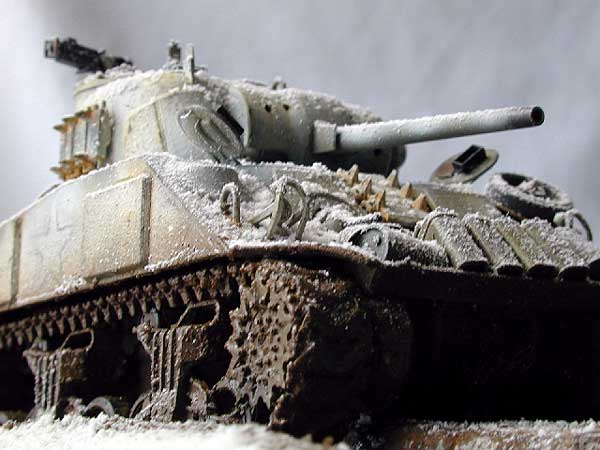
Next I added the rust. My recipe for rust is very simple; its real rust. By finding a rusty piece of metal from outside and using 400 grit sandpaper, I sanded the rusty metal over a piece of white paper to collect the rusts dust. From there I poured it into an old paint jar for all future rust jobs. To add the rust to the model I made a paint or paste with the rust dust and water. Using a small tipped brush I applied the paste in tiny splotches over the previously made chips and scratches. Let this dry for a few minuets and with a soft dry brush, lightly brush the dried paste downward to create the effect of rust stains. Bear in mind the effects of gravity when doing this. Water runs downhill. By adjusting the pressure and time spent on the dried rust paste areas, you can achieve varying effects of the color and or amount of rust. If you take too much off just reapply. I finished the upper hull by dirtying it up a little with a couple of pastels to mimic dried mud and a several light mists of Model Masters Flat Acrylic.
A Place in the Mud
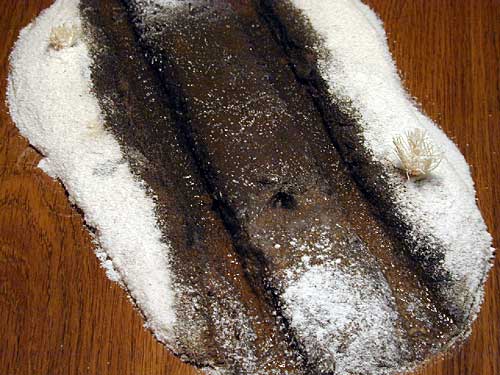
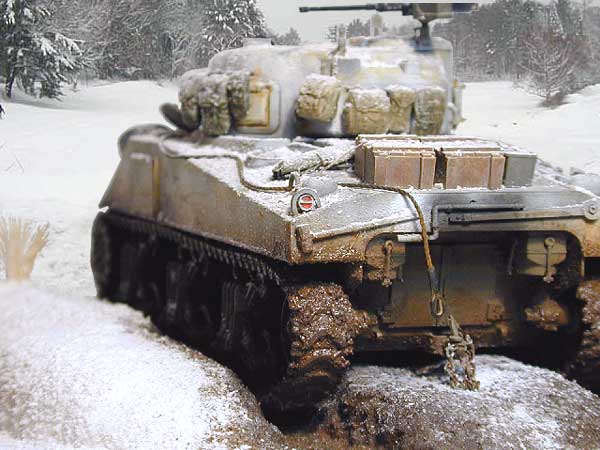
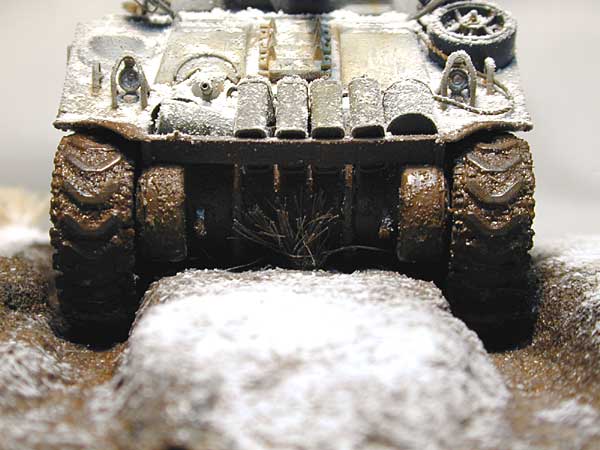
I next finished painting the road wheels as usual and began applying the mud. The mud is again the Daps minuet spackle, brown acrylic paint and plenty of water. I let this dry and gave it several light coats of various brown shades going from dark to lighter. When this was dry I painted on Future straight from the bottle over sections of the bogies, tracks, and lower hull to make the mud appear wet.Onto the dio if thats what I could call it. Its small but, conveys the location of the model in reference to its appearance. This was a last minuet idea as I was not going to include one into the final model. I simply mixed up a good sized batch of Amacos Sculptamold. Which really is just a fine grade paper-mache. I plopped this down on a piece of wood and pressed a few sets of rubber-band tracks from the spares box into the blob. Using an oven at warm setting I attempted a speedy dry. It worked. The following morning I airbrushed the track paths and immediate area with a dark brown followed by a couple light coats of increasing lighter shades. This dried quickly and I literally poured Future into the treads tracks and brushed it around a little. Again, going after that wet mud look.
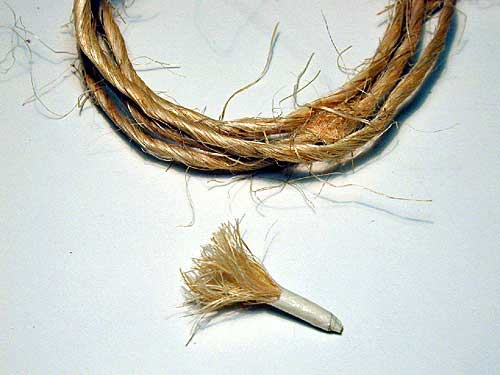
I fashioned the grasses from twine, taped at the bottom and inserted into drill holes.
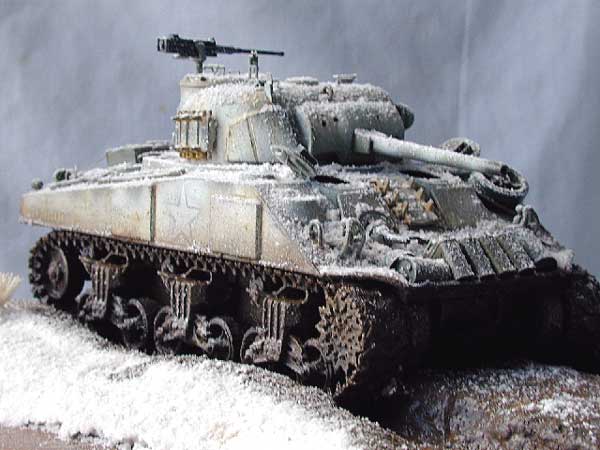
I placed the model in the dio and with an old make-up brush, dipped into a 50/50 mix of Woodland Scenics Snow and cornstarch, I tapped the brush repeatedly to force it to snow onto the scene. This was the best method I could come up with for applying the snow mix. All other attempts seemed to make the snow fall in an unnatural manner. I think it worked nicely.
I had lots of fun in this adventure, even with all the pitfalls and restarts. Ill certainly build another in the near future.

About the Author


FROM: FLORIDA, UNITED STATES
Like many, I developed an interest in building models when I was around 8 years young. I remember my mother keeping my interest in them by joining a "model a month" club back in the mid 70s. Things like the Lunar Lander, and a Braniff International 747 were some of the kits I'd build that came in th...
Comments
Ken,
Great Work.
I too have discovered the marvels of Woodland Scenics "Snow". Let me share some of my observations.
First, I mix the snow with Modge Podge (a white glue like substance used in decopage) and make a paste like mixture. This can be troweled onto the tank, between bogies, on fenders or any area with little foot traffic.
Second, take the same mixture and add acrylic burnt umber, some ground cover (fine ground sawdust) and you ger "mud". The mud can easily be applied to tracks lower hull surfaces and will dry to a shiney/muddy look.
One thing about using the paste is you can create drifts, and with some practice icecicles.
OCT 07, 2002 - 03:05 AM

A question on the Woodland Scenics Snow. I assume it is permanantly attached to the model or base . How easy/hard is it to work with? I am planning on doing a Chosin Resevour dio with new Tamiya M26.
OCT 07, 2002 - 05:17 AM

Gino, it's very easy to work with. The only thing I had to play with was finding suitable method for making it "fall" like snow. Out of the shaker bottle is not too realistic of an effect. I got one of my wife's old make-up brushes to load up with it and lightly tapped on it over the model to make it "fall" with a realistic look.
Also I mixed the Woodland Scenics Snow 50/50 with corn starch to add a more of a fluff.
...and yes, it's permanantly attached via hair spray.
OCT 07, 2002 - 05:47 AM
Ken,
How do you apply the hair spray, before the snow as a fixative, or after as a sealant? Doesn't the hairspray leave an overall glossy finish?
OCT 07, 2002 - 07:26 AM
After, as a sealant. No shine after. Use a "pump" type spray, as an aerosol type will blow the snow away!
OCT 07, 2002 - 10:13 AM

great job! I am winterizing a sherman right now and your article has helped alot!Thank you!
APR 02, 2003 - 12:50 PM

Very good article, very nice job and great visual efect. Congratulations.
APR 02, 2003 - 02:18 PM


Heck! Must be the winter of whited out Sherms... Yup, I'm working on one also, and has been an ongoing thing for about 2 months on and off. Kinda funny discovering ideas I have found out thru trial and error have been mimicked by far more experienced modellers and made into an article! Have been using some other articles, and it's interesting to find the different (if only slight) takes on the same theme... I'm all talk at the moment, but promise to have some darn pics up and running soonish... Great job though Kencelot!~
SEP 10, 2003 - 10:15 PM
Copyright ©2021 by Ken Fortier. Images and/or videos also by copyright holder unless otherwise noted. The views and opinions expressed herein are solely the views and opinions of the authors and/or contributors to this Web site and do not necessarily represent the views and/or opinions of Armorama, KitMaker Network, or Silver Star Enterrpises. All rights reserved.

WEB HOSTING BY


Copyright ©2021 Armorama and Kitmaker Network, a subsidiary of Silver Star Enterprises
All Rights Reserved. Please read our Conditions of Use and Privacy Policy.
All Rights Reserved. Please read our Conditions of Use and Privacy Policy.