

1⁄35Panzerkampfwagen II 'Luchs'
1
Comment

introduction
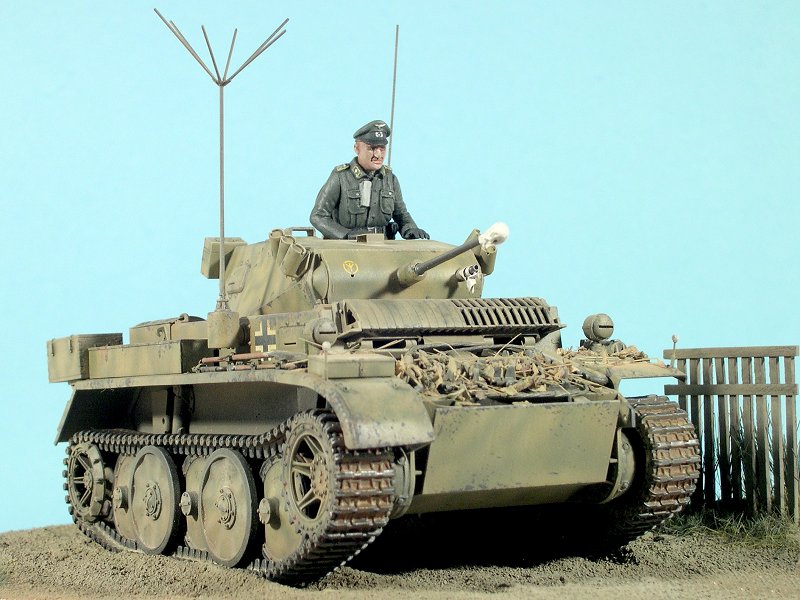
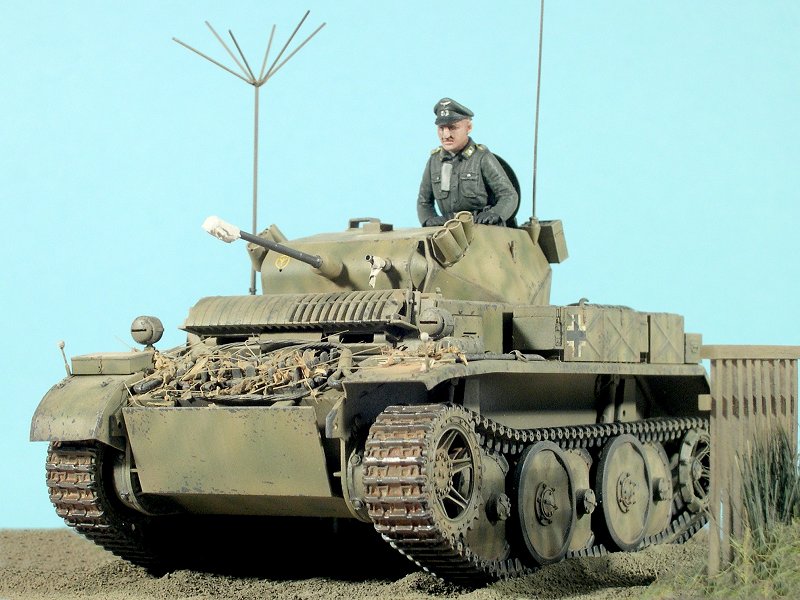
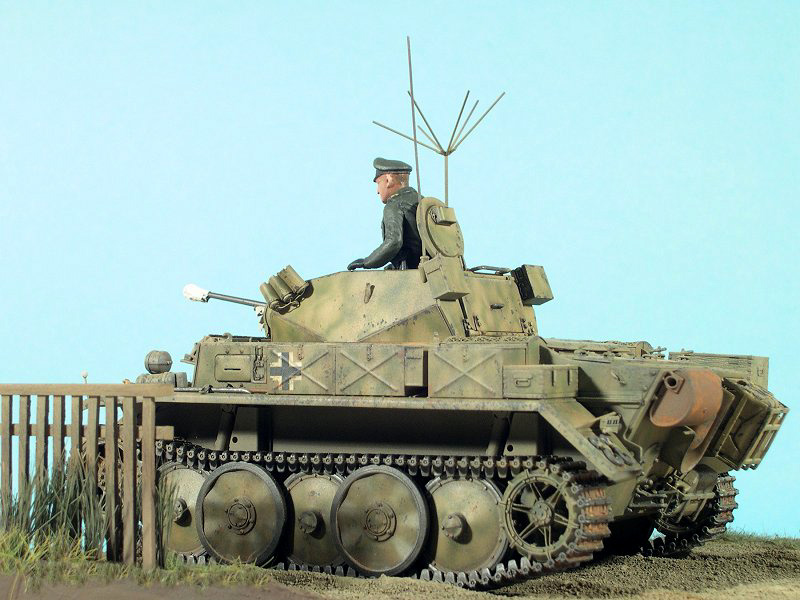
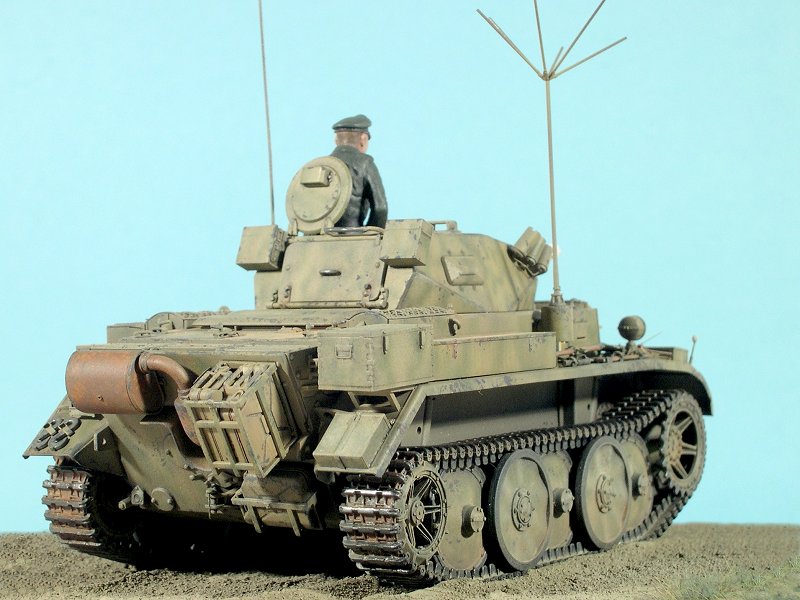
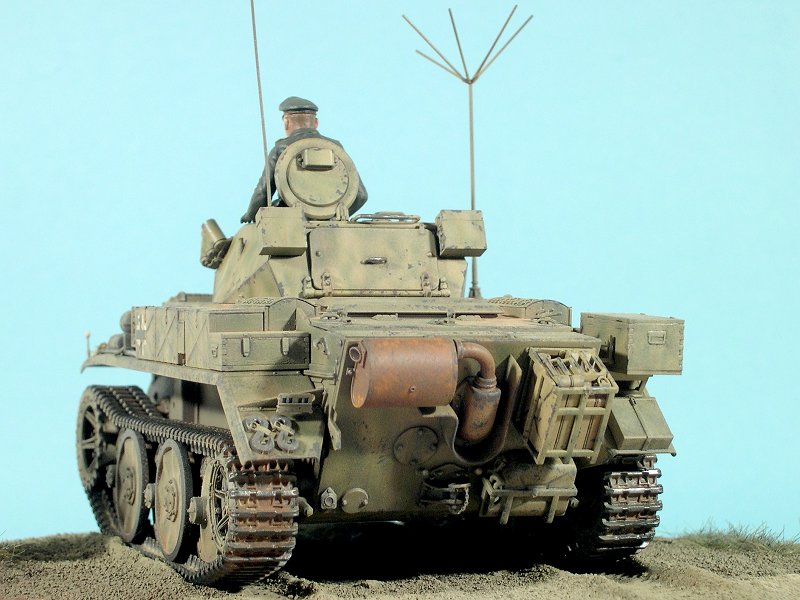
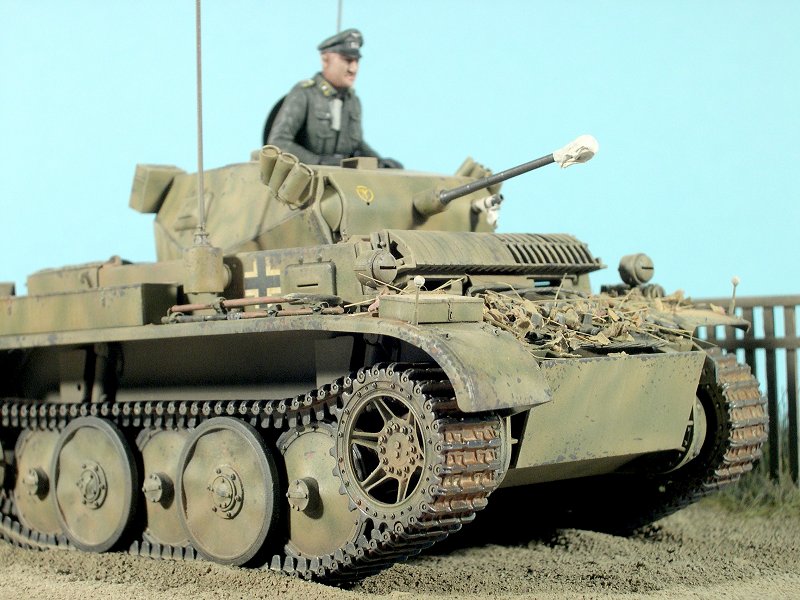
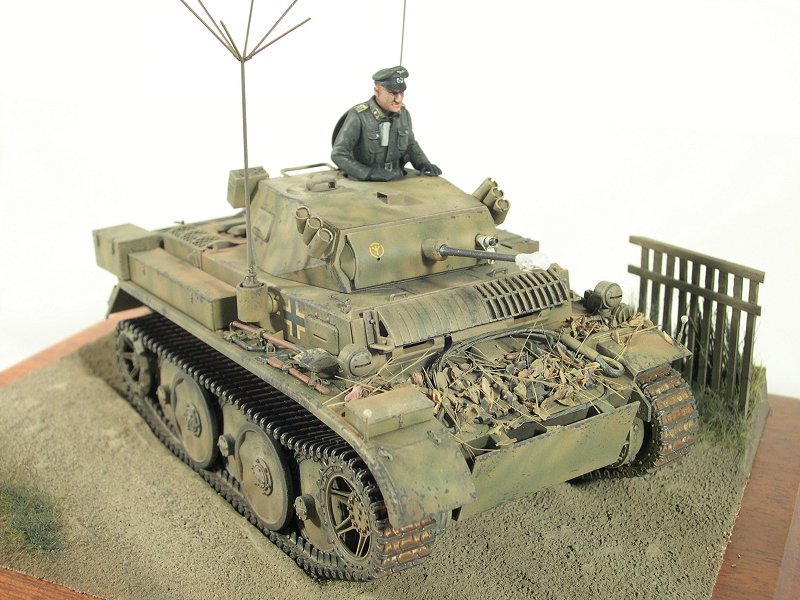
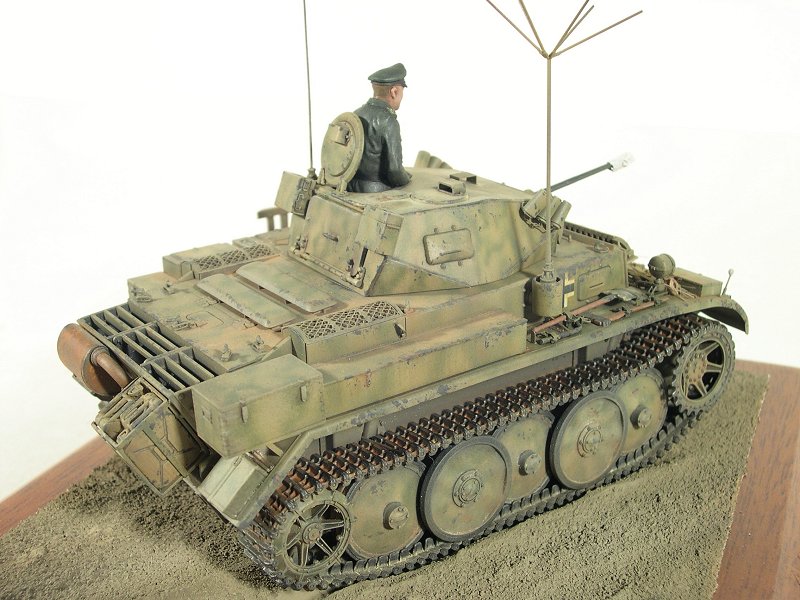
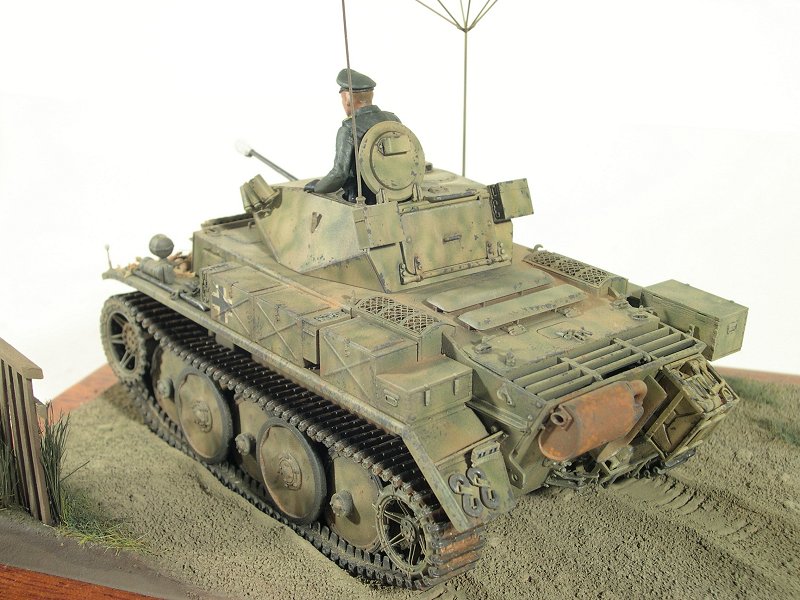
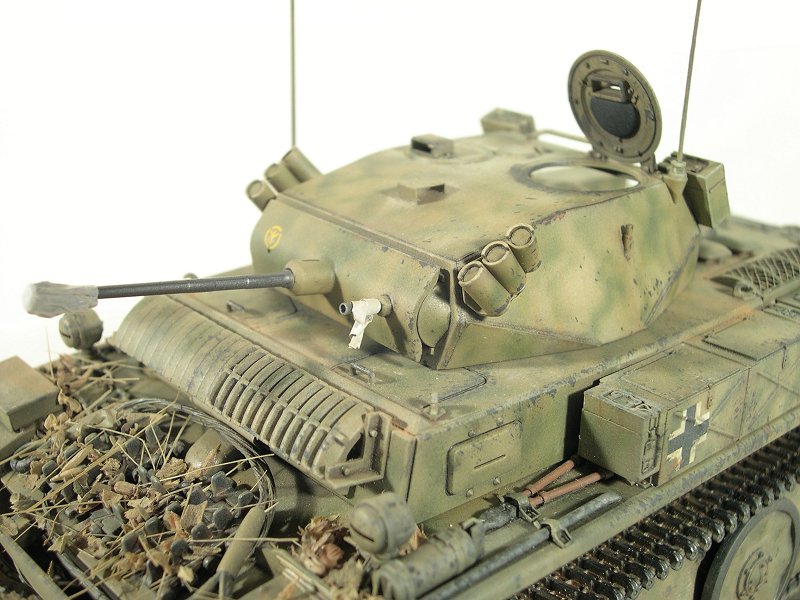
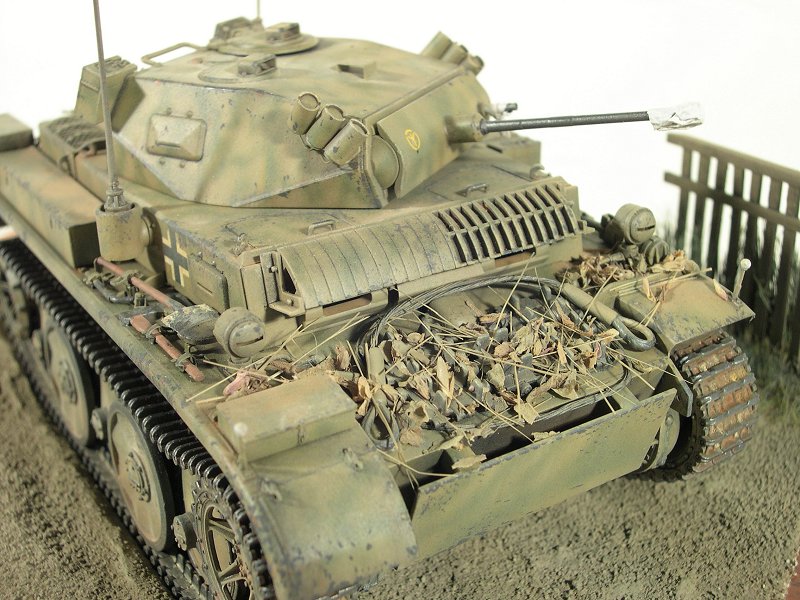
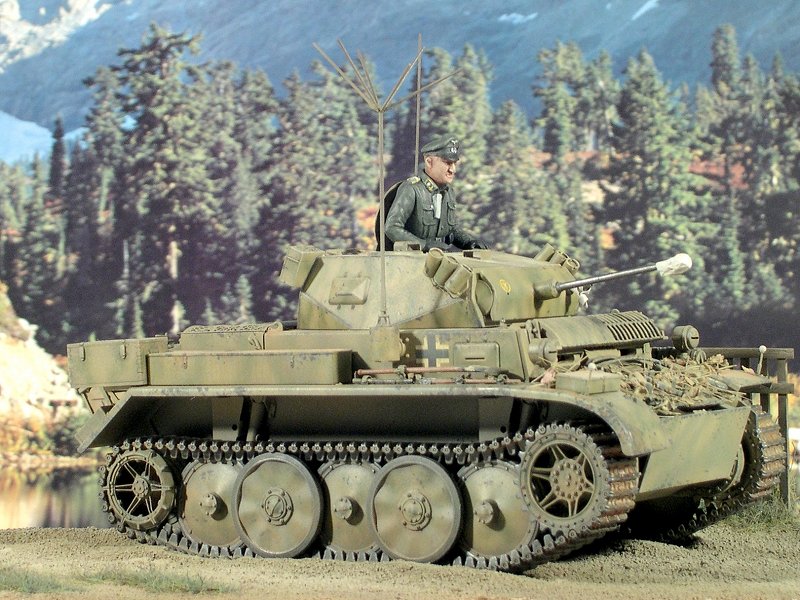
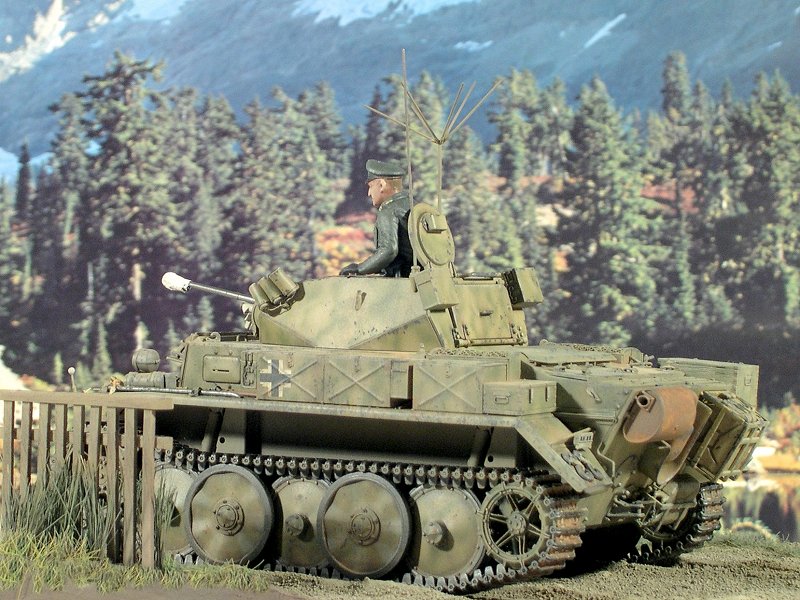
This vehicle represents a Panzerkampfwagen II, Ausf. L Luchs (Sd.Kfz.123), Gruppe Führer, 2.Komp., Pz.Aufkl.Abt. 4, 4.Panzer Division, in Russia, Autumn 1943. The 4th Panzer Division was one of two Divisions that received a Reconnaissance Battalion completely equipped with the Panzer II Ausf. L Luchs, of which only 100 units were produced. At the end of October 1943 there were 27 operational vehicles in the 2nd Kompanie of the 4th Reconnaissance Battalion (Pz.Aufkl.Abt. 4). The commander vehicles of section, platoon and company (the case represented by the model) were equipped with an additional radio set FuG12 and a star antenna. Several vehicles presented an additional armour plate on the hull front and several curve pieces on the top of the vehicles hull. These pieces were parts of the idler wheel which uses 6 of them. Despite its relatively thin armour, and 20mm gun, the Luchs played an important role in the battles fought by 4th Panzer Division, particularly during 4 months around Kurland in 1944. They were often used as standard tanks supporting small infantry units during offensive actions. The Luchs fought with 4.Panzer Division from 1943 till 1945, retreating from Russia to Kurland ending in Danzig.
Building the model
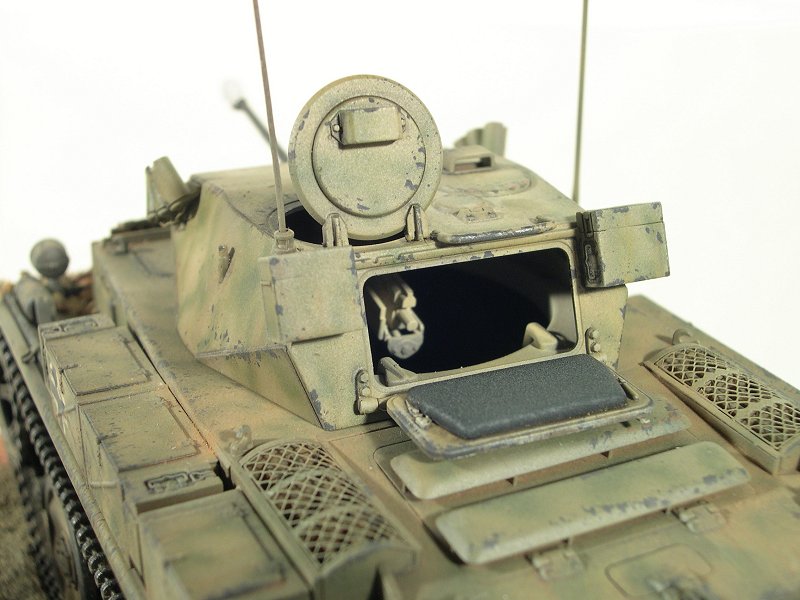
This is the Tasca kit that I added some details to. Parts of the tools were replaced and all of them received separate clasps and supports. I made the cable and added its ends, built and added the width indicators, I carefully detailed the hinges for the front track guards, and added the lights cables, etc. I also added the fine cables for the smoke dischargers and added a chain and pin for the rear towing device. In addition, all the hatches were made workable and a new antenna was added. The top parts of the star antenna were replaced with fine wire too. The single front track guard was bent a little to match the original photo and then I added some small leaves on the front of the hull as per the real one.
finishing
After the application of a base coat with pre-shadings, I give some lights with the aerograph. Then I applied the green camouflage trying to match what was possible from the original photo, after which I gave a clear varnish layer, everything enamel following the decals. Then, an oil wash (black and burnt sienna) and after that some oil filters (ochre, white, burnt sienna, raw umber, or others) working in sections. After the previous steps I started to apply one technique that I called "Drained", which is a development that I made of the several colours little oil points technique, vertically spread in the inclined surfaces of the model. Next the model received a matt varnish coat. The next step was to add some small scratches using a scotch-brite pad, which allows you to create many small random dots representing the scratches and some peeling of the paint. I also added some small traces of a lighter base colour near some scratches to simulate parts of the scratch that are not so deep. Next step was the details painting (normally with oils mixed with enamel and turpentine for satin finishes or enamel solvent for mate finishes). I gave then a dusting layer with enamels with the airbrush insisting on the lower parts, and finally I used Mig Pigments for several effects of dirt, dust and oxidation.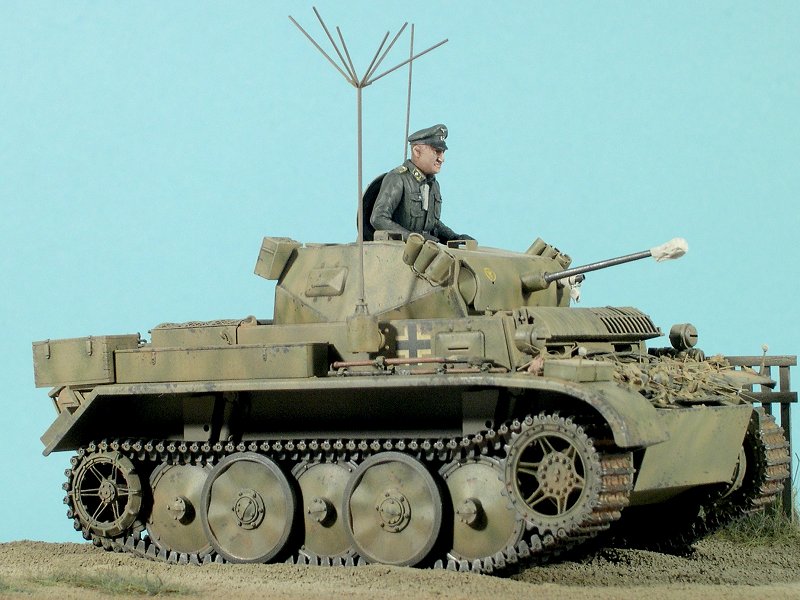

Copyright ©2021 by Luis Alho. Images and/or videos also by copyright holder unless otherwise noted. The views and opinions expressed herein are solely the views and opinions of the authors and/or contributors to this Web site and do not necessarily represent the views and/or opinions of Armorama, KitMaker Network, or Silver Star Enterrpises. All rights reserved. Originally published on: 2006-07-01 00:00:00. Unique Reads: 13982

WEB HOSTING BY


Copyright ©2021 Armorama and Kitmaker Network, a subsidiary of Silver Star Enterprises
All Rights Reserved. Please read our Conditions of Use and Privacy Policy.
All Rights Reserved. Please read our Conditions of Use and Privacy Policy.