1⁄35Making Barbed Wire
Well here it is, an article on making barbed wire No the
idea isn't mine. I can't quite remember where I read about it
first. Perhaps it was a book or maybe a newsgroup. Since I haven't seen it
documented with pictures before, I've decided to write this short
article. Here are the steps I take to make barbed wire:

|
| First off, I gather my tools. As you can see there aren't many of them. I use a 34 gauge soft wire, two colors of paint, paintbrush , super glue, pair of wire cutters and a toothpick. |

|
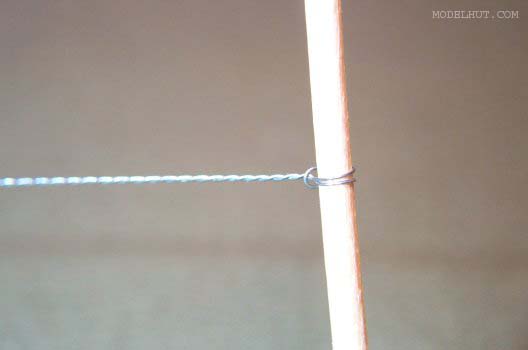
| I start by cutting a long piece of wire. I then fold it in half and tie one end to the toothpick (used as an anchor) and the other end gets tied to a weight (in my case it is a screwdriver). The screwdriver is used to twist the wire. I twist it until I am satisfied with the size of the twists. |

|
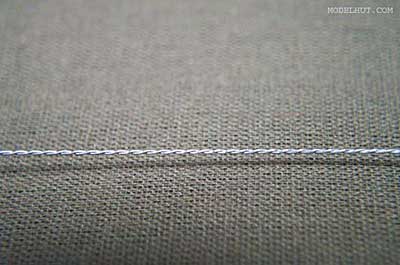
| Here is the wire after it has been twisted. It is now ready to receive the barbs. |

|
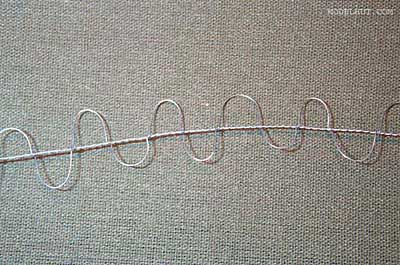
| The way I start to make barbs is to cut a single strain of wire. I then loop it around the two twisted wires making small coils. I usually loop the wire 2 1/2 times every 1/4 of an inch. I would prefer to do it every 1/8 of an inch but my hands are too big for that. Once all the loops are done I apply a little bit of super glue to each of them to hold them in place. |

|
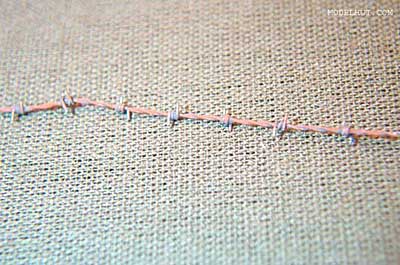
| Next I start to snip the looped wires. Now the barbs start to take shape. |

|
| When all the excess wire has been removed the whole thing gets a paint job. First with a Tamiya's German Grey and then with a wash of Burnt Sienna. |

|
| Here is the final product. |
Copyright ©2021 by Marty. Images and/or videos also by copyright holder unless otherwise noted. The views and opinions expressed herein are solely the views and opinions of the authors and/or contributors to this Web site and do not necessarily represent the views and/or opinions of Armorama, KitMaker Network, or Silver Star Enterrpises. All rights reserved.


