

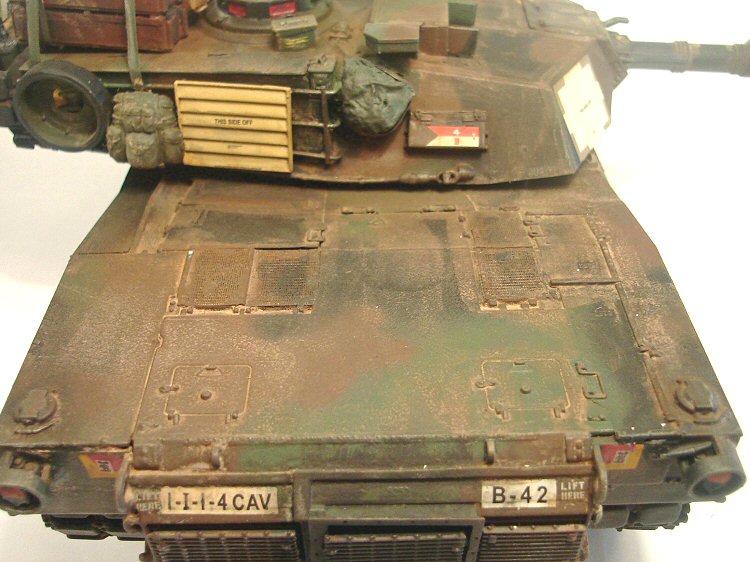
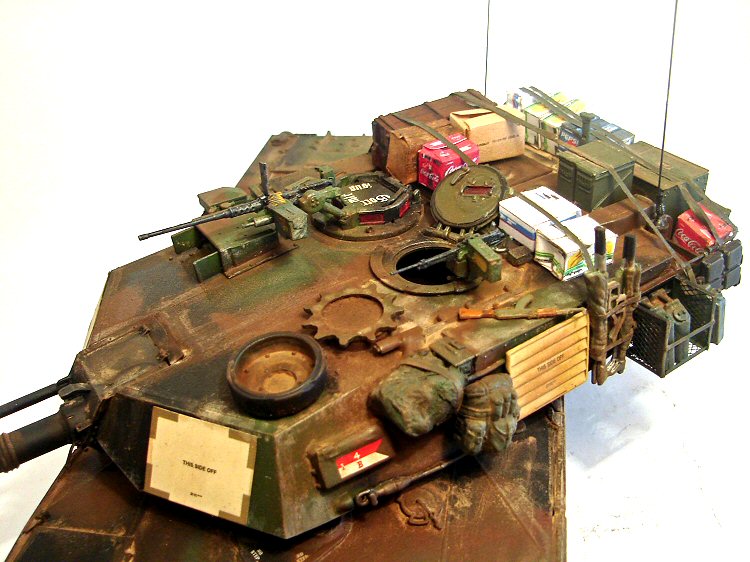
1⁄35M1A1 AIM
6
Comments


About the Author


FROM: REGION DE VALPARAISO, CHILE
Active duty Chilean Navy Officer, close to 20 years of service. Happily married and 2 beautiful kids. I´ve been modelling on a regular basis since 1997. Mainly focused in "modern" armor in 1/35, but recently Ive started with WWII subjects as well. Particularly keen on NATO and Chilean Armed Forces ...
Comments
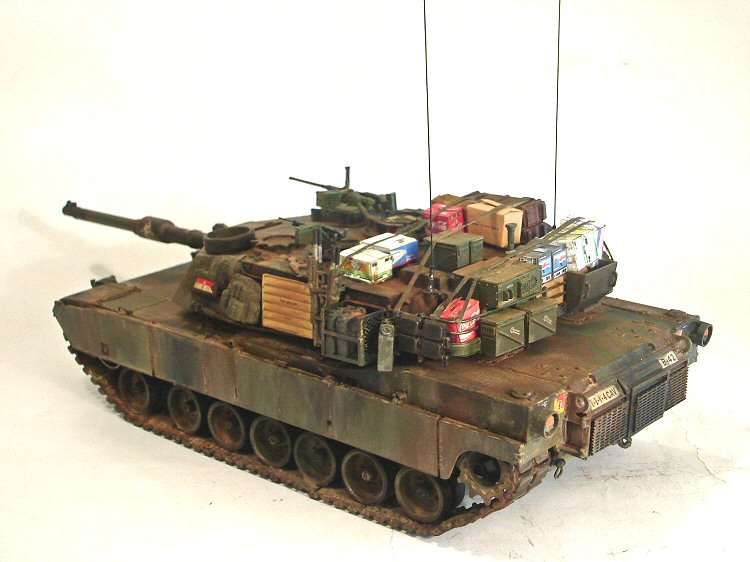
Great build and nice weathering!. Nice the see an Abrams in other colours than sand :-) :-)
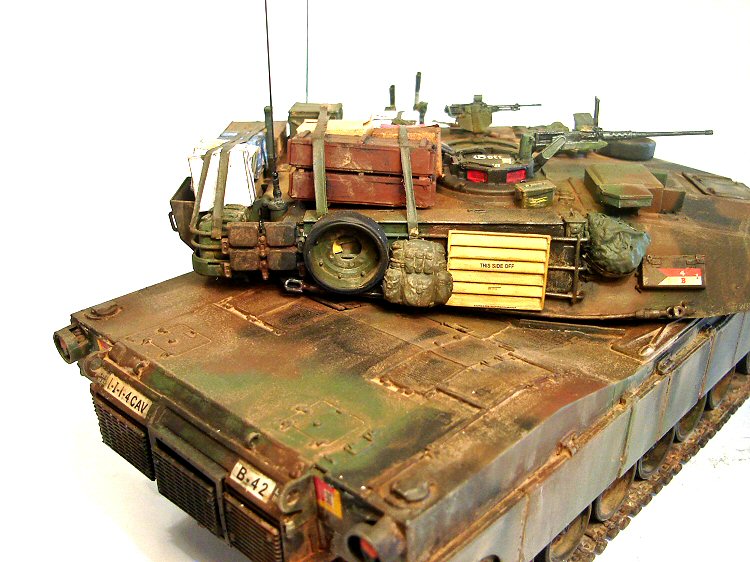
The marking on the barrel of the WWII German "ghost" panzer division - is that something you have made up yourself or has some of the US forces actually painted this symbol on the barrel of their guns?
FEB 07, 2007 - 03:53 PM

Thanks for posting it Jeremy
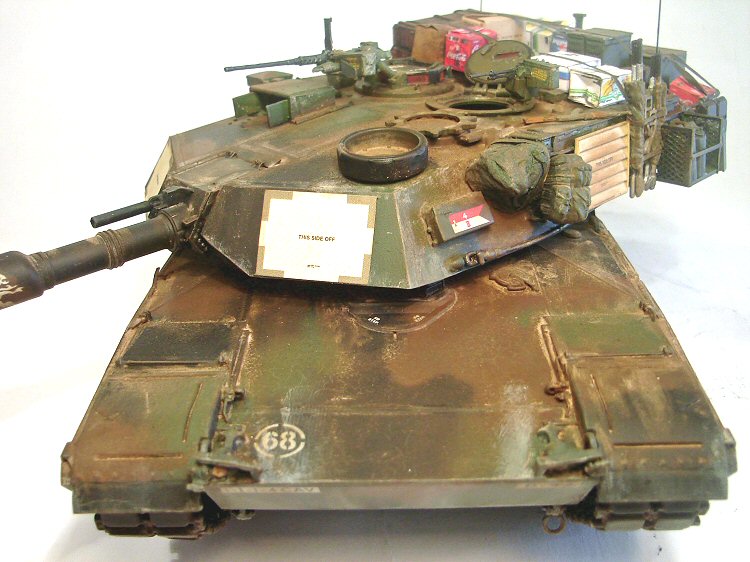
Thanks for your comments Jesper, the simbol it´s included in the kit for the version I build, I think that gaved the Abrams a different and cool look with it, that´s why I use it.....and the "gott mit uns" on commander´s hatch, and the little Mickey Mouse in the rear plate
Cheers
FEB 07, 2007 - 08:17 PM

Jeremy-- tell us about your weathering techinique. Quite impressive workmanship.
DJ
FEB 07, 2007 - 08:22 PM
Not Jeremy, but as the actual builder I can give a better answer I think :-) just a joke...
On a more serious approach to your question, this is the process I followed:
After the paint, considering dry brushing with gun metal gray colour, I gaved the model a general wash with very thinned artist oils, a little more concentrated mixture of the oil and it solvent was used to enhance depth. I made a little mix of MIG pigment standard rust and water and apllied it to the tracks. After that, a regular aplication of classic chalk pastel and MIG Pigments all around. Finally, some located used of the Tamiya weathering stick diluted with a little water.
As you see, nothing fancy, just mixing the weathering techniques learned here and there....to cover the issues of the build
Thanks for you comments DJ, I truly appreciate them.
Cheers
FEB 07, 2007 - 08:42 PM

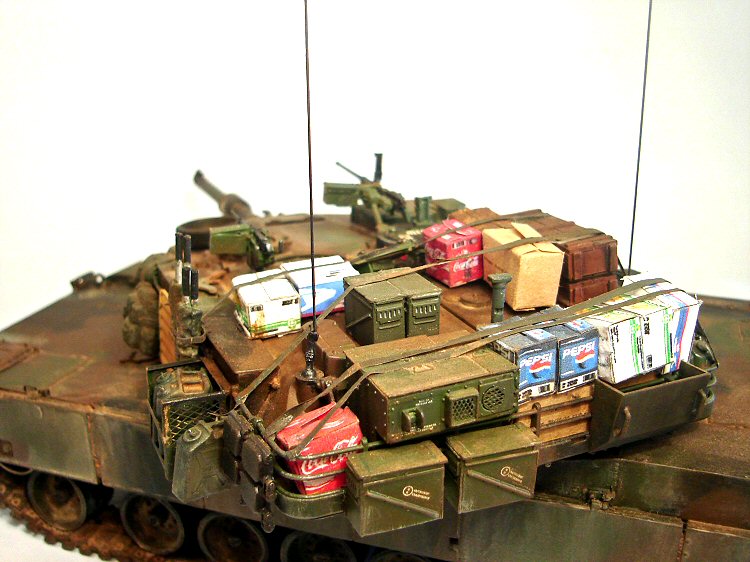
That's a good-looking M1A1 you turned out, Klaus! I missed the end of your build in an earlier thread, so I'm glad I finally got to see it. It turned out great! The weathering is very well done, and I like the stowage a lot. Make sure to post pictures of the diorama it will be part of when you finish it.
FEB 08, 2007 - 07:22 AM
Copyright ©2021 by Klaus Eberl. Images and/or videos also by copyright holder unless otherwise noted. The views and opinions expressed herein are solely the views and opinions of the authors and/or contributors to this Web site and do not necessarily represent the views and/or opinions of Armorama, KitMaker Network, or Silver Star Enterrpises. All rights reserved. Originally published on: 2007-02-08 00:00:00. Unique Reads: 9913

WEB HOSTING BY


Copyright ©2021 Armorama and Kitmaker Network, a subsidiary of Silver Star Enterprises
All Rights Reserved. Please read our Conditions of Use and Privacy Policy.
All Rights Reserved. Please read our Conditions of Use and Privacy Policy.