

1⁄35Roaring Tiger
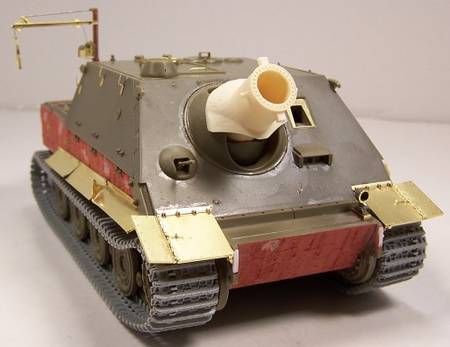
Fighting Compartment
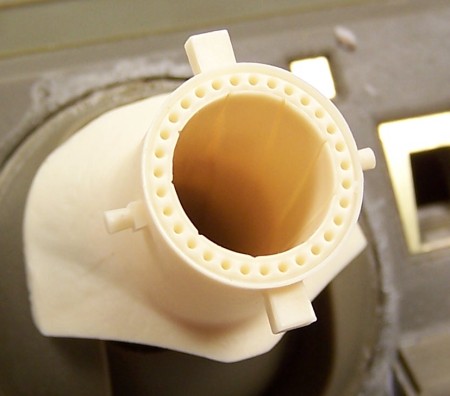
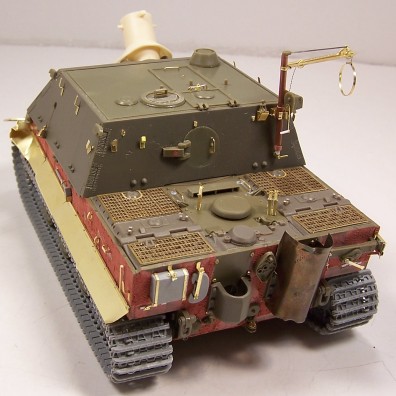
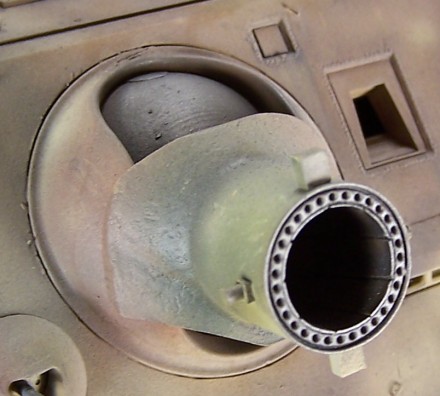
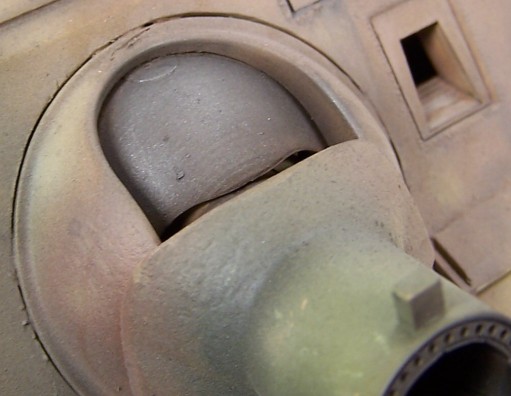
Starting in step 12 began the assembly of the box compartment. The Voyager set provided a resin barrel and mantlet to replace the kit part and it is superbly detailed, including the rifling. Care was required in the barrel assembly as Voyager has parts SE4 facing the wrong way in the instructions. Another problem exists for part SB19, the outer ring should be flush with the front armor plate instead of raised as it appears in the instructions. Since the interior was not going to be seen on the finished build, I skipped adding the interior details. Maybe in the future someone will produce an interior set for this model to fill up the inside?In Step 15 there are two options for the Kugelblende MG mount provided as parts in the kit, however the instructions do not call this out. Part SB21 represents the earlier type, while SB20 is the later type. In addition, Step 16 calls for the installation of the drivers vision port part SB23. This is correct for the late type, but if modeling the early its necessary to add a brace in the center between the ports. Also, part SB22 is supposed to be a glass vision block though the part represents only the frame. I added the glass using clear styrene, doing the same for the scope, part SC35, later on in step 18. Before mounting the box to the hull, I referred back to all of the Voyager instructions since some holes and ridges needed to be filled before adding the etched parts. This task was much easier with the box separate from the hull to allow easy access for sanding and filling. I double-checked which parts were to be replaced with photo etch and made sure to add them only after mounting the box. This helped keep them out of harms way while handling the model when joining the hull and compartment.
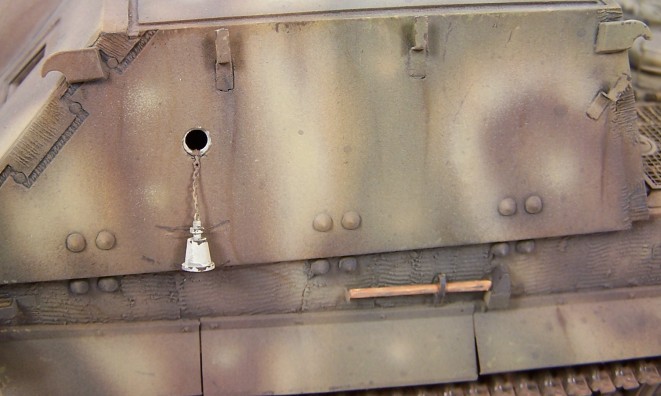
I also installed the roof, part SD1, before adding any details to it. I encountered a slight fit problem which required some sanding to fit. The roof installation was a bit tricky. Inside the box, there are no tabs to keep the roof from being pushed all the way inside so it had to be eased into place a bit at a time. I attached the chain for the pistol port plug since its much easier to attach before the box is mounted to the hull versus after. Once the box was installed, I started adding the small details working from the ground up to avoid knocking anything off in the process. I quickly discovered that once I started to add all the photo etch, there wasnt a whole lot of room left to hold the model.
Additional Details
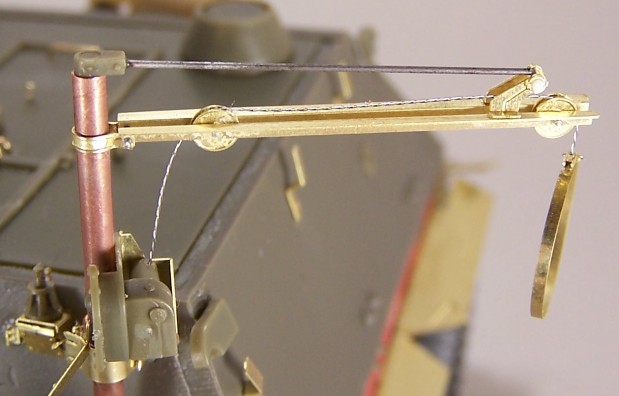
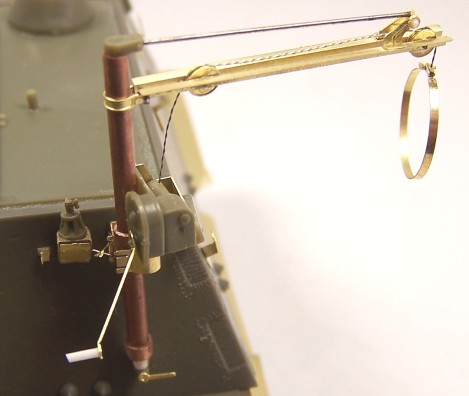
Some of the Voyager parts proved very difficult to assemble and without a good deal of experience can be difficult to get right. This was especially true with the ammo hoist since most of the AFV kit parts are replaced with the Voyager items.To start with, I replaced the post using copper/brass tubing. This wasnt strictly necessary, but it was a simple improvement over the kit item. Strangely, both the AFV and the Voyager instructions leave out part SC37 altogether in the assembly process. This is the cable reel, an essential part, and it needed to be mounted to AFV part SD24. I decided to drill a tiny hole for the cable to go in even though the option to just wrap the cable around the real is there as an alternative method.
After assembling the hoist reel and crank, the Voyager instructions show the mounting brace for the pulley assembly. Though its not numbered, this should be part C32 and is where parts B75 &76 mount to. This revealed another error, Voyager parts B75 & B76 need to be swapped to achieve the correct arrangement. To ease the assembly of the pulley system and arm, I started with small gauge wire to fit the holes in the pulley wheels making a "U" shape with the wire the same length as the arms and threaded the wire into the parts in the order B75, C5, C16x2, C5 one set on each end of wire and last B76. Then I added a small drop of CA to the wire and cut the remainder off. Once assembled, this was all attached to part C32. Before I added part SD14, which I replaced with rod, I needed to add the cable and wrap it around the pulley wheels. This was glued in place and then the support arm, part Sd14, added.
Conclusion
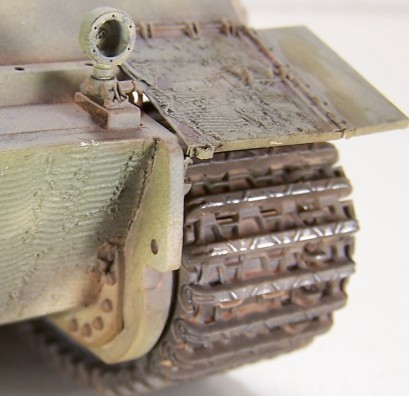
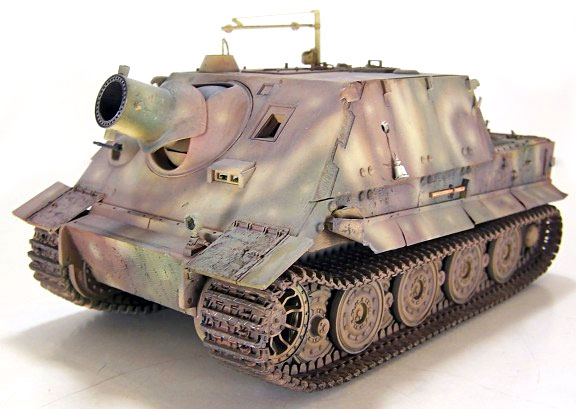
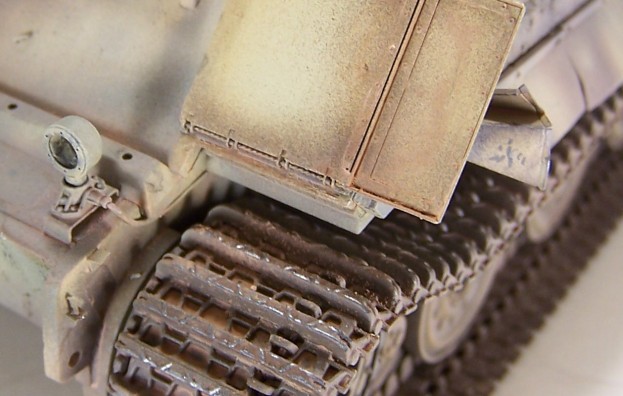
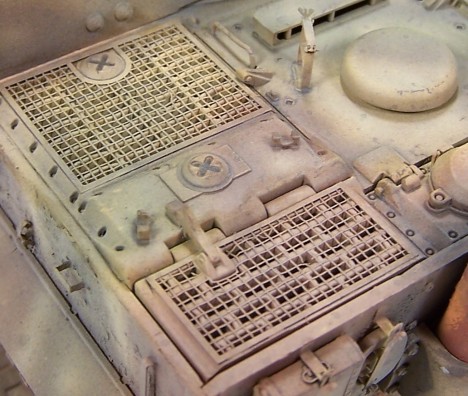
After completing this project, I was very pleased with the added detail that the Voyager set provided. I cant say I would have been completely satisfied if I had built the AFV kit straight out of the box. However, if youre just getting started in armor kits, the AFV Sturmtiger OOB would be an excellent kit for starters. The assembly of the kit, with the exception of the engine deck, was straight forward, and rather simple. The details provided are very nice and with the kit photo etch grill screens can make a fantastic OOB build. On the other hand, those wanting to take the kit a step further may want to replace the rubber band tracks with better individual links as I did. For anyone with a good deal of photo etch experience under their belt, the Voyager set in my opinion is a must have and will take the kit to the next level easily.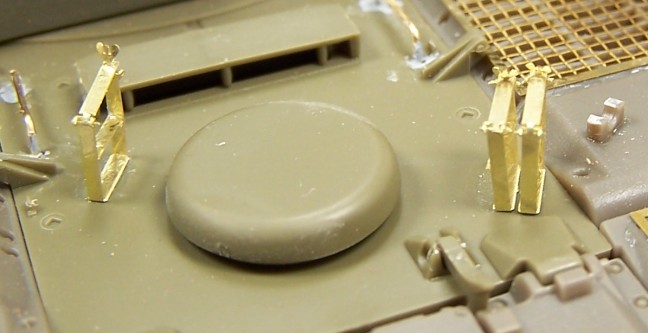


About the Author


Comments


All Rights Reserved. Please read our Conditions of Use and Privacy Policy.