

1⁄35Miliput Sand Bags
5
Comments
introduction
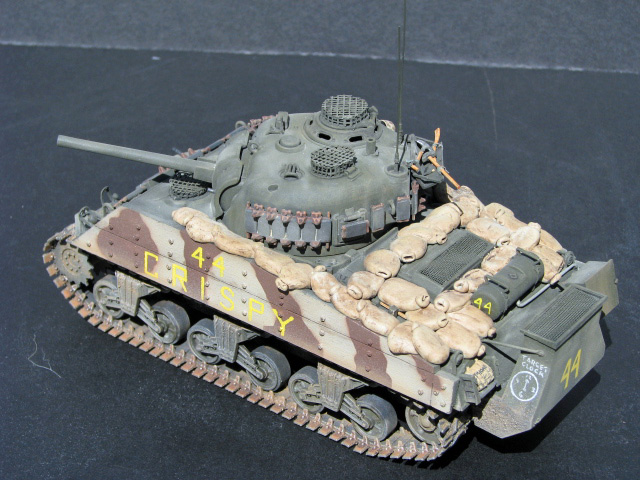
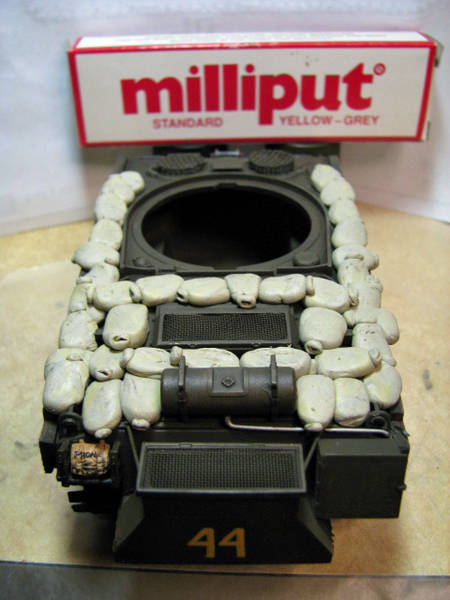
I've had a few people ask me how I made the sand bags for my Sherman, so here it is. I start with Milliput standard yellow-grey. This comes in two sticks that you cut equal parts of and knead together. It helps to keep a bowl of water on the table while working with this product because it does get sticky. The water will lengthen the set up time and cut down on the stickiness while you work with it.making bags
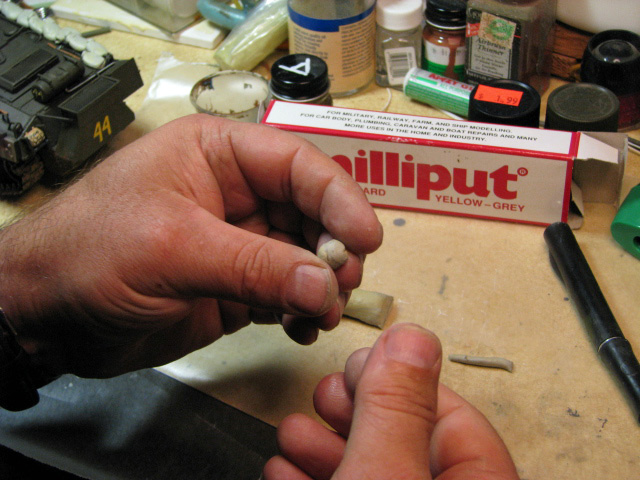
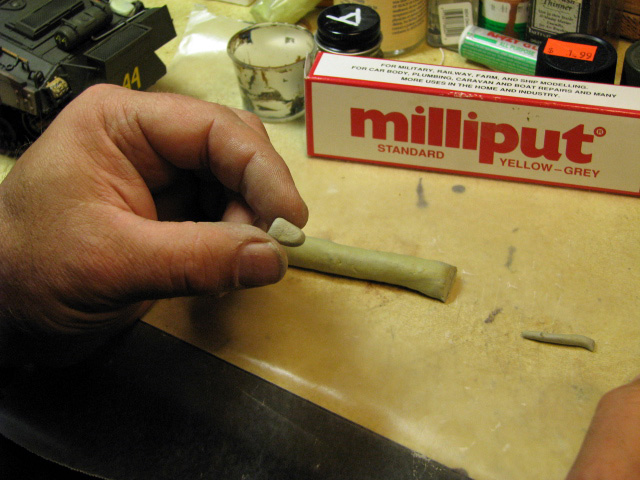
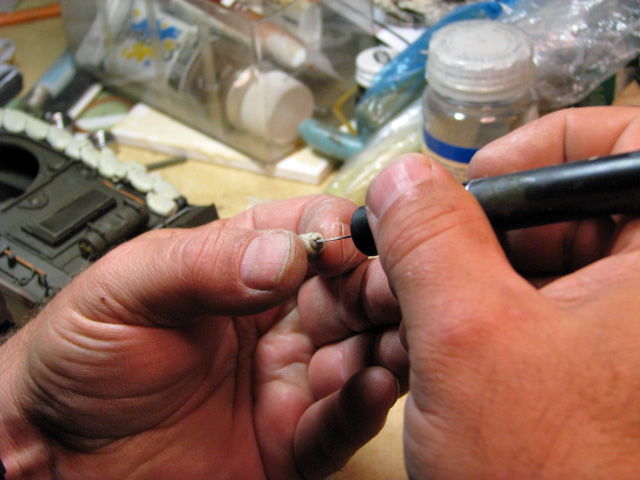
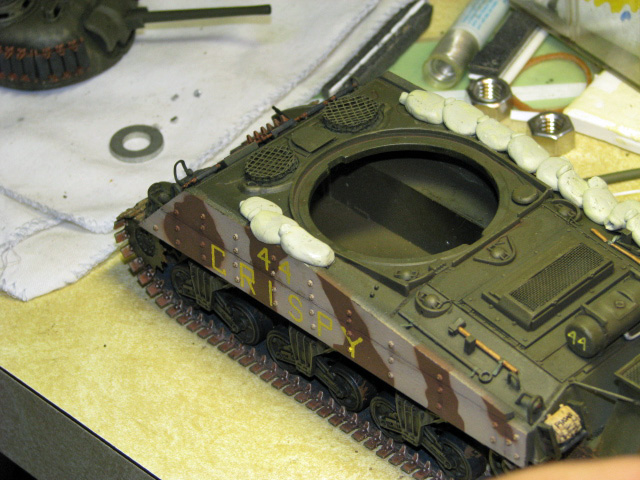
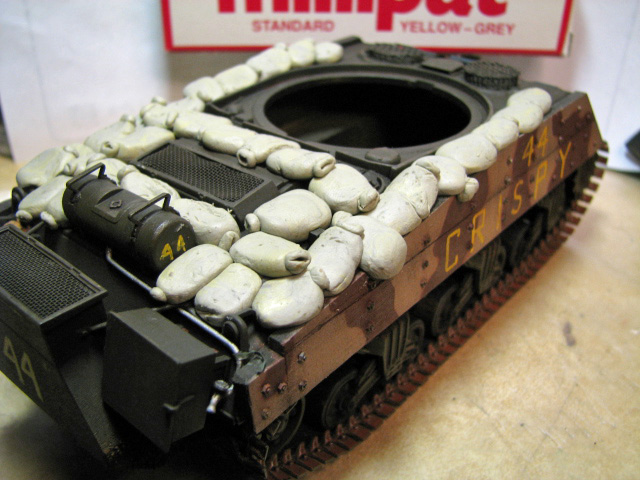
After kneading a roll about 1/2 inch in diameter and another about 1/8 inch you are ready to start. Lay the Milliput down on some wax paper and cut about a 1/16 of an inch off the large roll. Roll this into a ball with your fingers (note the instructions say to wear rubber gloves while working with this product.) Now work it into a triangle shape. Why? Real sand bags are just that, an open-ended straight bag filled about ¾ full of dirt then tied off by strings that are attached to it or by some other means if the string is missing. After tying the draw string it looks like a triangle until you drop it in place. Next cut a 1/16 inch off the small roll. Roll this into a ball and place at the top of the triangle shaped bag. This is to represent the section of the bag that you have tied off. The mulliput is sticky enough that the small ball will stay there. Now take a Xacto knife and make slot in the small ball parallel with the bag to represent the opening. I pressed the tip of the knife in and moved it back and forth to get what I wanted. With this done you are ready to place your sand bag. Dampen a finger on the hand not holding the sand bag so that you can press the sand bag down into place without it sticking to your finger. Place the bag where you want it and press into place with the dampened finger. I dont worry about fingerprints, as the bags should have texture on them anyway. Repeat these steps until you have placed all of your sand bags. Then let them dry over night. I choose to make these bags represent burlap sand bags. Modern day U.S. sand bags are olive drab in color, from Vietnam through today, and they are no longer made of burlap, they are woven nylon. Other countries will have different material and colors so check references before painting. For these bags I painted them with Tamiya acrylic Buff. I used acrylic so that it would not react with the oil wash to come next. After the paint dried I applied a wash of very thinned Vandyke brown oil paint. I let the paint flow over the entire sand bag and crevasses. Making sure paint got in the small slot that I had made with the Xacto knife. It takes a long time for this oil wash to dry so you can work it with a dry brush to get the effect that you want, more brown or less brown. After this dried I coat it in a flat clear coat and dry brushed the Buff to add highlights. There you have it. It is probably best to do a few test ones to get the size and amount to use solution down before tackling a sand bag bunker. Also the materiel that I mixed started getting to dry to work with close to the end off my project even with adding and knead more water into it. Be sure to experiment and have fun!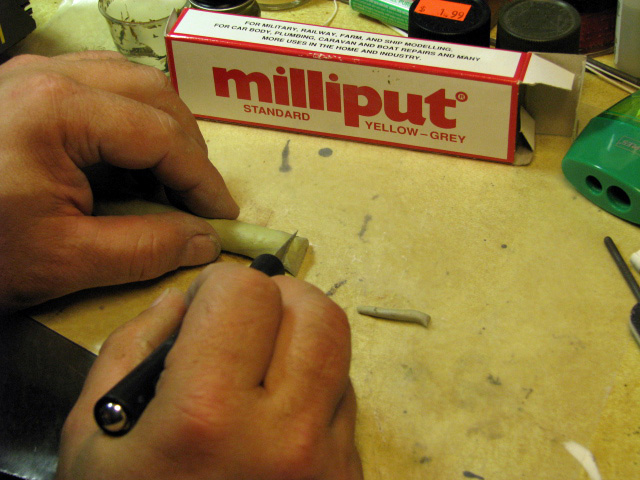


About the Author


FROM: CALIFORNIA, UNITED STATES
USMC retired 1979-2001. I was an 0351(Anti-tank/assualtman), 1811 M60A1 Tankcrewman, 5963/79 Tactical Data Systems Tech. Now work for the FAA as a NAVAIDS/COMM tech. Modeling semi seriously since 1995. I mainly do 1/35 USA armor and 1/72 scale USMC aircraft.
Comments

I've heard of this method before but never came across an SBS as detailed as this. Well done and thanks for the tips. Now it's time for me to dig out the milliput!
Chas
NOV 19, 2007 - 12:01 PM
A good article, but he says that sand bags aren't made from burlap anymore. Not true. I was still drawing burlap sand bags from supply when we crossed the berm into Iraq. They might be phasing them out, but they are stil out there. Once again, good article. "Q"
NOV 20, 2007 - 01:59 AM


I've heard about this use before, but never seen the finished sand bags. I like what you did and your step by step instruction will aid me greatly when I attempt to model some. Thanks!
JAN 30, 2008 - 03:39 PM

Hello!
Well, this is something that i can imagine very well, because the world before the modeling in my life was made of plasticine figures, houses and vehicles. I think that another way to make real-looking sand bags is to give them just a pillow-shaped form - without shaping the top of the bag, aslo ithe form of the bags may be uneven if you like. Then you can add to the Miliput bags the texture using some cloth with sharp pattern - maybe silk or nylon. Just press the cloth a little to make a print marks on the sandbag. I don't know the features of Miliput substance, but for me it looks like plasticine.
JAN 31, 2008 - 12:50 PM
Copyright ©2021 by Don Franklin. Images and/or videos also by copyright holder unless otherwise noted. The views and opinions expressed herein are solely the views and opinions of the authors and/or contributors to this Web site and do not necessarily represent the views and/or opinions of Armorama, KitMaker Network, or Silver Star Enterrpises. All rights reserved. Originally published on: 2007-11-19 00:00:00. Unique Reads: 31436

WEB HOSTING BY


Copyright ©2021 Armorama and Kitmaker Network, a subsidiary of Silver Star Enterprises
All Rights Reserved. Please read our Conditions of Use and Privacy Policy.
All Rights Reserved. Please read our Conditions of Use and Privacy Policy.