

1⁄35E 10
5
Comments
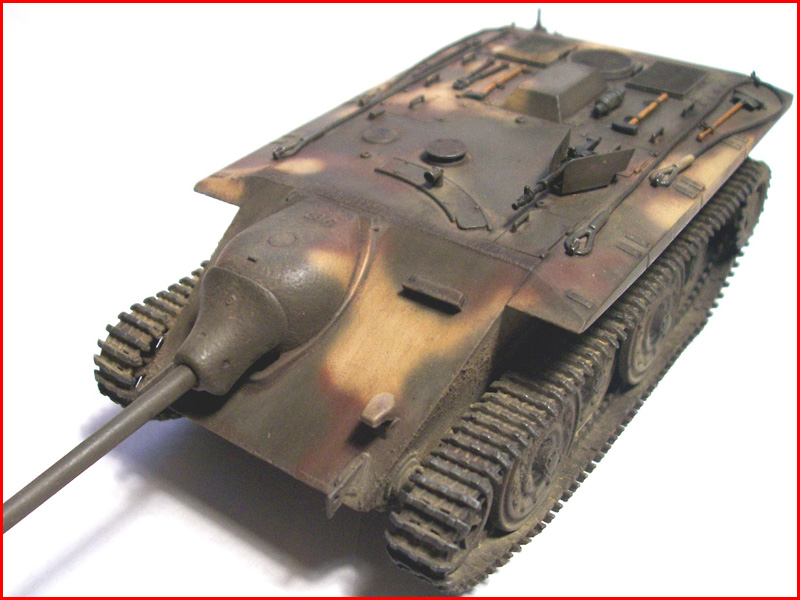
Painting and Weathering
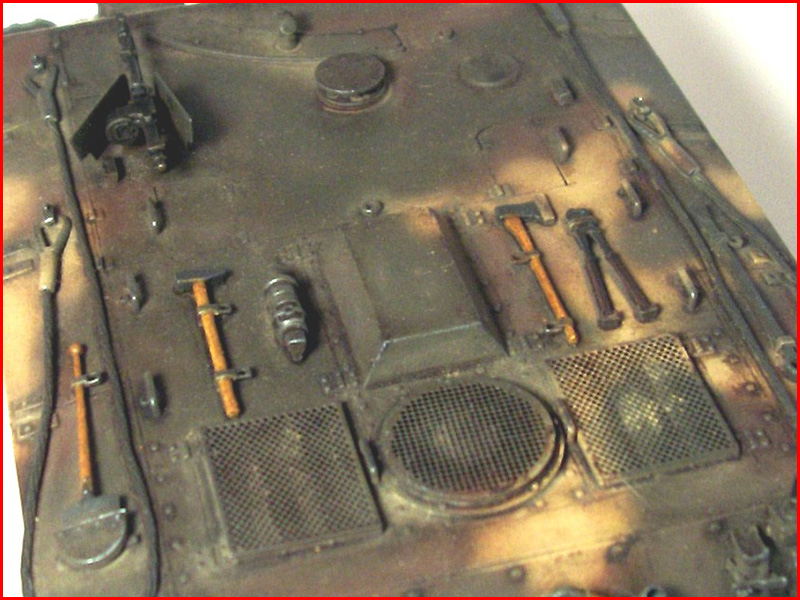
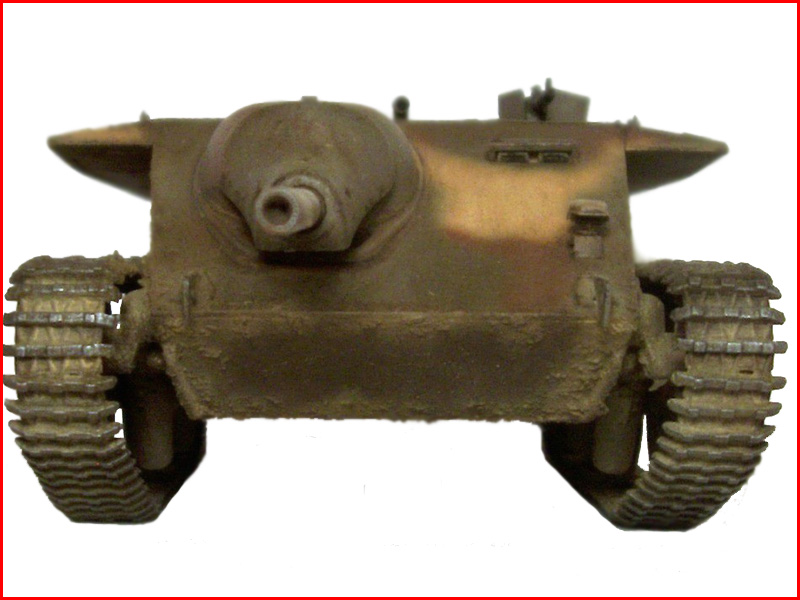
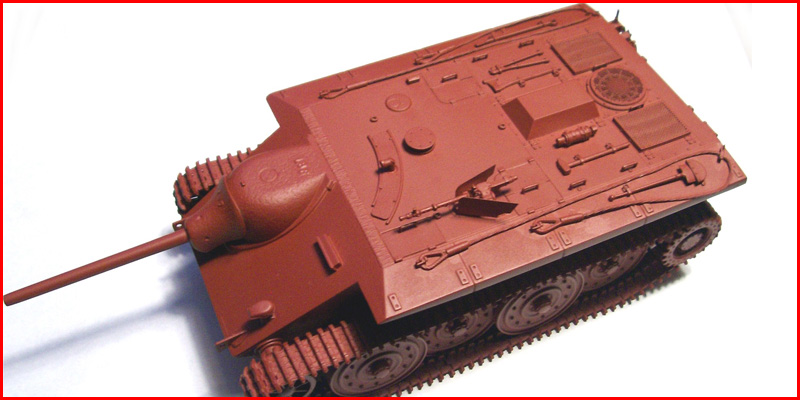
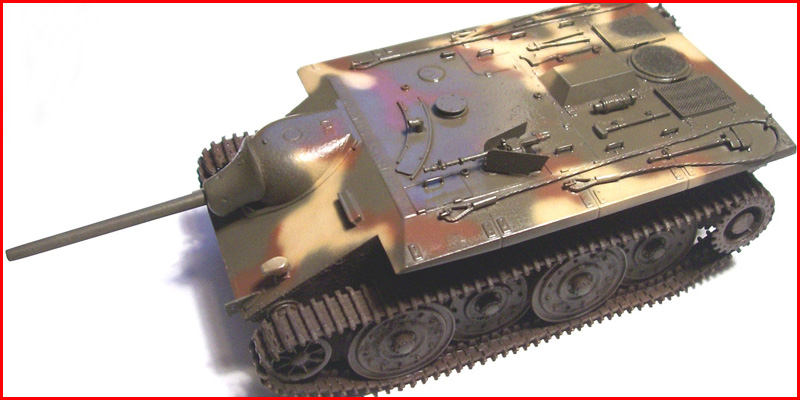
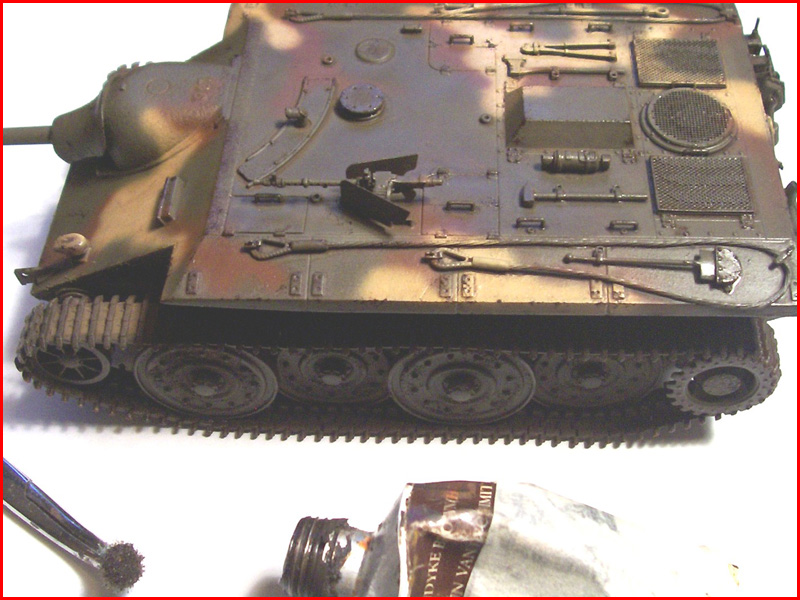
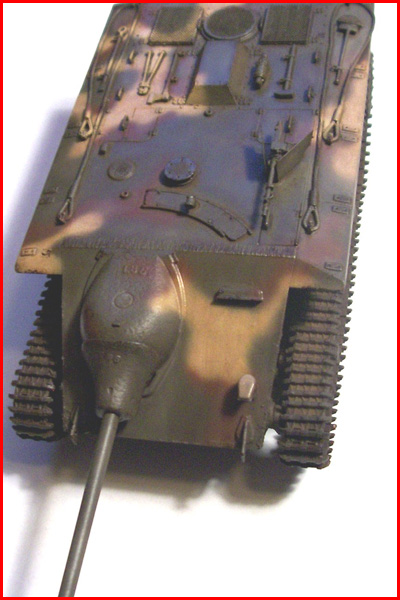
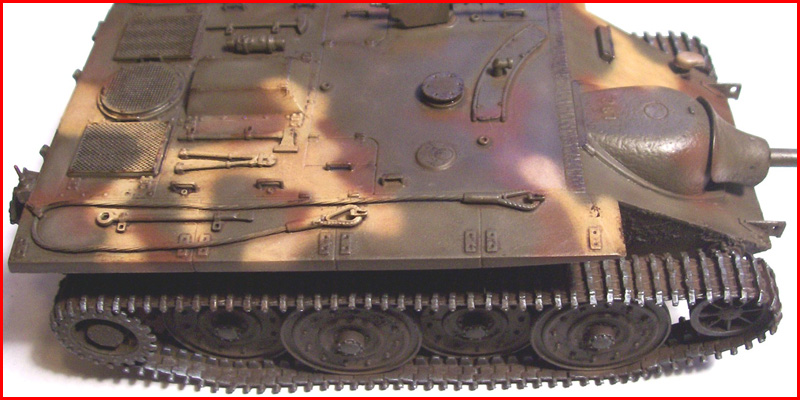
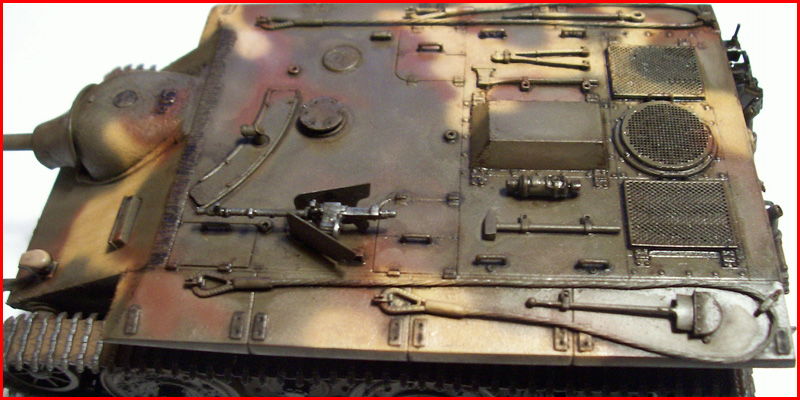
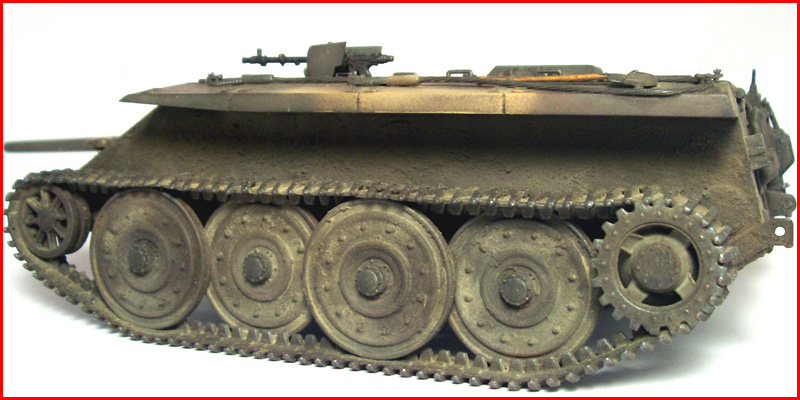
I began painting this model in my usual manner with a red oxide primer, then using Tamiya acrylics desert yellow, khaki drab, and hull red, I applied the camouflage, Once the paint was dry I sealed it with a coat of future. Around the lower hull and running gear I applied some mud texture using Bondo glazing putty stippled on with a stiff brush and then this was painted using Tamiya brown. I then added a little wear and tear using Van Dyke brown oil paint applied with a scrap of sponge and lightly dabbing it on the raised detail, corners, and the edges where paint might get scuffed easily. Many washes followed using combinations of raw umber, Van Dyke brown, ivory black, and white, ranging from an all over sloppily applied washes to precise pin washes, as each wash dried I cleaned off the excess using downward strokes with a clean brush thus creating a streaking effect. on the flat sections I used a cotton bud to clean the excess from the centre of the panels, I continued this until I had the worn dirty look I was aiming for. The tracks received the same wash treatment as the upper hull after which I gave them a dry brushing of shadowed steel. Getting close to the end I turned my attentions to the detail work, the metal parts of the tools were first paint in dark brown then dry brushed with steel to give a worn metal look, for the wooden handles I began with a basecoat of a craft paint stone colour and then using a mix of raw umber, yellow ochre, and burnt sienna, oil paints I added the wood grain by simply streaking the mix down the shafts and working it until I was happy with the look. To finish everything off and tie it all together I used Bragdon pigments dry brushed/scrubbed into the areas I wanted giving a nice dirty used look to everything especially the tracks and lower hull.Conclusion
My overall impression of the kit is high, the instructions are clear and accurate in fact I didnt find a single error, the general fit of the kit is excellent with the small exception of the suspension arms plus the little extra work required on the barrel that I noted, the detail is good and the fact that it includes individual link tracks as well as one piece tracks and Photo etch parts gives it that bit more of an edge. The kit does require a little cleanup and attention to fixing a few knockout marks and sink holes but this was more of a minor inconvenience than a problem so if you are interested in "paper panzers" or just looking for something a little different then this one is defiantly recommended.

About the Author


FROM: TENNESSEE, UNITED STATES
My name is Ron and i began modeling in january of 2005 while off work with knee surgery i have always been interested in the military and 1/35 scale vehicles and armour are my main subjects, i will build just about any brand of kit there is as long as it interests me and i build for my own collectio...
Comments
Great article, Ron. I just build this kit as well for the WWII experimentals campaign and I share your evaluation of the kit. Really great and very modeller friendly.
I have the Trumpeter E25 in my stash and hope it is of the same high quality.
Thanks for your time and effort with the article
FEB 08, 2008 - 11:50 AM
Another top-notch paint job, Ron. I really like it. A handy build report too.
- Steve
FEB 08, 2008 - 02:05 PM

Hi Jesper and Steve, Jesper Steve is just about finished with his E25 and could probably give some good pointers he has it posted in the constructive feedback forum sporting a super paintjob and well worth checking out, thanks for posting guys.
Darren, great job putting this together i appreciate your time and effort very much.
Ron.
FEB 08, 2008 - 08:37 PM

Very cool build Ron--I just got one of these and am wracking my brain trying to think of something "different" to do for a camo scheme!
Another fine looking tank destroyer! Great write up--'ll be referencing it for my build!
FEB 12, 2008 - 02:36 AM
Copyright ©2021 by Ron Goins. Images and/or videos also by copyright holder unless otherwise noted. The views and opinions expressed herein are solely the views and opinions of the authors and/or contributors to this Web site and do not necessarily represent the views and/or opinions of Armorama, KitMaker Network, or Silver Star Enterrpises. All rights reserved. Originally published on: 2008-02-09 00:00:00. Unique Reads: 20779

WEB HOSTING BY


Copyright ©2021 Armorama and Kitmaker Network, a subsidiary of Silver Star Enterprises
All Rights Reserved. Please read our Conditions of Use and Privacy Policy.
All Rights Reserved. Please read our Conditions of Use and Privacy Policy.