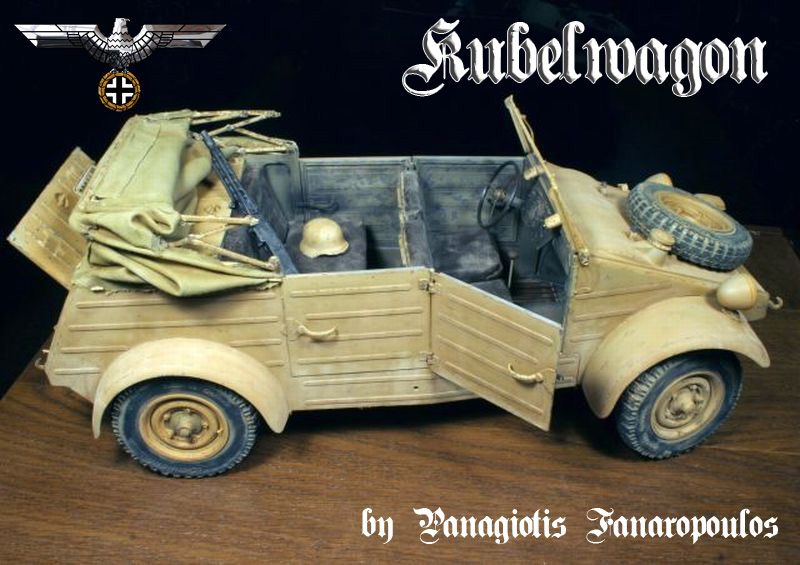
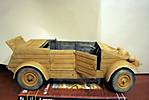
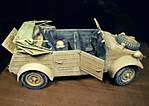
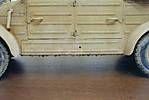
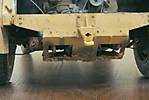
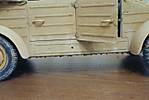
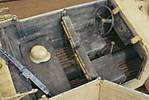
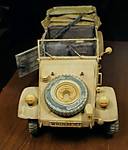
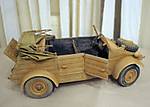
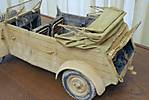
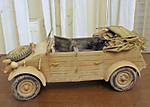
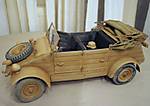
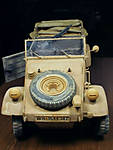
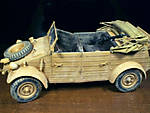
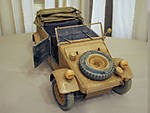
1⁄91:9 Scale Revell Kubelwagen
5
Comments
Introduction
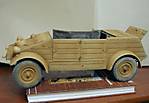
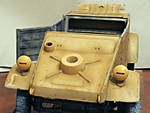
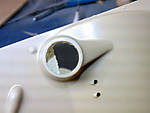
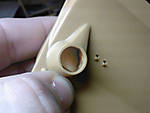
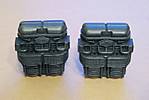
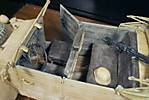
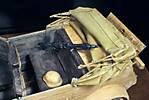
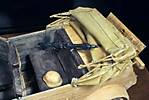
The kit is made by Revell, and is one of thier 1/9 scale series,so its pretty big I would say, so its not for the faint hearted.The fit of all the parts is very good, it has very good detail all round, however in certain stages care should be taken due to the complex construction.
Construction
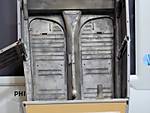
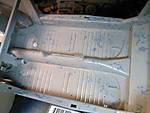
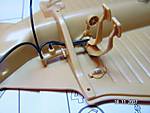
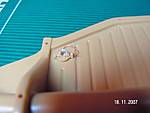
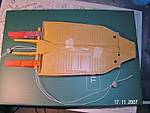
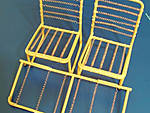
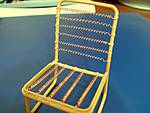
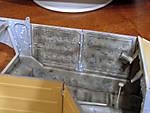
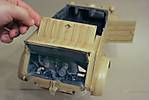
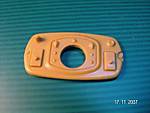
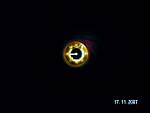
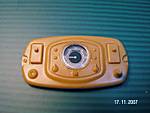
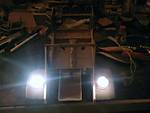
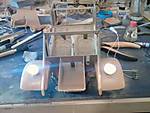
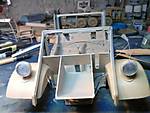
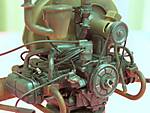
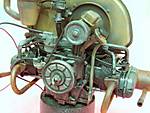
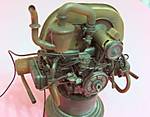
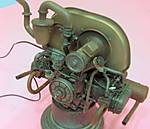
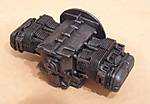
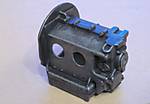
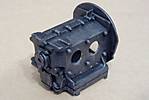
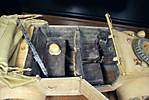
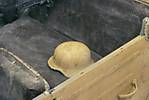
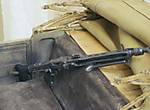
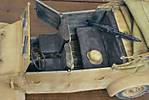
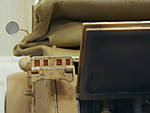
I decided to start with the engine, so having comprehensive photos of the real thing as a guide, I started adding the wires, then a crazy idea came to my mind.. Why not try to make the engine work and further more why not add lighting, so with this in mind, I added light emitting diodes to the front lights and in the speedometer, I used some more wires substituting parts from the kit (I will not go into details because it will take a whole page) and using a hidden battery in the bottom of the vehicle I succeeded in lighting it all up. The sound the engine makes isnt really the sound of a real Kubel, but it sounds good, and even moves!!! As I have seen from pictures of the real vehicle the seats were made from leather. So what I did was to buy some leather stripes from a local store, cut them in size and start fitting using some fine line and needles. For the floor I used balsa wood for the wooden stripes that are in the real thing.
PAINTING
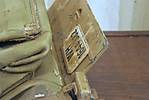
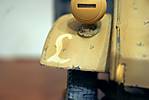
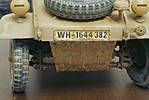
I started with the engine, painting it in various shades of Humbrol metel cote paint, and various dark washes in local area`s, for the grease and grime. The whole engine bay was then masked off,all the model was then sprayed with Gunze's German grey mixed with some blue to get the correct tone, after a day or so, I started post shading with various shades of Tamiya's dark yellow, Tamiya's buff and sand yellow , this helps to achieve the right shades of the basic colour,the final touch came by airbrushing some smoke in selected areas, the markings were then painted on using home made masks. The whole model received a gloss coat to secure the painting, the chipping process was started using panzer grey in selected areas, I then finished it off, using a fine brush (0000) and loads of patience due to the size of the model. Washes and filters wereapplied next , I used MIG filters and washes to give me the result I was looking for,finally I airbrushed acrylic matt varnish to secure everything in place and give everything a matt finish,then, MIG pigments that were applied dry, using a wide brush, in order to give the dusty dessert effect.
The whole project took me around two months and i enjoyed every moment of it, and I must admit, I`m very pleased with the final result.
Comments
It's been a while since I worked on mine, but I recall that the tires needed stuffing to keep their shape - don't recall what I used but w/o something they won't " hold air." Too bad there aren't more figures in this scale - just the one ESCI "Panzer Grenadier" that looks a bit stuffed.
SEP 16, 2008 - 06:41 PM
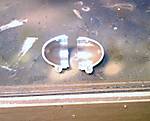
Very nice work!I really like the large size models like this.The only thing I see omitted are the two metal clips that hold the valve covers on,otherwise very well done!
SEP 21, 2008 - 03:41 AM
[quote]Hi Toxitis. You have done a nice piece of work. Kubelwagen looks great. But are you sure the rear lights of the Notek lamp should be red? It is written here and there that they were dark green. Look at this:

 I have made the 1/35 Kubelwagen. Here is the report: LINK

 I have made the 1/35 Kubelwagen. Here is the report: LINK
SEP 23, 2008 - 09:04 PM
Copyright ©2021 by Panagiotis Fanaropoulos. Images and/or videos also by copyright holder unless otherwise noted. The views and opinions expressed herein are solely the views and opinions of the authors and/or contributors to this Web site and do not necessarily represent the views and/or opinions of Armorama, KitMaker Network, or Silver Star Enterrpises. All rights reserved. Originally published on: 2008-08-31 00:00:00. Unique Reads: 28774


