

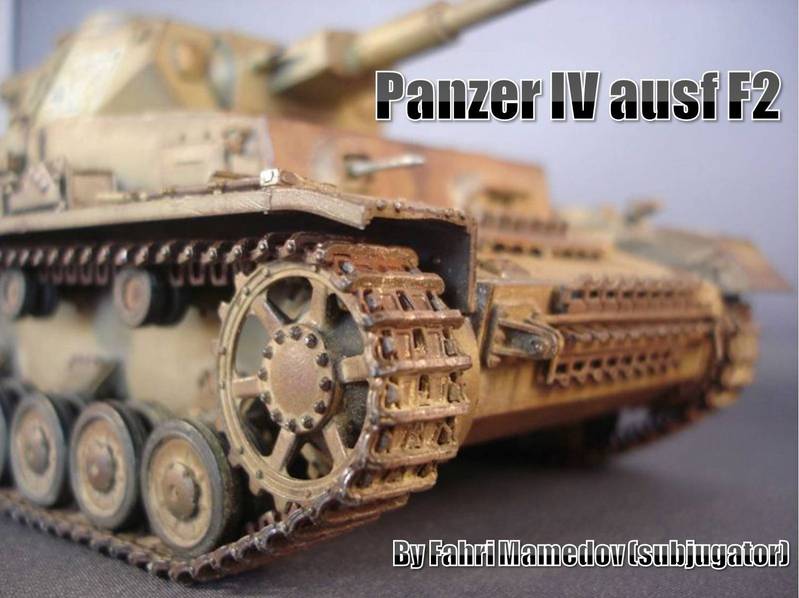
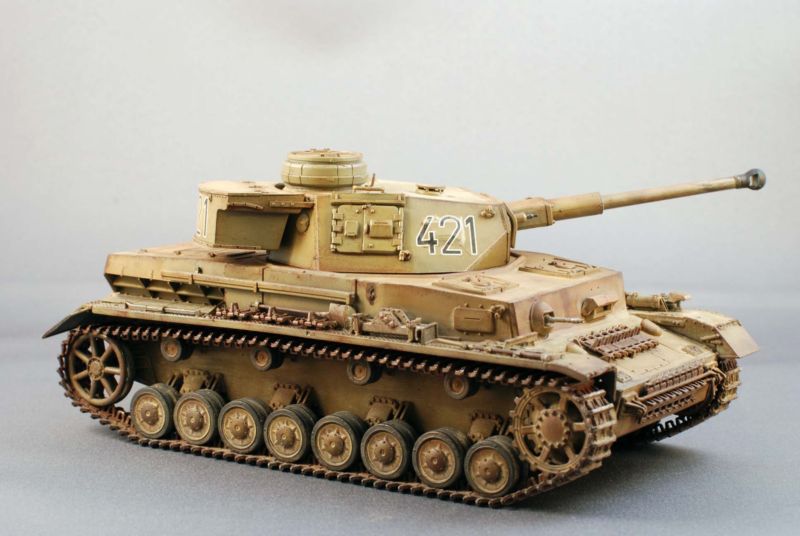
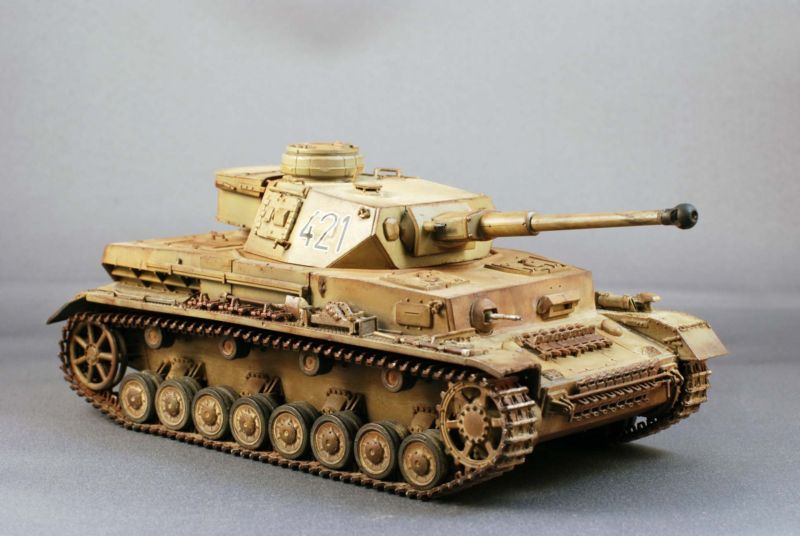
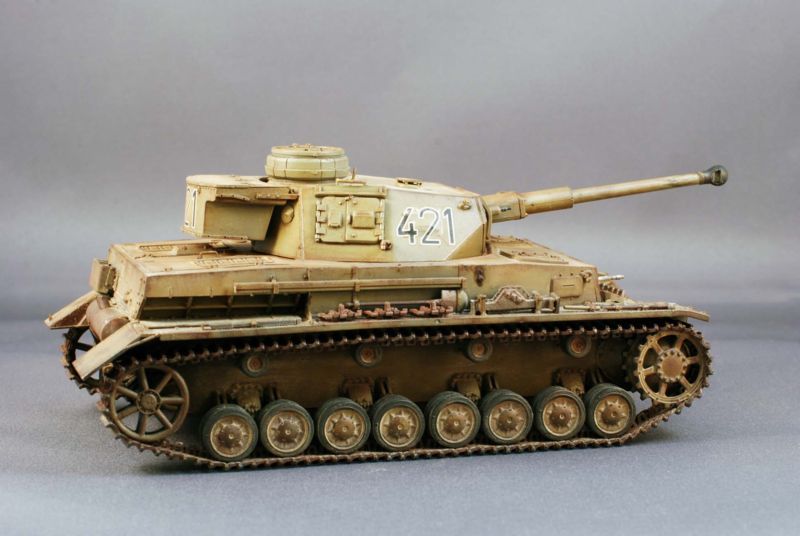
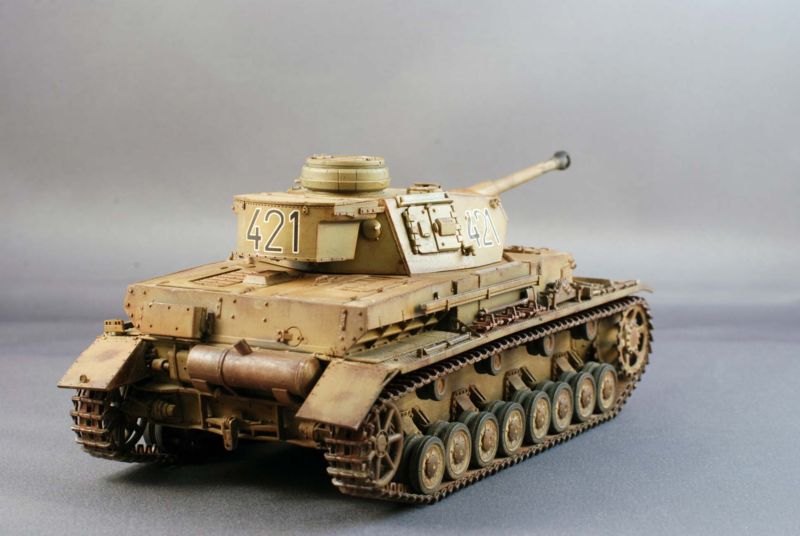
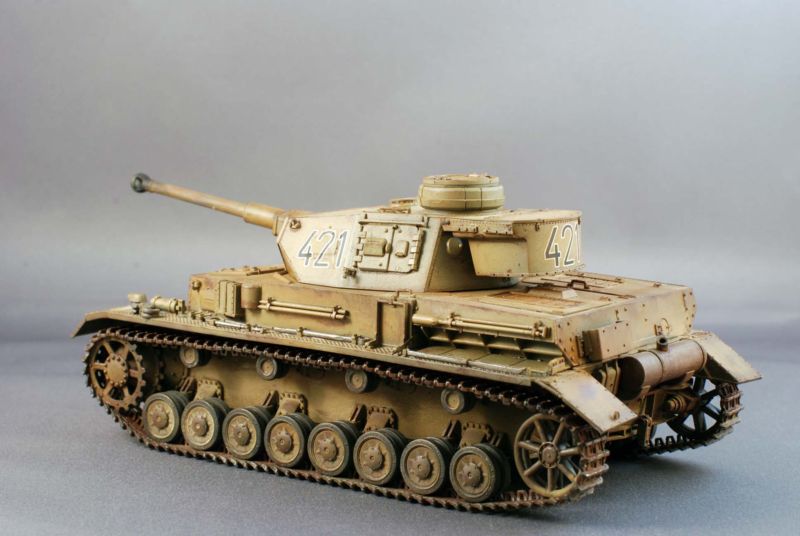
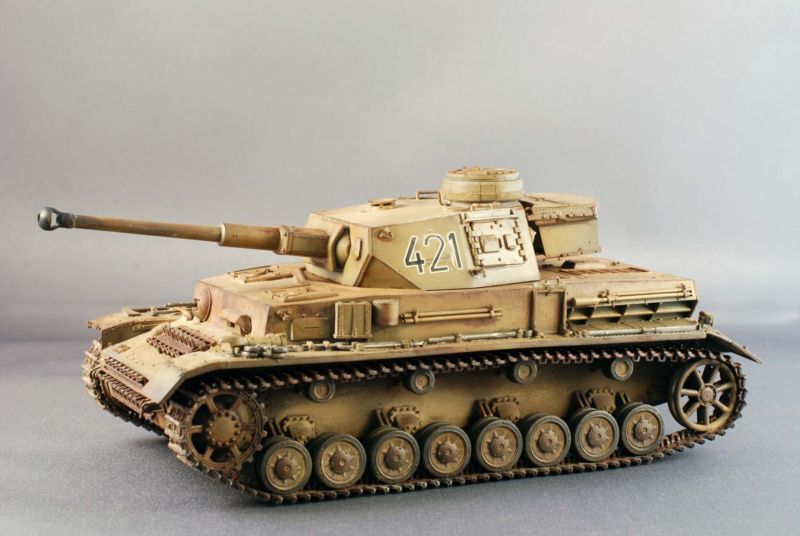
1⁄35Panzer IV ausf F2
Construction
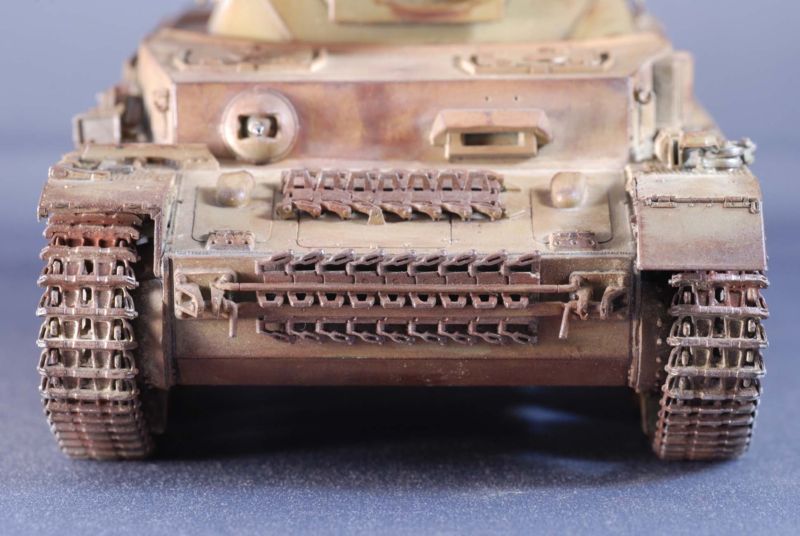
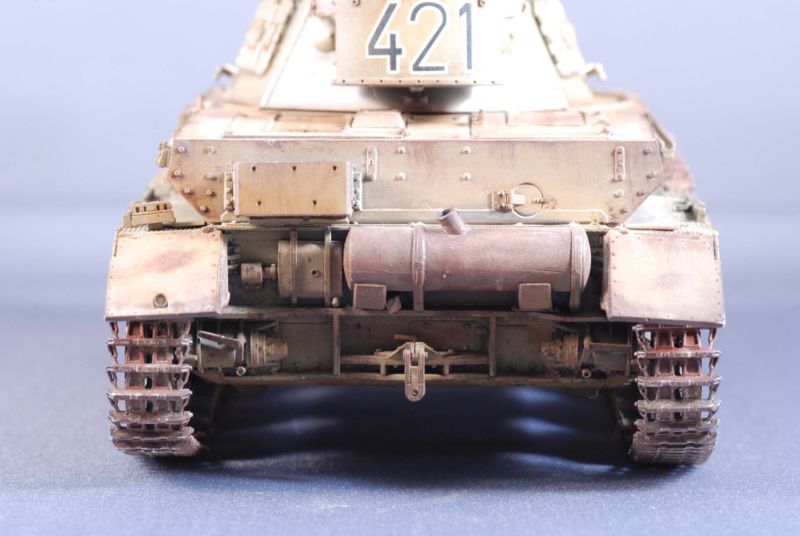
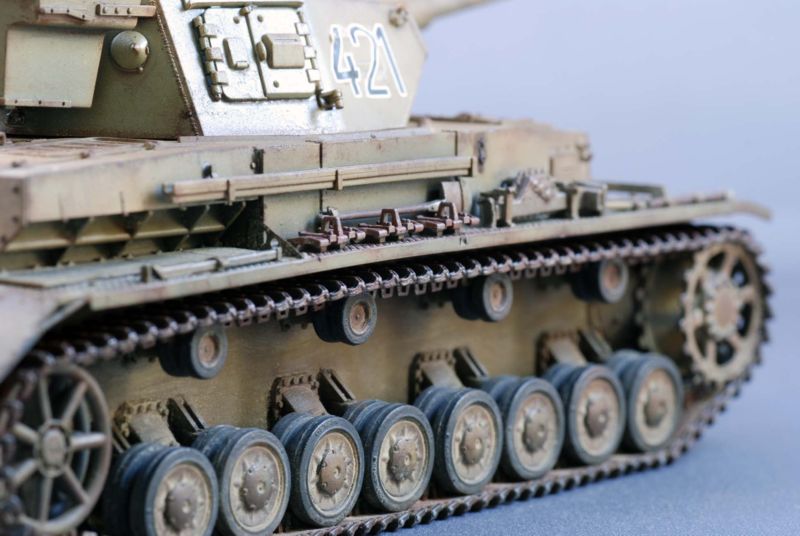
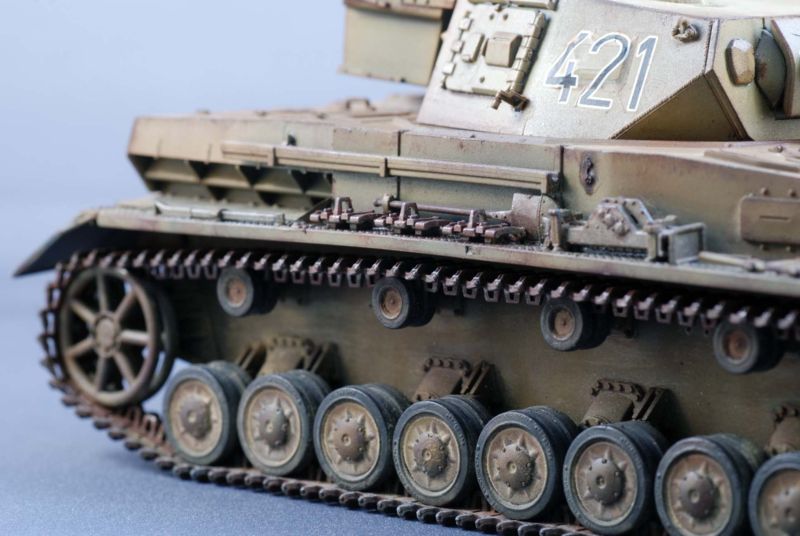
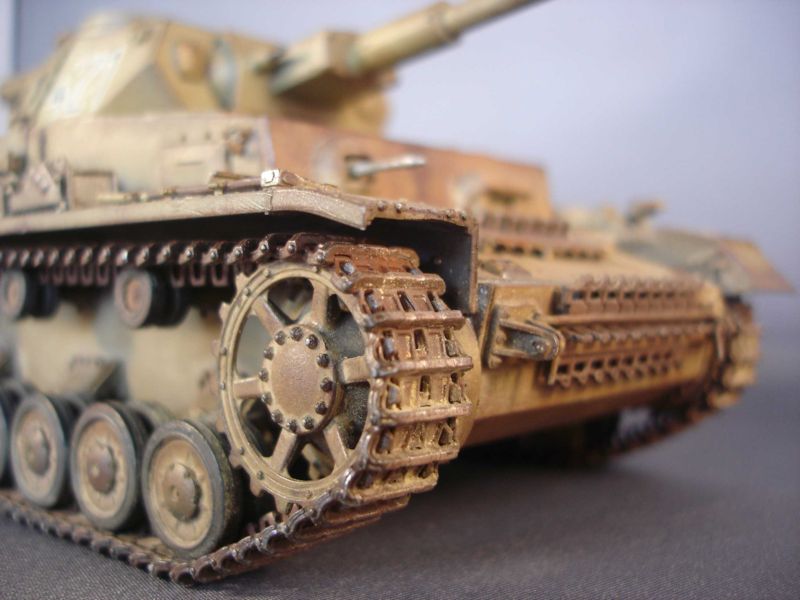
The kit was built straight from the box, using the photo etch parts included with the kit. The build process was fairly uneventful, though I had to play around with the positioning of the idler wheel tensioner to ensure minimal sagging, as seen on reference photos. The one odd thing I found about this kit is that the turret mounting ring has no fixtures for holding the former in place. This implies that tilting the tank in any direction may cause the turret to fall off, unless it is glued in place. I suppose this may have been deliberate on Dragon's part in case one wanted to build a destroyed Panzer with the turret missing as gear teeth are present on the turret ring.Painting
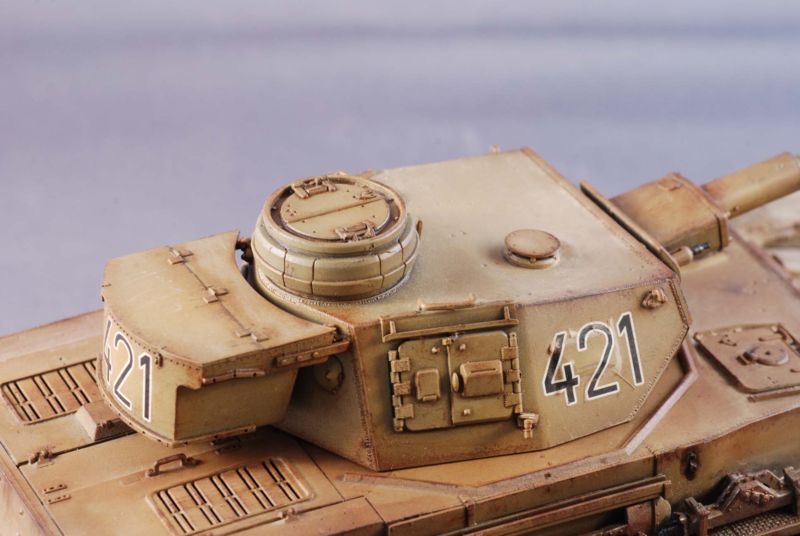
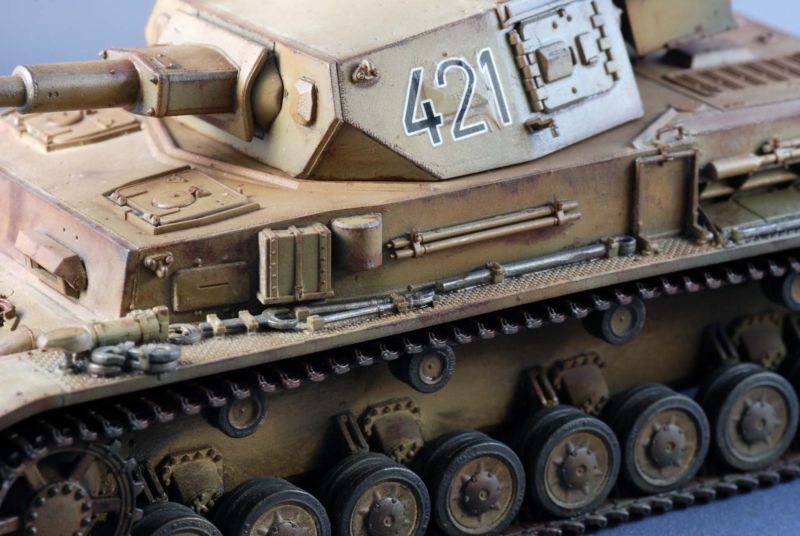
For painting the model was given an overall coat of Tamiya German Grey, followed by a couple of coats of Tamiya Dark Yellow. I decided to assemble the running gear complete with tracks and paint it before installing fenders and the rest of the hull. The lower portion was thus masked off during the painting of the hull. Dark Yellow was applied to allow the underlying grey to show through in some areas creating the effect of depth through pre-shading and hinting at a possible repaint following early arrival to the African theatre. Tracks were painted in Flat Black, over coated with thinned Red Brown to provide rusted metal base for further weathering. All details (tools, etc.) were painted with a fine pointed brush using a mixture of Metallic Grey, Gunmetal and Chrome Silver colors for metal parts and Flat Brown for wooden elements. Decals were then applied to the turret and sealed with Microsol. The painted model was then misted over with water-diluted coat of Red Brown, especially accentuating the edges to break the monotonous paint finish and accentuate the details.Weathering
After letting dry for 24 hours I started the weathering process. All yellow parts were brushed with turpentine and Windsor Burnt Umber oil paint was applied to the wet surface. Medium sized brushes were then used smear the blobs of paint across turpentine soaked panels allowing to accumulate in groves and around raised details. I find that applying dark wash filters is more forgiving than selective washes as the former tend to reduce the occurrence of tide marks on flat-painted surfaces. The washed model was left to dry for 24 hours. Paint chips and paint flaking were simulated by dry brushing Tamiya Flat Brown and Red Brown paints over edges of the tank and any exposed details. I also find that dry brushing surfaces painted with flat (non-glossy) paints yields realistic looking rust spots as the pigments tends to stick to the surface creating the appearance of random microscopic paint chips. Controlled quantities of Metallic Grey where then dry brushed to some wear areas to produce the characteristic metal sheen. The tracks were weathered with a mixture of dry MIG Old Rust and Gulf War Sand pigments, with some Chrome Silver dry brushed on the raised link sections, the track guide teeth and the sprocket wheel to simulate recent wear. Certain areas of the hull also received a rubbing of various Rust pigments to simulate multi-layered corrosion.In the end Gulf War Sand MIG pigment was applied to the Panzer and running gear to create illusion of desert operations. The end result of this effort is presented on the photographs. Hope you find the information useful.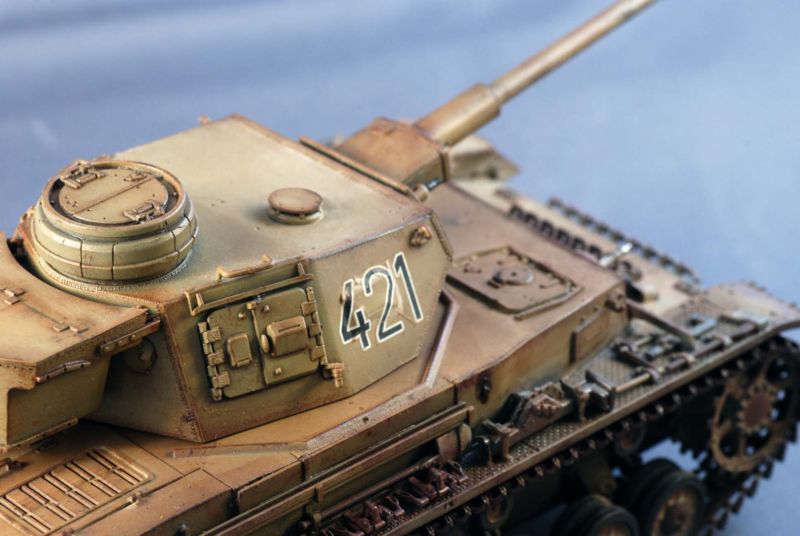

About the Author


FROM: ONTARIO, CANADA
I have been building kits, mostly 1:35 scale armor and trucks, since 2004 which, I guess, still qualifies me as a relative newcomer to the hobby. My inspiration to start building models came from a computer game of all things - Battlefield 1942. I learned modeling, painting and weathering techni...
Copyright ©2021 by Fahri Mamedov . Images and/or videos also by copyright holder unless otherwise noted. The views and opinions expressed herein are solely the views and opinions of the authors and/or contributors to this Web site and do not necessarily represent the views and/or opinions of Armorama, KitMaker Network, or Silver Star Enterrpises. All rights reserved. Originally published on: 2009-03-11 00:00:00. Unique Reads: 12074

WEB HOSTING BY


Copyright ©2021 Armorama and Kitmaker Network, a subsidiary of Silver Star Enterprises
All Rights Reserved. Please read our Conditions of Use and Privacy Policy.
All Rights Reserved. Please read our Conditions of Use and Privacy Policy.