

1⁄35Simple base
5
Comments
Introduction
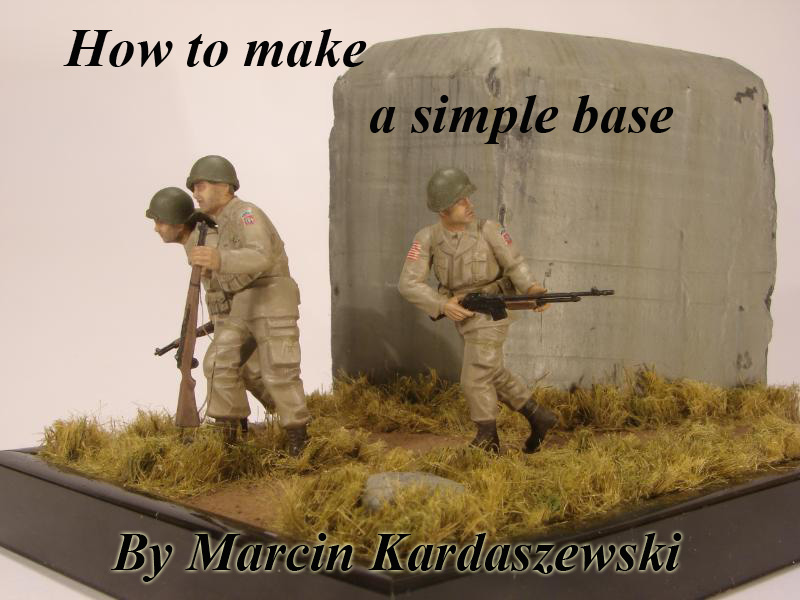
To be honest Ive never been good at building dioramas, but I would like to share with you my technique that I used during the build of vignette for Airborne Campaign. Maybe its not a perfect diorama, but I hope to encourage you to try to build your own simple base. I didnt want to build anything complex or to use expensive materials. I just wanted fair background for U.S. Paratroopers figures. All used products were cheap and easy to get, so everyone can try to build your own (first) base.Materials
As for materials:- I used cheap plastic picture frame (purchased in supermarket).
- Styrofoam (got for free some scraps from nearby building site).
- Ready for use wall filler.
- Fine sand.
- Plumbers hemp.
- White glue.
- Pigments for interior paints (picture 1).
Consttruction
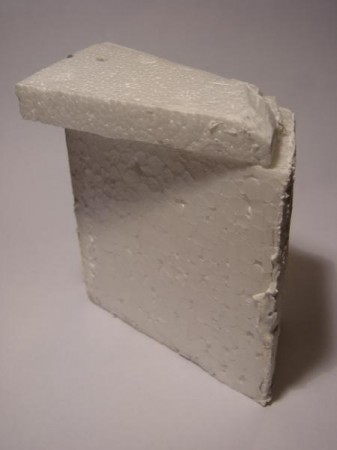
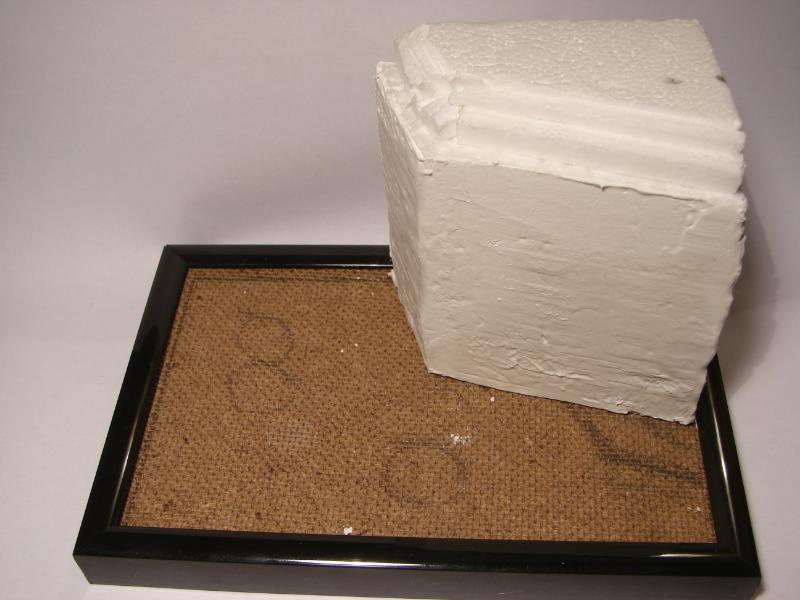
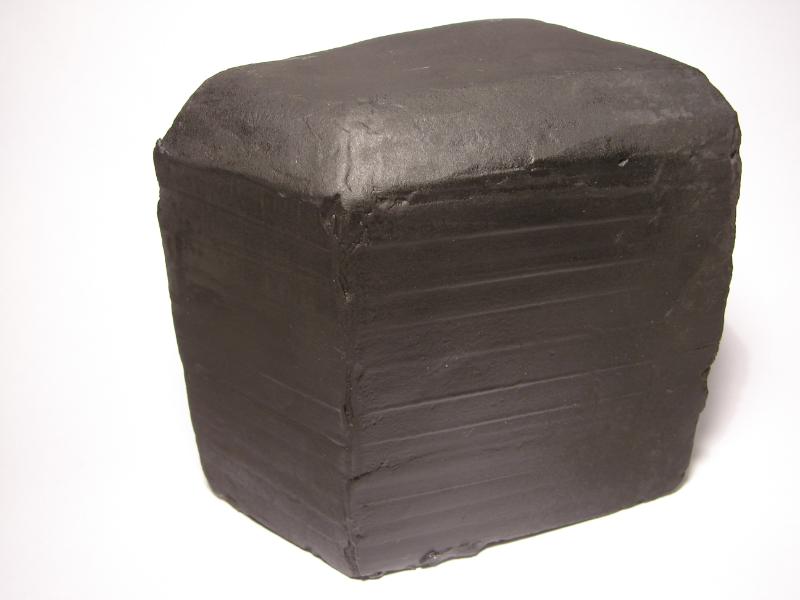
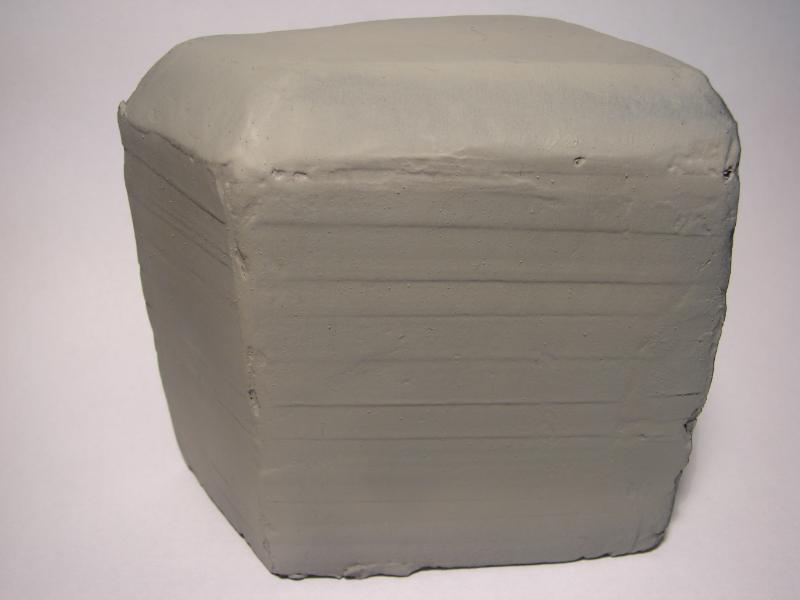
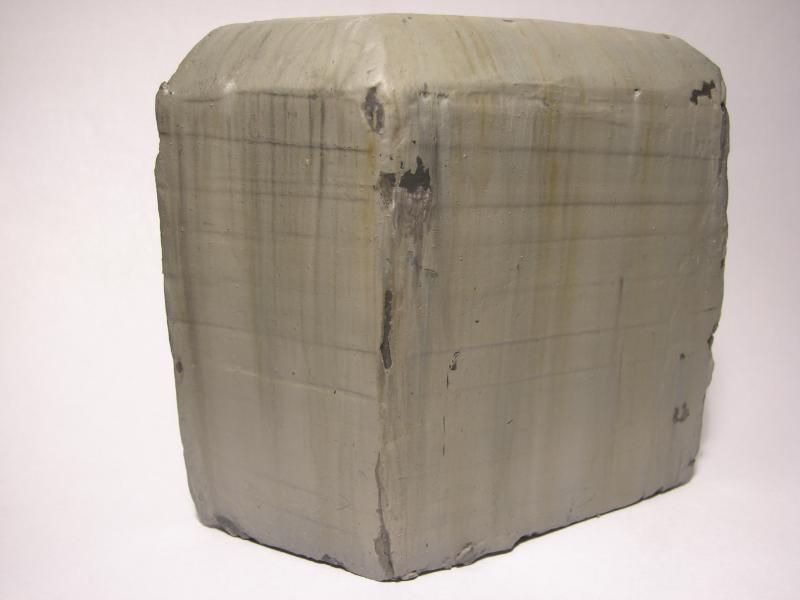
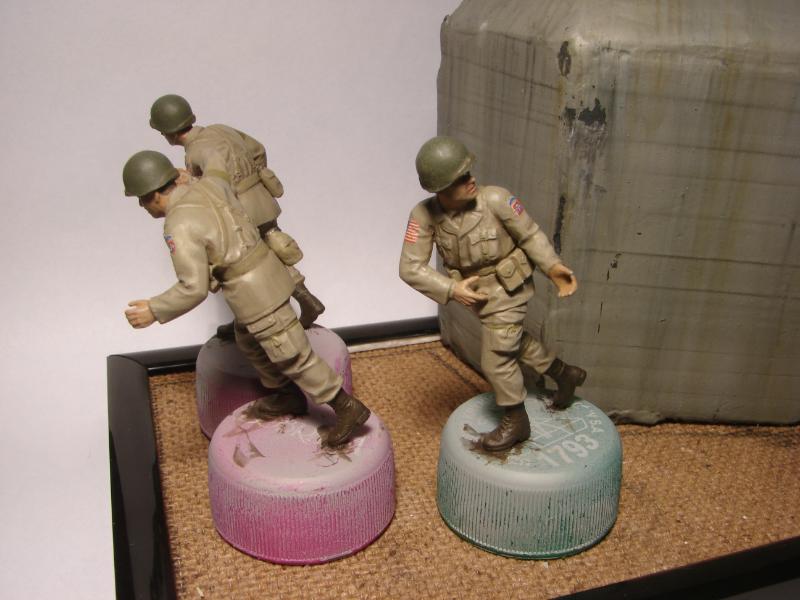
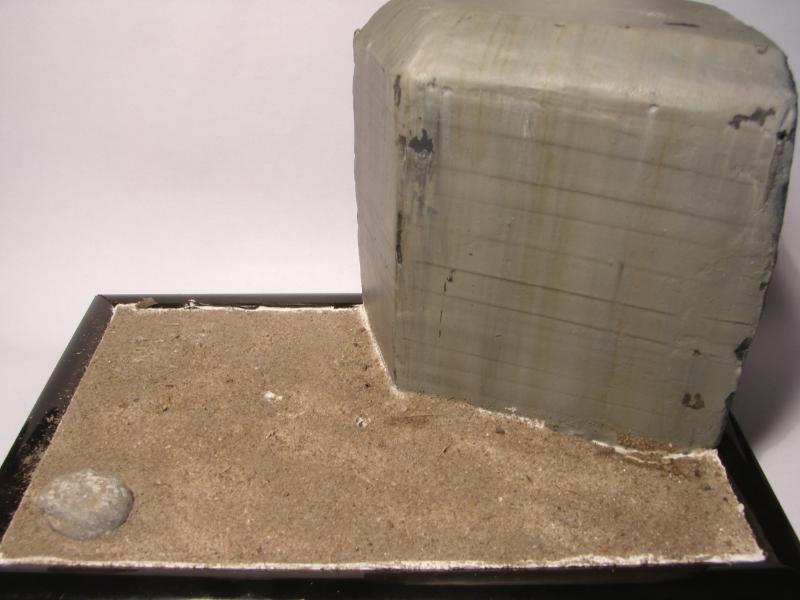
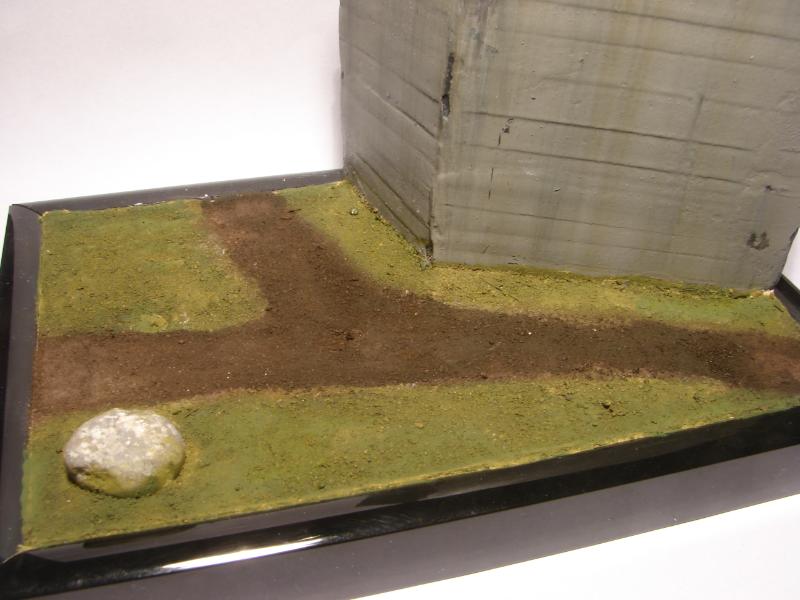
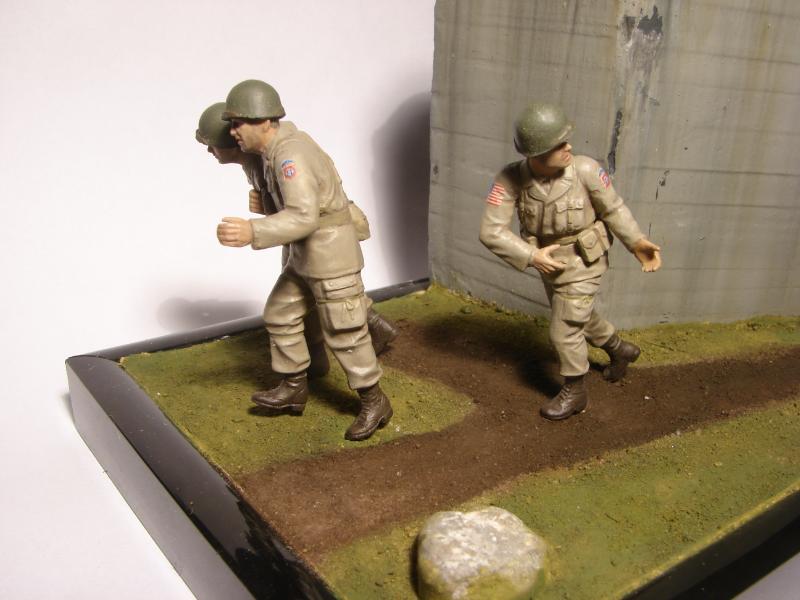
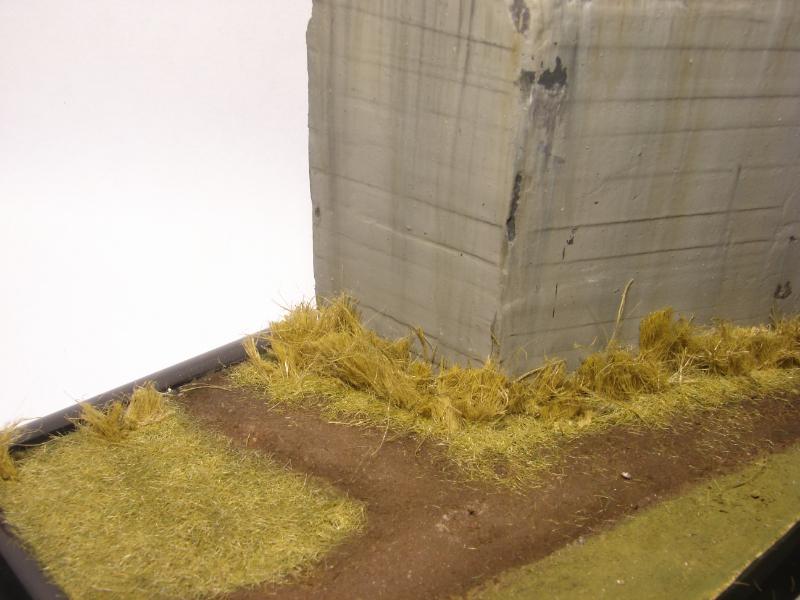
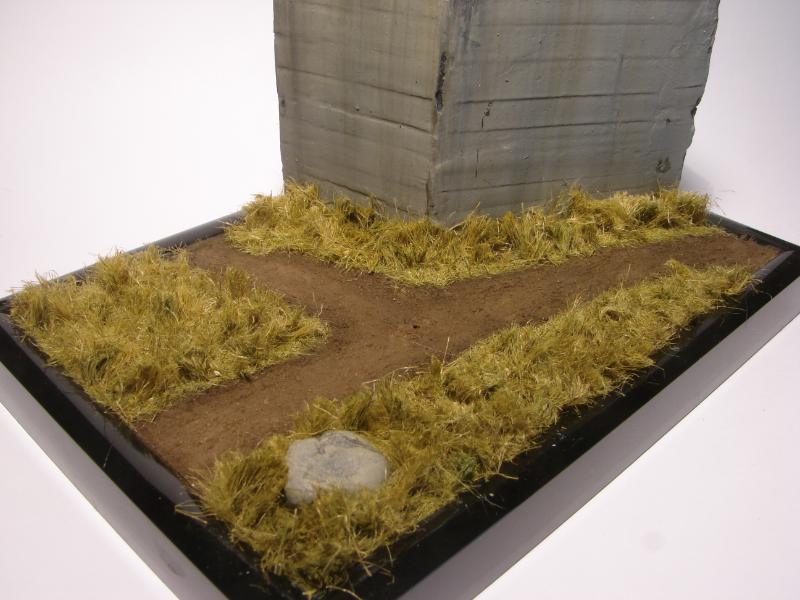
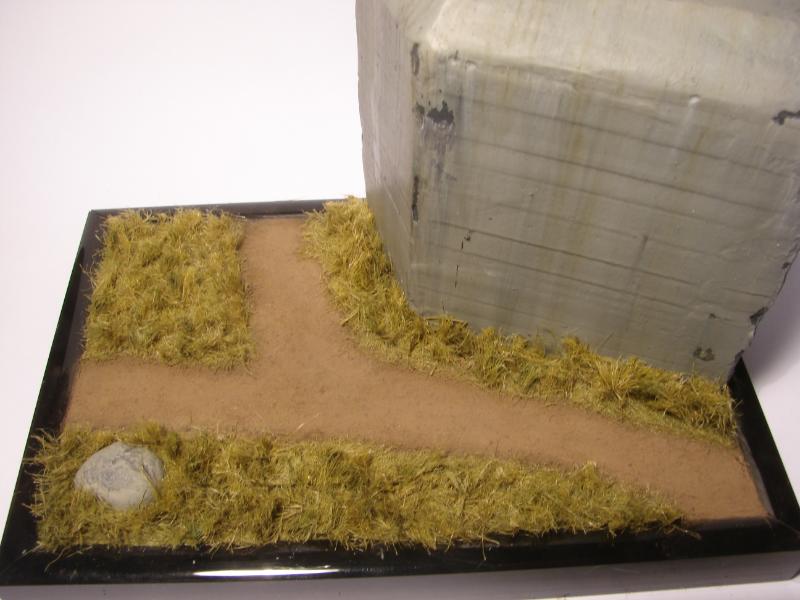
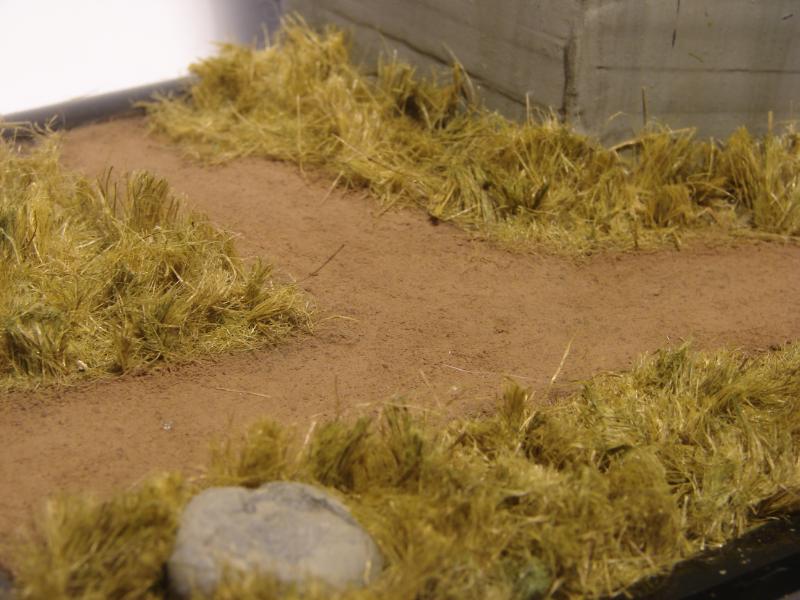
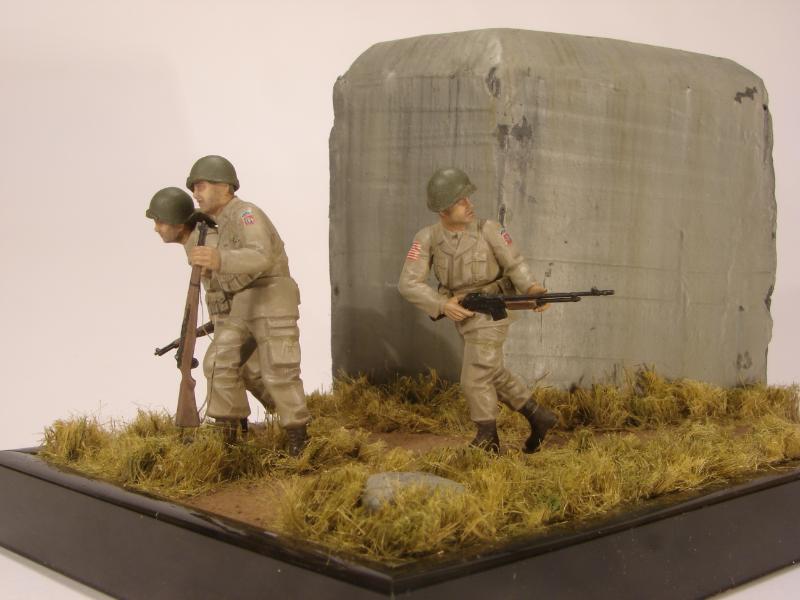
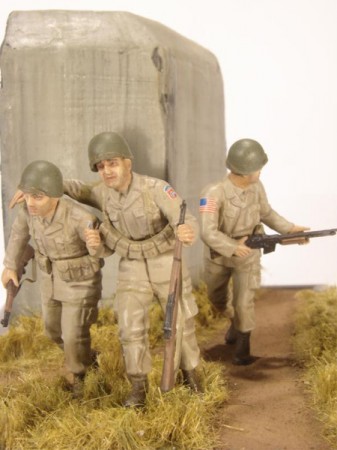
Work started with gluing figures and setting general layout, trying out several configuration of placement of figures and piece of bunker (still as piece of Styrofoam at that time). When layout was set the real work could start. First I prepared few pieces of Styrofoam and made a wall and roof of bunker (picture 2 and 3). Then I checked again if it fits to base and I covered it with wall filler (picture 4). When filler was almost dry, by smoothing walls of bunker with spatula and stopping the tool about every 1cm, I added marks of planking. Next I sprayed black primer (picture 5) and then shades of gray were airbrushed (picture 6). The last step was weathering the bunker by adding shades and streaks (picture 7). Before I moved on to groundwork I checked the layout again (picture8) and decided to fill the corner with small stone. For ground I used wall filler again, sprinkled with fine sand (picture 9) and then made boots imprints for better fit of figures to the base. When filler was dry, ground was painted with diluted pigment bases (picture 10). To secure figures to the base I drilled holes for steel wire that already has been glued into figures feet (picture 11). Then I dyed plumbers hemp with the same type of pigment, let it dry and brush it with a comb. In the meantime I applied thin layer of diluted white glue, sprinkled the base with static grass from Heki (this step can be skipped when you plan to grow your tall grass dense) and painted stone with shades of gray. Next, cutting off and gluing with white glue tuft by tuft covered whole base with tall grass, which took me few days (pictures 12 & 13). To finish off my base, pigment powders from Mirage Hobby have been applied to the path (pictures 14 &15). In the end figures were glued to the base.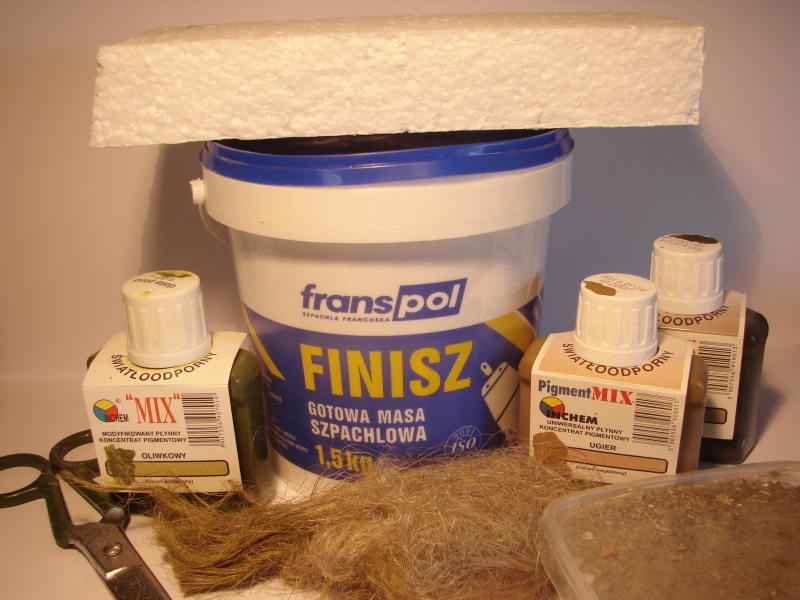


About the Author


FROM: WARSZAWA, POLAND
I began my modelling adventure when I was 12, building 1/72 aircrafts. Few planes later I got bored and gave up my hobby. After few years break I returned to modelling, but switched to modelling 1/35 armour and figures in all scales.
Comments

It looks good Marcin, thanks for sharing.
I really like your bunker wall. I have a small vignette that I need to make for the "SNIPERS!" campaign that will have some concrete walls. So your timing was perfect.
Thanks again for sharing.
HARV
AUG 23, 2009 - 04:03 AM


Thank you for writing this. I'm glad you kept the article as simple as the technique and the pictures are helpful. I will not give up on little dio bases now
AUG 23, 2009 - 07:23 AM

Thanks for this "guide-line"!
I planned some dio´s, and I would need any help later.
greetings...
Soeren
AUG 24, 2009 - 10:52 AM
Copyright ©2021 by Marcin Kardaszewski. Images and/or videos also by copyright holder unless otherwise noted. The views and opinions expressed herein are solely the views and opinions of the authors and/or contributors to this Web site and do not necessarily represent the views and/or opinions of Armorama, KitMaker Network, or Silver Star Enterrpises. All rights reserved. Originally published on: 2009-08-23 00:00:00. Unique Reads: 22969

WEB HOSTING BY


Copyright ©2021 Armorama and Kitmaker Network, a subsidiary of Silver Star Enterprises
All Rights Reserved. Please read our Conditions of Use and Privacy Policy.
All Rights Reserved. Please read our Conditions of Use and Privacy Policy.