

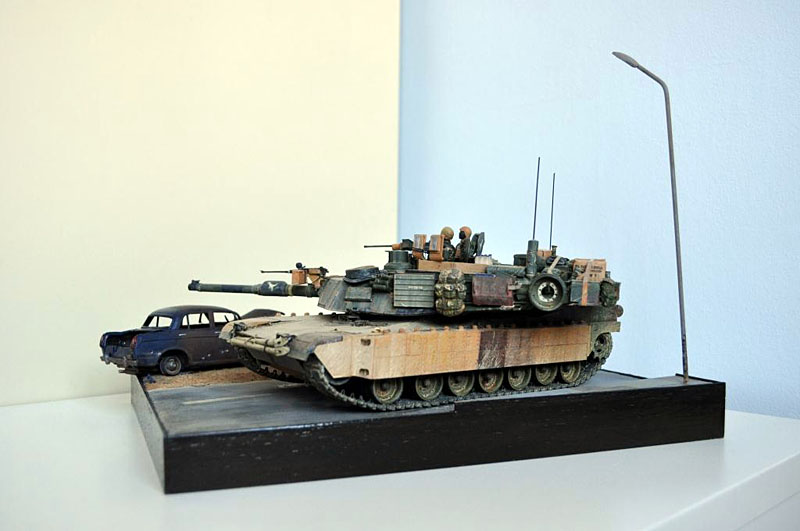
1⁄35M1A2 On Patrol in Iraq
10
Comments

M1A2 Stowage
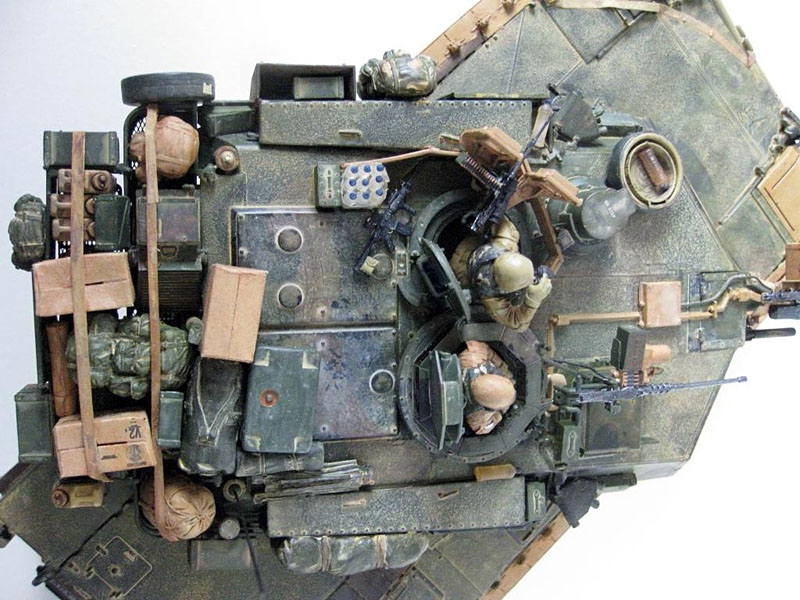
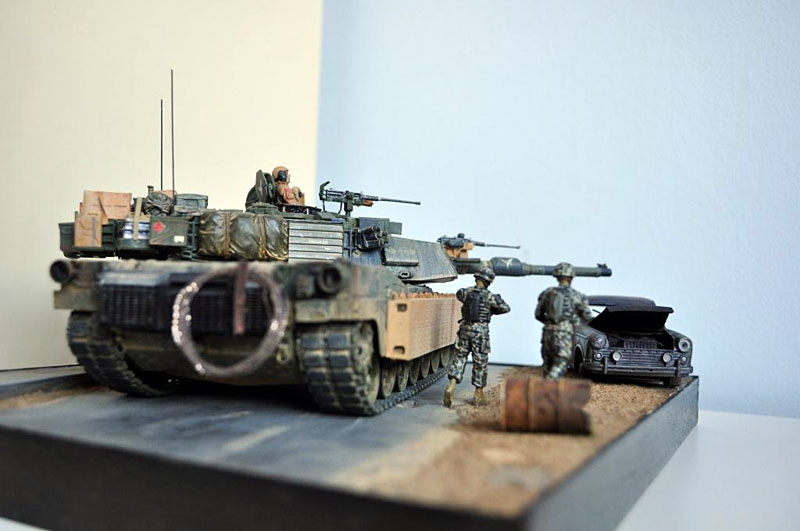
Once the tank was painted I began thinking about the stowage I wanted to add to the vehicle. After seeing photos of vehicles I wanted to replicate this look whilst still having a realistic amount of equipment on the vehicle. I used the Dragon MRE boxes, 50. Cal boxes and 40mm boxes to fill out the BRE before moving onto the soft stowage (img13). It was pointed out to me in the forums that the Legends Stryker set is of the old ALICE pattern which has been phased out, so I only used a couple of items from this set (img14). The rest of the bags were sourced from Real Models and the Legends Modern Backpack set (img15). The arrangement of the stowage went through a couple of revisions before I was happy with the positions. Id like to thank Gino (HeavyArty) for helping me with the stowage. I also added a few ammo containers and water bottles around the commander and loader, as well as a hat from a Dragon set I no longer remember the name of.Weathering
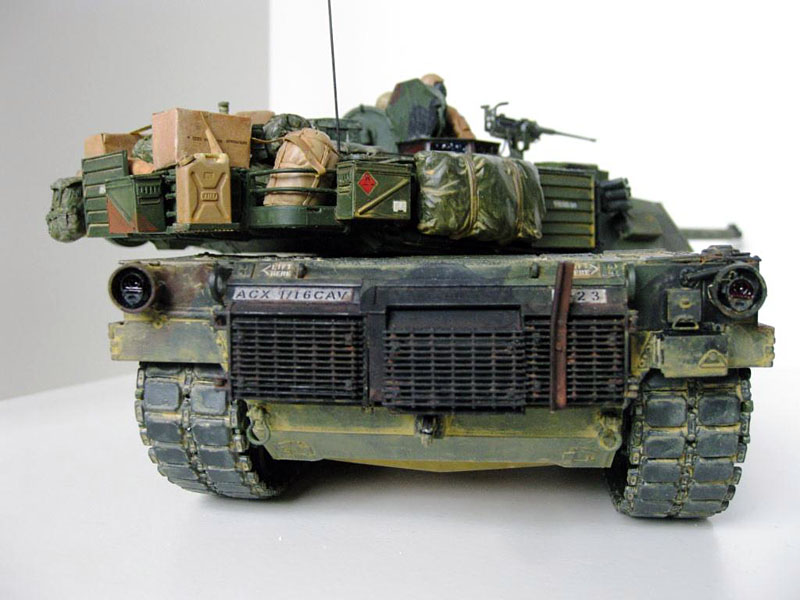
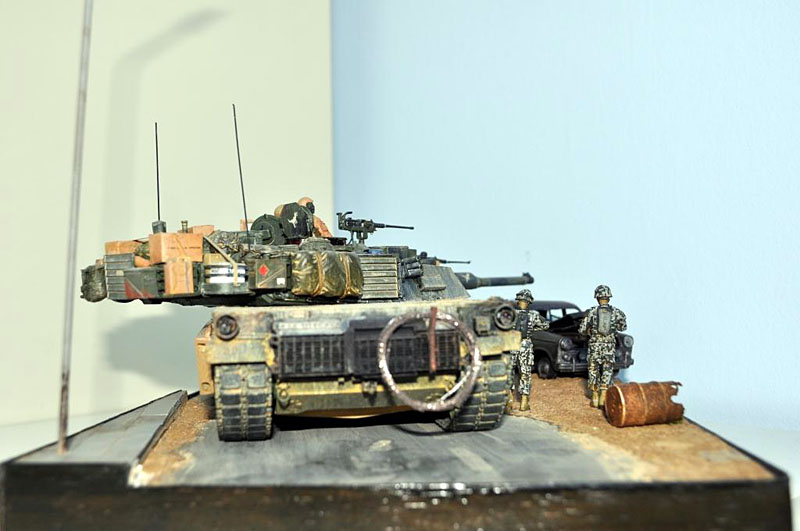
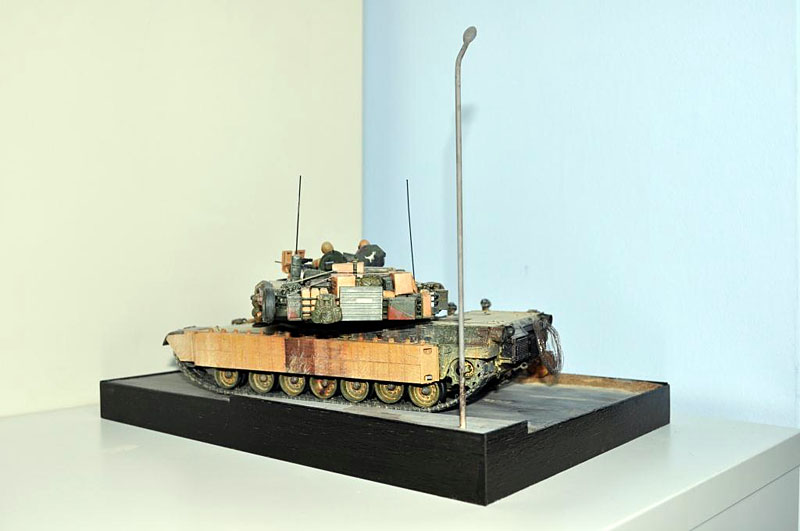
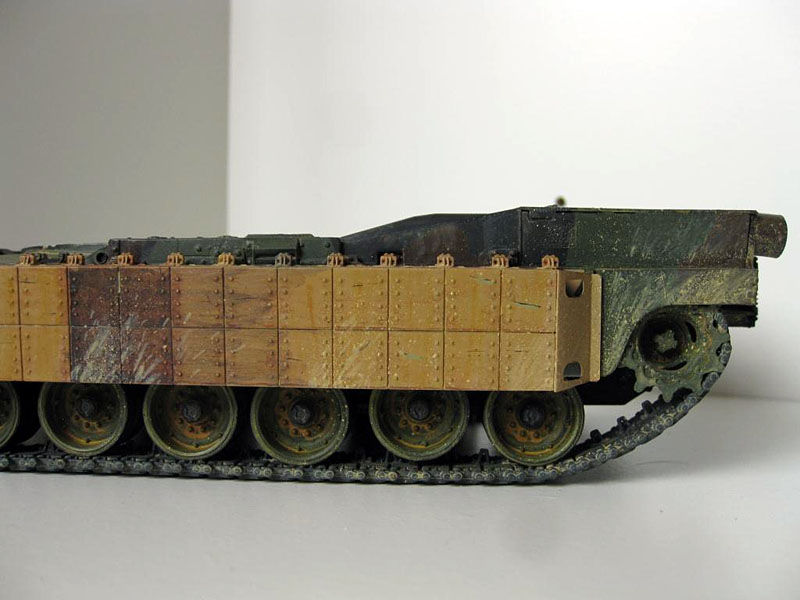
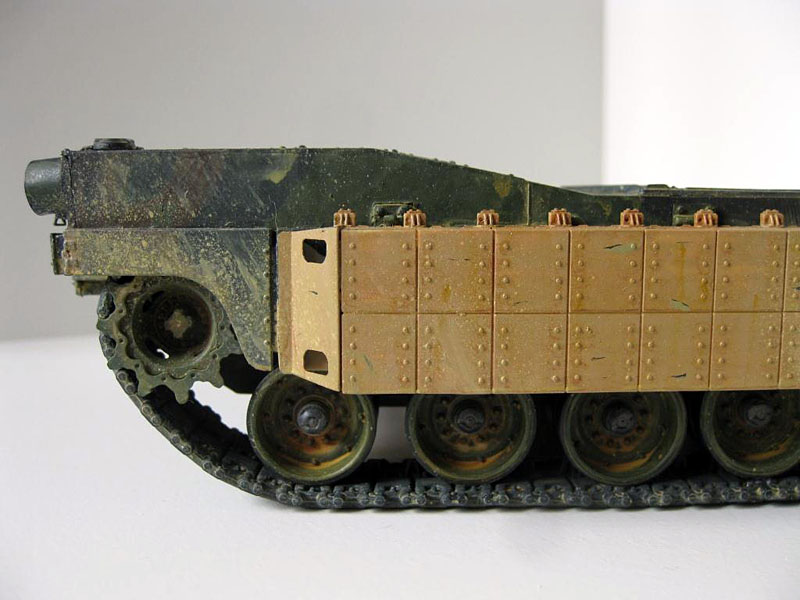
When the stowage had been finalised I started the weathering on the tank. After seeing photos of vehicles with thick layers of dust covering all the horizontal surfaces I began to think how to replicate this effect. The first attempt involved oil paints, which didnt turn out as planned since the paints were far too yellow. In the end I opted to use MIG Pigments to replicate this effect. The pigments were added in layers and fixed with MIG Pigment fixer. The dust was streaked around the hull and turret with a large soft brush to replicate how the wind and crew move the dust and sand around. The road wheels and tracks were weathered with MIG Pigments, plaster of Paris and water applied with an old stiff brush. This mixture was added in layers with different mixtures of pigments to replicate the build-up of mud layers on the running gear. The weathering was finished off with oil paints flicked on to the side skirts with an old tooth brush to replicate the mud splattered onto the skirts by the tracks.Car
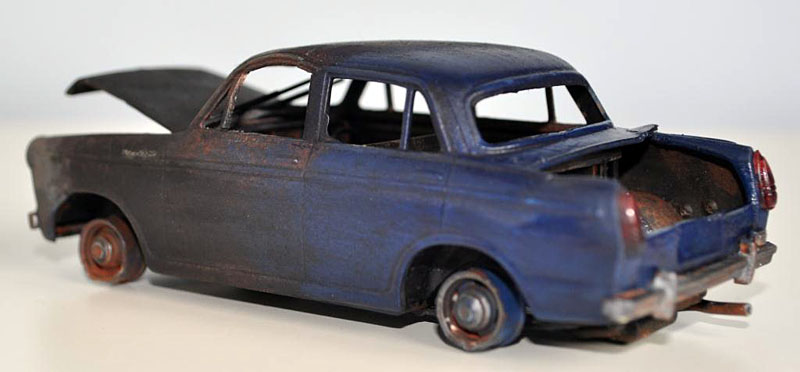
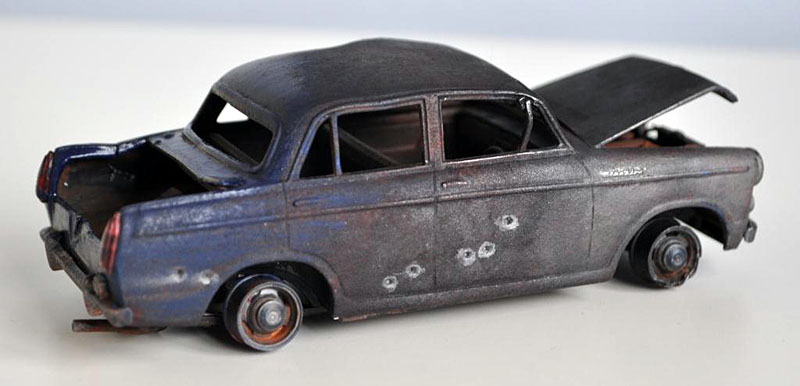
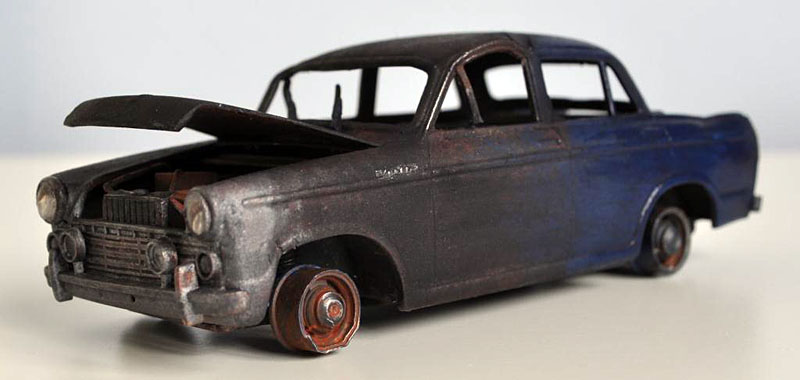
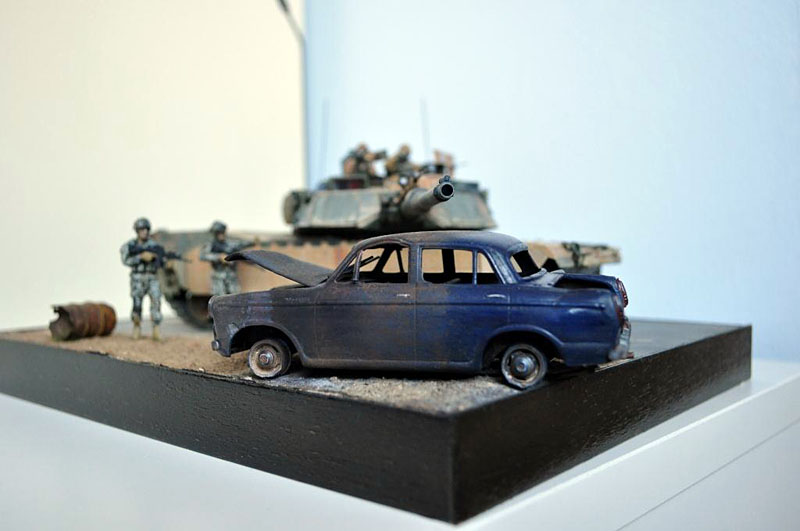
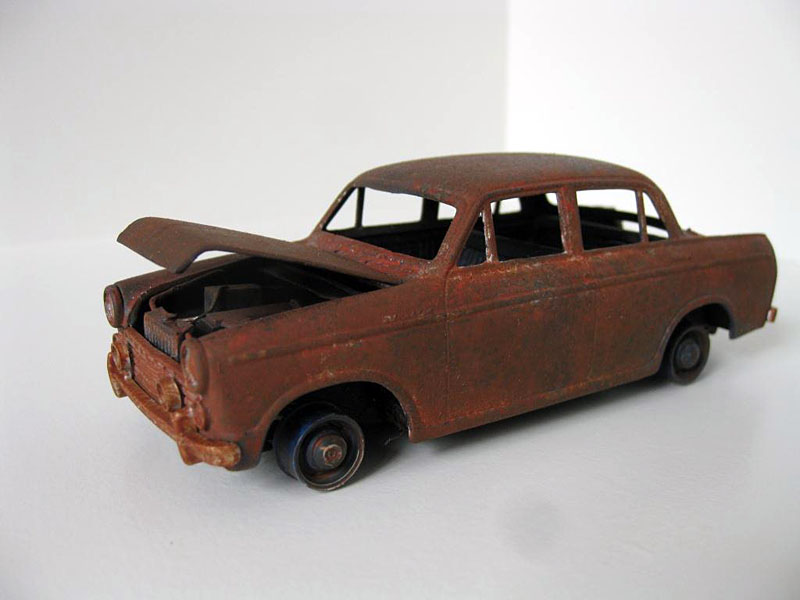
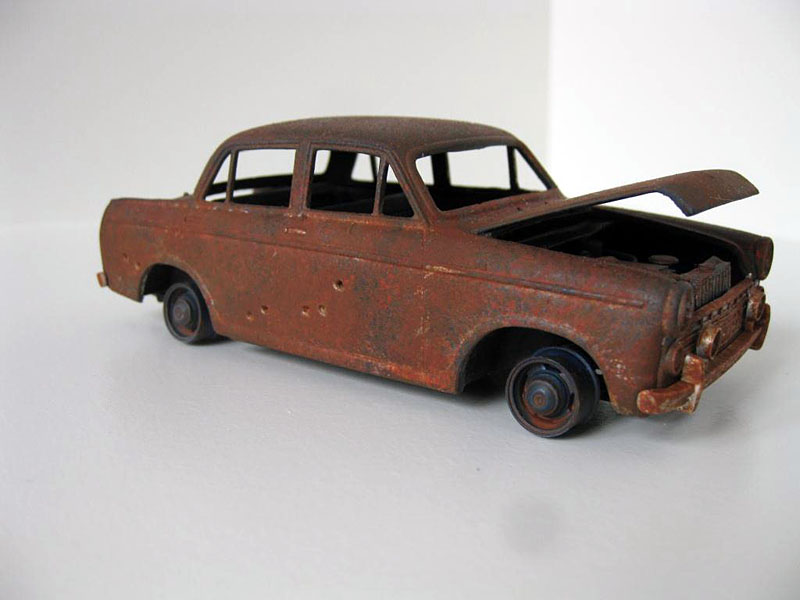
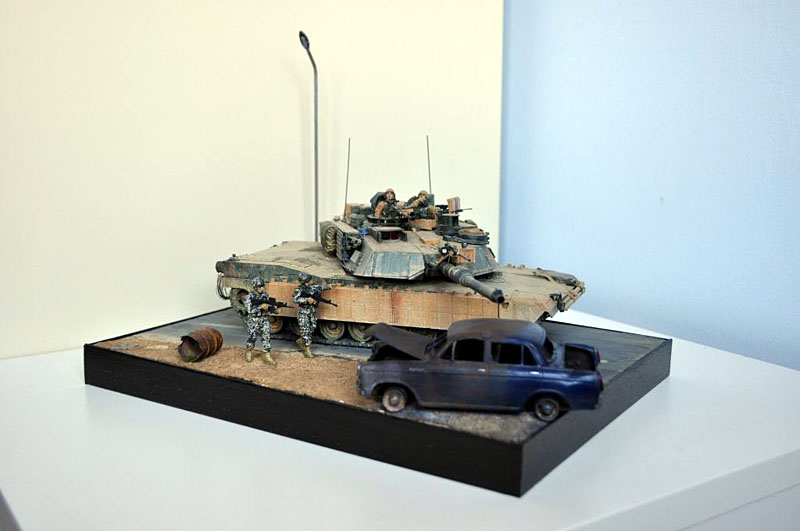
After seeing a lot of photos of cars (again thanks to Gino) in Iraq, I wanted to add a typical Iraqi vehicle burnt out on the road side. I chose a 1/32 Arii Datsun Bluebird since it resembles a generic Middle Eastern car and the scale difference is negligible. The seats were detailed with stock plastic and the engine and firewall were scratch built with parts from the spares box (img17). Since there are plenty of tutorials on creating a rusty effect, Im not going to go into detail oh how I painted the car. Suffice to say, Im happy with the result and it wasnt that difficult to achieve (img18). The important thing to remember is that there are plenty of reference images showing burnt out cars which are very helpful when replicating this effect. The exterior of the car was painted with Tamiya Blue with a Clear Blue coat to replicate the metallic effect on modern cars (img19). The ash around the road wheels was made with MIG pigments, Graphite powder and charcoal.Figures
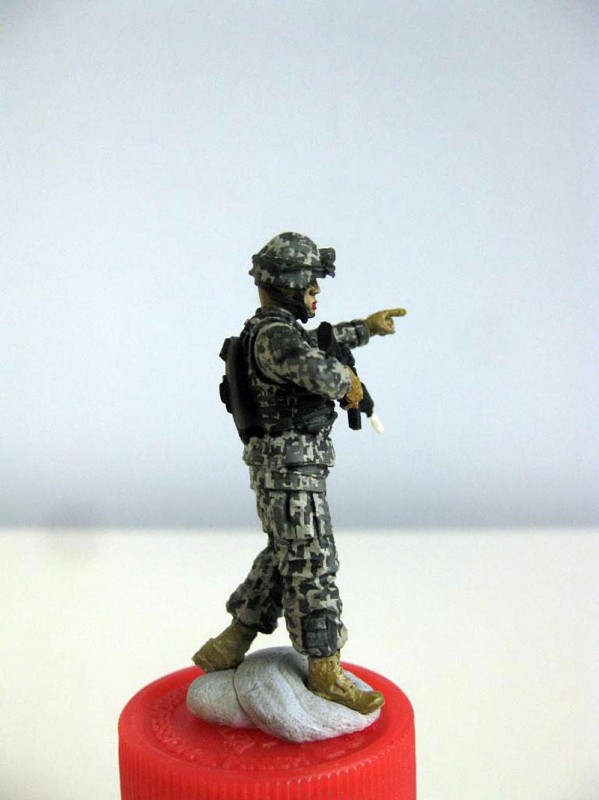
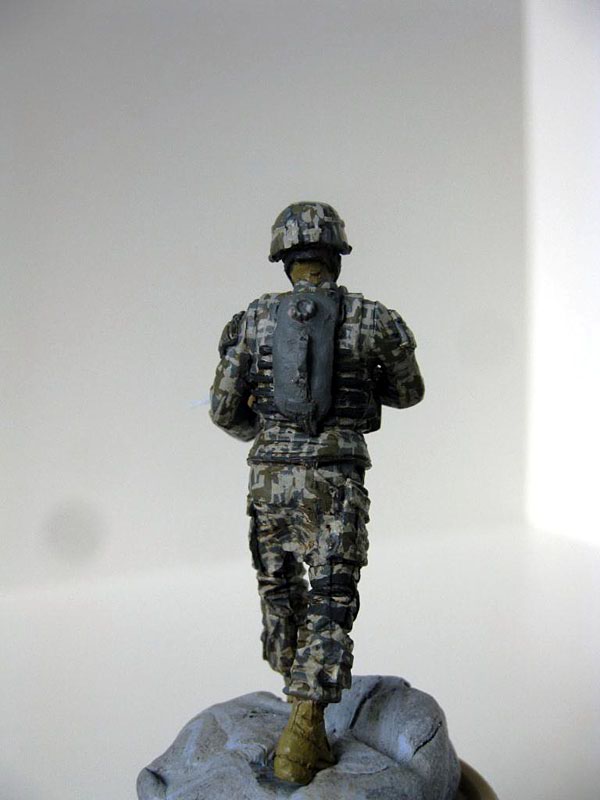
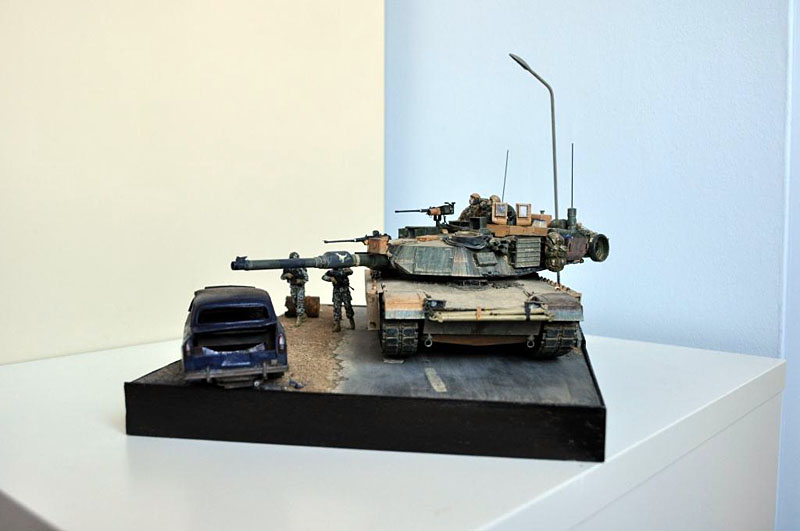
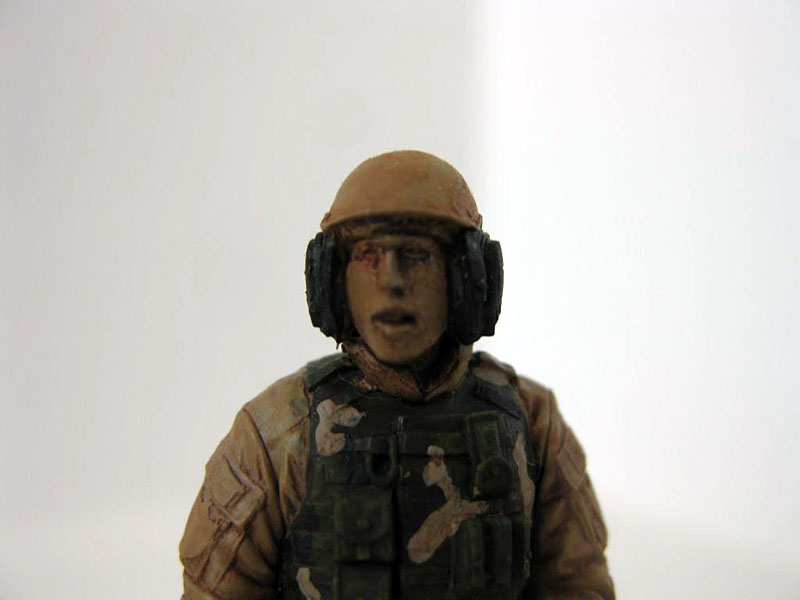
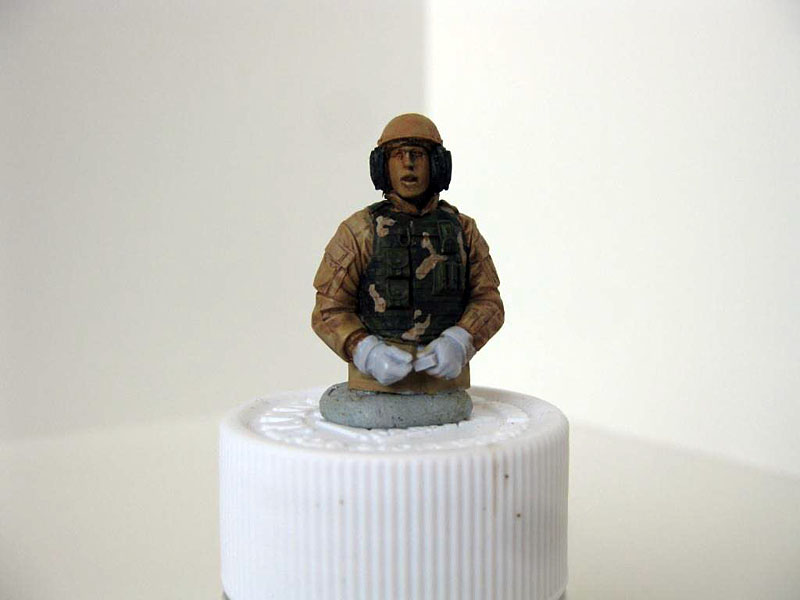
As there is a distinct lack of quality modern figures in plastic, I had to look for resin crew and infantry figures. After hearing excellent reviews about the Alpine range of figures, I bought their Modern AFV crew. However I ended up only using the one figure for the commander. The loader is from the Legends range, with an Alpine head. Both figures were painted with Tamiya Acrylics and were painted as if they were wearing desert DCUs. I decided to try HELO miniatures since their US infantry figures were exactly what I was looking for (img20). The figures were well sculpted but suffered from a few air bubbles especially around the face (img21). However they went together well and had few gaps. I chose to use Vallejo colours to recreate the digital camouflage pattern used by the US since the Vallejo range is excellent for brush painting. I used the Perspectives in Miniatures blog as a guide for painting the pattern. After a few attempts at matching colours I managed to paint a reasonable representation with only minimal damage to my eyesight. With the pattern finished, I painted the faces, hands and boots with a mixture of Vallejo and Tamiya acrylics.Base
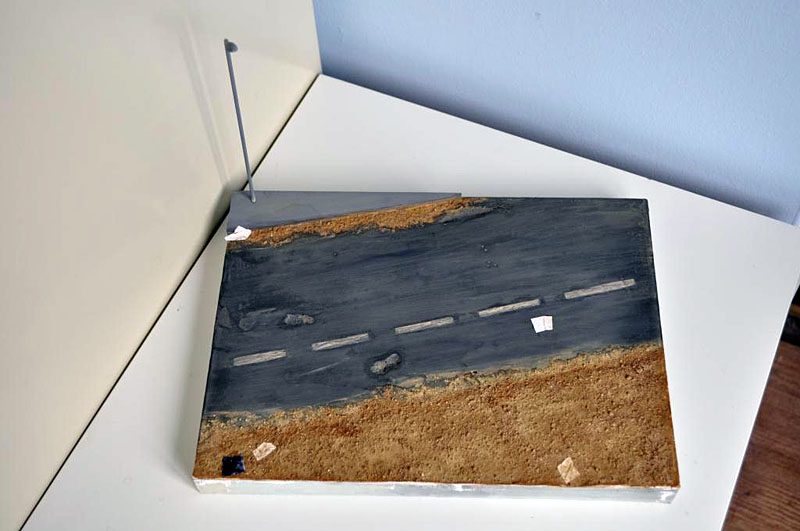
The base is a simple piece of Styrofoam cut to size (img28). The road way was made from plaster poured onto the foam and sanded smooth. The edge of the road was made with plaster and MIG Pigments applied liberally to simulate dust and sand. The kerb was made from foam board with plastic card paving slabs (img29).Conclusion
So this isnt the most accurate Abrams ever built, but it did give me a chance to experiment with a lot of new techniques that I had never previously tried. I couldve kept going with the build, adding more and more details to the diorama, but there is a point where you just have to call it done and move on. Even so I have to say I am very impressed with the way this build turned out, and I am very thankful to everyone who helped me with the build.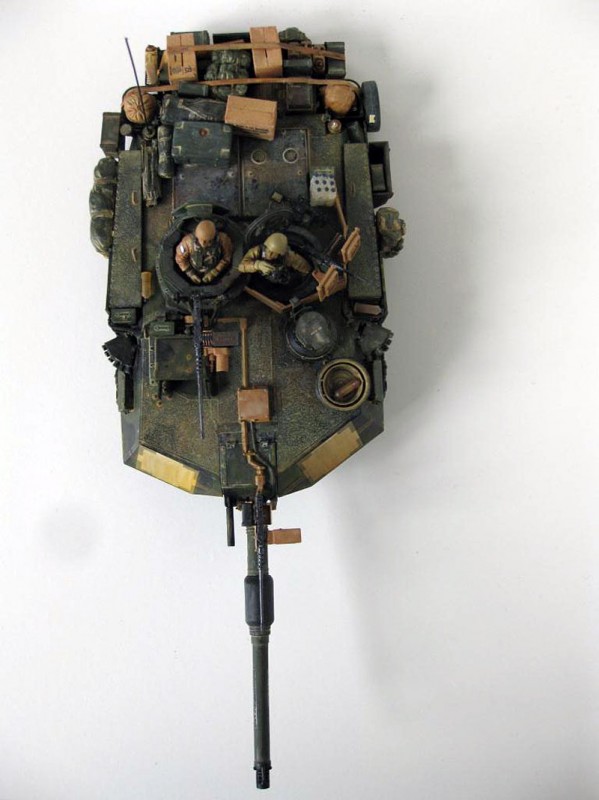


About the Author


Comments

looking good, but as far as i know, only tan M1A2s were in Iraq, do you have pics of the real tank?
APR 11, 2011 - 12:35 AM

Nicely done Anirudh, I was considering doing the tan/nato combo but decided the painting was too finicky, you have done a great job with it though.
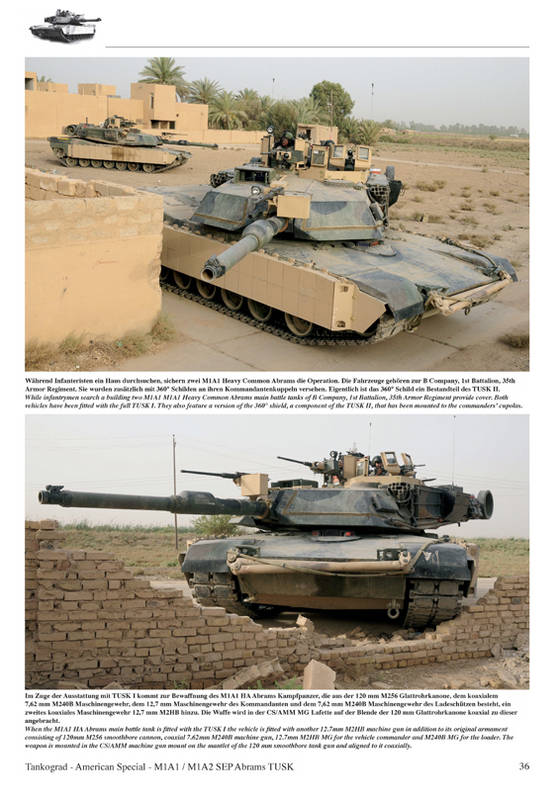
jamal, here's a photo from Tankograd.
APR 11, 2011 - 04:08 AM

Lucas,
Sorry, but those two pictures are of US Army M1A1s, not M1A2s. A simple indicator is the bolted cover plate on top of the turret in front of the Loader's station, which is where the CCTV "turret" is on M1A2s.
I can't tell what unit(s) these Abrams belonged to from the images, and the text doesn't appear to indicate it either.
APR 11, 2011 - 04:36 AM

There are no operational M1A2s in camo in the US Army. All operational M1A2s are in overall sand. There were a few (I think 4, a PLT) of camo M1A2s at the Armor Training School to familiarize students on, but they are the only camo M1A2s in the inventory.
As Jeff says, the above pics are M1A1s w/TUSK in Iraq from B C0, 1-35 AR, 1 AR Div out of Germany. One of them is Bad Blessing, which I recently built.
APR 11, 2011 - 04:55 AM
Oops guess I got in the habit of looking at the gunners sight. I figure maybe I was more referencing the fact that the NATO was used in Iraq, with the sand painted Tusk, skipped my mind as to what branch or model it was specifically. Good to know though, thanks.
APR 11, 2011 - 04:58 PM

Thanks a lot for posting the feature, Darren.
Also thanks for the comments guys. The nato camouflage scheme is, as far as I know only used on M1A2s in Germany, but I liked the scheme and the contrast with the tan TUSK pieces.
APR 11, 2011 - 08:57 PM
As posted above, there are no (none, zero) operational M1A2s in NATO camo. They are all Sand. 1ID and 1AD in Germany have all M1A1s, which are NATO camo.
The model looks great, but it is a shame it is painted incorrectly.
APR 11, 2011 - 11:59 PM
Sorry Gino, guess it helps if I read everything correctly. Yeah it is a shame the colours are wrong but I was only able to get a hold of the M1A2 before I started so thats what I had to use. Glad you like it, but I've got to thank you for your help with the build.
Has anyone else noticed a shortage of DML M1A1s? Is it OOP?
Anirudh
APR 12, 2011 - 12:24 AM
Copyright ©2021 by Anirudh Arun. Images and/or videos also by copyright holder unless otherwise noted. The views and opinions expressed herein are solely the views and opinions of the authors and/or contributors to this Web site and do not necessarily represent the views and/or opinions of Armorama, KitMaker Network, or Silver Star Enterrpises. All rights reserved. Originally published on: 2011-04-11 00:00:00. Unique Reads: 39413

WEB HOSTING BY


Copyright ©2021 Armorama and Kitmaker Network, a subsidiary of Silver Star Enterprises
All Rights Reserved. Please read our Conditions of Use and Privacy Policy.
All Rights Reserved. Please read our Conditions of Use and Privacy Policy.