

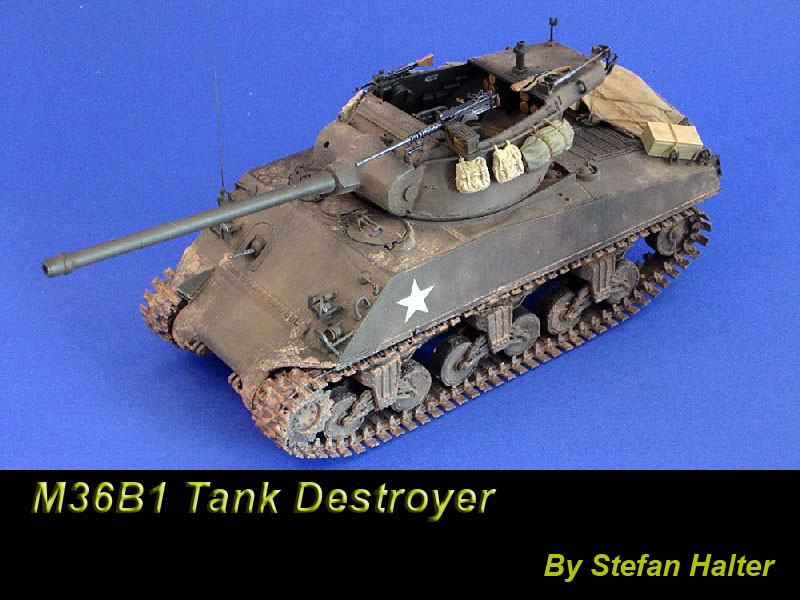
1⁄35M36B1 Tank Destroyer
9
Comments
Introduction
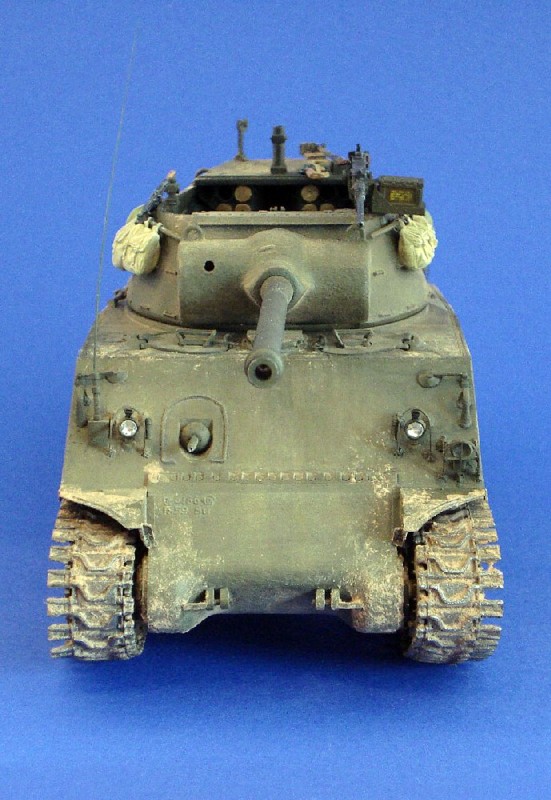
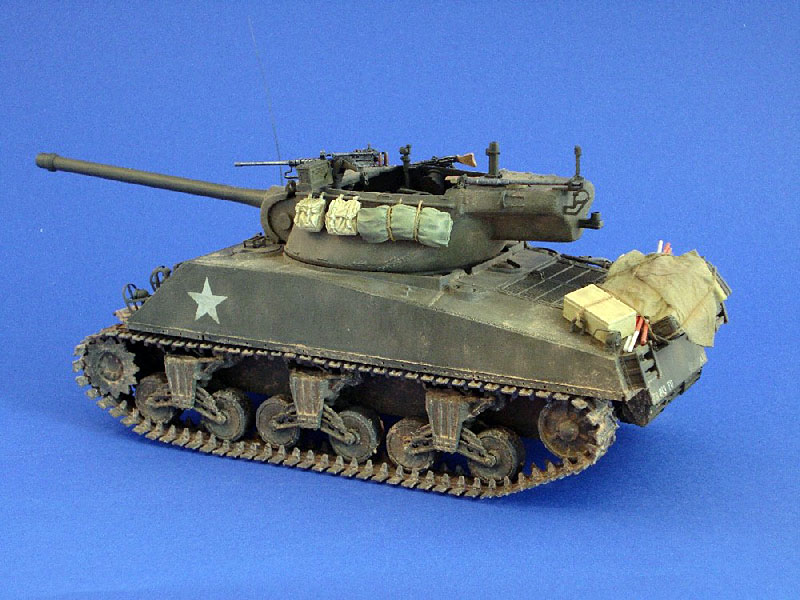
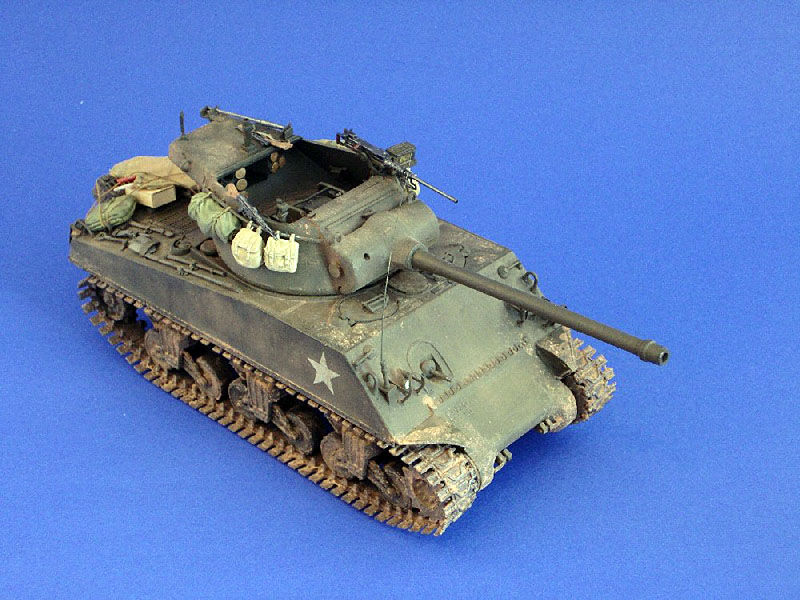
The M36 Tank Destroyer (TD) was basically an M10 TD with a new turret mounting an M3 90mm gun. It entered combat in September 1944 and was well liked by its crews. At the time it was the only American vehicle that could deal with Panthers and Tigers at normal combat ranges. Due to its success, 187 additional vehicles were converted from standard M4A3 chassis with the M36 turret. These were called M36B1 and had the distinct advantage of a bow machine gun. They served alongside the regular M36. Building an accurate M36 takes a bit of work, as there is no up to date kit of one. Italeri offers an M36B1 as kit No. 250, usually labelled as M36. While it can be brought up to speed, this involves a lot of work, as for one thing there is no accurate interior. The turret basket is moulded as a full basket when in reality it is only half a basket. Steve Zaloga updated this kit in issue 1 of 2001 of Military Modelling Magazine. The easier route now, ten years later would be to kit bash either an Academy or AFV-Club turret with a DML or Tasca M4A3 VVSS hull. I chose neither of these approaches.Kit bashing
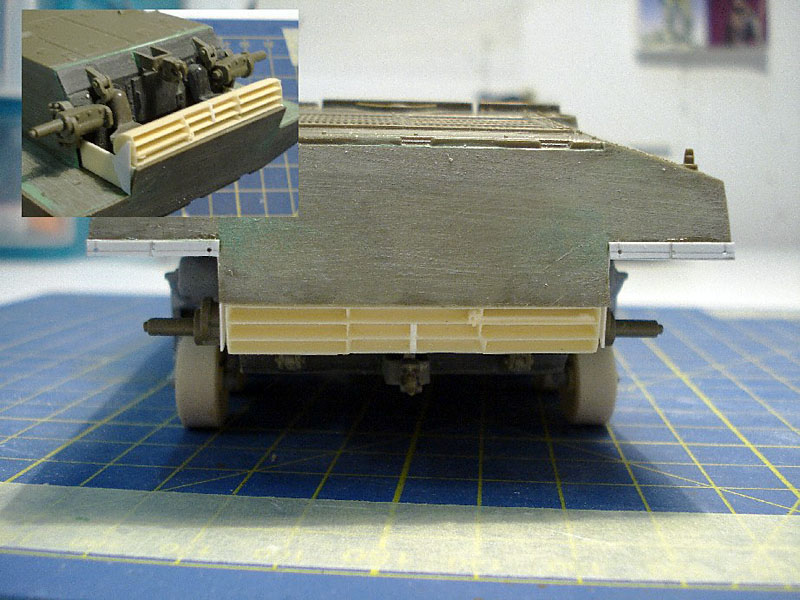
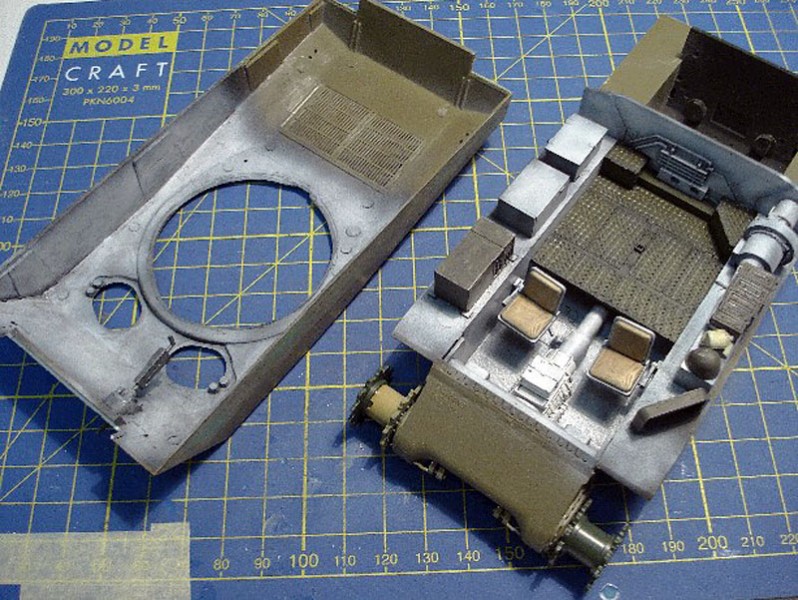
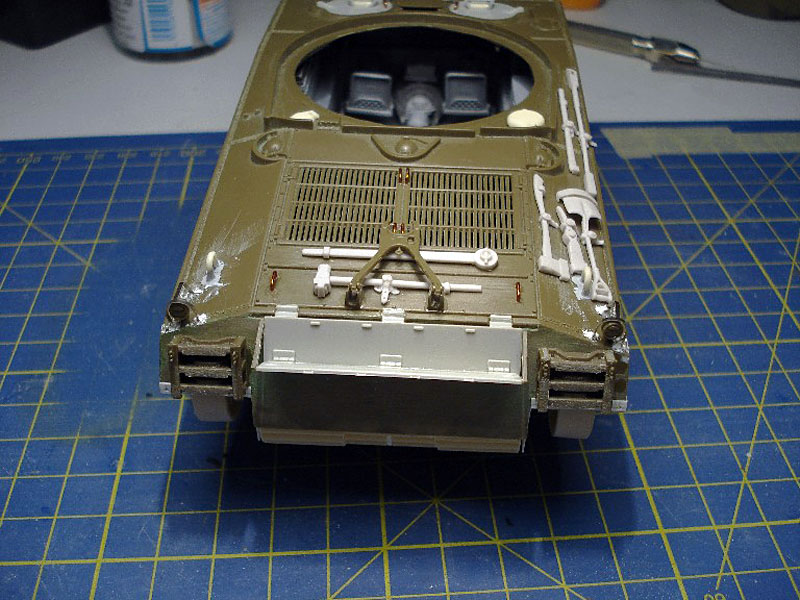
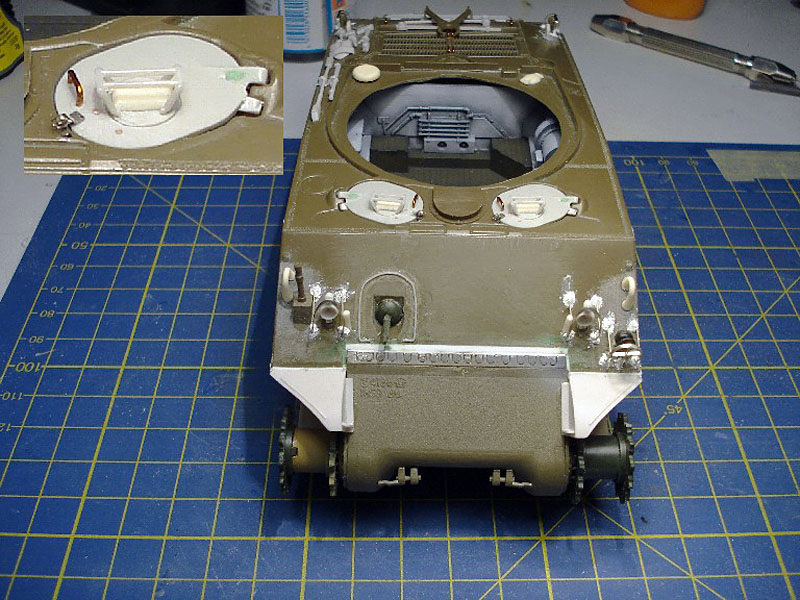
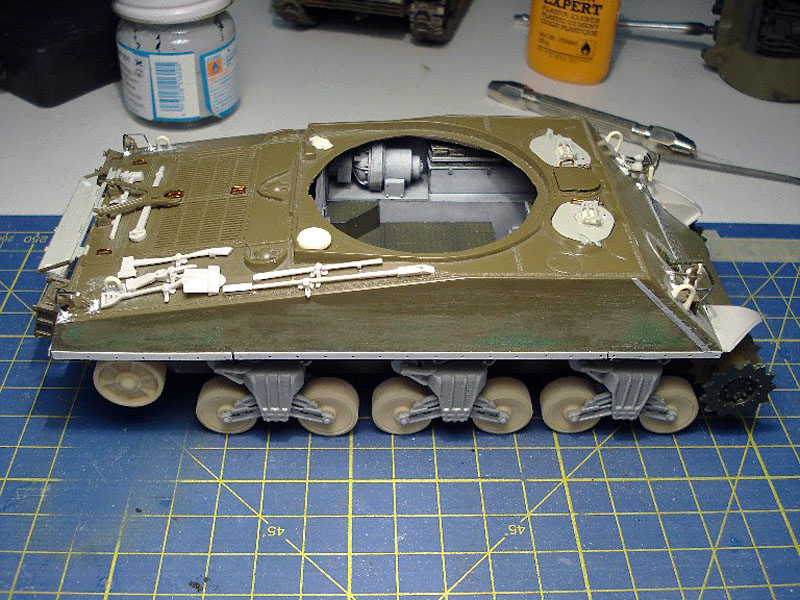
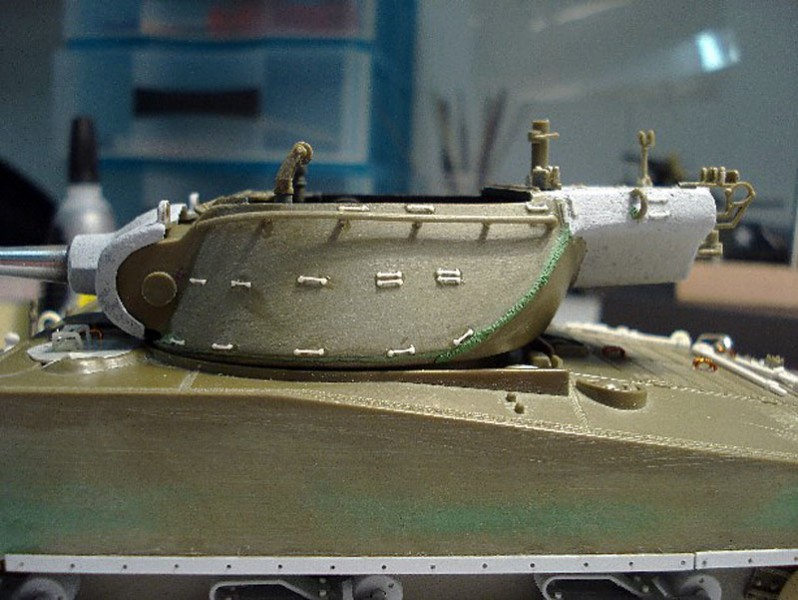
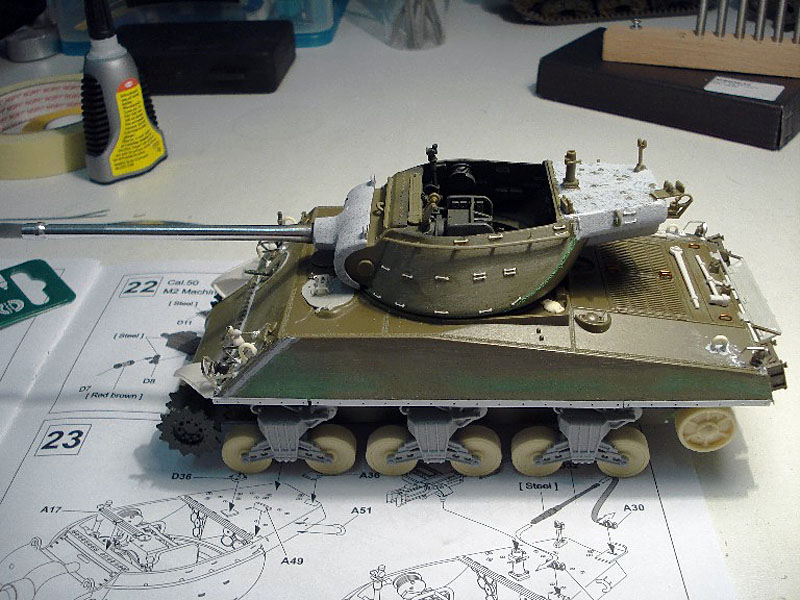
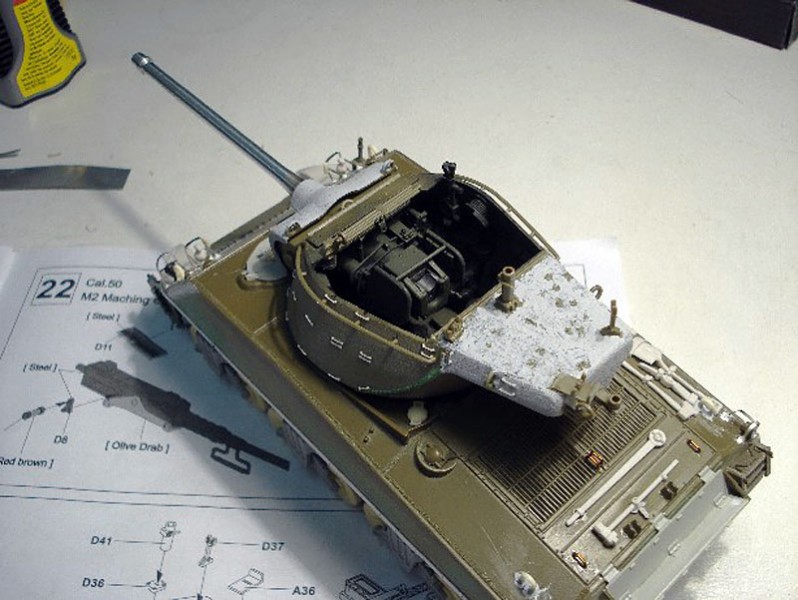
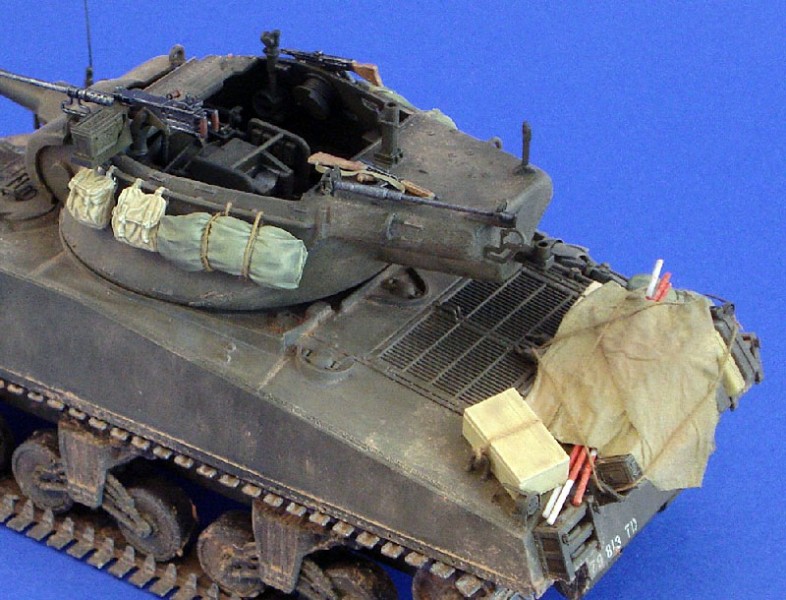
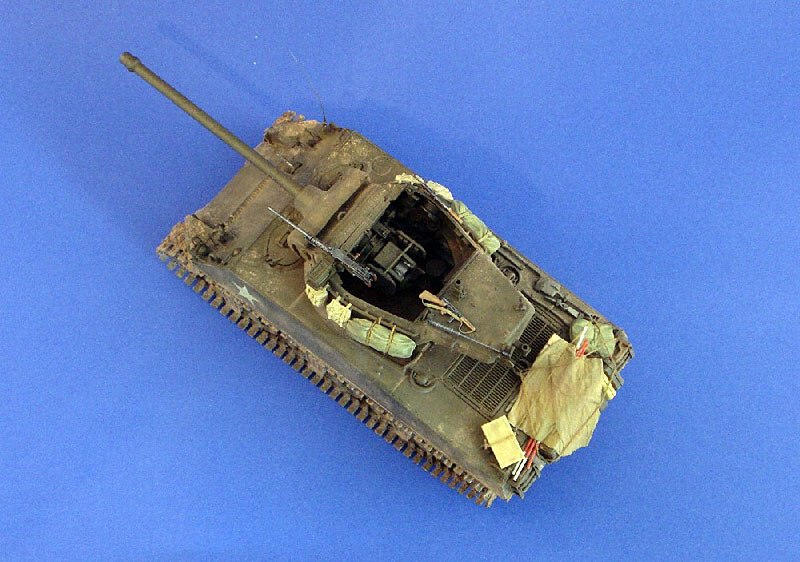
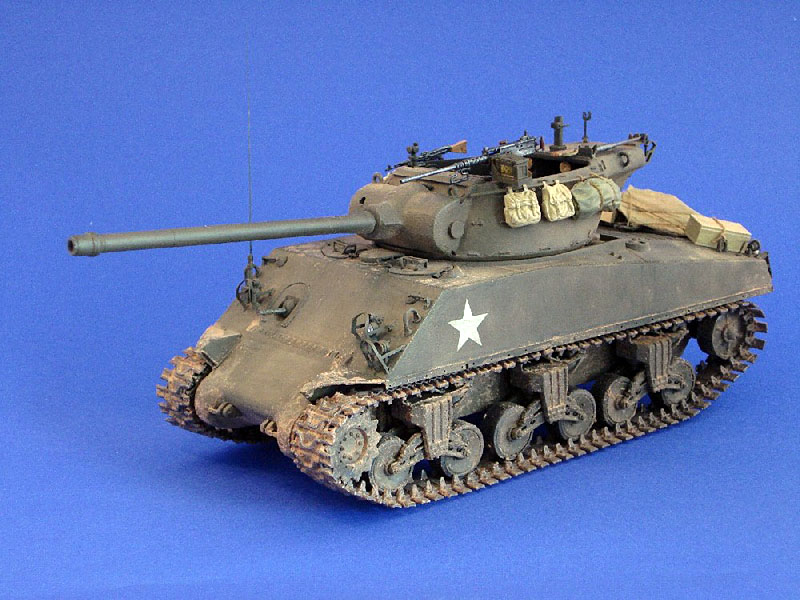
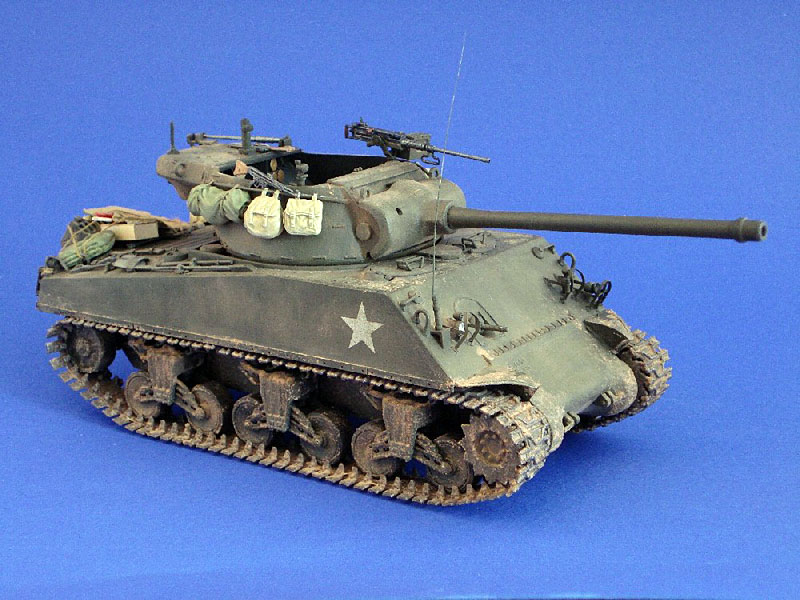
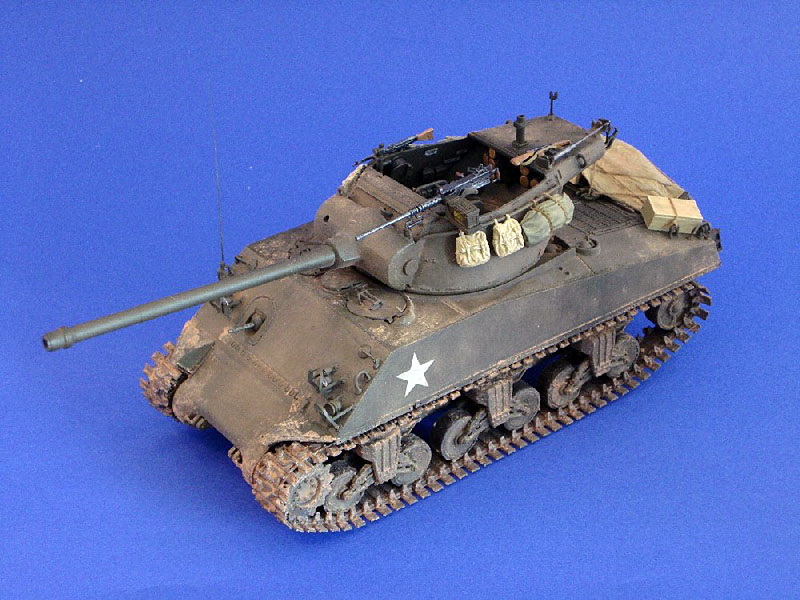
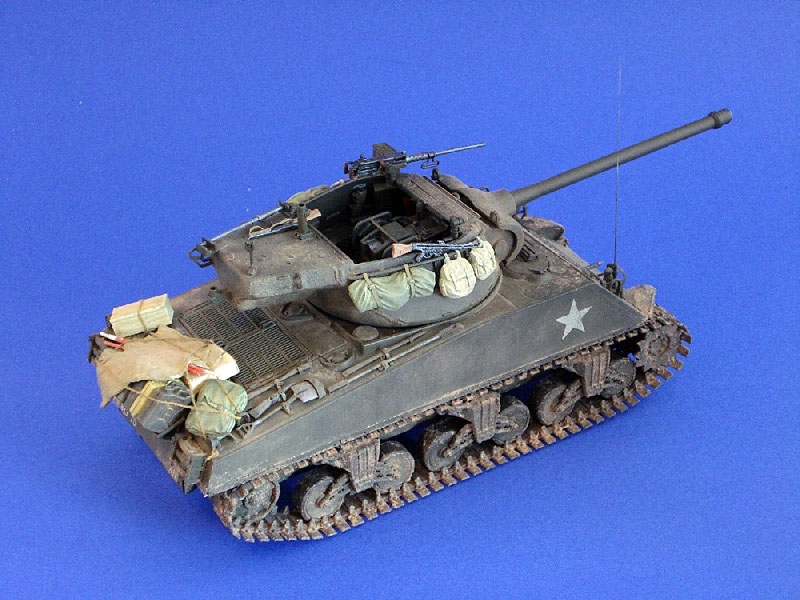
In my stash I had the old Italeri M36B1 and an AFV-Club M36. As the AFV-Club kits turret is a great piece of work but there are issues with the upper hull, I decided to use as much of the AFV-Club kit as possible and combine it with the Italeri M4A3 upper hull. So much for the plan. I started out matching the AFV-Club lower hull and transmission cover to the Italeri upper hull. From the spares box came a Tamiya M4A3 lower hull rear plate as this fitted more easily than the Italeri part. The turret opening had to be enlarged somewhat to accommodate the AFV-Club turret. Though AFV-Clubs suspension is superb, I had to exchange it for a DML one, as the M36B1 mounted the later VVSS with raised return roller arm. This required some surgery with the mounting plates. The road wheels used on the B1 were the simple dish type, so these had to be replaced with Formations items. Drive sprockets were simple smooth type (Academy from the spares box) and idlers came with the same Formations road wheel set. Tracks came from Tamiya. The interior proved difficult as well, as the AFV-Club interior is not quite correct for the B1. I had to remove the ammunition mountings and added some boxes, an improvised aux. generator and some other bits and pieces. I wasnt after total accuracy here, just something to be seen through the open turret and hatches. Other items on the hull included Formations fenders and exhaust deflector as well as scratch built sand skirt mounting strips. The tools were also Formations items and the other small parts were from different manufacturers found in the spares box. Light guards and some other PE came from the Finemolds PE set for US WWII armoured vehicles. The turret was built as per AFV-Clubs instructions. I added some cast texture on the gun mantlet and rear turret bustle/counter weight with Mr Surfacer 500. I also added attachment points (2 small discs from a punch and die set connected with a piece of stretched sprue) and a weld bead along the rear edge. An improvised .50 cal machine gun mount was added at the front of the turret. Painting was done with Tamiya and details with Vallejo acrylics. Weathering was done with different oil washes and Mig pigments. Stowage came from the spares box and some scratch built items (such as the artillery stakes to add some color).Conclusion
What resulted was a mix and match of parts from AFV Club, Italeri, DML, Tamiya, Academy, Formations and even a cat whisker for the antenna! It was a truly enjoyable project and I certainly learned more than with a shake and bake kit! PS: No animals were harmed in the making of this model. Cats loose a whisker here and there and you just have to pick it up!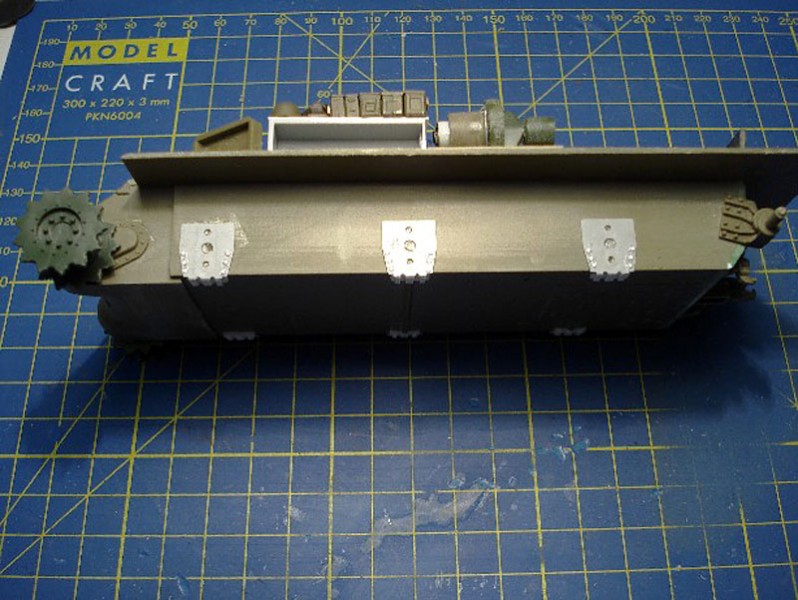
About the Author


FROM: ZURICH, SWITZERLAND
I'll build just about anything military related that gets my interest, though most of it is 1/35 scale WWII Allied.
Comments
Stefan,
Well done! It may even inspire me to finish mine!
Regards,
Tom
MAY 09, 2011 - 10:19 AM

Excellent Stefan, I have all the parts necessary to make thios scattered in various boxes. When (If) I get around to it I hope it turns out as well as yours.
MAY 09, 2011 - 10:58 AM


Thanks for getting this up Darren! and thanks for the comments guys. It was a great project, not least thanks to all the feedback I got in the build log.
Cheers!
Stefan
MAY 10, 2011 - 07:34 AM

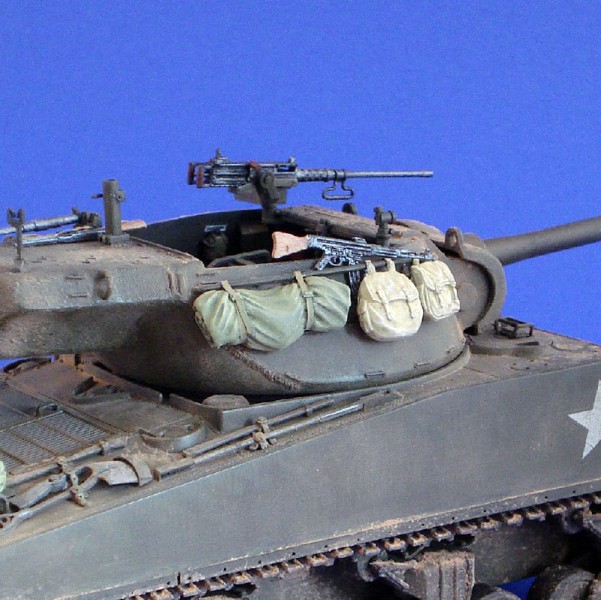
This is a very interesting build, considering all the different places you had to source parts from; it certainly came together well! I was wondering about the weapon placed for ready access in the turret rail, am I correct in thinking it is an MP-44?
MAY 13, 2011 - 06:25 PM
Thanks Jim! You've got that right, it's an MP44. I like to put a piece of captured hardware here and there...
Cheers!
Stefan
MAY 13, 2011 - 06:34 PM

Very nice Stefan. Your homework paid off nicely. Good job on the stowage and weathering as well. Have you plans for figures?
MAY 14, 2011 - 12:17 AM
Sorry for the late reply Frank and thanks for the comments! Nope, no plans for figures at the moment, but who knows, maybe it'll land on a dio some day.
Cheers!
Stefan
JUN 03, 2011 - 12:41 AM
Copyright ©2021 by Stefan Halter. Images and/or videos also by copyright holder unless otherwise noted. The views and opinions expressed herein are solely the views and opinions of the authors and/or contributors to this Web site and do not necessarily represent the views and/or opinions of Armorama, KitMaker Network, or Silver Star Enterrpises. All rights reserved. Originally published on: 2011-05-09 00:00:00. Unique Reads: 25205

WEB HOSTING BY


Copyright ©2021 Armorama and Kitmaker Network, a subsidiary of Silver Star Enterprises
All Rights Reserved. Please read our Conditions of Use and Privacy Policy.
All Rights Reserved. Please read our Conditions of Use and Privacy Policy.