

1⁄35Soviet KV-1S Heavy Tank
4
Comments

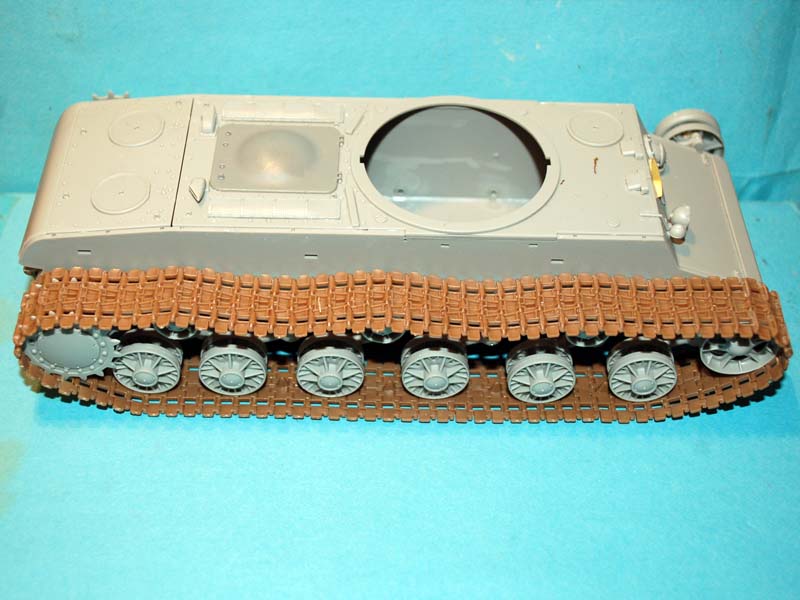
Moving onto the next step in this stage I have supplied a picture of the correct engine hatch next to the kit supplied part in order that the difference is made clear, the hatch I am going to use is from the Trumpeter kit 00358 on which this part is not used and it is a perfect fit so no concerns there. The return rollers that are assembled at this stage I am not going to glue in place as it will make attaching and then removing the tracks for painting easier later on. The supplied photo etched rain guard is attached at this time. The only guide to bending this part is a weld bead on the front of the vehicle where it is to be placed which will make shaping this part more difficult than it needed to be. I should mention that I have not attached the clear plastic light lens and MG to the tank as directed in this stage as that will be done after the painting is complete.
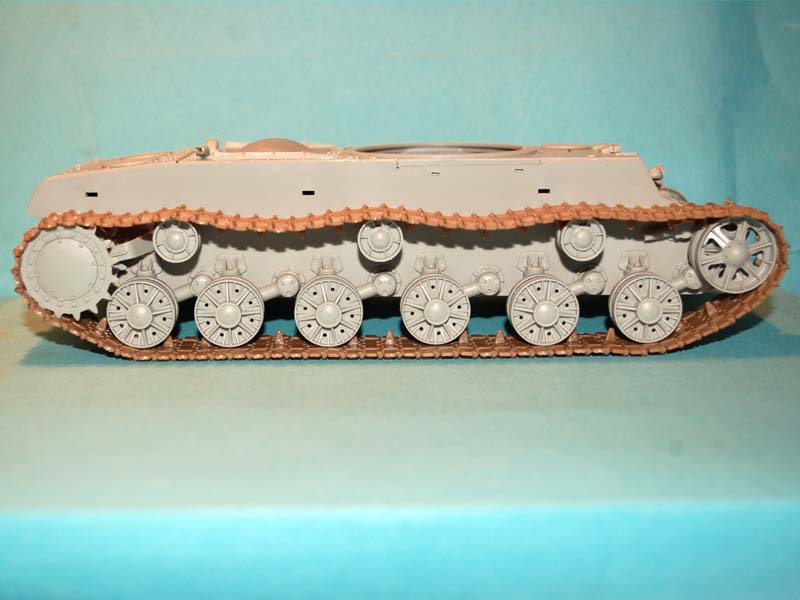
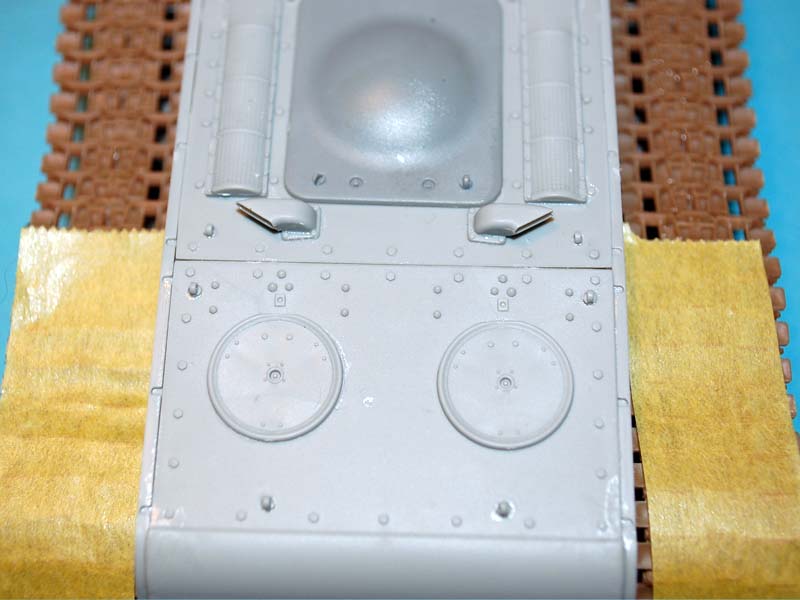
Stage three covers assembly of the road wheels and drive wheels. Starting with the drive wheels which are nicely moulded but care needs to be taken when removing them from the sprue due to the connection points being between the teeth and not a lot of space for removal. The road wheels have very nice crisp detail and to aid alignment a locator is on the back inner face, but I found that unless you check that the lightening holes are aligned it is possible to misalign them.
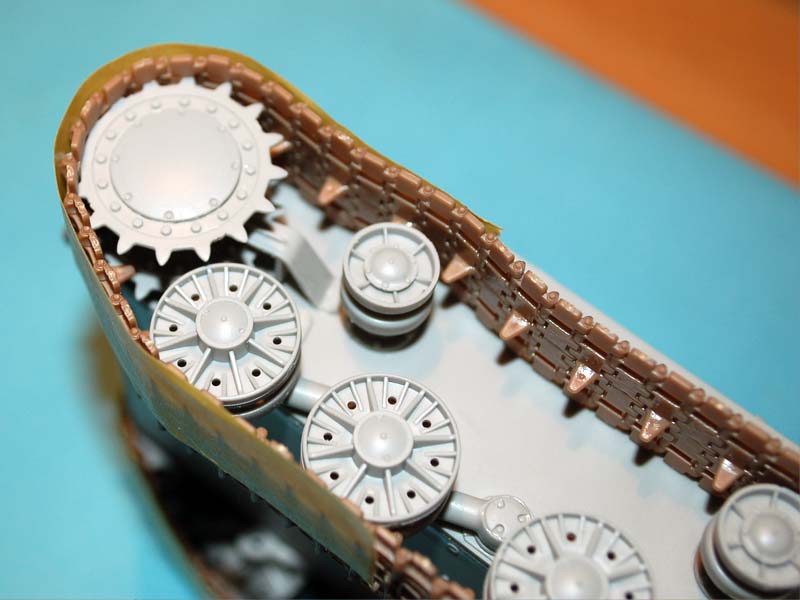
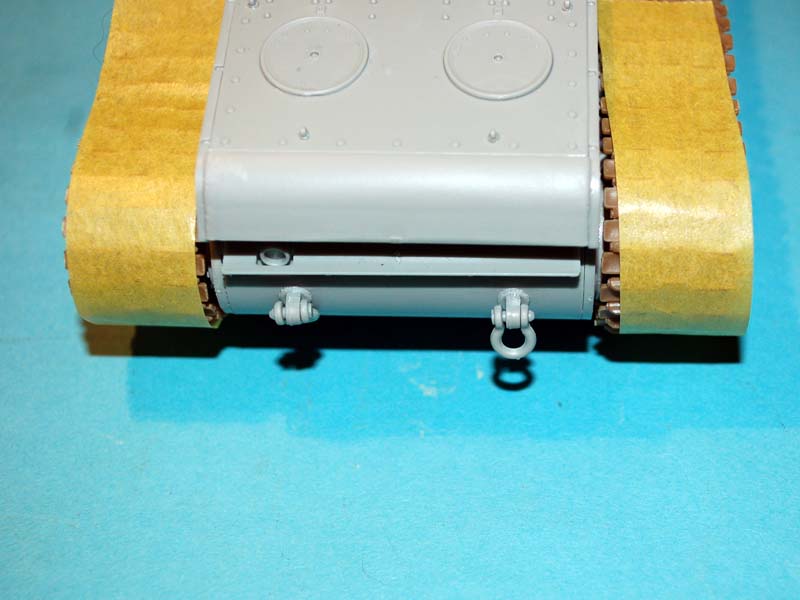
Stage four covers the installation of the remaining wheels, I still suggest that the wheels are not glued in place as it will make the addition and removal of the tracks in the next stage easier as I prefer to paint tracks when off of the vehicle. The drive wheel cannot be removed once the mud scrapper is in place but leaving the drive wheel unsecured will make placement of the tracks easier as the teeth can then be moved as needed. The mud scrappers do have a lot of mould seams that need removing but gentle scrapping with a knife blade is all that is needed. Also installed at this time is the towing hitches and the exhausts, the tow hitches are easy to install and no glue is required, the exhausts are very well replicated with a nice depth to the opening already moulded in the part.
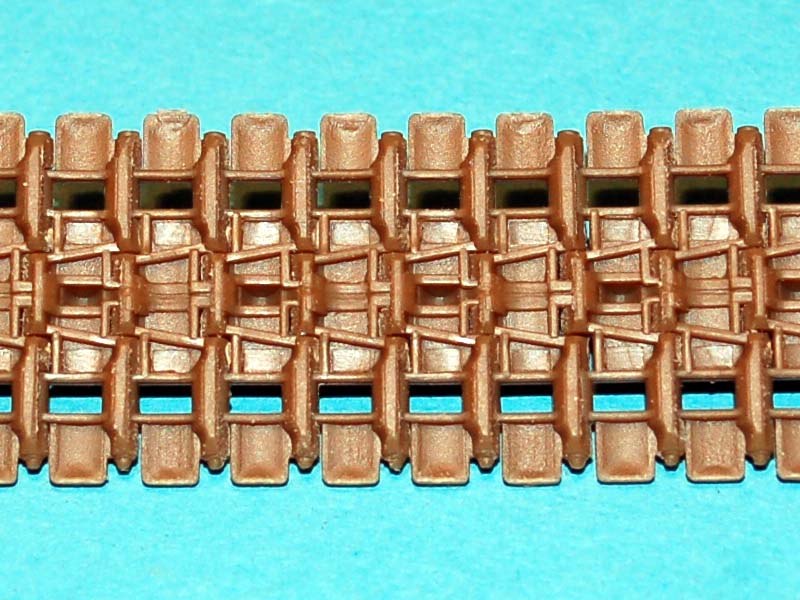
Stage five covers construction and installation of the individual track links. There are 16 links on each of the 12 sprues giving a total number of available links for each side of 96, the instructions tell you that you need 88 track links for each run. Working in the belief that this is correct (it looks right when installed) that gives you 16 links for the spare track links for stations 5 and 6 and also includes 1 spare link retaining clamp on each track link sprue. There are no ejector pin marks on these links which is a blessing as the link and length tracks in other offerings while looking good required a lot of filling and clean up. The only down side to these tracks is that some links have as many as 6 connection points which is a little over the top and just add to the work needed before assembly, the 1.6mm oversize is annoying but not that far out.


About the Author


FROM: ENGLAND - SOUTH WEST, UNITED KINGDOM
I have been building model kits since the early 70s starting with Airfix kits of mostly aircraft, then progressing to the point I am at now building predominantly armour kits from all countries and time periods. Living in the middle of Salisbury plain since the 70s, I have had lots of opportunitie...
Comments


The lifting rings on a turret are correct, judging from the instruction. But you can also see from the photos that two side ones could be an actual hooks just as the rear one. Otherwise, they only need to be "flatter"/more leveled to the roof.
 The handle bars on KV-1S (just as on KV-85) could be long and wrapped around in two parts; or it could have a short left side handle; or could be one single wrap-around handle bar on the top of a turret; or it could be no handle bars at all.
P.S. On the last photo you can see the lifting hook on the back of a turret as well as no handle bars at all (seems like they were broken off).
The handle bars on KV-1S (just as on KV-85) could be long and wrapped around in two parts; or it could have a short left side handle; or could be one single wrap-around handle bar on the top of a turret; or it could be no handle bars at all.
P.S. On the last photo you can see the lifting hook on the back of a turret as well as no handle bars at all (seems like they were broken off).
MAY 26, 2013 - 12:04 PM
Forgot to add: slogan #4 from decals has an extra "K" after the word "Московский". You may want to cut it off.
MAY 26, 2013 - 12:22 PM
Copyright ©2021 by Darren Baker. Images and/or videos also by copyright holder unless otherwise noted. The views and opinions expressed herein are solely the views and opinions of the authors and/or contributors to this Web site and do not necessarily represent the views and/or opinions of Armorama, KitMaker Network, or Silver Star Enterrpises. All rights reserved. Originally published on: 2012-08-26 00:00:00. Unique Reads: 26905

WEB HOSTING BY


Copyright ©2021 Armorama and Kitmaker Network, a subsidiary of Silver Star Enterprises
All Rights Reserved. Please read our Conditions of Use and Privacy Policy.
All Rights Reserved. Please read our Conditions of Use and Privacy Policy.