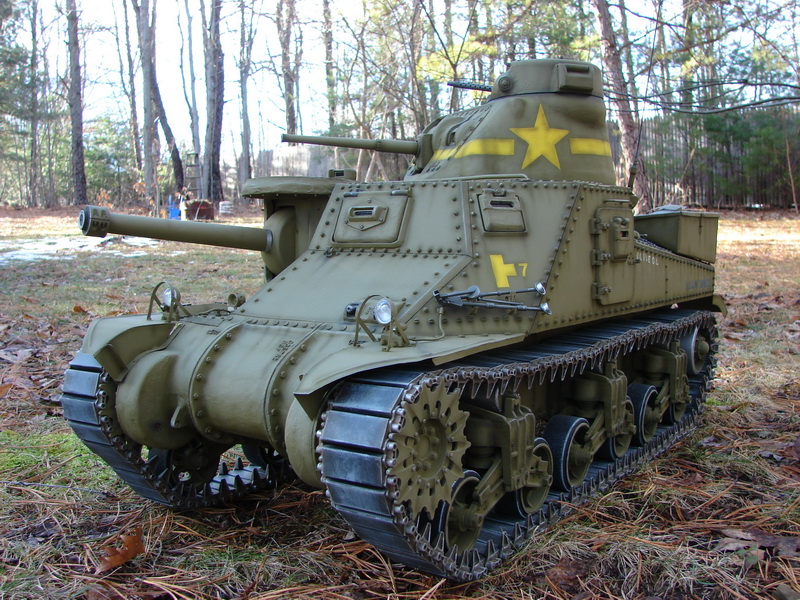
1⁄6M3 Lee
10
Comments
Introduction
One of my first model tank kits that I assembled while I was a child was the 1/35th scale Tamiya M3 Lee. Since then I always had a soft spot for that ugly older red headed cousin of the Sherman. Fast forward several years I was visiting the Aberdeen proving grounds ordnance museum. With my camera in hand I was photographing as many of the collections exposed, decaying and, mostly inaccurately painted relics. It was at this time when I came face to face with an old friend… The collection’s M3 Grant. After reviewing the vehicle in person, and taking many walk around images it I decided to build a 1/6th scale model of the M3 Lee.The kit
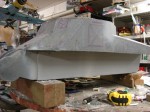
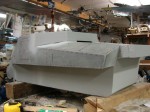
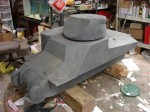
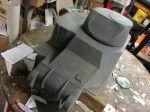
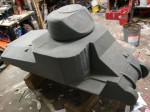
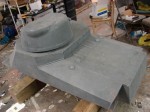
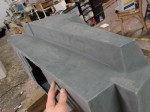
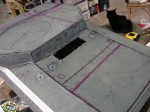
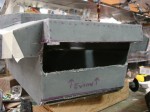
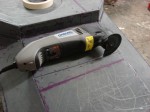
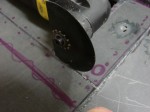
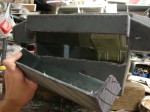
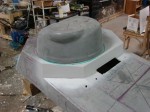
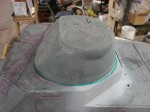
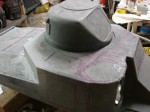
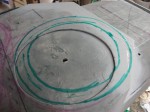
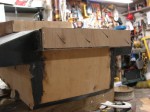
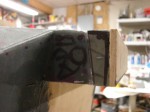
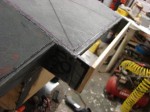
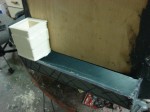
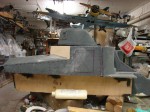
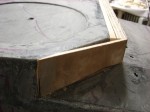
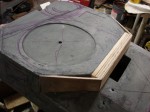
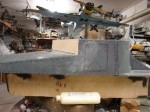
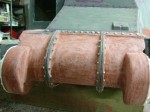
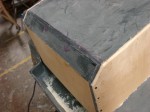
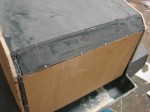
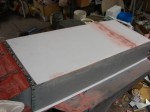
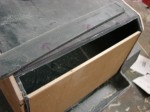
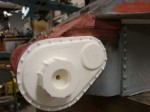
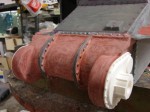
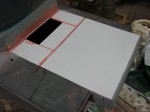
For the build’s base foundation I used a 1/6th scale Rotomold plastic M3 Lee kit from Plastic Panzers. Plastic Panzers is a small company that offers an array of unique 1/6th scale armored vehicle kits. Most of the kits are fabricated in a material called Rotomolded plastic, and are designed to be starter kits. The material gets the name from the way the parts are molded. Rotomold plastic starts out as a powder. The power is then shoveled into the mold and the mold is sealed. The mold is placed into an oven and is then spun. The heat melts the plastic and the plastic is drawn evenly through the mold via centrifugal force. Once the mold is cooled the casting is removed. The castings are all one piece, hollow, and are about a ¼ of an inch thick. The castings are very durable, shatter proof, and will bounce if dropped onto the floor. The Plastic Panzers kits themselves are molded with very basic details that are meant to supply the basic modeler with something to get them off the ground. In addition to the molded in details the kit also supplies you with several resin components which include the side doors, pistol port visors, 37mm gun mantlet, and the commander’s copula / mini turret. Also included was a set of simplistic rotomold Sherman style VVSS suspension parts and two turned wooden barrels (One 75mm, and one 37mm) Before I start on any of these builds my first task is to remove / amputate the models molded in details. The hull itself appears to be based on the old Tamiya M3 lee which inherits the large rear upper hull wall, The lower hull rear angle was also missing. Another missing feature from the lower hull was the indent of the front transmission cover. One advantage about this material is that the material cuts very easily and is also easily de-burred. For this a Dremel rotary tool is used along with the Dremel Multimax. To remove the tank’s rear wall the Multimax’s ability to precisely plunge cut into the plastic was a great asset that saved lots of time. After the hull was gutted it was time to rebuild the missing portions. To rebuild the rear hull 1/4inch thick plywood was used. The plywood was cut to the exact same dimensions of the missing rear hull sections the plywood was both glued and nailed into its final position. Along with the rear wall the side hull was built up up to the transmission cover. These side panels give the proper indent for the tank’s transmission cover. It was at this time I realized that the rear engine deck, and fighting compartment rear plates were too short by about an inch and a half. It was a simple fix, the engine deck was lengthened and plated over with styrene, and the fighting compartment was lengthened by adding panels of wood the correct length over the kit’s panels. Once all of the hull revisions were concluded all of the wood surfaces were thoroughly soaked with fiberglass resin, which transforms the wood surface into a plastic. Soaking the wooden parts has many benefits, it removes the wood grain, makes the panels water / weatherproof, and makes for a stronger model.Comments
That's a LOT of work. Props to the builders who build these 1/6th scale monsters. It's unfortunate that some of the more obvious details are inaccurate. It's a bit of a mix of early and late features.
APR 11, 2013 - 07:41 AM
What details would they be? As I wrote in the article the hull details are heavily based on the APG Grant.
APR 12, 2013 - 09:54 AM
I don't want to come across in a mean way. This is a really nice build, and your fabrication skills are WAY better than mine. I have dug into the M3 tanks pretty heavily for the last year or so.
APG's "Grant", in my opinion, didn't begin life as a Grant. I think it's a Lee hull with a Grant turret placed after the fact for display purposes. It's got the rear antenna pot, which was never used on Grants, and it's missing the driver's periscope. It also has the 'late' exhaust setup, which I've seen very few, if any Grants with, although that could have been a field mod. It's also got the tripod bracket on the left side front hull, which isn't visible in Grant wartime photos.
With regard to the 'early' and 'late' mix on your Lee...
-'early' 37mm without the counterweight
-'mid' 75mm with the counterweight
-'late' exhaust pattern'
-'early' hull with no ventilators
-'late' Sherman drive sprockets
As far as some other small details...
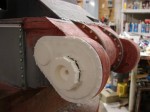
-both gun rotors are too small diameter, and appear to be 'sunken' into the tank a bit too much.
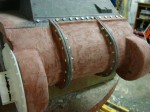
-the rear hull boxes should be welded on, with no gaps
-the hinges on the hatch over the 75mm gunner position don't match the APG Grant.
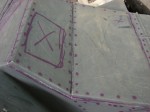
-on the right rear 'diagonal' part of the upper hull, you've got rivets which should be bolts
-the rear thin armor plates that were installed to protect the air cleaners were welded to the rear hull plate, not riveted.
-where the final drive cover meets the front upper hull, it should sit proud. So proud that the final drive had to be ground down a tiny bit where the forward firing machine guns fired.
Again, please please don't take this in any way but to point out some historical accuracy issues. It's a fantastic build, great fabrication skills, and I'm particularly fond of the paint and markings. Very nicely done. And of course it's YOUR tank, so you built it like you wanted to. I also like the homage to the famous training photographs from 1942 with the figures.
APR 12, 2013 - 11:44 AM
Thanks for the compliments, I was aware of the APG grant / Lee hybrid nature.
As for some of the things you noticed.
1. The 75mm rotor was as good as I could make it...with what I was given to start with. This also applies to the transmission bolting strip.
2. I disagree with the 37mm concern, From the ocean of images I was working with they all appear to look similar to mine in appearance, and doesn't look to be sunken in to me.
3. The Bin detail I got from seeing a M3 grant with the bins riding over the rivets...Honestly I did't realize that the bins were welded to the deck flush on US M3s.
4. The sprocket was the closest I could get in this scale for the early style.
5. For the air filter protectors I built them as per these images.

 There are two rows of bolts...but when I was building the model they looked like rivets. which is what I used
6. I'm not sure what your referring to with the diagonal plate, every image that I have seen these parts are riveted.
Also I did do a construction blog on this forum when I was building this model. During the duration of the build no one stepped forward with any concerns or mistakes at the time.
LINK
As for the mix of early and late parts, it is possible that a tank got updated and repaired with some parts from different salvaged / repaired tanks.
APR 12, 2013 - 12:33 PM
Hi John,
Well, I didn't much about M3's until this past year. It's funny that a TON of details are known about the M4 Sherman, but for the M3, a lot of the knowledge just isn't out there, or at least it's hidden pretty well. I asked a number of questions on various forums, and got a lot of silence, so I had to use multiple references to figure out some of the details.
Here's a photo from prime portal regarding the rear plates being welded as opposed to riveted. The photos you have kinda obscure this area, so I see why you assumed rivets. The 4 rivets on the sides were the mounting point for the air cleaners, but the plates themselves were welded to the rear hull plate.
 As far as the diagonal... here's what I'm talking about:
 That top strip is also bolts/screws. This was to allow that entire corner piece to be removed, which was required to replace the 75mm gun and mounting. You've got the screws on the vertical piece of armor nicely done, but the top row as rivets.
Looking through your build thread, it's clear that what you had to use as a starting point definitely had some weak points. Well done on making a nice finished product!
By the way, the only reason I know anything about the M3 is for my own build here: LINK
 As far as the diagonal... here's what I'm talking about:
 That top strip is also bolts/screws. This was to allow that entire corner piece to be removed, which was required to replace the 75mm gun and mounting. You've got the screws on the vertical piece of armor nicely done, but the top row as rivets.
Looking through your build thread, it's clear that what you had to use as a starting point definitely had some weak points. Well done on making a nice finished product!
By the way, the only reason I know anything about the M3 is for my own build here: LINK
APR 12, 2013 - 02:34 PM
Yeah you are right about the gap in reference material there is for the M3...while the sherman has several volumes. I knew about the removable plate...but I didn't know that the top portion was screwed, although it makes sense. When I was at APG I couldn't get to the top of the vehicle...too many people watching. Your model looks great and reflects your research.
BTW currently I'm working on a 222 armored car LINK
so far it's a lot smaller, but turns out to be more complex.
APR 13, 2013 - 04:02 PM
The 222... all those angles, and a full interior... ouch. Looks really nice though. I don't know a single thing about those, so you don't have to worry about me picking that one apart.
APR 13, 2013 - 06:25 PM
By the way, on Thursday of last week, I was able to photograph the interior of the old APG "Grant". It's definitely a Lee hull, complete with the roof hung 37mm ammo bin on the left side of the hull.
APR 22, 2013 - 04:19 AM
Copyright ©2021 by John Grima. Images and/or videos also by copyright holder unless otherwise noted. The views and opinions expressed herein are solely the views and opinions of the authors and/or contributors to this Web site and do not necessarily represent the views and/or opinions of Armorama, KitMaker Network, or Silver Star Enterrpises. All rights reserved. Originally published on: 2013-04-11 15:54:48. Unique Reads: 21475


