

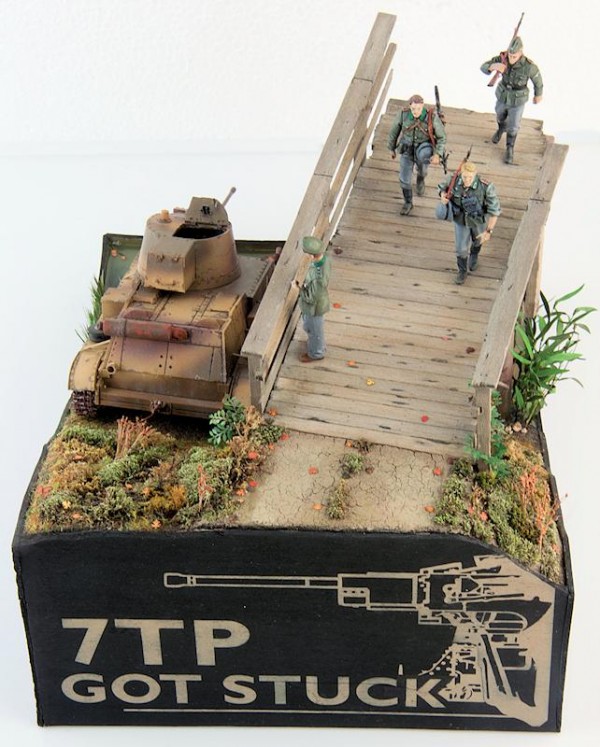
1⁄357TP got stuck
10
Comments
water
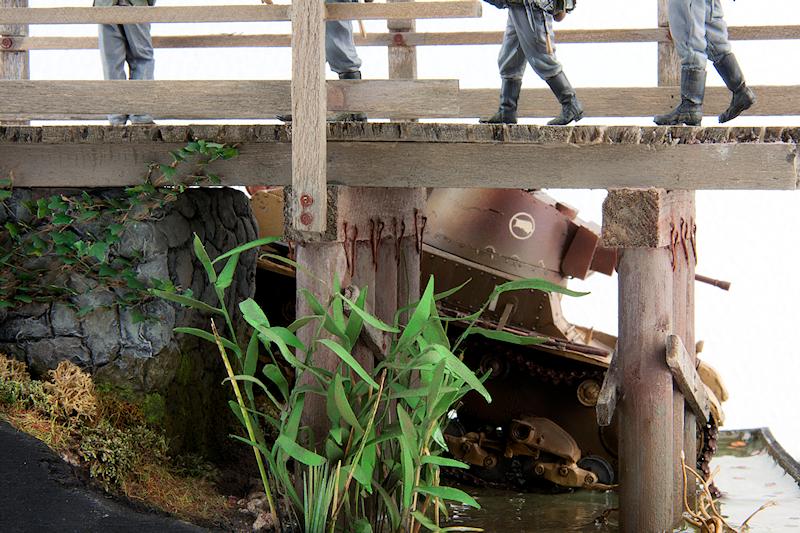
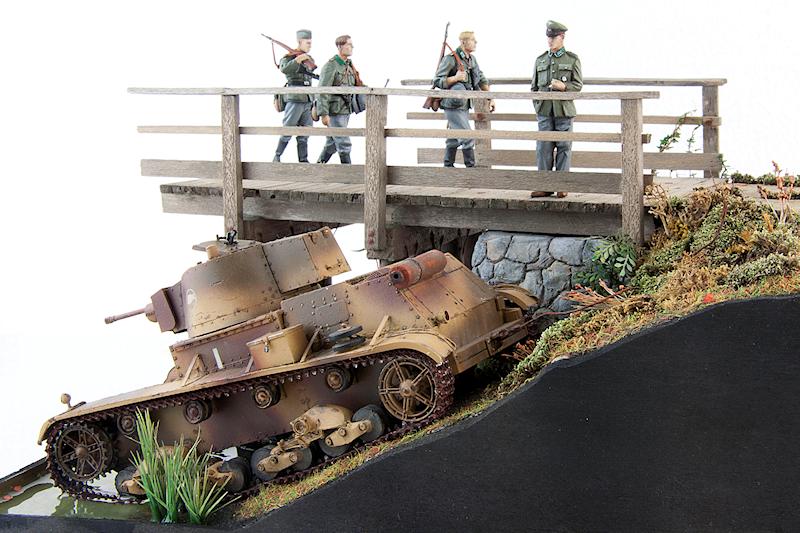
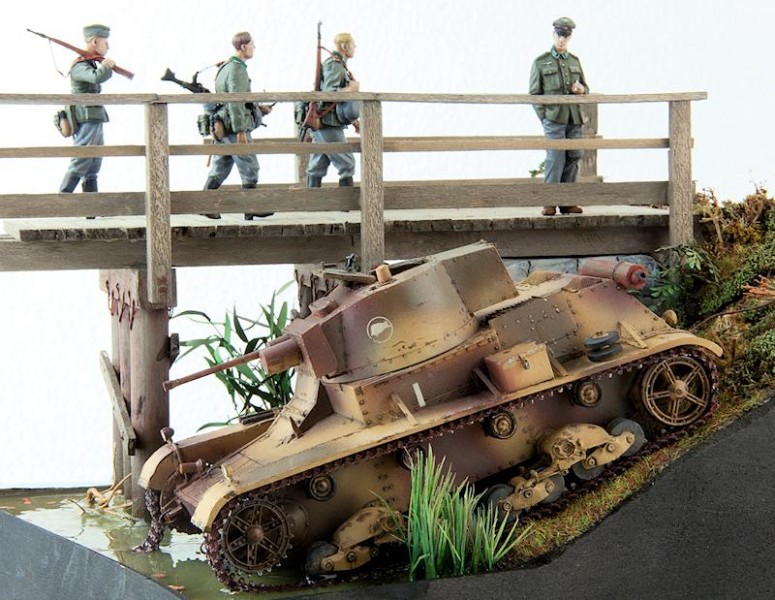
Now came the most worrying part, the water. I eventually settled on using Vallejos Still Water as it was available in Hungary, and I had also obtained a lot of Vallejo paint for the figure painting. So, first of all, I made a small mock-up base using the same materials to try out how the Still Water works. I created a 3mm thick layer, and went to sleep. When I woke up I realised that the resin was cracked. I had been really stupid as I hadnt made the base water proof. For the next attempt I put some parquetry lacquer on to the base, and on to the side of the frame as well, as that too was made of wood. This time it was satisfactory. So based on this experience, I tried to add as much lacquer as I could to the base, and when dry (it took 24 hours, as did the Vallejo Still Water) I started to pour the water in layers, keeping in mind not to make them thicker than 4 to 5mm. To begin with it went well, but when I reached the river shore, it cracked again. So it seems that there was not enough lacquer on either the shore, or on the pillar, or on the vegetation or all three. I had to treat the cracks one by one, with very small amounts, in order to hide them. It was not 100% successful, but as its under the bridge its not really visible, or it perhaps it looks a little like ripples in the water. For the colouring I used a single drop of Vallejo dark green for each layer poured, and in the shallower parts there are even layers with no colour added. On the last layer I added some Js Work Autumn leaves, so when it set it looks like they are floating on the water. More of the same leaves were added in small quantities on to the bridge and the base, just to enhance the Fall feeling.Figures
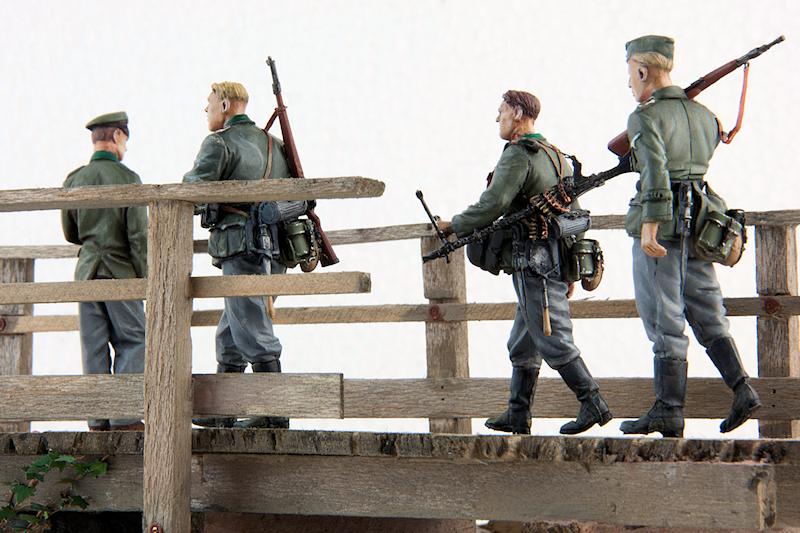
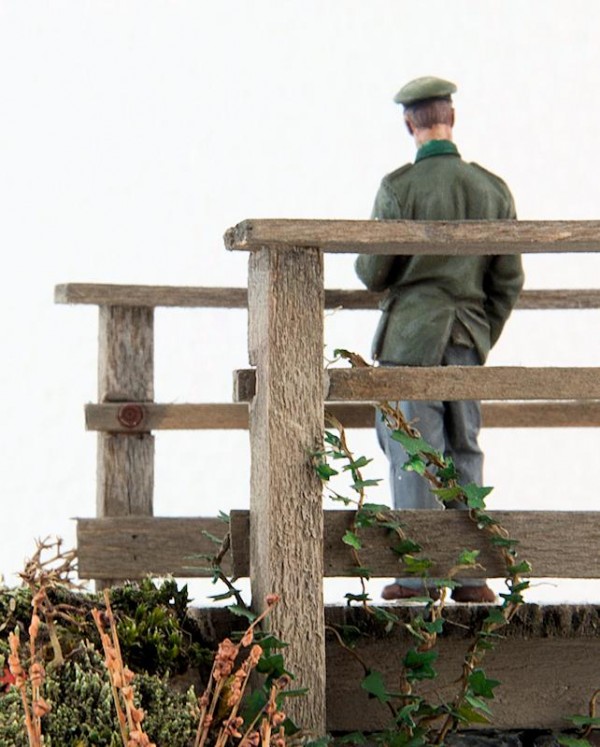
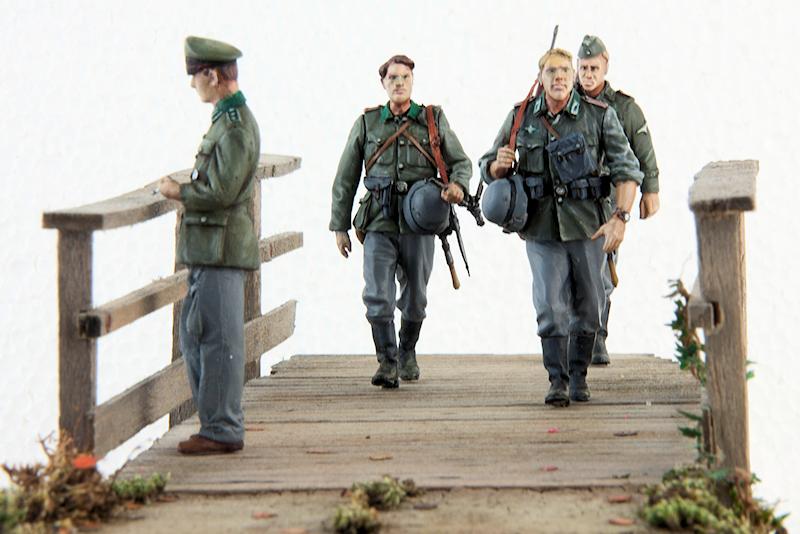
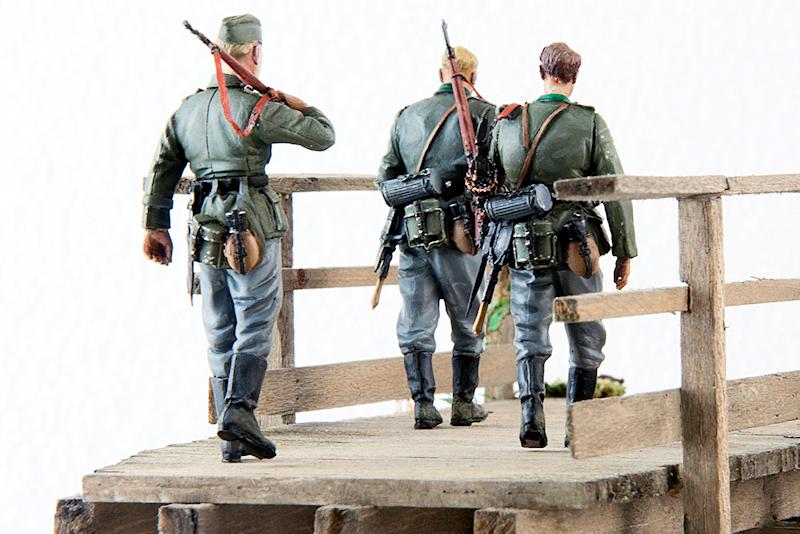
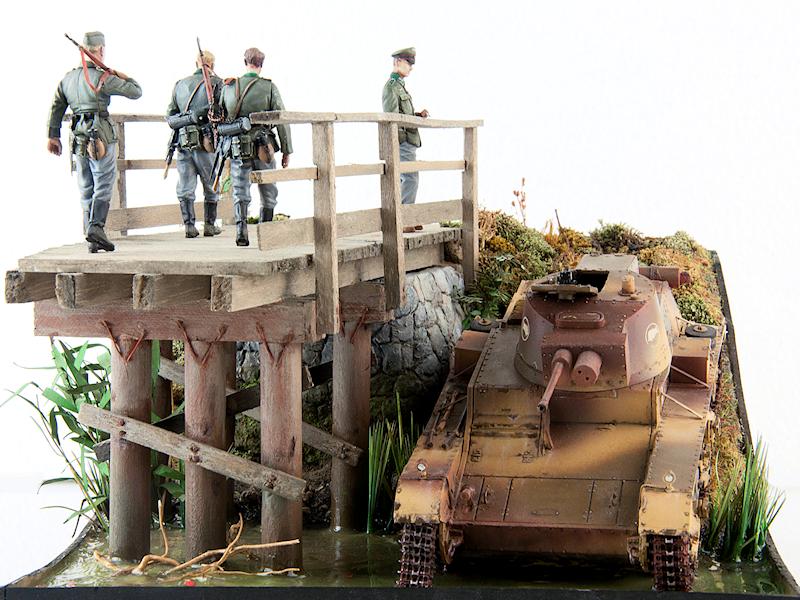
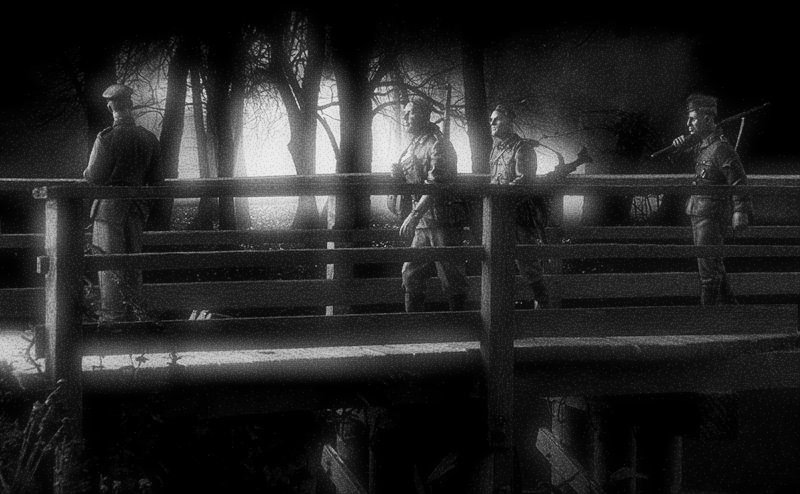
Regarding the figures, the NCO, sold by the Corpus company a long time ago, was, I guess, sculpted by Kristian Bodi, and it is available once again under his own brand, the Bodi. The two bare-headed soldiers were made by TANK, a Russian manufacturer, and the quality is absolutely superb. They are from the 1941 series, so there may be some inaccuracies when compared to 39. The last figures origin is unknown, as I bought it at a model show, and all the information was printed in Chinese, Japanese or Korean. He isnt really right for 1939 (his jacket being an older model), and I think he may not even be part of the Wehrmacht, as he wears the eagle on his shoulder instead of on the chest above the breast pocket. But these little things dont really bother me. Honestly, does anyone know of a good set of marching German soldiers dedicated to the Polish campaign? ;) For the figure painting I tried the technique of Olivér Kovács, presented on an MXpression DVD tutorial. The essence of it is to use at least 4-5 shades of lighter and darker colours of the base colour from a wet pallet. I really recommend this tutorial, as it is easy to understand, and very detailed. The gun slings were made up from masking tape, and I used some items from Abers buckles and straps set, which are great additional details for adding realism. Im not the kind of person who claims to know the truth about the right shade of German Field Grey, but, if anyone is interested, here is a brief list of the colours used: Jacket: Base: VC-830 German Field Grey + VC-868 Dark Sea Green (1:1 ratio) For the highlights the base was lightened with VC-886 Green Grey in four steps. For the shadows the base was darkened with VC-979 German Camo Dark Green in four steps. Slightly different mixes were used for each figure to give a little variation. For the elements listed below, I used the given colours as a base colour, then created two to three darker and lighter shades by adding mainly Green Grey (for the highlights) and a dark brown or green colour (for the shadows).- Collar: VC970 Deep Green
- Canteen: Mahogany Brown VC 846
- Haversack: Deck Tan VC986
- Gas mask, trousers, helmet: Neutral Grey VC992
- Entrenching tool handle: English Uniform VC921 + Medium Flesh VC860
- Rifle: Hull Red VC985 + Red Leather VC818
- Slings: Red Leather VC818
- For the MG 34, and the metal parts of the rifles, I used Gunze Aqueous H38 Steel Red, and it was then drybrushed with Revell Aqua Color 36190 Silver metallic.
references
The publications mentioned in this feature are all reviewed here on Armorama: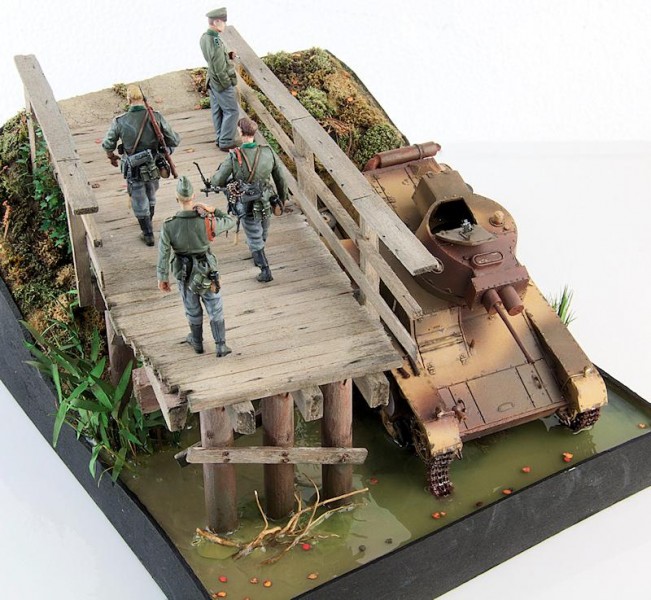
About the Author

FROM: BUDAPEST, HUNGARY
I have started modelling when I was a kid. As it was in the communist era, the subjects were very limited... After a very long pause I was back to my favourite hobby in 2007. I prefer 1/35 scale AFV-s, regardless of nationality. I'm working at an advertising agency in Budapest, I have a beatiful dau...
Comments

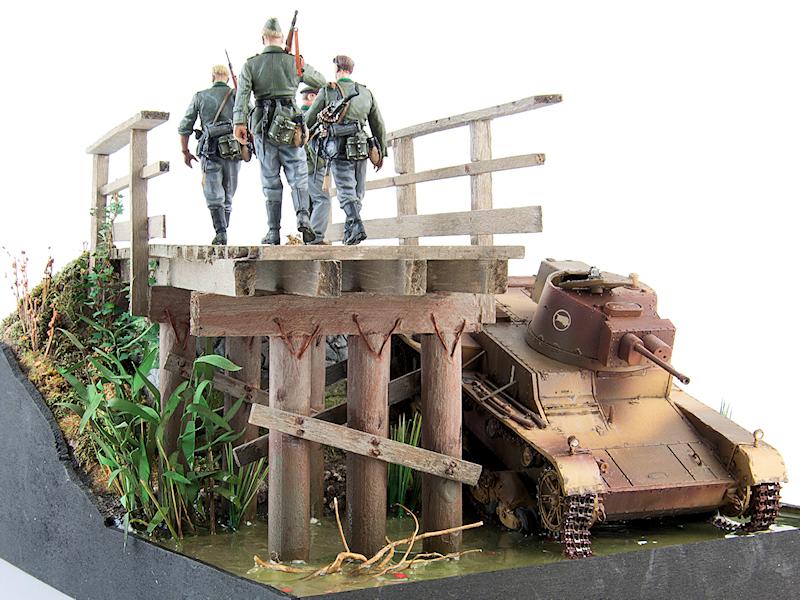
Istvan, Really well done diorama. I especially like the use of the resurrected 7-TP. That is a really nice way to add an older kit into a new work.
APR 19, 2013 - 02:58 PM
Nice one Istvan! I like the water and generally the idea behind this dio. Superb!
APR 19, 2013 - 06:07 PM


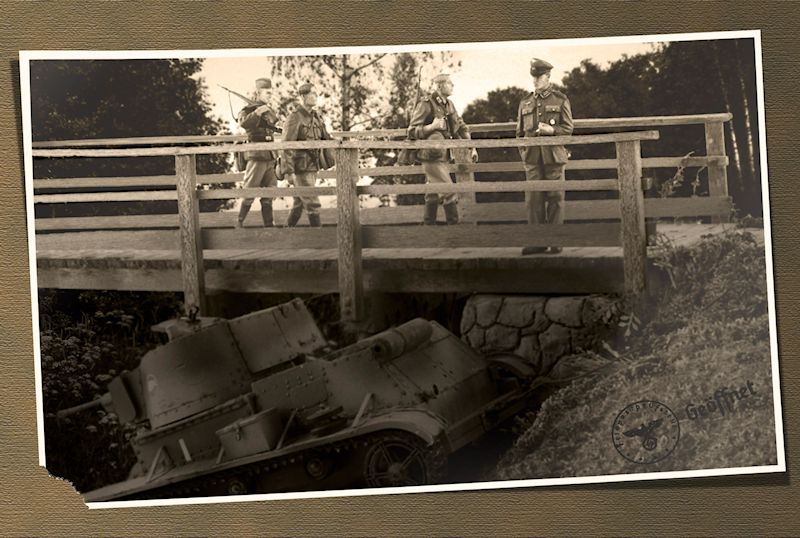
Very well done with the diorama and I particularly like the black & white picture.
APR 20, 2013 - 06:29 PM

Istvan, something you didn't talk about is the graphic you applied to the end piece of the box that the scene is built into - how was that done? Is it just a stencil, hand cut with a knife then sprayed?
Matthew
APR 22, 2013 - 09:58 AM
Thanks guys for your nice comments, and I also would like to thank Matthews great work on editing the feature
Yes, Matthew, I have used a stencil, cut from vinyl (I'm lucky, at my workplace we have such cutting machine) airbrushed with light tone. I tried to achieve some kind of "Banksy style graffiti" feel, so I did not fully sprayed the dark base over.
APR 22, 2013 - 10:00 PM
Ah, that explains it - I was thinking it looked a bit too good for a hand-cut stencil! Thanks.
APR 23, 2013 - 12:35 AM


Hello Istvan, your diorama look very good, I like it. I like Polish accent your work. ;-) Well done.
Paweł
JUL 13, 2013 - 03:40 AM
Copyright ©2021 by Istvan Szavai. Images and/or videos also by copyright holder unless otherwise noted. The views and opinions expressed herein are solely the views and opinions of the authors and/or contributors to this Web site and do not necessarily represent the views and/or opinions of Armorama, KitMaker Network, or Silver Star Enterrpises. All rights reserved. Originally published on: 2013-04-19 21:12:03. Unique Reads: 18526

WEB HOSTING BY


Copyright ©2021 Armorama and Kitmaker Network, a subsidiary of Silver Star Enterprises
All Rights Reserved. Please read our Conditions of Use and Privacy Policy.
All Rights Reserved. Please read our Conditions of Use and Privacy Policy.