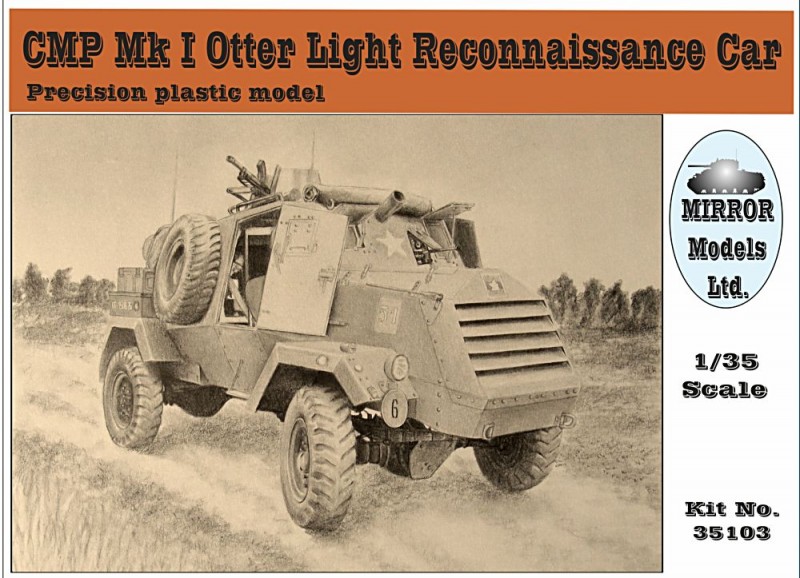
1⁄35Building the Otter
3
Comments
History
The Otter Light Reconnaissance Car came from the Canadian Military Pattern family, designed for a need for an armoured reconnaissance vehicle of this size. Developed by General Motors Canada, it was built on the CMP frame with the body supplied by the Hamilton Bridge Company. The vehicle had armour up to 12mm thick and was armed with a Boys Anti-Tank Rifle and a Bren Light Machine Gun. The Otter engine was more powerful than the Humber, but due to is extra weight, almost 1-ton heavier, it’s performance was not the greatest, and it was not exceptionally liked by its crews. Build in Oshawa, Ontario, some 1700 vehicles were built between 1942 and 1945. The vehicle served in North West Europe and Italy, with mostly Canadian units, but was used by the British and some Commonwealth countriesModel
Mirror Models having started producing models based on the CMP frames, thus the Otter was a natural course for this frame. This model is an excellent plastic kit of this vehicle, and contains a few bits of resin and PE (see my review of the vehicle here). It should be noted that my build of this vehicle does use the extra detailing set available from LZ ModelsBuild
The build starts with the frame, having built a few of these already, it goes pretty quickly. The frame builds up great, with no fit issues, and is well detailed. A few things I do to make the task a little easier are I attached the suspension to the frame before molding and fitting the frame-suspension mounting plates, and for the axle mounting I cut the wire a little longer and glue one side. Once this is dry I will bend, cut, and glue the other side. For locating the drive components, I find it best to mount the engine first, and watch the location indicated in the instructions. Once the engine is secured in place, the rest of the drive train goes together pretty easily , with a little trimming of the drive shafts once in place. Set aside the frame, I next went to work on the body, again this goes together very well, with the exception I found the locator pins on the front of the firewall did not match up with those on the body sides, I just trimmed these off and aligned with the front armour slope. I did apply a little putty to clean up the joint. Mounting the rear deck parts went very well as well, and these require a little extra work to obtain the weld seam. To do this, once the parts were attached and dried, I apply a liberal amount of liquid cement along the edge and repeatly, and carefully, scored the edge to achieve the weld seam.Comments
How do you know the website you used has the correct information re-markings for your vehicle and Mirror Models hasn't? Just wondering..
MAY 25, 2013 - 03:38 PM
The markings from Acorn Armour comes from a photo I have seen, that I spoke with the website author about. The vehicle would have the front markings as well, which were not provided in the Mirror Models kit, as the reference only shows the rear and side of the vehicle.
 Hope that helps.
 Hope that helps.
MAY 26, 2013 - 01:52 AM
Very well done, very nice kit...
Looks like winter is going to be fun,
thanks for this one,
H.
MAY 26, 2013 - 03:32 AM
Copyright ©2021 by Kevin Brant. Images and/or videos also by copyright holder unless otherwise noted. The views and opinions expressed herein are solely the views and opinions of the authors and/or contributors to this Web site and do not necessarily represent the views and/or opinions of Armorama, KitMaker Network, or Silver Star Enterrpises. All rights reserved. Originally published on: 2013-05-24 20:17:13. Unique Reads: 15688


