

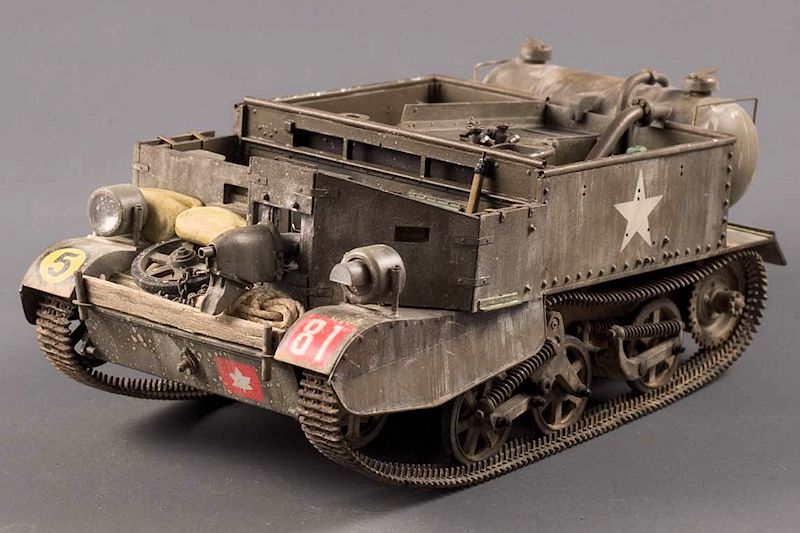
1⁄35WASP Universal Carrier
12
Comments


inspiration
I pulled out all the stops for this model. That was my inspiration. From the beginning I wanted this project to stretch out for several months. I would start with an old model with out-of-date molds, then combine it with an extravagant resin conversion - all the while replacing poorly molded detail with heavily modified parts or entirely scratchbuilt assemblies. 1 year and 9 months was the time needed to complete this project.Rivets
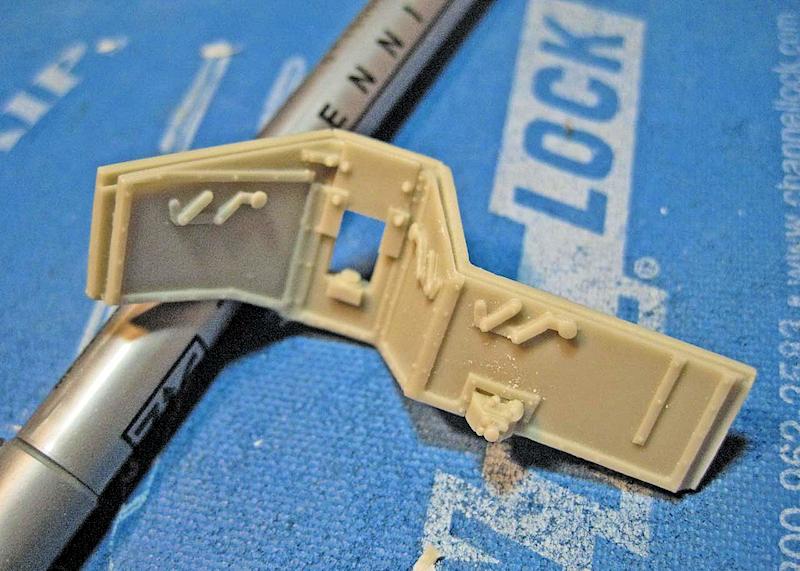
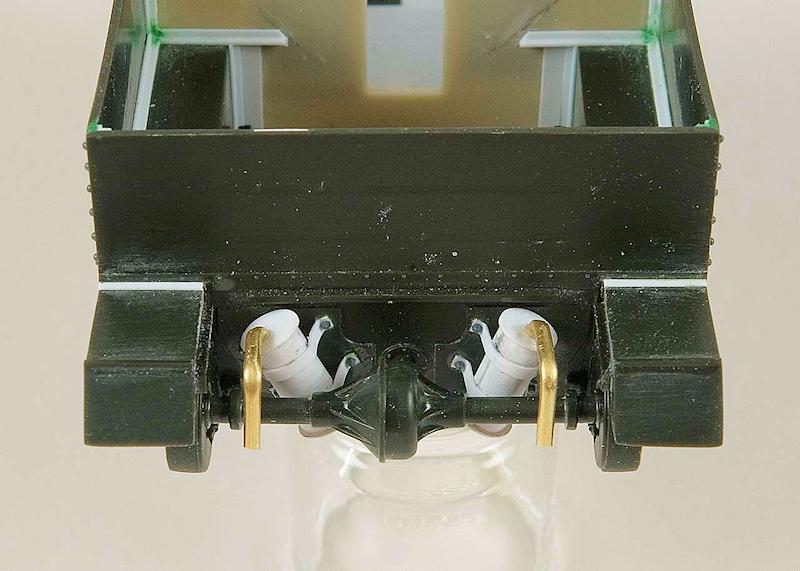
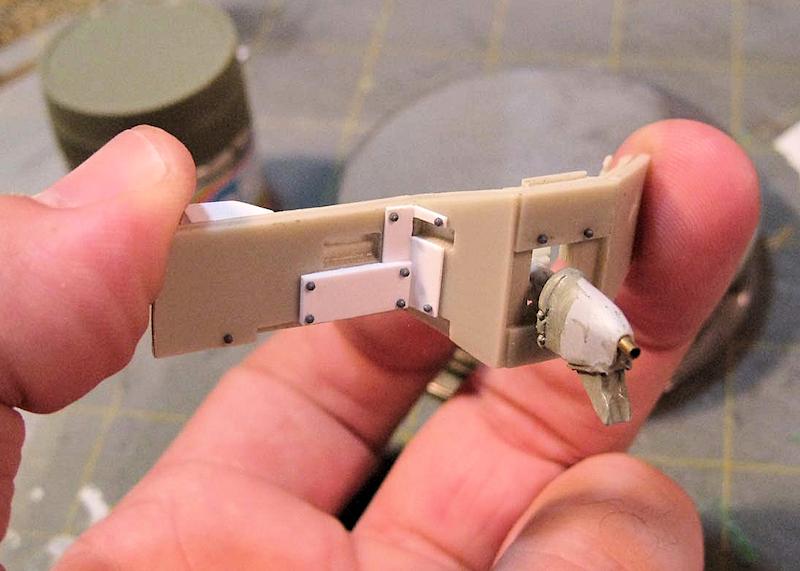
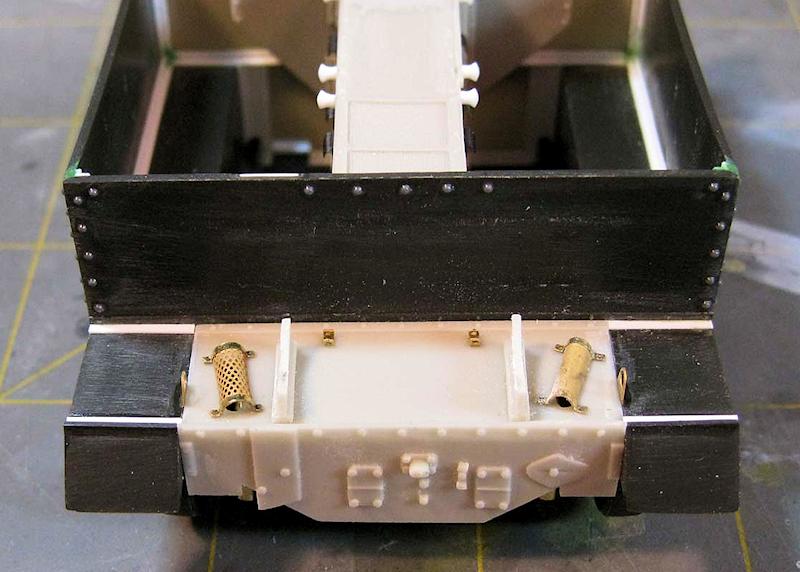
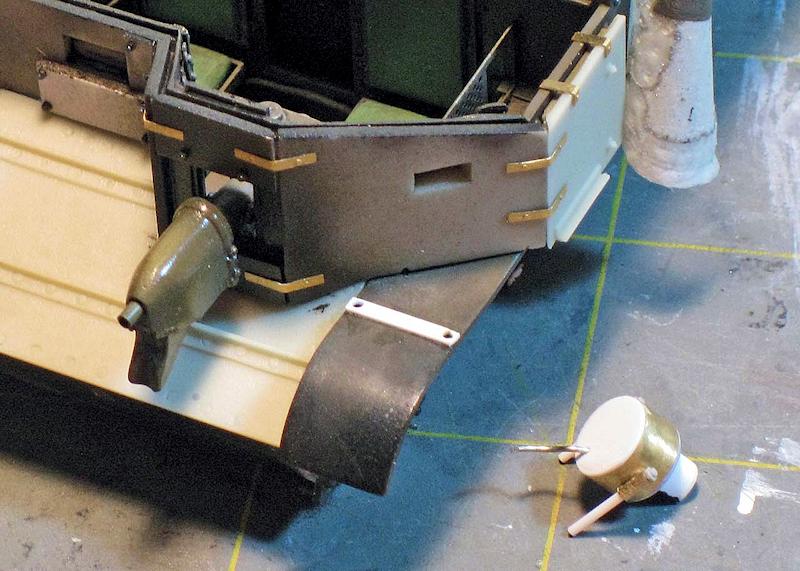
Oddly, replacing rivets is an enjoyable part of modelling for me. I tried out Grandt Line bolts for the first time during this project. Theyre enjoyable to work with because standard styrene glue can be used. Ive used brass rivets in the past, but as you know only super glue can fix metal to plastic. Using plastic rivets rather than brass was quite necessary. This is because of the open rear compartment. After gluing and curing I shaved off the excess bolt stem and sanded afterwards. Whats left is smooth plastic on the inside of the hull. See photos above.Driver/Gunner Compartment
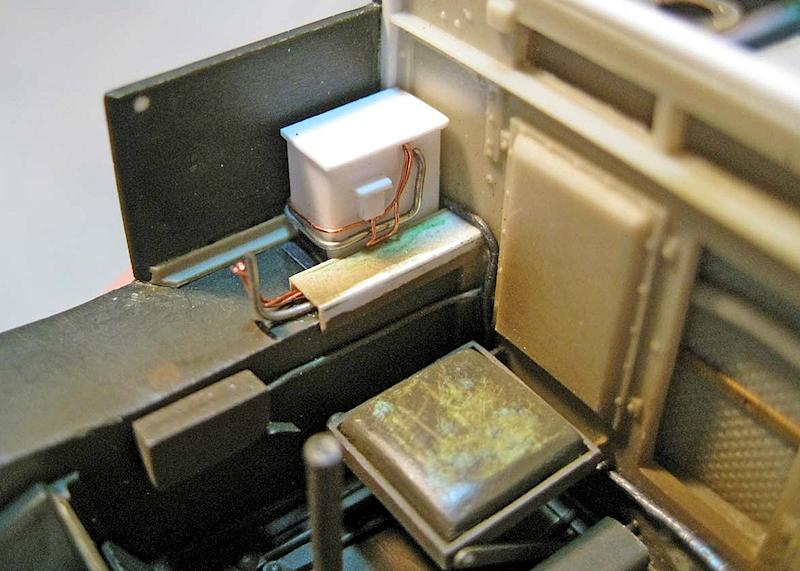
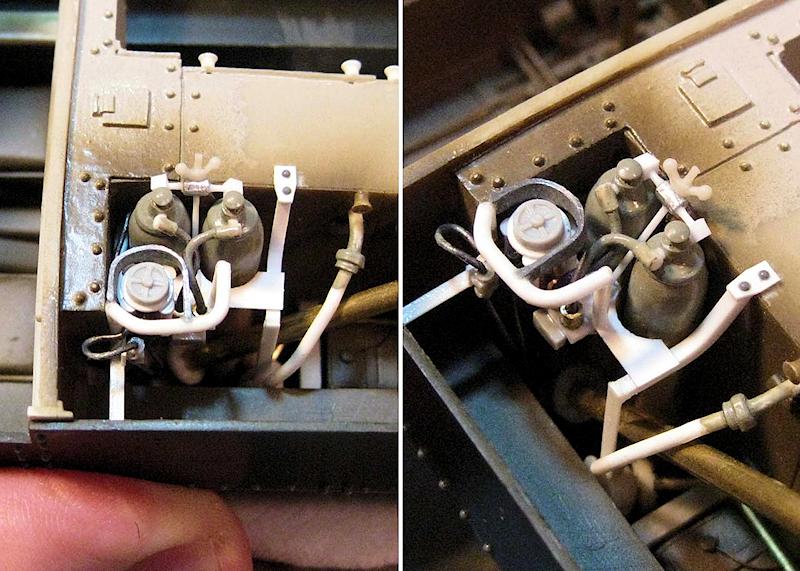
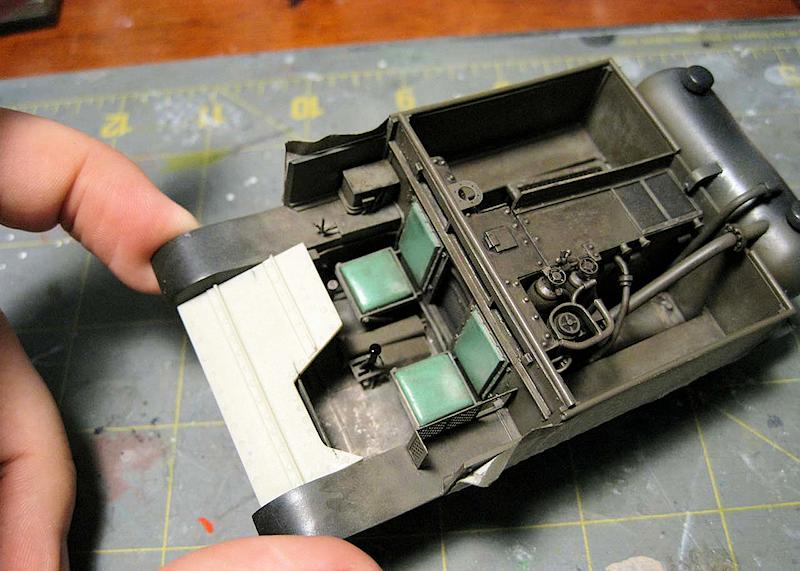
Replicating a semi-accurate interior was on the agenda. The very first step of the project was to remove moldings from the hull floor. After research these details were replaced with styrene rod and sheet assemblies. Various wires were used to represent plumbing. A neat trick: cut long narrow strips of lead foil, then roll out thin. After a bit of rolling you can get a nice wire from the foil that can bend easily around tight areas. I rolled lead foil strips between two sheets of thick paper to make wire. Experiment to get the technique down. See photos at right.Rear Compartment
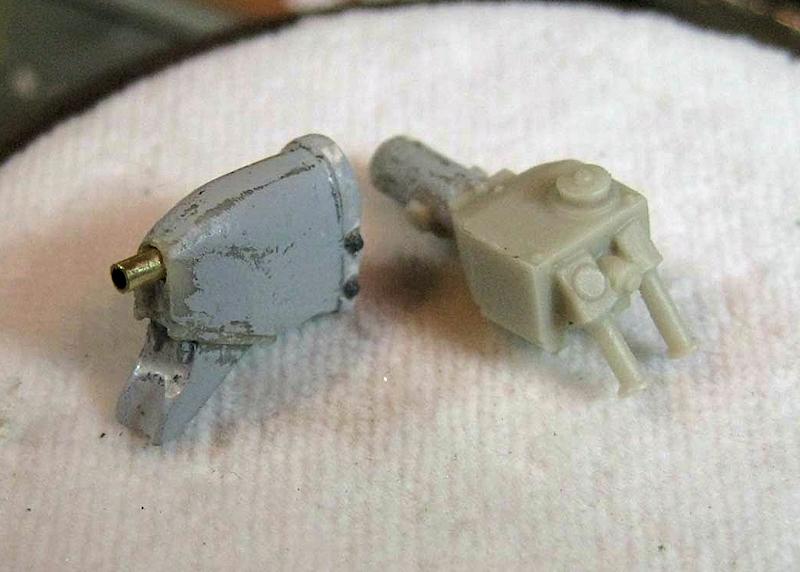
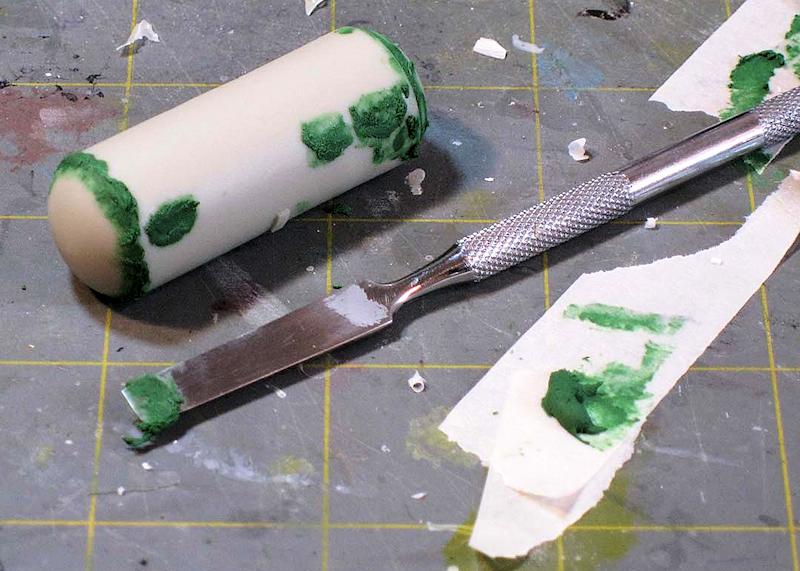
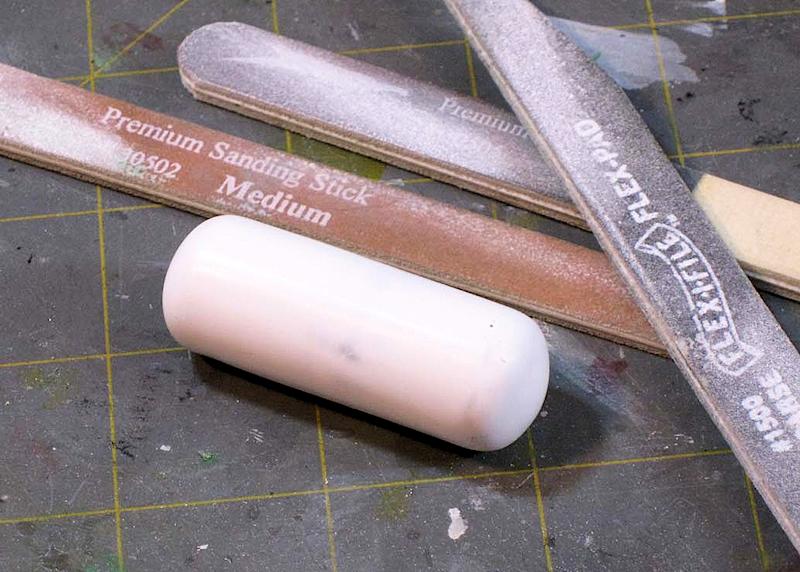
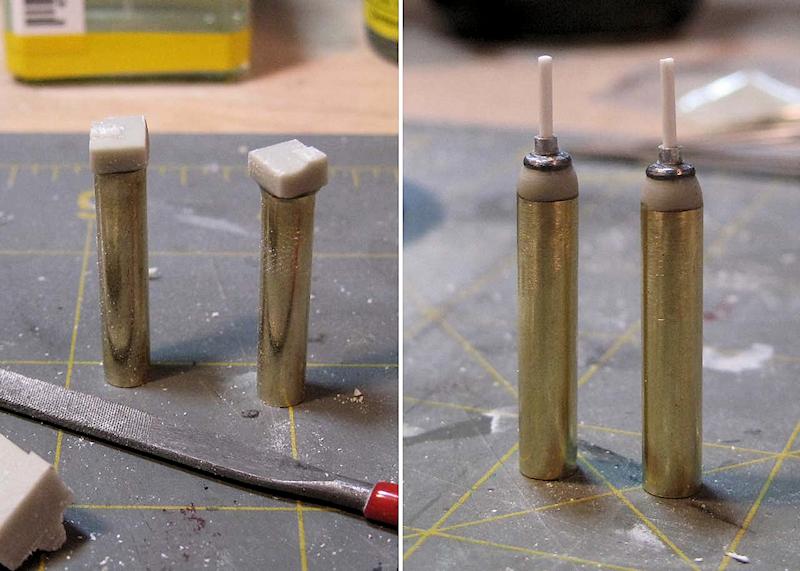
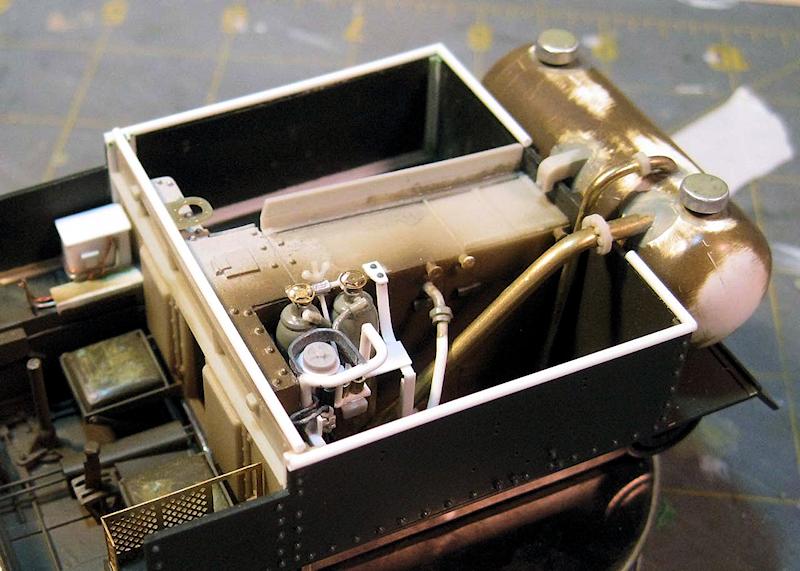
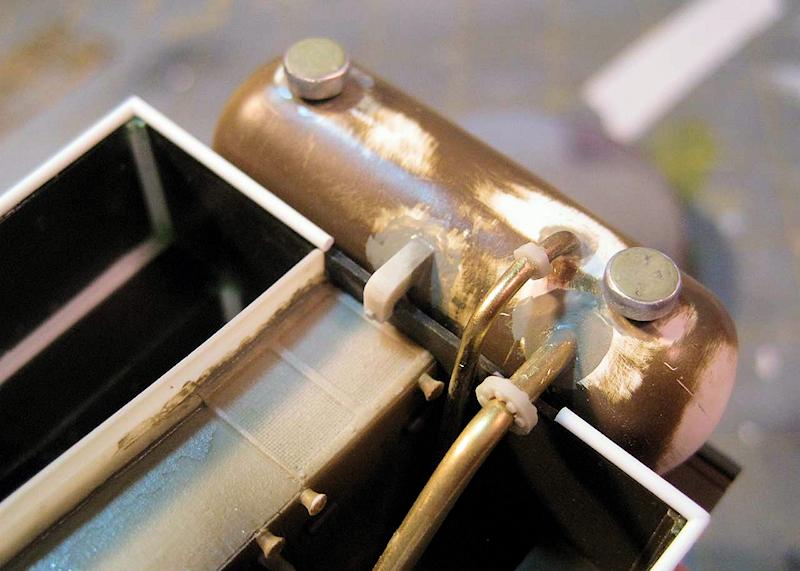
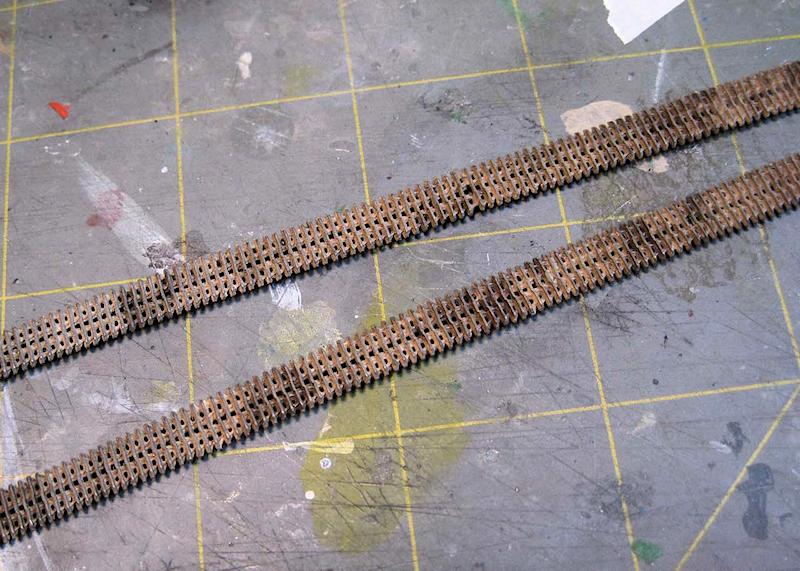
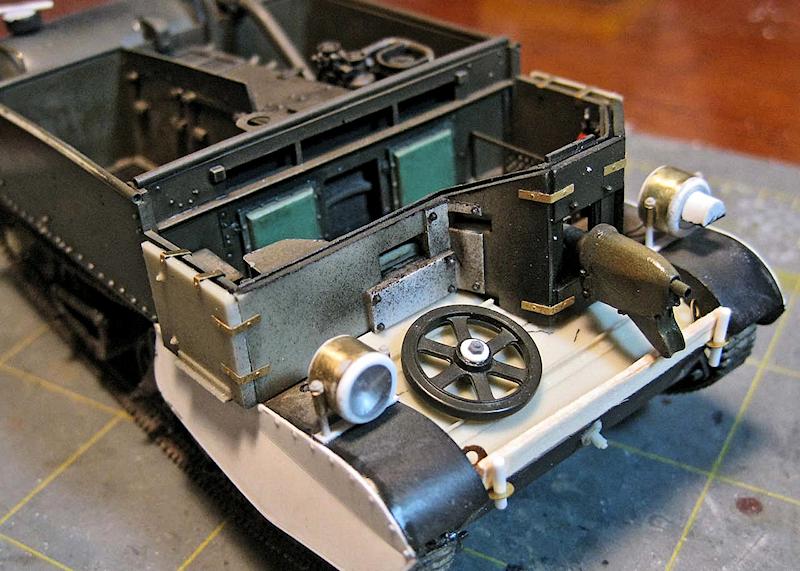
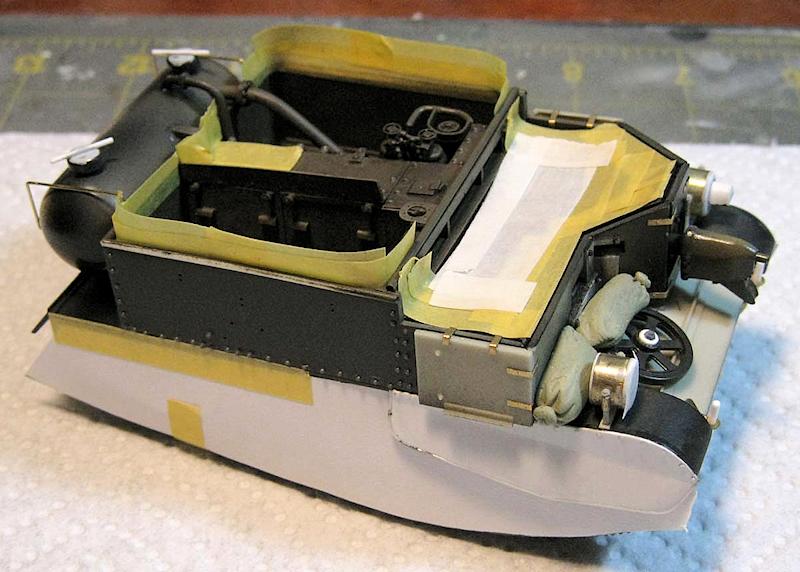
I wanted to build a Universal Carrier that is rarely seen on the internet. So I choose to build the Canadian WASP variant. Besides, theres nothing more rad than a flame throwing Universal Carrier! The big tank on the back makes for a unique model too. To tackle this variant I purchased a resin conversion from ResiCast in Belgium. The resin parts in the conversion helped build the variant (some). I ended up scratchbuilding a lot of parts from the resin set. These include pipes, cylinders, plumbing, boxes, seats, etc. This resin conversion helped build the model, but I really wouldnt recommend it due to crude castings. Working with brass rod is a real pain, especially in a small model like this. To make a WASP conversion a lot of pipes or tubes had to be introduced. These pipes moved compressed liquid to the flame thrower. Weaving together pipes of brass and plastic was a real challenge. If I could somehow articulate this process into coherent words I would. Super glue and a Dremel Tool helped a lot during this stage. My work-in-progress photos will show a glimpse of this process. I also replaced the resin cylinder bottles with scratchbuilt brass pieces. I can honestly say that the area around the cylinder bottles is entirely scratchbuilt. A few months of work was needed just to get this area complete. Sketching down an action plan before starting any work made the job a little easier. See photos at right.Painting (while building)
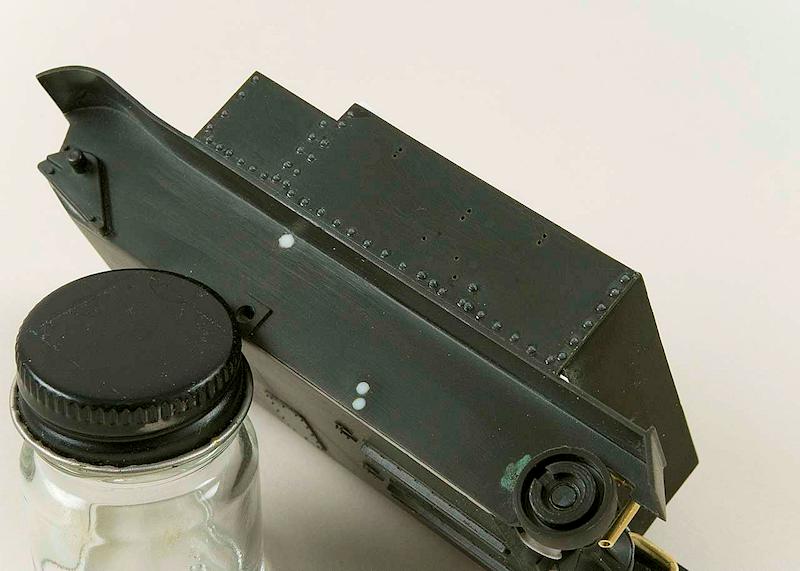
A modeller does not follow the usual steps of construction when building a Universal Carrier. The kit requires jumping from area-to-area with a well thought-out plan. For instance, the drivers compartment had to be painted and weathered during the first few months. Ideally I like to paint and weather after building, but unfortunately I couldnt do that with this project. See photos below.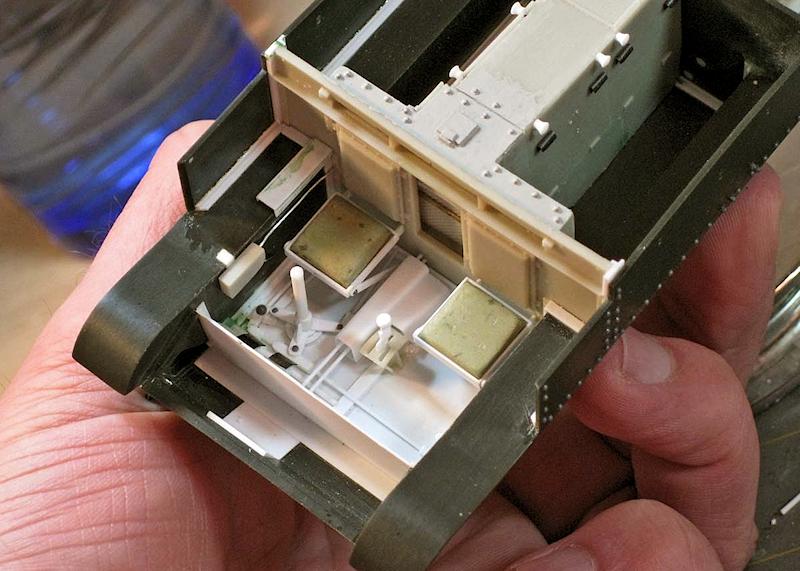


About the Author


FROM: KANSAS, UNITED STATES
Paul is a graphic designer in Kansas. His other hobbies include gaming, photography, LP collecting and cinema.
Comments

I really share Kuno comments on the distance between this WASP and my modelling priorities but your incredible work make me think about the coming Riich model and the conversion Resicast is already working on.... Bravo Paul !!!
MAY 30, 2013 - 09:42 AM

St. Miller,
You can probably imaging my What the heck! moment when I recently discovered that brand new Universal Carrier model you mentioned. That Riich Model kit could have made this project so much more enjoyable. From the get-go I knew I wanted a challenge - but I must say this project dragged on and on with that old Tamiya kit I used.
MAY 30, 2013 - 09:58 AM
I have built a caerer be for,and yes it was a pain,but
yours looks great,very nice work.
MAY 30, 2013 - 10:28 AM
Whatever the Riich model qualities, your WASP is still thousand miles ahead.... Really, really impressive
MAY 30, 2013 - 10:30 AM

Really nice work. I love the Universal Carrier and you've done a great job on this one.
MAY 31, 2013 - 11:36 PM

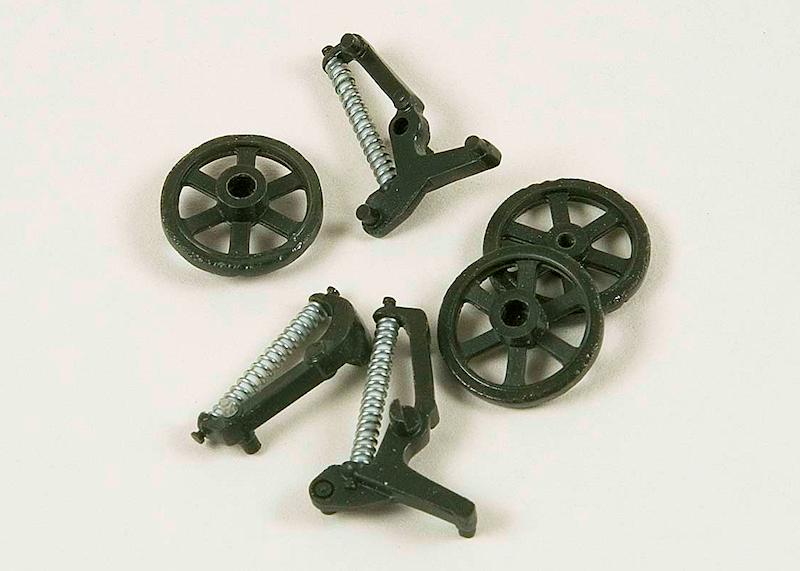
I like thin one very much. Especially nice is how You modified the suspention to incorporate the heavy tank in the back of the vehicle.
JUN 01, 2013 - 10:46 PM
Thanks for the great comments Bart and Naseby, the Universal Carrier isn't one the most elegant vehicles from WWII, but it does have a kind of jack-of-all-trades appeal. I like how you noticed the weighted suspension Naseby, that was a detail I thought not to overlook. Although I don't know if its entirely accurate I do think it looks the part.
JUN 02, 2013 - 11:16 AM

Hi Paul,
Excellent feature and a cracking job on the build and vehicle finish.
Your attention to detail adds nicely to a unique build.
Cheers
Al
JUN 04, 2013 - 03:58 AM

Warren,
It's a standard 1/35 scale model. When completed the model is no more than 4 inches in length.
JUN 06, 2013 - 01:38 PM
Copyright ©2021 by Paul Hargett. Images and/or videos also by copyright holder unless otherwise noted. The views and opinions expressed herein are solely the views and opinions of the authors and/or contributors to this Web site and do not necessarily represent the views and/or opinions of Armorama, KitMaker Network, or Silver Star Enterrpises. All rights reserved. Originally published on: 2013-05-29 22:21:55. Unique Reads: 13080

WEB HOSTING BY


Copyright ©2021 Armorama and Kitmaker Network, a subsidiary of Silver Star Enterprises
All Rights Reserved. Please read our Conditions of Use and Privacy Policy.
All Rights Reserved. Please read our Conditions of Use and Privacy Policy.