

1⁄35Opel Kapitan
9
Comments
Paint, markings and camouflage
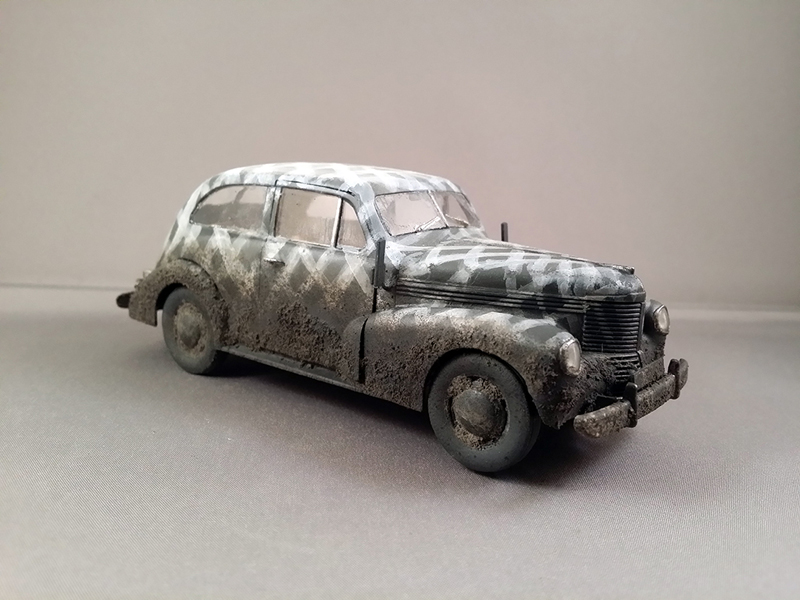
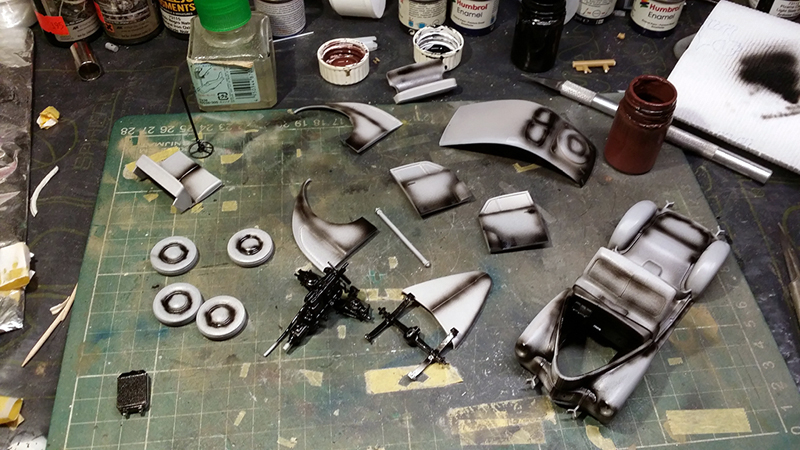
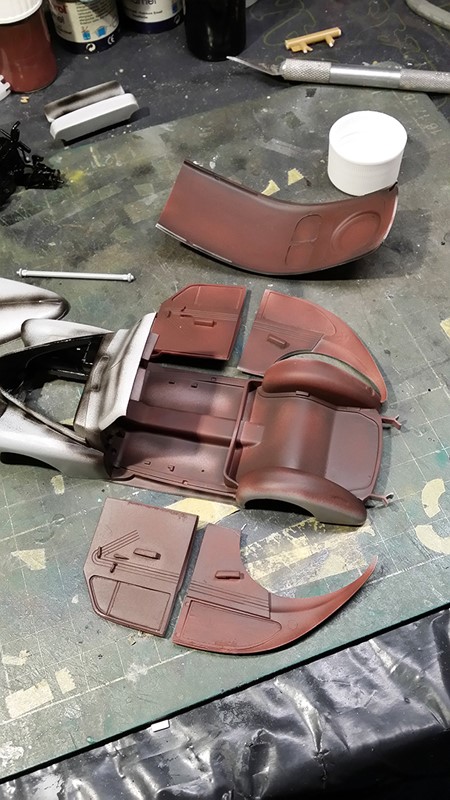
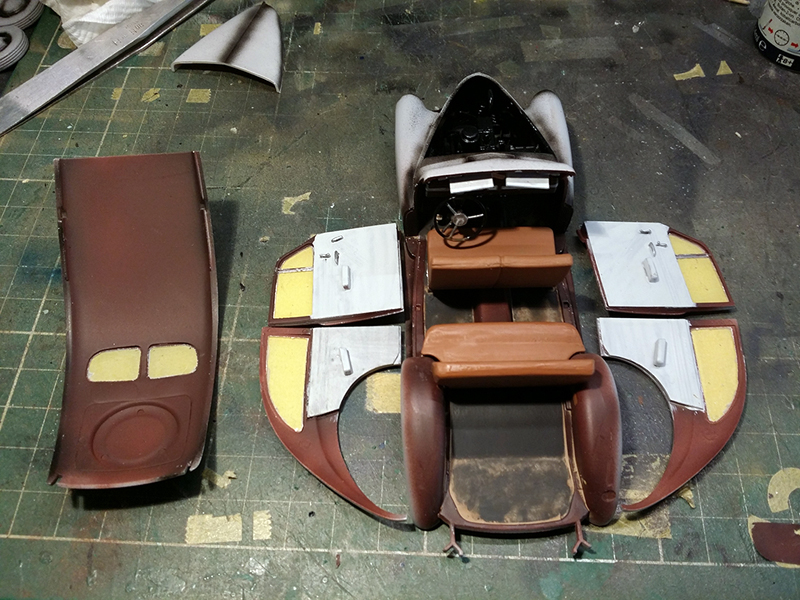
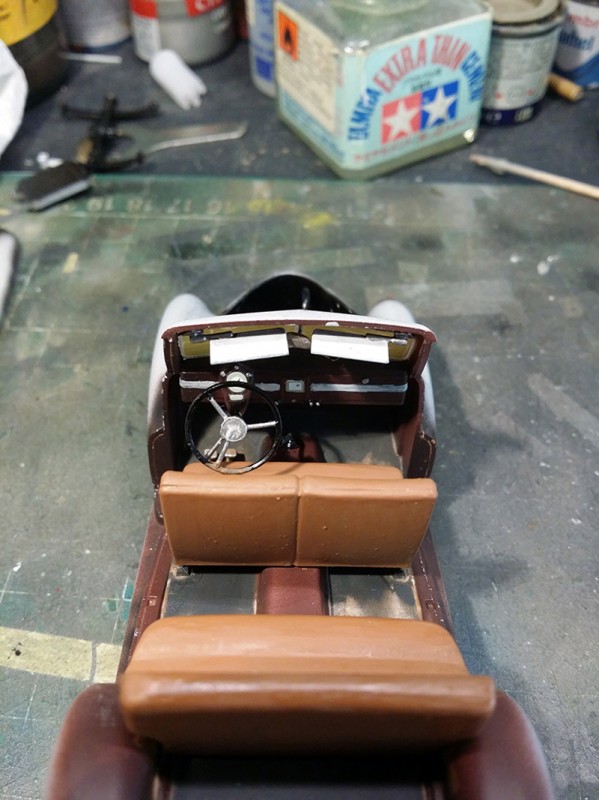
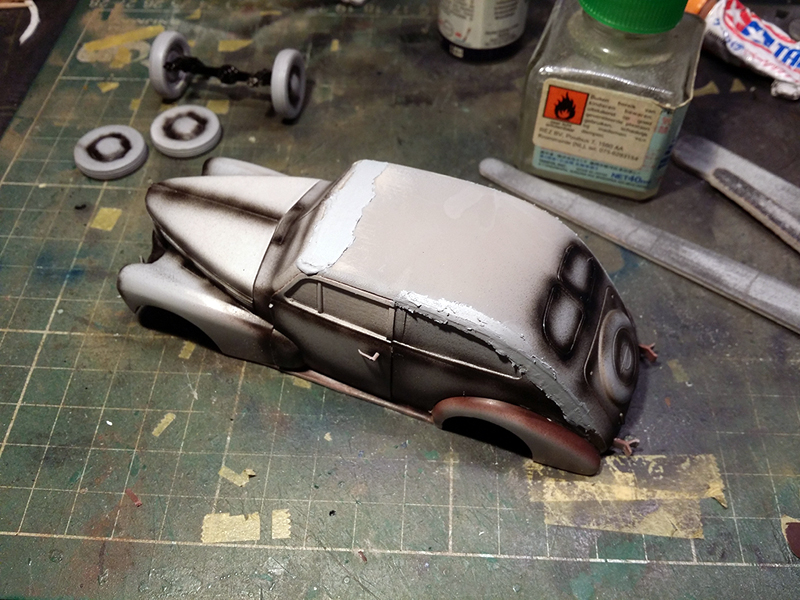
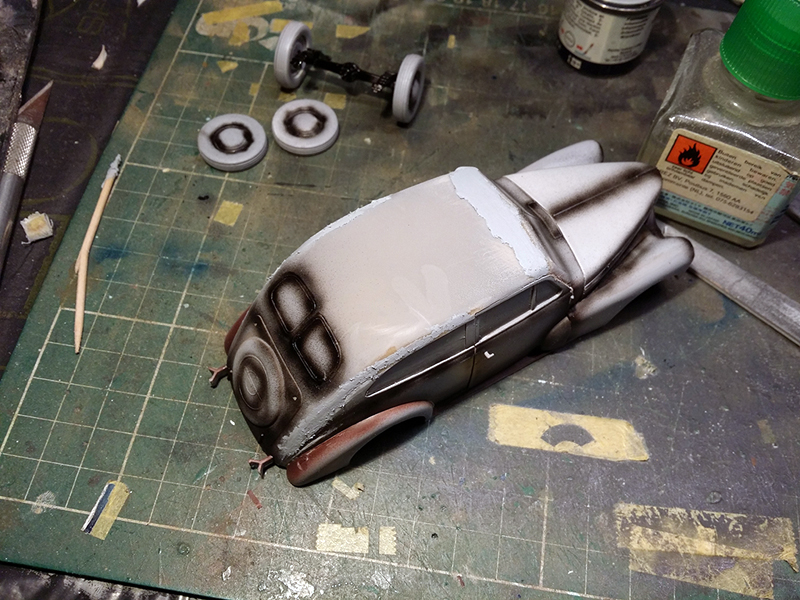
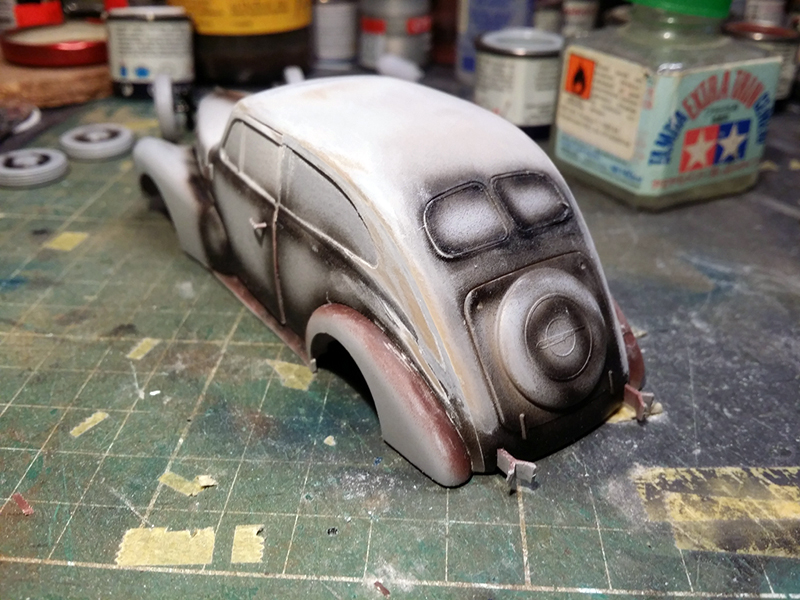
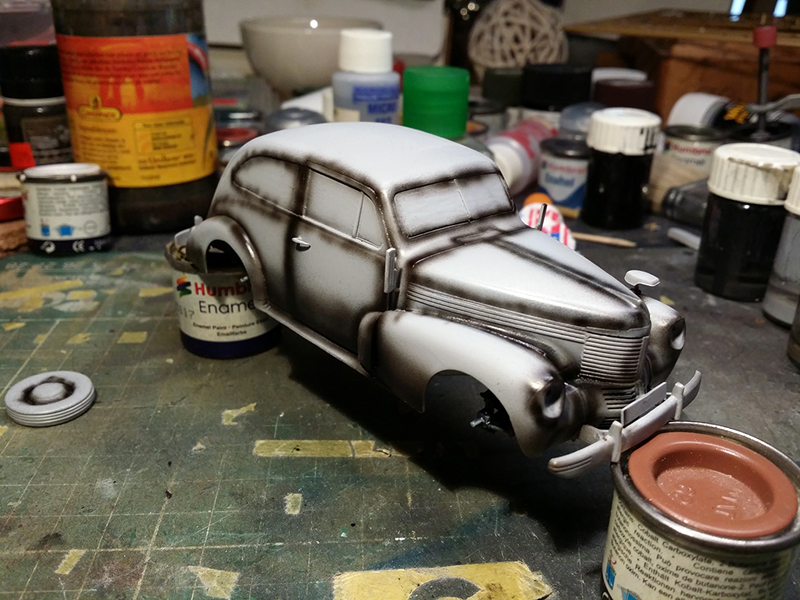
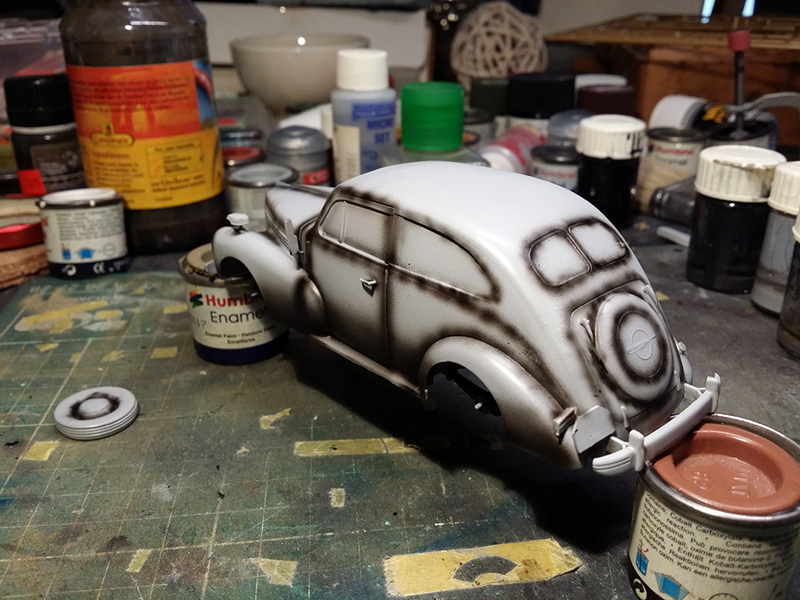
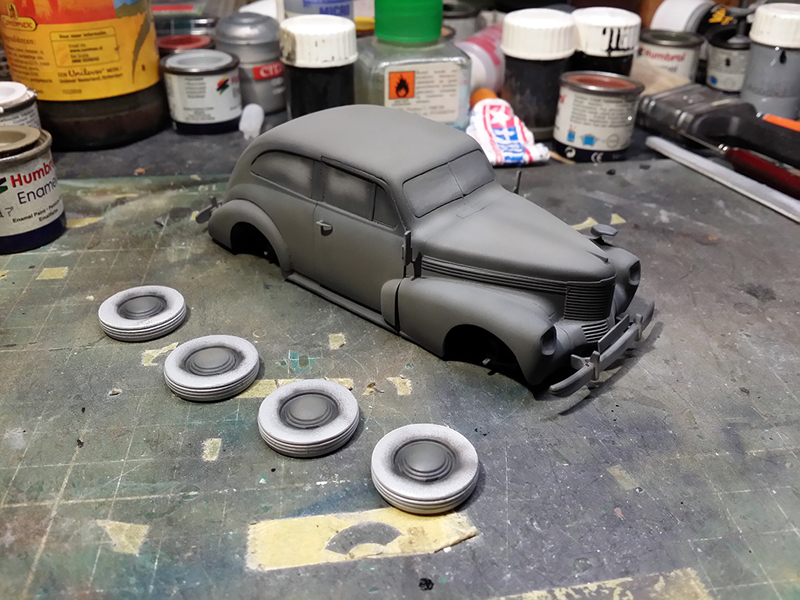
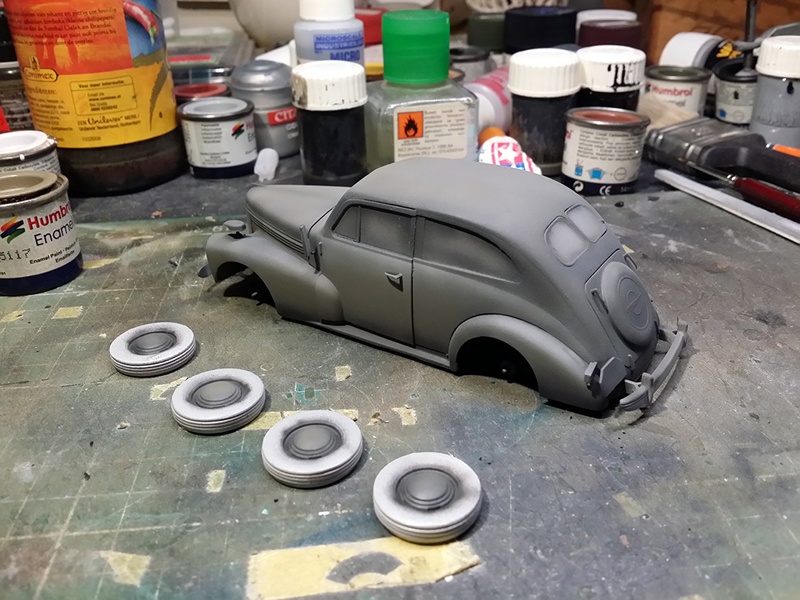
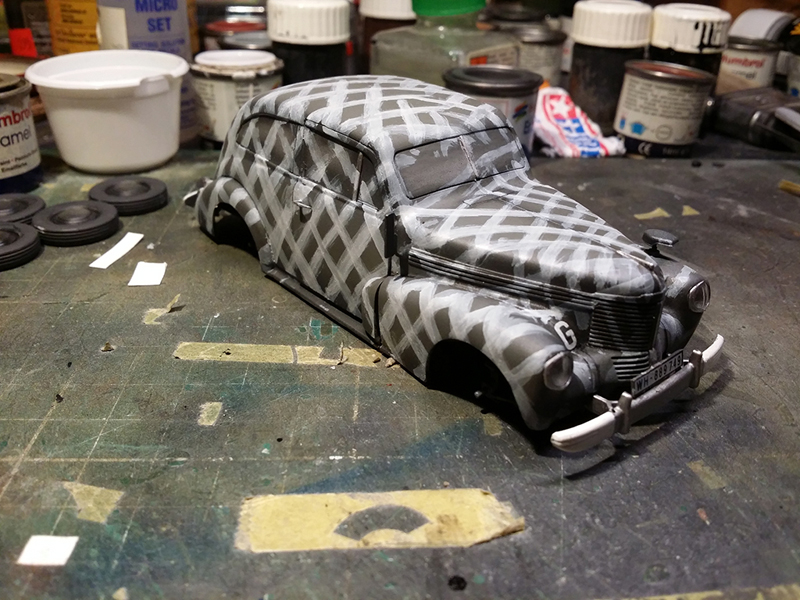
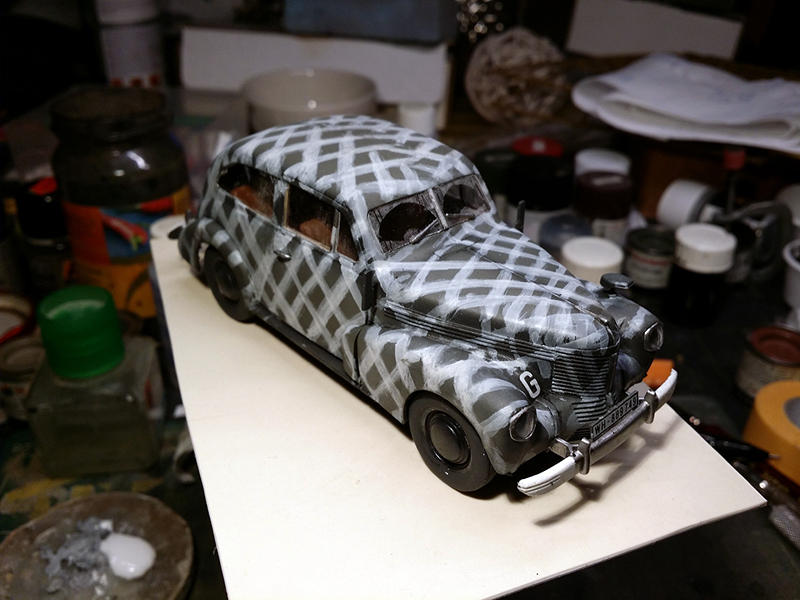
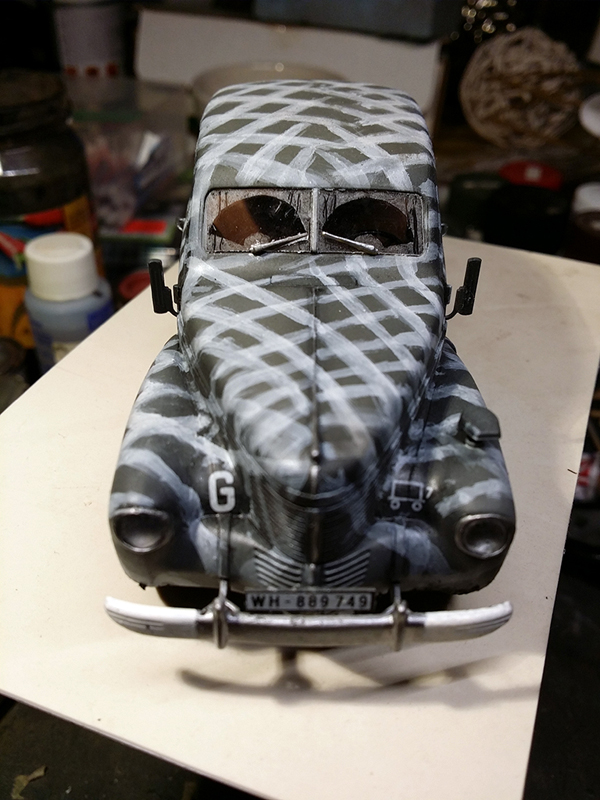
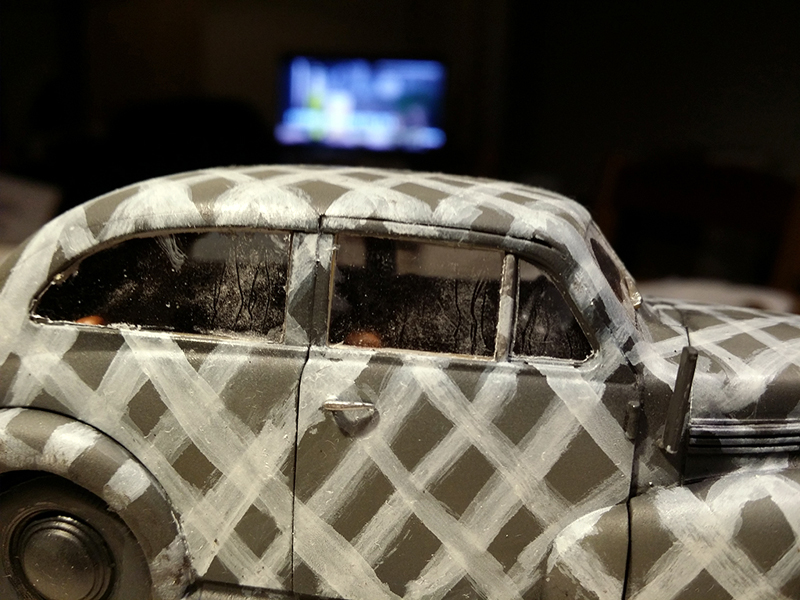
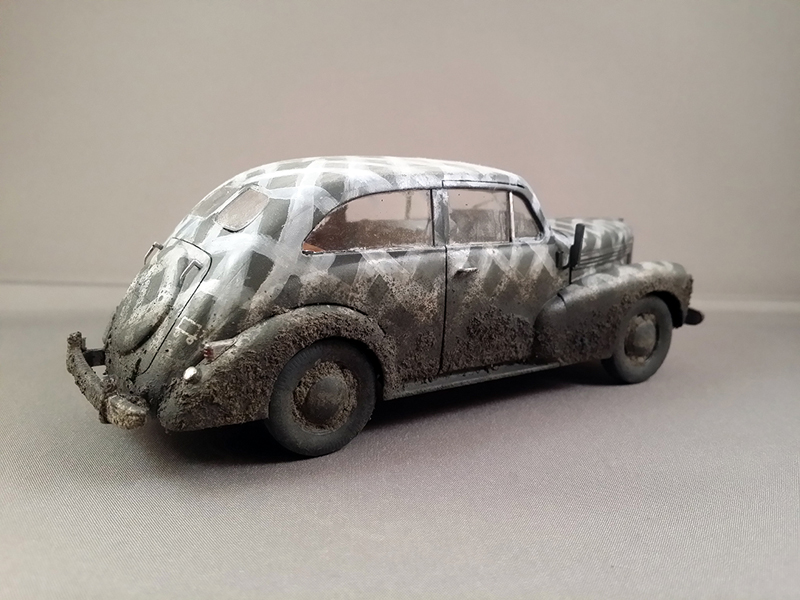
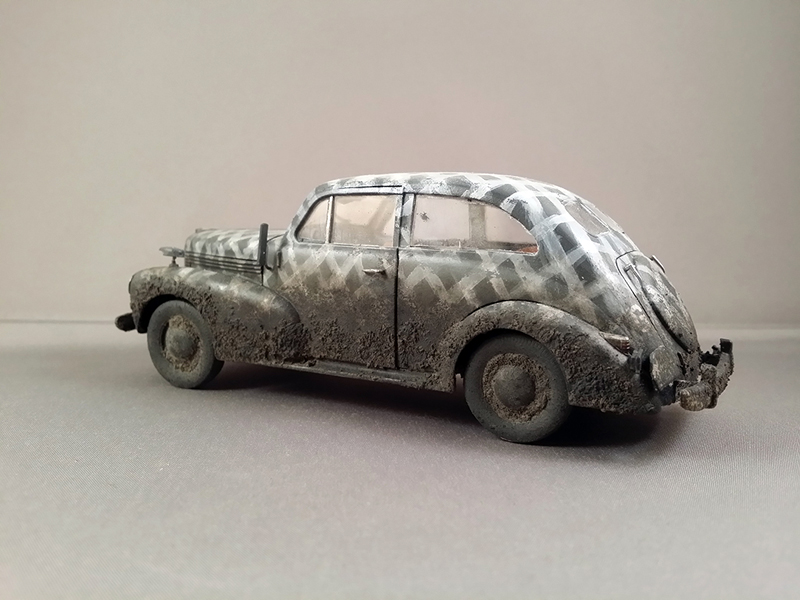
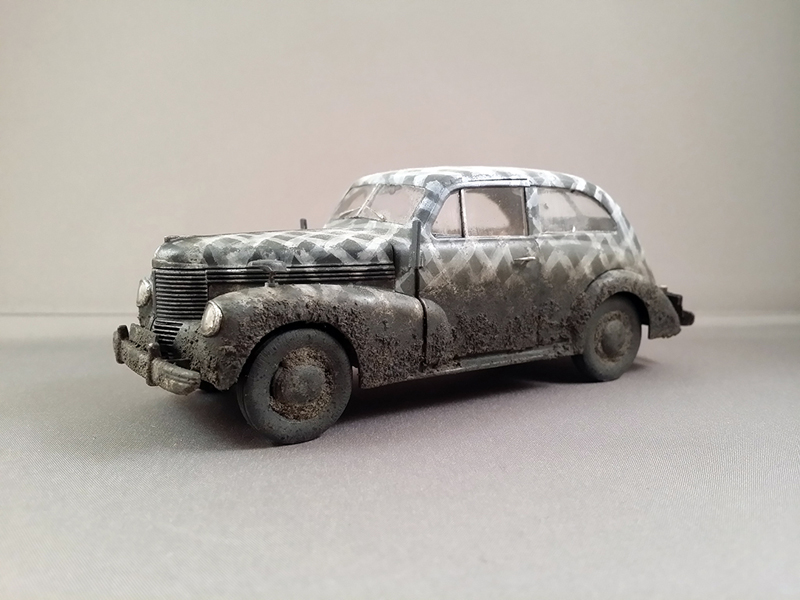
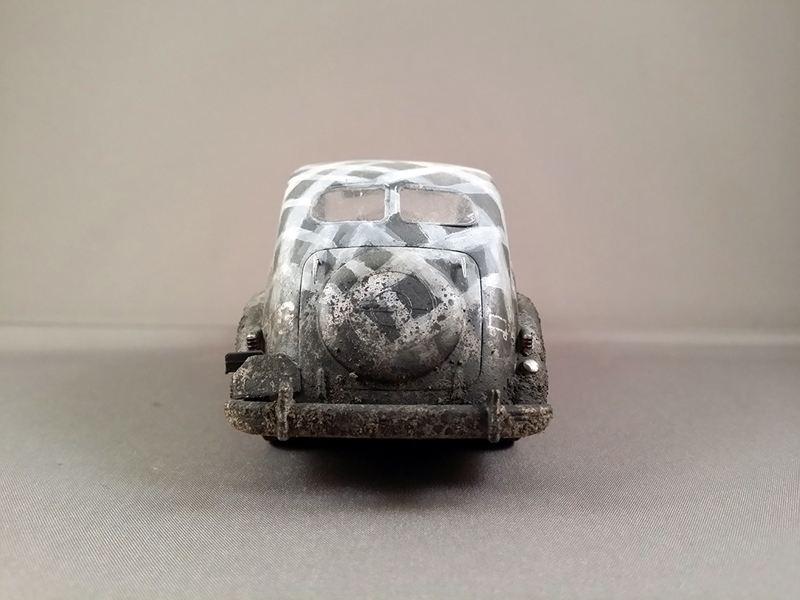
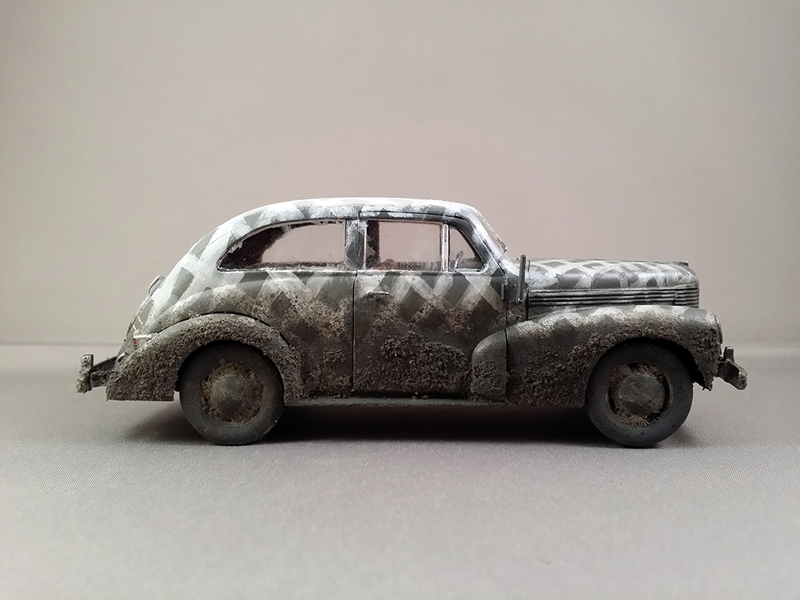
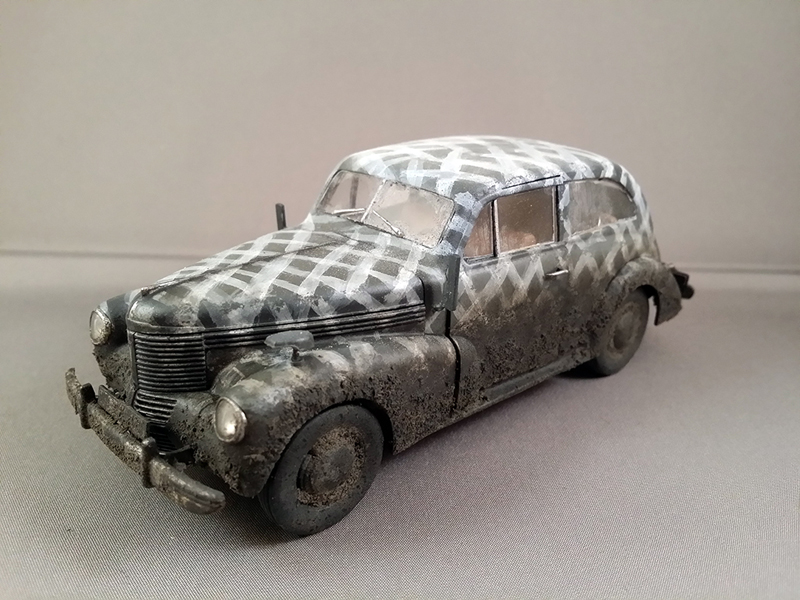
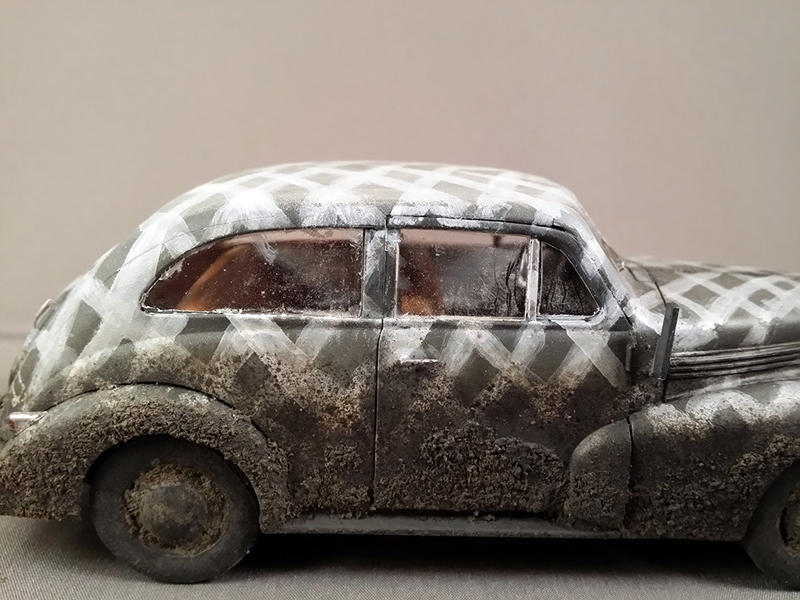
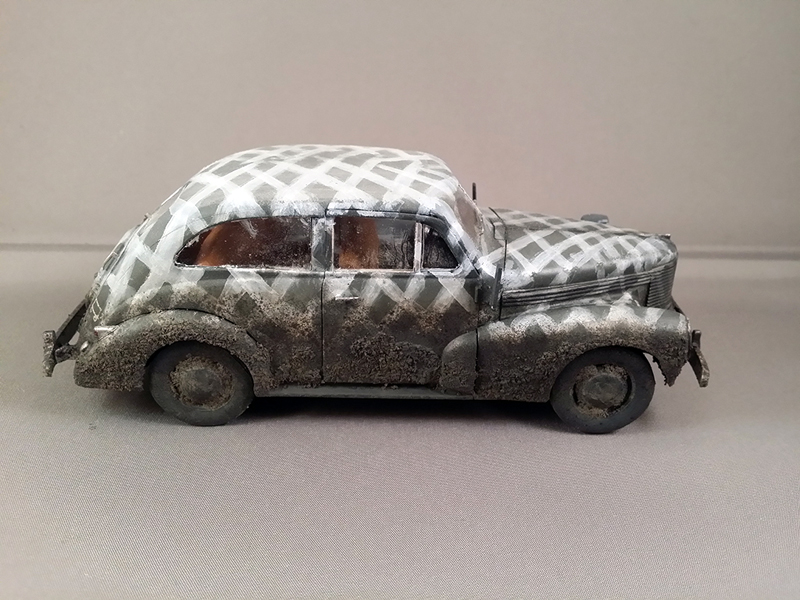
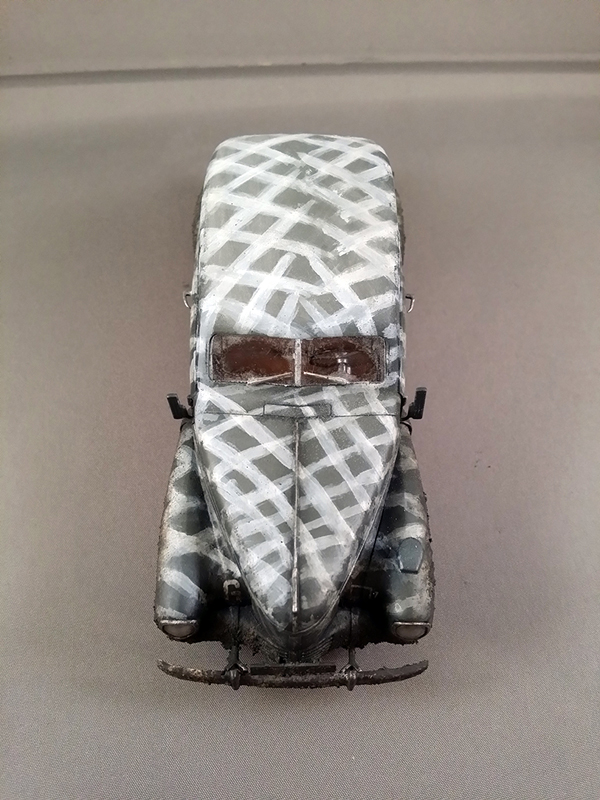
Well since it is a car it has a lot of windows which allow you to see inside. But it is also an enclosed space which means you first have to paint the interior. Again I went with a car that started its life as a civilian ride just as the Kadett K38 I did before. I airbrushed the interior metal bits with a nice Bordeaux red which was a mix I made out of Tamiya Acrylics. The floor and most of the other details like side panels, Dash details, the little rods and levers were all painted with Humbrol Enamel and Citadel paint. Some nice dashboard decals are added to the kit and to finish it off I gave the floor a wash with discoloured pigments. Which cant be seen but it feels good to know it is there. Also in this step I painted the engine and engine bay black. They cant be seen because I closed the bonnet. After closing it up I reminded myself of a picture of a Kfz 2 which I saved to my computer some time ago which was painted in quite an interesting winter camouflage which consisted of crossing lines in white paint over a panzer grey basecoat. And I decided to copy this scheme to my Kapitän. So first I did a pre-shade with black Tamiya Acrylic. And after that it got airbrushed and highlighted in 3 shades of grey I thought 50 was overdoing it a bit. I deliberately kept the greys fairly light because through the winter camouflage and after all the washes and filters it would appear darker. In between I added the markings. The Kit itself does not provide you with markings for an eastern front vehicle but since this car type saw action all over the war I decided to jump into the spare decals and found some G markings for Kampfgruppe Guderian. I also found some tactical markings for which division it belonged to. The license plates were from the kit. Then it was time to apply the camouflage which I applied with a brush to get that hand painted effect. I choose an older medium sized brush which already had some split hair. The paint of choice for this was Humbrol enamel which I thinned. I first hand painted all the lines crossing each other and then I went over most of them in smaller strokes to give the idea that each line was made of several different brushstrokes. When I started I kind of wondered what I had done. But with more lines being added I decided I was on the right track to a quite interesting looking vehicle.Weathering
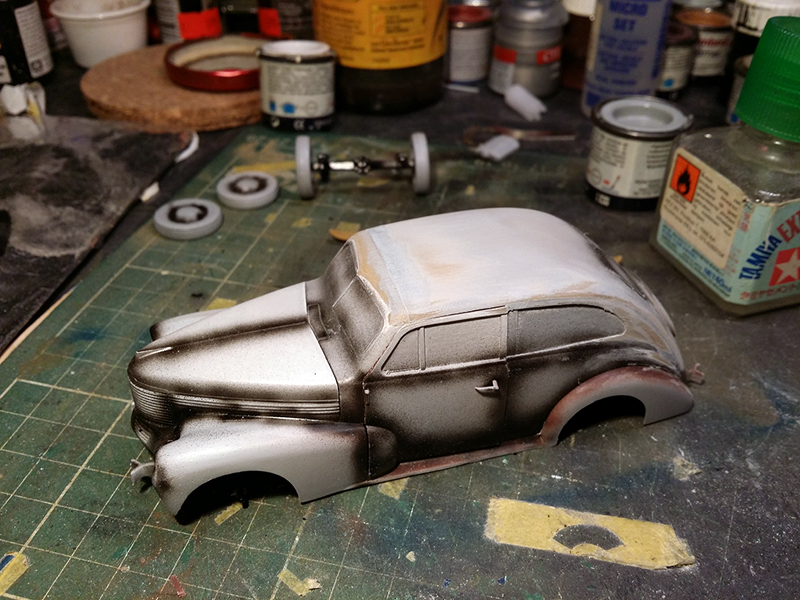
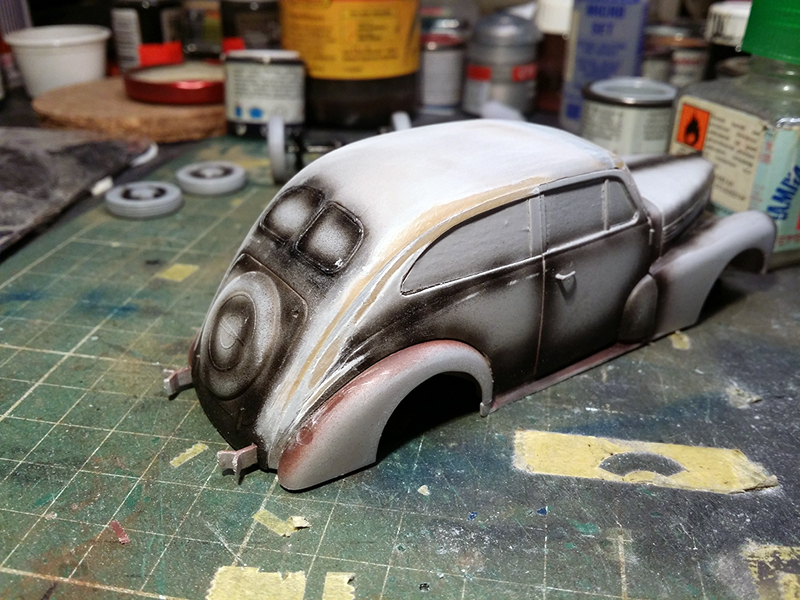
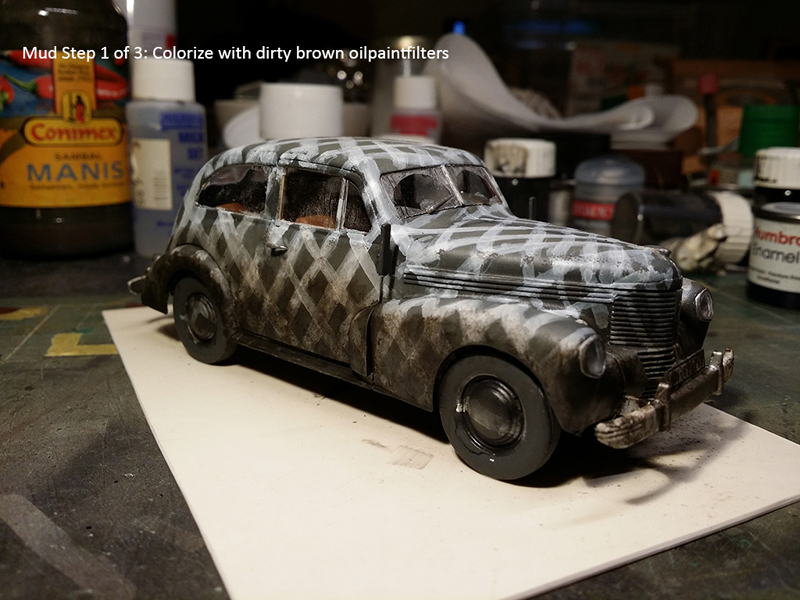
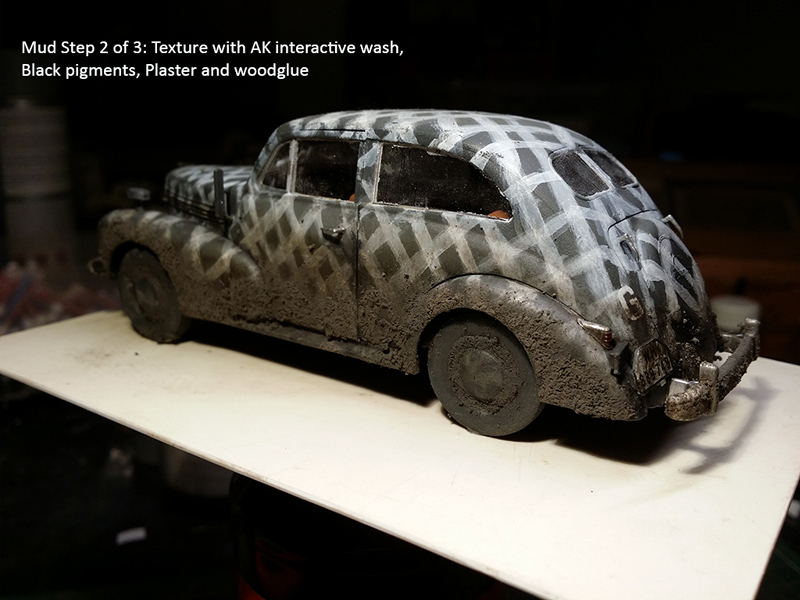
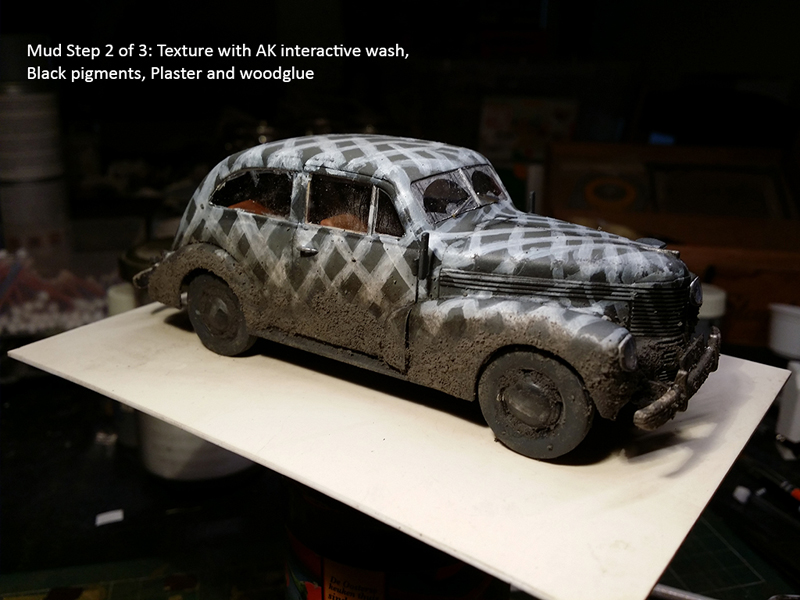
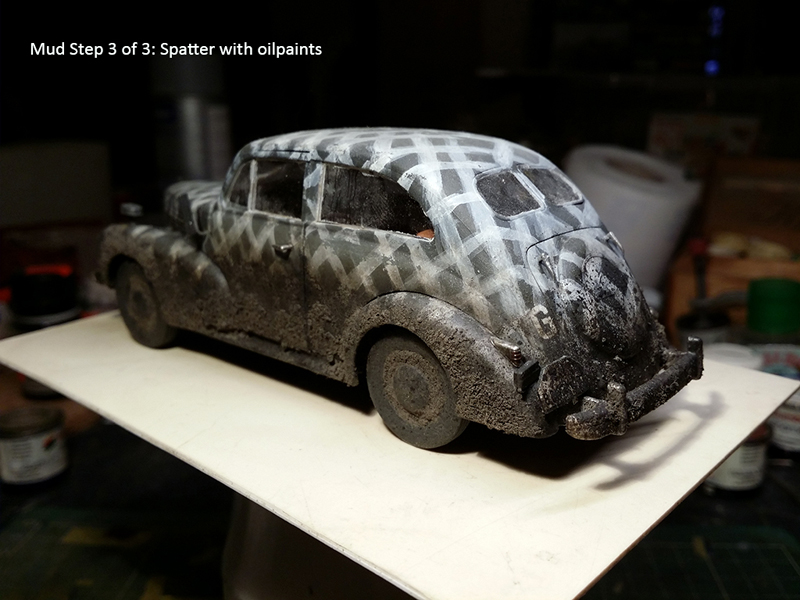
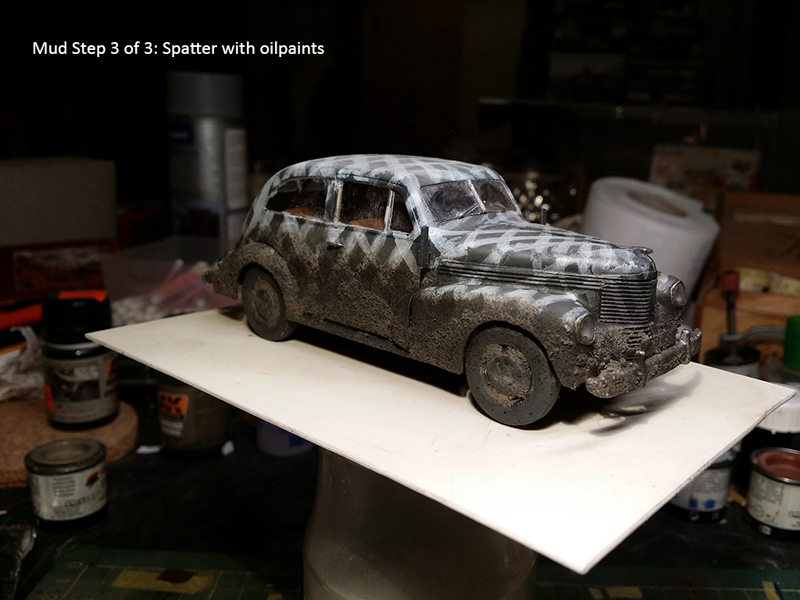
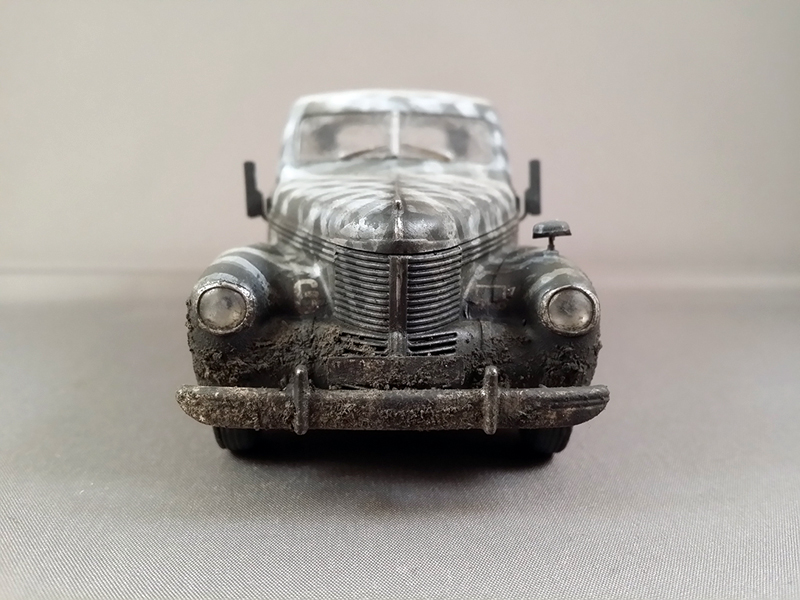
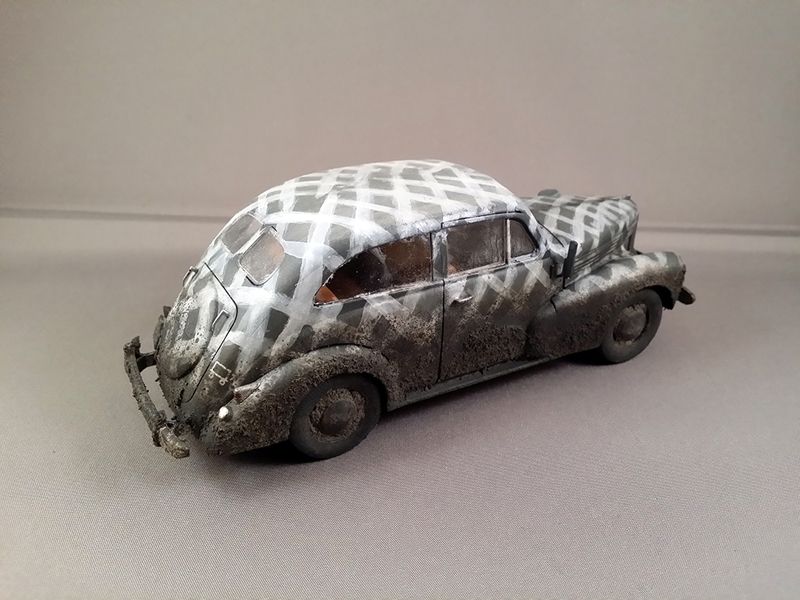
After the camouflage was thoroughly dry it was time to weather it. First I did some pin washes with black and brown oil paints. I wanted to go for a vehicle that saw many miles on the eastern front roads against General Mud or Rasputitsa as it was known by the Soviets. Step 1: I first started with several filters with oil paint by mixing van Dyk Brown with black and thin that heavily. Then apply it in a stippling motion to make the lower half of the car very dirty. Step 2: adding some texture with the mud technique I described in the Opel Kadett K38 feature I send in before with an addition in the form of wood glue to make the mud mix adhere better to the flat sides of the car. I applied blotches of the mix with a toothpick and with a really old and stiff brush I stippled texture in it and pushed it against the sides so it would grip better. Step 3: To make the mud look less monotone I added spatter with thinned oil paint in 2 colors. Black and really dark brown by loading it on an old stiff brush and flicking it with a toothpick. Make sure you cover where you dont want spatter. I cut out 2 masks for the areas where the windshield wipers do their work and with slate grey pigments from Vallejo I dirtied up the remaining areas. I also did this on the side and rear windows.End result
When I started this built I had a nice idea which would have it end up as a vehicle in Lybia 1942. But the trouble with the doors made me decide different and in the end I am glad I did. Even though I really doubted myself when I started applying the less then standard winter camouflage. But at the time of that doubt I was already past the point of no return. And looking back I have no regrets. All-in all this kit builds up very well. Oddly enough it is not of the same standard as the Kadett K38. There are parts that are really well done. Like the engine and the interior and then there are odd omissions like no hinge system for the bonnet and the weird non-working of the doors. That said I did enjoy building and painting the kit.Related reviews
Opel Kapitän 2 door saloon review Live links Opel Kadett K38 build Live links


About the Author


FROM: NOORD-HOLLAND, NETHERLANDS
Started modelling when I was about 7 or 8 years old had a little break in between (school, girls partying) and eventually returned when finding this site in 2002. Main interest WW2 German army, wheeled vehicles and radio and communication troops or every other thing that manages to catch my interest...
Comments

Thanks Mister Baker for putting this feature online. You did another great job.
@ Kurt
Thanks for the compliments. Really appreciated.
APR 10, 2014 - 11:39 PM

Awesome, what a gorgeous finish!
Thank you so much for the article, very useful, I love the vehicle and have one kit waiting in the stash.
Cheers,
Christophe
APR 11, 2014 - 11:12 PM
Ola Christophe.
Thanks for your reply and the kind words. I'm glad you found it useful and I'm looking forward to your efforts once you start this nice kit. Even with its shortcomings you can make something really nice out of it.
APR 12, 2014 - 02:08 AM

Hi Robert,
Another great article and build. Pity about the bonnet. Do the doors open (missed that)!
Funky and interesting camo scheme, nice work on the painting and finish..
Excellent addition to your vehicle collection..
Cheers
Al
APR 12, 2014 - 04:31 AM
Thanks Alan for the kind words.
The doors can be opened but it requires quite a bit of surgery on the inside of the doors where the bulge at the bottom is. And you have to scratchbuilt the hingesystems.
But otherwise it is a decent kit that can be made into something cool. It's currently standing among it's other 1:35 Automotive Brethren.
APR 12, 2014 - 04:41 AM
Copyright ©2021 by Robert Blokker. Images and/or videos also by copyright holder unless otherwise noted. The views and opinions expressed herein are solely the views and opinions of the authors and/or contributors to this Web site and do not necessarily represent the views and/or opinions of Armorama, KitMaker Network, or Silver Star Enterrpises. All rights reserved. Originally published on: 2014-04-10 21:37:28. Unique Reads: 12252

WEB HOSTING BY


Copyright ©2021 Armorama and Kitmaker Network, a subsidiary of Silver Star Enterprises
All Rights Reserved. Please read our Conditions of Use and Privacy Policy.
All Rights Reserved. Please read our Conditions of Use and Privacy Policy.