1⁄35T-72B
9
Comments
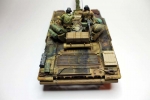
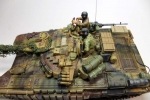
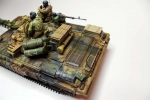
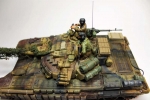
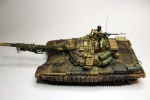
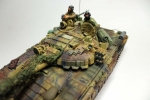
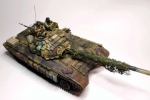
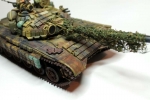
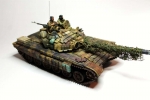
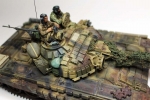
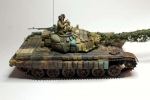
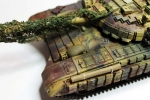
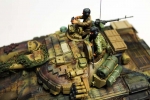
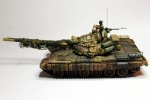
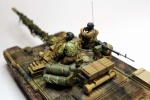
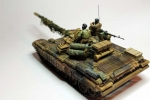
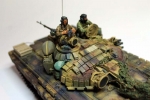
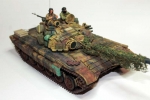
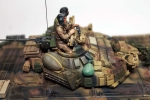
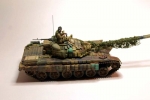
This is a Revell of Germany 1/35th Scale T-72B that I completed recently. I had started this kit several years ago with the intention of placing it in an elaborate Chechnya diorama with several figures. The diorama never came to fruition and the tank has sat on my work bench in a rather pathetic state since. I decided to complete it recently and this is the finished result.
Construction was very straightforward and I did not encounter any major issues while building it. The paint scheme is the brown/dark yellow scheme with the dark grey/grimy black squiggles along the demarcation lines. Tamiya, Model Master and Floquil Railroad Grimy Black were used for the camo. Vallejo Track Primer was used for the base coat on the tracks. After the camo was applied, a bath of very diluted Raw Umber was applied over the entire tank as an overall filter. Following that, panel lines and recesses were shot with Tamiya Smoke which was applied at low air pressure in a diluted state. I then added more precise pin washes of Burnt Umber around recesses, grills and panel lines. At this point, scratches, dings and marks were applied using Vallejo Dark Rubber which was applied with a small sharp brush. Additional damage to the paint was added with a pencil as well.
It was now time for more filters on this much worn T-72. I used the “dot method” and dots of red, blue, yellow, green and white were applied and then blended with a brush dipped in mineral spirits. The overall finish was now done. At this point I applied MIG and CMK pigments to the tank to give it the final dose of weathering. Mineral spirits were used for the fixative. The commander figure came from the kit and was painted with Vallejo Paints. Washes of Raw Umber and Raw Sienna were applied. The loader figure is a mix of Dragon and Zvezda body parts. The head had a balaclava mask only so I scratch built a Russian tanker helmet on top of that using plastic sheet stock and rod. His parka was then painted using various Testors and Vallejo colors. The AK-74 he is holding came from the Dragon AK set and the stock was cut and folded against the receiver. Following that, bits of stowage were added along with a wire antenna.
This was an enjoyable build, overall, and it was nice to bring back this model from its abandoned state on my work table.
Comments
Very nice build and great weathering. Good work Ian!
cheers
Walter
SEP 17, 2014 - 06:47 AM
Walter and Steve----Thanks for the kind words.
Best wishes,
Ian
SEP 18, 2014 - 11:22 AM
Copyright ©2021 by Ian Holahan. Images and/or videos also by copyright holder unless otherwise noted. The views and opinions expressed herein are solely the views and opinions of the authors and/or contributors to this Web site and do not necessarily represent the views and/or opinions of Armorama, KitMaker Network, or Silver Star Enterrpises. All rights reserved. Originally published on: 2014-08-04 02:44:22. Unique Reads: 14823


