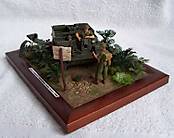
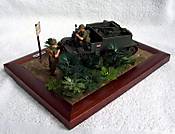
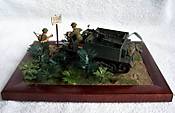
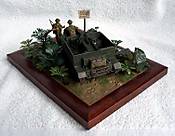
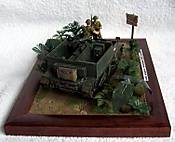
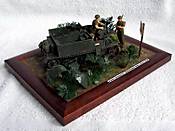
1⁄35Awas, ploppers! - Dutch East Indies, 1948
Which models?
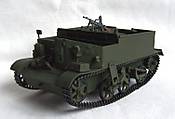
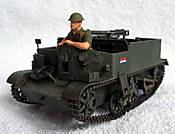
Now it was time to choose the models. I had Tamiya's Universal Carrier "Forced Recon" in my stash, so I could use that one. The kit also had 2 figs in tropical uniforms.I wanted a third figure, a guard. I had trouble finding a good figure for this, but I found Tamiya's Dingo scout car and bought it for only € 5. This kit contains a standing figure in a tropical uniform which I could use as a guard.
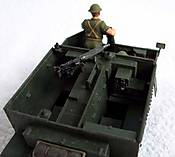
The Vickers machine gun was a bit of a problem. After some searching I found out that Resicast has a set of 2 resin Vickers machineguns, and so I bought this set.
Building the models
The universal carrier
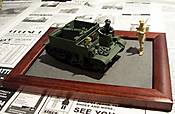
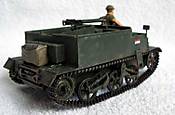
The Universal Carrier is a nice kit. The kit comes with a lot of accessories like ammunition crates, weapons and equipment to dress up your vehicle. The figures you can use for a WW2 ETO Universal Carrier look all very nice. The tropical figures are however older figures and their quality is not that good, but I used them anyway because they had the right poses and I couldn't find a good alternative. Building the carrier was easy. The parts fit well. After building the Carrier I sprayed it with Tamiya Olive Green. The Dutch flag was hand painted. Weathering was done with several washes with oil paints, dry brushing and rain marks.
The figures
As already said, the figures I used are old Tamiya figures, which have a bit of a lack in quality. But, on the other hand, my grandpa is getting old and he won't really notice the difference between these figures and resin figures. There was one other big problem I had. These figures all had shorts. My grandpa told me they never wore shorts because of all the insects and pests, like leeches and mosquito's, which strived in this tropical environment. Therefore, I used putty to "give" the soldiers long trousers. After the putty dried I painted them in Humbrol enamels.
The Vickers machinegun
Once you understand the instructions, the Vickers is easy to build. From what I could see on photo's the Vickers used the same mount it used on a tripod, so I used that mount and placed it on the universal carrier.
The diorama
The base
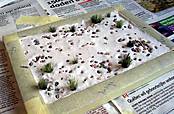
Now that the models are ready it's time to start the diorama. I bought myself a photo frame (13x18cm) to use as a base. I also bought some cat litter to make little rocks. Sand was made by using the sand you use in birdcages. I didn't use any glue here, I just pressed the sand and cat litter into the still wet plaster, which I used to make the ground.
The plants
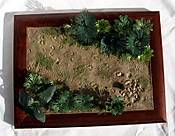
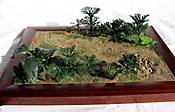
The plants were a problem. I didn't want to buy expensive etched plants or something like that. I decided to ask around at the Armorama forums and some members gave me the idea of using plastic aquarium plants. I went to the pet store, found the aquarium plants, and I decided to use them. I also made 1 plant myself (the one with the big leaves) with wire and aluminium foil. The rest of the flora on my diorama is Woodland Scenics static grass and Woodland Scenics high grass. I used white glue to apply the plants and the low grass. The high grass however was applied like the sand and the cat litter I pressed it into the wet plaster. Like this, the grass won't fall off the dio.
The sign
The sign was made of a small stick I found in my garden and balsa wood. I painted the sign itself white and the stick brown with Tamiya acrylics. I finished the sign by giving it a wash with oil paints and I wrote the words ("einde beveiligd gebied = end of secured zone) on the sign with a black pen.

Time to finish and give grandpa the dio!
After I glued the figures and universal carrier on the diorama I only had to wait till my grandpa's birthday, because I wanted to give him this diorama on this day.26th March, I finally gave it to him. After looking at the dio at every possible angle he said.... amazing! That's my carrier, with the Vickers, and I know that sign! The rest of the day he kept looking at the diorama. I think he really loves it!
Special thanks to...
Piet Albers, a Dutch East Indies veteran, who helped me during the research and gave me very usefull information, and David Brown for giving me feedback on this article before I submitted it. Thanks bro!Well, thanks for reading my article, I hope you liked it!
Martin http://www.planet.nl/~noorl087
Copyright ©2021 by Martin Noorloos. Images and/or videos also by copyright holder unless otherwise noted. The views and opinions expressed herein are solely the views and opinions of the authors and/or contributors to this Web site and do not necessarily represent the views and/or opinions of Armorama, KitMaker Network, or Silver Star Enterrpises. All rights reserved. Originally published on: 2005-04-25 00:00:00. Unique Reads: 24744


