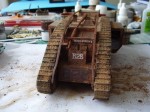
1⁄35British Tank Mk IV (Male)
11
Comments
Building the kit
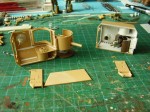
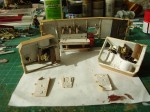
As with all builds you need to make a few choices before you start. I wanted a static version not a motorised one so I just ignored the engine building stages in the instructions. There are 37 steps in the instructions that you can follow but true to form I started around Step 27 by building the Lewis guns. This was mainly because much of the additional work I intended to do featured on the internals of the vehicle as I intended to leave the doors and hatches open The kit provides only the barrels for the Lewis Guns and I didn’t really like these so replaced them by drilling out the ball mount and adding some Lewis guns from Resicast. Next came the 6pdrs and they are a decent representation of the main gun although the barrels are not rifled, but the internal breech mechanism is all there. The main change inside the gun sponsons was the addition of a large amount of rivets and drilling the pistol ports that are well replicated on the external detail.The 6pdrs are held in place by polycaps to allow them to swivel but I found these wanted to push the gun shield up a little so ended up adding a spacer of plastic card cut to the shape of the top roof section and glued in to help keep them in place. .
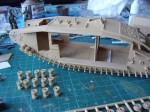
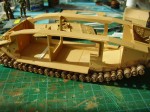
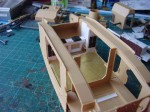
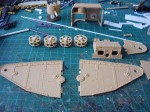
As work continued on riveting the gun sponsons I started on the main skeleton of the vehicle, jumping back to Step 5. Again I had to make some choices here and as I wasn’t using the engine I cut off the holding sections for the motor and filled in the hole for the on off switch by adding a cross bean in and using filler on the underside. The fit of the parts was excellent and I had no issues as everything slots together nicely.
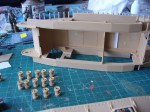
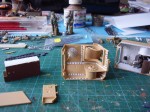
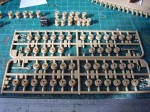
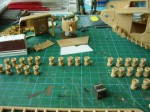
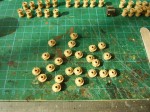
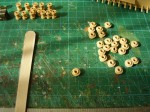
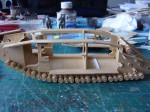
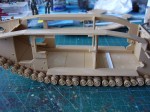
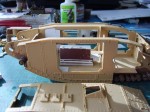
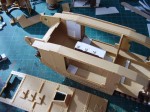
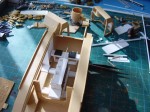
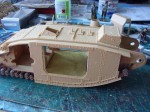
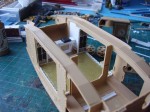
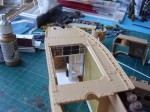
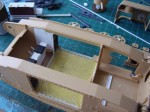
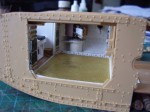
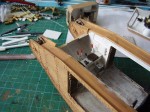
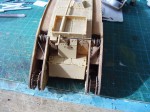
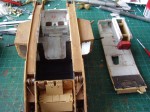
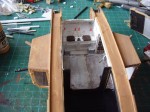
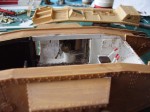
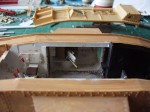
Then it was on to making and adding the wheels. They interlink in a very specific pattern and you need to follow the instructions at Step 15 for the RHS wheels and Step 18 for the LHS wheels. With the wheels in place and after fitting the central side external armour, I was able to check the sponson fit and what might be visible though the open doors. That prompted me to start to make a basic interior for the kit and I started to block off some of the open spaces in the internal hull. The interior wasn’t intended to be bang on, more a representation of the shape of what would be there as I dislike models with open hatches and doors and just a big empty space inside.
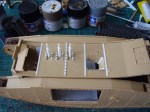
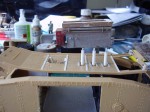
The basic interior was made from plastic card and rod, and bits of leftover parts from the Tamiya’s Universal Carrier as I have a lot of those. The trickiest part was to get the alignment of the exhaust pipes from the engine right, and to achieve that I added the pipes to the roof outlets and then positioned the engine accordingly. I added some basic drivers seating and levers in case I wanted to include a figure and when I was happy that everything was more or less in the right place I gave the interior a coat or two of off white paint and dirtied things up a bit with some weathering.
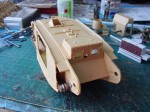
The external side armour is made up in 3 sections and these fitted perfectly together. The kit provides the drive and return roller wheels in plastic so I used those rather than the kit metal ones designed to go with the engine. I just needed to add a spacer in each to hold these in place and I used a piece of suitable sized round rod for that. The tank box shown at Step 2 can be attached at any point although in the instructions it is shown at Step 6. There are a couple of handles that I hollowed out that sit behind the rear sloped plate (part D37 Step 22) and for some reason I missed replacing the handle on the rear of the box which is probably the one that needs fixing most!
The rear of the top hull plate shows two access hatches under the spud box and these were not on the original Mk IVs as far as I could tell, but were present on the Bovington example that Tamiya based the kit on, so I simply sanded these off. The only additions I made outside was adding some mud scrapers and rivets to the rear area of the track run and some missing detail around the bottom of the drivers cab area and to the lower plate of the frontal armour.
The motorised version allows you to remove both the top armour and the side gun sponsons to have access to the motor, but I removed the polycap fittings from the side sponsons as they showed through the open side door and left off the one on the inside top rear plate as I intended to glue these parts in place.
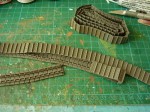
The tracks supplied with this kit are the easiest I’ve ever built, the external detail is good and you only need to gently file the top of the track to remove a slight bump from the mould and then click them together. There is enough flexibility to make the last joint without any problem.
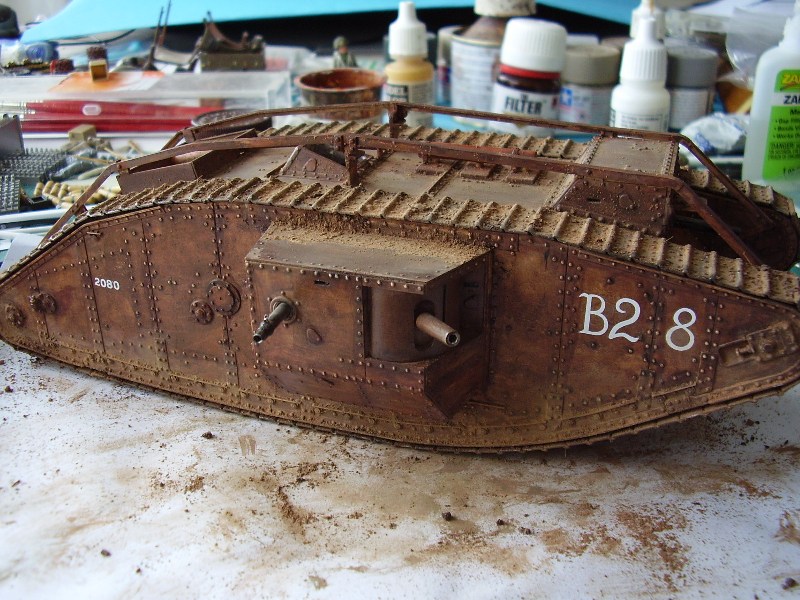
The drivers cab area can be modelled with the hatches open or close and I chose a combination of fixings as my kit is parked. I also replaced the front Lewis gun as I had done with those in the side sponsons and added some internal rivet detail for those who might get close enough to look inside. I drilled out all the vision ports in the kit for greater depth and blanked these off again with a very poor attempt at the reflector boxes used on the tank, but it created the effect I wanted.
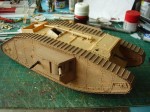
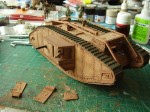
The last part of the build was to fix the external guide rails for the un-ditching beam, tow fittings and exhaust pipe. Once the remainder of the external fittings were in place the fun part of paint the tank could begin.
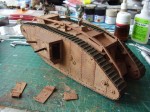
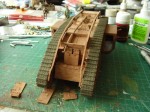
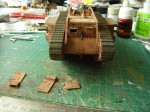
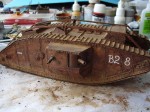
I used a range of Tamiya XF Browns and Mig filters for the paint scheme, then added the decals for Black Arrow II and then added some garden mud treated with Mig pigments for the final effect.
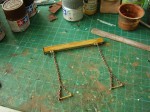
That left the un-ditching beam. The beam consists of an Oak bean with two metal sides fitted with chains that attached to the tracks and could be pulled over and around the tank by the moving track. The beam was secured by rope and two chaps had to climb up top with spanners, secure the fixings to the tracks, get the axe stored in the spud box, chop the securing ropes and return safely to the interior hoping the beam would work. All a bit hairy if you were under fire. More on this on page 50/51 of the Haynes book.
Finally I added the tow chain using the kit parts, although if you have a suitable piece of wire for the chain I would recommend using that.
Conclusion
This is an excellent and fun kit to build, with a great and easy fit of parts. I hope ITA get around to making an interior as there are terrific display options with one or both sponsons removed. The Haynes book, the Great War Tank was a terrific reference and I used it and along with the help of Pierantonio Farina’s build and others to broaden my knowledge.References
Haynes – Great War Tank Mark IV
Land ships Mk IV Tanks Live links
A review of the kit can be found here on site:
Tamiya Mk IV Review Live links
The original build blog with additional information can be seen here: Build Blog Live links
Comments
Having watched this model take shape, I pestered Alan to send in a build feature as I feel his effort needed to be preserved and highlighted. I really enjoyed watching this go together and I want to thank him for sharing his efforts with us.
NOV 15, 2014 - 03:47 PM
Hi Johan,
Many thanks for the comments. I'd probably have to take the doors off to have any chance of getting a decent picture of the interior now, but fortunately the eye can adjust if you pick it up and look inside.
Cheers
Al
NOV 15, 2014 - 03:56 PM
Hi Darren,
Many thanks for your comments, lets hope the effort was worth it.
Cheers
Al
NOV 15, 2014 - 03:58 PM
Hi Alan , o what a beauty ! Many congratulations for this great result . You may be proud on it . Cheers Kurt
NOV 15, 2014 - 08:56 PM
Hi Johan,
Many thanks for the comments. I'd probably have to take the doors off to have any chance of getting a decent picture of the interior now, but fortunately the eye can adjust if you pick it up and look inside.
Cheers
Al [/quote]
I will look into the possibilities for a trip to the UK then
/J
NOV 15, 2014 - 10:01 PM
[/quote]
I will look into the possibilities for a trip to the UK then
/J[/quote]
Hi J, Yes, Sorry.
Cheers
Al
NOV 15, 2014 - 10:55 PM
For those who might be interested I noticed on the weekly flyer from Hannants that Eduard have a set of Internal and External PE for the MK IV scheduled for release in January 2015.
A bit late for me, but might be very useful items if they add detail rather than simply replace items.
Al
NOV 22, 2014 - 10:49 PM
Copyright ©2021 by Alan McNeilly. Images and/or videos also by copyright holder unless otherwise noted. The views and opinions expressed herein are solely the views and opinions of the authors and/or contributors to this Web site and do not necessarily represent the views and/or opinions of Armorama, KitMaker Network, or Silver Star Enterrpises. All rights reserved. Originally published on: 2014-11-15 15:09:54. Unique Reads: 17039


